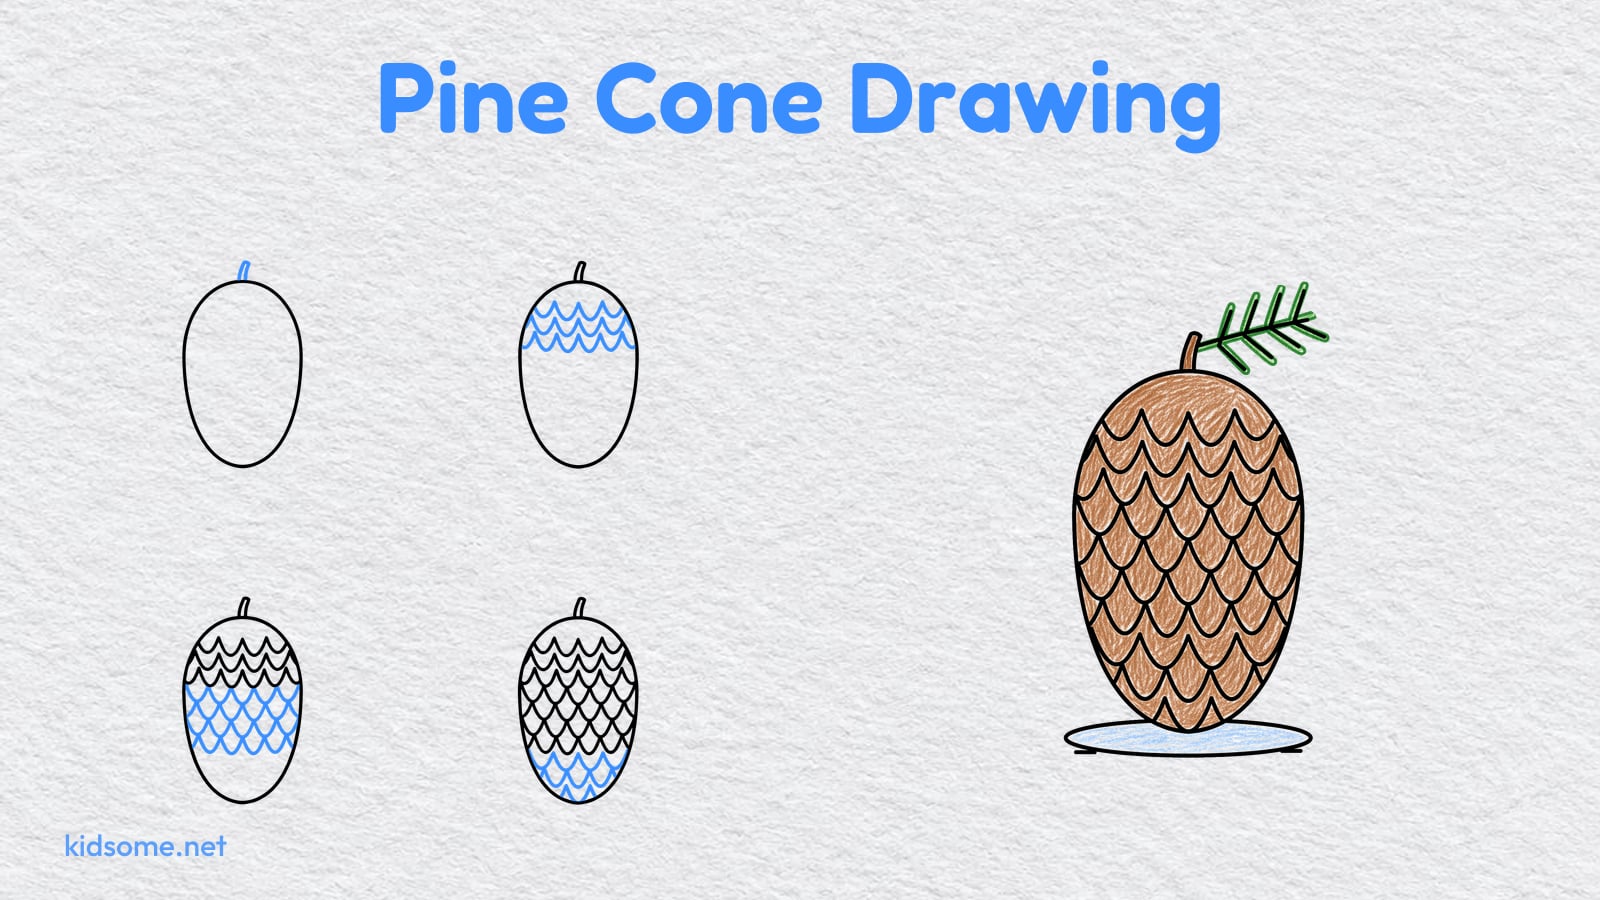
This pine cone drawing guide shows kids ages 4 to 8, and the grown-ups drawing beside them, how to draw a pine cone one easy step at a time. Pine cones are everywhere in autumn and winter, under the trees in the park, on nature walks and in the craft box, and they are a great first nature drawing. The guide builds the cone from simple shapes: a tall egg shape, a short woody stem, rows of rounded scales and, last of all, a sprig of pine needles on a little patch of snow.
There are six steps. Each step shows the drawing so far in black and the new part in blue, so it is always clear what to add next. At the end there is a free printable outline of the finished pine cone to trace or color, plus a crayon colored example to copy if you like. No special art skills are needed, just a pencil, an eraser and a little patience, so it suits beginners. Kids who enjoy it can find more cold weather ideas in our winter drawing guides.
-
Step 1 : Draw the outline

Draw a tall egg shape in the middle of your page. Make it a little rounder at the top. This is the outline of your pine cone.
-
Step 2 : Add the stem
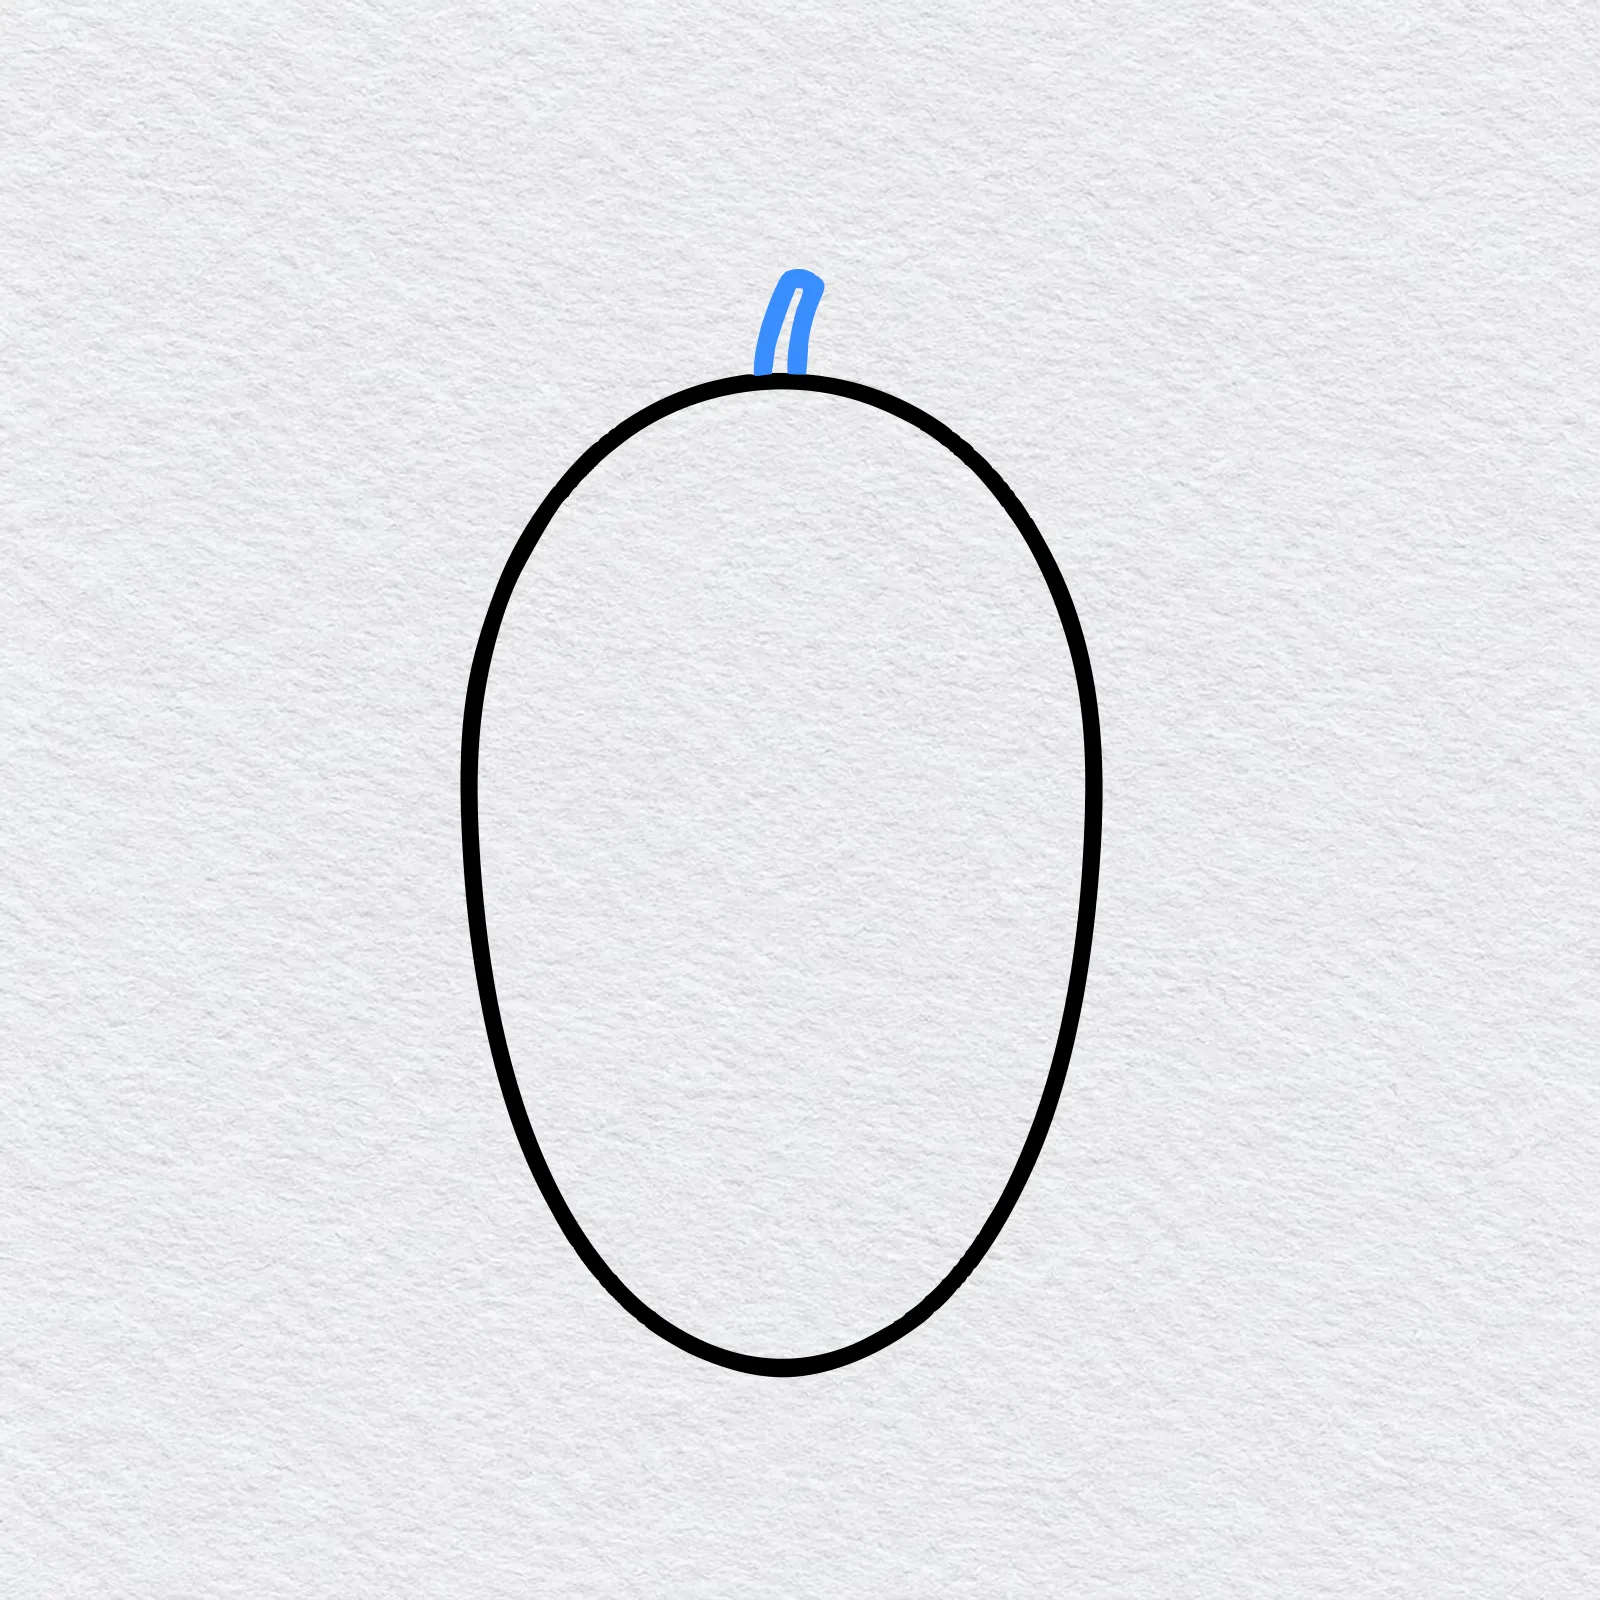
On top of the egg shape, draw a short stem with a little bend in it. Make it two lines wide, like a tiny twig.
-
Step 3 : Draw the top scales
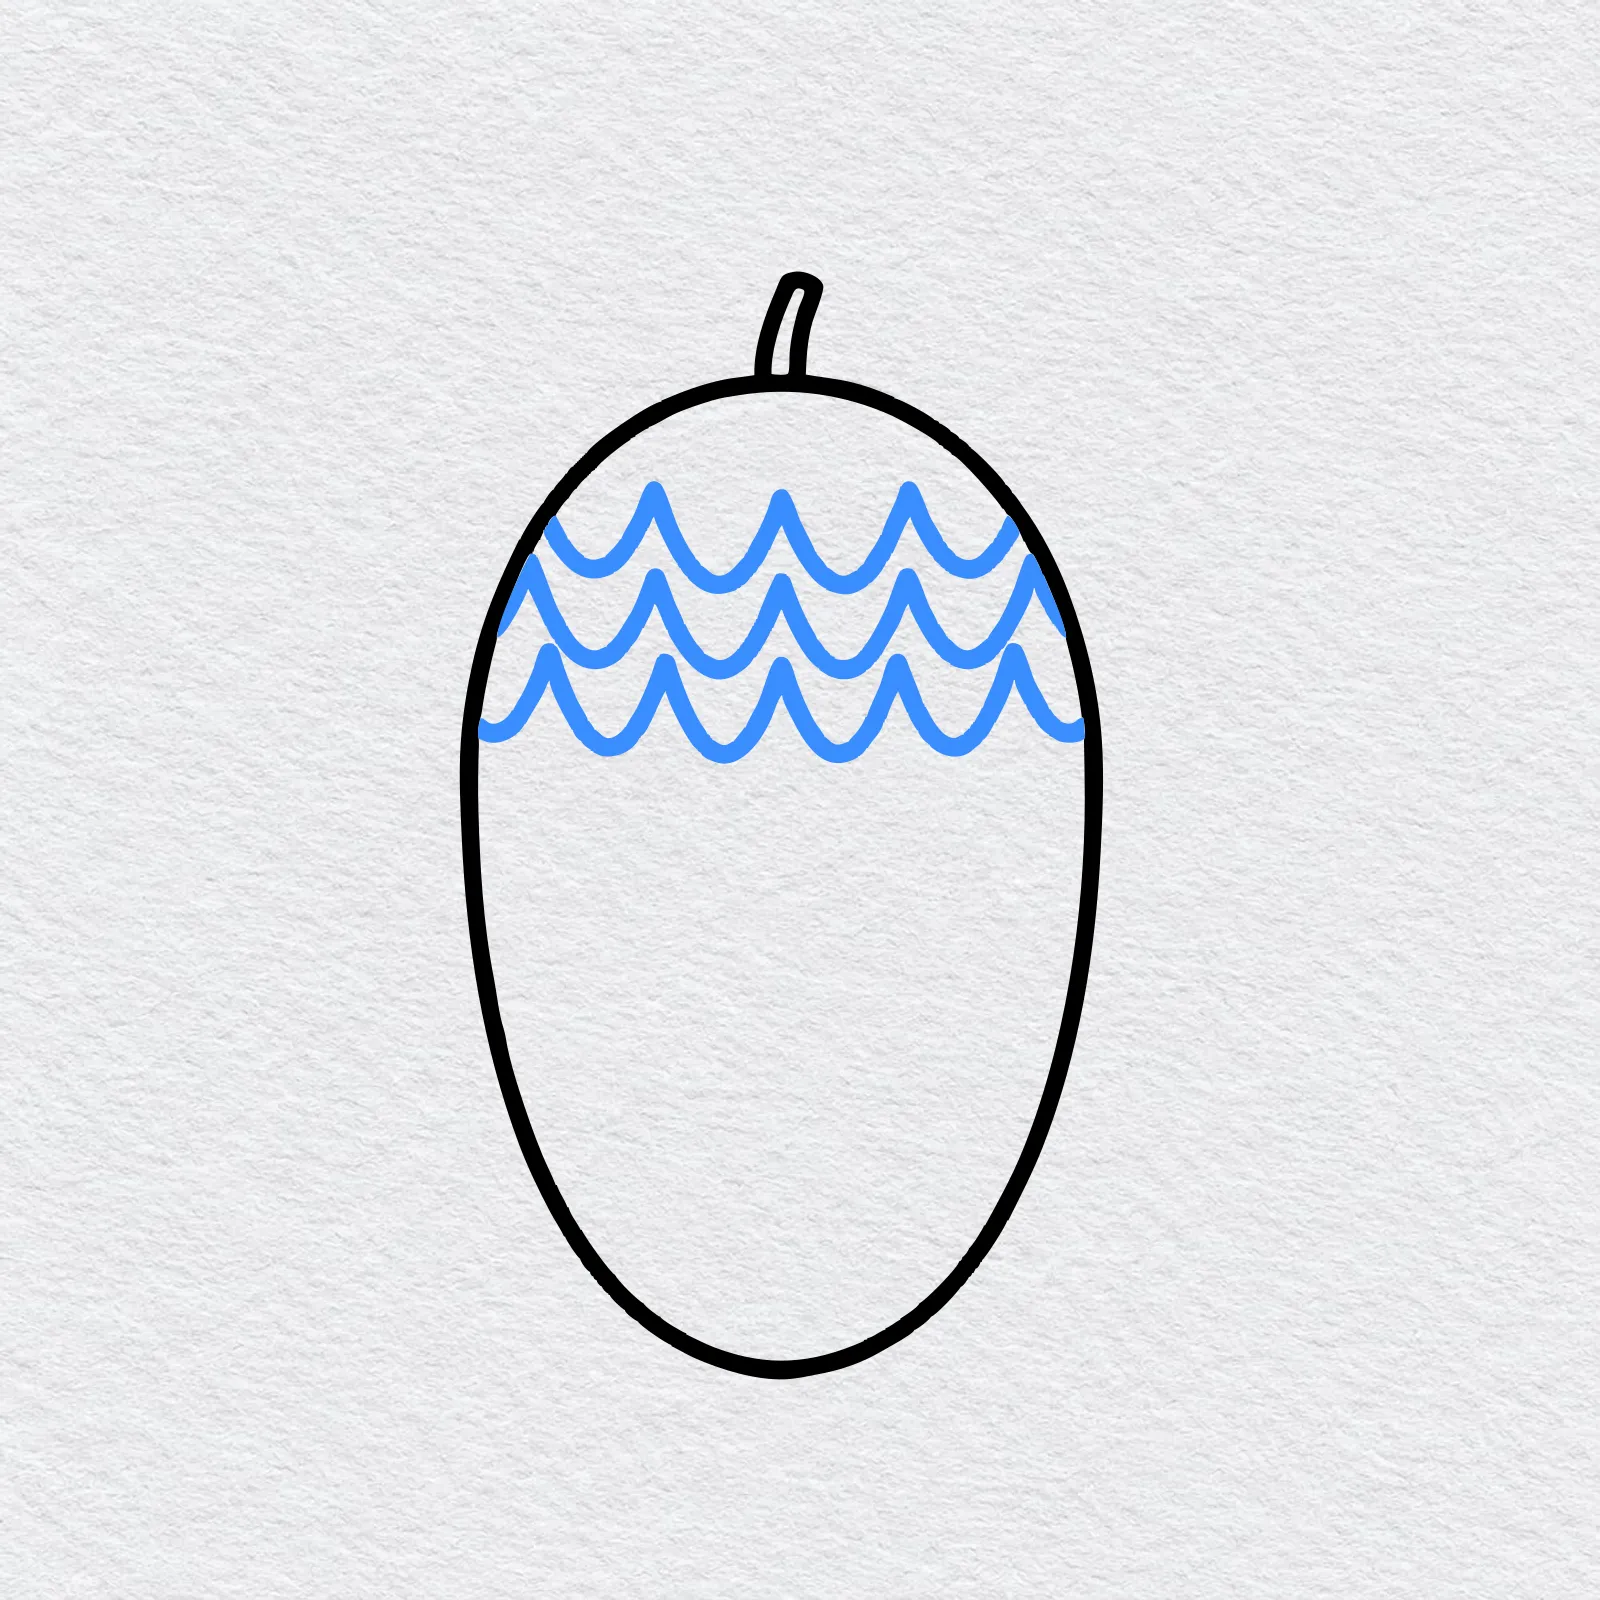
Just under the stem, draw a row of small bumps across the cone, like tiny hills. Add two more rows under it.
Start each new row a little lower, so its bumps sit between the bumps above.
-
Step 4 : Add the middle scales
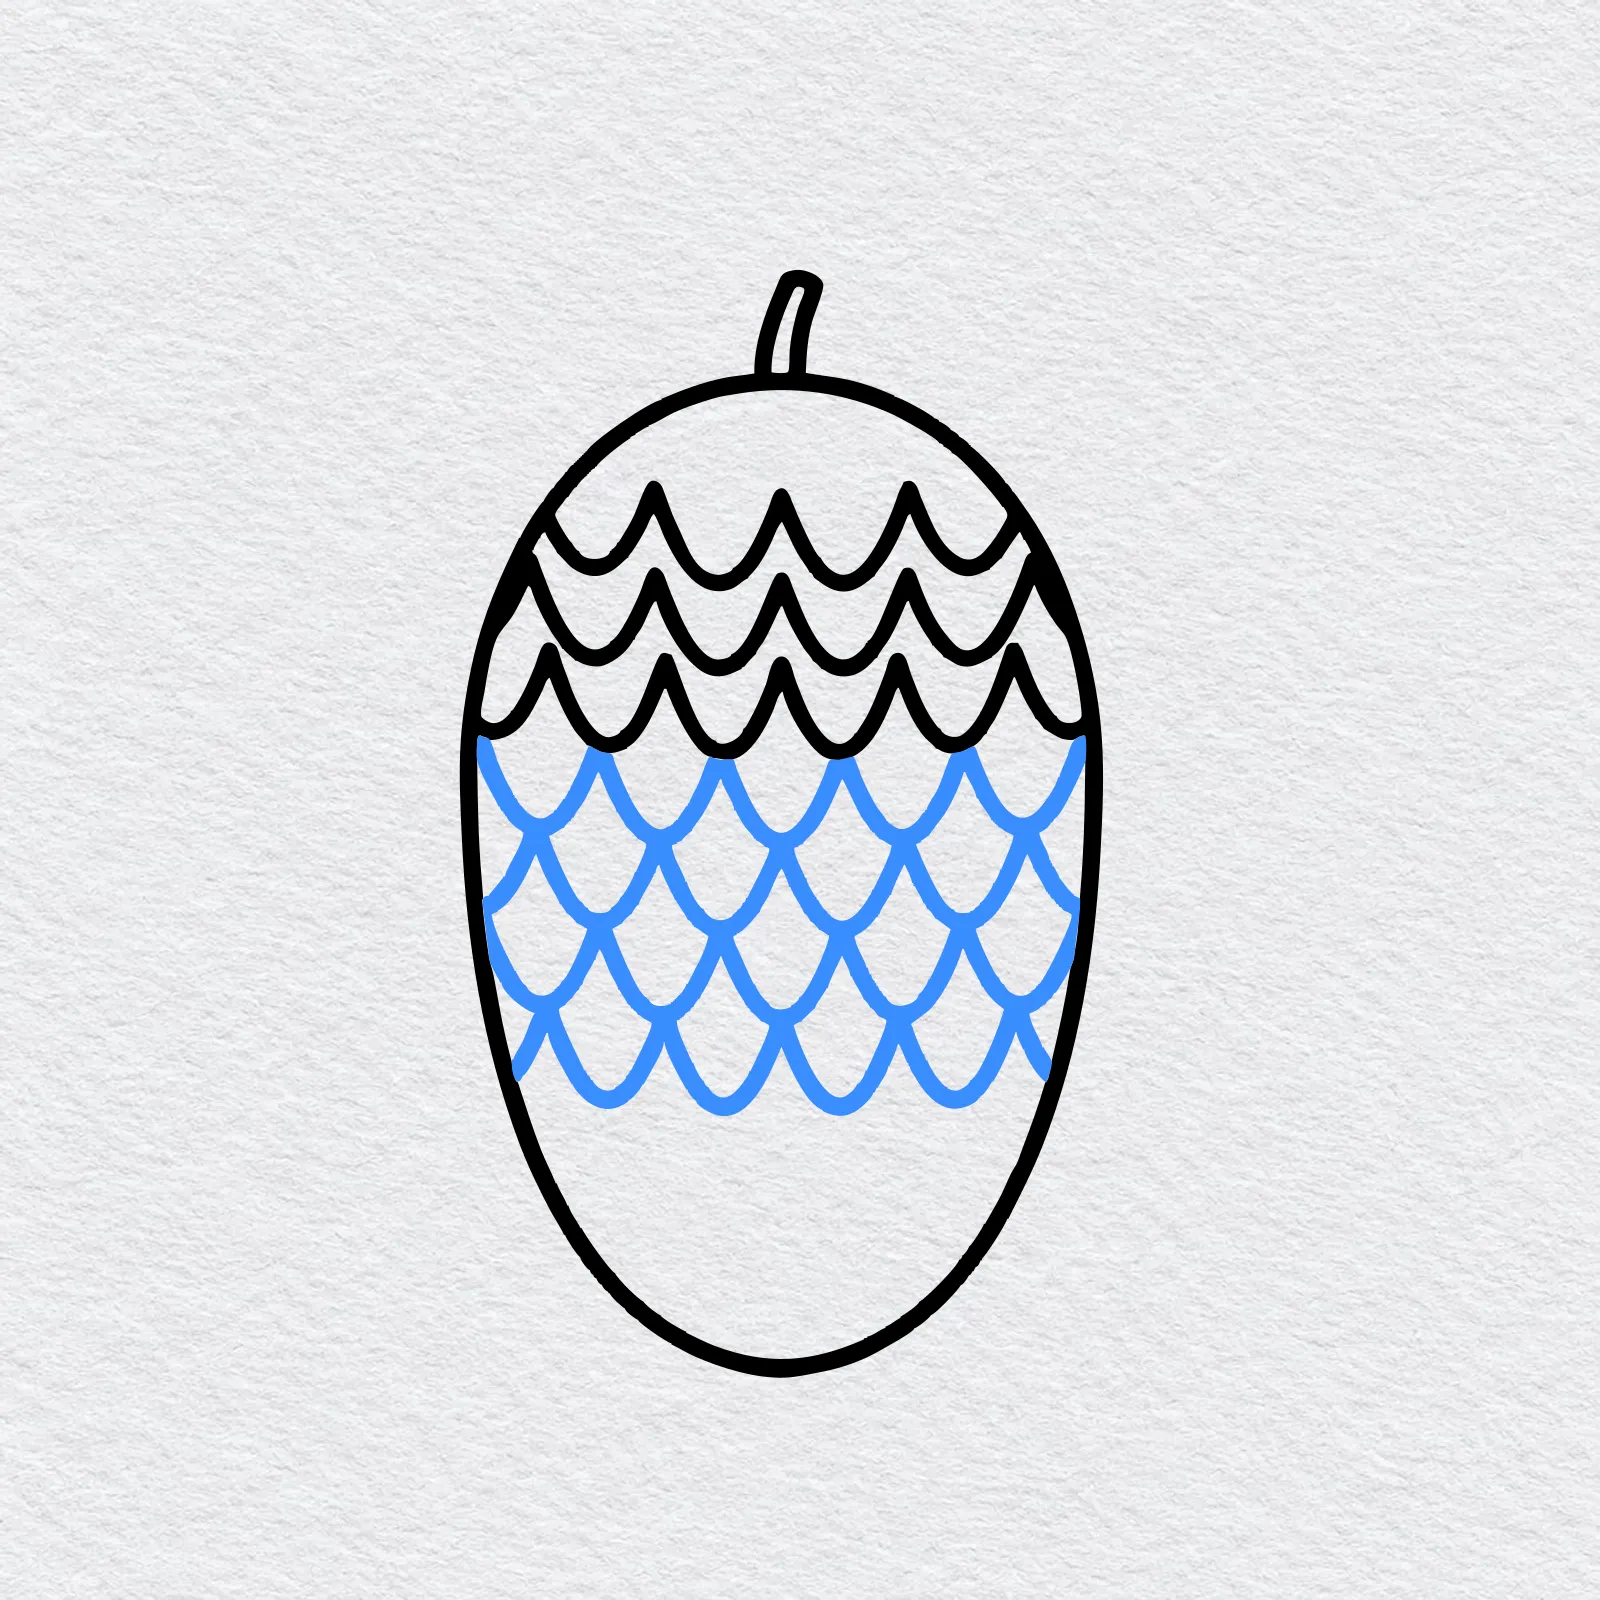
Keep going down the middle of the cone. Draw four more rows of bumps, each one tucked just under the row above it.
-
Step 5 : Draw the bottom scales
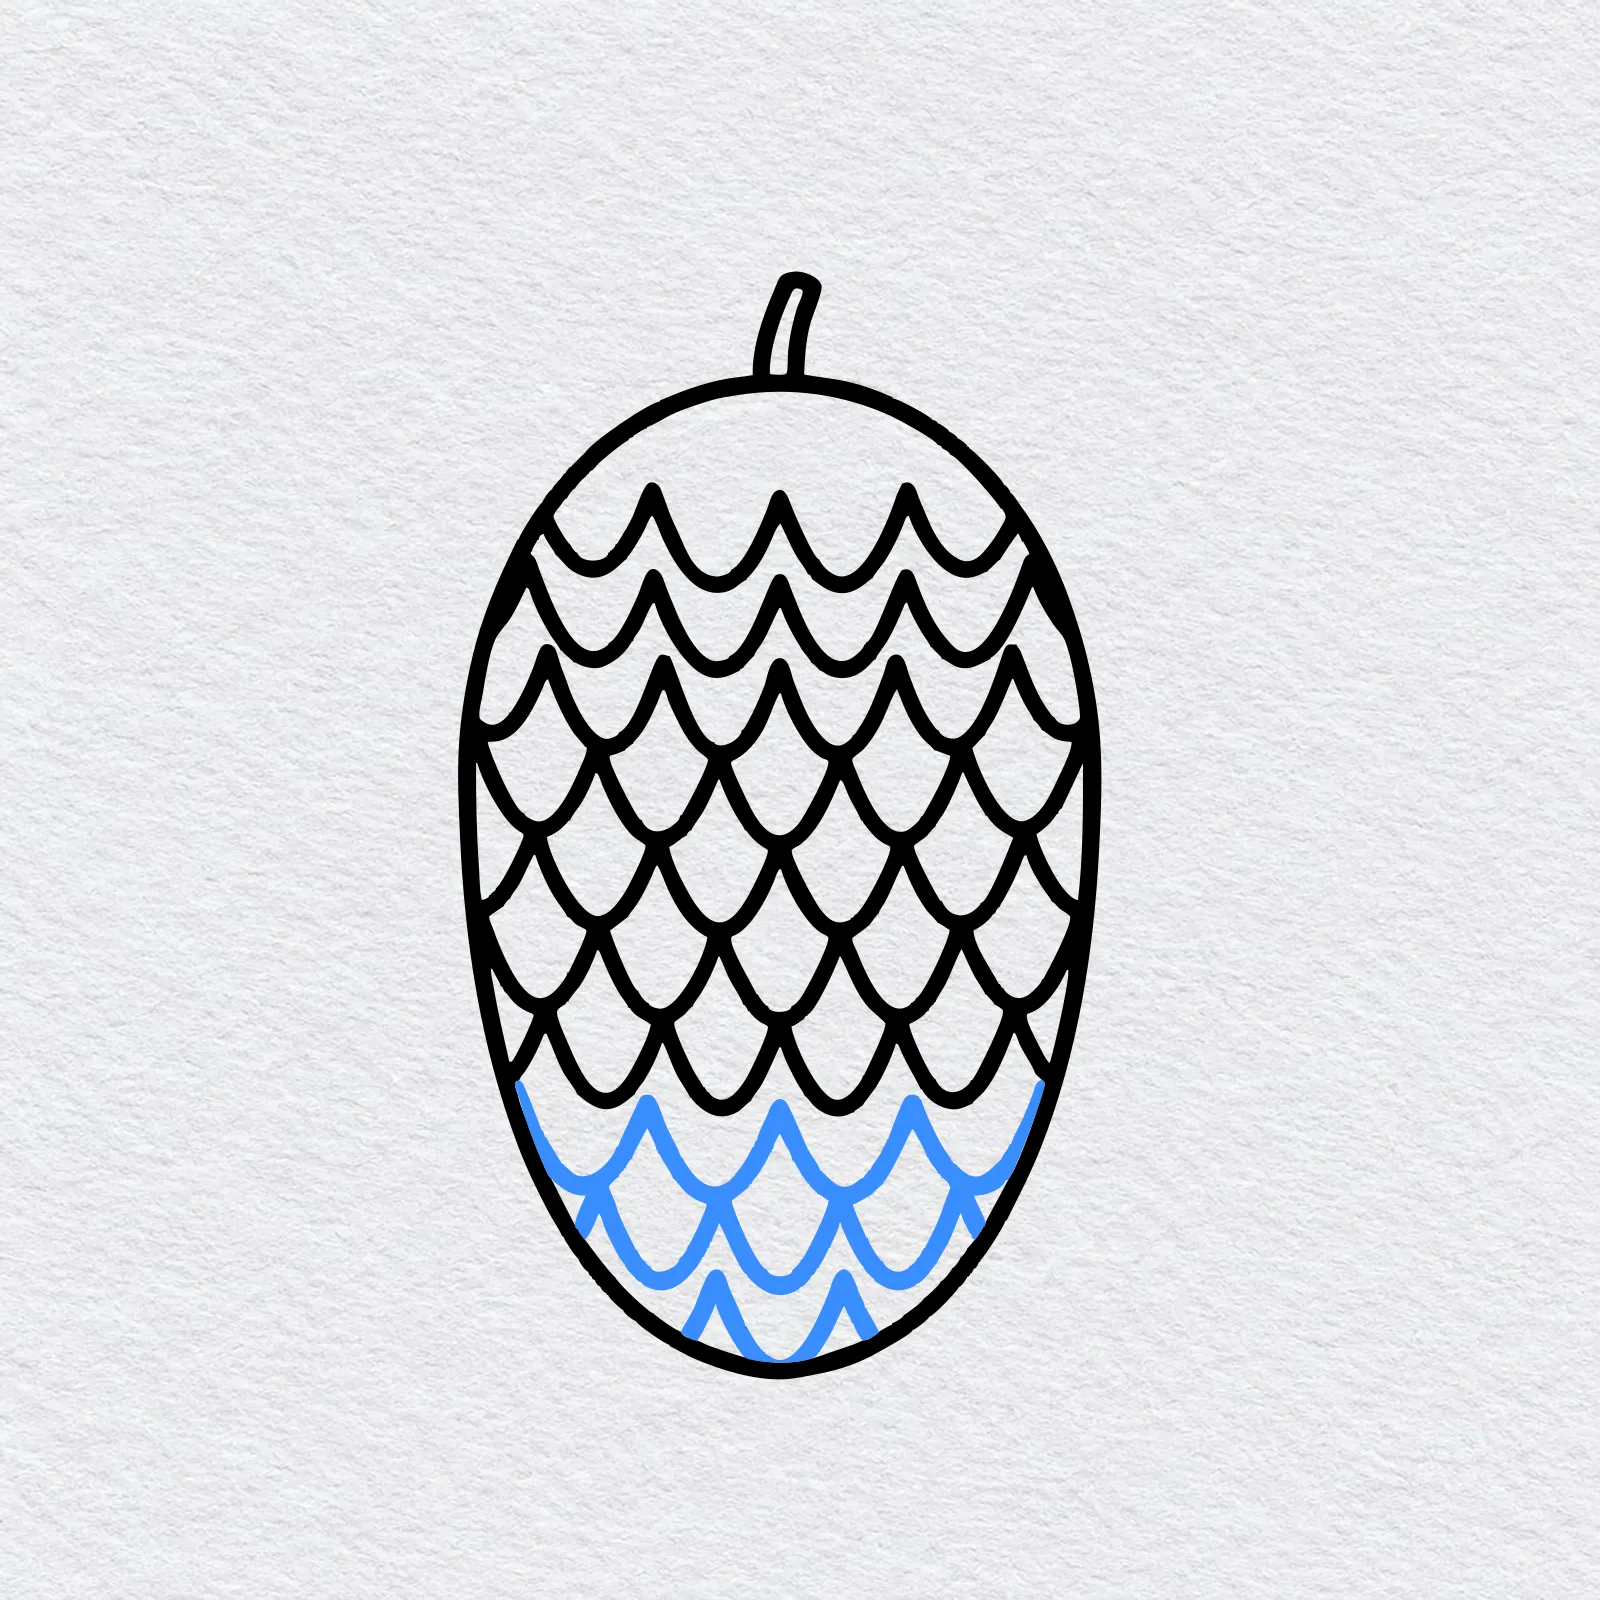
Draw three more rows of bumps until you reach the round bottom of the cone. Now the whole pine cone is covered in scales.
-
Step 6 : Add the needles and snow
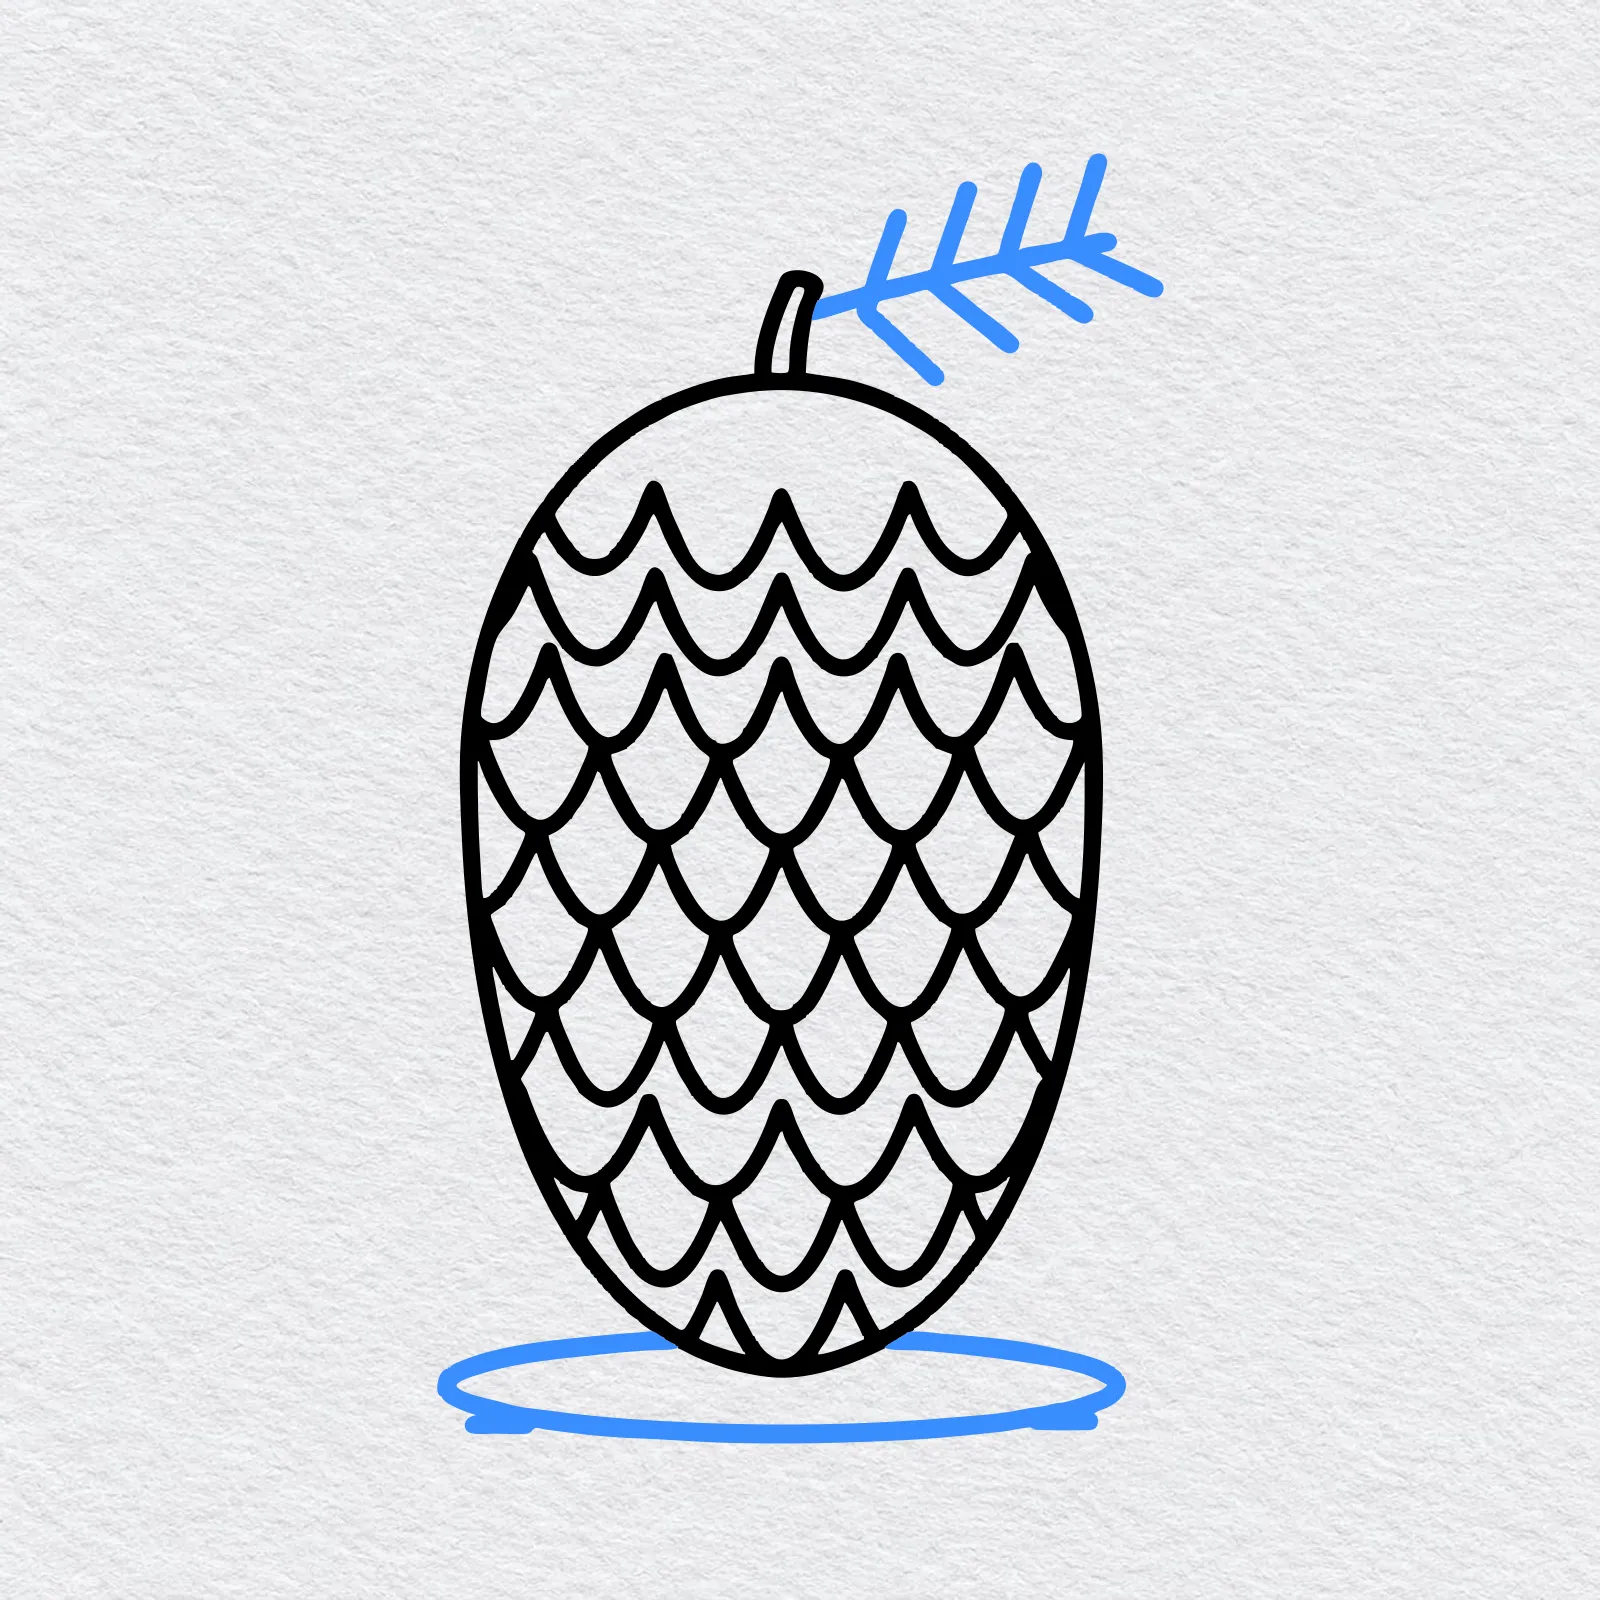
Draw a small sprig of pine needles next to the stem: one line with short lines sticking out of it.
Under the cone, draw a flat oval for a patch of snow and a short line on each side for the ground.
-
Step 7 : Color your pine cone
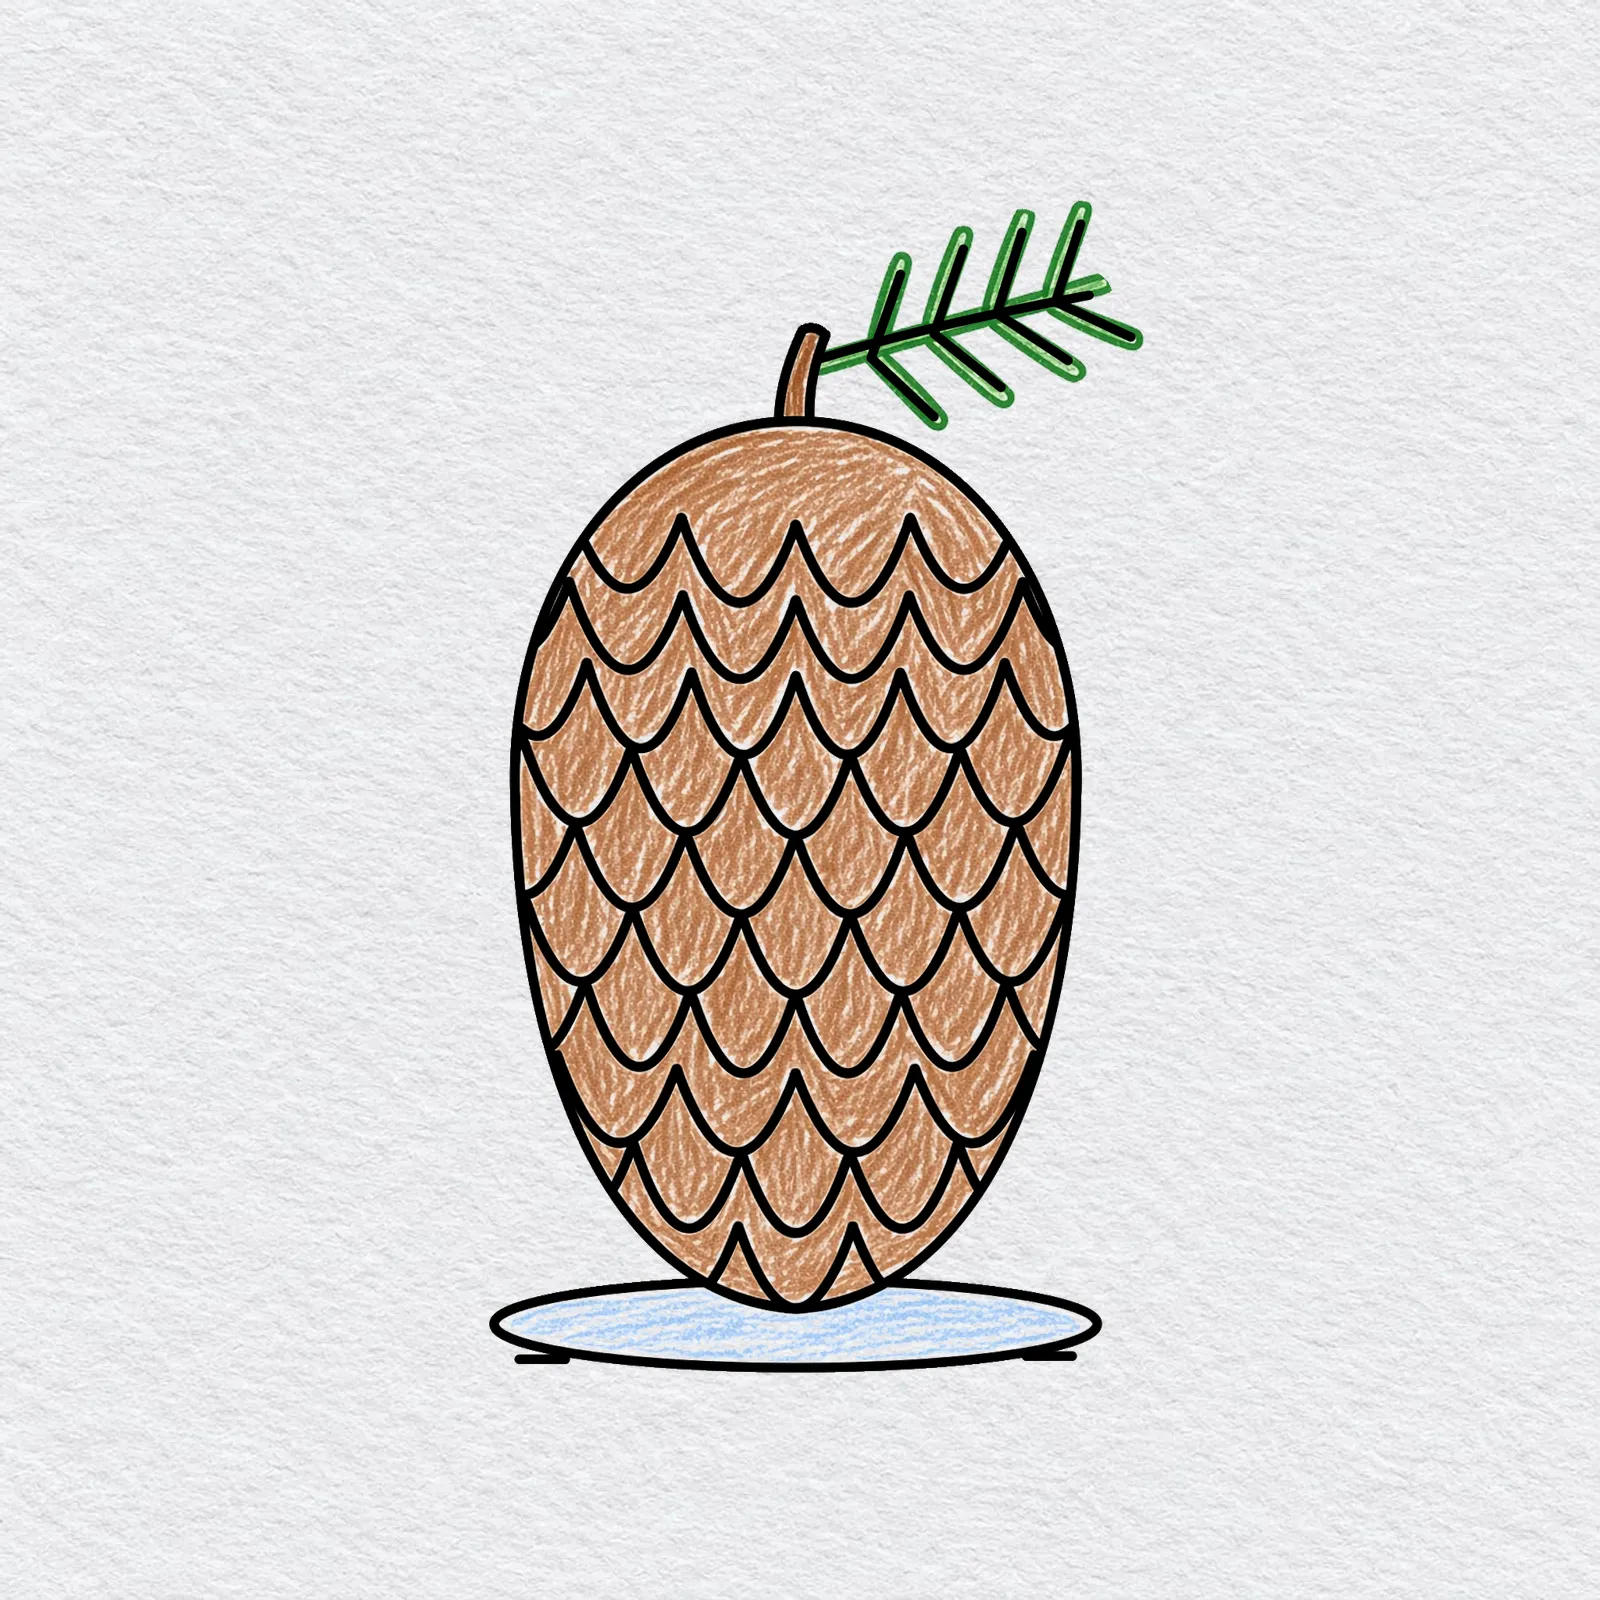
Color the scales light brown, then go over the bottom edge of each scale with a darker brown. Make the stem dark brown.
Color the needles green and the snow a very pale blue, leaving lots of white.
Printable pine cone drawing PDFs
 Save
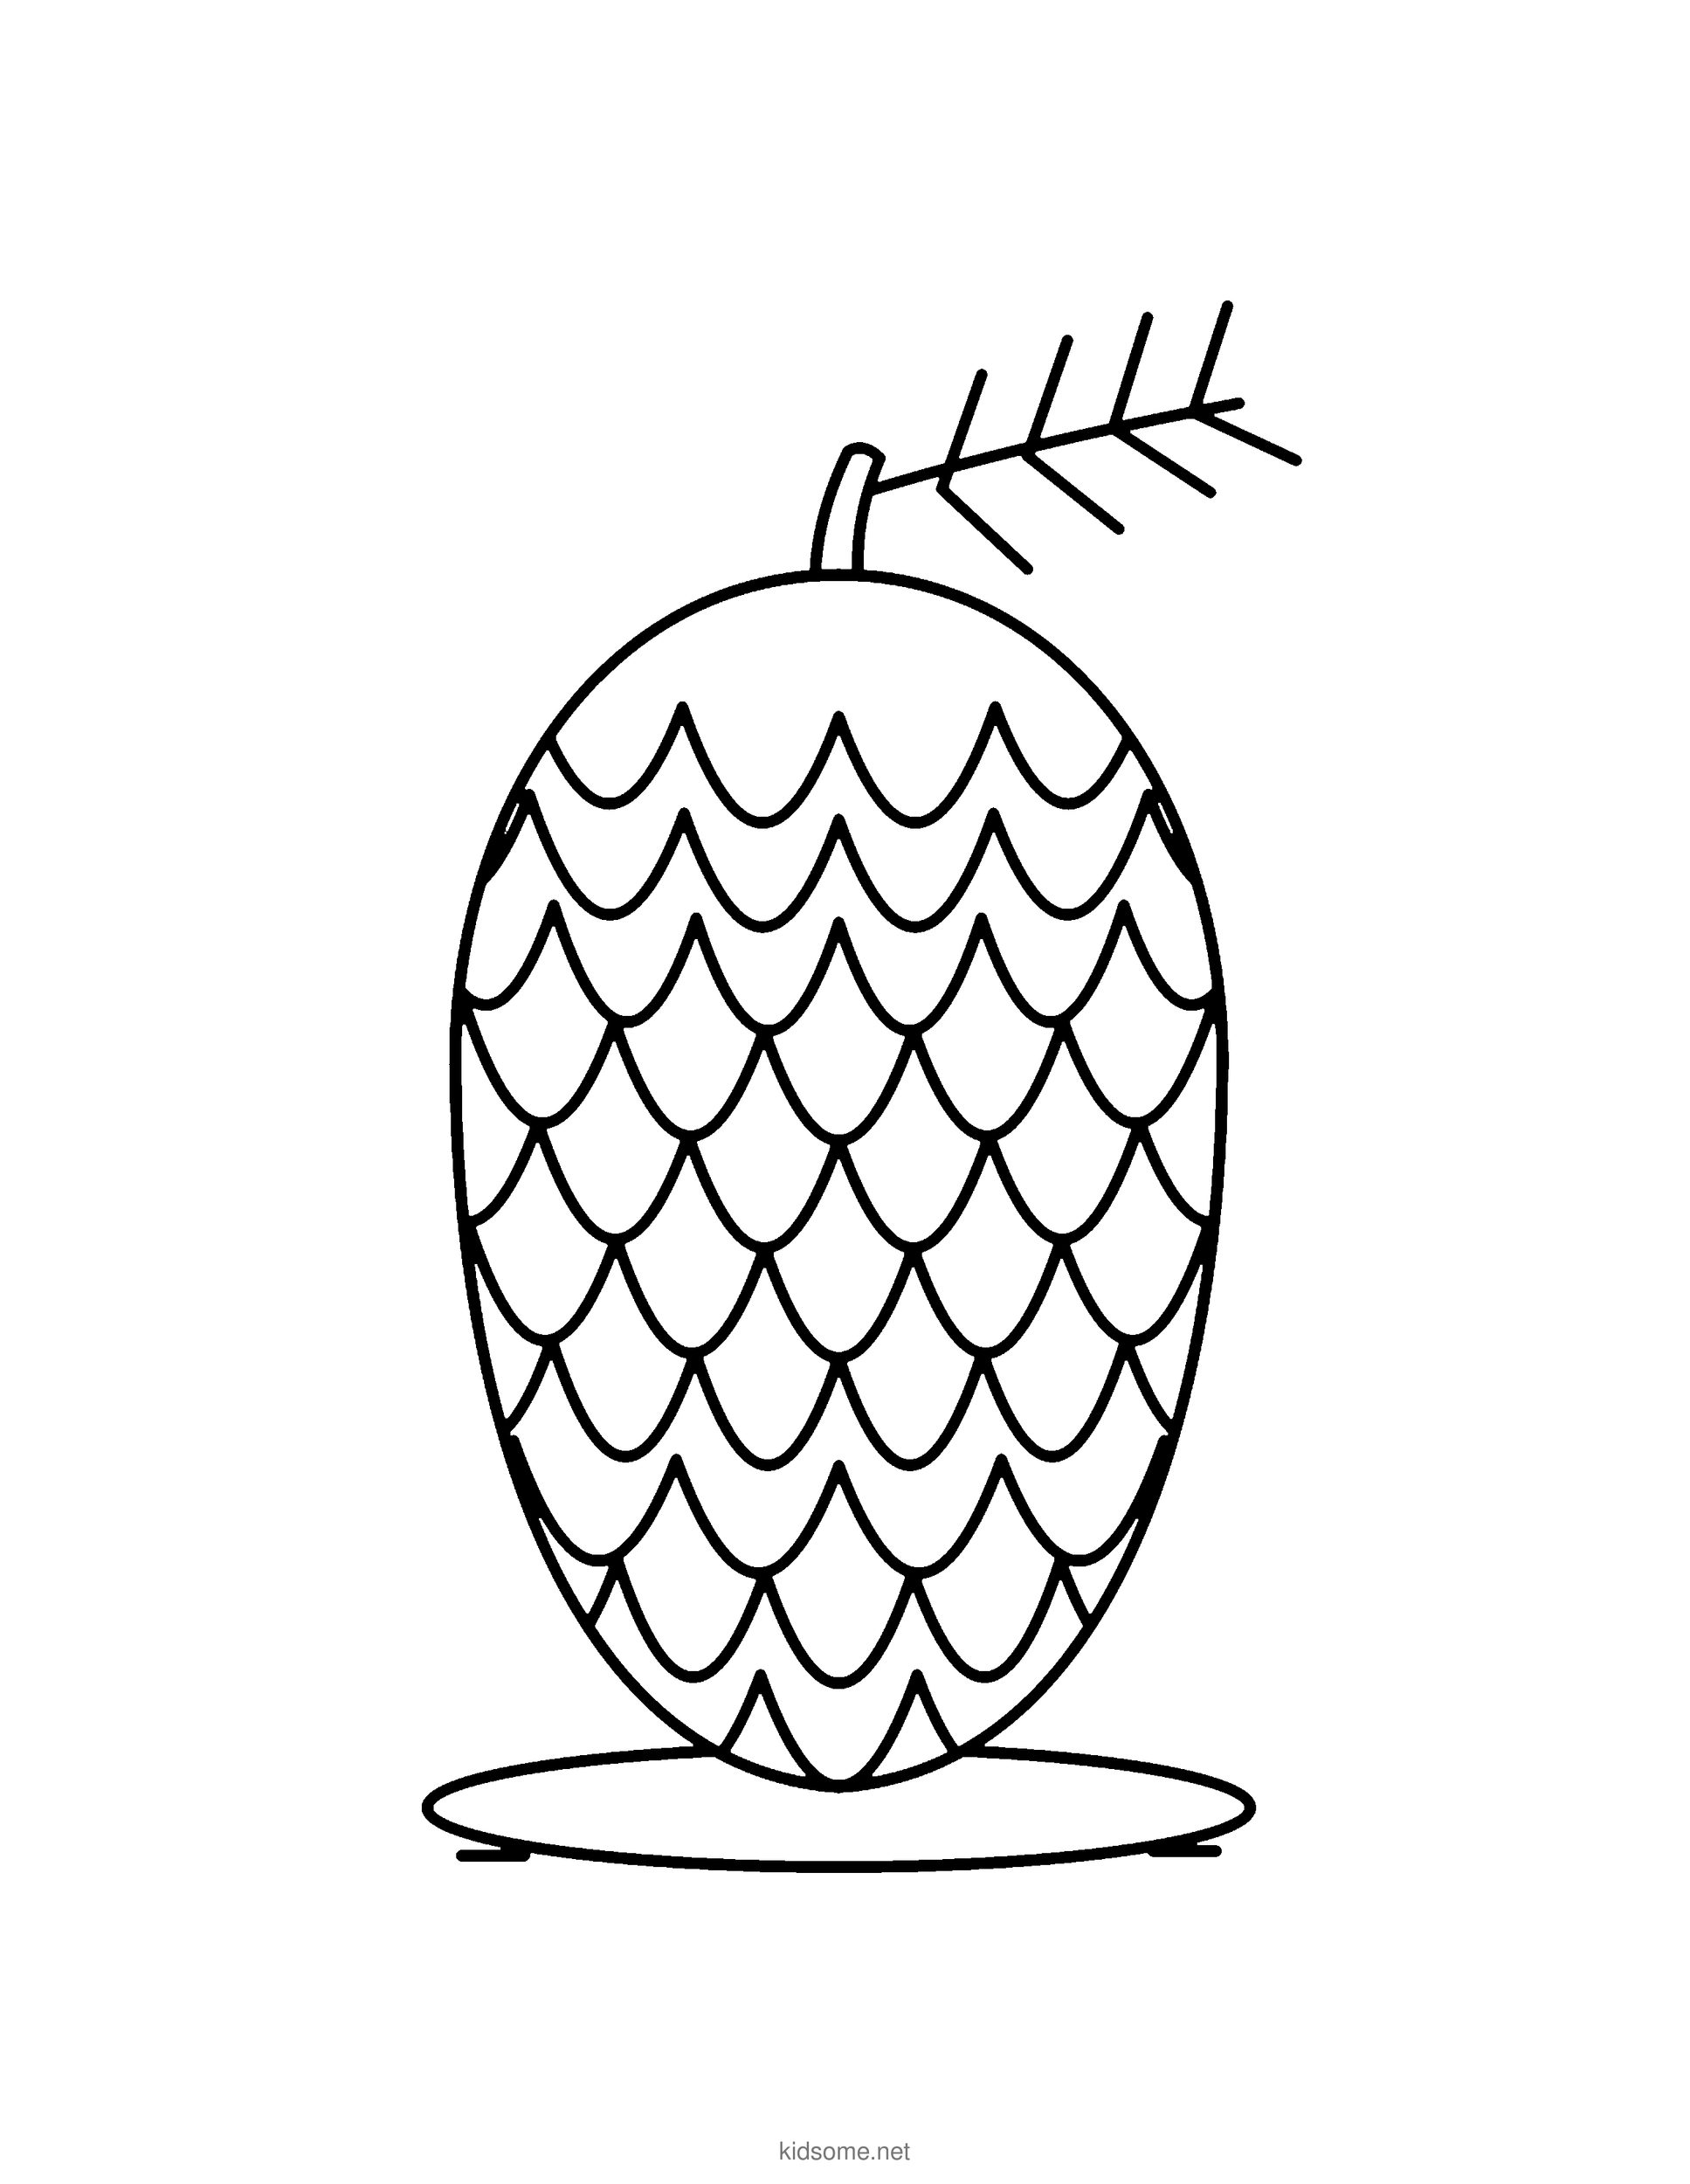
Pine Cone Outline to Color
The finished pine cone with its rows of rounded scales, short stem, pine needle sprig and snowy patch, as a clean outline to print and color.
Download PDF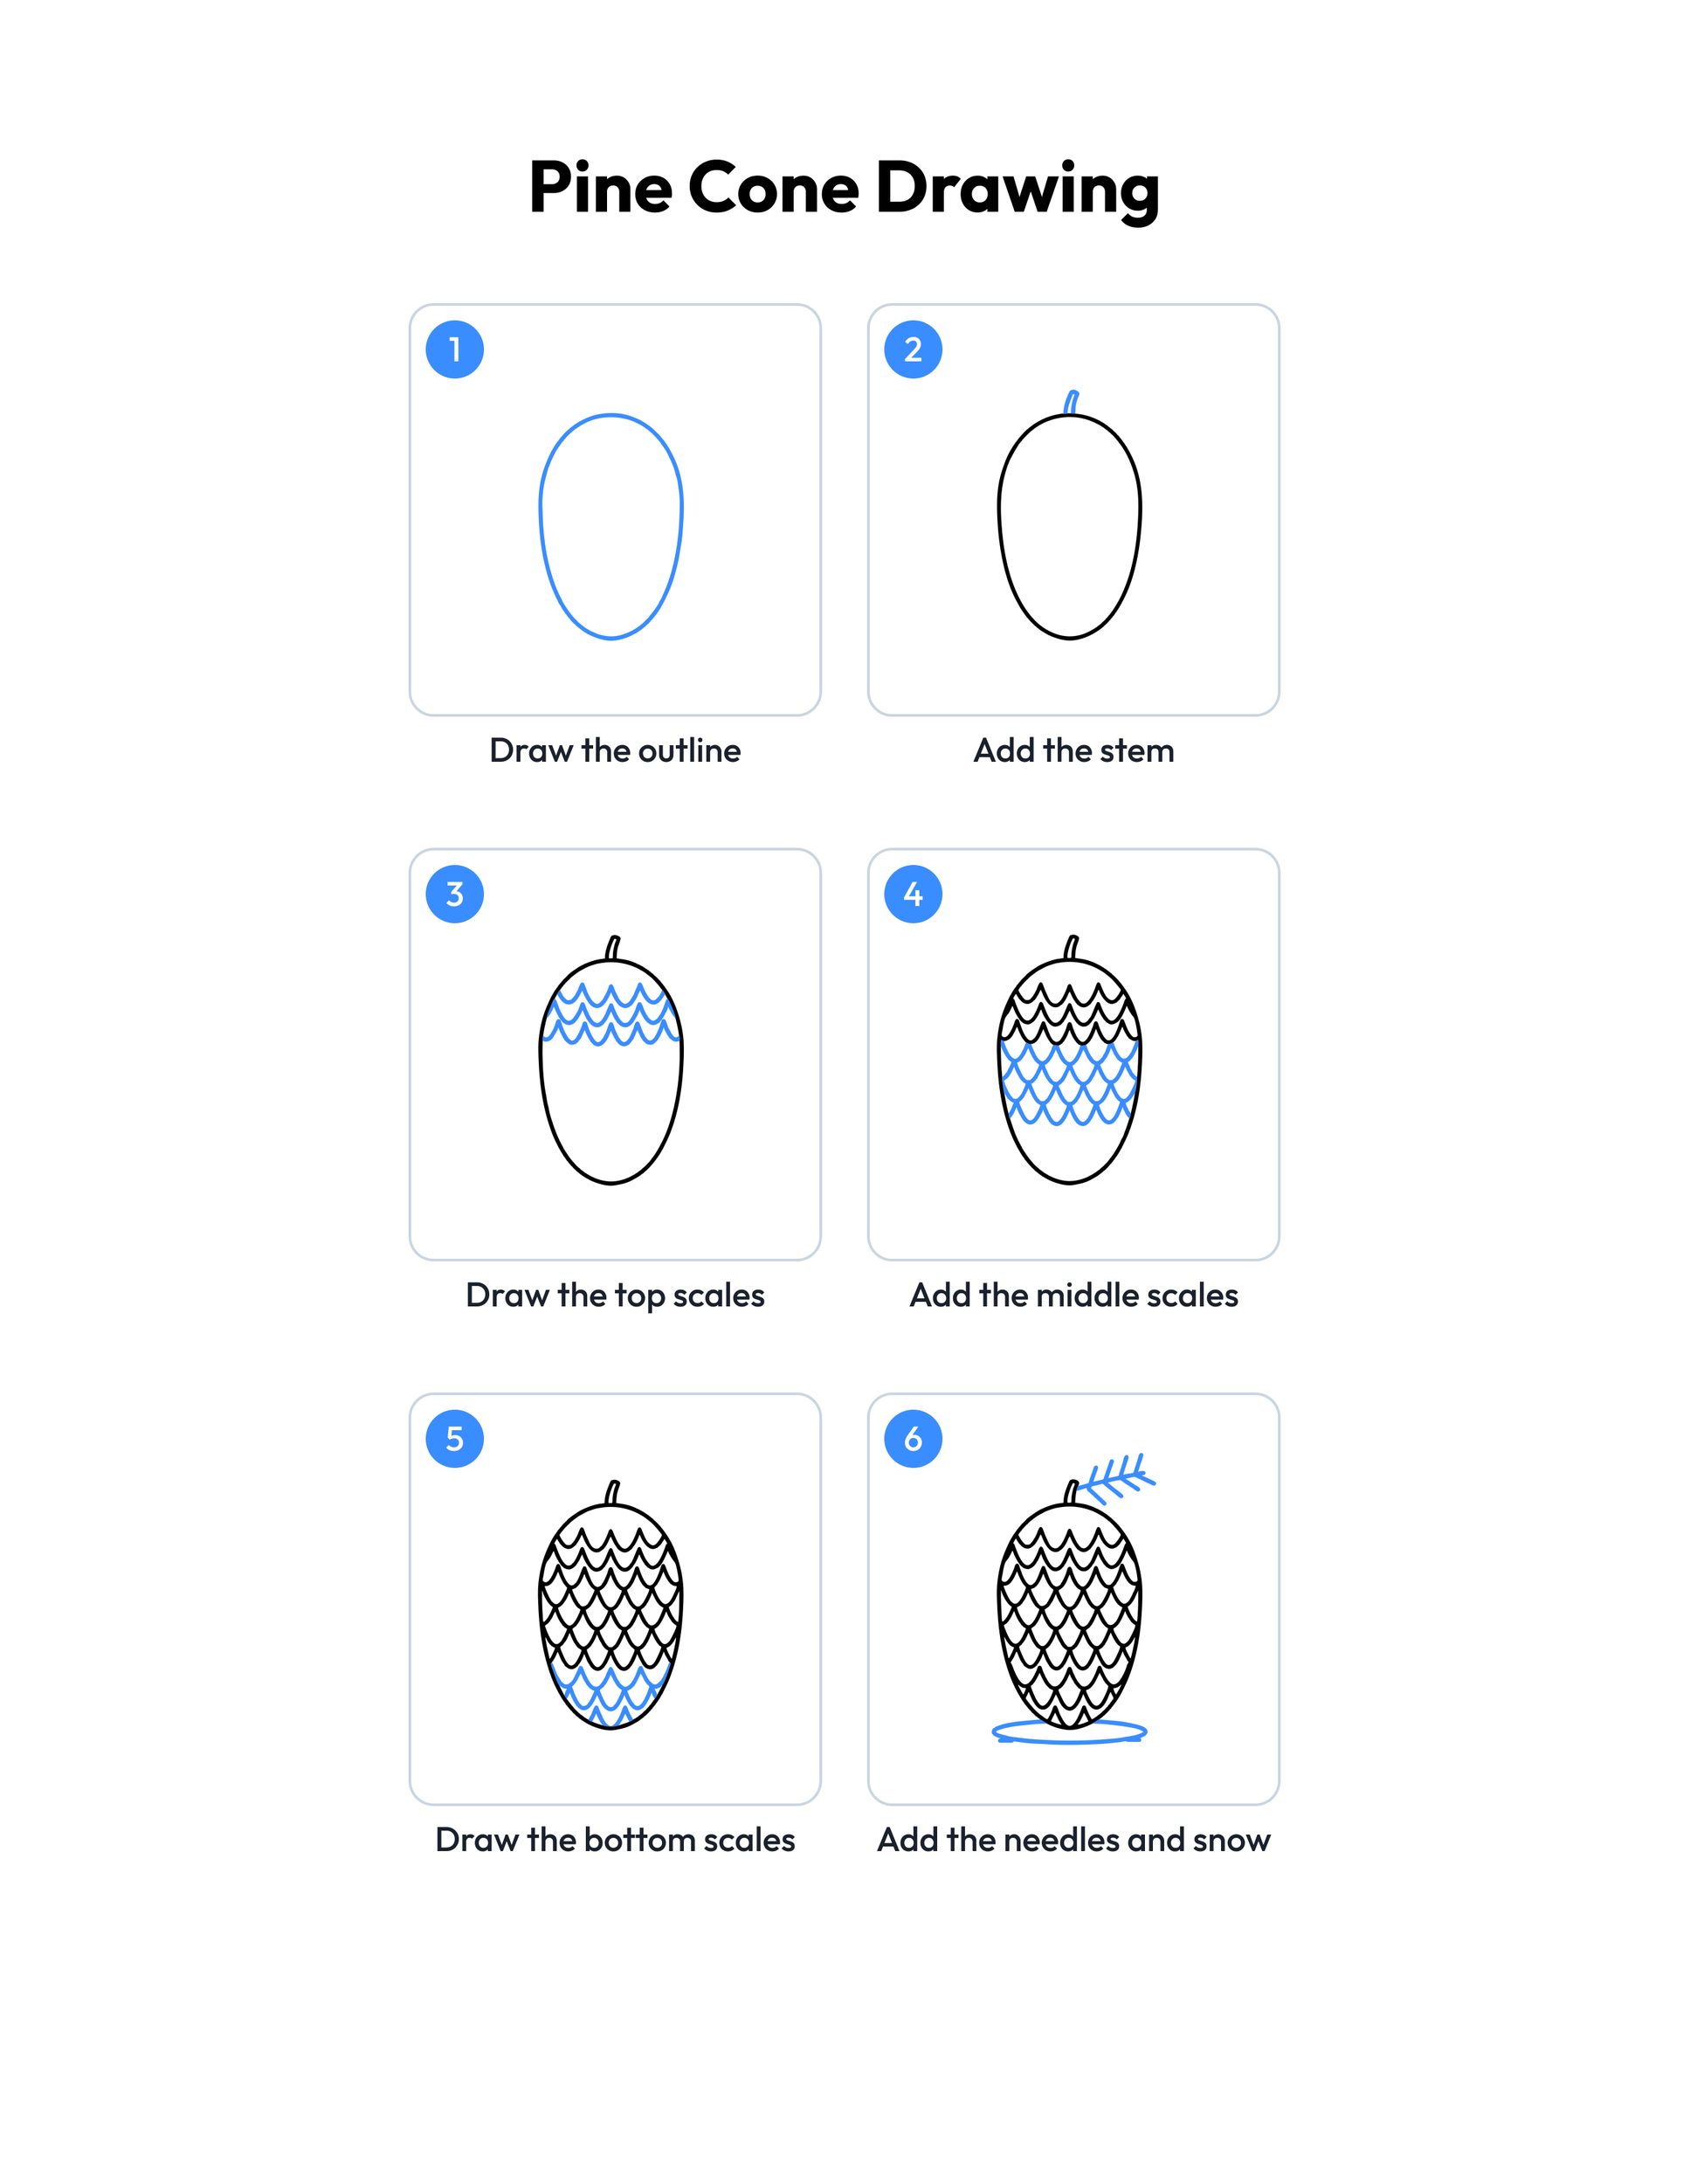 Save
Printable pine cone drawing guide
Every step, two to a row, with the finished pine cone in color at the end.
Download PDFHow to use this guide
Print the outline at 100 percent, or choose Fit to page if your printer asks. The margins fit US Letter and A4, so the whole cone, its needles and the snow stay on the sheet. Page one is the outline to color. Page two is the colored example, so print page one alone if you only want the picture to fill in.
For drawing, plain copy paper and a pencil with a good eraser work best. Sketch lightly at first, because an egg shape often needs a second try to look even. Leave a little room above the cone for the stem and the needles, and a little room below it for the snow. When the pine cone looks right, trace over the lines with a marker or a dark crayon and erase the pencil marks underneath. For markers or paint, choose cardstock so the color does not soak through.
The scales are the part that takes the most care. Draw each row as a line of small bumps, like tiny hills, and start the next row a little lower so its bumps sit between the bumps above. Younger kids can draw the outline, the stem and the top rows, then take a break before the rest. Older kids can draw the whole cone in one go and add more cones on the snow.
If you have a real pine cone, set it on the table while you draw. Look at how the scales overlap, then count how many rows you can see.
Ideas for your pine cone drawing
- Nature walk: Take a walk in a park, collect two or three real pine cones, then draw the one you like best and compare the rows of scales on your drawing and on the cone.
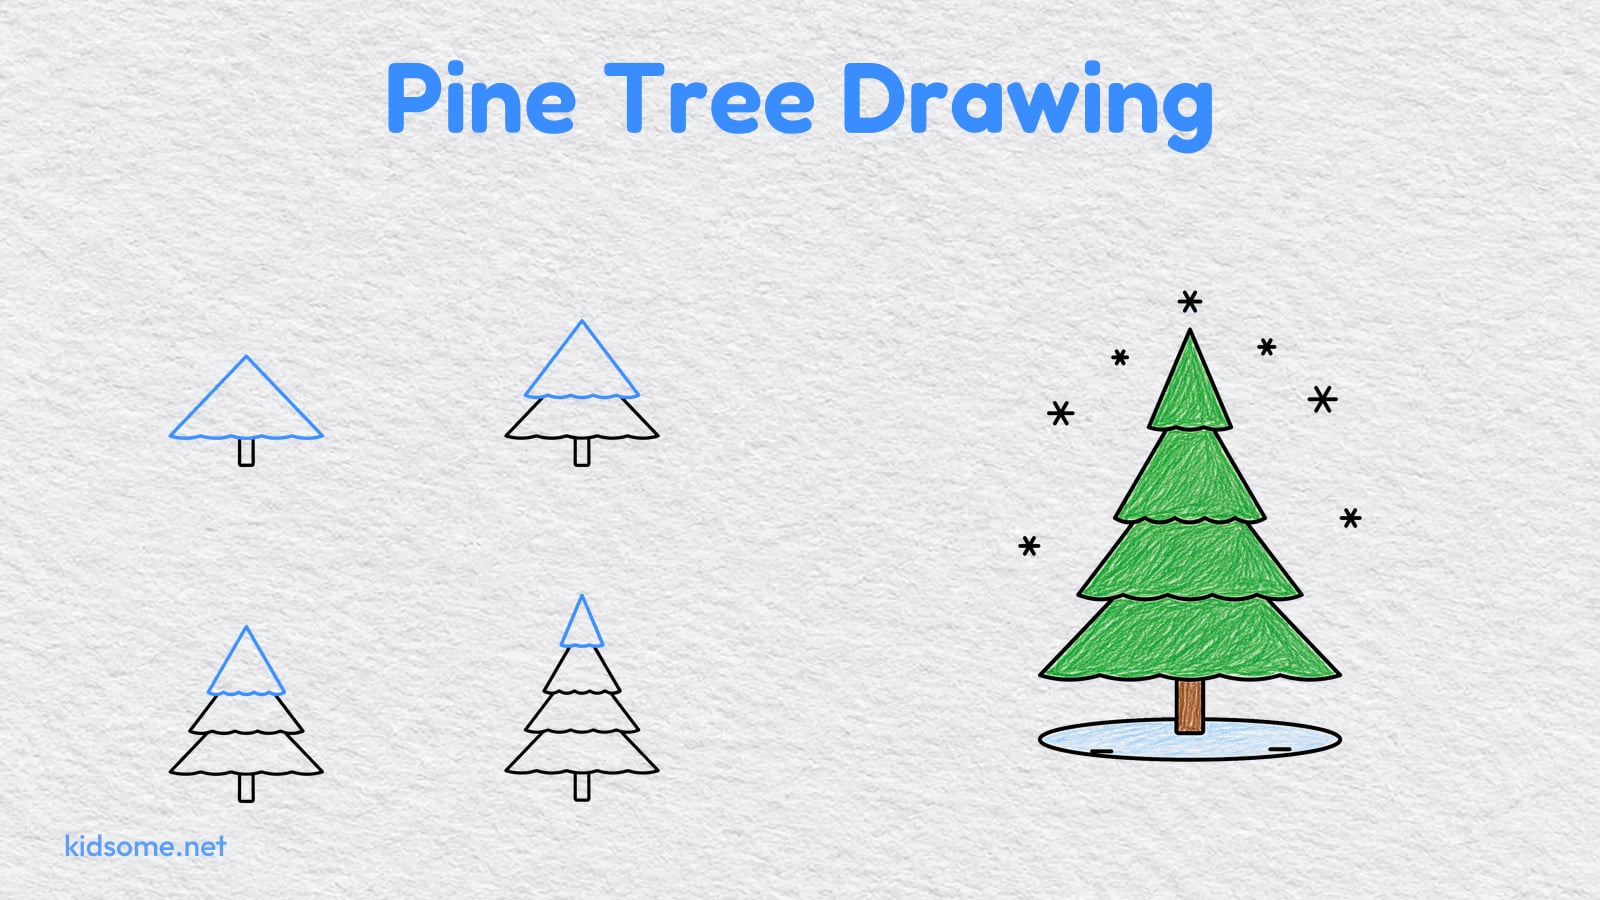
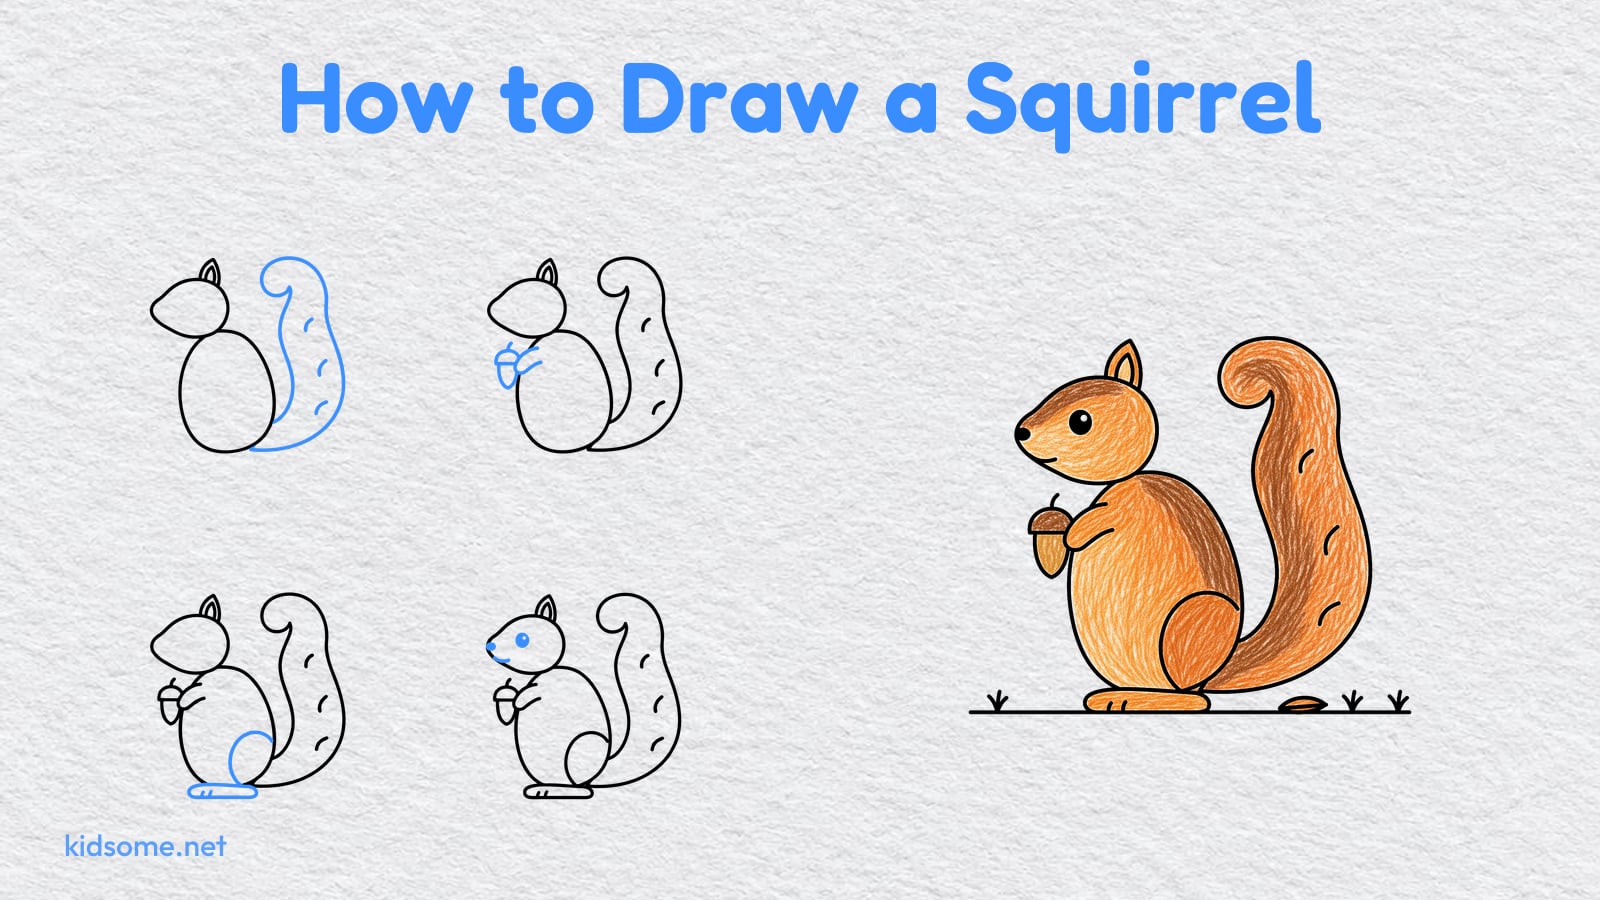
- Squirrel snack: Draw a squirrel from our squirrel drawing guide next to your pine cone, as if it has just found a tasty seed to eat.
- Winter scene: Draw the pine cone on the snow, then add a snowman from our snowman drawing guide and a few snowflakes falling from the sky.
- Owl in the woods: Add an owl from our owl drawing guide on a branch above the pine cone, then color a dark blue sky behind them both.
- Cone family: Draw three pine cones in three sizes, big, middle and small, then color each one a different shade of brown and give them all little snowy patches.
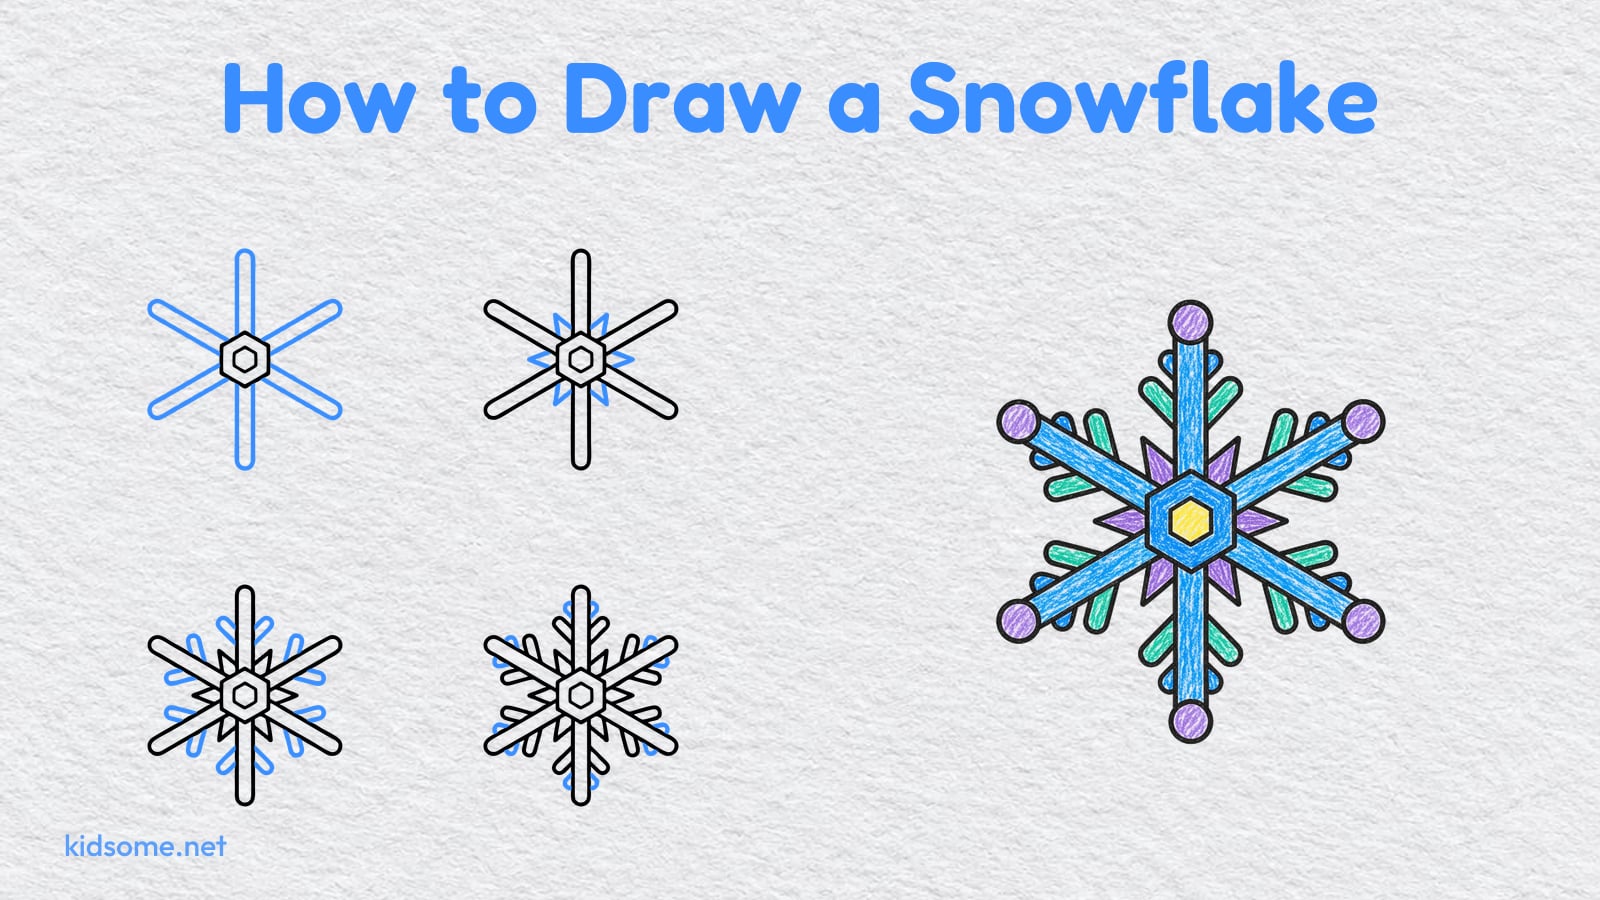
- Snowflake friends: Draw a few snowflakes with our snowflake drawing guide around the pine cone, so it looks like snow is gently falling on it.
- Forest friends: Draw a moose from our moose drawing guide walking past the pine cone, then add pine needles and snow all across the bottom of the page.
- Coloring break: Take a quiet break with our squirrel coloring pages, then look for pine cones and acorns in the pictures and color them brown.
- Winter activity box: Print the outline a few times and keep the copies with our winter activities for kids for snowy days, quiet mornings and long car rides.
What age is this pine cone drawing guide for?
It is made for ages 4 to 8. Younger children can draw the egg shaped outline, the stem and the first rows of scales with a grown-up nearby, and older kids can draw the whole pine cone alone, needles and snow included. Every step uses simple shapes and short curved lines.
What is the easiest way to learn how to draw a pinecone?
Start with a tall egg shape and a short stem on top. Then draw rows of small bumps from the top of the cone to the bottom, starting each row a little lower so the bumps sit between the ones above. Finish with a sprig of needles and a patch of snow.
Is this pinecone drawing good for beginners?
Yes. The guide adds one new part at a time in blue, so each step stays simple to follow. The scales are only rows of bumps, which even young children can draw. Once kids know the steps, they can draw a whole pile of pine cones from memory.
Can I use the guide in my classroom?
Yes. The outline and the step guide are free for personal and classroom use, so teachers can print one for every child for a nature study, a forest lesson or a winter week. Please share a link to this page instead of the files, and do not sell the pages or post them on other websites.
What colors should I use for a pine cone?
Most pine cones are brown, so light and dark brown crayons work well, with a darker brown along the bottom of each scale. Color the stem dark brown and the needles green. Kids can also make a snowy cone with white tips or try a golden cone for fun.