This guide shows how to draw a moose for kids ages 4 to 8 and the grown-up drawing beside them. A moose is the tallest deer in the world, with long legs, a big droopy nose, a hump over its shoulders and wide flat antlers, so it is fun to draw. It might look tricky, but the whole moose is a few friendly shapes: a big rounded body, a long head, two flat antlers, an ear, four straight legs, a happy face and a snowy ground.
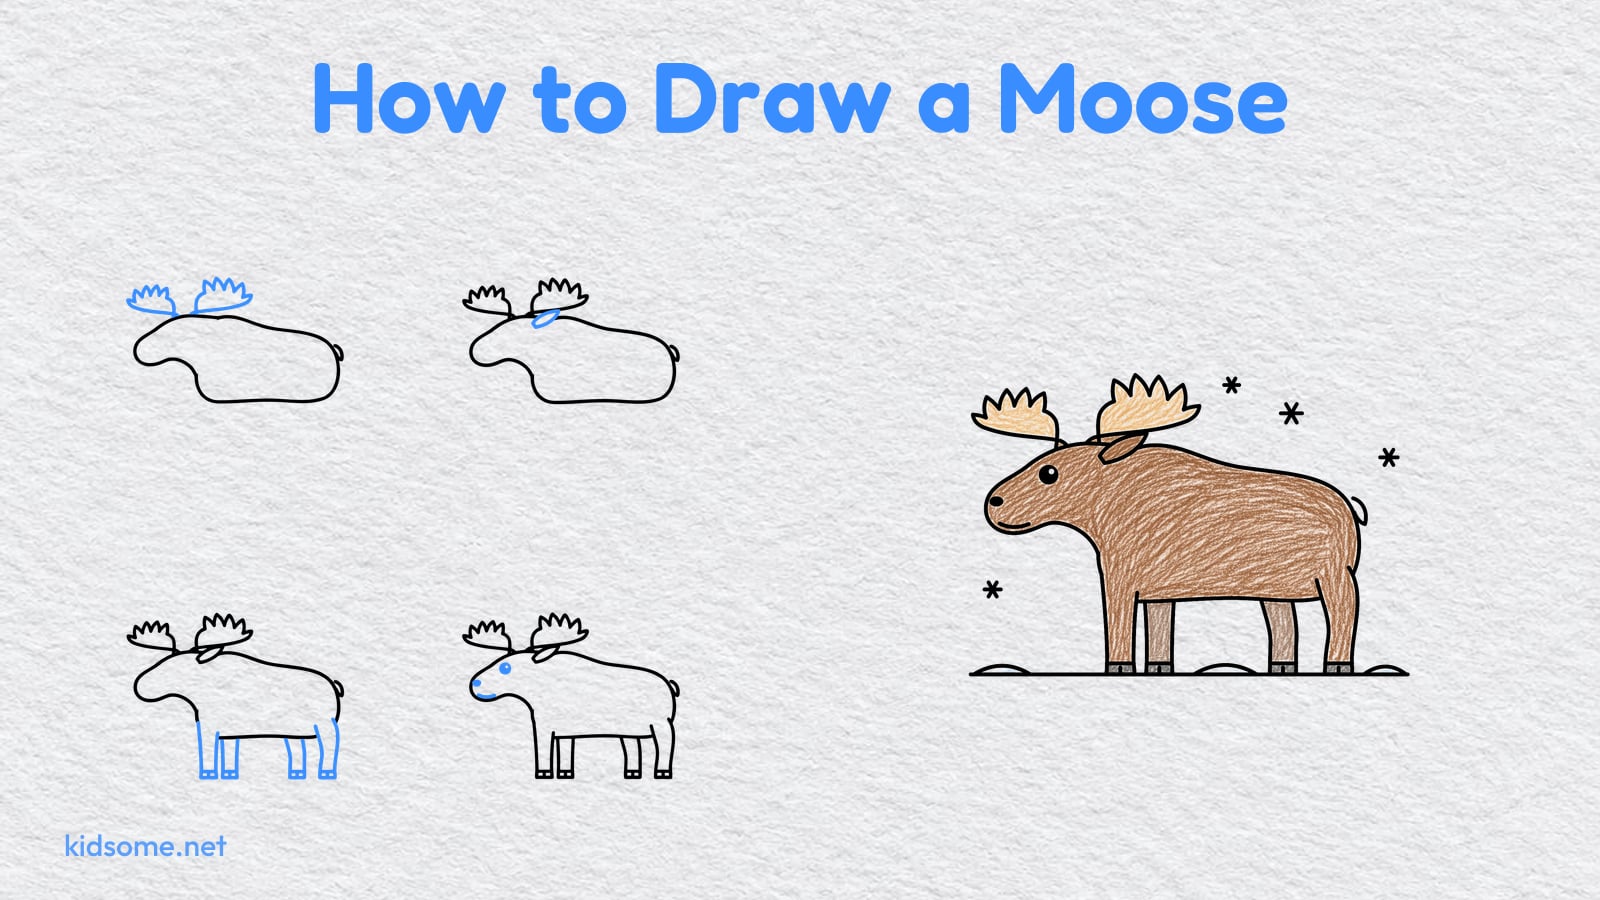
There are seven steps. Each step shows the drawing so far in black and the new part in blue, so your child can always see exactly what to add next. The body and head come first, then the antlers, the ear and the legs. The face and the snow finish the picture, and the last image shows the moose colored in with crayons.
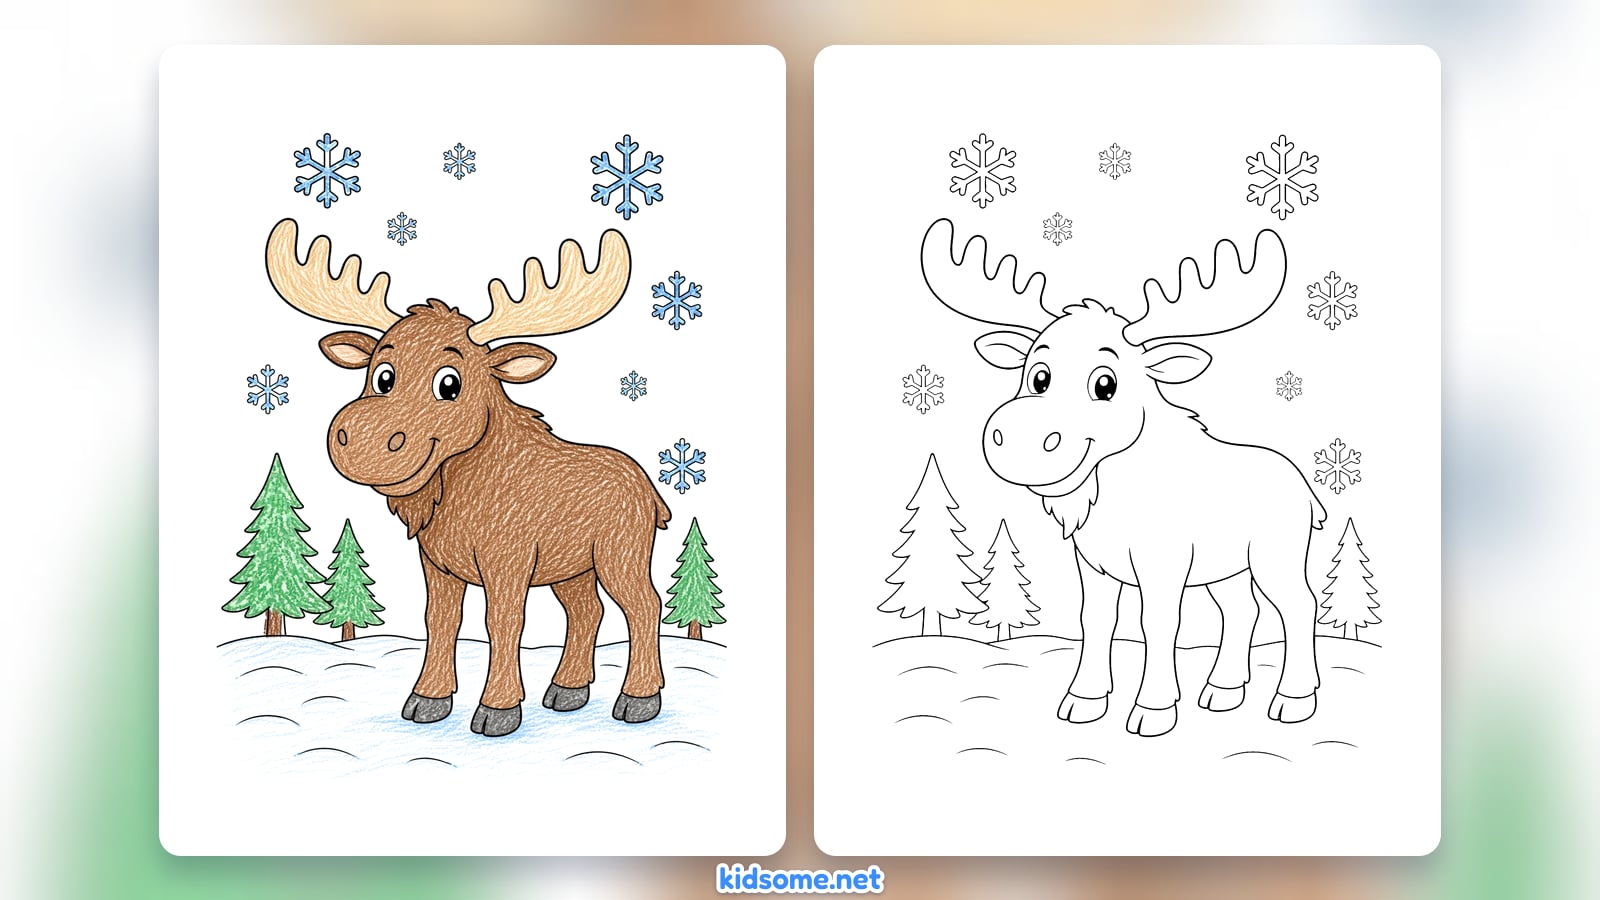
Two free PDFs go with the guide: the finished outline to color, and a printable guide with every step to keep beside the paper. Both print on US Letter and A4, with no sign-up.
-
Step 1 : Draw the body
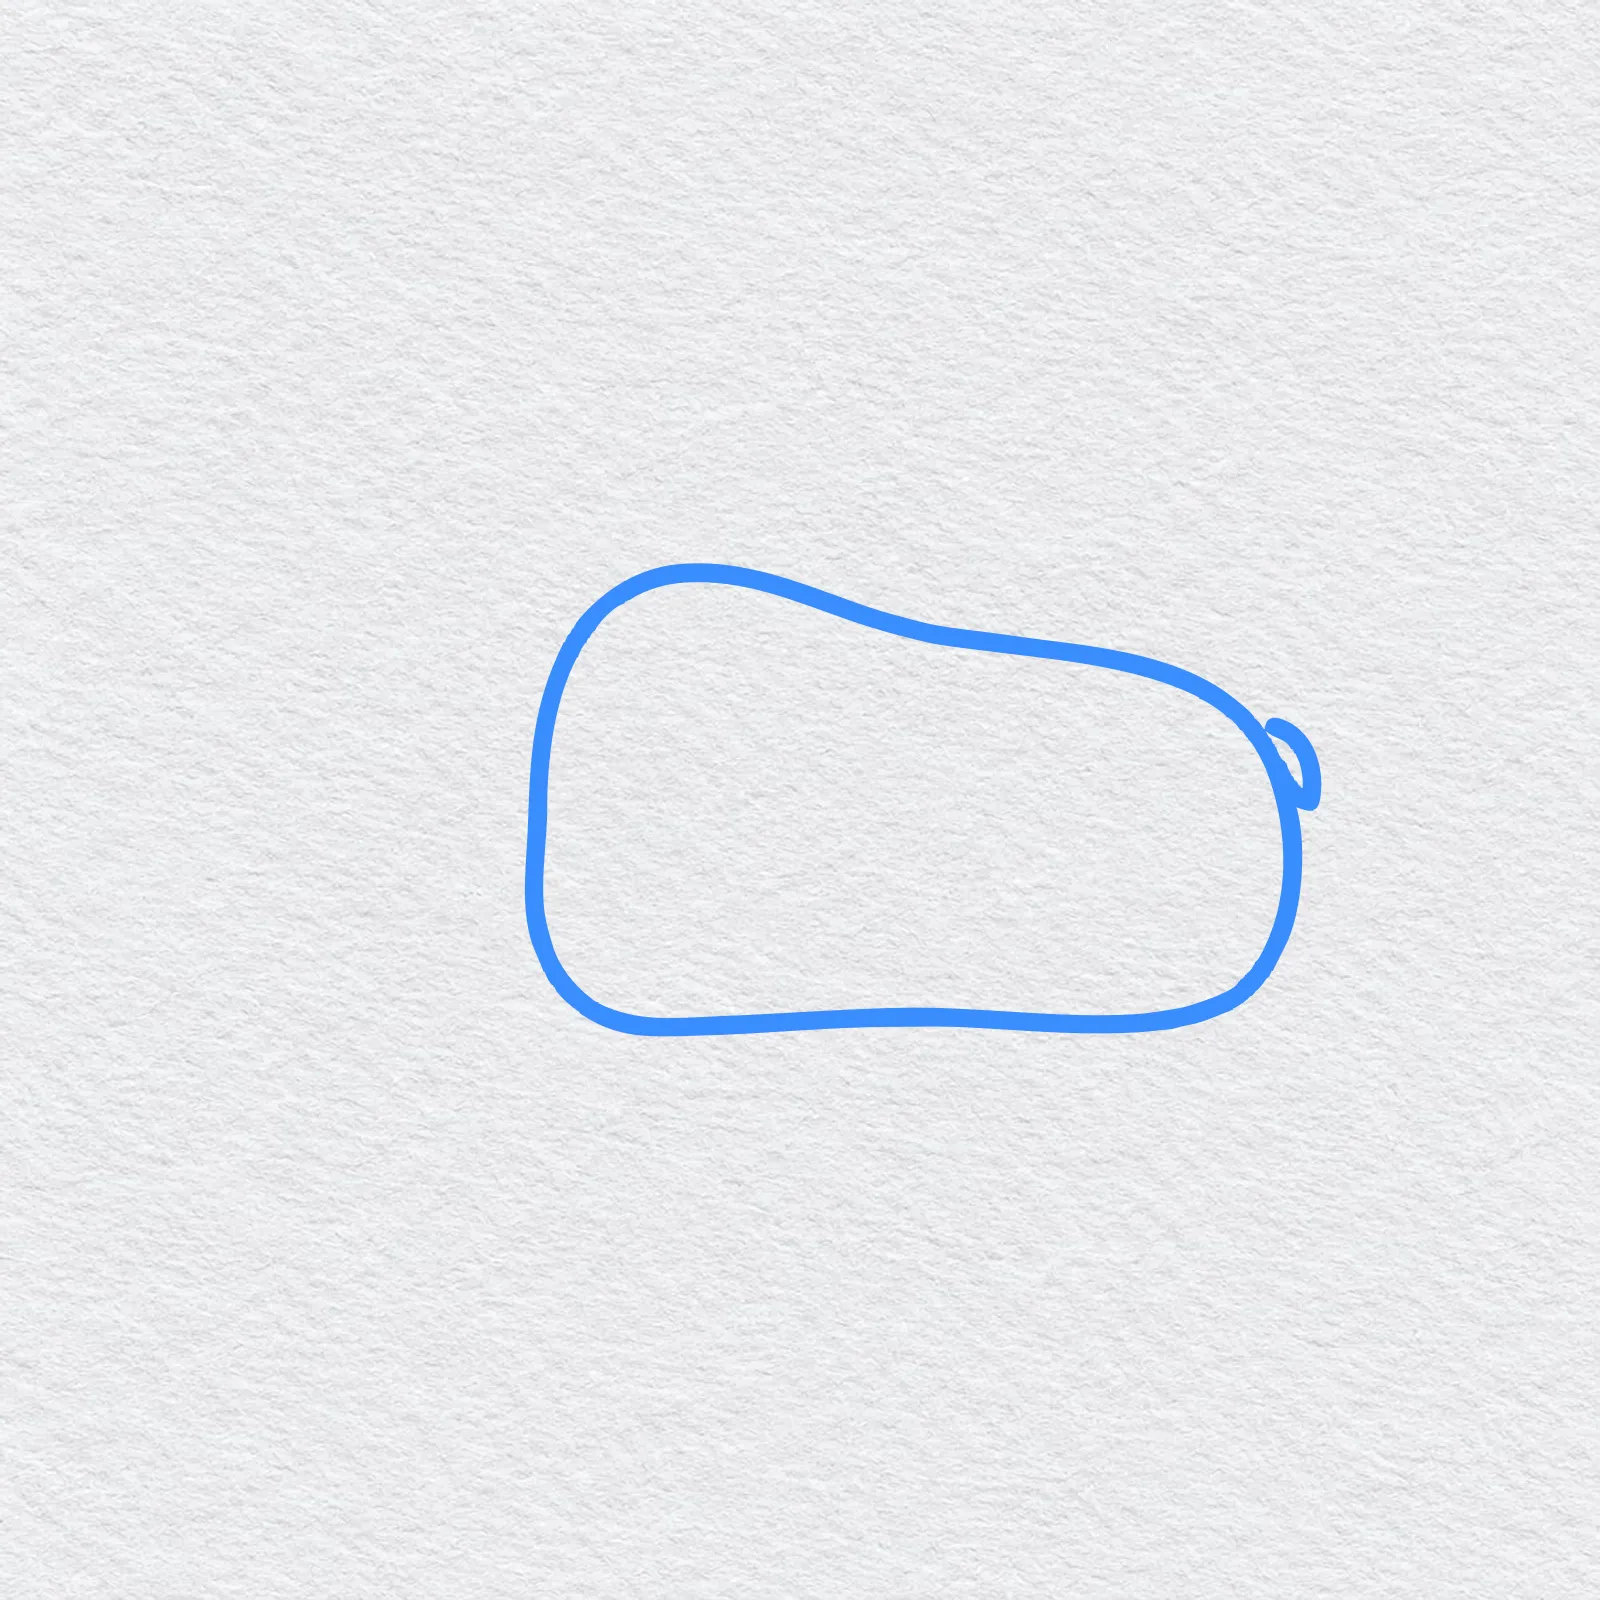
Draw a big rounded body that is taller at the front, with a hump over the shoulders. Let the back slope down and add a short tuft for the tail.
-
Step 2 : Draw the head
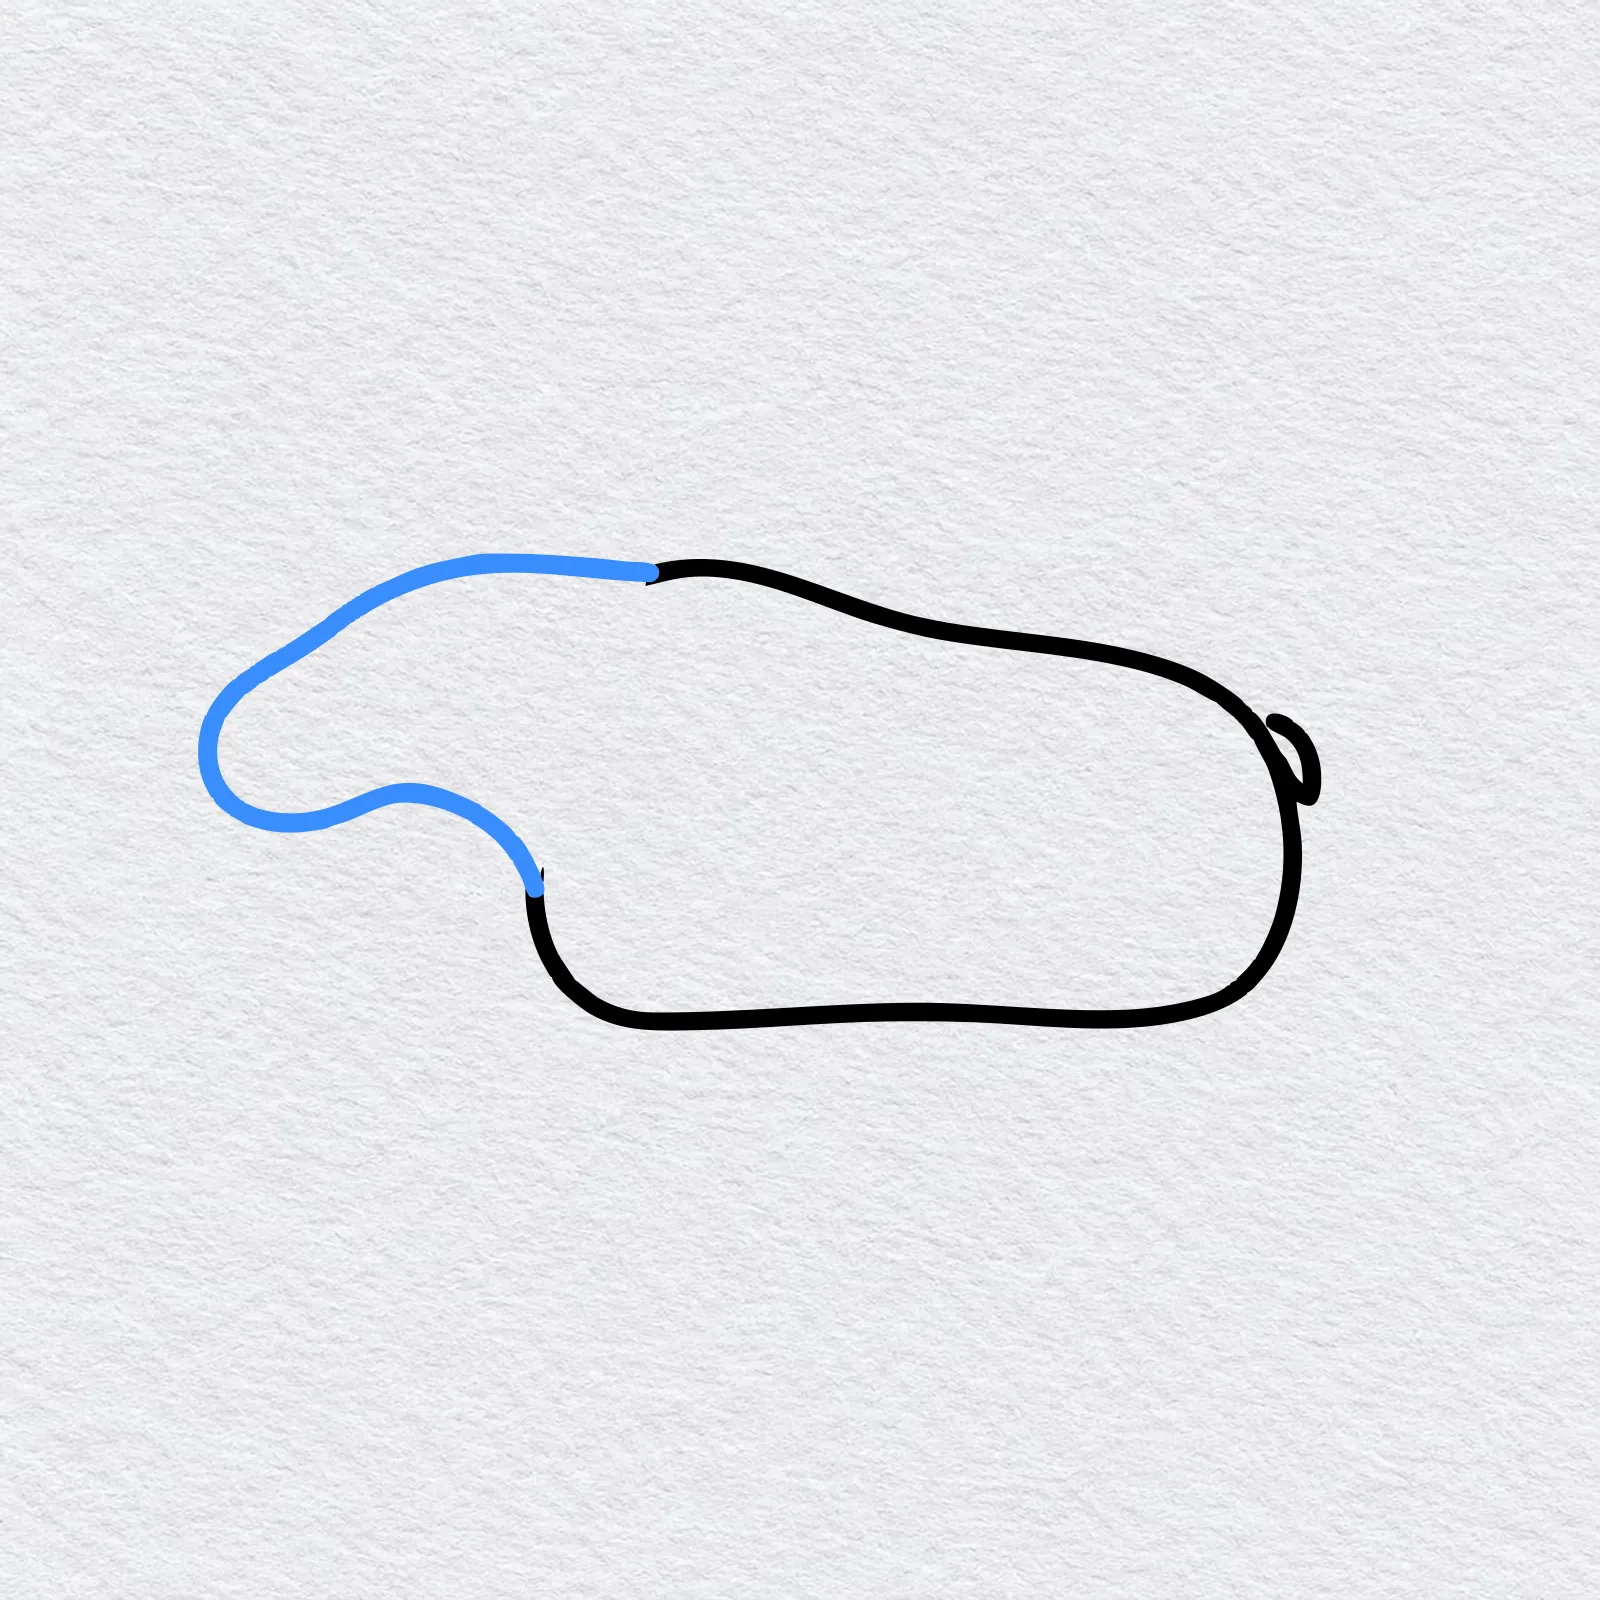
At the front of the body, draw a thick neck and a long head. Make the end of the nose big and round so it droops down a little.
-
Step 3 : Draw the antlers
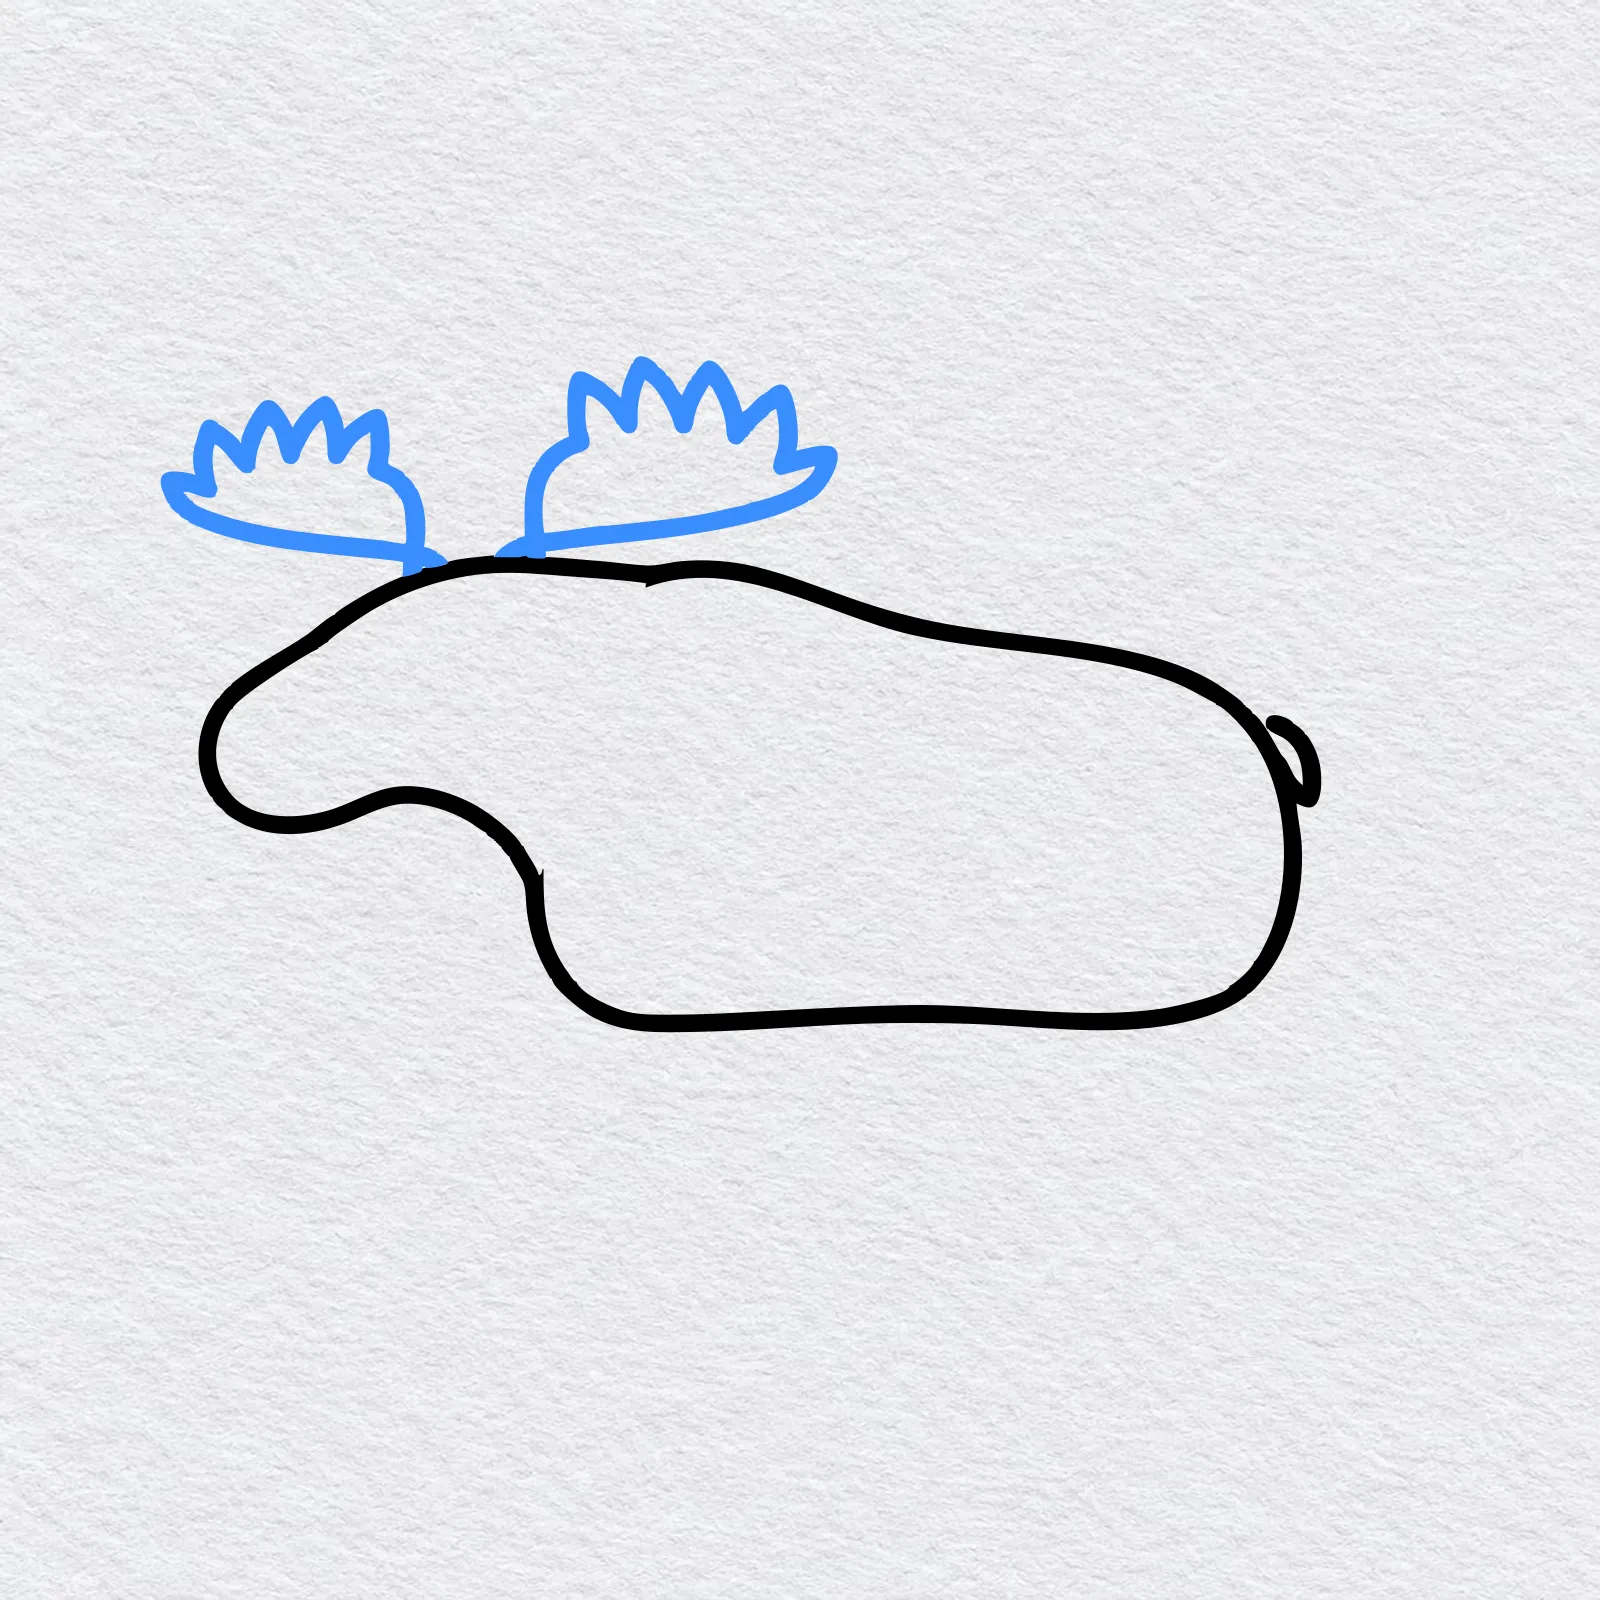
On top of the head, draw two wide flat antlers with a few pointed tips along the top. Put the far antler in front and the near one a little behind.
-
Step 4 : Draw the ear
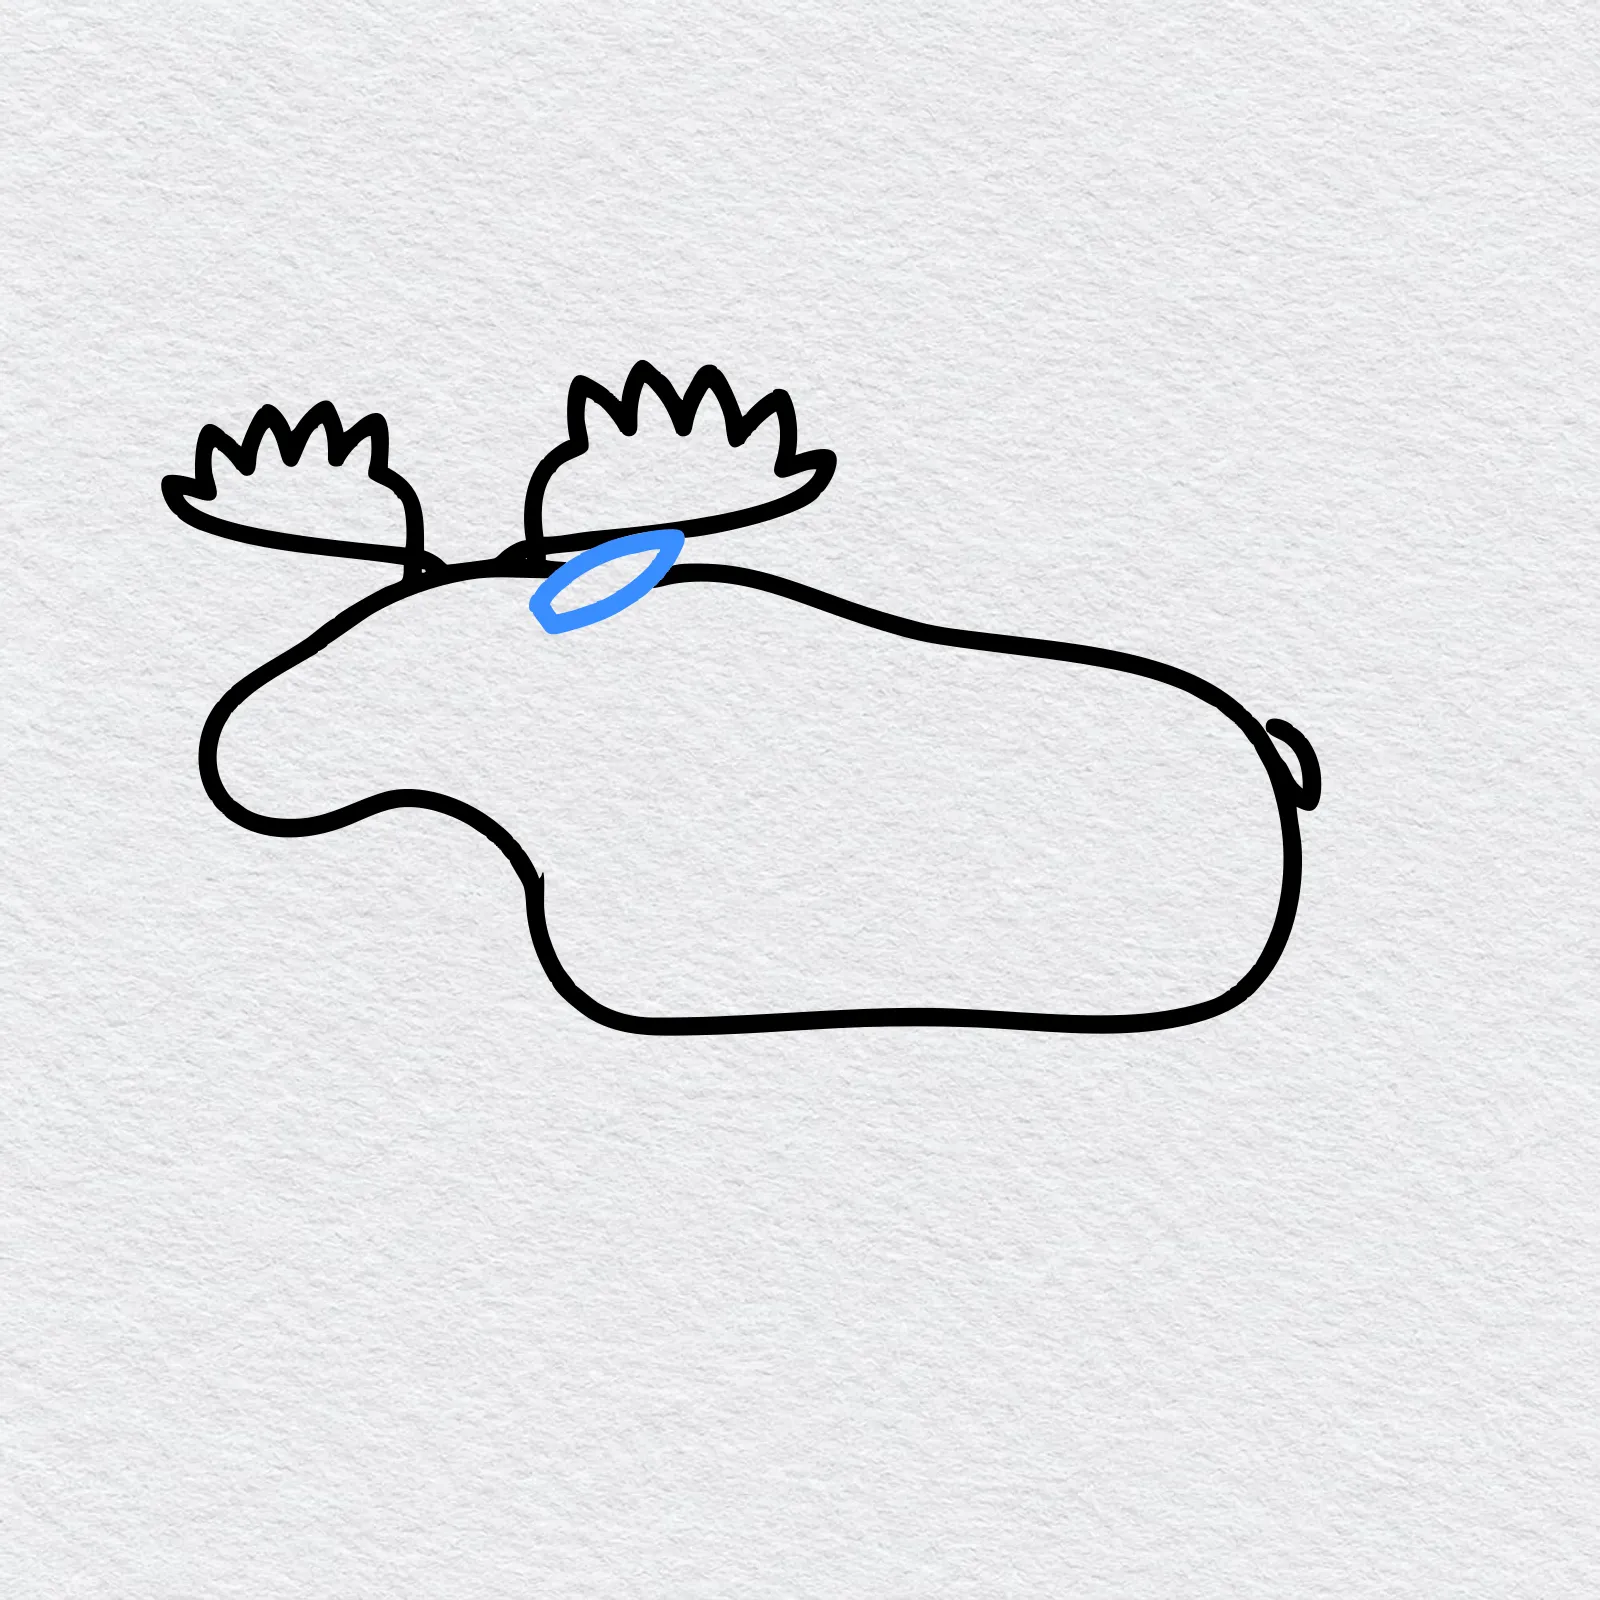
Draw one pointed ear at the back of the head, just below the near antler. Tip it a little toward the tail.
-
Step 5 : Draw the legs
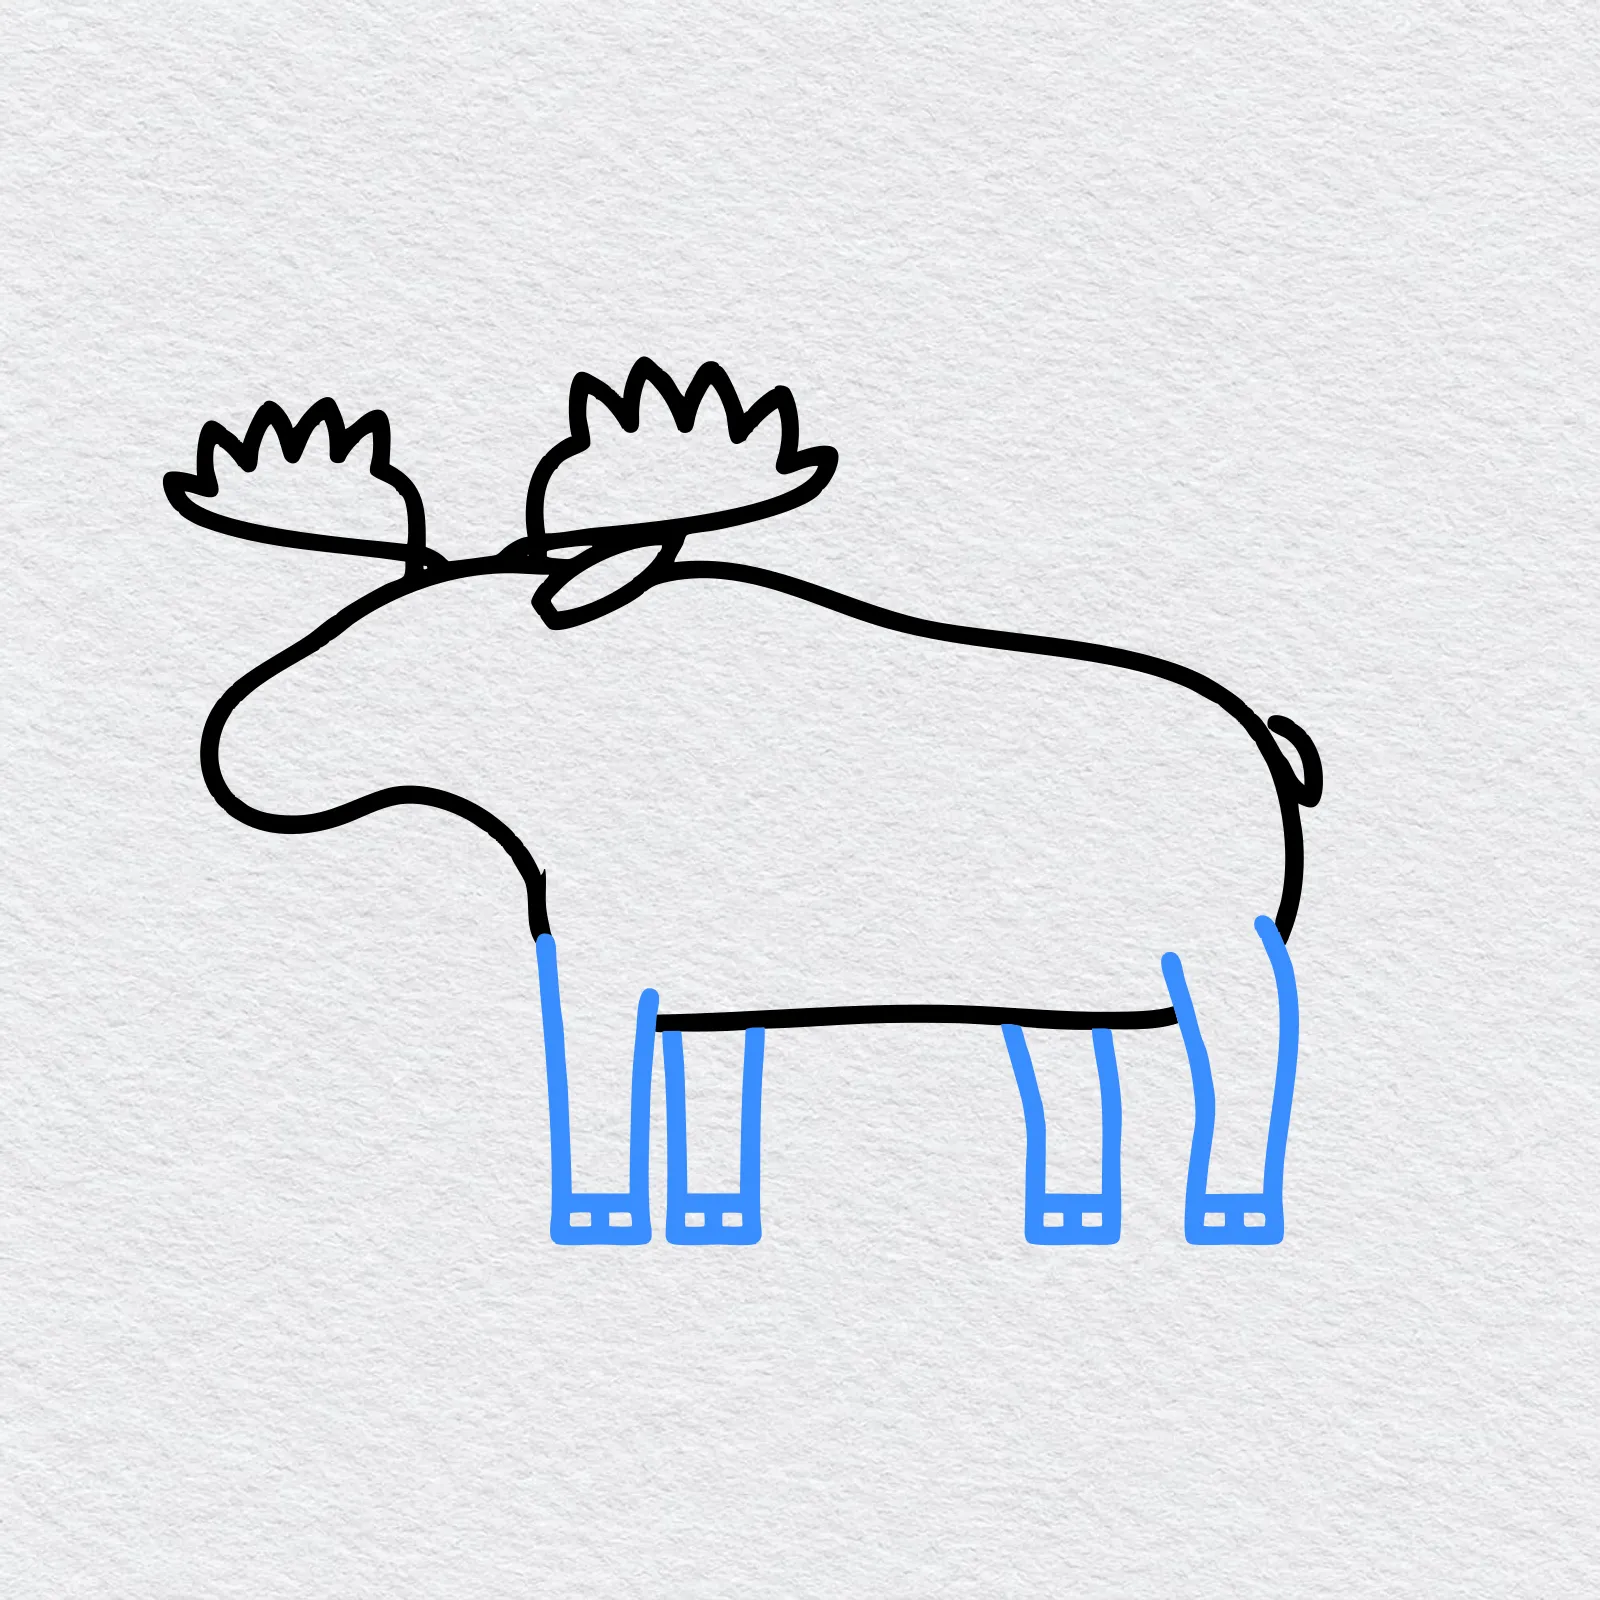
Draw four long straight legs under the body and add a short line near the bottom of each one for the hooves. Let the far legs peek out behind the near ones.
-
Step 6 : Draw the face
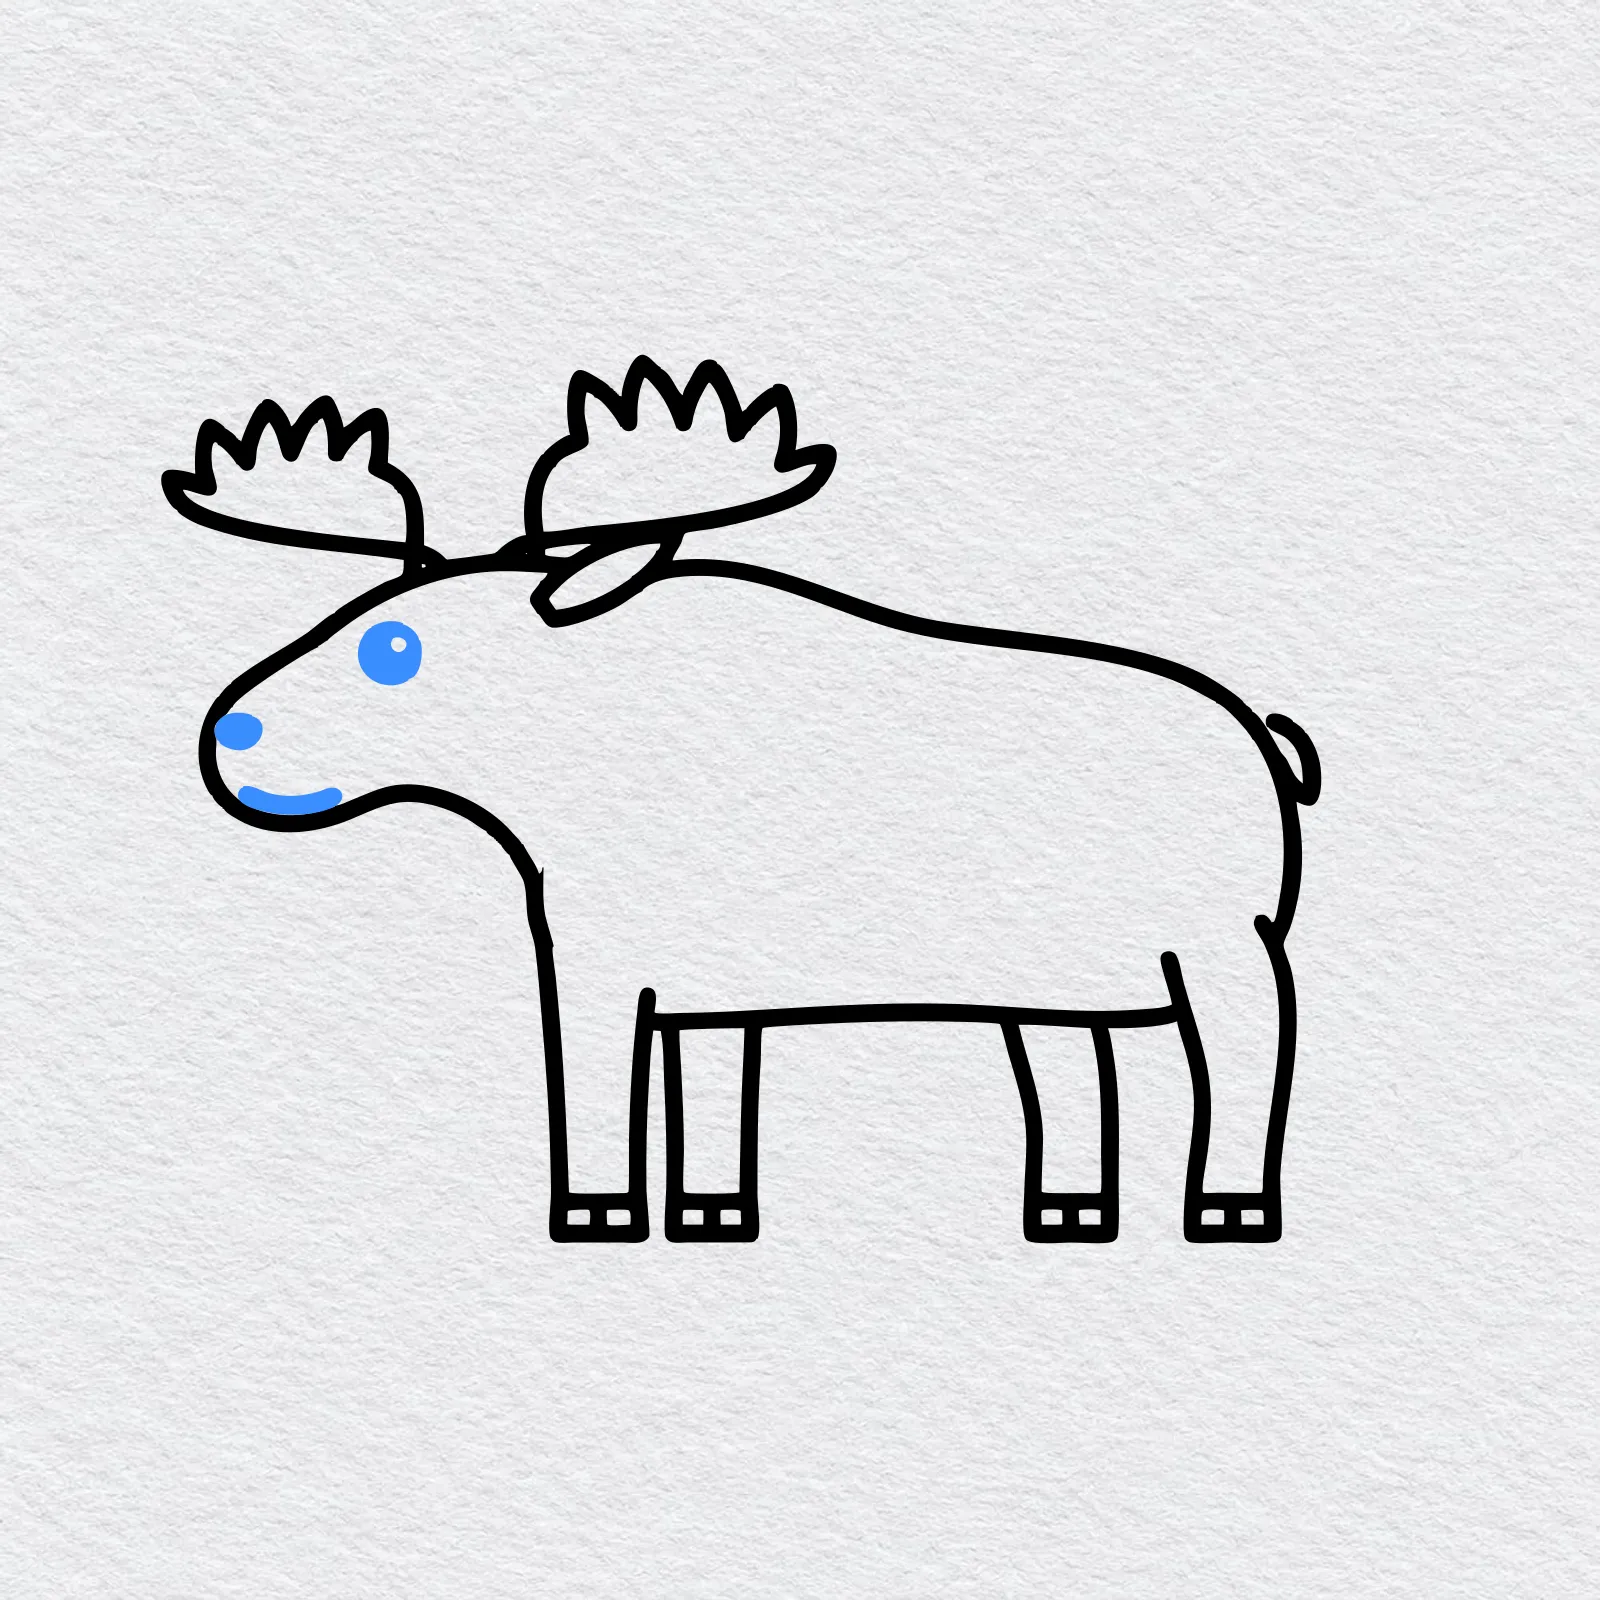
Draw a round black eye and leave a tiny white circle in it for a shine. Add a small nostril at the end of the nose and a gentle smile.
-
Step 7 : Draw the snow
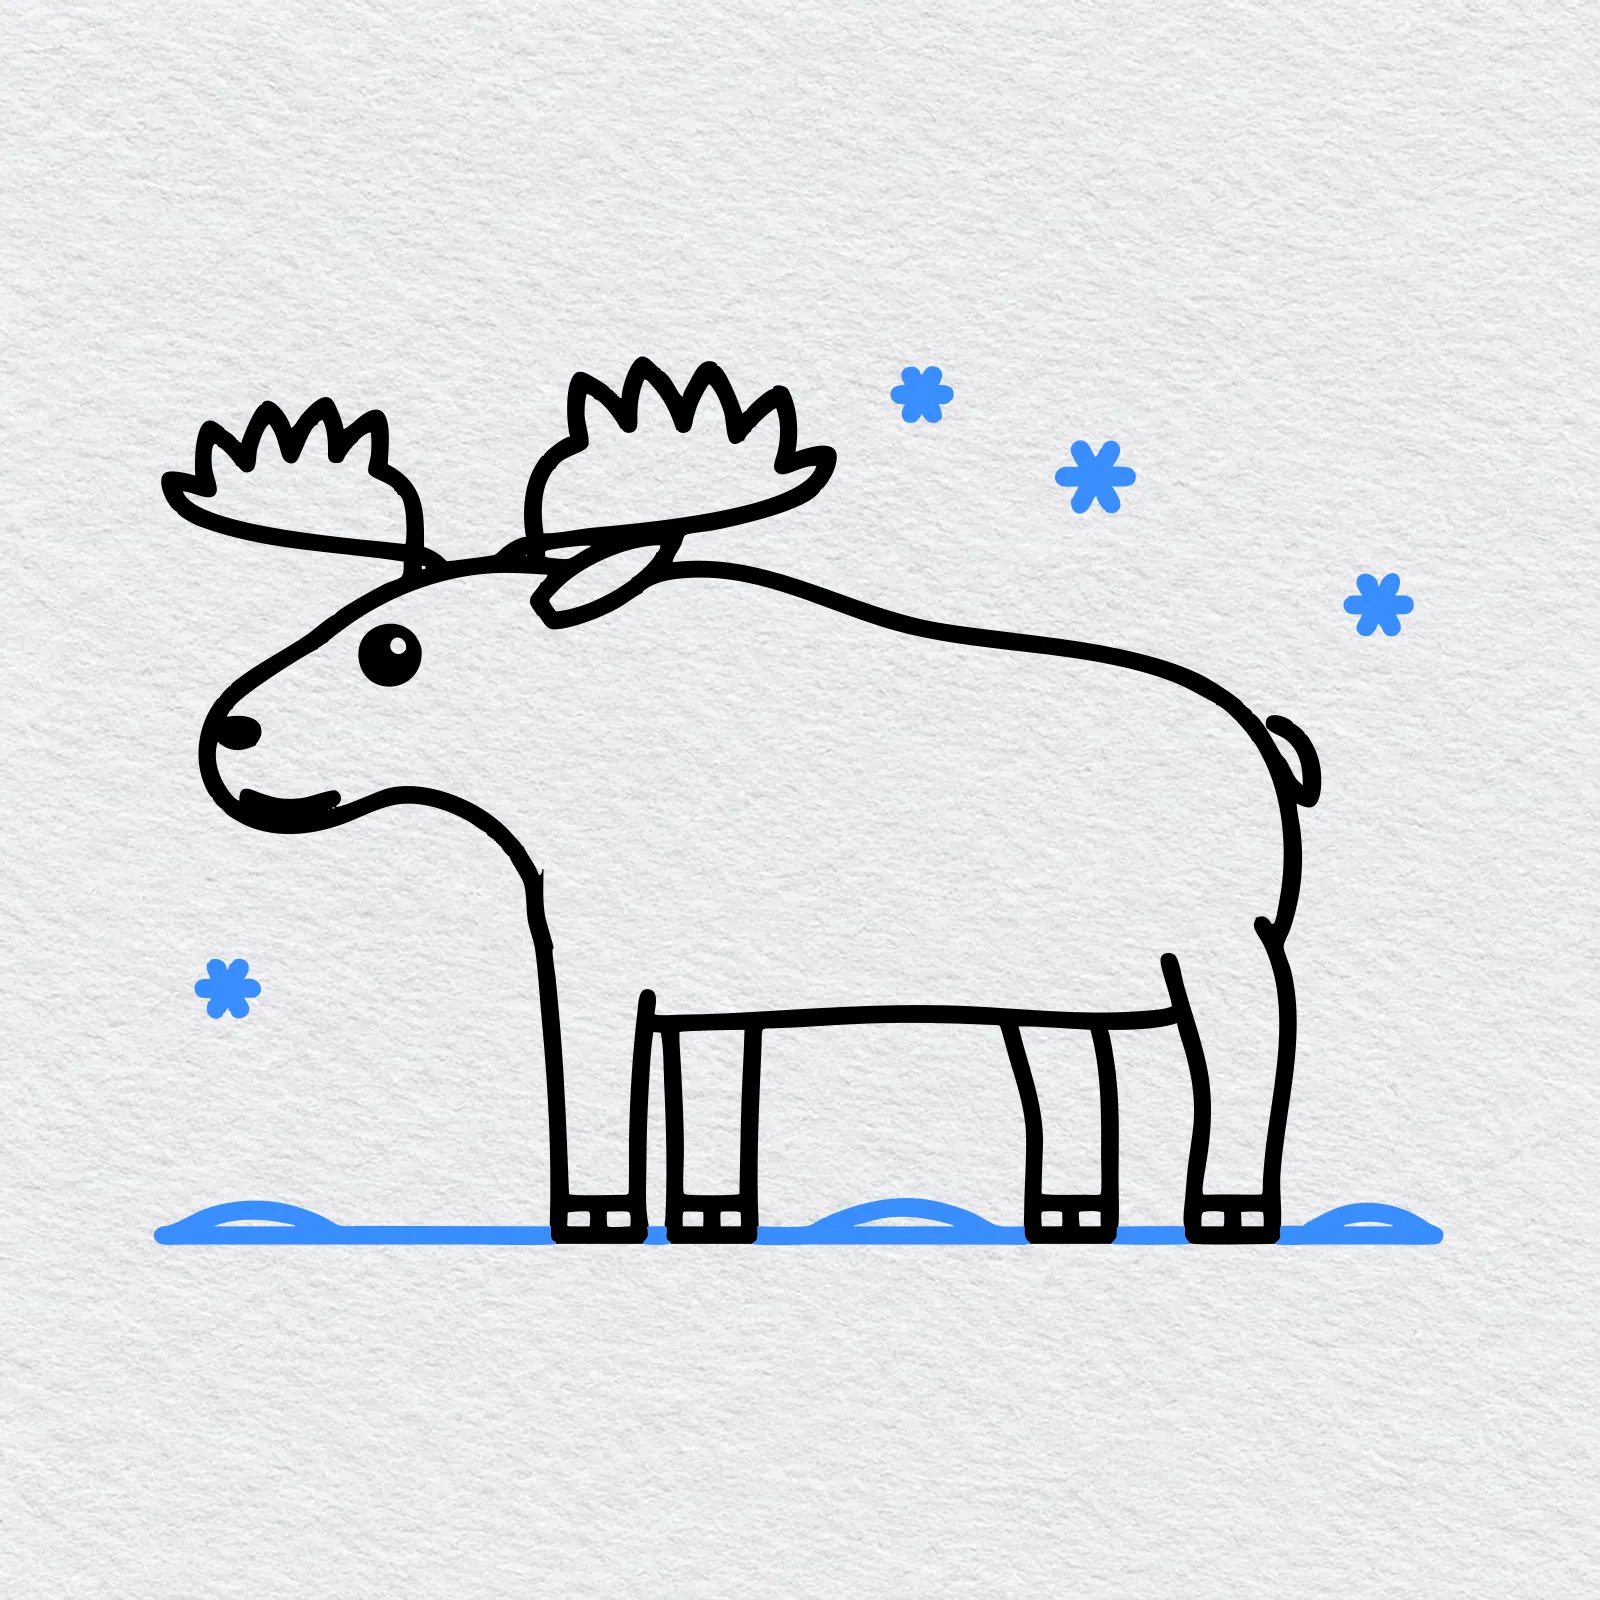
Draw a long ground line under the hooves, add three soft snow drifts along it and a few little snowflakes in the air. Your moose is ready to color.
-
Step 8 : Color your moose
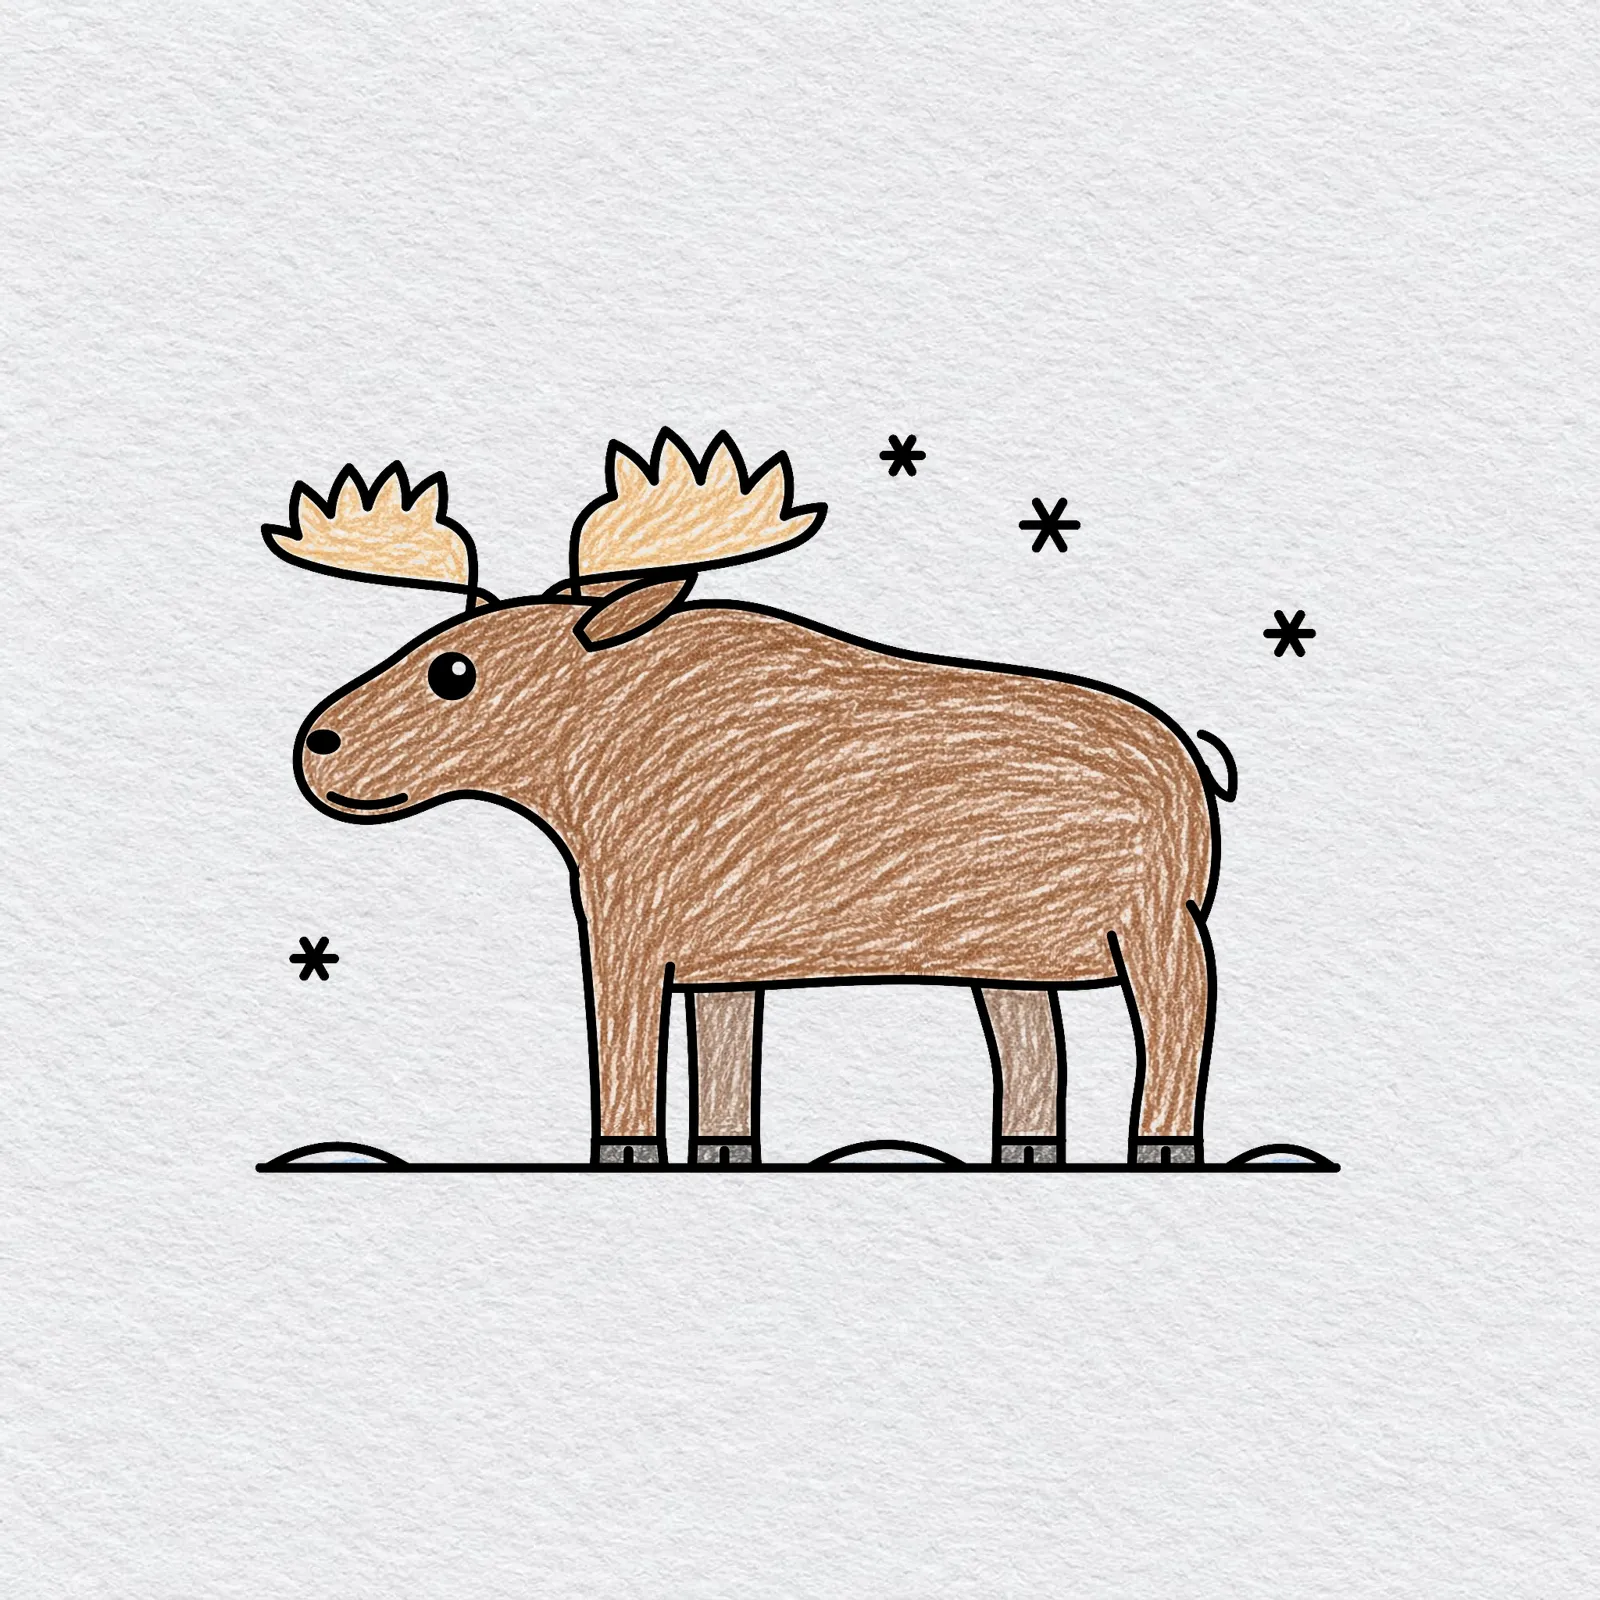
Color the body, head and nose with a warm brown crayon in short strokes, pressing a little harder along the back and hump so they look darker.
Color the legs a lighter gray brown, the hooves dark gray and the antlers pale tan, keep the shine in the eye white and add light blue to the snow drifts.
Printable moose drawing PDFs
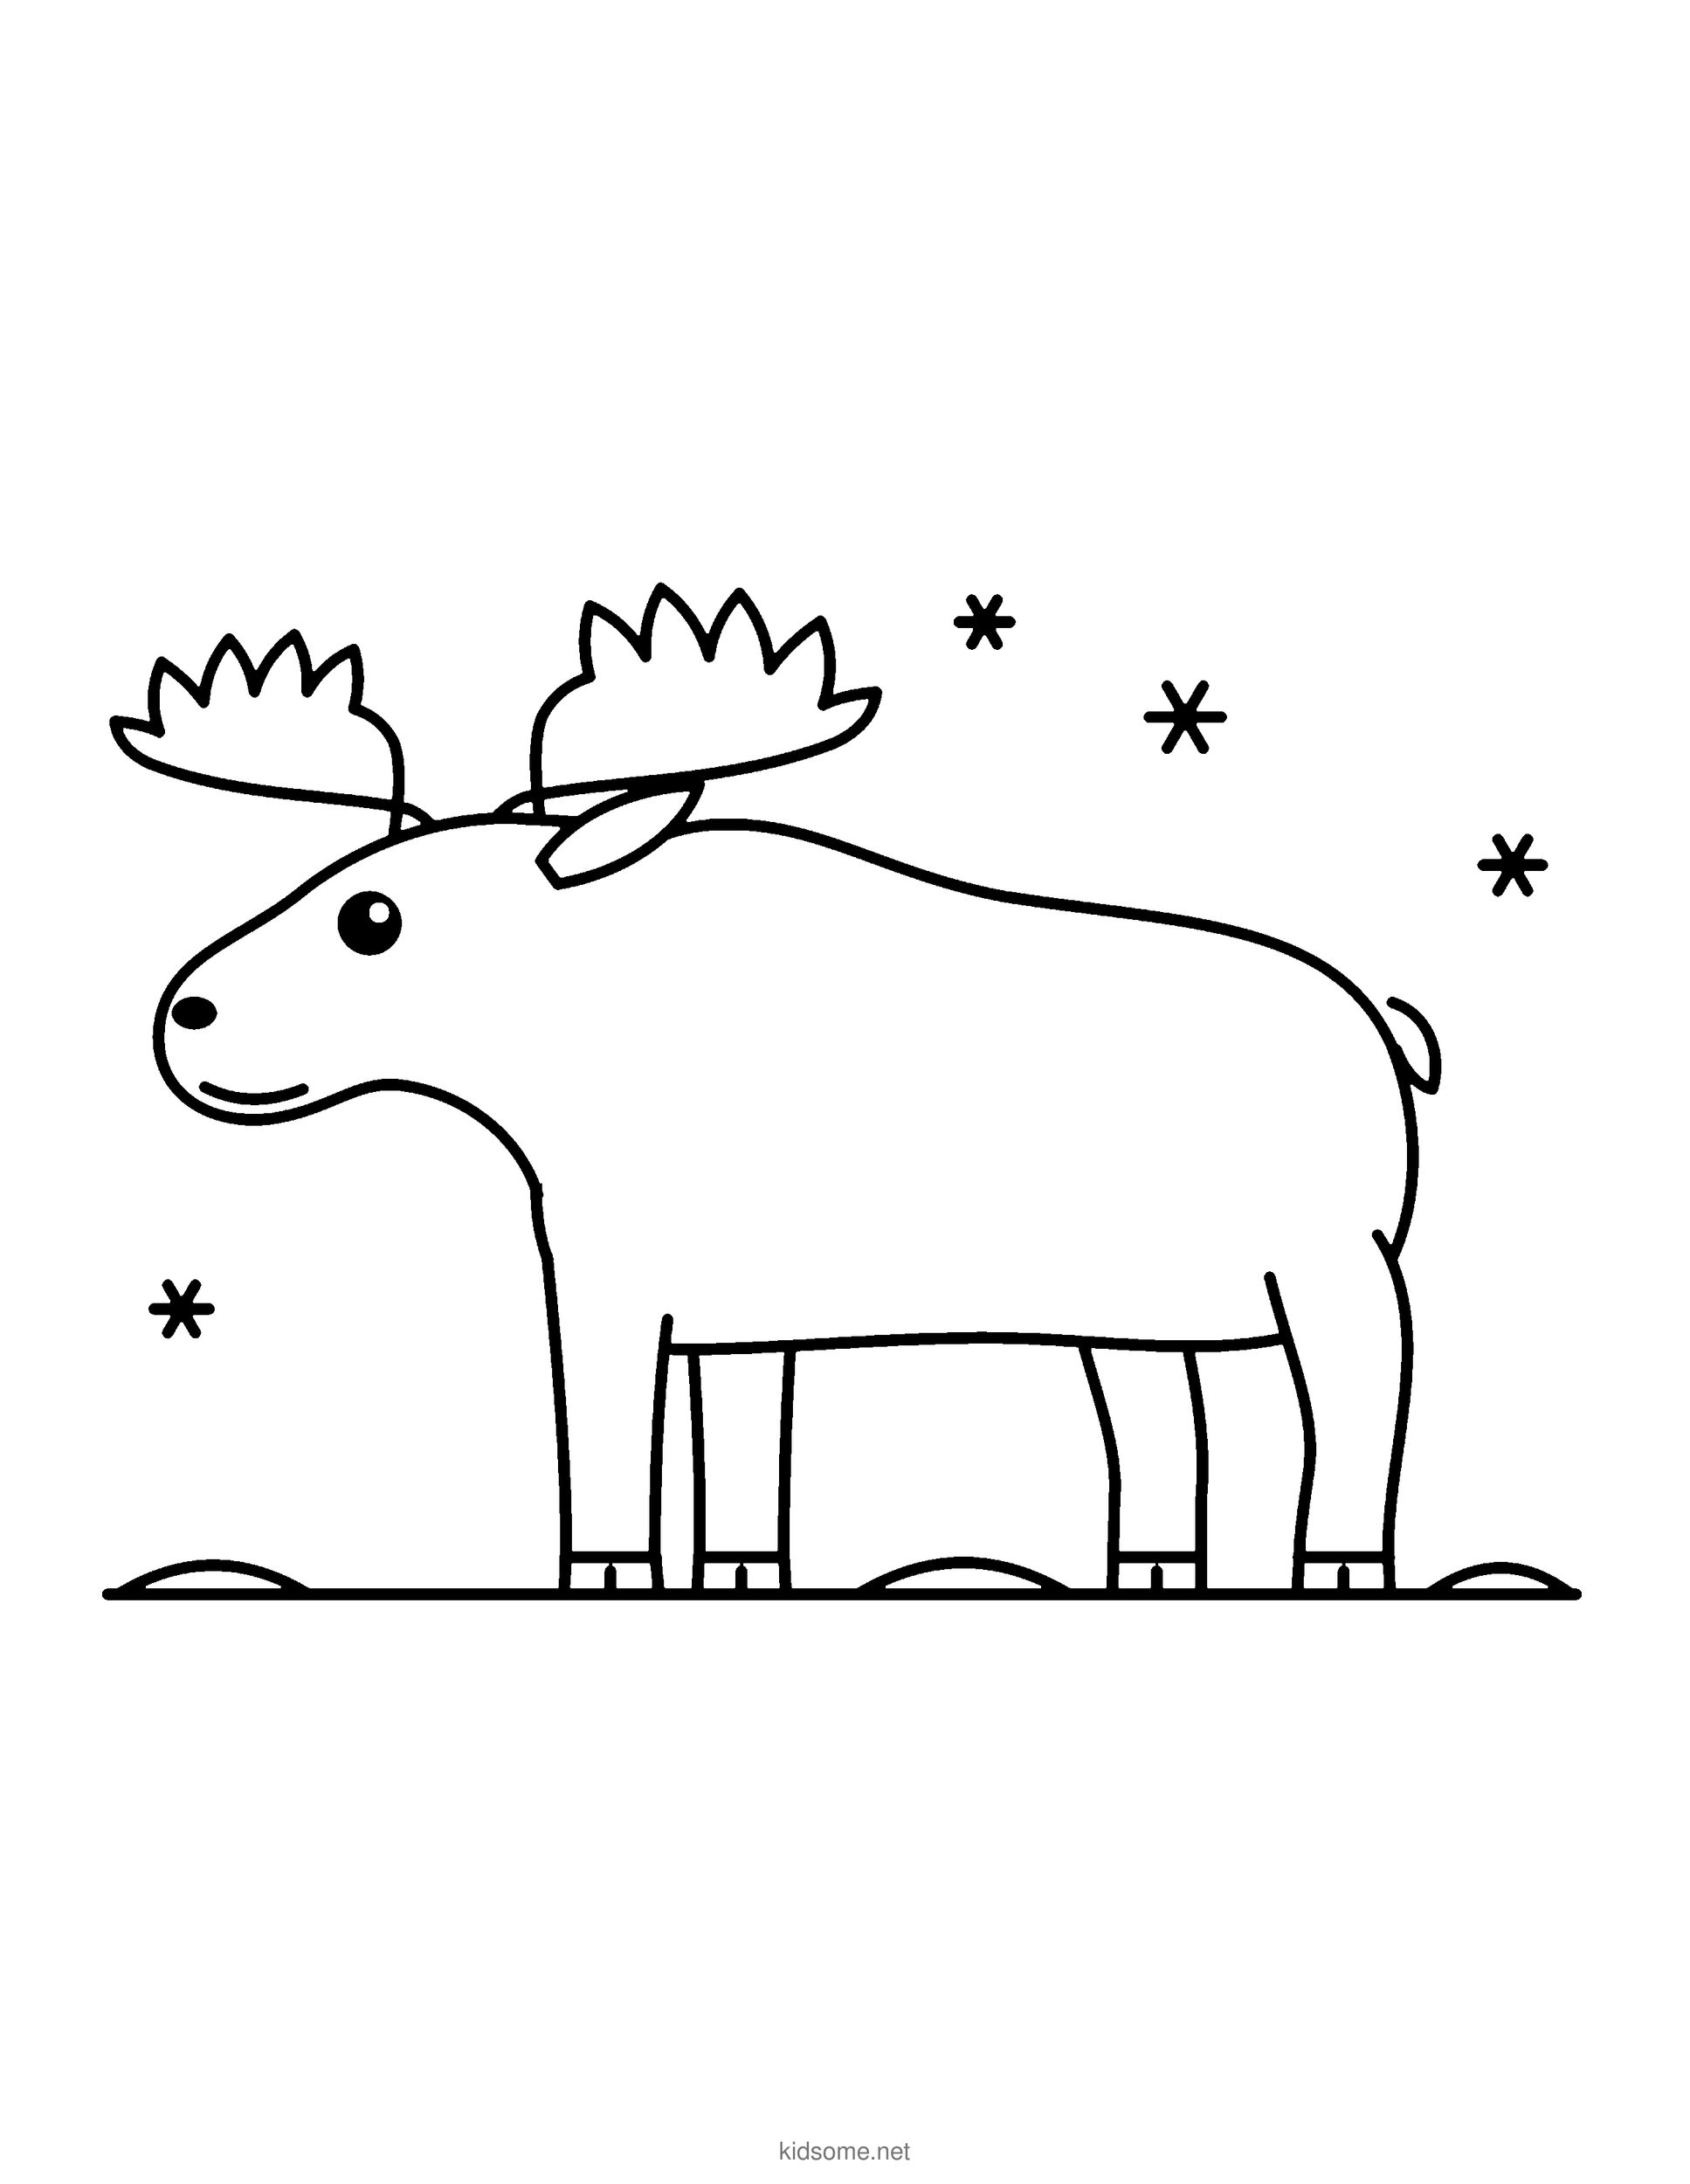 Save
Moose Outline to Color
The finished moose standing in the snow as a clean outline to print and color, with big open shapes for crayons.
Download PDF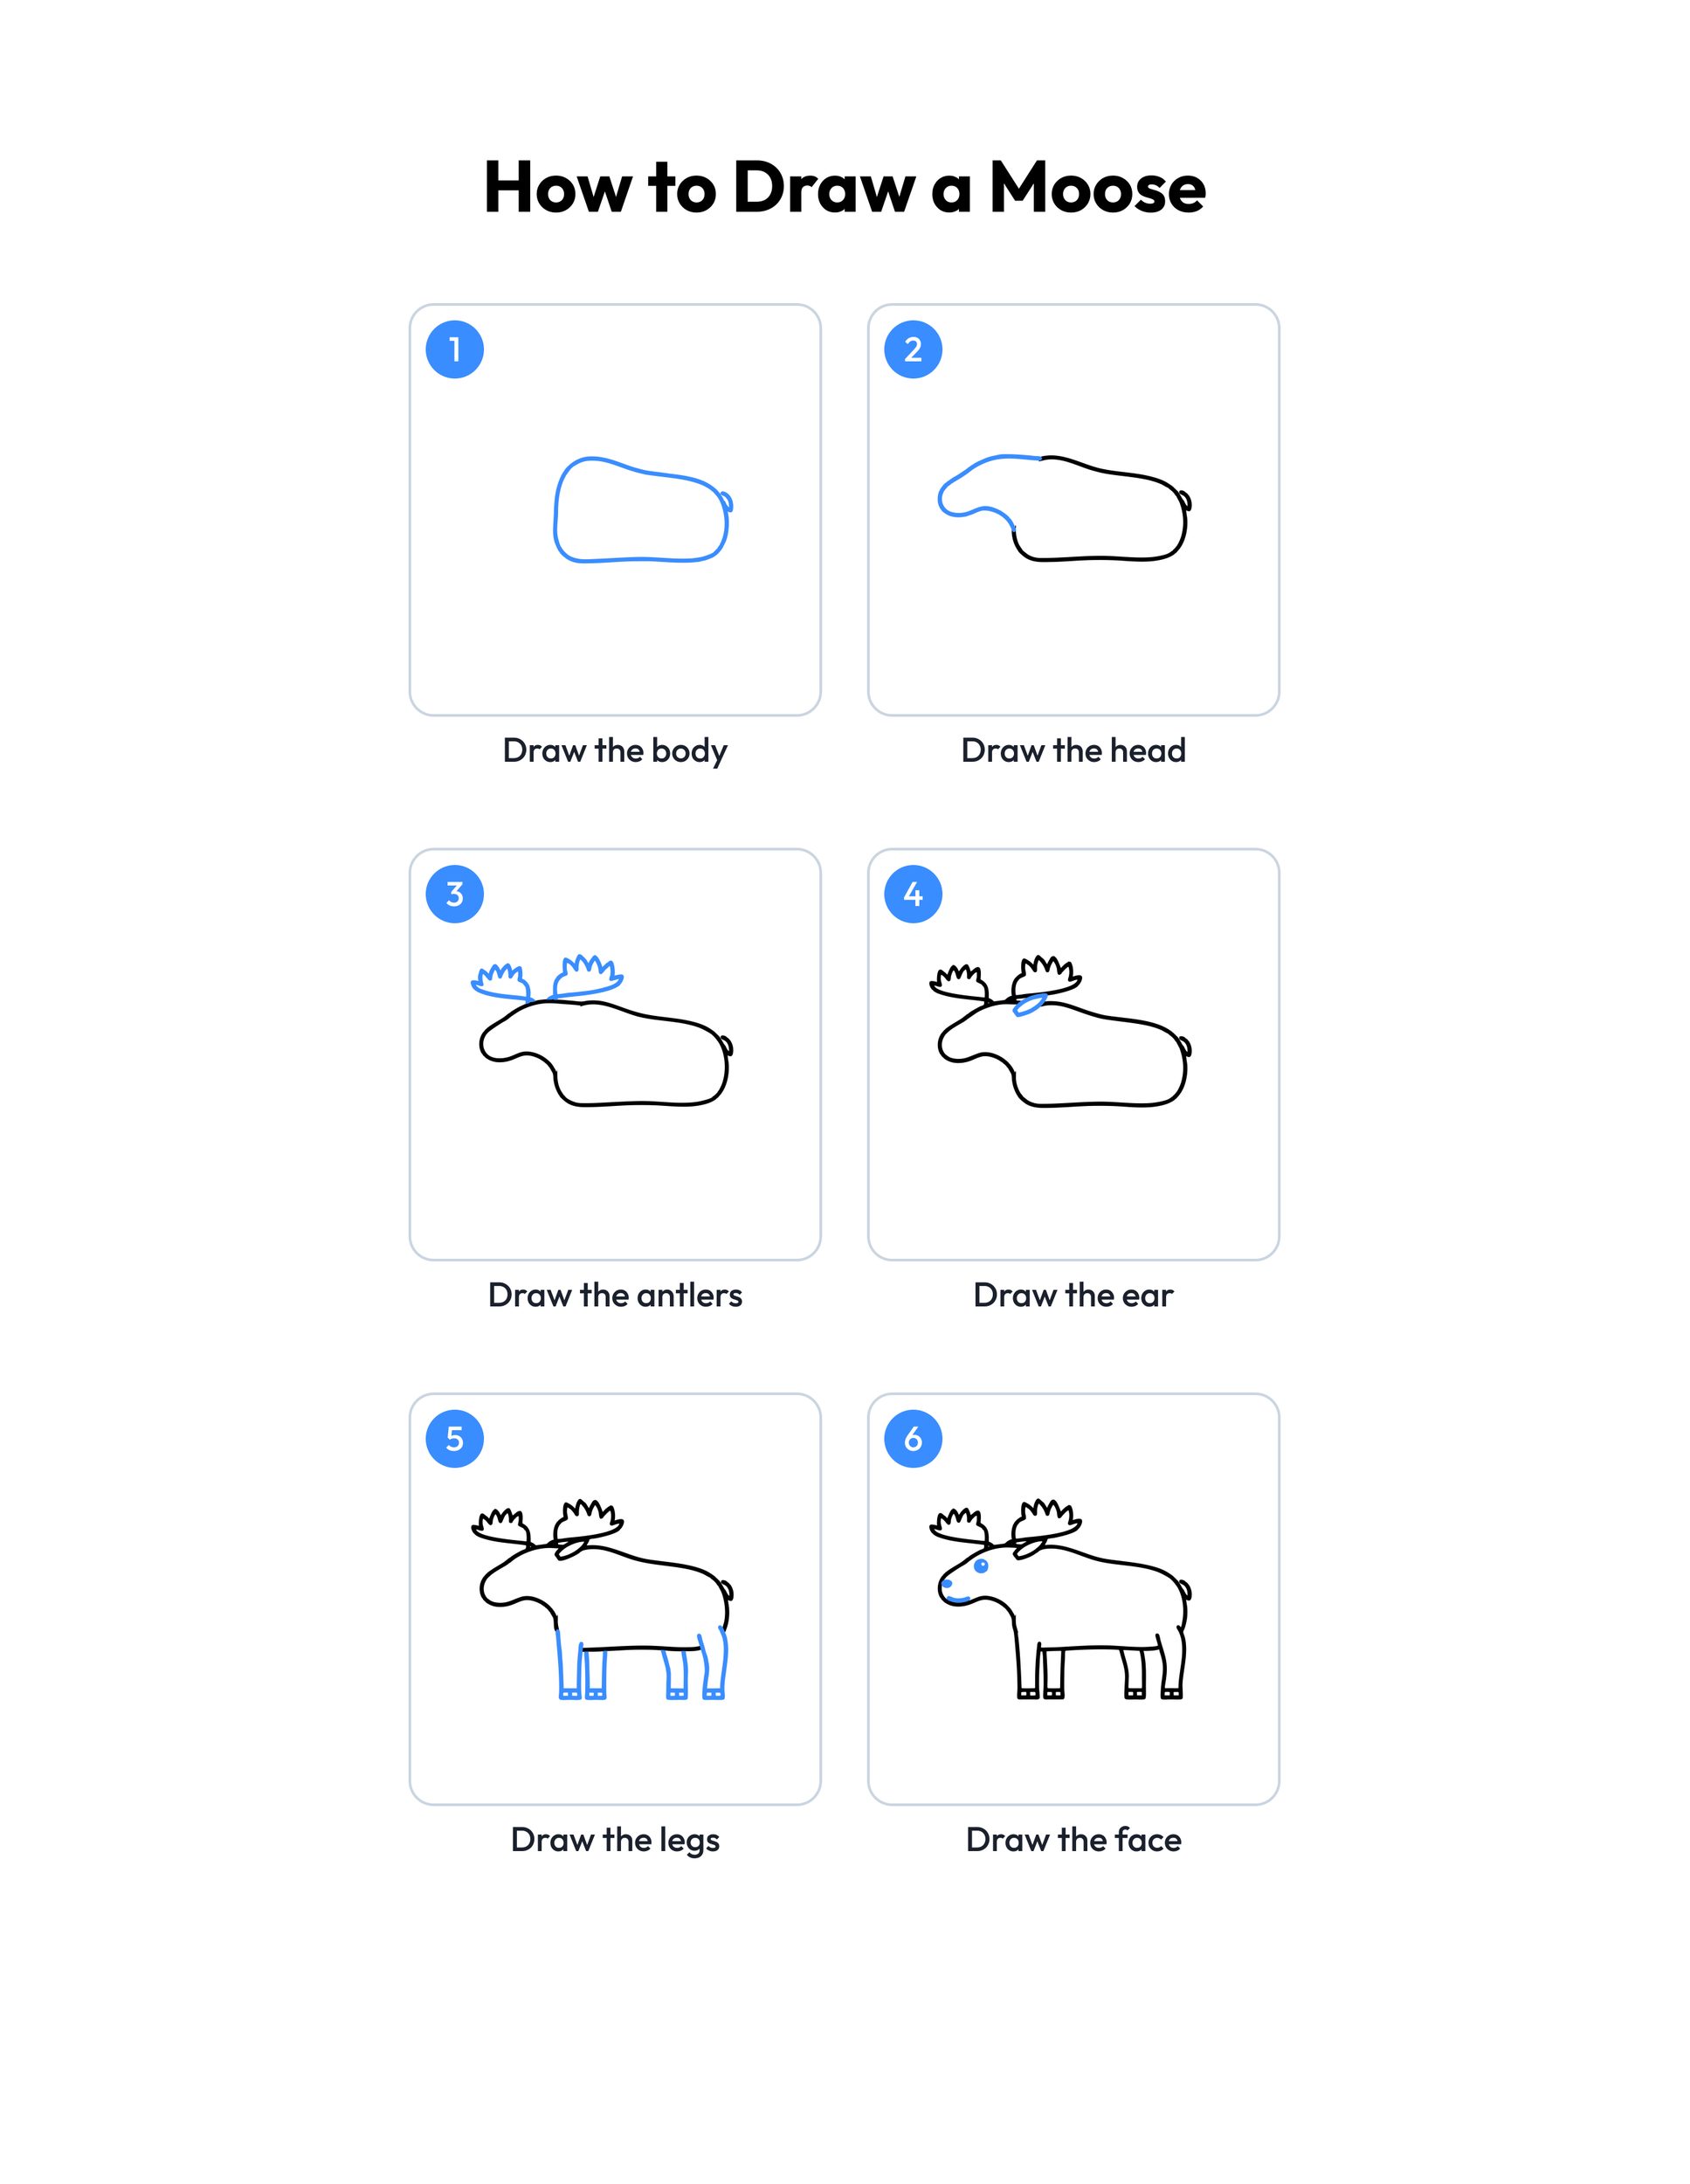 Save
Printable moose drawing guide
Every step, two to a row, with the finished moose in color at the end.
Download PDFHow to use this guide
Print the outline at 100 percent, or choose Fit to page if your printer asks. The margins fit US Letter and A4, so the whole moose, its antlers and the snowy ground stay on the sheet. Page one is the outline to color. Page two is the colored moose, so print page one alone if you only want the picture to fill in.
For drawing, plain copy paper and a pencil with a good eraser work best. Sketch lightly at first, because long curves often need a second try. When the moose looks right, trace over the lines with a marker or a dark crayon. If you plan to use markers or paint, choose cardstock so the color does not soak through.
This moose drawing easy method keeps every part big and simple. The body is the step to take slowly: make it wide and tall, with the hump at the front, because a moose looks strong and heavy. Give the head a long nose that droops at the end, since that big soft nose is what makes a moose look like a moose. The antlers are two wide flat shapes like open hands, with a few pointed tips along the top edge. Keep the legs long and straight, a little thicker at the top, and space them out so the moose stands steady.
Real moose are dark chocolate brown with lighter gray brown legs, so a warm brown crayon is a great choice. When the moose feels easy, try our polar bear drawing guide, which also starts with a big body and four sturdy legs.
Ideas for your moose drawing
- Snowy forest: Once your moose drawing is done, add a row of pine trees behind it, a pale moon in the sky and lots of snowflakes to turn the page into a winter night.
- Moose and calf: Draw a big moose and a small calf beside it. Remember that the calf has no antlers yet, just two ears, then give both of them names.
- Antler hands: Before drawing step three, trace around your child's open hand on scrap paper. Talk about how moose antlers are wide and flat like a hand with spread fingers.
- Shape hunt: Before drawing, find the big oval, the long rounded head and the straight lines in the finished moose together. It turns the guide into a quick shape game.
- Polar pals: Draw a polar bear walking across the snow behind your moose, then talk about which animal lives in snowy forests and which one lives out on the Arctic ice.
- Snowflake sky: Fill the sky above your moose with big snowflakes from our snowflake drawing guide and color each one a different shade of blue.
- Pond lunch: Draw a pond in front of your moose with a few water plants. Moose love to wade in and munch on plants that grow under the water in summer.
- Track trail: Draw a line of little moose hoof prints in the snow behind your moose, as if it has just walked by, then count the prints together.
- Animal gallery: Draw a few more creatures from our animal drawing guides and hang them in a row beside your moose like a little north woods zoo.
What age is this moose drawing guide for?
It is made for ages 4 to 8. Younger children can draw the body, head and legs with a grown-up nearby, and older kids can draw the whole moose alone and add trees, a calf or a snowy sky. Every step uses ovals, curves and straight lines, so no single step is too hard.
How do I teach a moose drawing to beginners?
Start with the big body, because it is the largest shape and sets the size of everything else. Then add the head and nose, the antlers, the ear and the legs. The face and the snow come last. Sketching lightly in pencil first makes it easy to fix a wobbly line before tracing over it.
Do all moose have antlers?
No. Only grown male moose grow antlers, and they drop them every winter and grow a new pair the next spring and summer. Calves and female moose have no antlers, so you can leave the antlers off if you want to draw a mother moose or a baby.
Can I use the guide in my classroom?
Yes. The outline and the step guide are free for personal and classroom use, so teachers can print one for every student for a forest animal, winter or North America lesson. Please share a link to this page instead of the files, and do not sell the pages or post them on other websites.
What can we draw after the moose?
More forest animals make a great next drawing. A bear, a fox or a wolf uses the same body and leg shapes you just practiced, and you can put them all in one big snowy forest picture with tall pine trees.