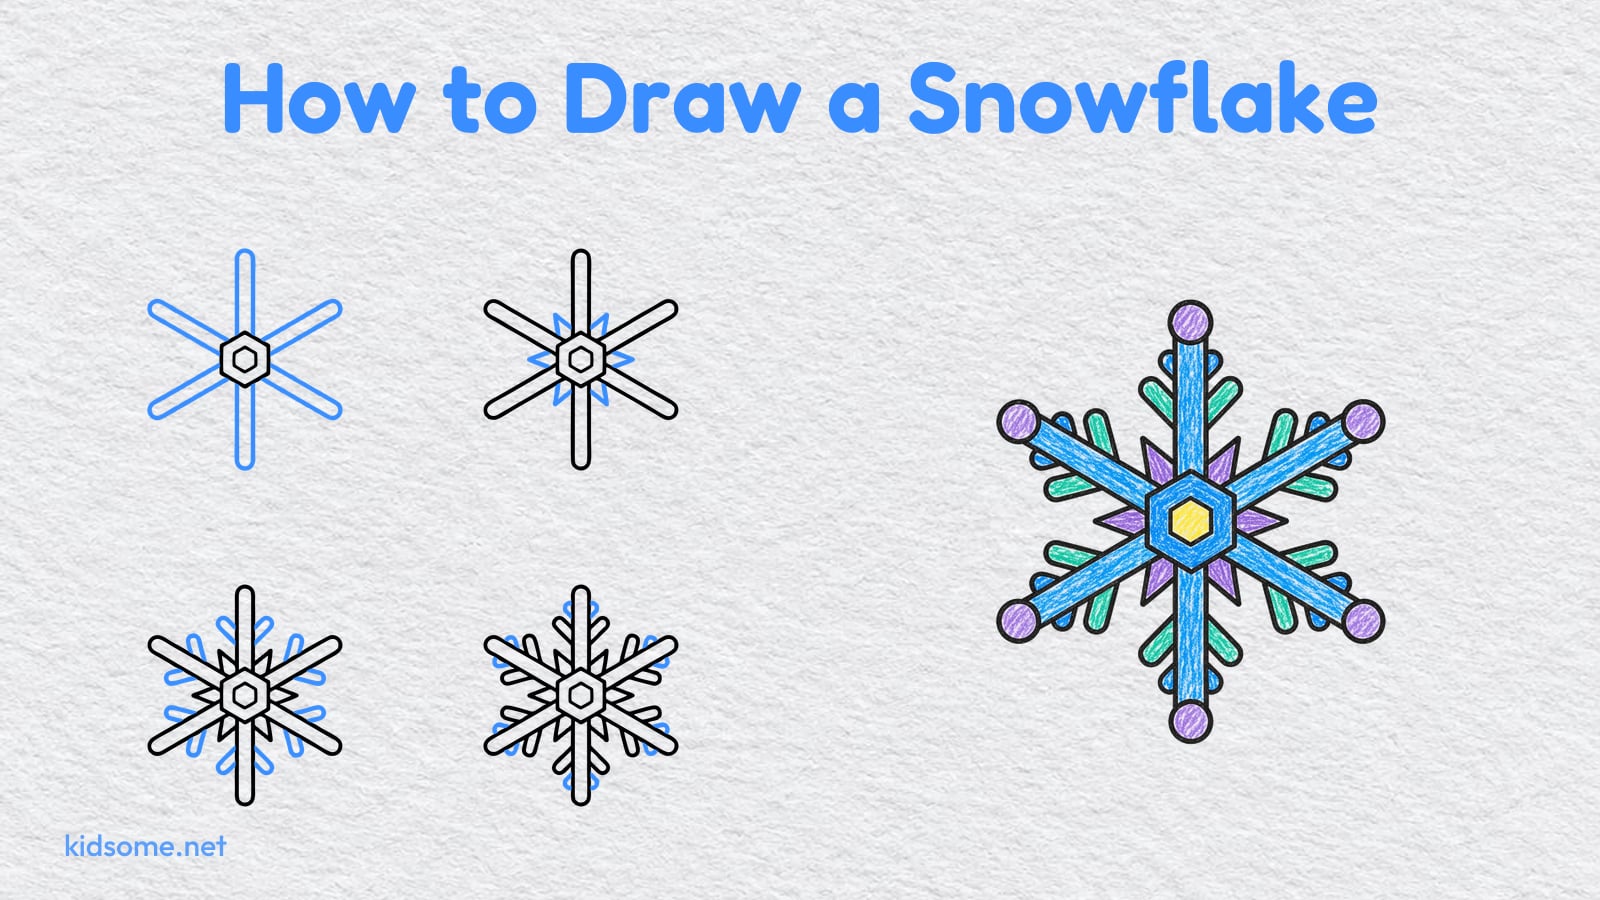
This guide shows kids ages 4 to 8 how to draw a snowflake in six short steps. It starts with one small hexagon, and by the last step that hexagon sits in the middle of a big, sparkly snowflake with six straight arms, a ring of points, V shaped branches and a round dot at every tip. Each step shows the whole drawing so far in black, with the new lines in blue, so kids always know exactly what to add next.
Real snowflakes have six sides, and this one does too. If your child wants a snowflake drawing easy enough to finish on a snowy afternoon, this is it: every part is a straight line, a small V or a circle, and the same shape repeats on all six arms. Parents and teachers can draw along on their own paper, one step at a time.
When the drawing is done, there is a clean snowflake outline to print and color, and a colored example to copy or change. Everything is a free PDF that prints on US Letter and A4, with no sign-up. For more cold weather drawings, see our winter drawing guides.
-
Step 1 : Draw the center hexagon

In the middle of your paper, draw a small shape with six straight sides, called a hexagon. Draw a smaller hexagon inside it. This is the heart of your snowflake.
-
Step 2 : Draw the six arms

Draw a long, thin arm straight up and down through the hexagon. Then draw two more long arms that cross it, like a big letter X. Now your snowflake has six arms, all the same length.
-
Step 3 : Draw the ring of points

Between every two arms, right next to the hexagon, draw a small pointed triangle. Go all the way round until there are six points, like a little star around the middle.
-
Step 4 : Draw the long branches
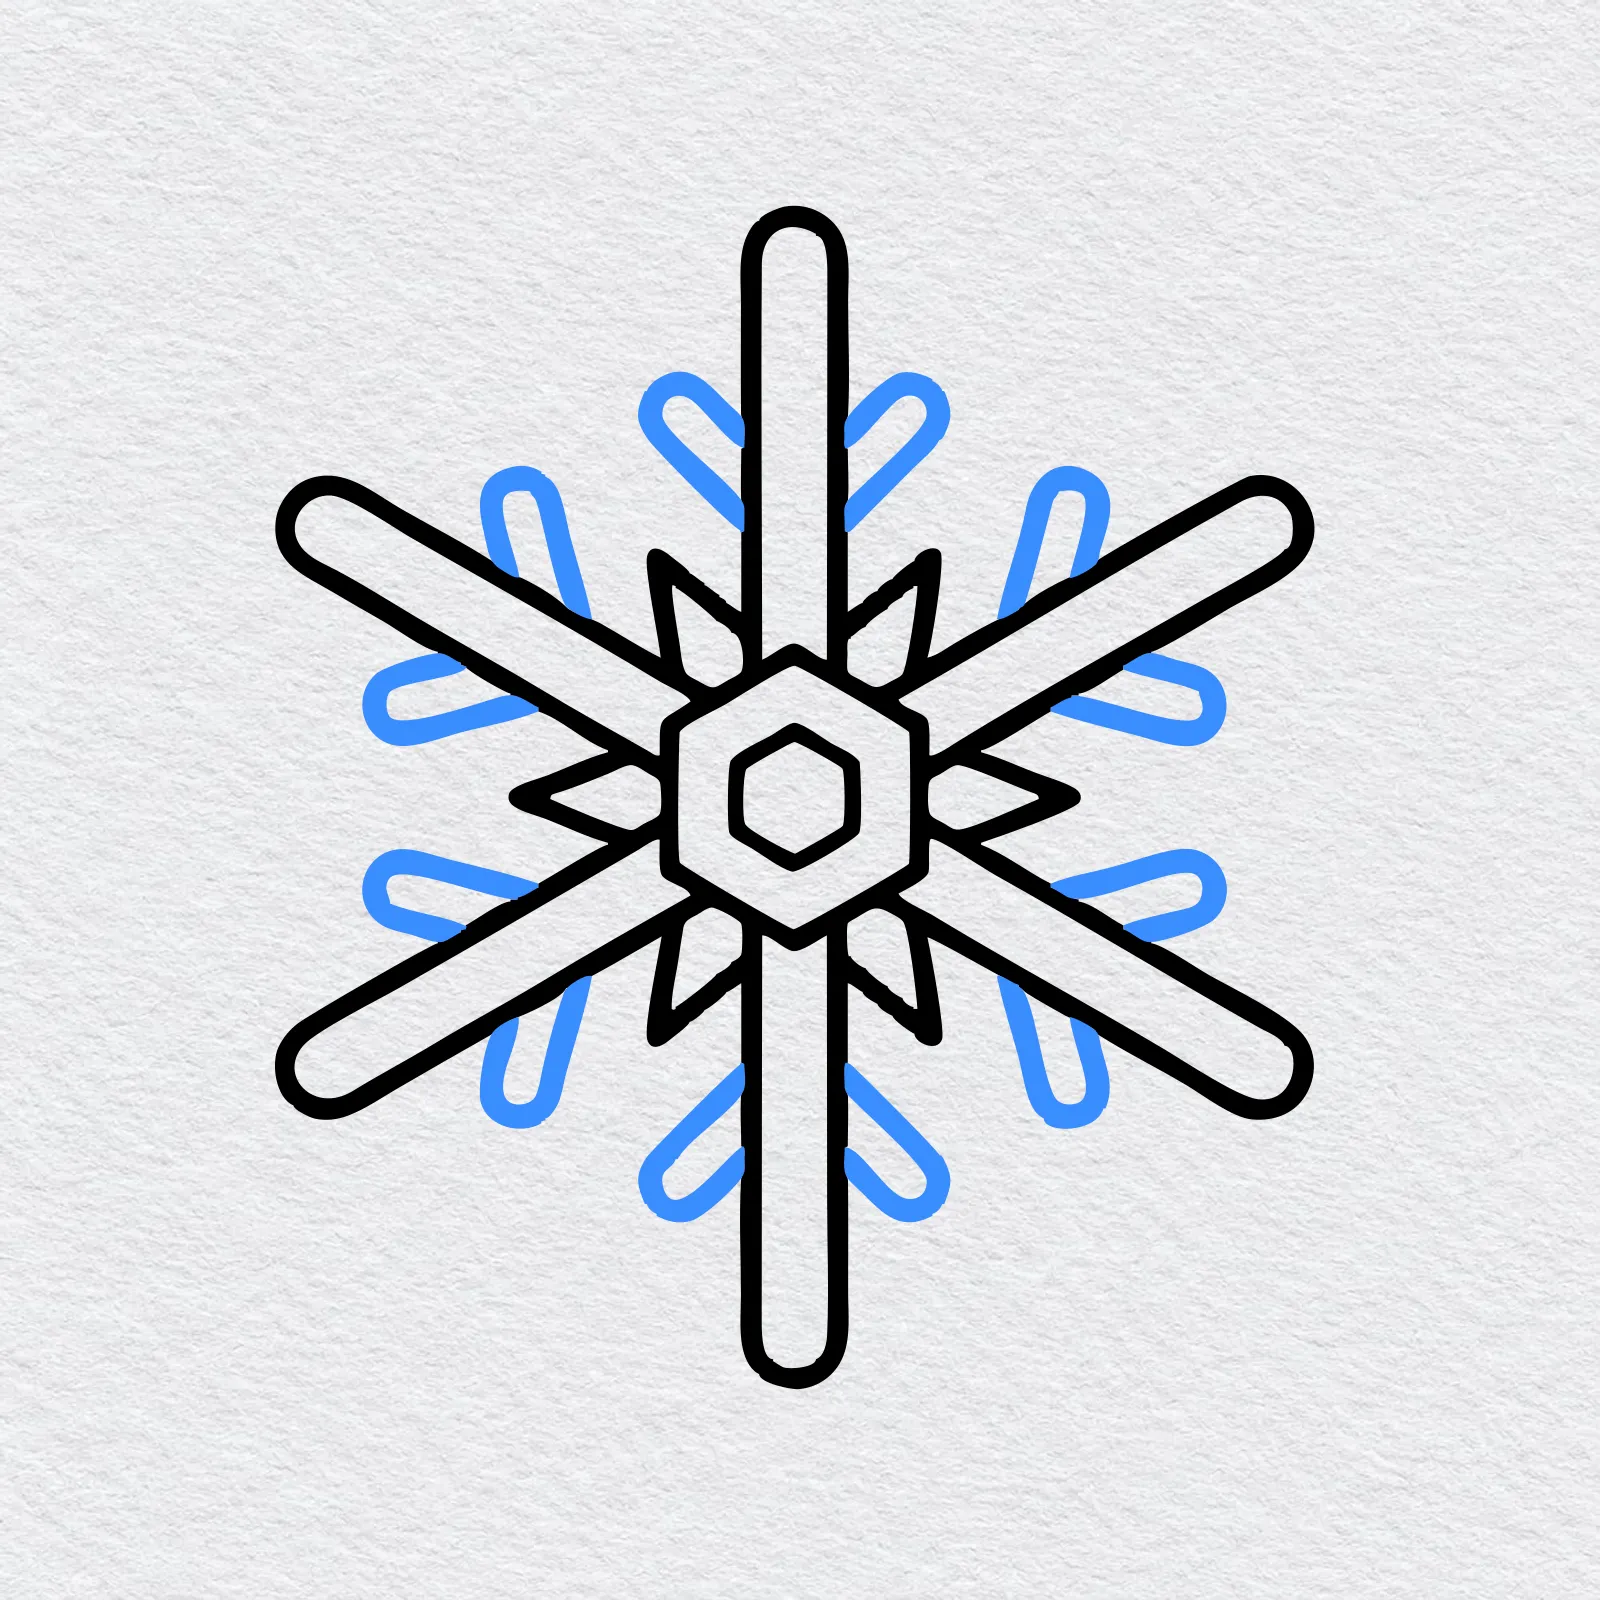
About halfway along each arm, draw two long branches in a V shape, one on each side, pointing out toward the tip. Do the same on all six arms.
-
Step 5 : Draw the short branches
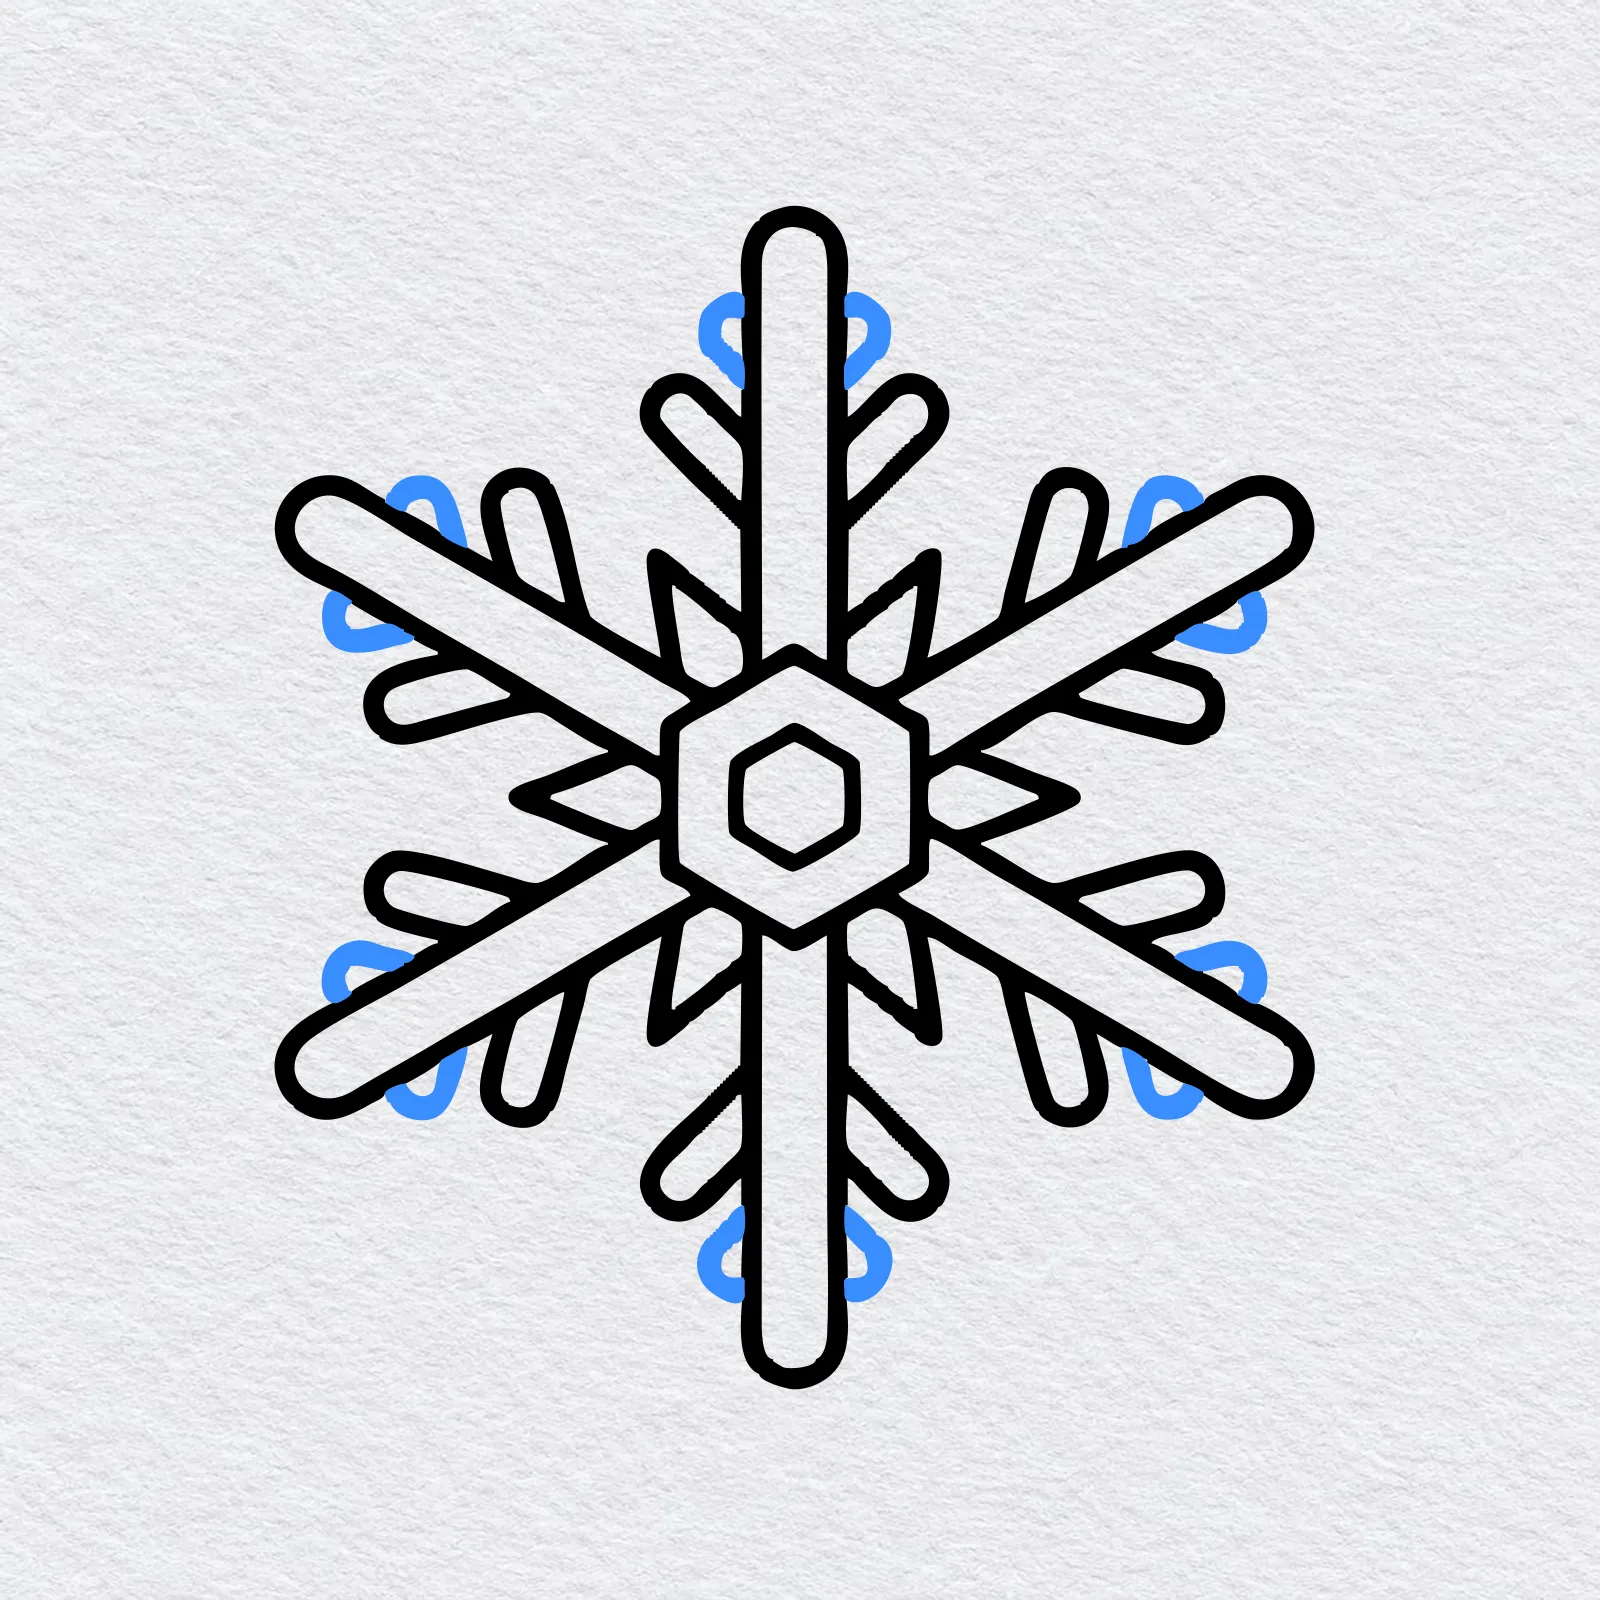
Closer to the end of each arm, draw two shorter branches in a smaller V. Turn your paper as you go, so every arm gets its own pair.
-
Step 6 : Draw the round tips
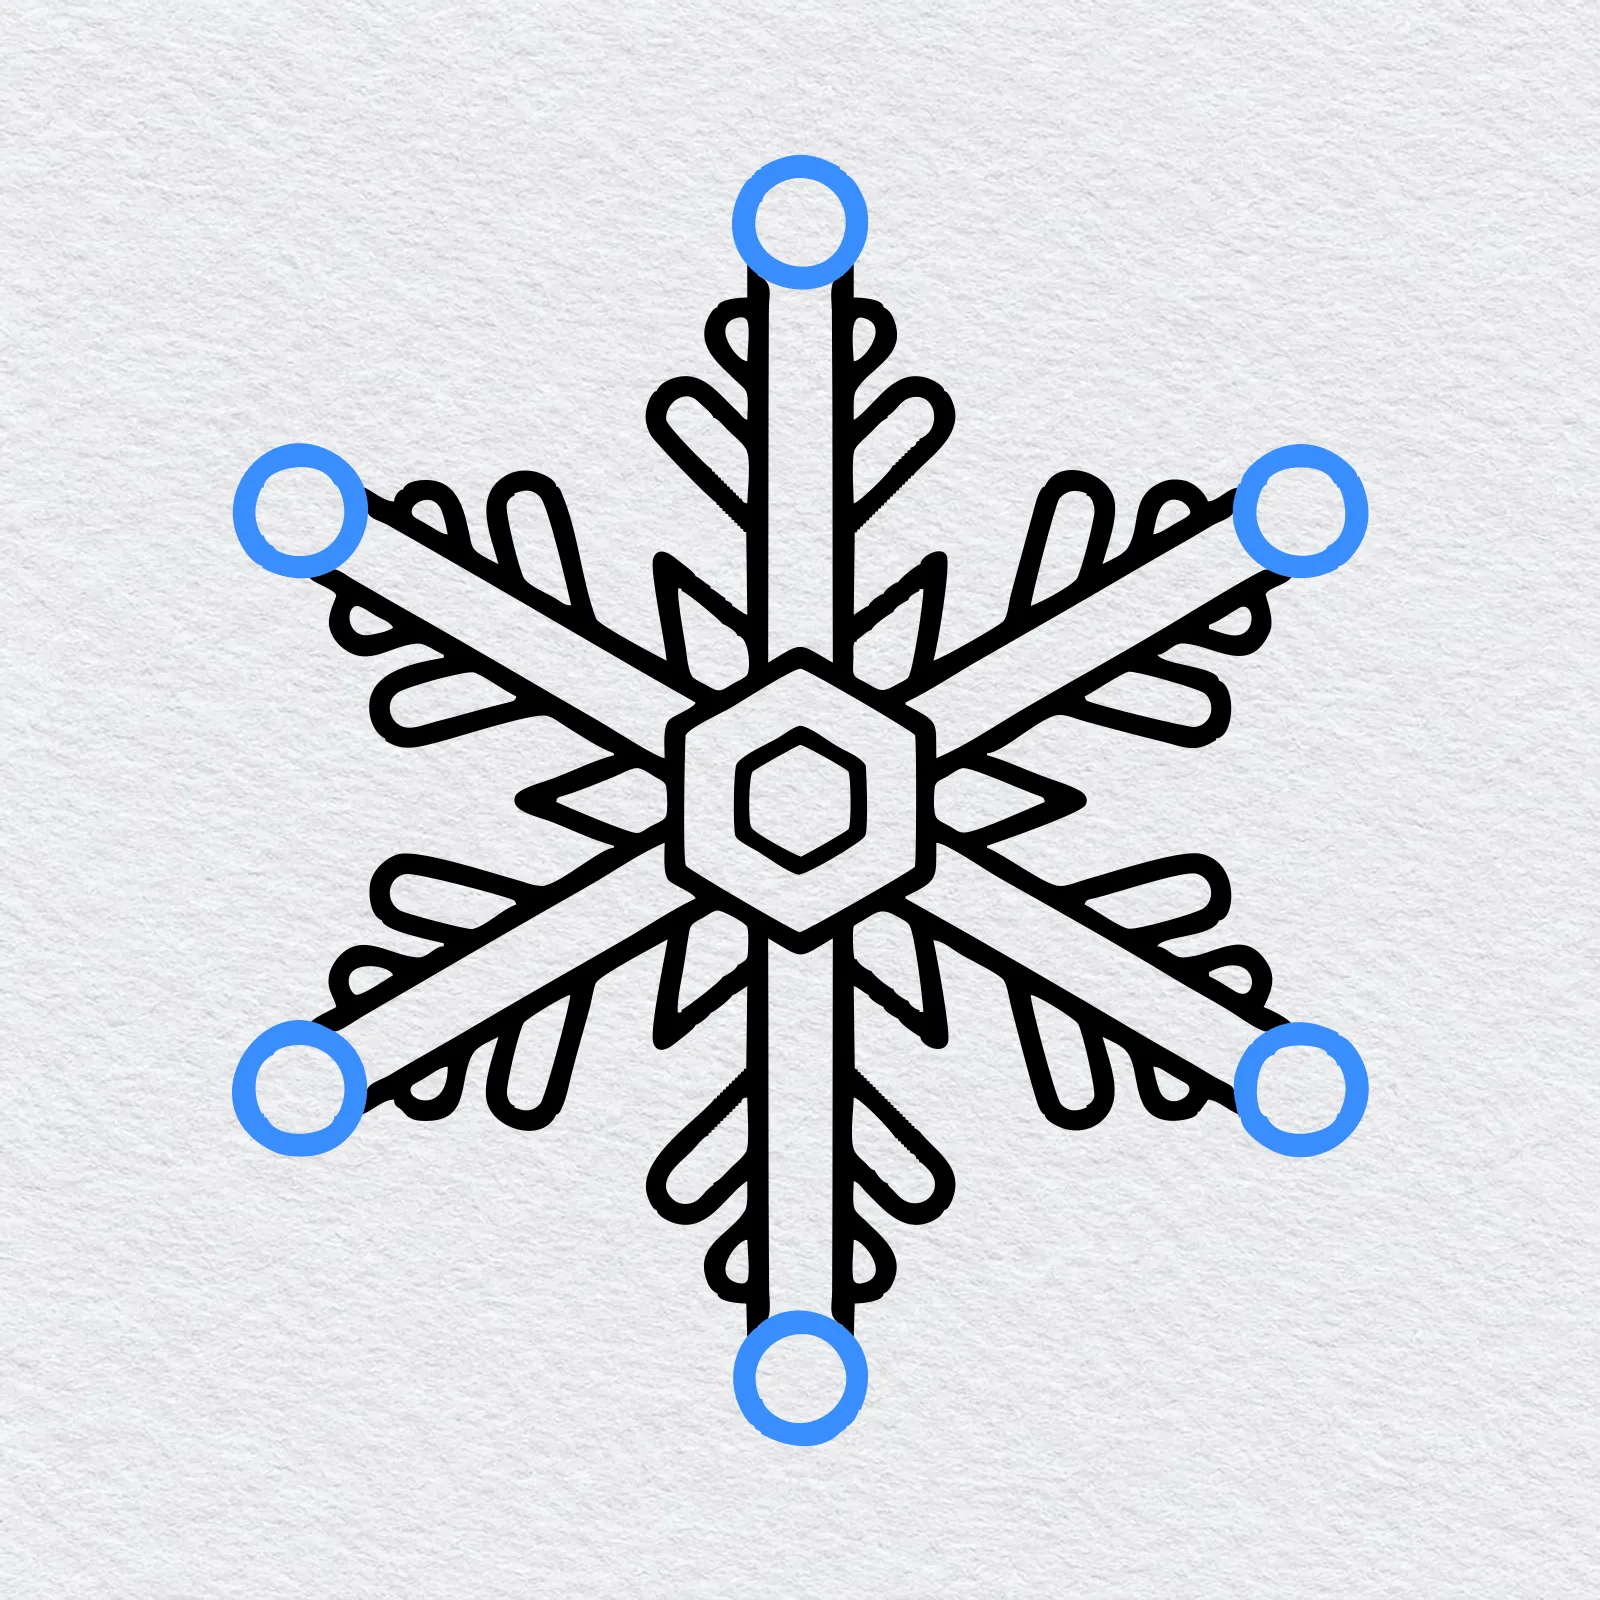
At the very end of each arm, draw a small circle. Six round tips finish your snowflake. Well done, your snowflake is ready to color.
-
Step 7 : Color your snowflake
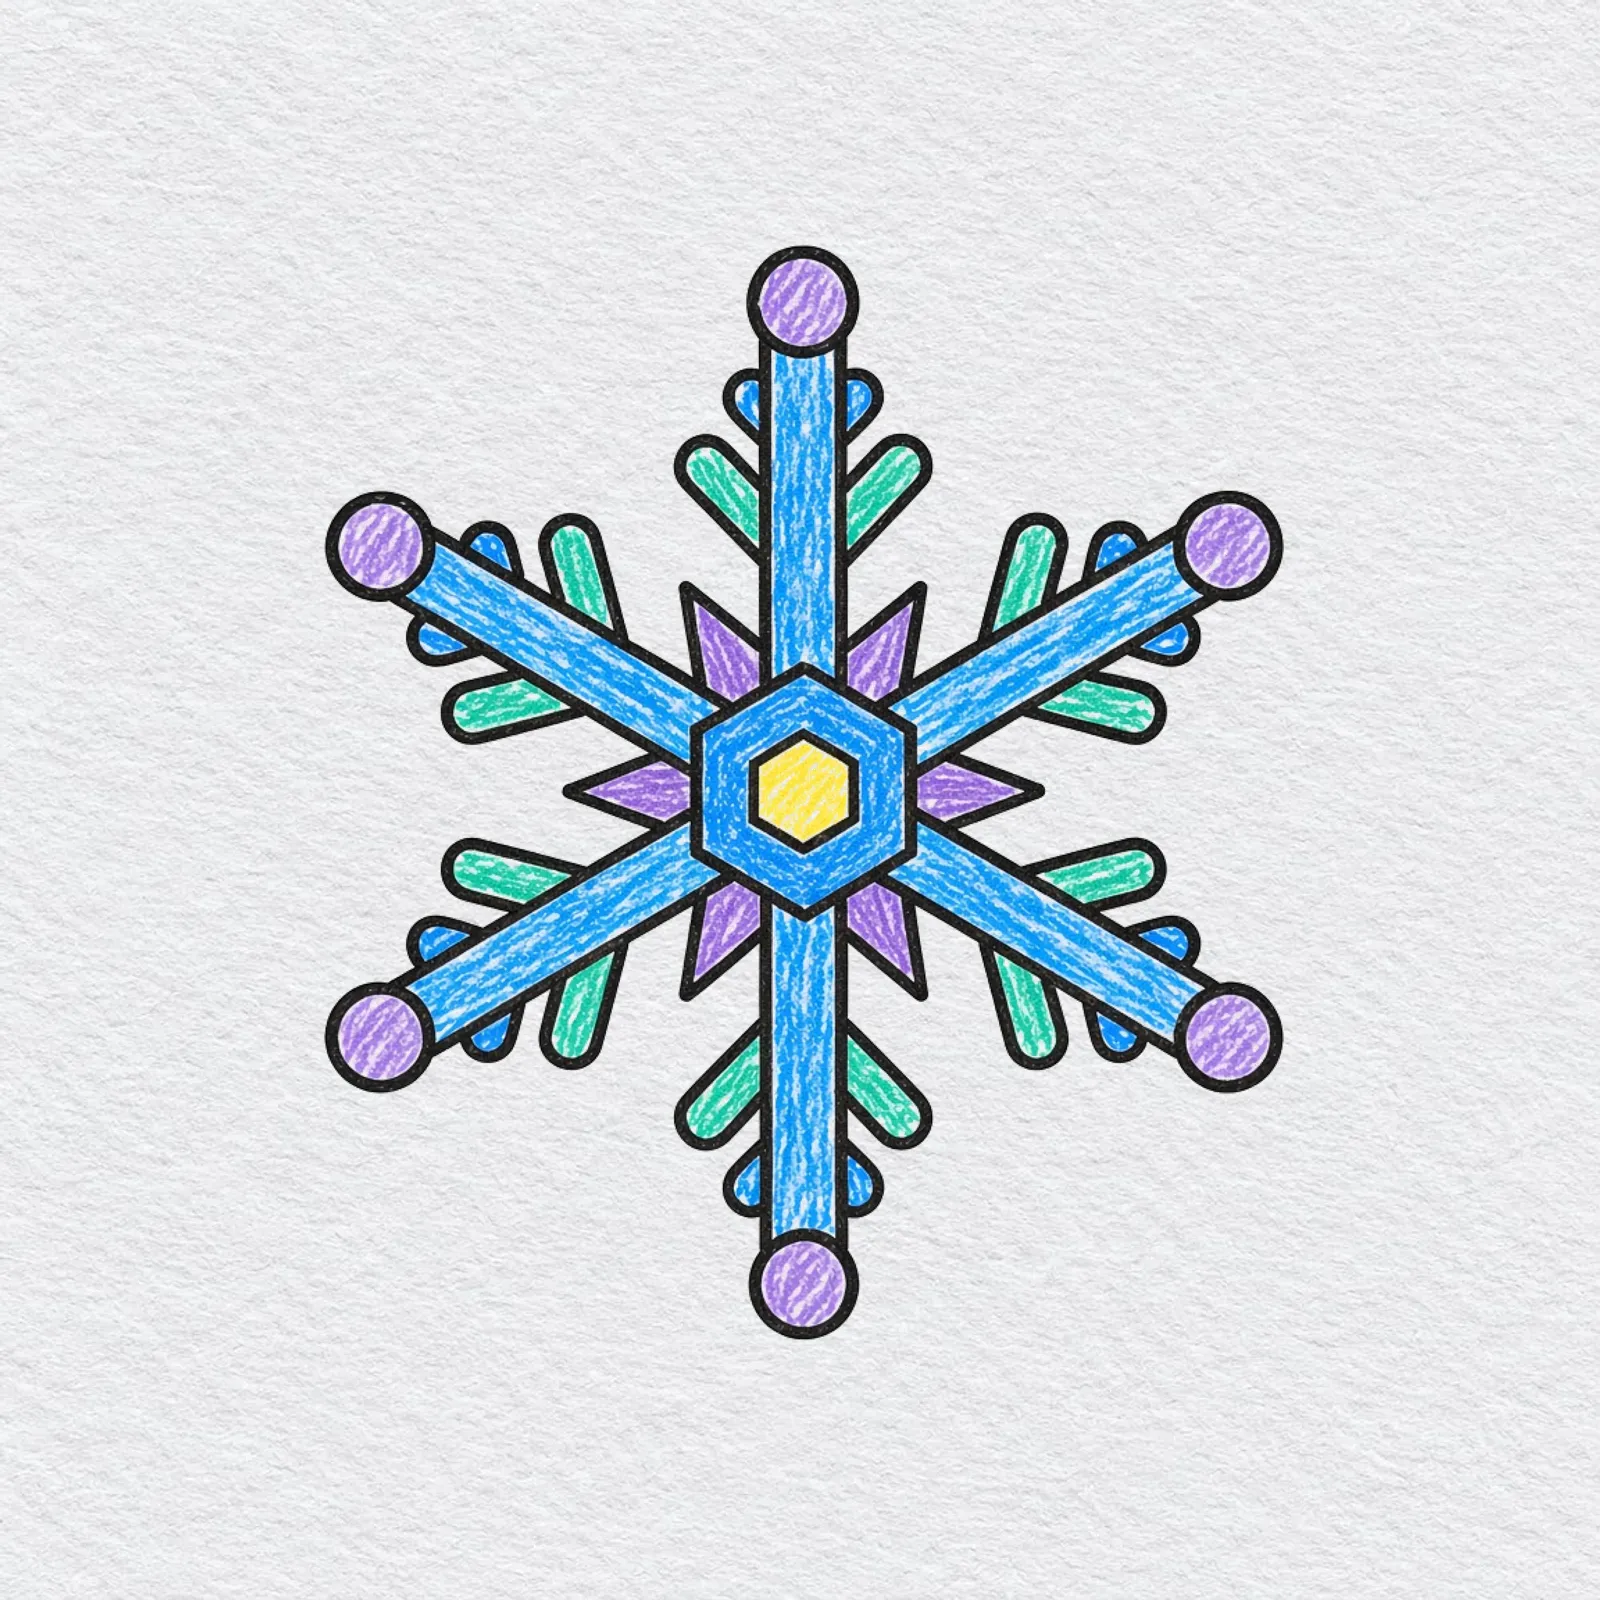
Snowflakes look great in cool colors. Try bright blue for the arms and the hexagon, purple for the ring of points, turquoise and sky blue for the branches, lavender for the round tips and a little yellow in the middle.
Go slowly and press lightly first. You can always add more color, but it is hard to take it away.
Printable snowflake drawing PDFs
 Save
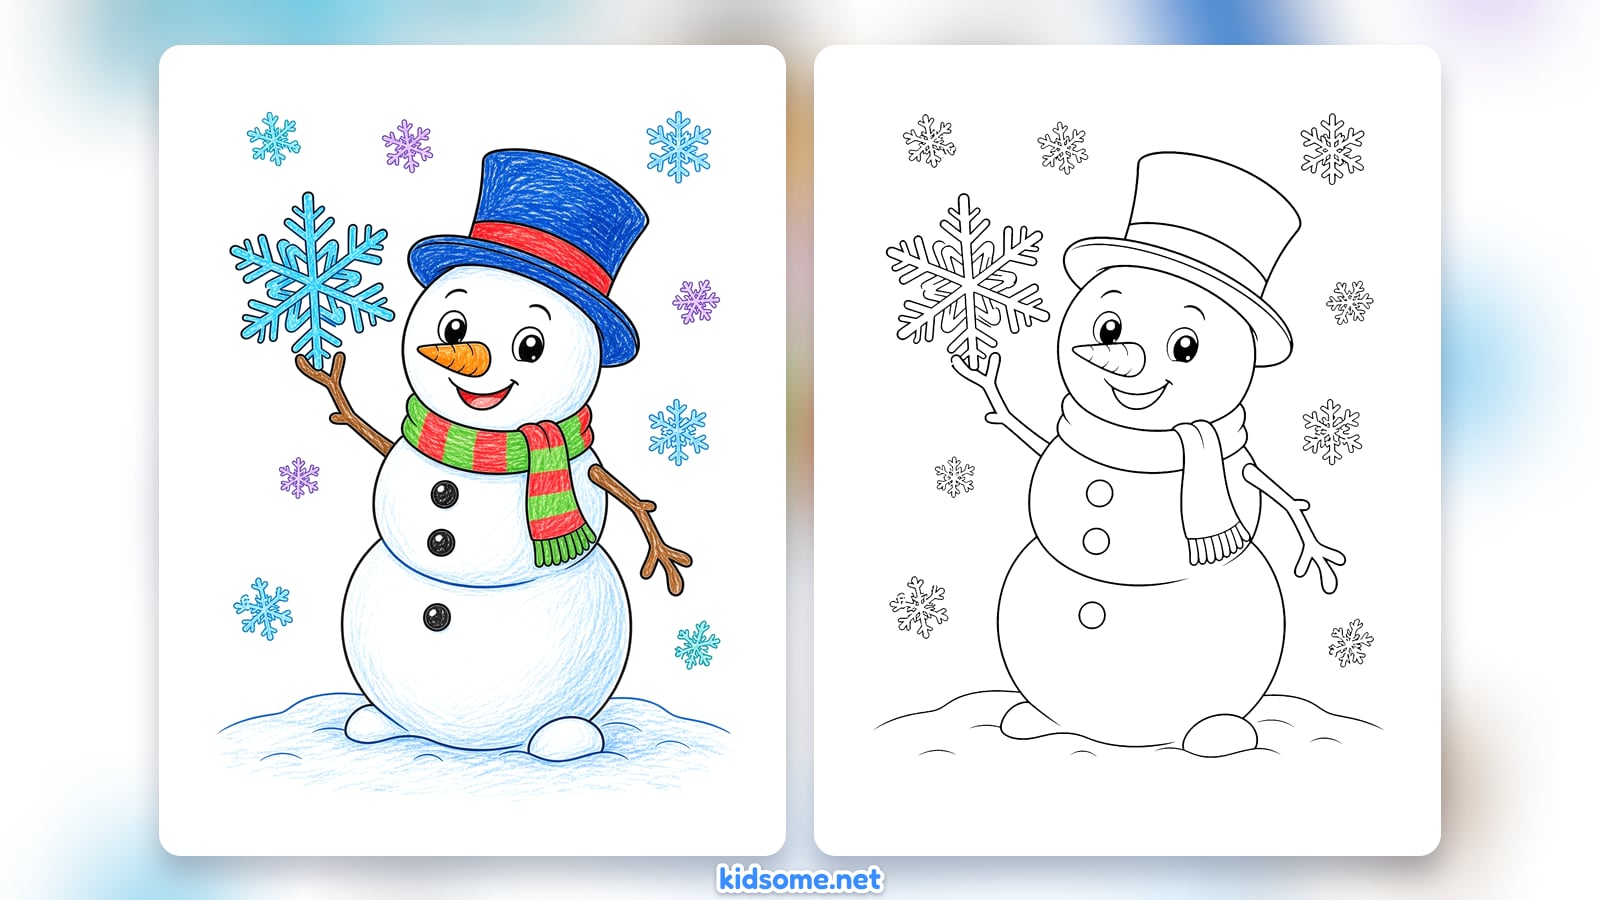
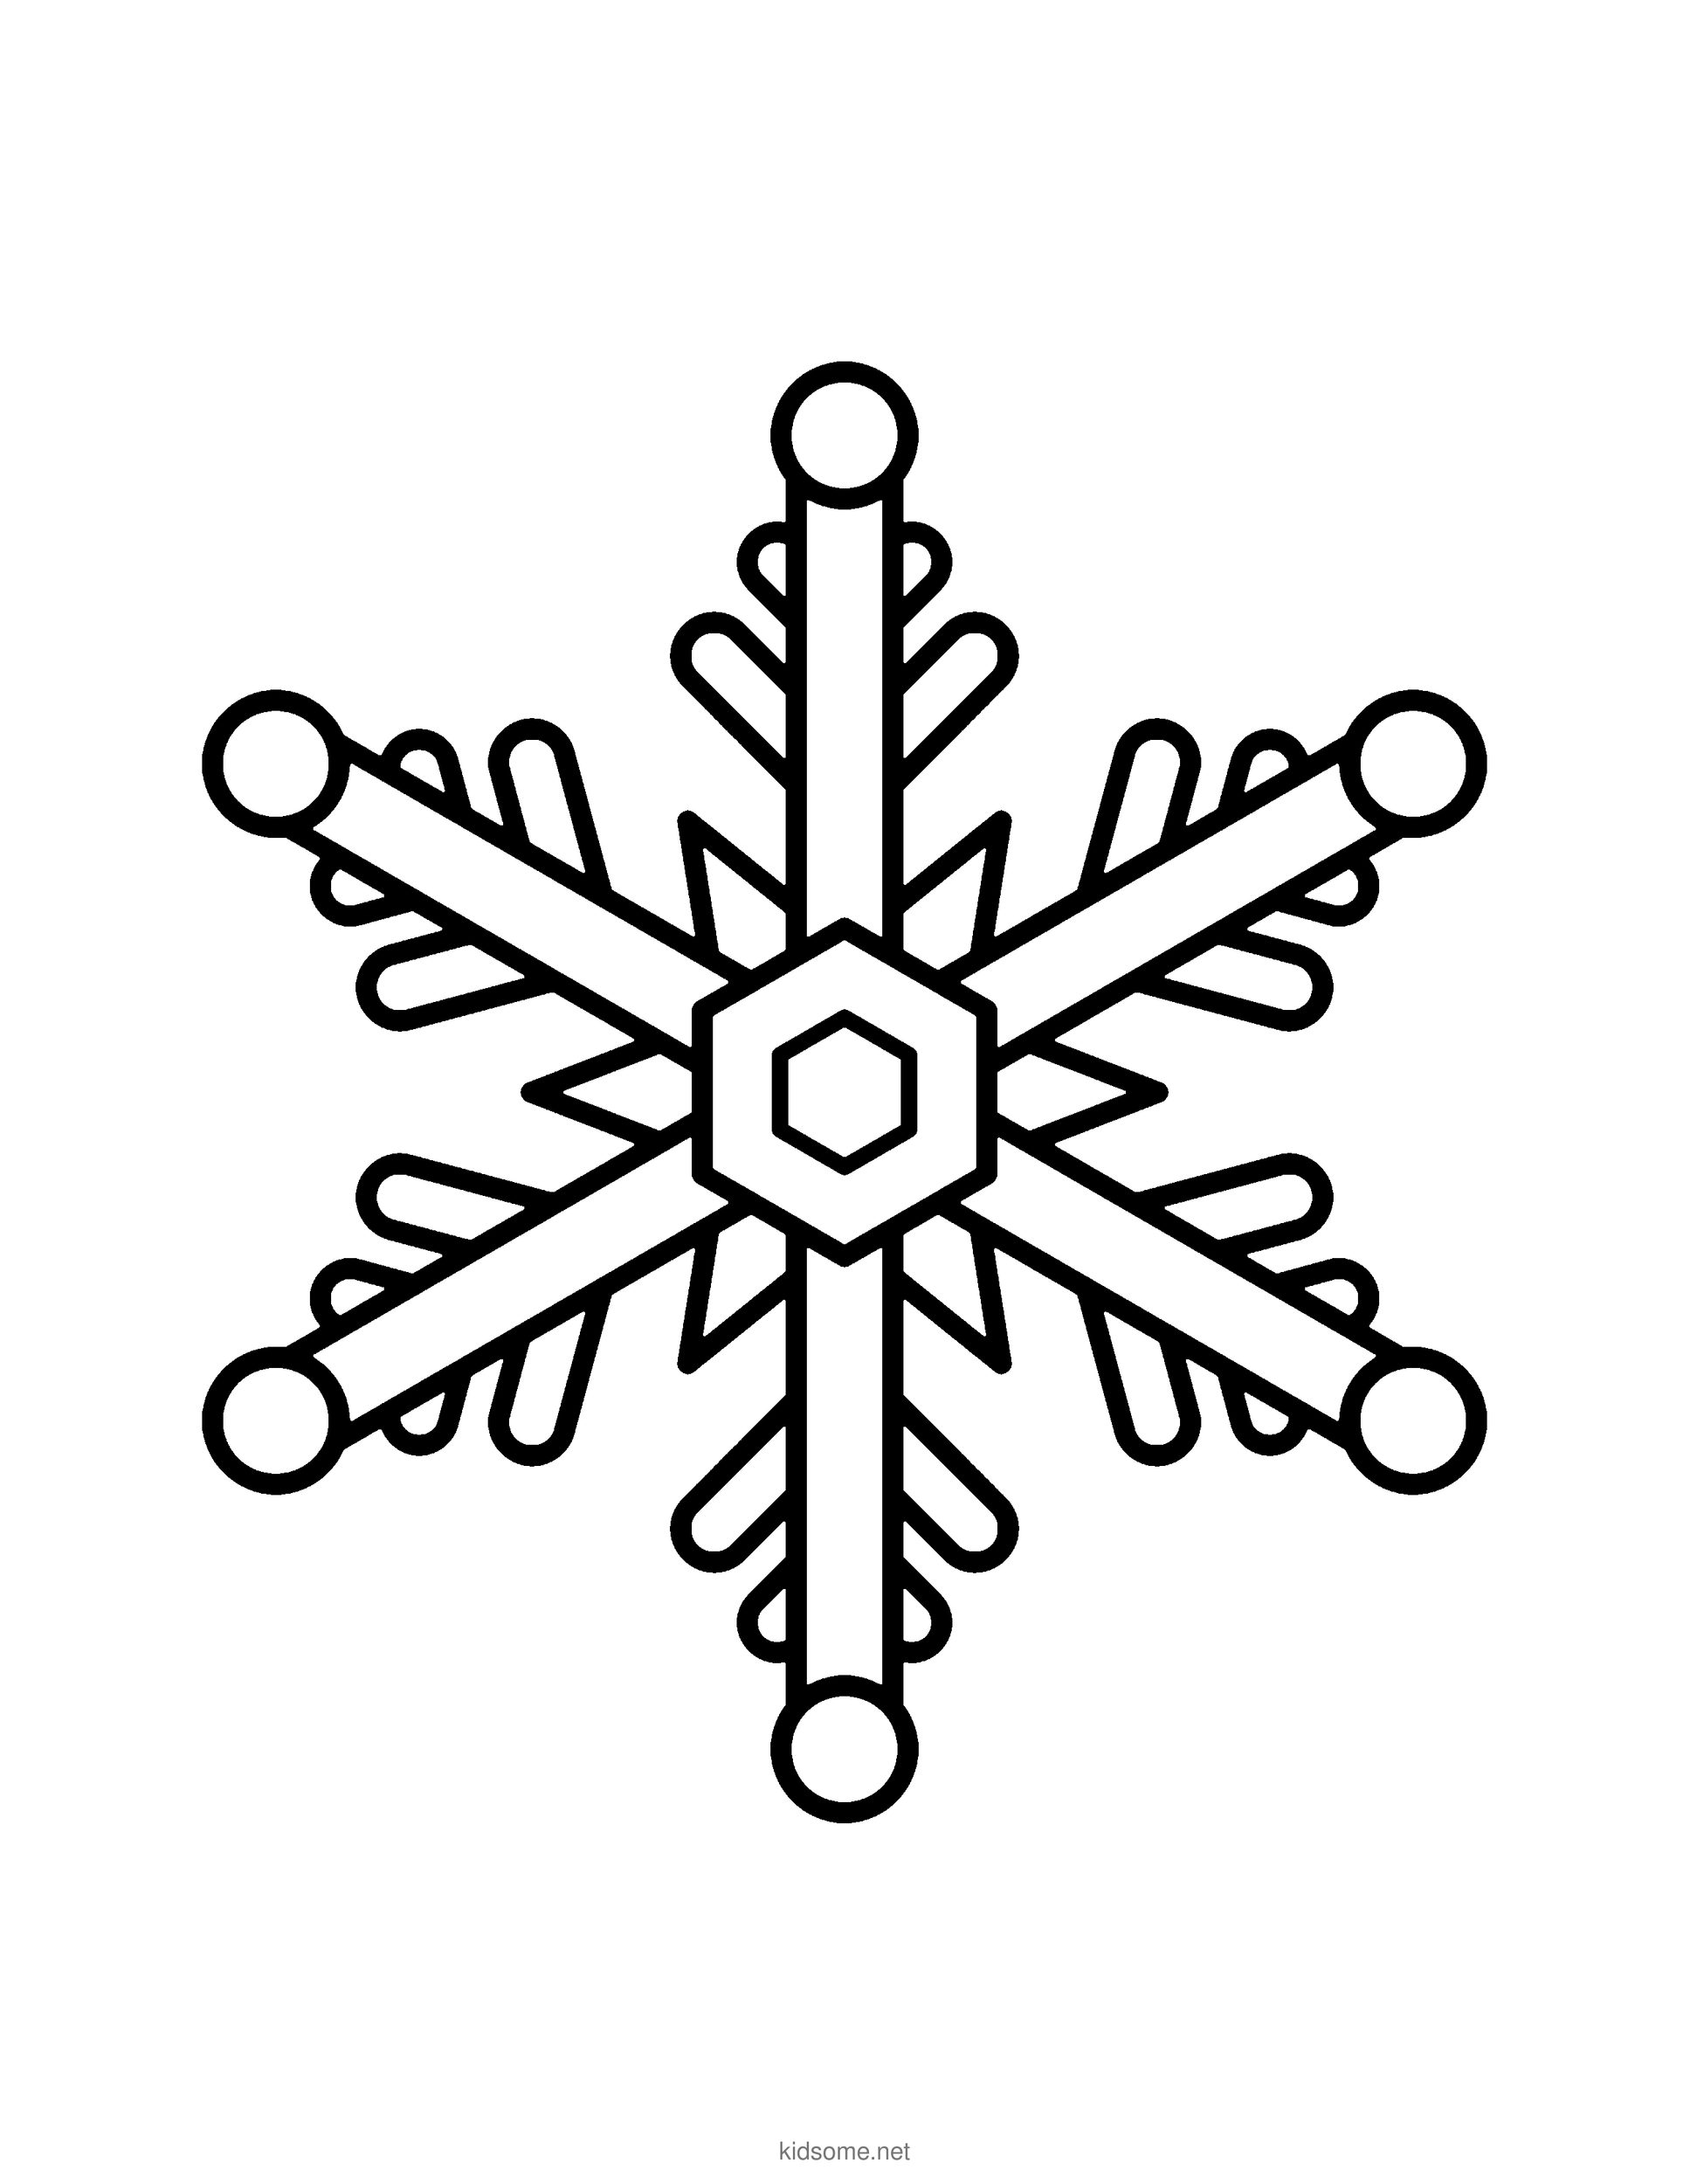
Six Arm Snowflake Outline to Color
The finished snowflake as a clean outline to color, with the colored snowflake on page two.
Download PDF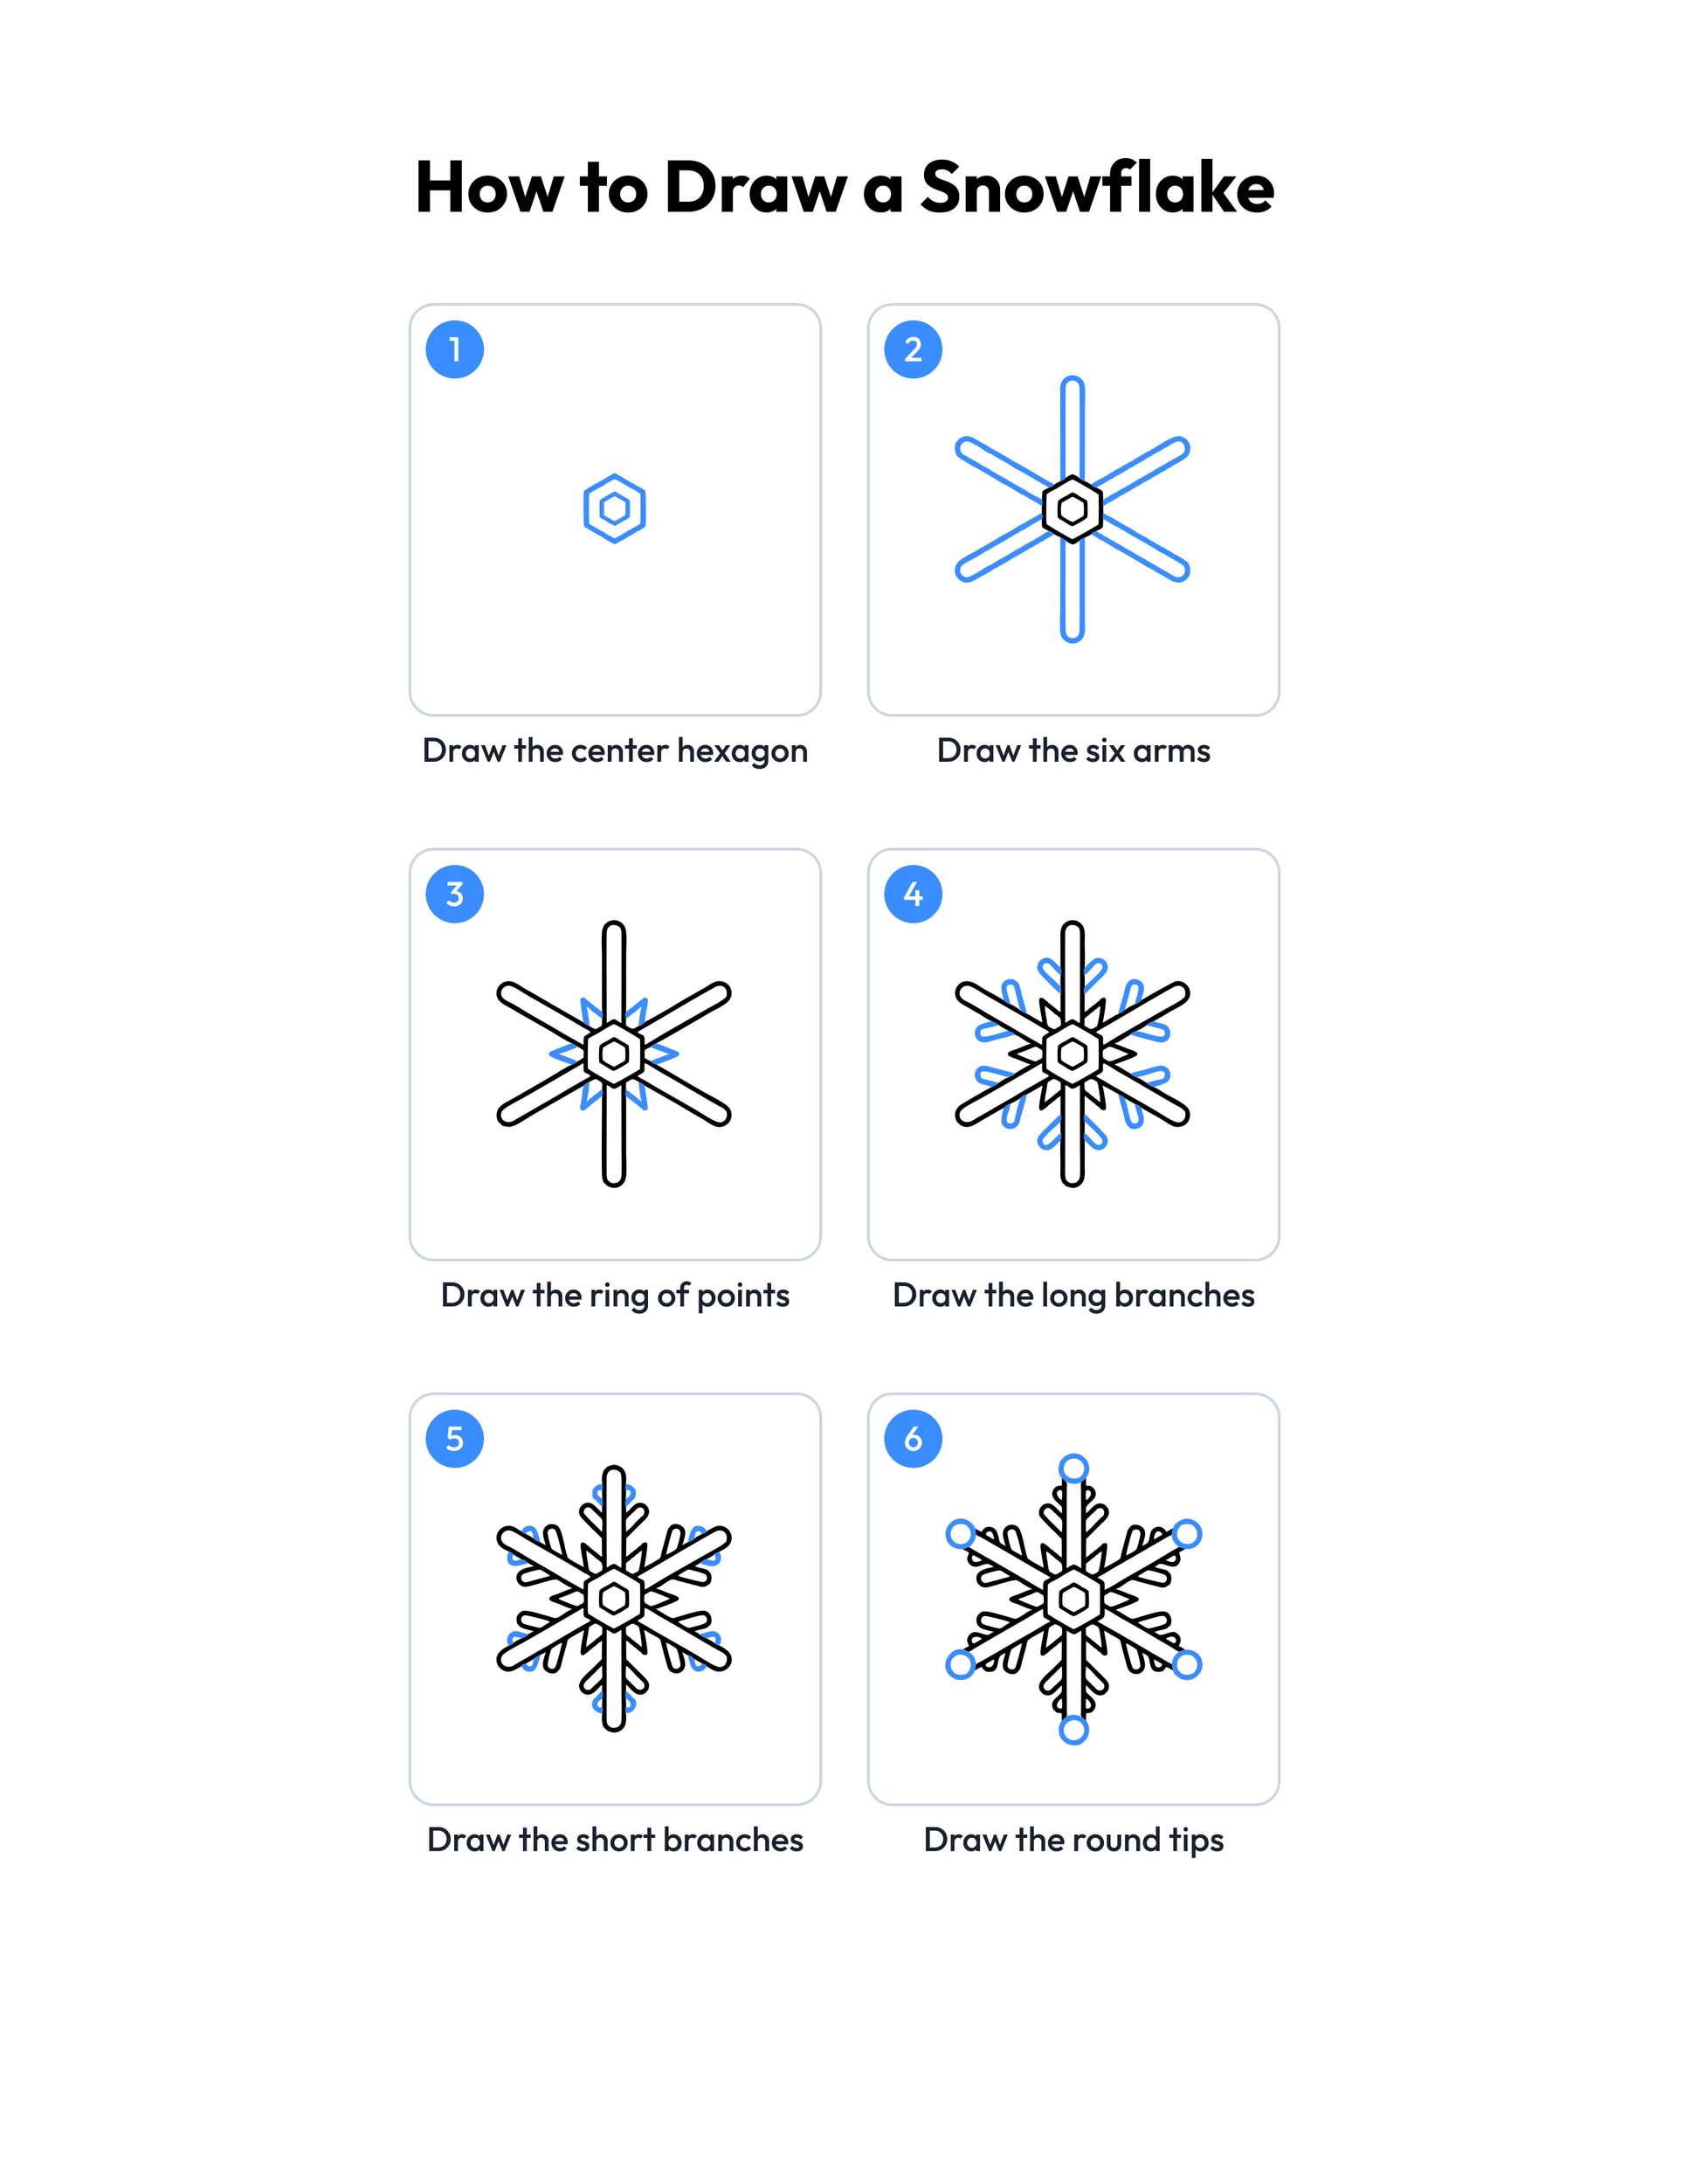 Save
Printable snowflake drawing guide
Every step, two to a row, with the finished snowflake in color at the end.
Download PDFHow to use this guide
You can follow the steps on the screen, or print the step guide and keep it beside the paper. Print at 100 percent, or actual size, so the pictures stay clear. Plain printer paper is fine for pencils and crayons, and cardstock is better if your child likes markers or wants to cut the snowflake out.
Give kids a pencil first and ask them to press lightly. Light lines are easy to fix, and the eraser can clean up any bumps before coloring. Once the snowflake looks right, they can trace over the lines with a black crayon or marker so the shape stands out.
The second step, the six arms, matters most. Draw one long arm straight up and down through the hexagon, then two more that cross it like a big letter X, so the six ends are spaced evenly round the middle. A ruler helps older kids keep the arms straight, but a slightly wobbly arm still looks like a real snowflake, since no two snowflakes are the same.
The branches in steps four and five are the same small V shape drawn again and again. Draw the long branches near the middle of every arm first, then the short ones nearer the tips. Turn the paper as you go so each V points out the same way. When you know how to draw snowflakes this way, kids can try two or three on one page, each with a different number of branches.
Ideas for your snowflake drawing
- Draw a snowflake on white cardstock, color it, cut it out and hang it in a window with a piece of tape. A row of them makes a snowy window all winter.
- Make a snowflake garland. Each child draws two or three small snowflakes, cuts them out and tapes them along a long piece of string to hang across the classroom.
- Turn the guide into a counting game. Kids count the six arms, the six points round the hexagon and the six round tips, then write each number beside their drawing.
- Talk about symmetry. Fold a finished drawing in half and check whether both sides match, then look for the same shape repeating on every one of the six arms.
- Draw snowflakes on dark blue or black paper with a white crayon or chalk. The bright lines on a dark sky make a lovely night scene to pin on the wall.
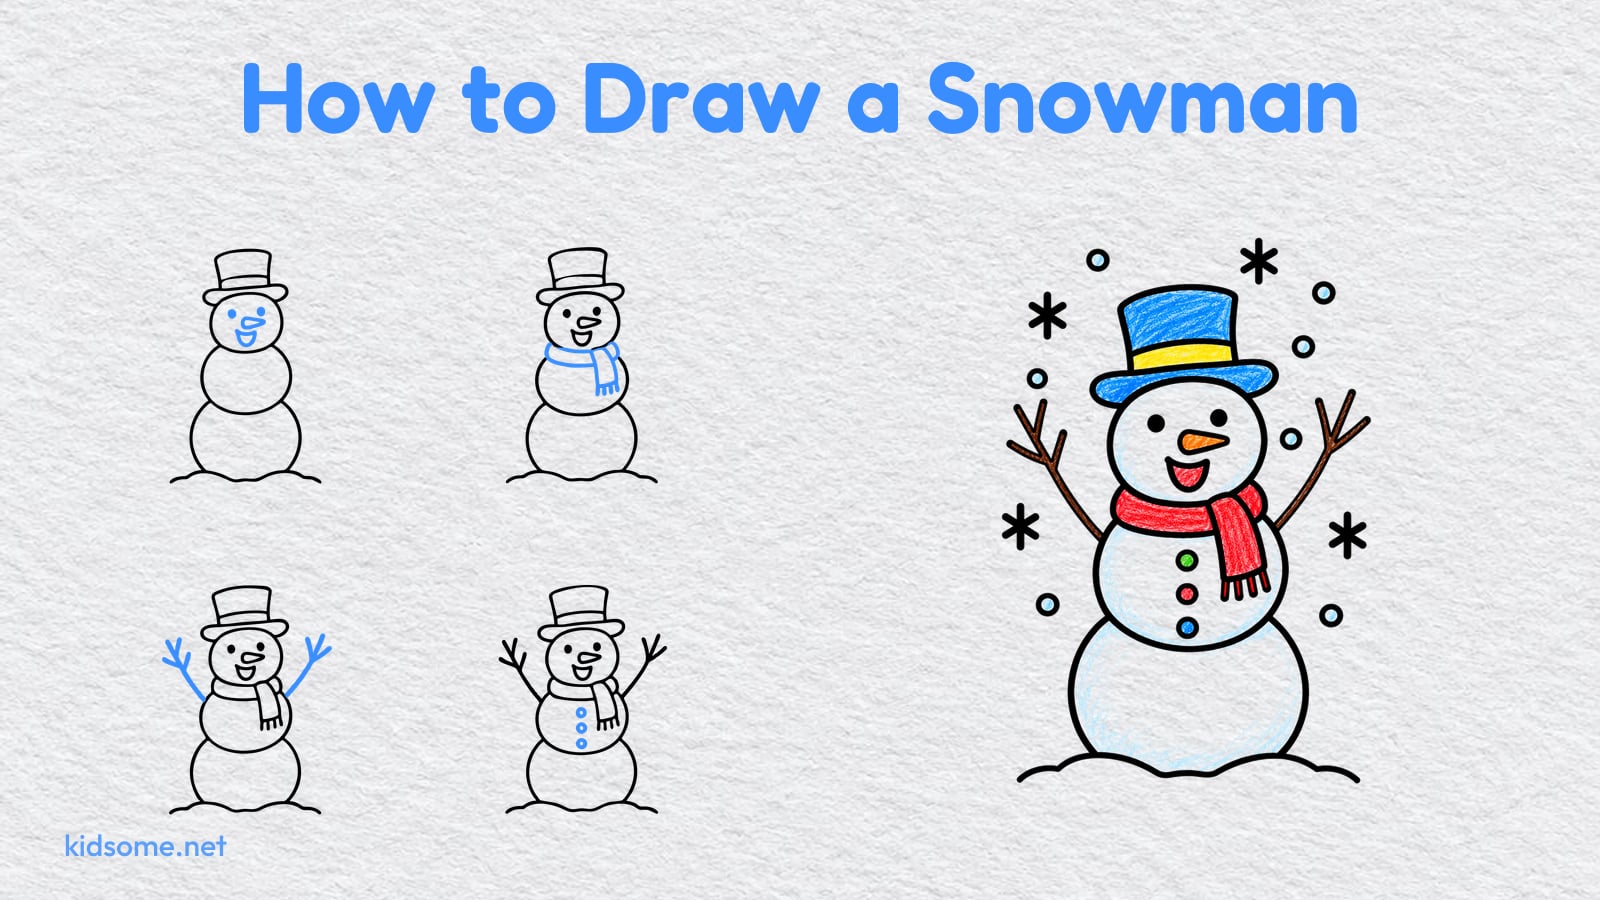
- Pair the drawing with our snowman drawing guide so kids can draw a snowman and a sky full of snowflakes falling around him on one page.
- Make a snowflake card. Glue a colored snowflake onto folded cardstock and write a short winter note inside for a friend, a teacher or a grandparent.
- On a snowy day, catch real snowflakes on a dark mitten or a piece of black paper and look at them closely, then compare them with the drawing.
- After drawing, color a picture from our winter coloring pages and add a small hand drawn snowflake in one corner to sign it, the way an artist signs a finished painting.
What age is this snowflake drawing guide for?
It is made for kids ages 4 to 8. Younger children can draw the hexagon, the six arms and the tip dots, and a grown up can help with the small branches. Older kids can follow all six steps on their own and then try snowflakes of their own design.
Is this snowflake drawing easy for beginners?
Yes. Every part is a simple shape: a hexagon, straight lines, small V shapes and circles. Each step adds only one kind of shape, shown in blue, and the same shape repeats on all six arms, so once a child has drawn one branch the rest come quickly.
Do kids need a ruler?
No. A ruler helps older kids draw neat, straight arms, but a freehand snowflake looks just as good. Real snowflakes are never perfect, so a slightly wobbly arm or a branch that leans a little only makes the drawing look more natural.
How do I print the outline and the step guide?
Click the download button under the outline or the step guide to open its PDF, then print at 100 percent or actual size. Both fit US Letter and A4 paper. Use plain paper for pencils and crayons, and cardstock if you want to color with markers or cut the snowflake out.
Can I use this guide in my classroom?
Yes. The guide and outline are free for personal and classroom use, so you can print as many copies as your class needs for an art lesson, a winter center or a weather unit. Please do not sell them or share the PDFs on another site. Linking to this page is welcome.