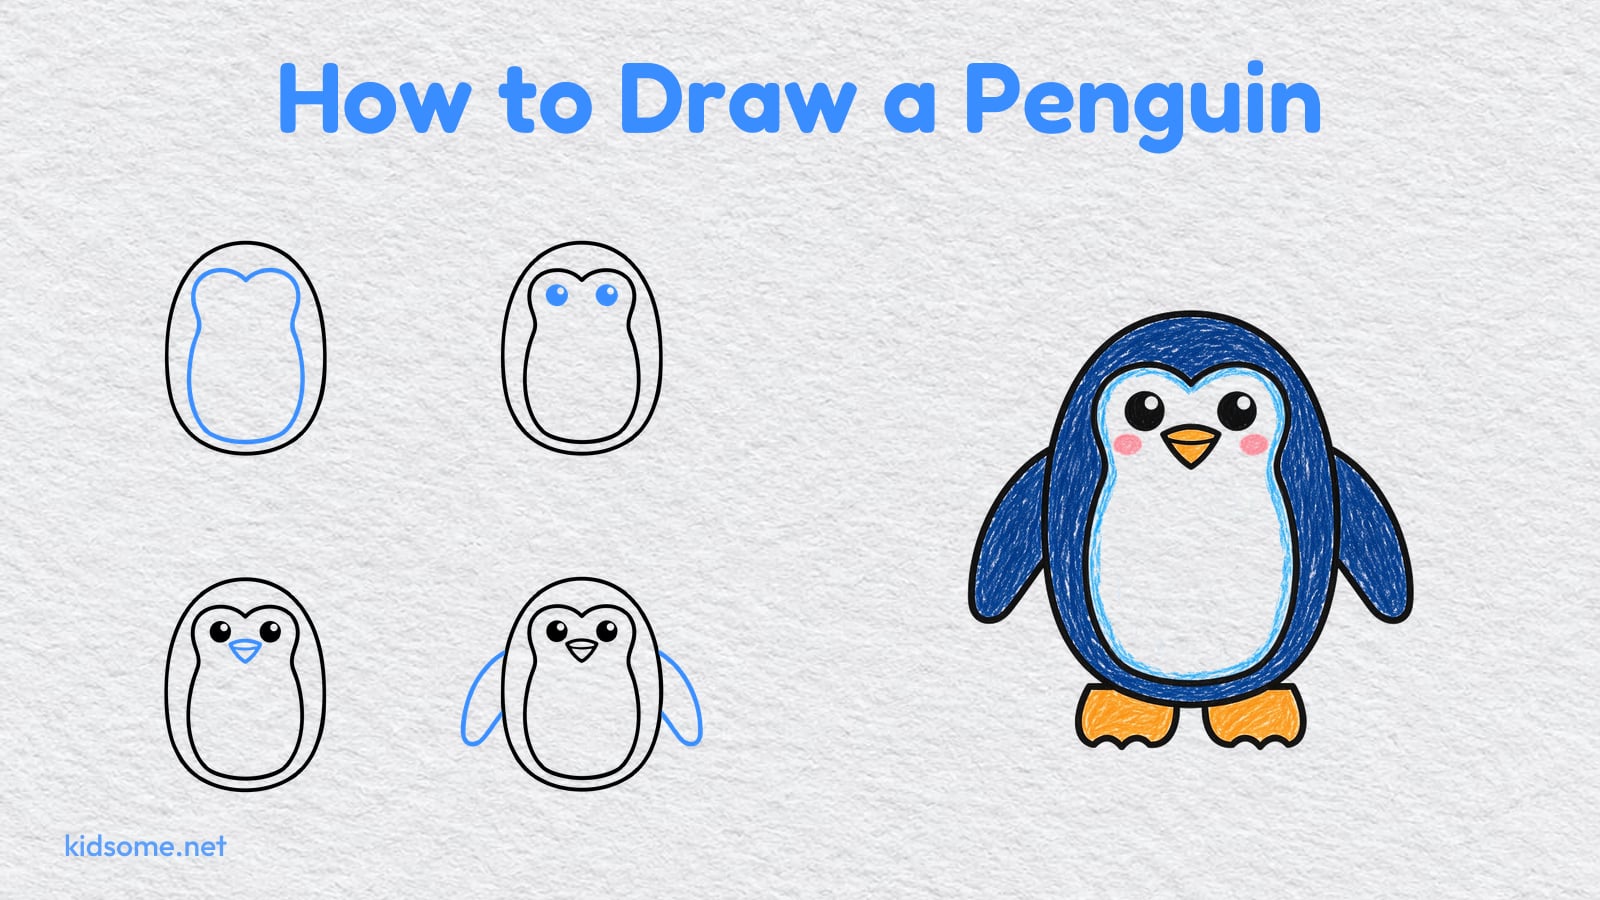
This guide shows kids ages 4 to 8 how to draw a penguin in six short steps. It starts with one big oval, and by the last step that oval has become a round, friendly penguin with a white tummy, shiny eyes, a little beak, two flippers and wide feet. Each step shows the whole drawing so far in black, with the new line in blue, so kids always know exactly what to add next.
If your child has been asking how to draw a cute penguin, this one is made for small hands: every shape is simple, nothing needs a ruler, and a wobbly line still looks like a penguin. Parents and teachers can draw along on their own paper, one step at a time.
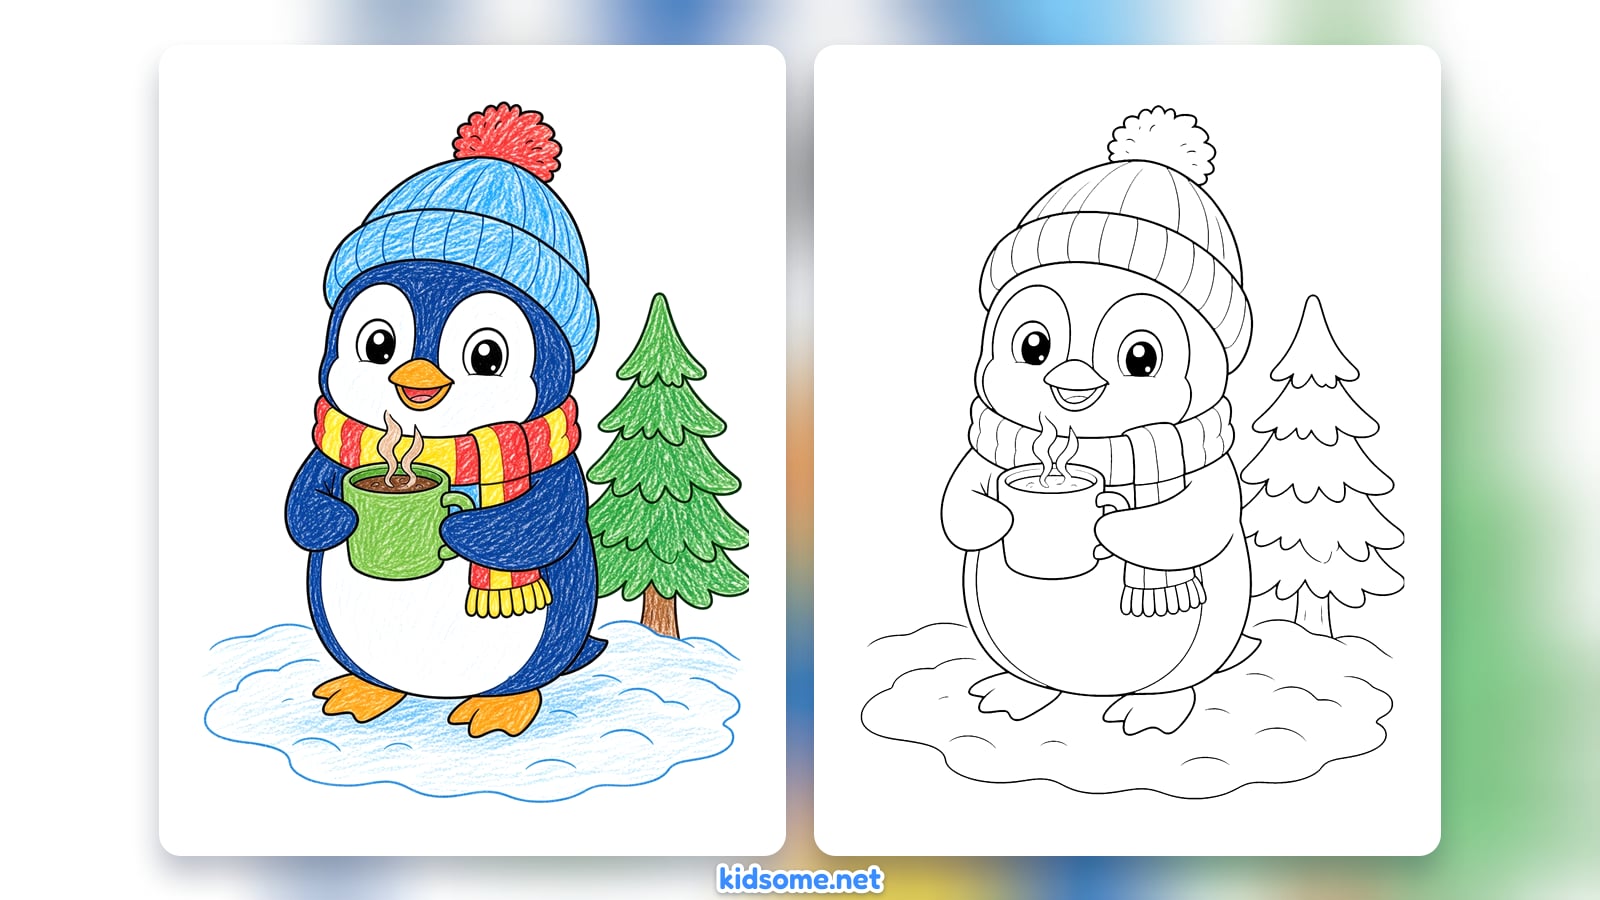
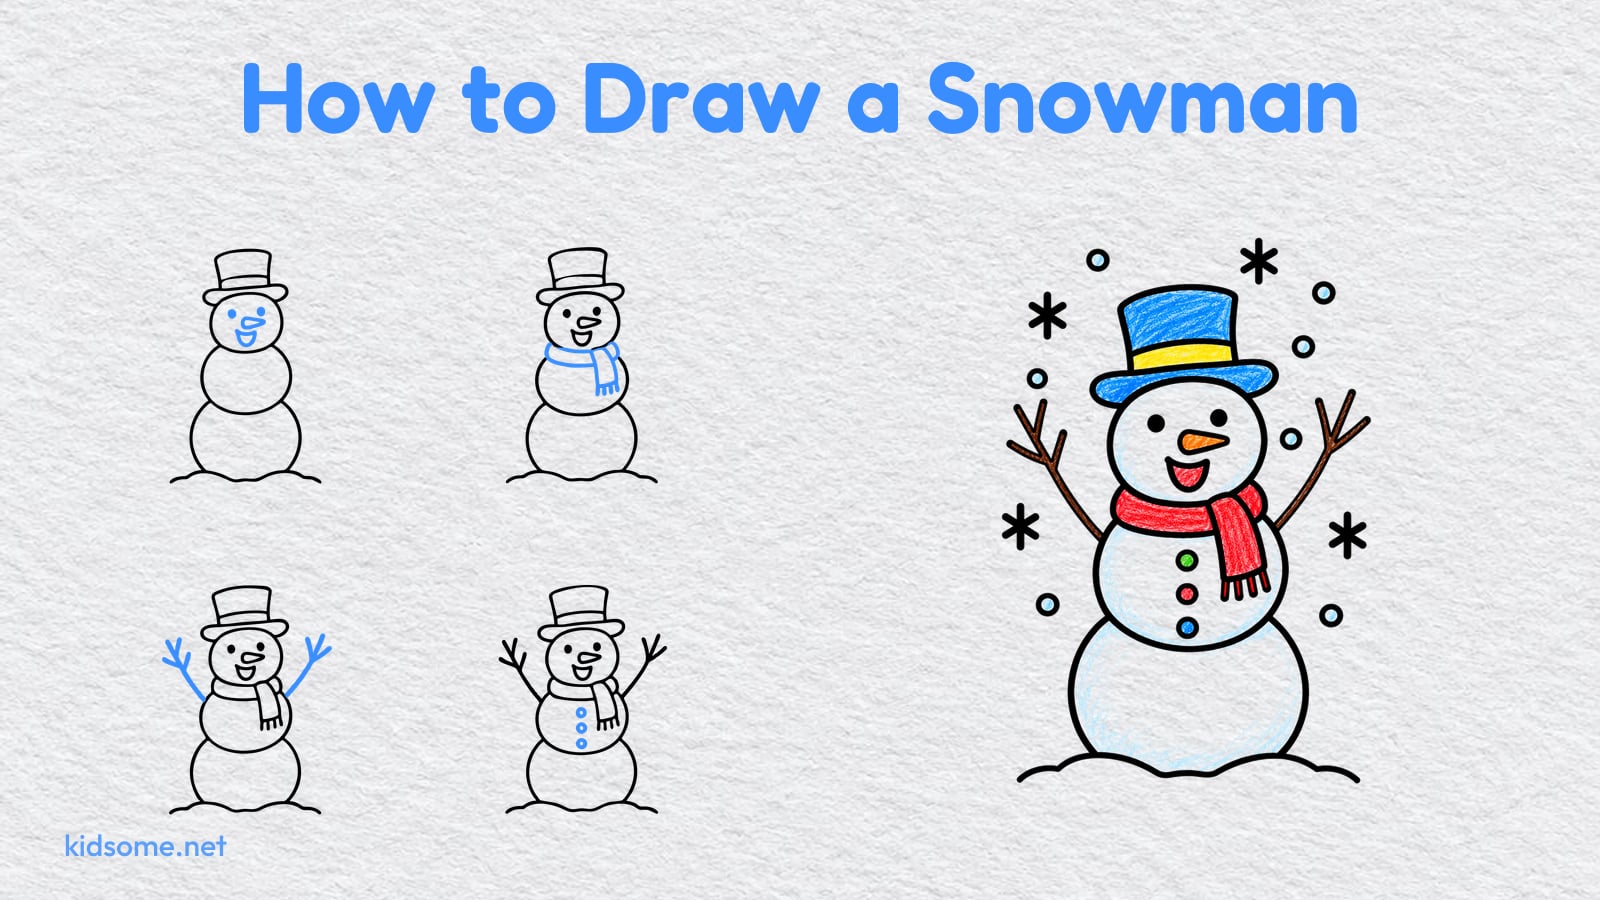
When the drawing is done, there is a clean penguin outline to print and color, and a colored example to copy or change. Everything is a free PDF that prints on US Letter and A4, with no sign-up. For another snowy friend, try our snowman drawing guide.
-
Step 1 : Draw the body

Start with a big oval in the middle of your paper, a little taller than it is wide. This is the penguin's body. Go slowly, and do not worry if it is a bit wobbly.
-
Step 2 : Draw the tummy and face
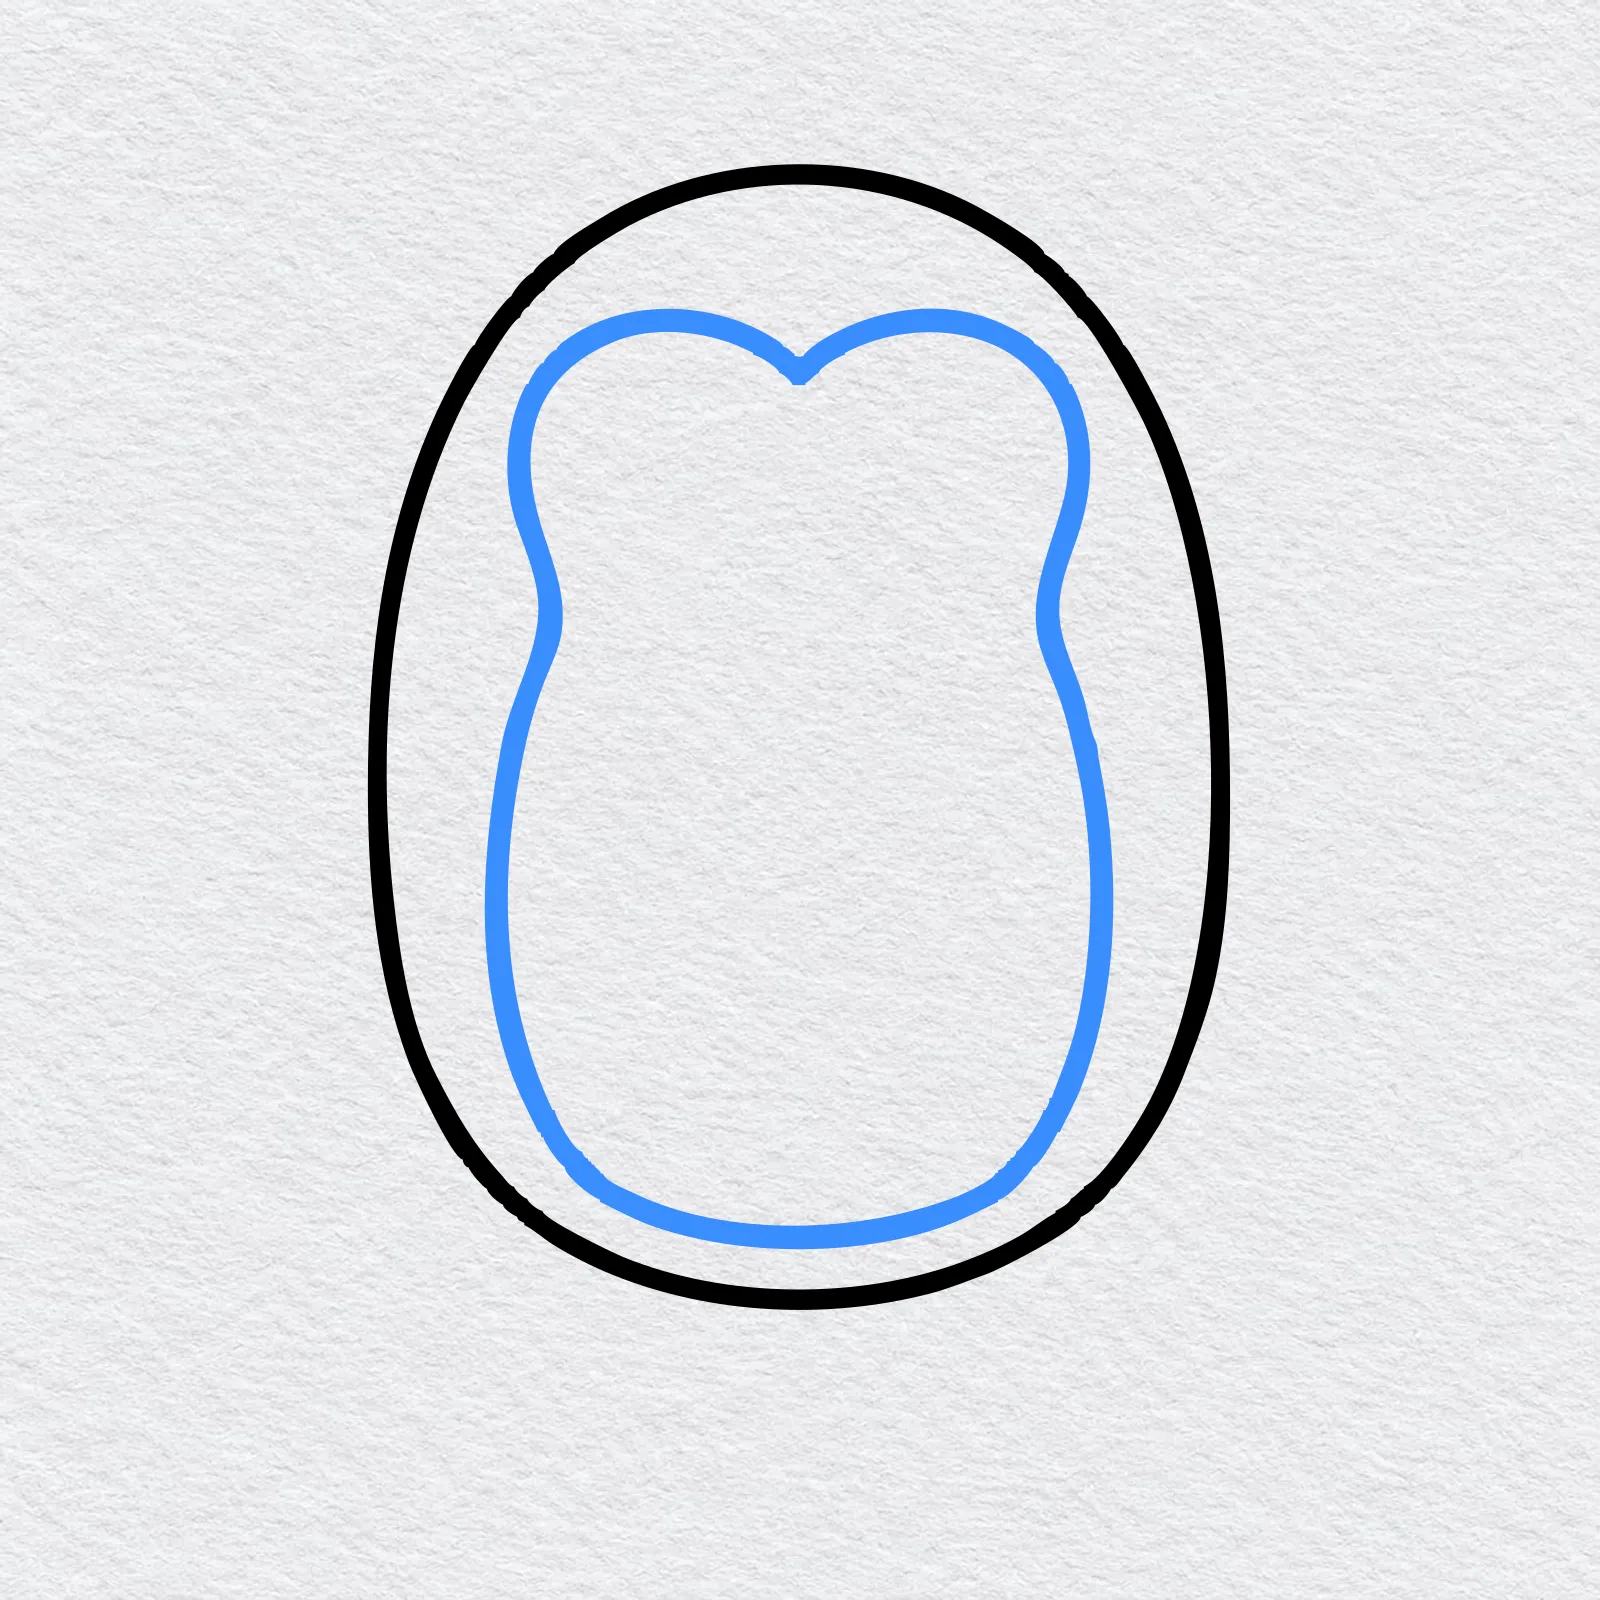
Inside the oval, draw a second shape for the white tummy. Give it a little dip at the top, like the top of a heart, so it makes the face. Leave a space all round it.
-
Step 3 : Draw the eyes
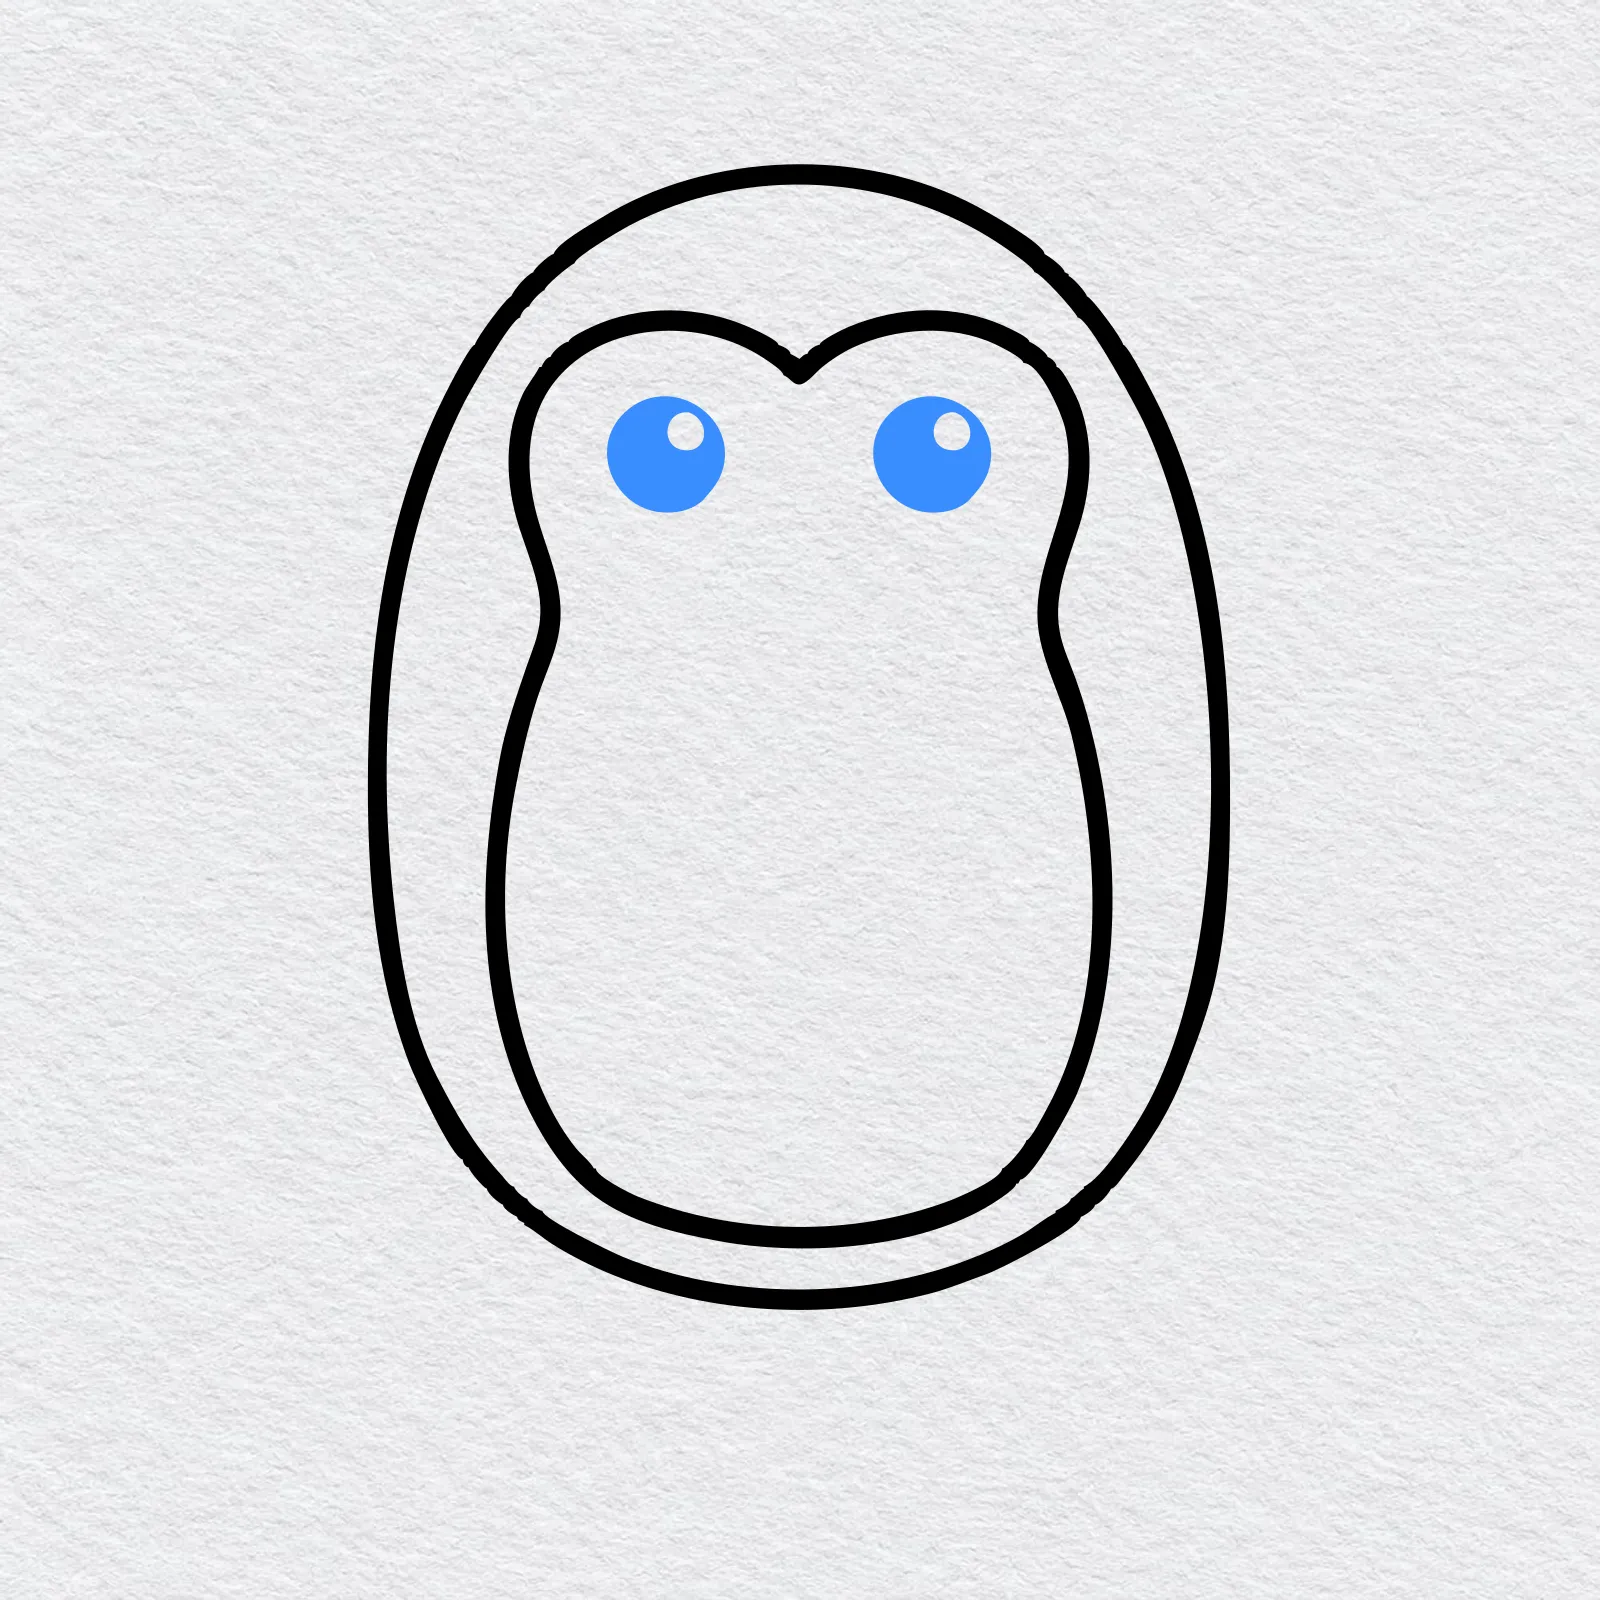
Near the top of the face, draw two round eyes, one on each side of the dip. Color them in dark and leave a tiny white dot in each one so they shine.
-
Step 4 : Draw the beak
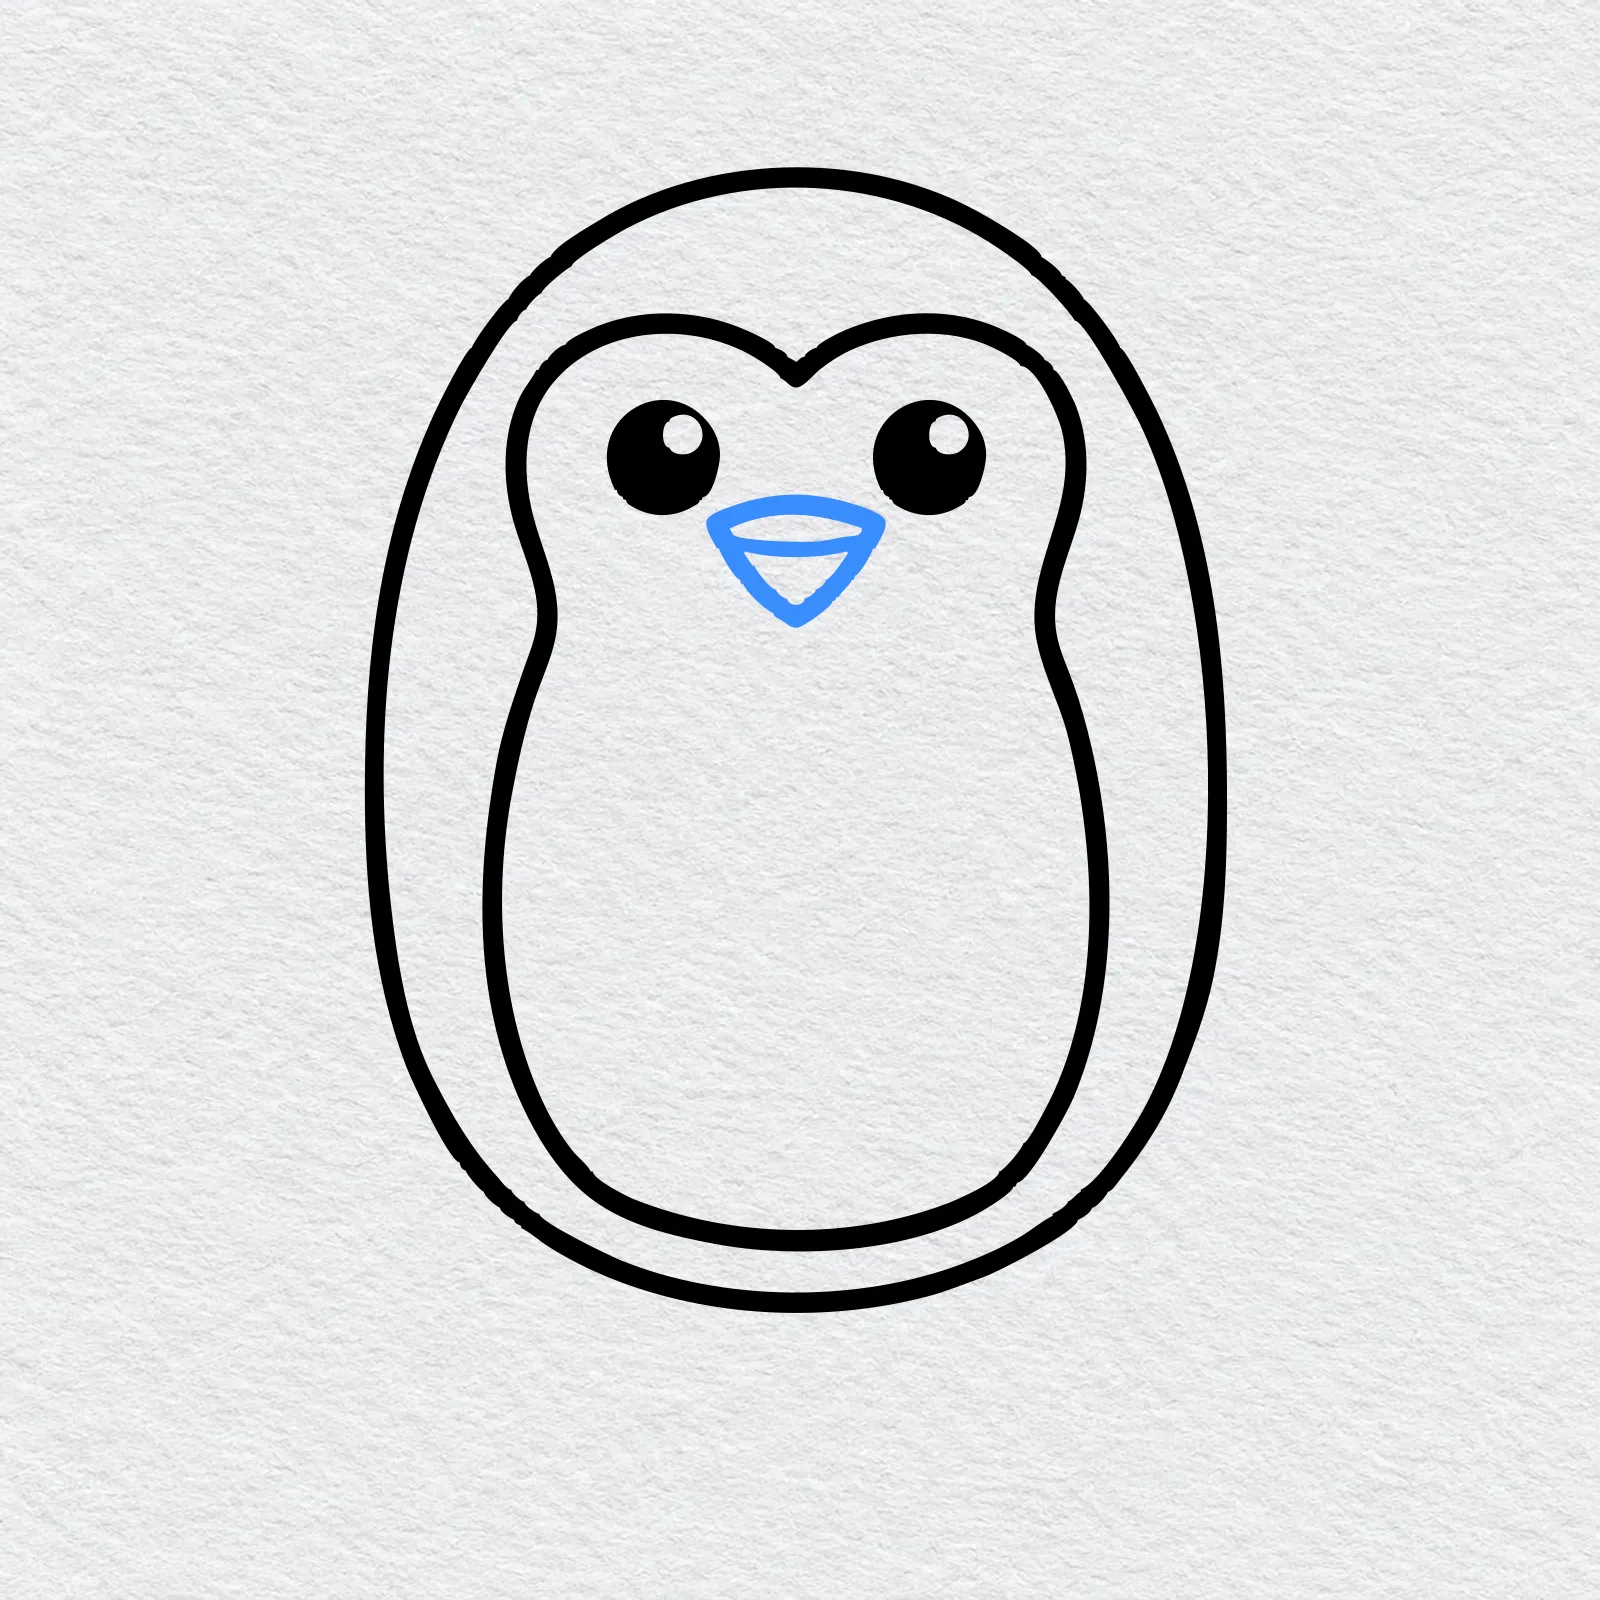
Between the eyes and a little lower, draw a small beak shaped like a triangle pointing down. Add a short line across the middle so it looks like it can open.
-
Step 5 : Draw the flippers
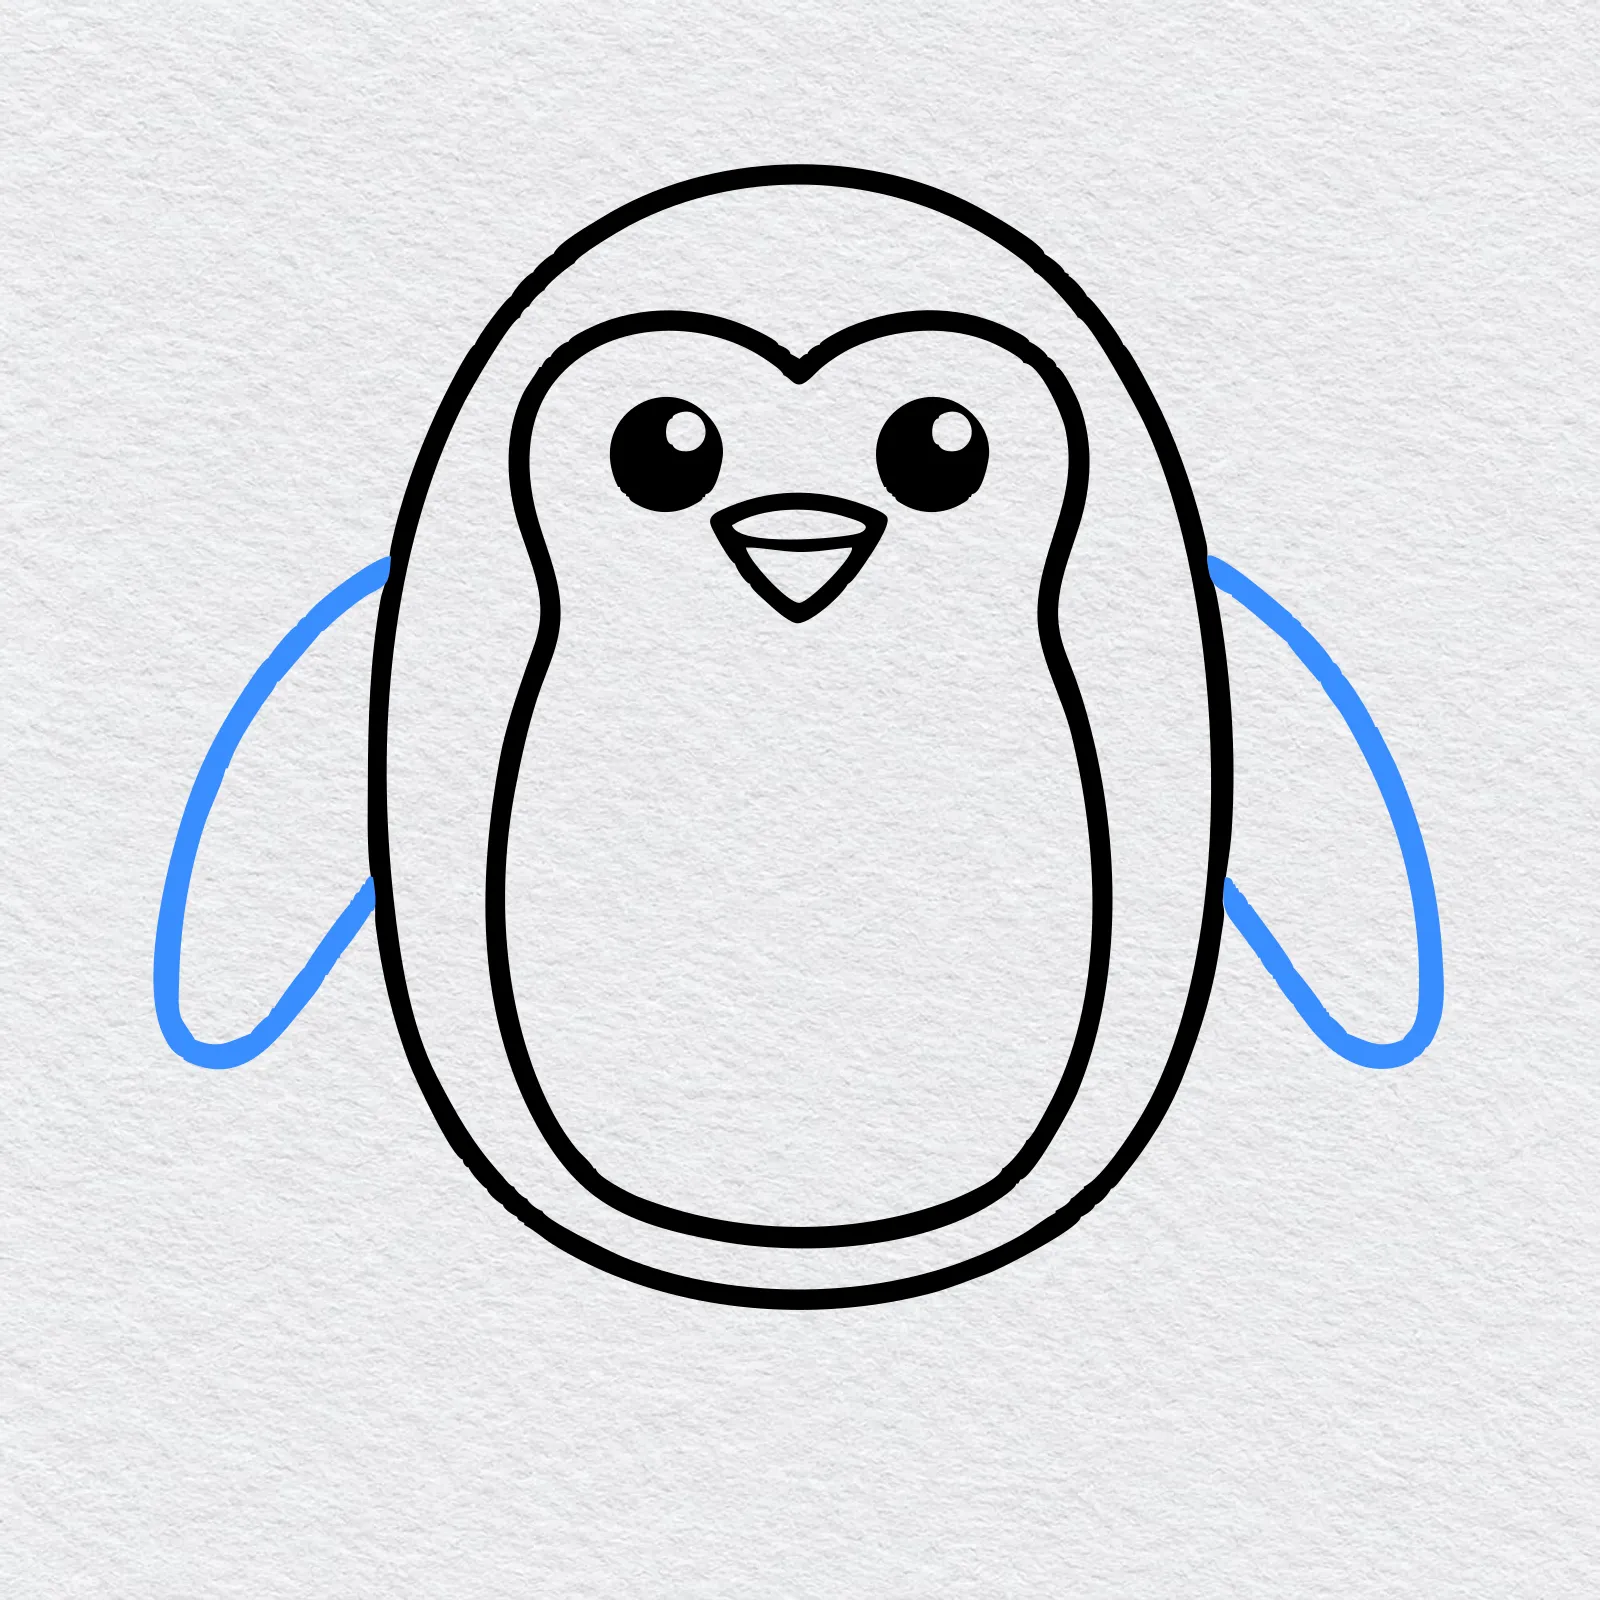
On each side of the body, draw a long curved flipper that comes out from behind the oval and points down and out, like the penguin is ready to flap.
-
Step 6 : Draw the feet
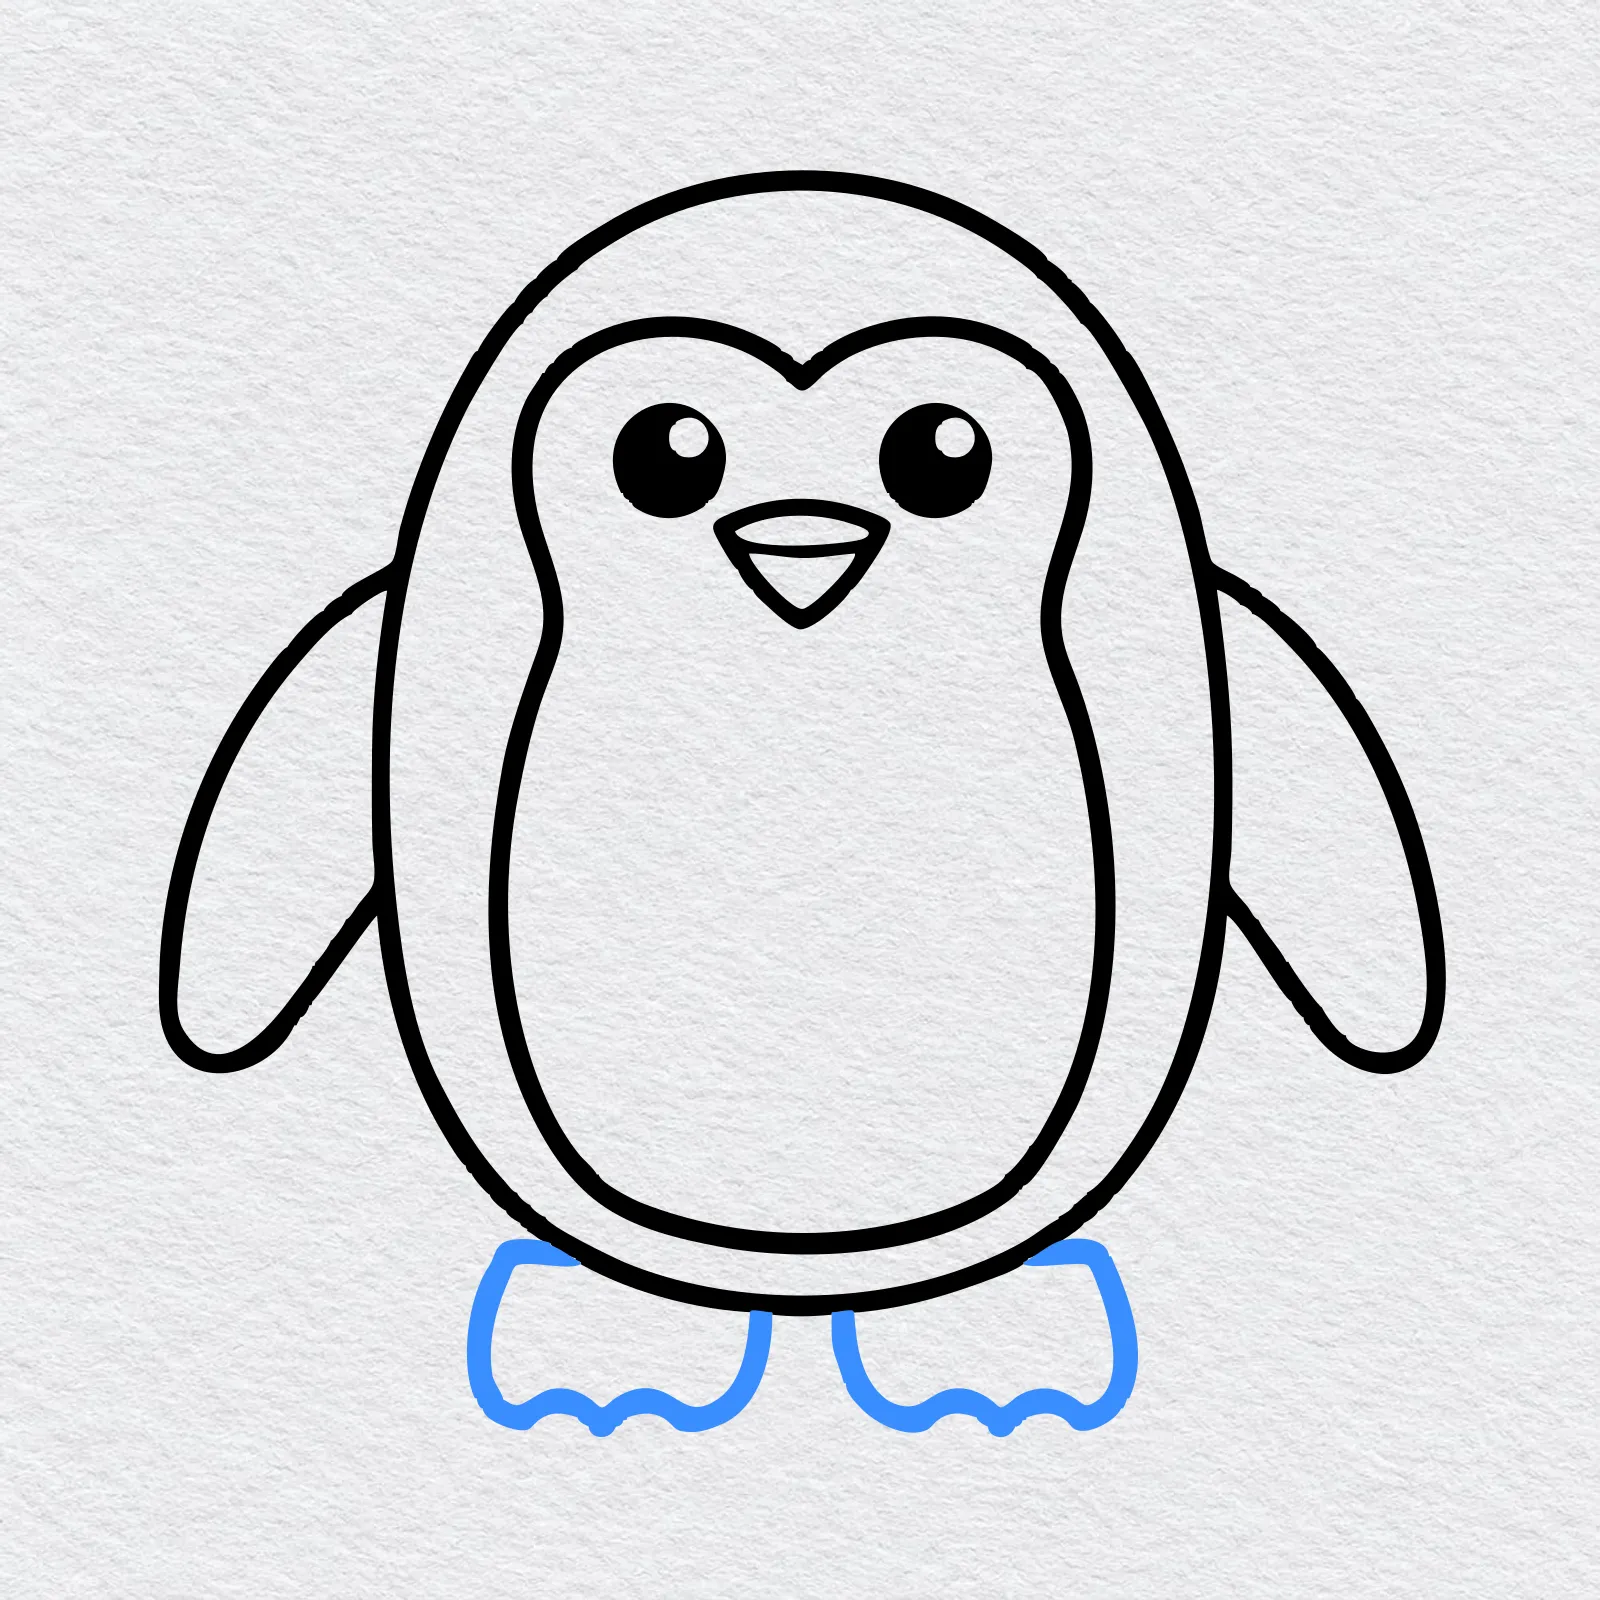
Under the body, draw two short, wide feet. Give each one a wavy line at the front for the toes. Your penguin is finished.
-
Step 7 : Color your penguin
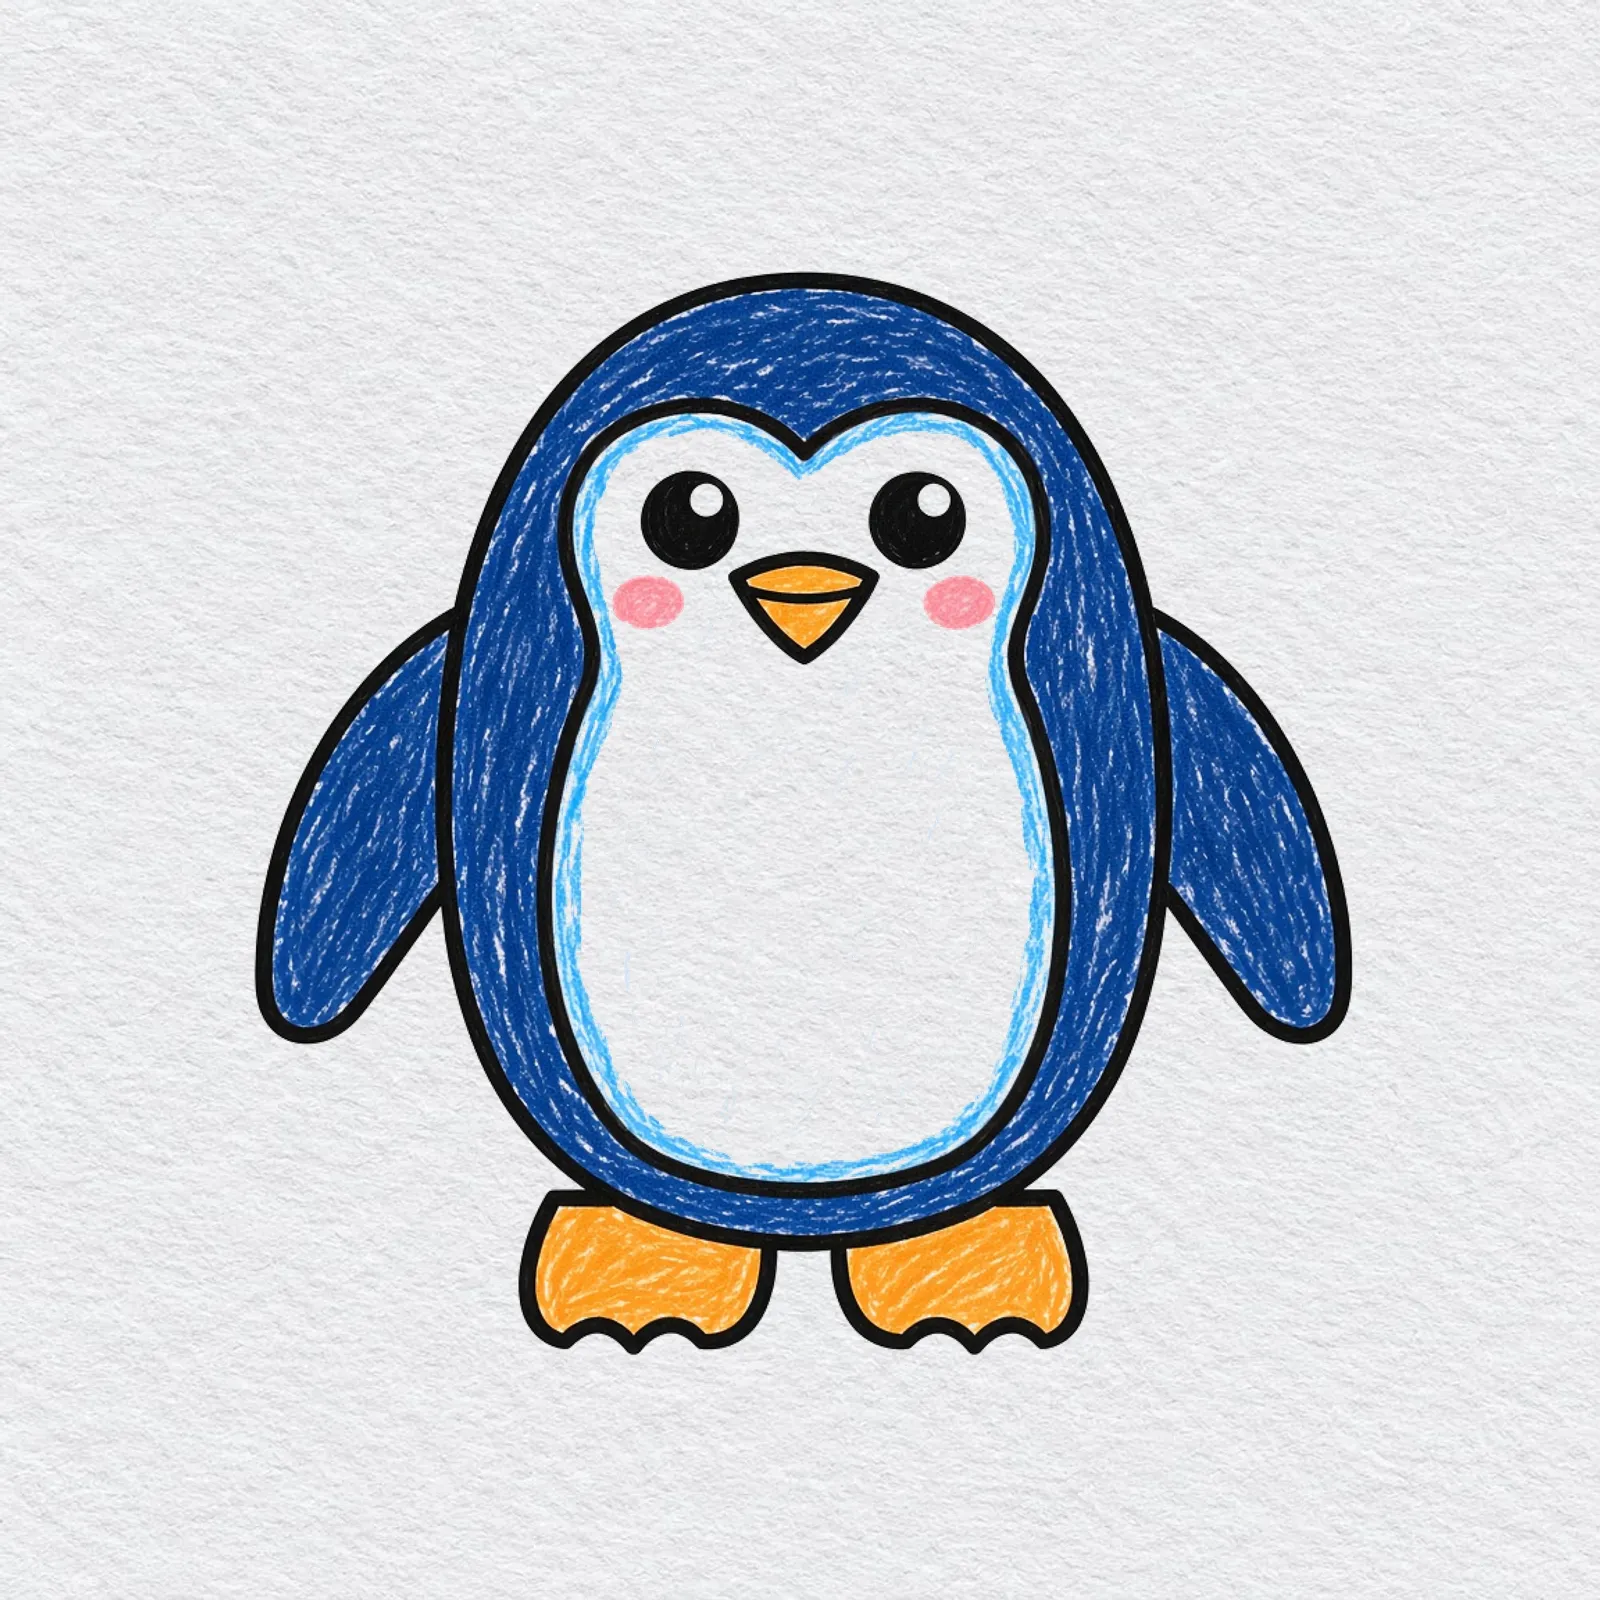
Pick a dark blue or black for the back and flippers, and leave the tummy white or shade it with a little pale blue. Orange works well for the beak and feet, and a touch of pink on the cheeks makes a happy face.
Go slowly and press lightly first. You can always add more color, but it is hard to take it away.
Printable penguin drawing PDFs
 Save
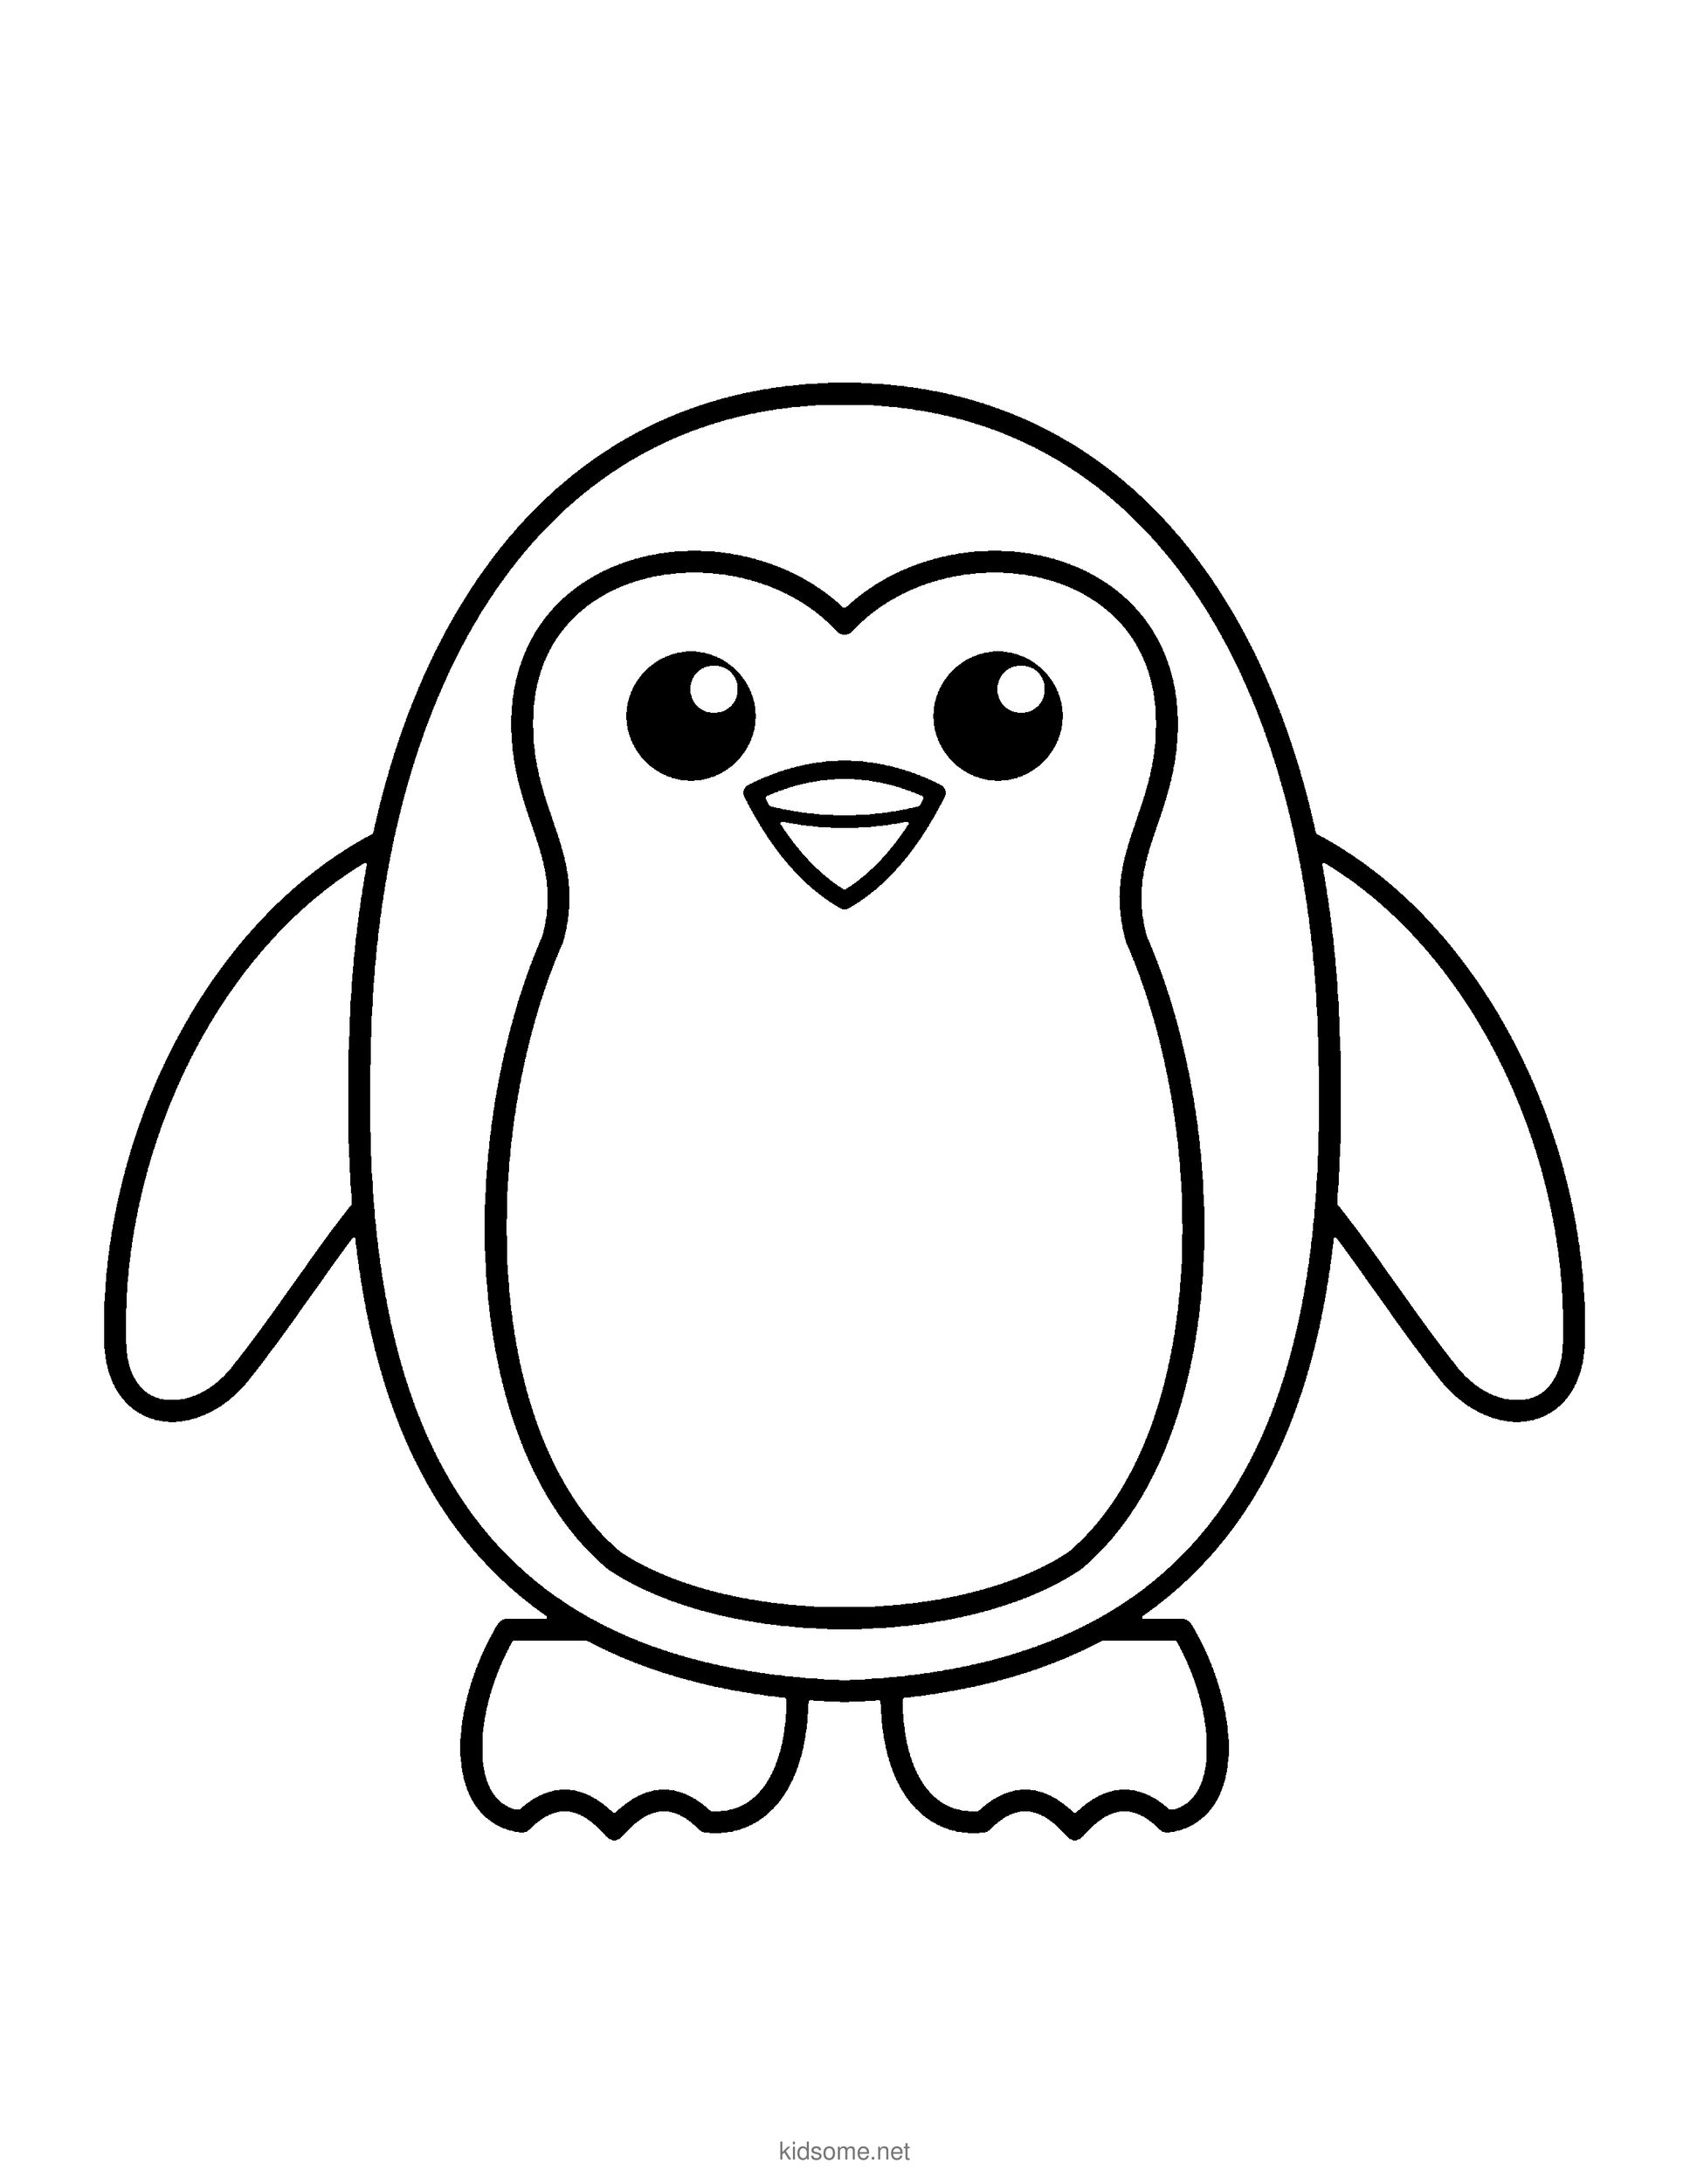
Friendly Penguin Outline to Color
The finished penguin as a clean outline to color, with the colored penguin on page two.
Download PDF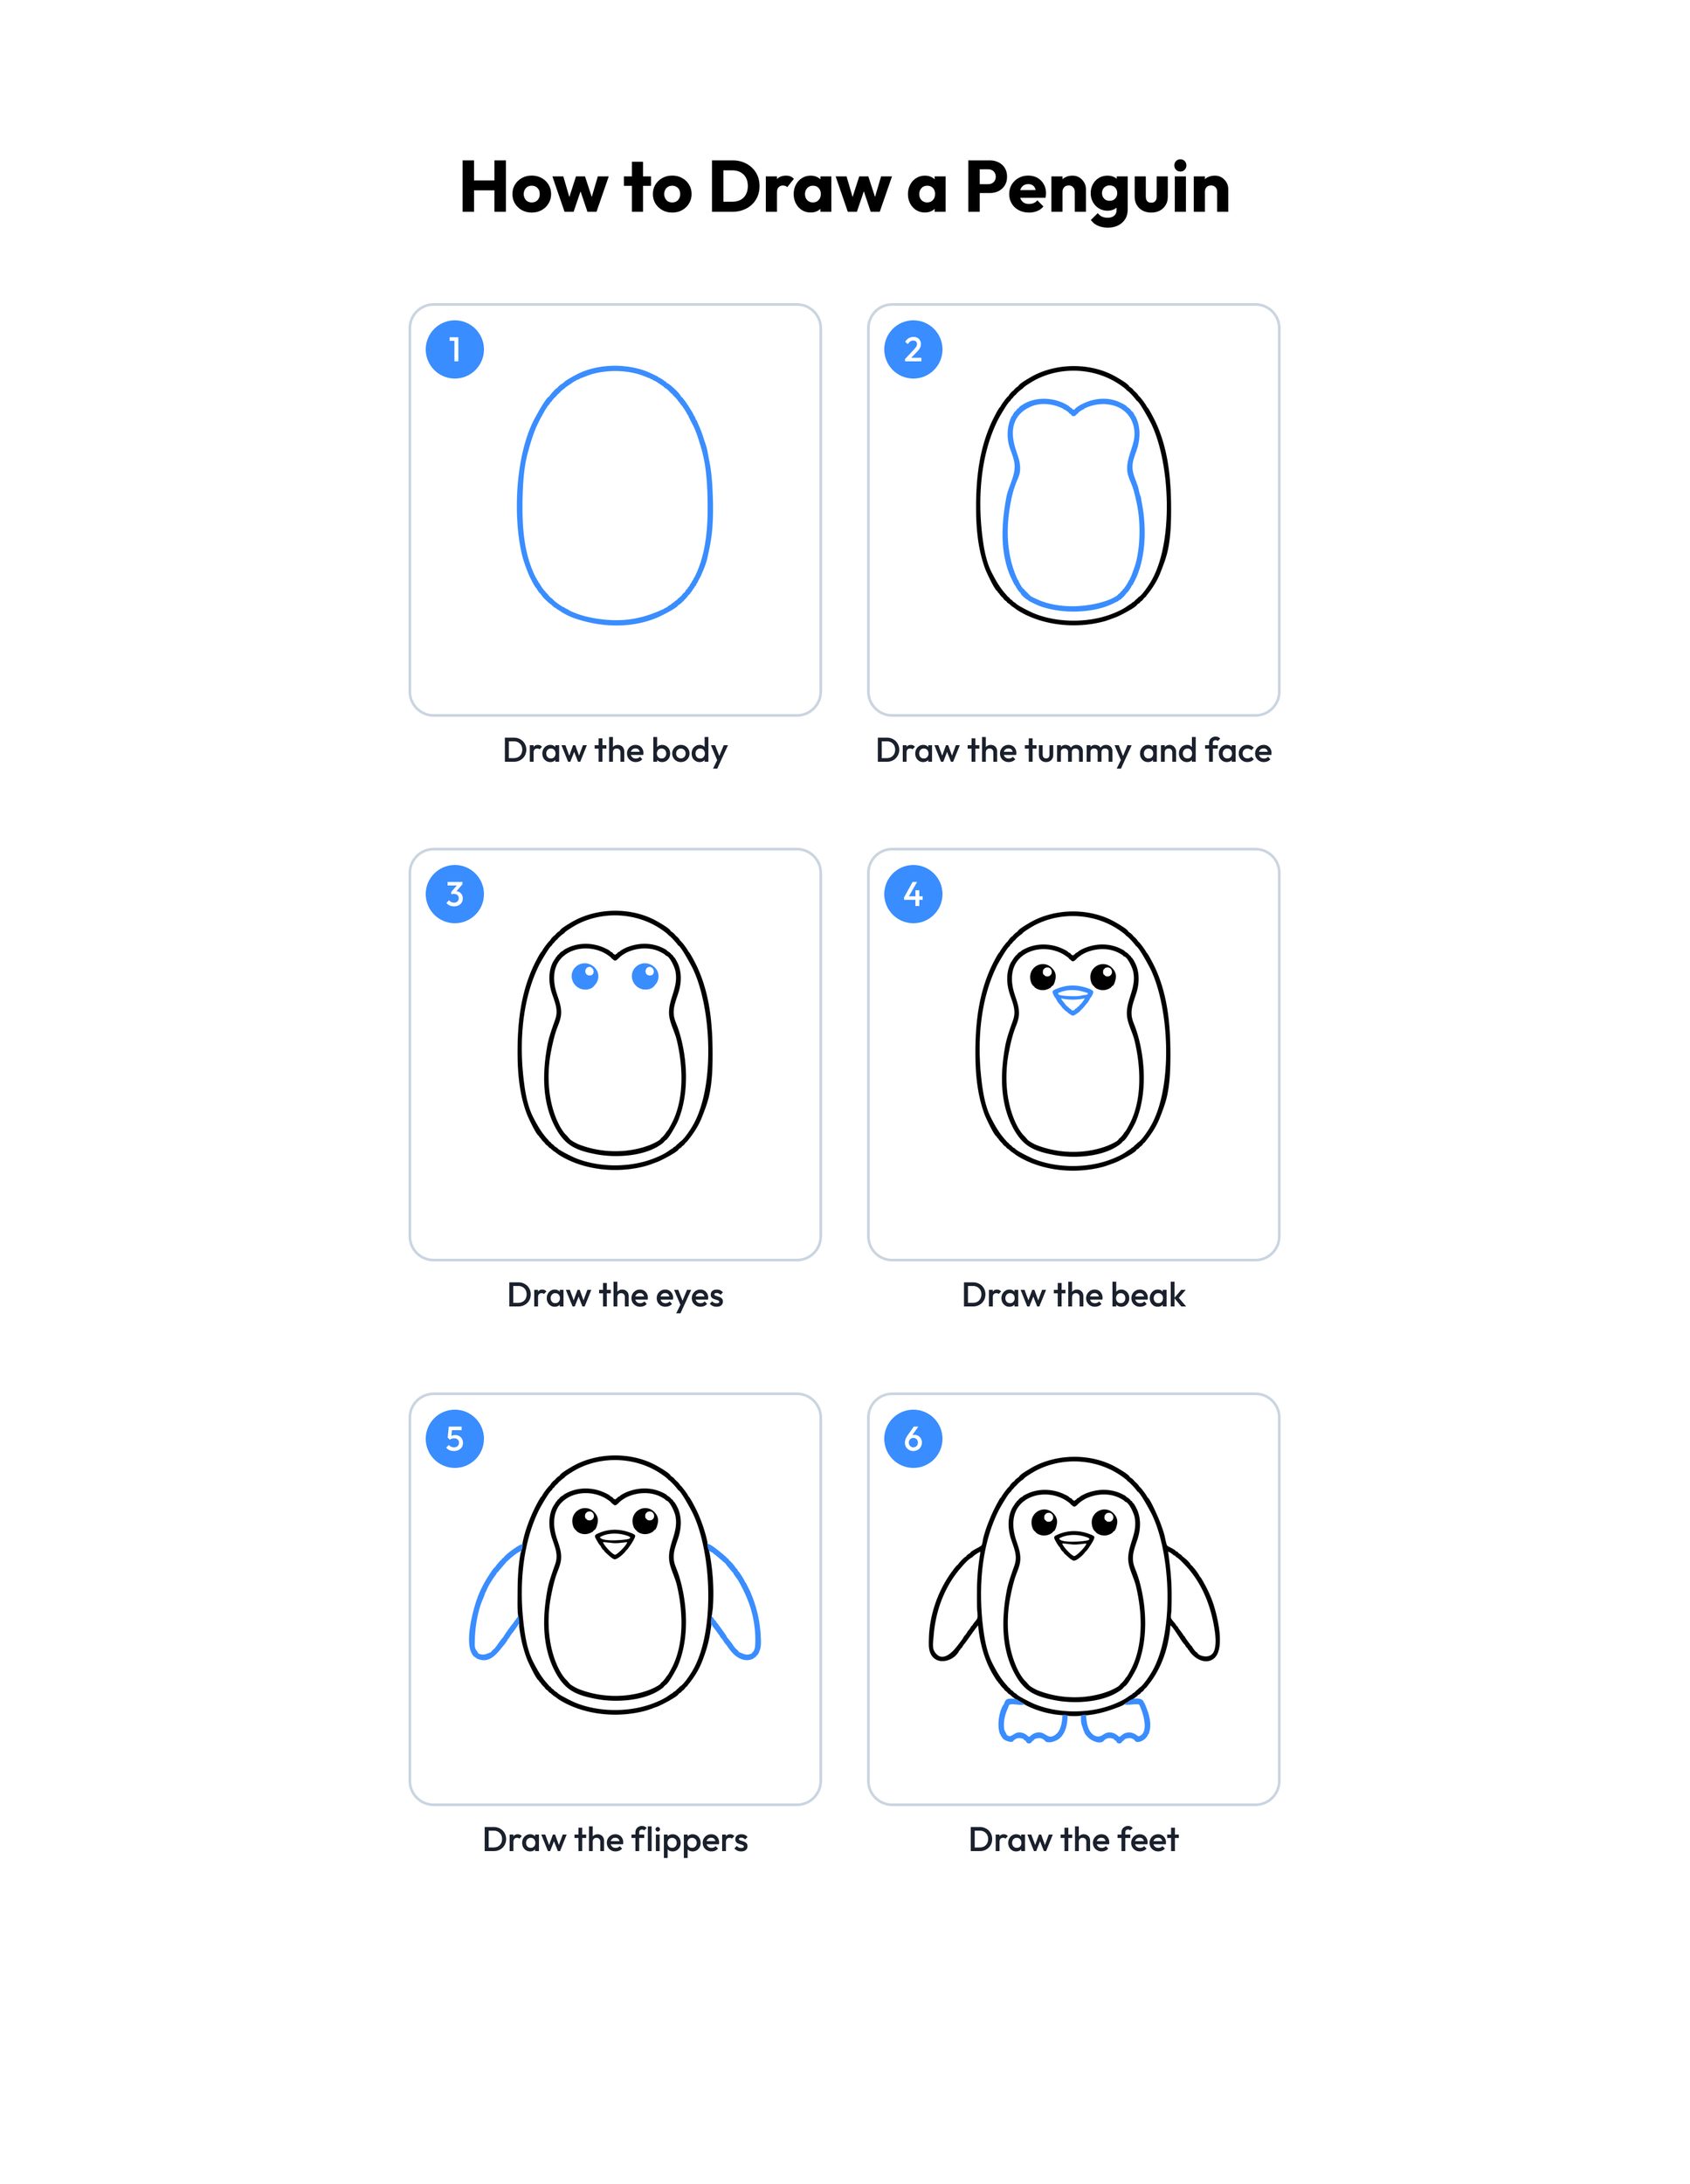 Save
Printable penguin drawing guide
Every step, two to a row, with the finished penguin in color at the end.
Download PDFHow to use this guide
You can follow the steps on the screen, or print the step guide and keep it beside the paper. Print at 100 percent, or actual size, so the pictures stay clear. Plain printer paper is fine for pencils and crayons, and cardstock is better if your child likes markers.
Give kids a pencil first and ask them to press lightly. Light lines are easy to fix, and the eraser can clean up any bumps before coloring. Once the penguin looks right, they can trace over the lines with a black crayon or marker so the shape stands out.
The first step, the big oval body, is the most important one. Draw it large, in the middle of the page, so there is room on both sides for the flippers and below for the feet. The tummy patch in step two sits inside the oval and has a little dip at the top, like a heart, which makes the face. The eyes, beak and flippers are small, quick shapes, and the feet at the end are two short, wide paddles with wavy toes.
Younger kids may want to stop after the eyes and beak and color what they have, then try the whole penguin another day. Older kids can add a scarf, a hat or a snowy hill around their penguin. If they want a page that is ready to color right away, print the penguin outline at the end, and keep the colored penguin nearby as an idea for colors.
Ideas for your penguin drawing
- Hold a penguin drawing party in class. Everyone follows the six steps together on a big screen, then each child names their penguin and adds one thing of their own, like a hat or a fish.
- Draw a whole penguin family. Kids use the same steps but make one big oval for the parent and a small one for the chick, then color them standing side by side on the ice.
- Make a winter window display. Draw penguins on white paper, color them, cut them out and tape them to the window with paper snowflakes falling around them.
- Practice shapes with the youngest artists. Point out the oval, the heart shaped tummy, the circles for eyes and the triangle beak, and ask kids to find the same shapes around the room.
- Turn a penguin drawing into a puppet. Color it on cardstock, cut it out and tape it to a craft stick, then put on a short show about a penguin looking for its lunch.
- Read a picture book about penguins, then have kids draw the penguin from the story and write or say one fact they learned, such as penguins swim but cannot fly.
- Use the guide on a snow day or a rainy afternoon. Kids can draw the penguin again and again in different sizes, and line them up from smallest to biggest.
- Pack the printed step guide, a pencil and a small notebook for a car trip or a waiting room, so kids can draw penguins quietly wherever they are.
- Make a thank you card. Draw the penguin on the front of a folded card, color it, and add a speech bubble saying thank you or have a cool day.
- When the penguin is done, keep going with our animal drawing guides, which use the same easy steps and blue lines for more friendly animals to draw and color.
Is this penguin drawing easy enough for young kids?
Yes. The guide is made for kids ages 4 to 8, and each step adds only one simple shape. The oval, the tummy and the eyes are easy for the youngest kids. The flippers and feet take a little more care, so a grown up can help with those or draw them alongside.
What do I need to draw a penguin?
A pencil, an eraser and plain paper are all you need to start. When the penguin is finished, trace the lines with a black crayon or marker, then color it in. Crayons and colored pencils work well on printer paper, and markers do best on cardstock.
How do I print the step guide and outline?
Click the download buttons to open the PDFs, then print at 100 percent or actual size. The step guide and the penguin outline both fit US Letter and A4 paper. You can print the outline as many times as you like, so kids can color a new penguin every day.
Can teachers use this guide in class?
Yes. The guide and the printables are free for personal and classroom use, so you can show the steps on a board, hand out the outline and print as many copies as your class needs. Please do not sell the pages or share the PDFs on another site. A link to this page is welcome.
What colors should a penguin be?
Most penguins have a black or dark blue back, a white tummy, and an orange beak and feet. Kids can follow the colored example or pick their own colors, like a purple penguin with pink cheeks. Leave the tummy white or shade it lightly with pale blue for snow.