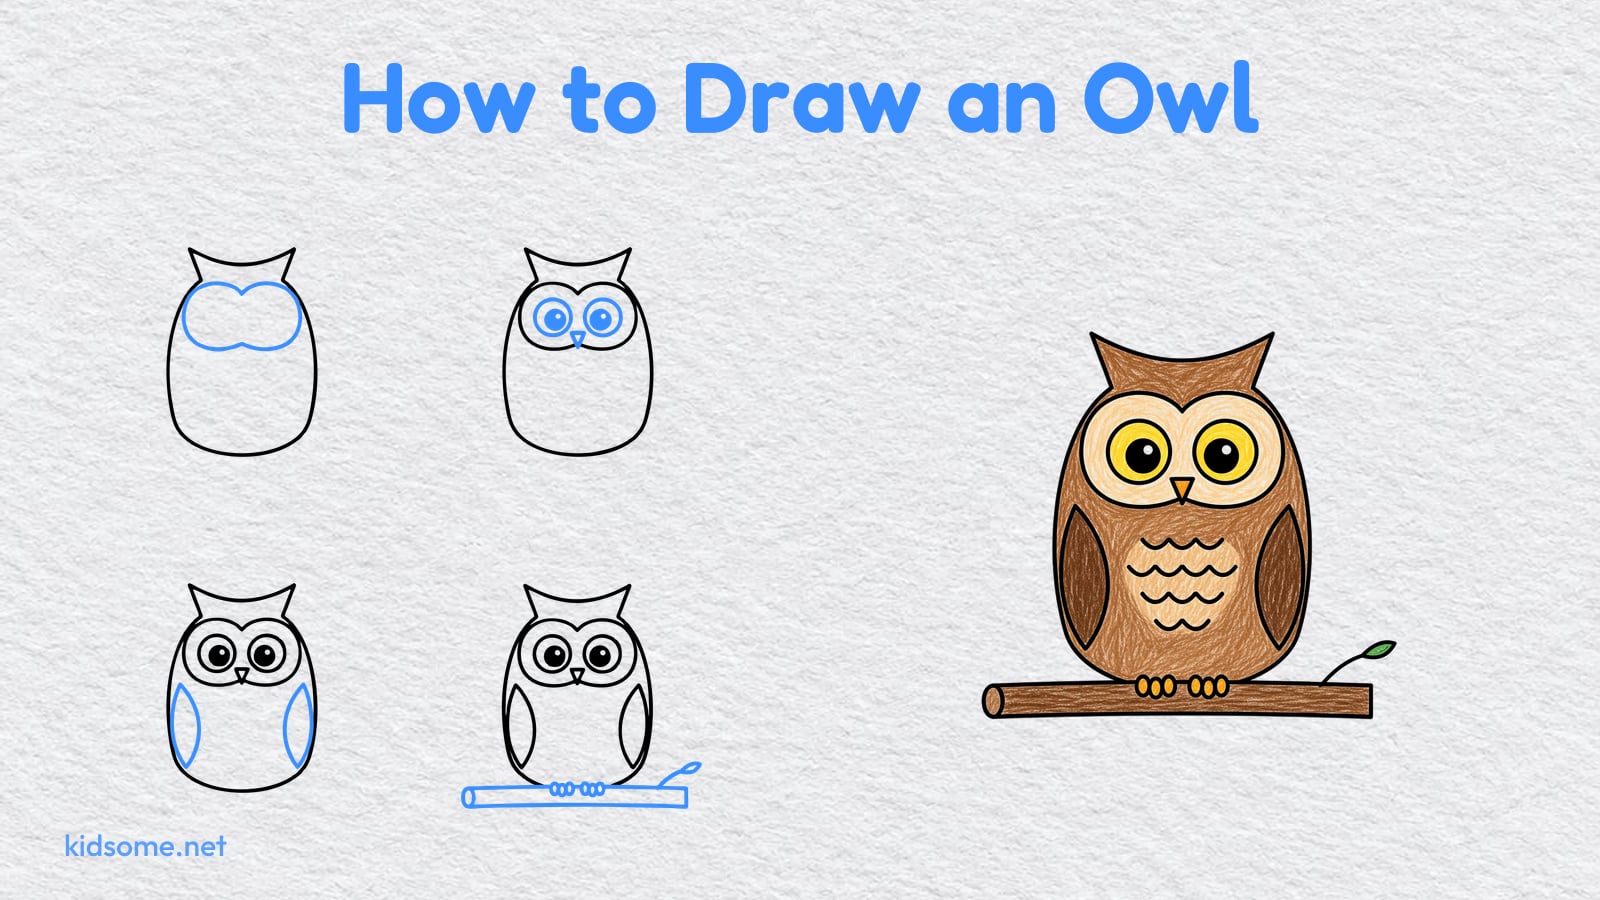
This guide shows how to draw an owl in six easy steps, made for kids ages 4 to 8 and the grown-up drawing beside them. The owl sits on a branch facing you, so there are no tricky side views or feathers to count. It starts as one big rounded body with two pointy ear tufts, and every step after that adds one simple shape in blue so a child can see exactly what is new.
After the body comes the face shape, then two round eyes and a little beak, then the wings, the branch with its tiny feet and last of all the wavy belly feathers. That is all it takes to make an easy owl drawing a child will want to show off. A final step covers coloring it in.
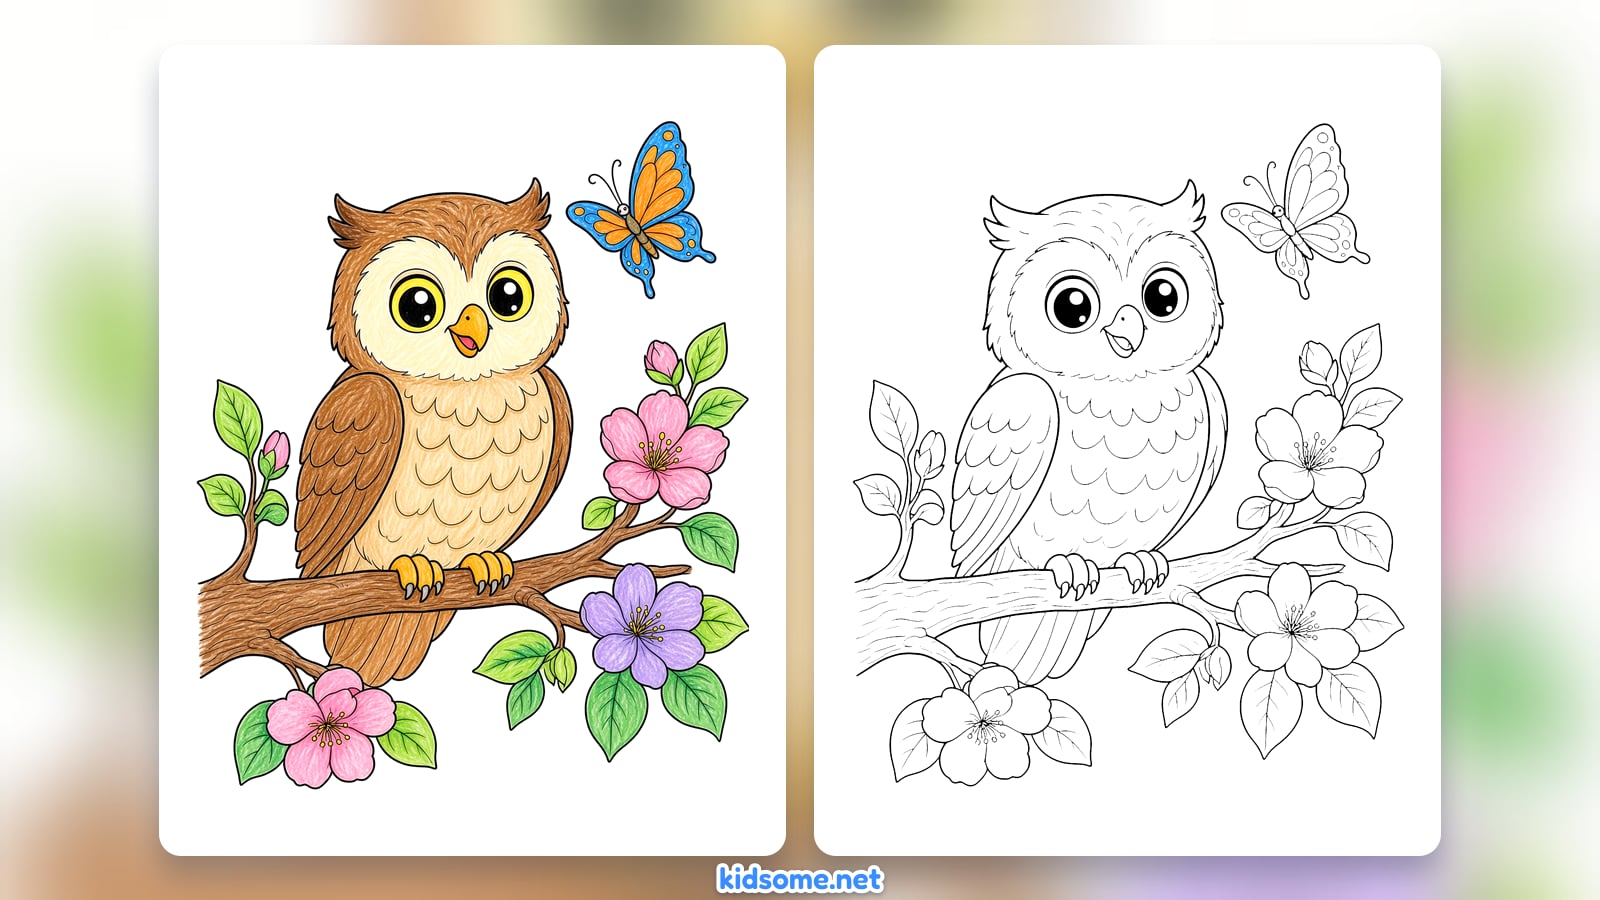
The finished owl is also a free PDF outline that prints on US Letter and A4, with the colored owl on page two as an example. There is no sign-up. Kids who enjoy this one can try how to draw a butterfly next.
-
Step 1 : Draw the body and ear tufts
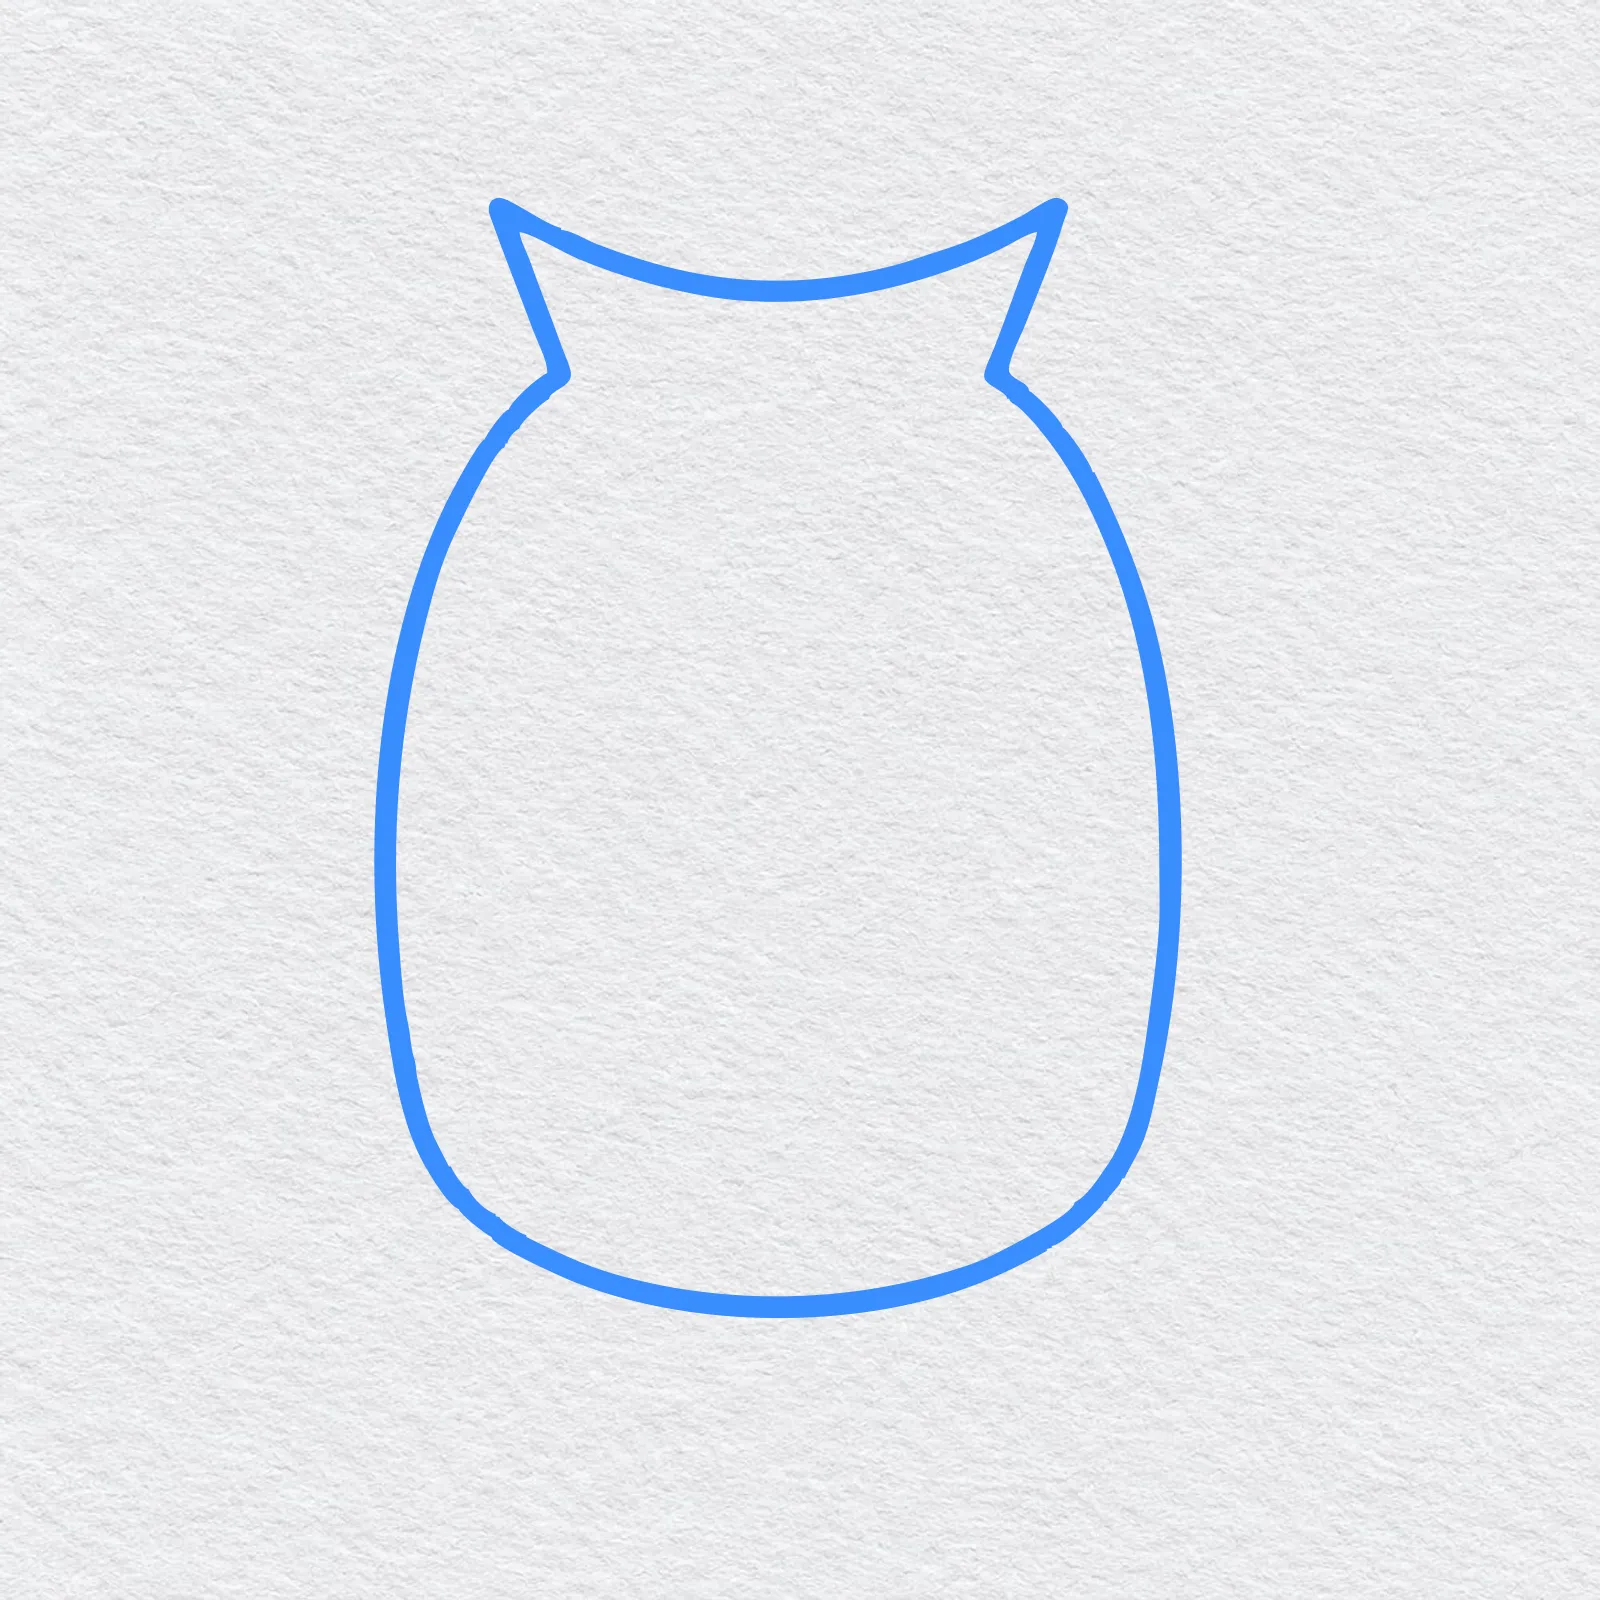
Start near the middle of your paper with a tall rounded shape, a bit like an egg that is wider at the bottom. At the top, draw two small pointy ear tufts that stick up like little triangles, with a gentle dip between them.
Press lightly with your pencil. This is the biggest shape in the drawing, and it is fine to try it twice.
-
Step 2 : Draw the face shape
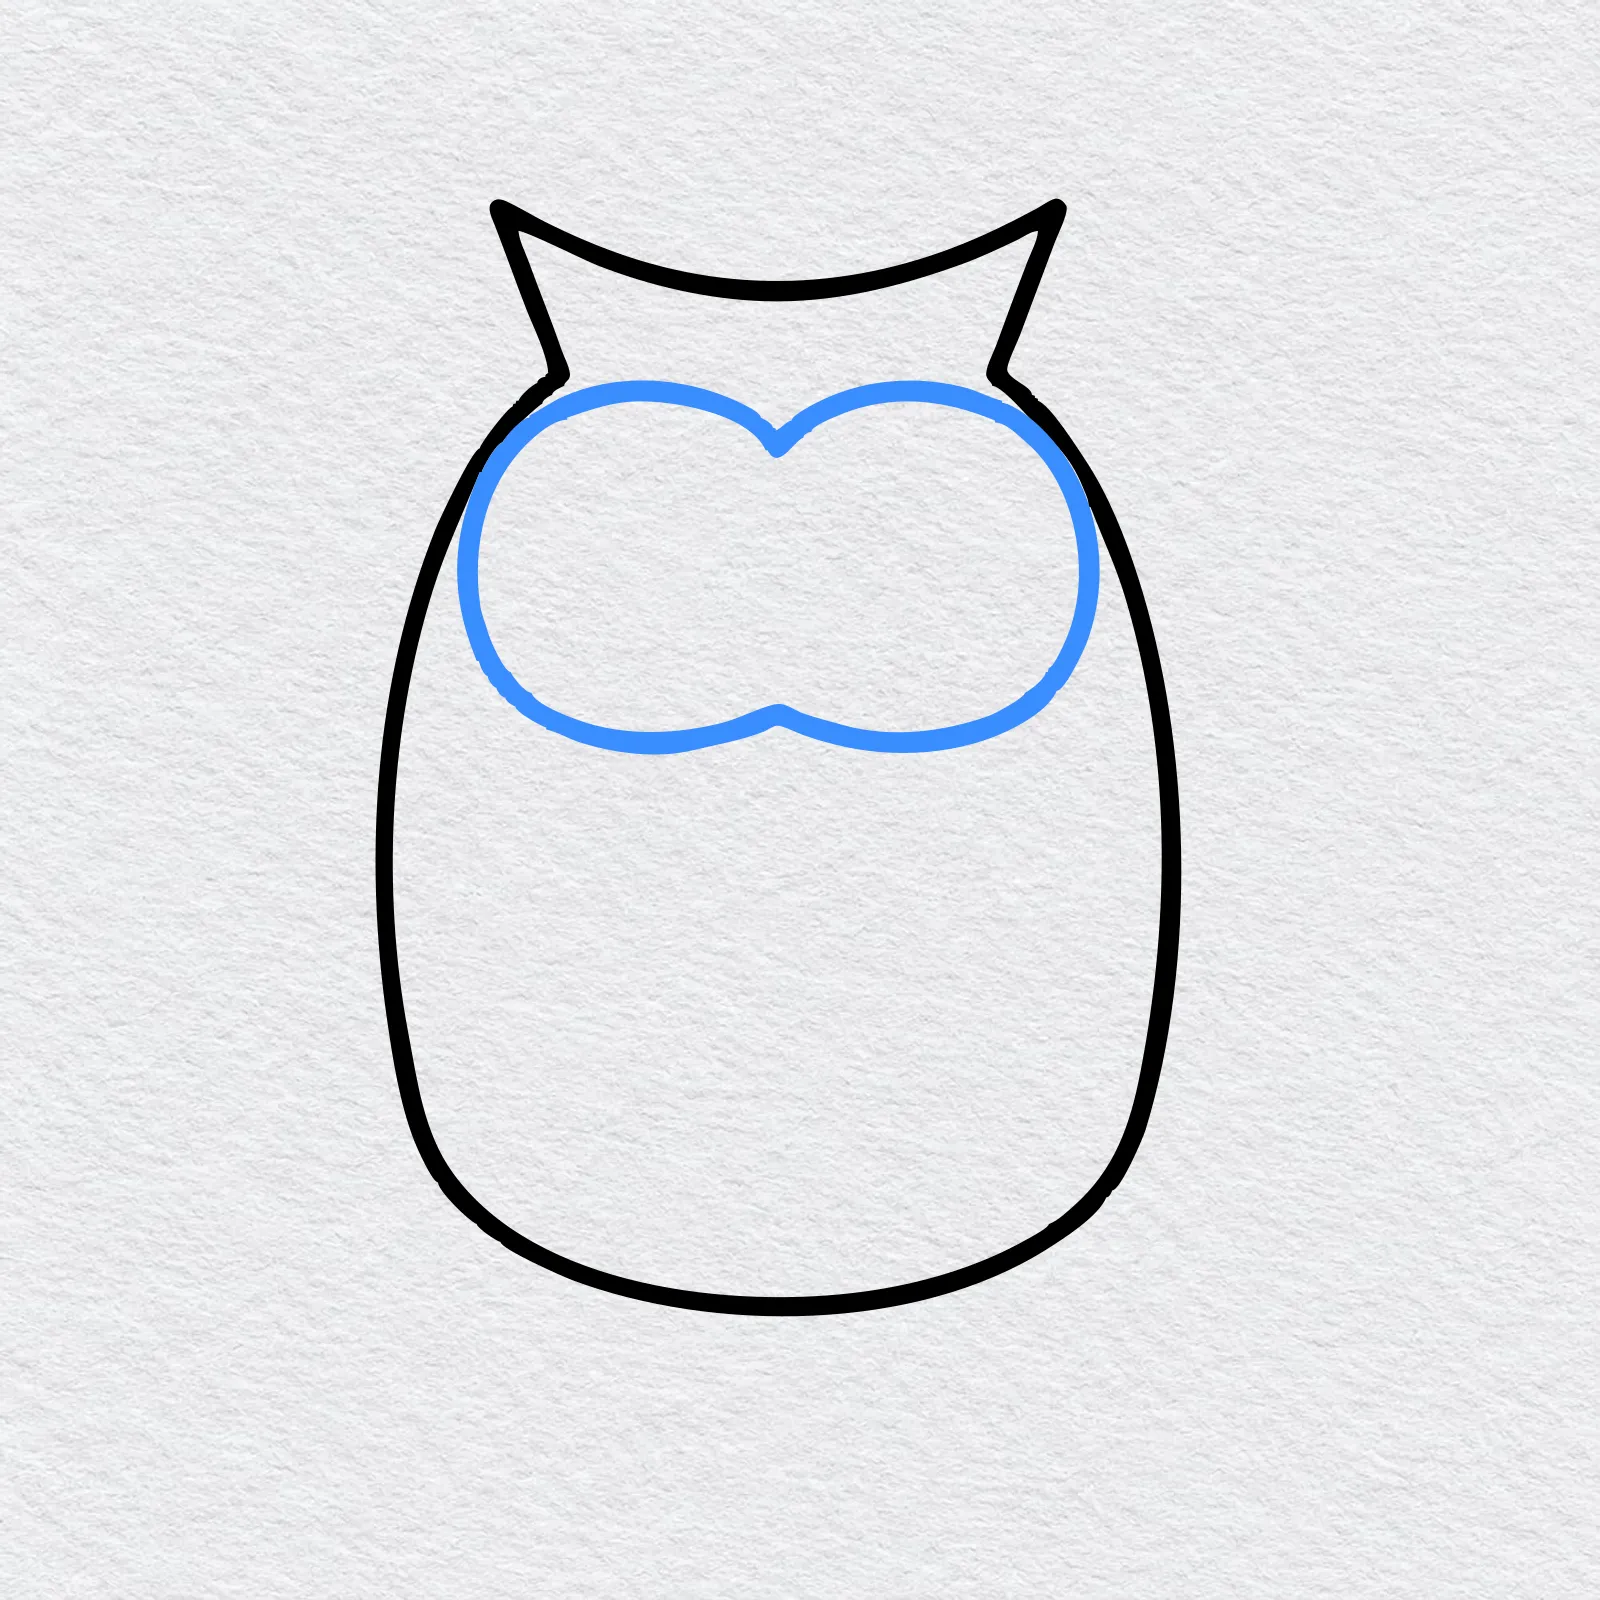
Inside the top of the body, draw the owl's face. It looks like two circles squished together, with a small point in the middle at the top and a little dip at the bottom.
Make it wide so it almost touches both sides of the body.
-
Step 3 : Draw the eyes and beak
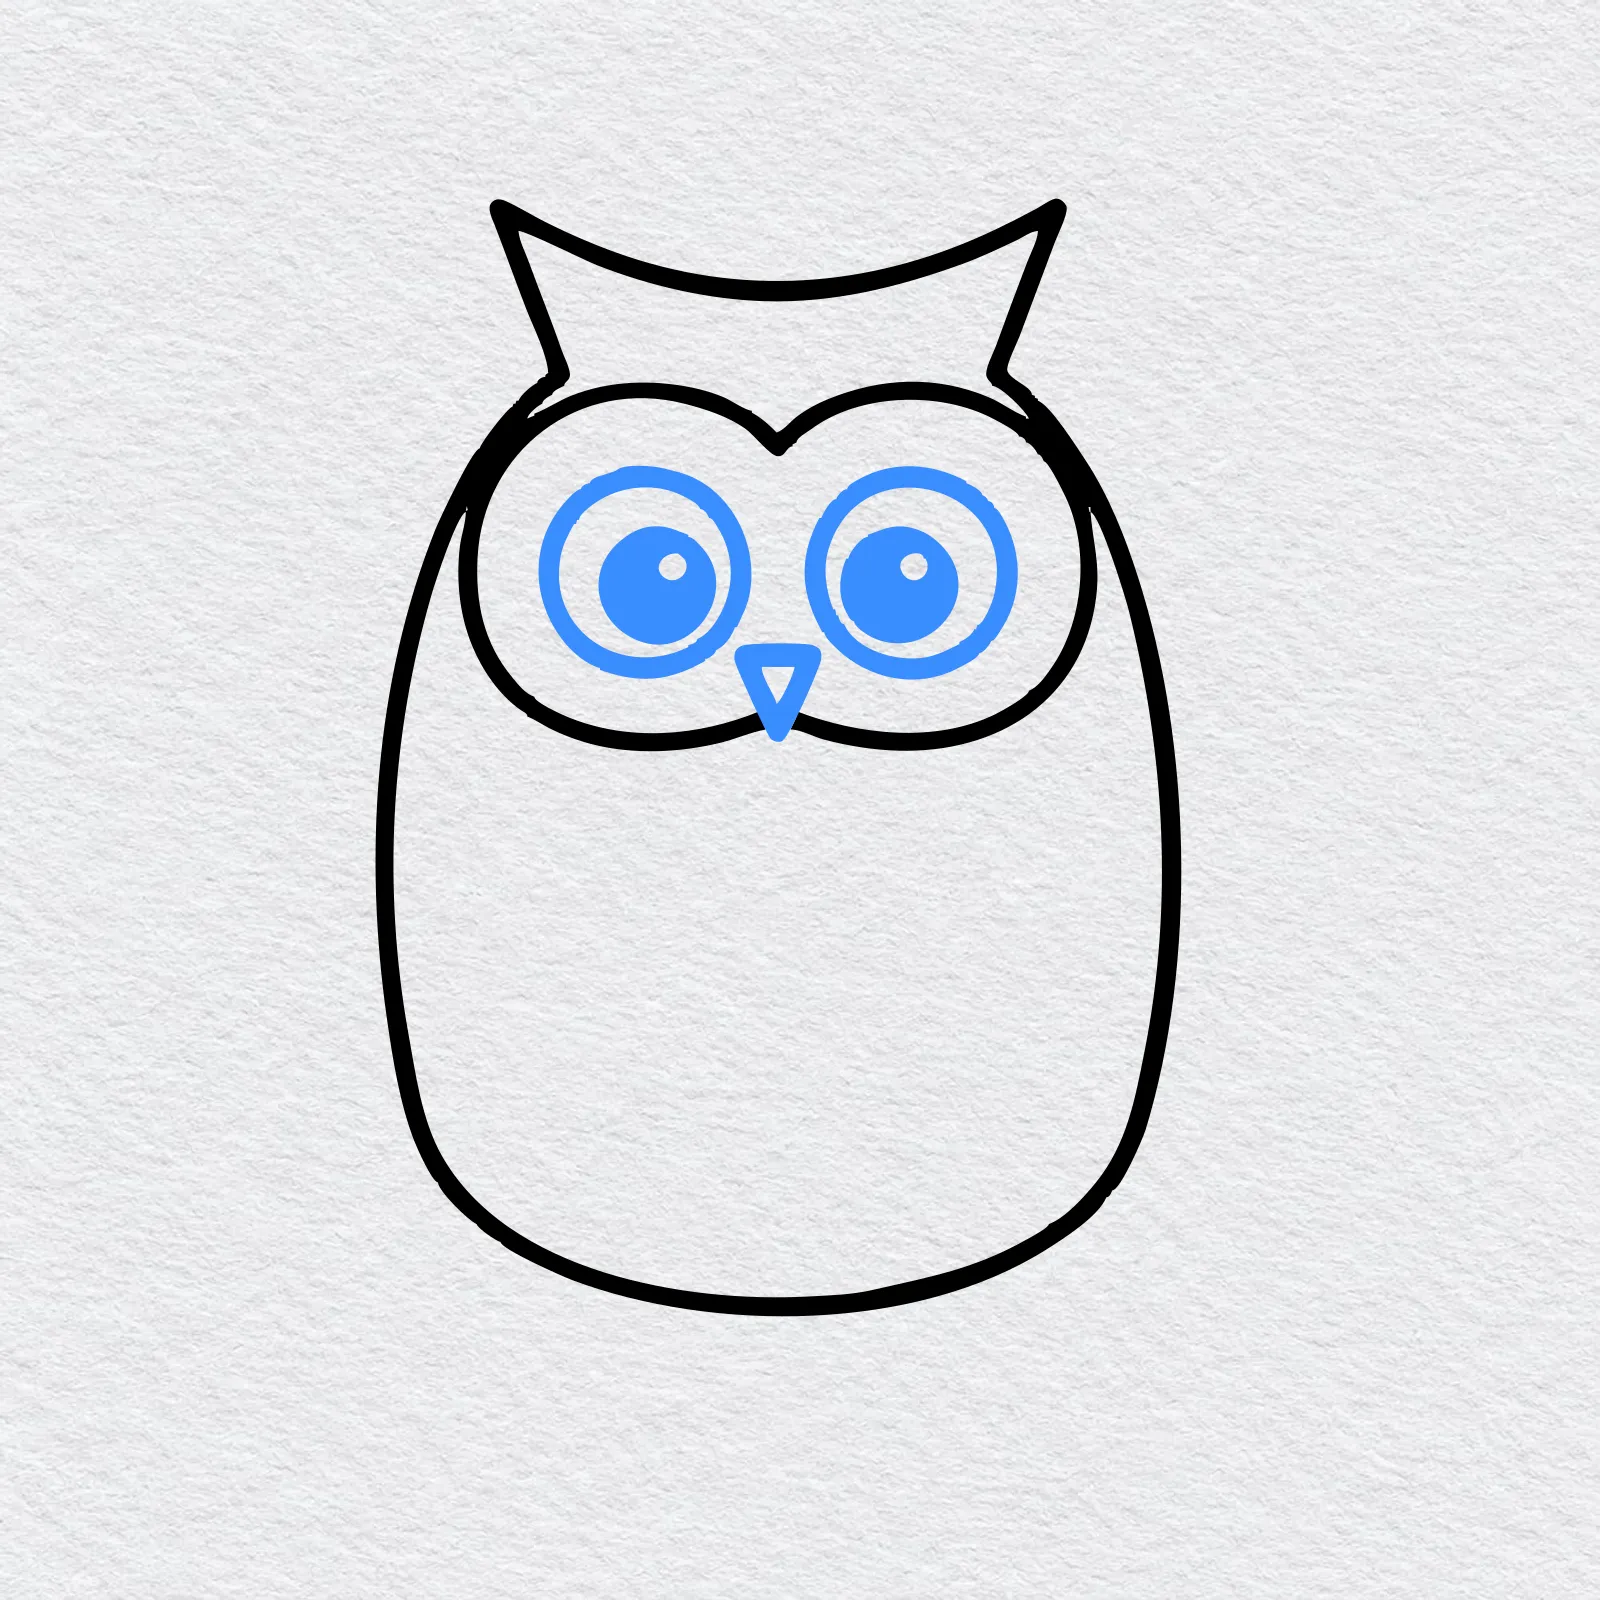
Draw a big circle in each half of the face for the eyes. Inside each one, add a smaller dark circle for the pupil and leave a tiny white dot so the eyes look shiny.
Between the eyes, at the bottom, draw a small upside down triangle for the beak.
-
Step 4 : Draw the wings
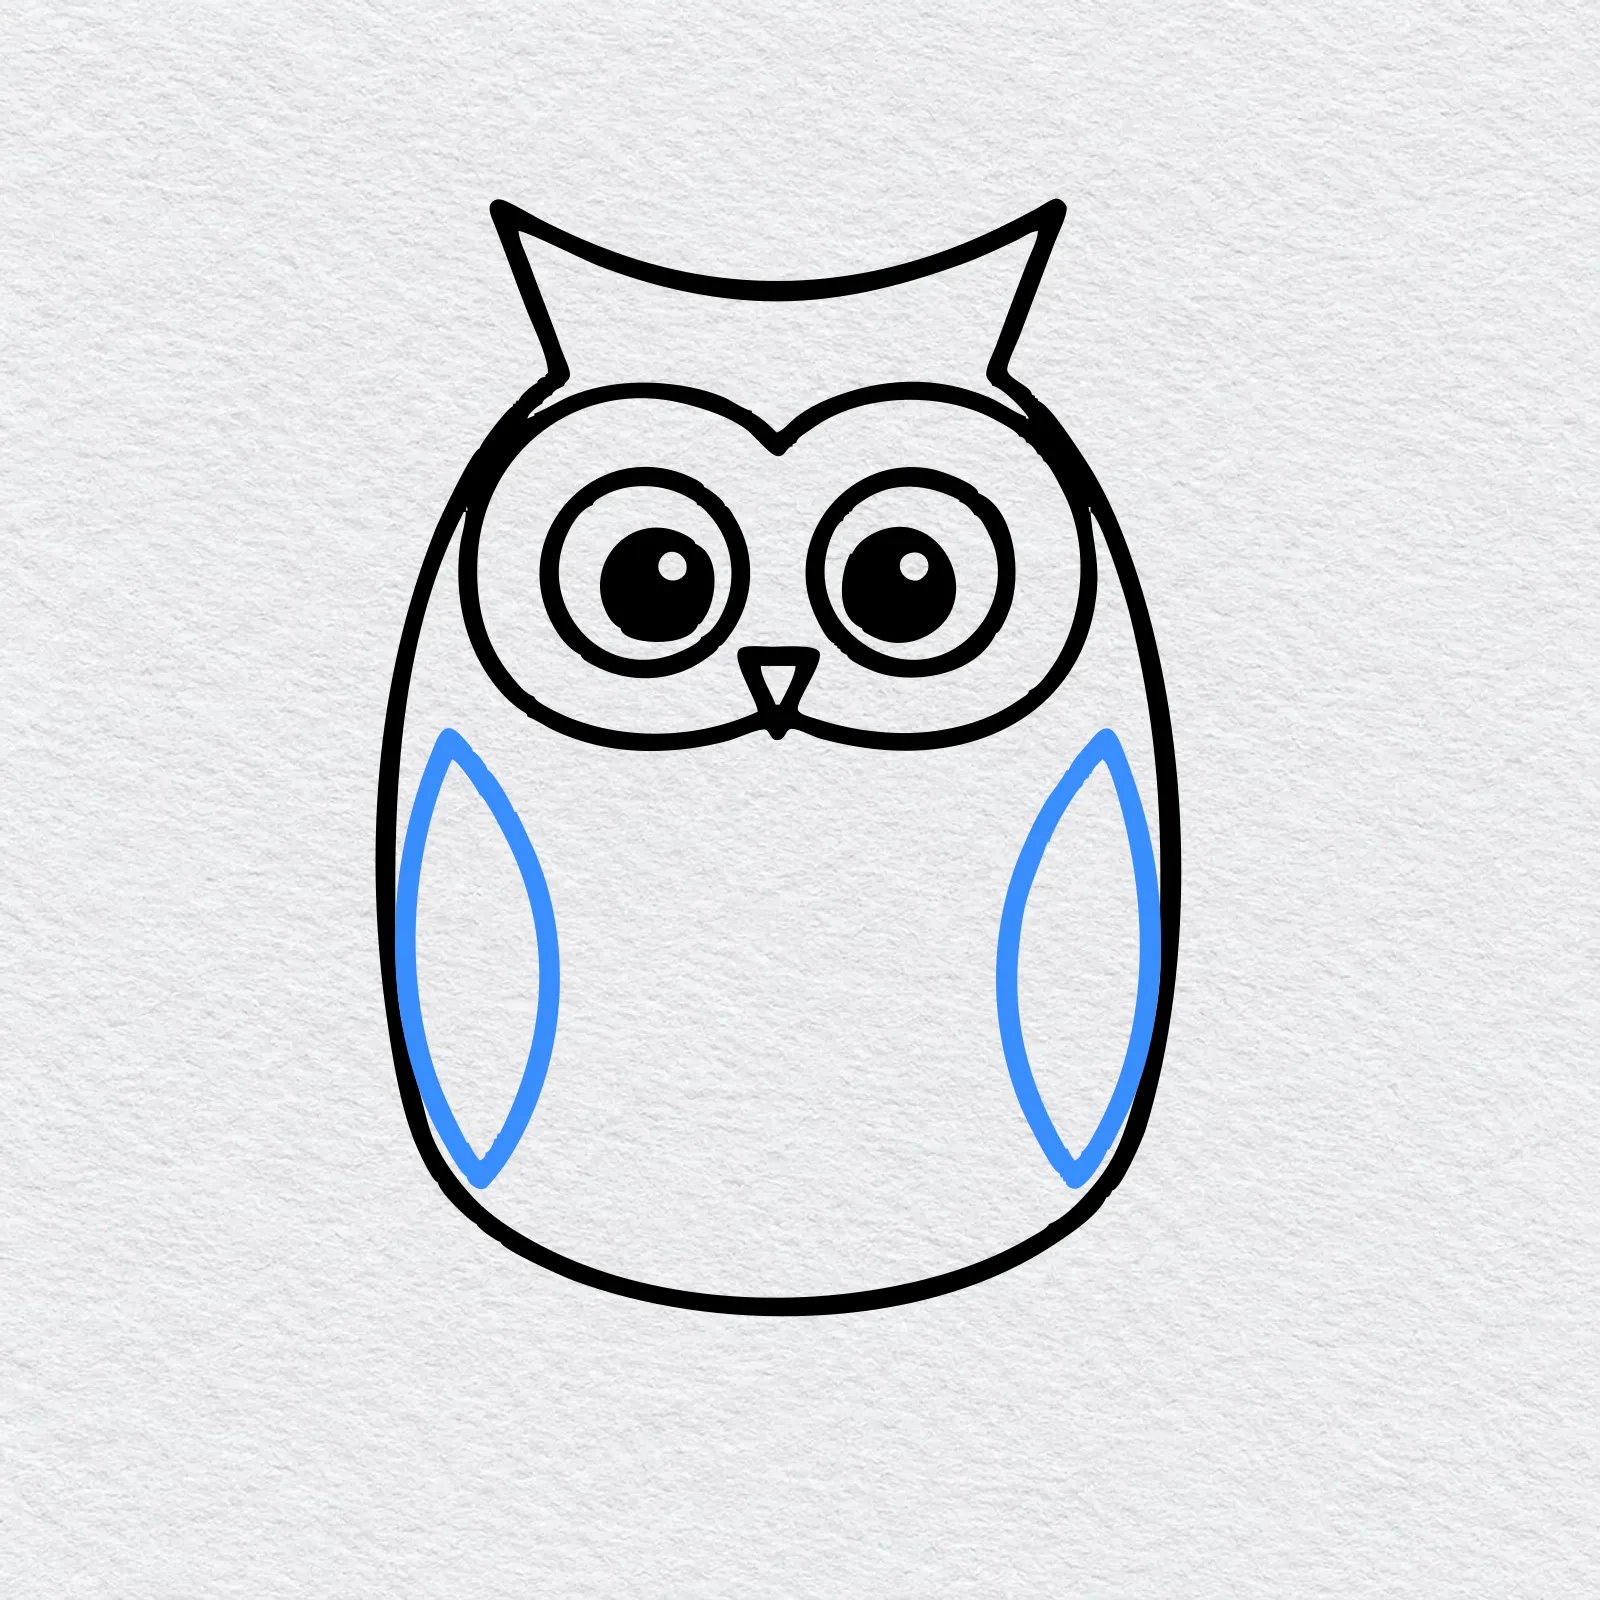
On each side of the body, draw a long wing shaped like a leaf with a pointed top and bottom. Let the outside edge follow the body line, so the wings look folded in close.
Try to make both wings about the same size.
-
Step 5 : Draw the branch and feet
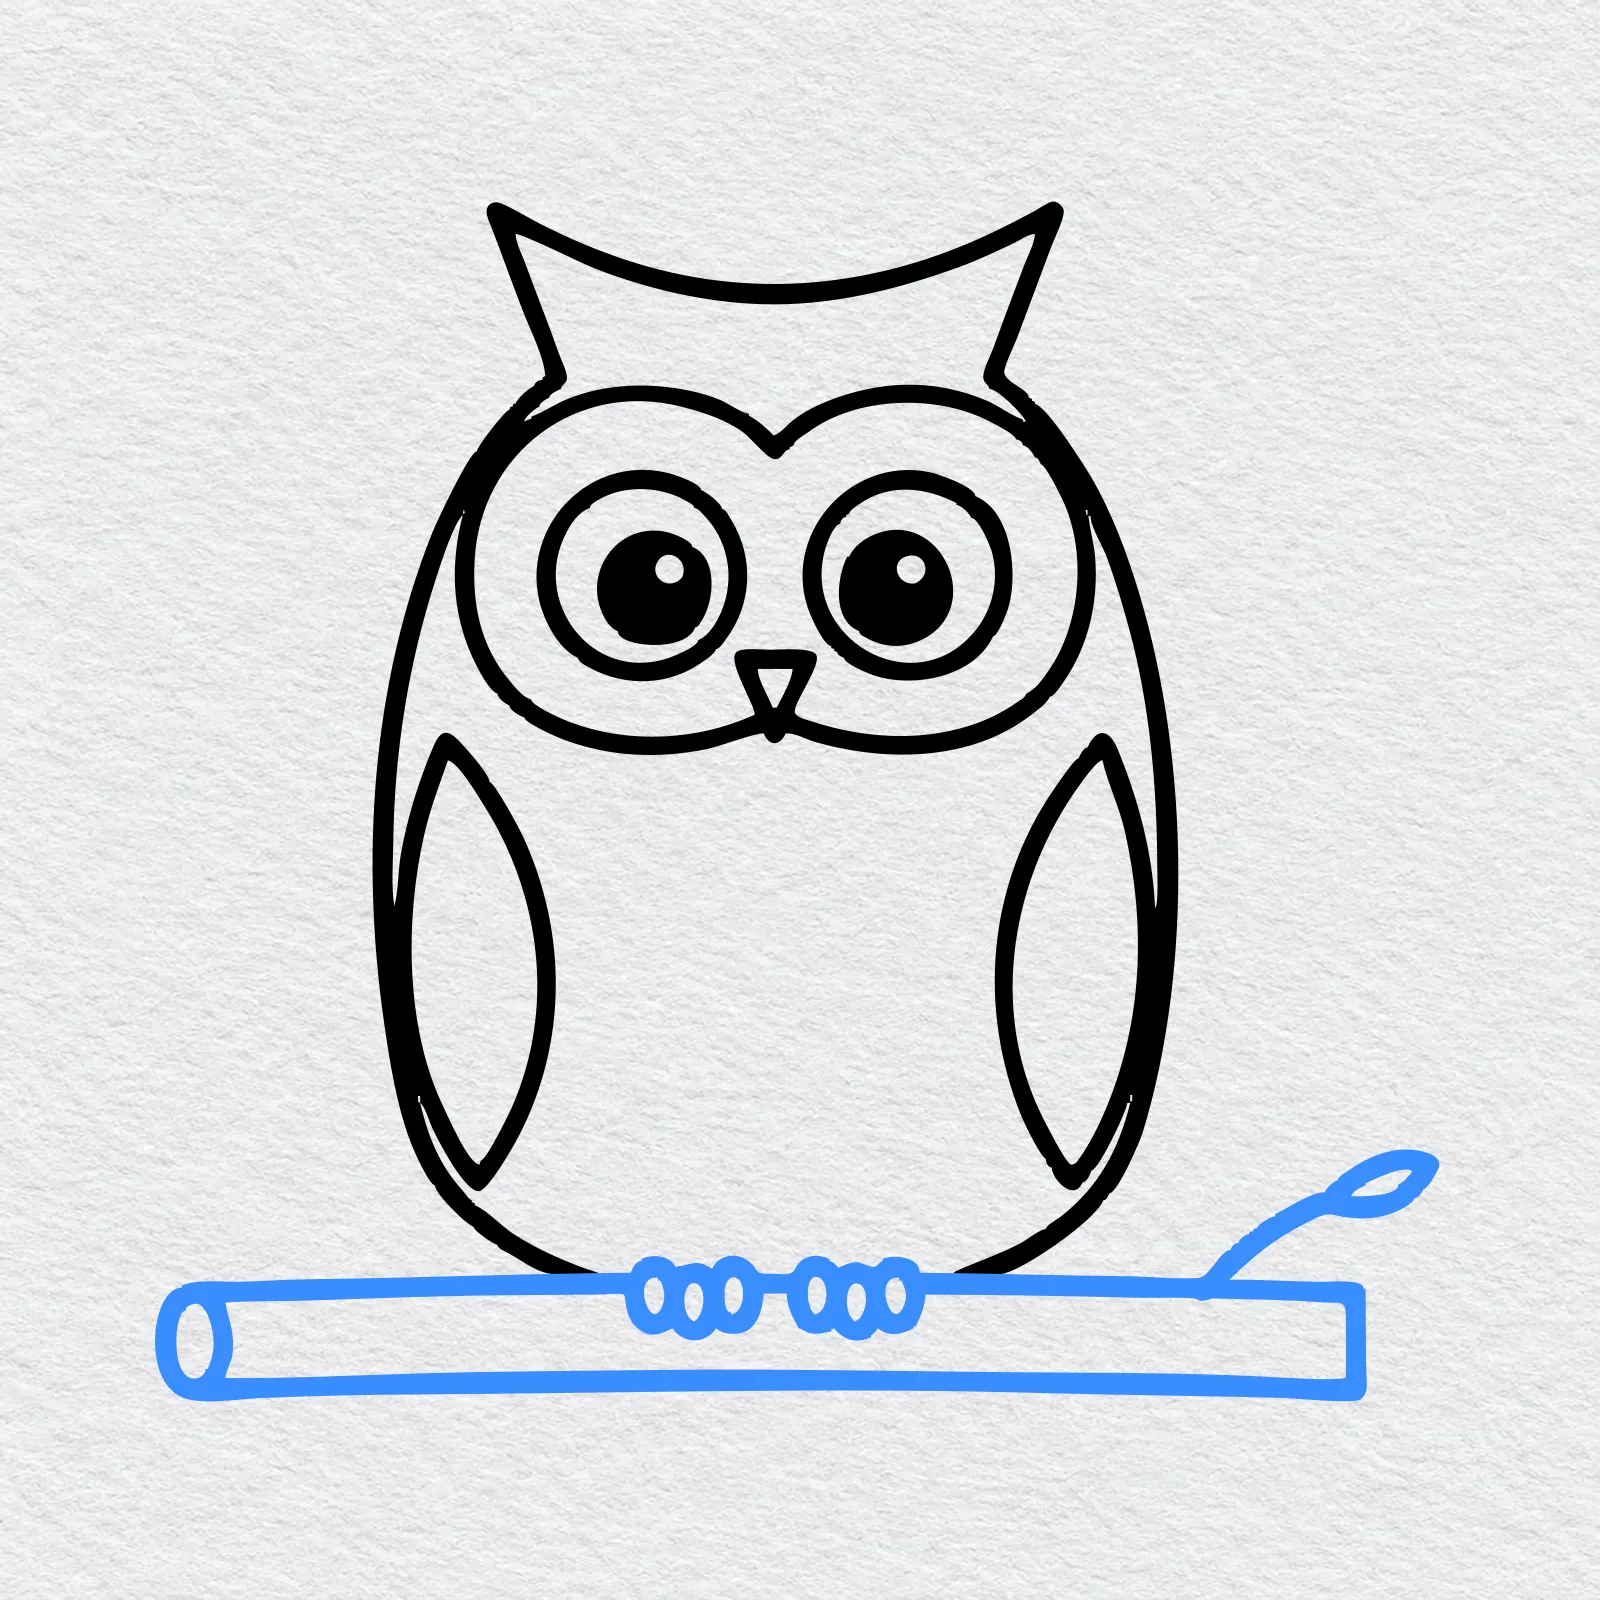
Under the owl, draw a long branch with two straight lines and a small oval at the left end. Add a thin twig with a leaf on the right.
Where the owl sits, draw two sets of little round toes holding on to the branch.
-
Step 6 : Draw the belly feathers
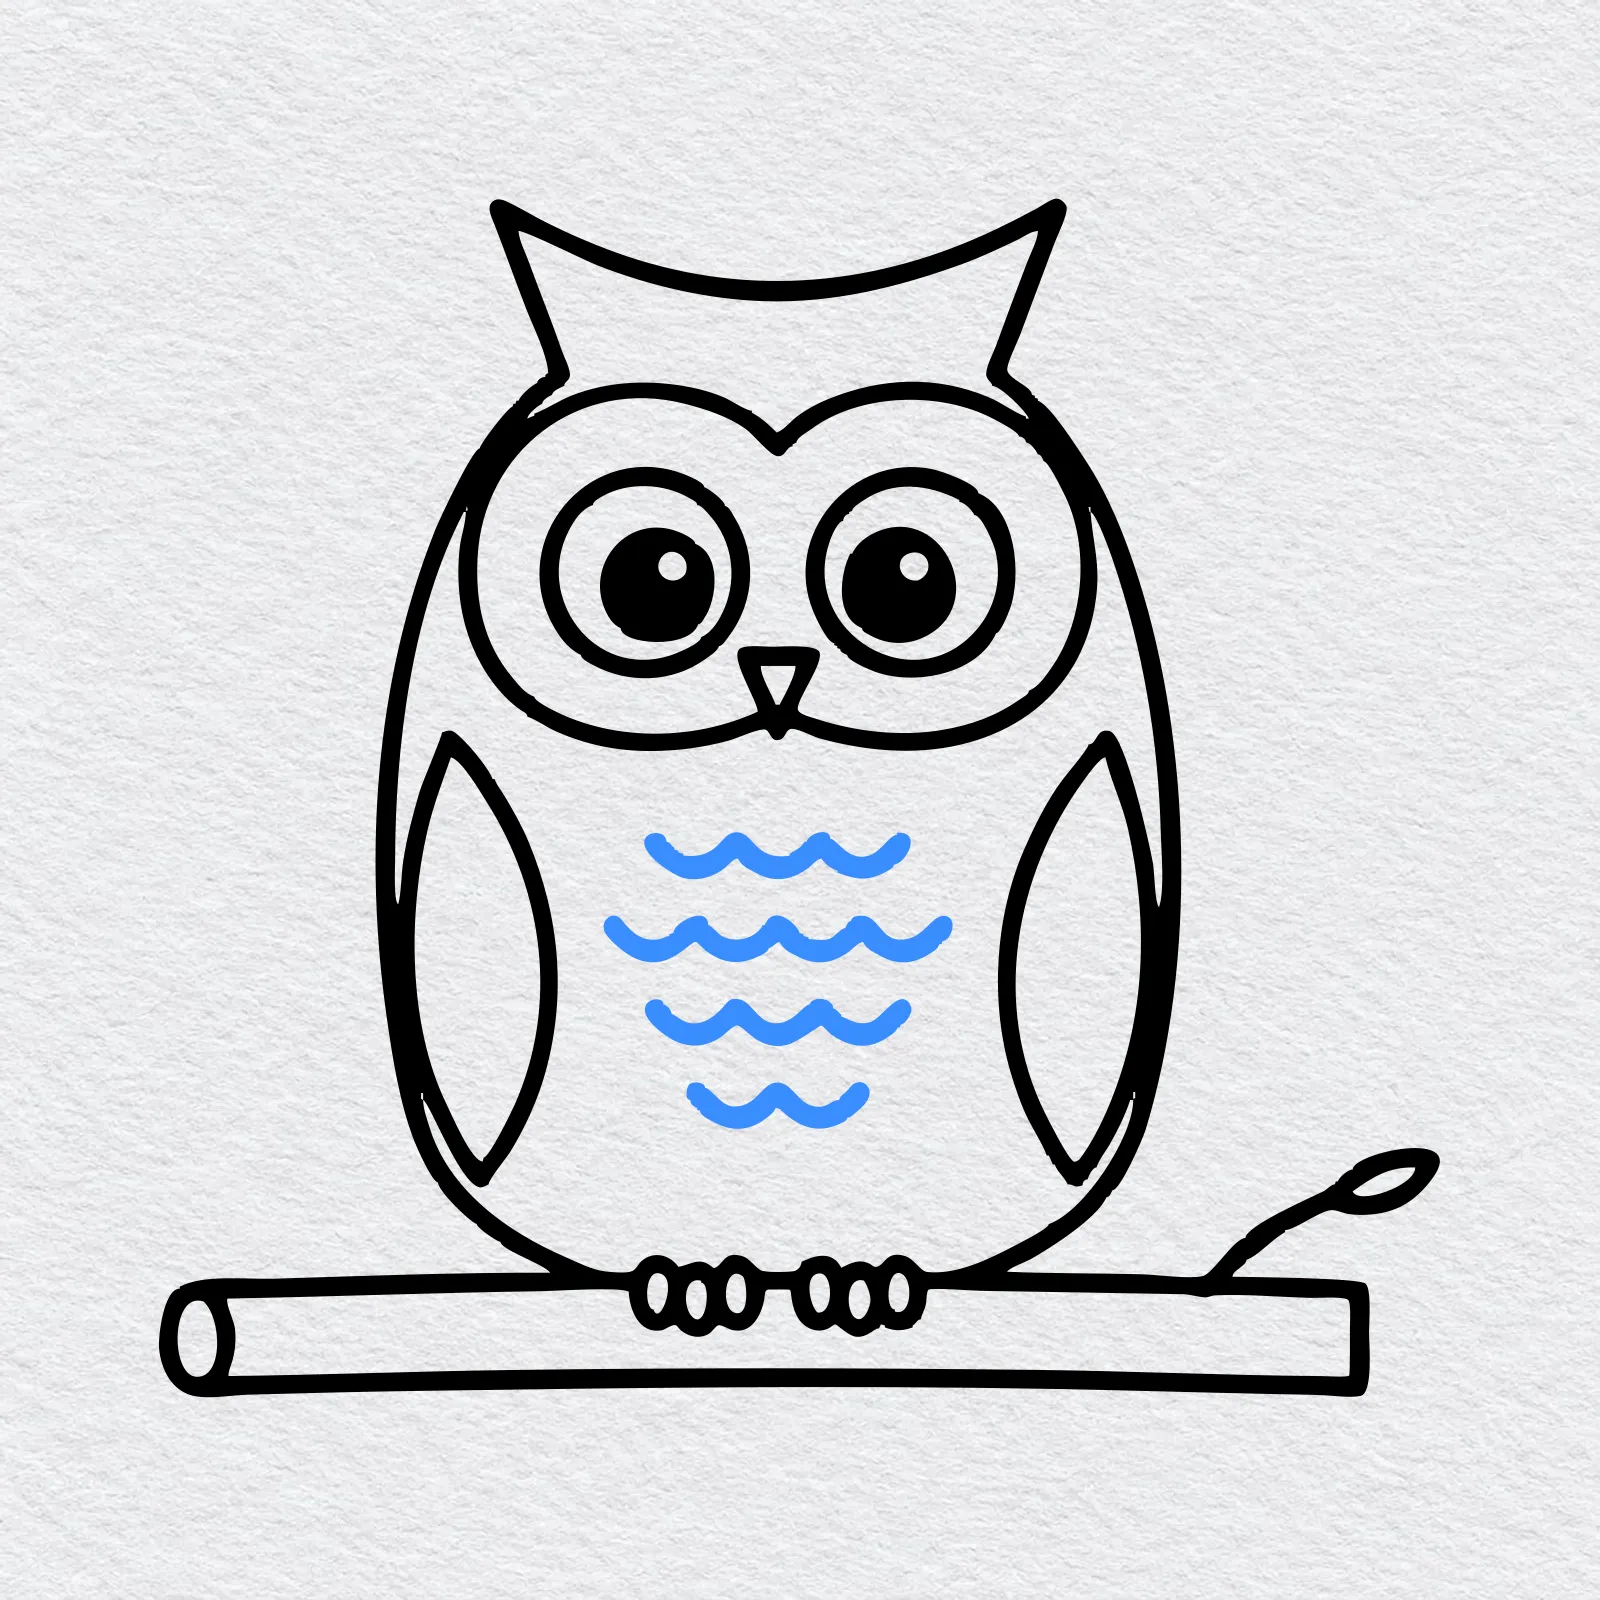
On the owl's tummy, between the wings, draw four rows of short wavy lines, like little letter w shapes joined together. Make the middle rows a little wider than the top and bottom ones.
Now go over your best lines with a marker or dark crayon and erase the extra pencil marks.
-
Step 7 : Color your owl
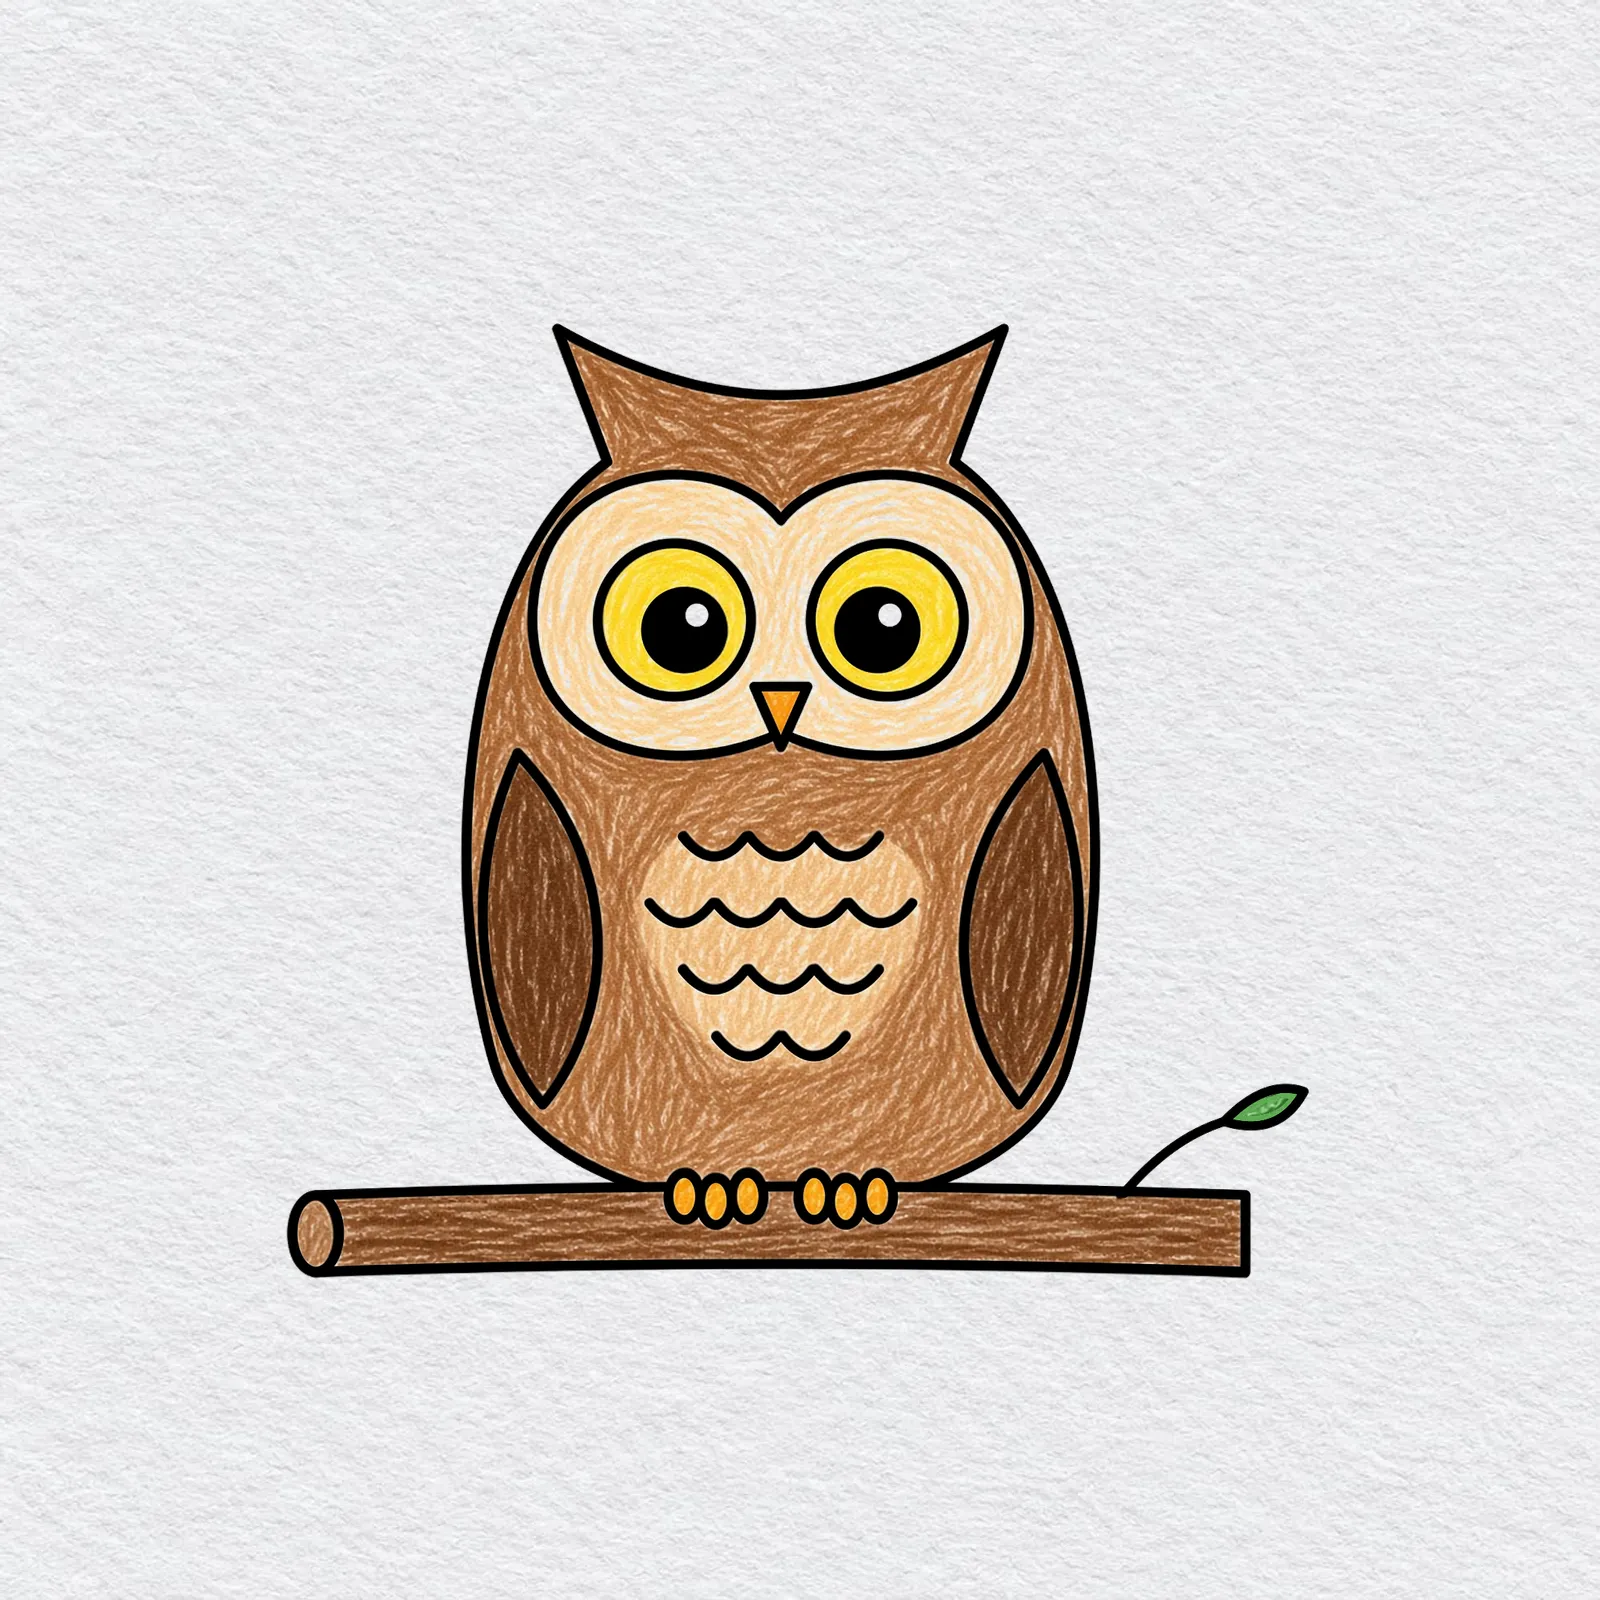
Pick a brown for the body and ear tufts and a darker brown for the wings. Color the face and belly a light cream or tan, the eyes yellow around the dark pupils, and the beak and feet orange. A brown branch and a green leaf finish it off.
Color slowly in small strokes, and press lightly first. You can always add more color later.
Printable owl drawing PDFs
 Save
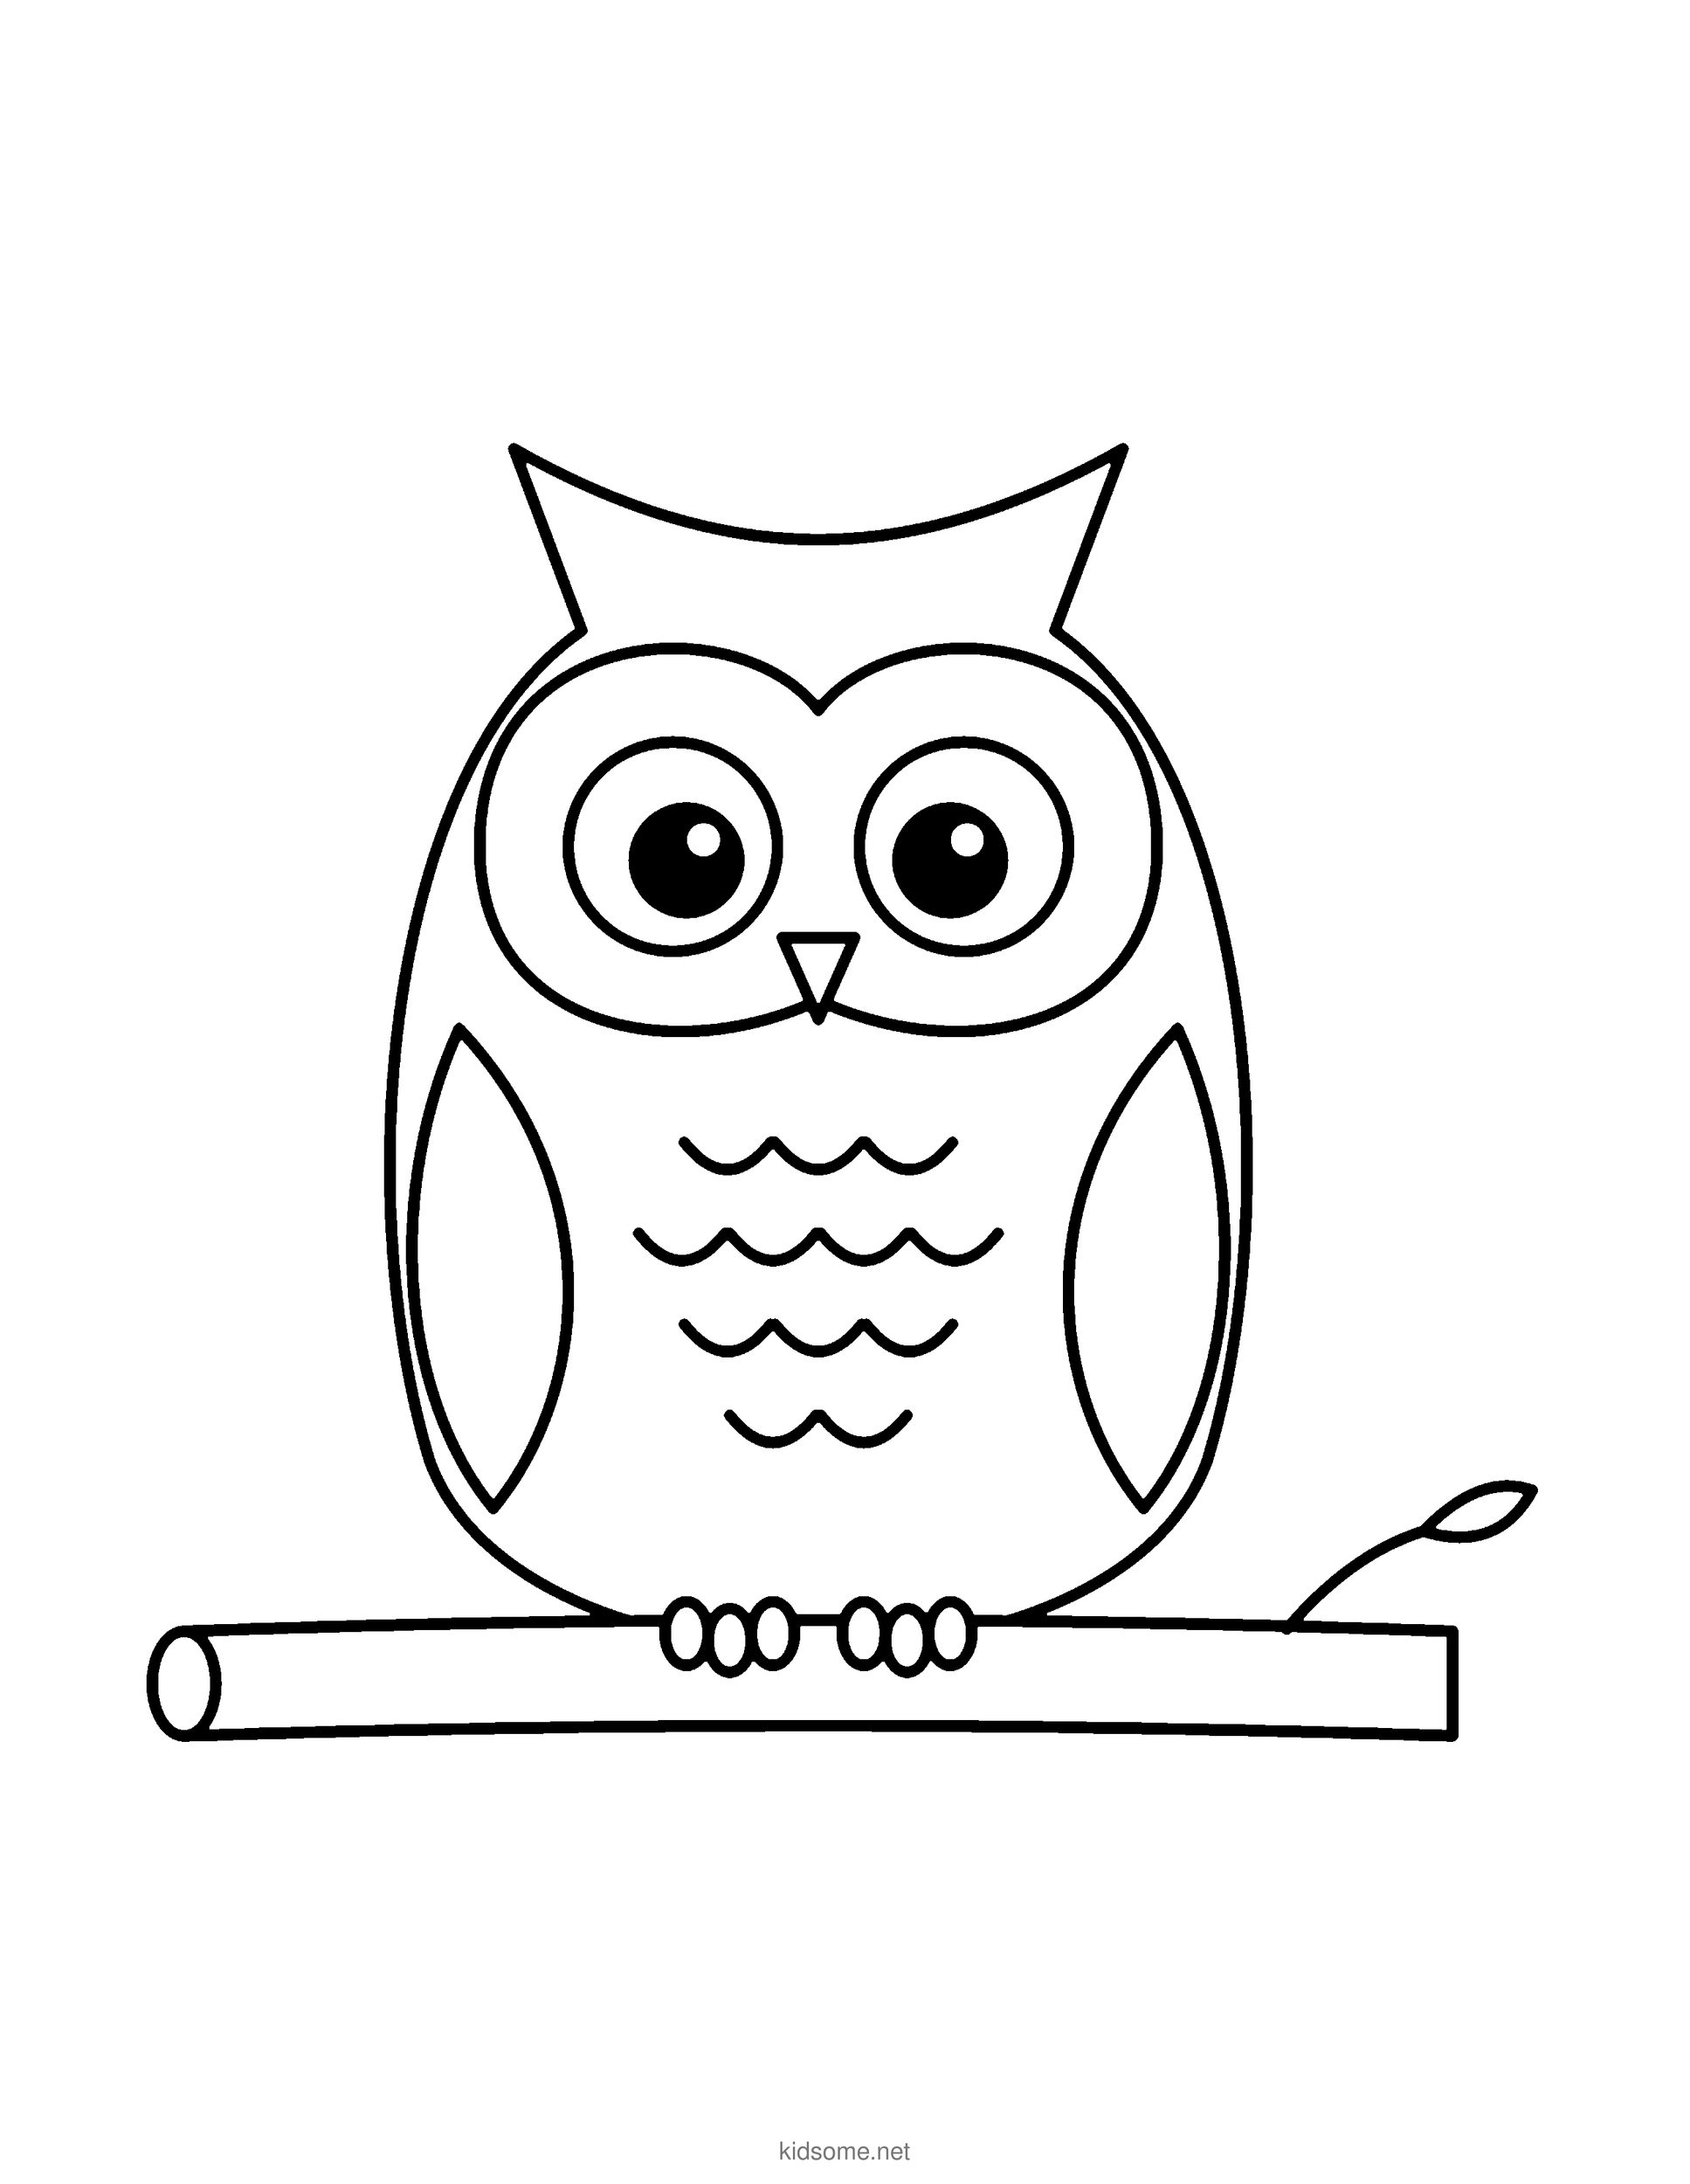
Owl on a Branch Outline
The finished owl on a branch as a clean outline to color, with the colored owl on page two.
Download PDF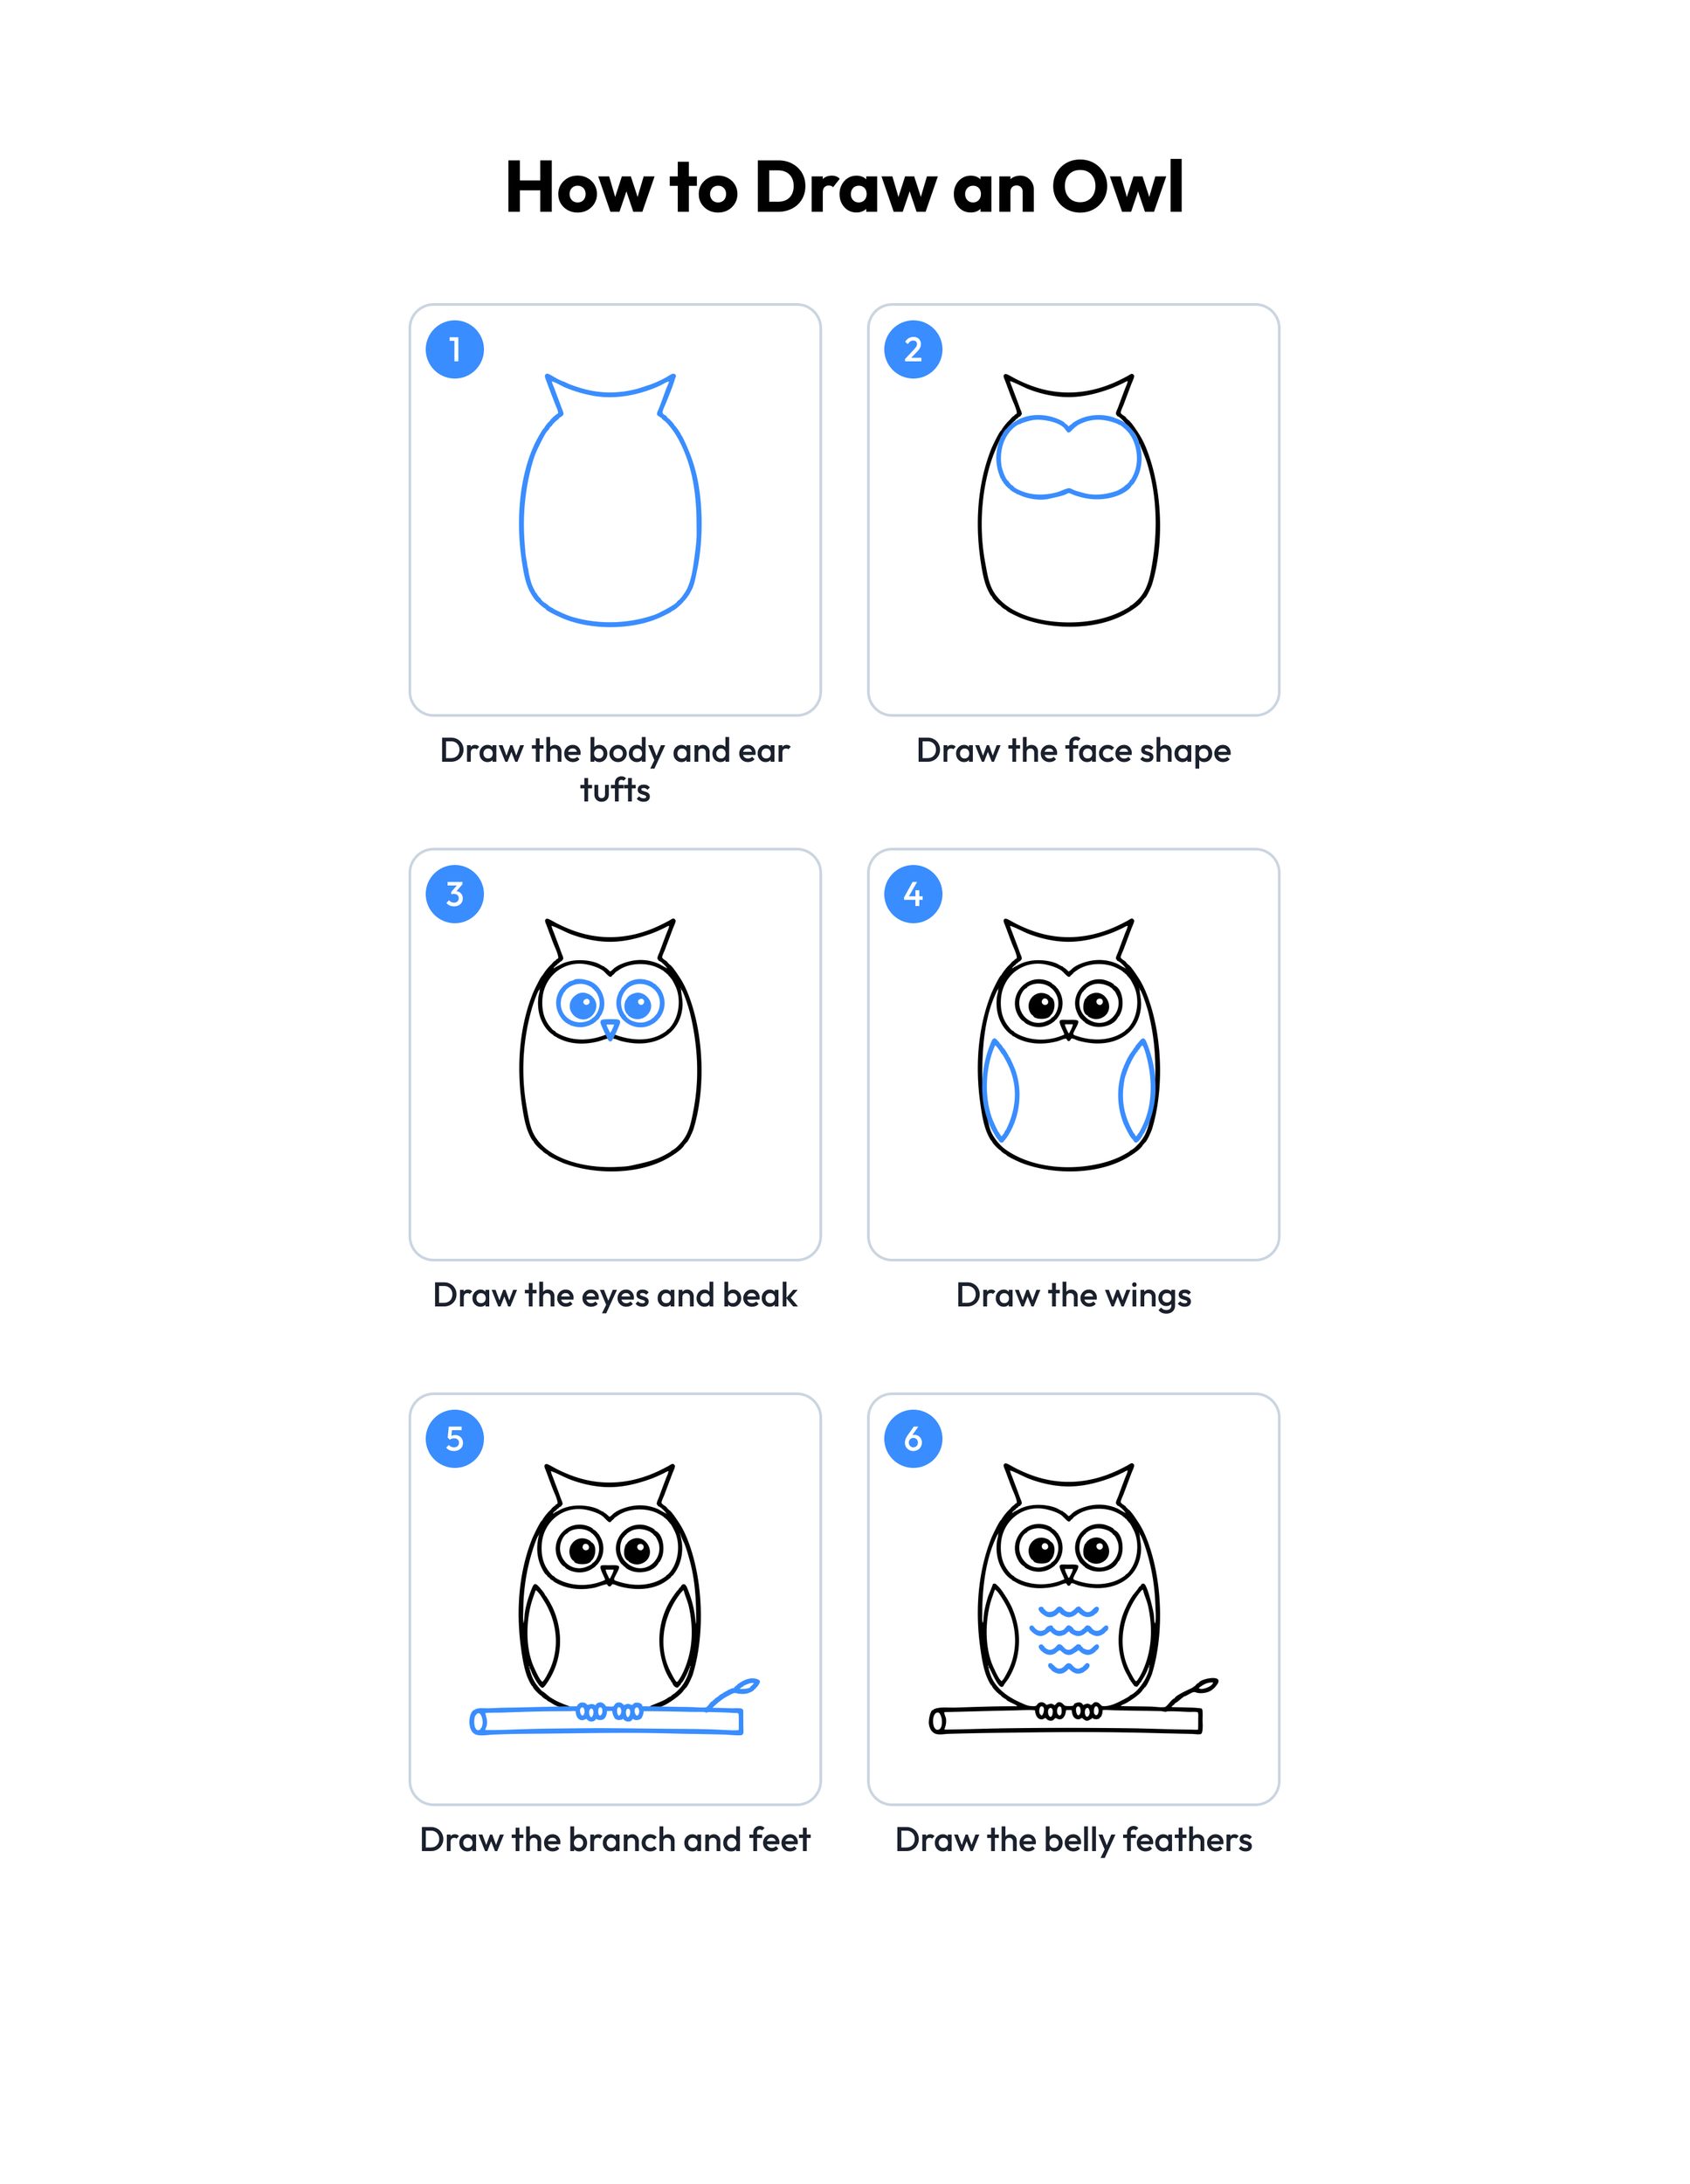 Save
Printable owl drawing guide
Every step, two to a row, with the finished owl in color at the end.
Download PDFHow to use this guide
Print the outline at 100 percent, or choose Fit to page if your printer asks. The PDF is set to US Letter, and the margins leave room for A4 too, so the whole owl and its branch stay on the sheet. Page one is the outline to color and page two is the colored owl, so print page one alone if you only want the drawing to fill in.
For drawing, plain copy paper and a pencil with a good eraser work best. Draw lightly at first, because the body and the face shape are guide shapes that often need a second try. When the owl looks right, trace the lines with a marker or a dark crayon. Markers and paint soak through thin paper, so use cardstock for those.
Follow the steps in order and look for the blue lines on each picture, since blue always shows the part to add next. Steps one to three build the head and face and need the most care. The wings, the branch and the belly feathers are quick, so children usually speed up toward the end.
Younger kids can skip the drawing and color Owl on a Branch Outline straight away. Older kids can draw the owl two or three times and try a sleepy owl with half closed eyes or a baby owl beside it.
Ideas for your owl drawing
- Owl family: Once the first owl is done, draw a smaller one beside it on the same branch using the same six steps, then color the pair in matching browns.
- Night scene: Draw the owl on dark blue paper with white crayon or chalk, then add a moon and stars behind it for a cosy bedtime picture.
- Shape spotting: Before drawing, ask kids to name the shapes in each step, such as circles, triangles and ovals. It is a quick math warm up that also helps them draw.
- Bird study: Pair the drawing with a short lesson on owls. Talk about why owls have big eyes and how they sleep in the day and hunt at night.
- Feather textures: Color the owl again and fill the belly rows with different patterns, such as dots, dashes or tiny loops, to practise careful pencil control.
- Seasonal branches: Change the twig to match the season. Add blossoms in spring, red leaves in autumn or a pile of snow along the branch in winter.
- Drawing buddies: A grown-up and a child each draw an owl at the same time, step by step, then compare the two owls and give each one a name.
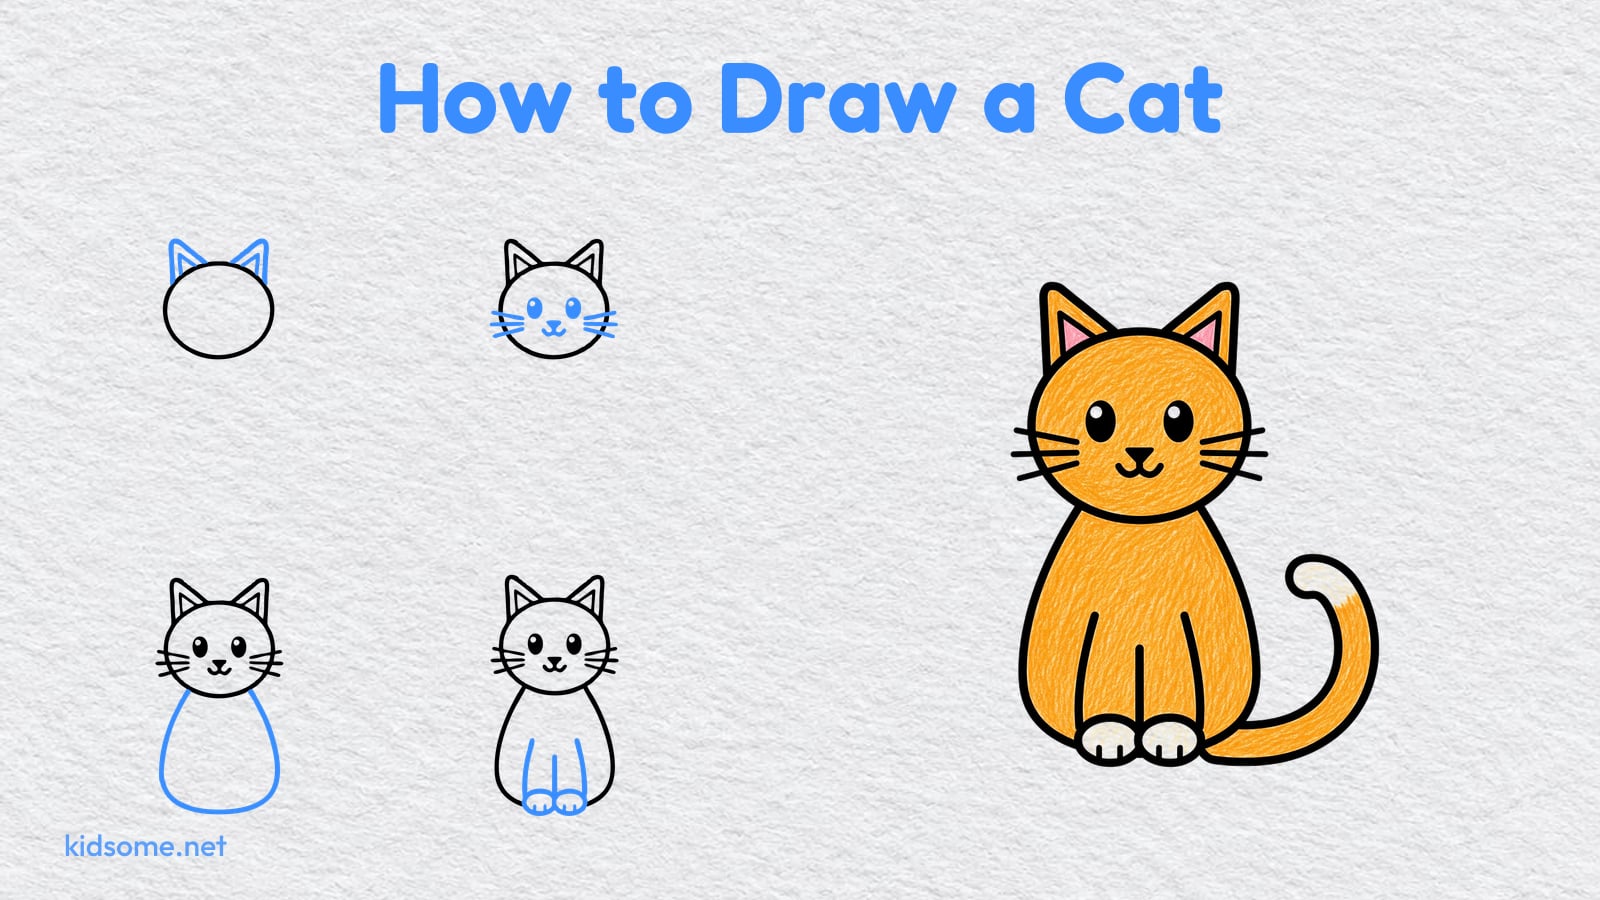
- Animal sketchbook: Start a small sketchbook of easy animals. After the owl, add a pet from our guide on how to draw a cat.
How do you draw an owl for kids?
Start with a tall rounded body and two pointy ear tufts. Add a wide face shape, two big round eyes and a small triangle beak. Then draw a wing on each side, a branch with little feet, and finish with wavy belly feathers. Each step adds just one shape.
What age is this owl drawing guide for?
It is made for kids ages 4 to 8. The youngest children may need a grown-up to help with the body and face shapes, while older kids can usually follow all six steps alone and then add their own details, such as a moon or a second owl.
What do I need to draw an owl?
A pencil, an eraser and plain paper are enough. A black marker or dark crayon helps make the final lines bold, and crayons or colored pencils are best for coloring. Print on cardstock if your child wants to use markers or paint.
Can I print the owl outline for my class?
Yes. The outline is a free PDF for personal and classroom use, so you can print a copy for every child in your class. Please do not sell the pages or upload them elsewhere. Share a link to this guide instead so others get the latest file.