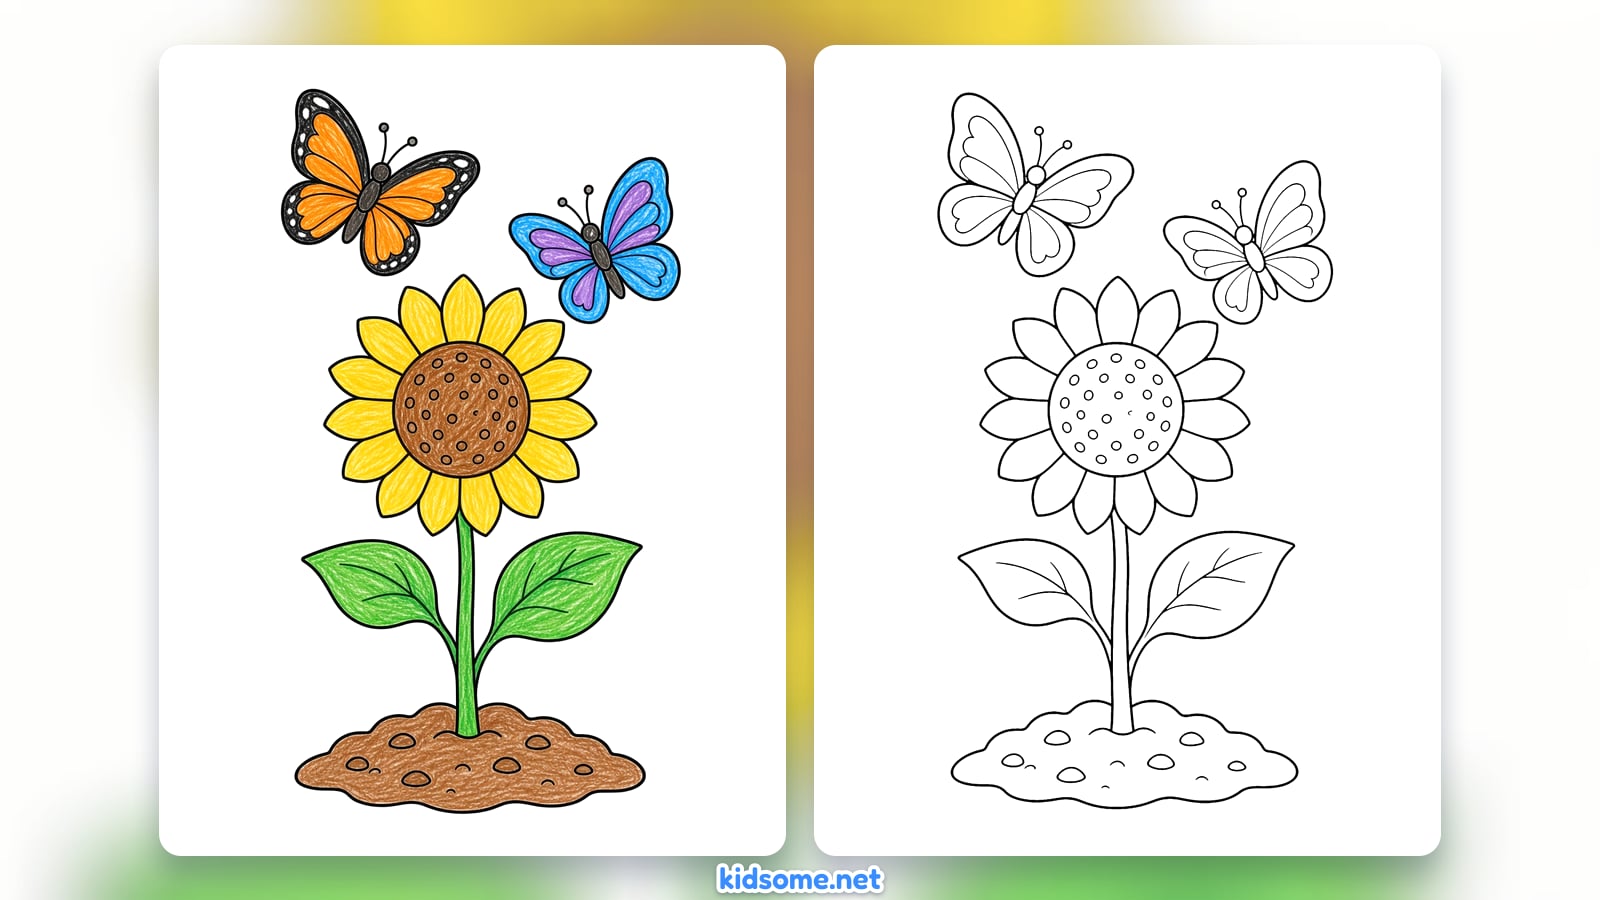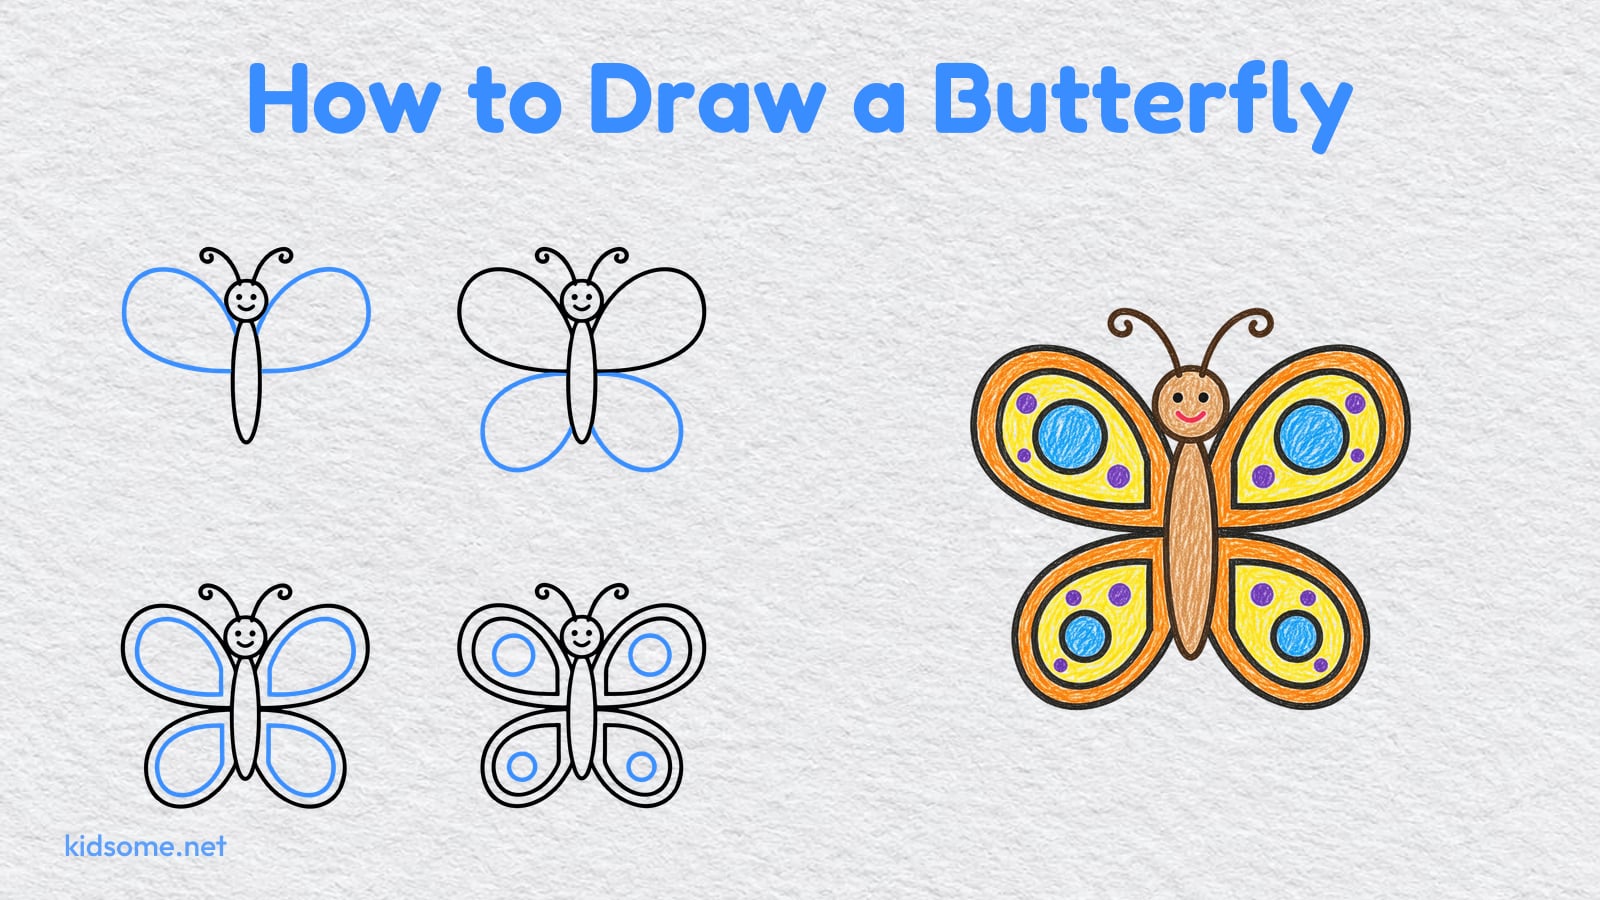
This how to draw a butterfly guide is made for kids ages 4 to 8 who want a bright, friendly drawing they can finish and show off. The butterfly faces you with its wings open, so both sides match. It starts with a long body and a round head, then a happy face and two curly antennae, two big top wings, two smaller bottom wings, a border inside each wing, circles and a few dots.
There are nine steps. Each picture shows the drawing so far in black and the new part in blue, so your child always knows what comes next. The last picture shows the butterfly colored in orange, yellow, blue and purple. Two free PDFs go with the guide: the finished outline to color and a printable step guide. Both print on US Letter and A4, with no sign-up.
If you are looking for how to draw a butterfly easy enough for a first try, this is a gentle place to start. The animal drawing guides have more to try next.
-
Step 1 : Draw the body

Start in the middle of your paper with a tall, thin oval. This is the butterfly's body. Draw it lightly, so it is easy to fix if it wobbles.
-
Step 2 : Draw the head
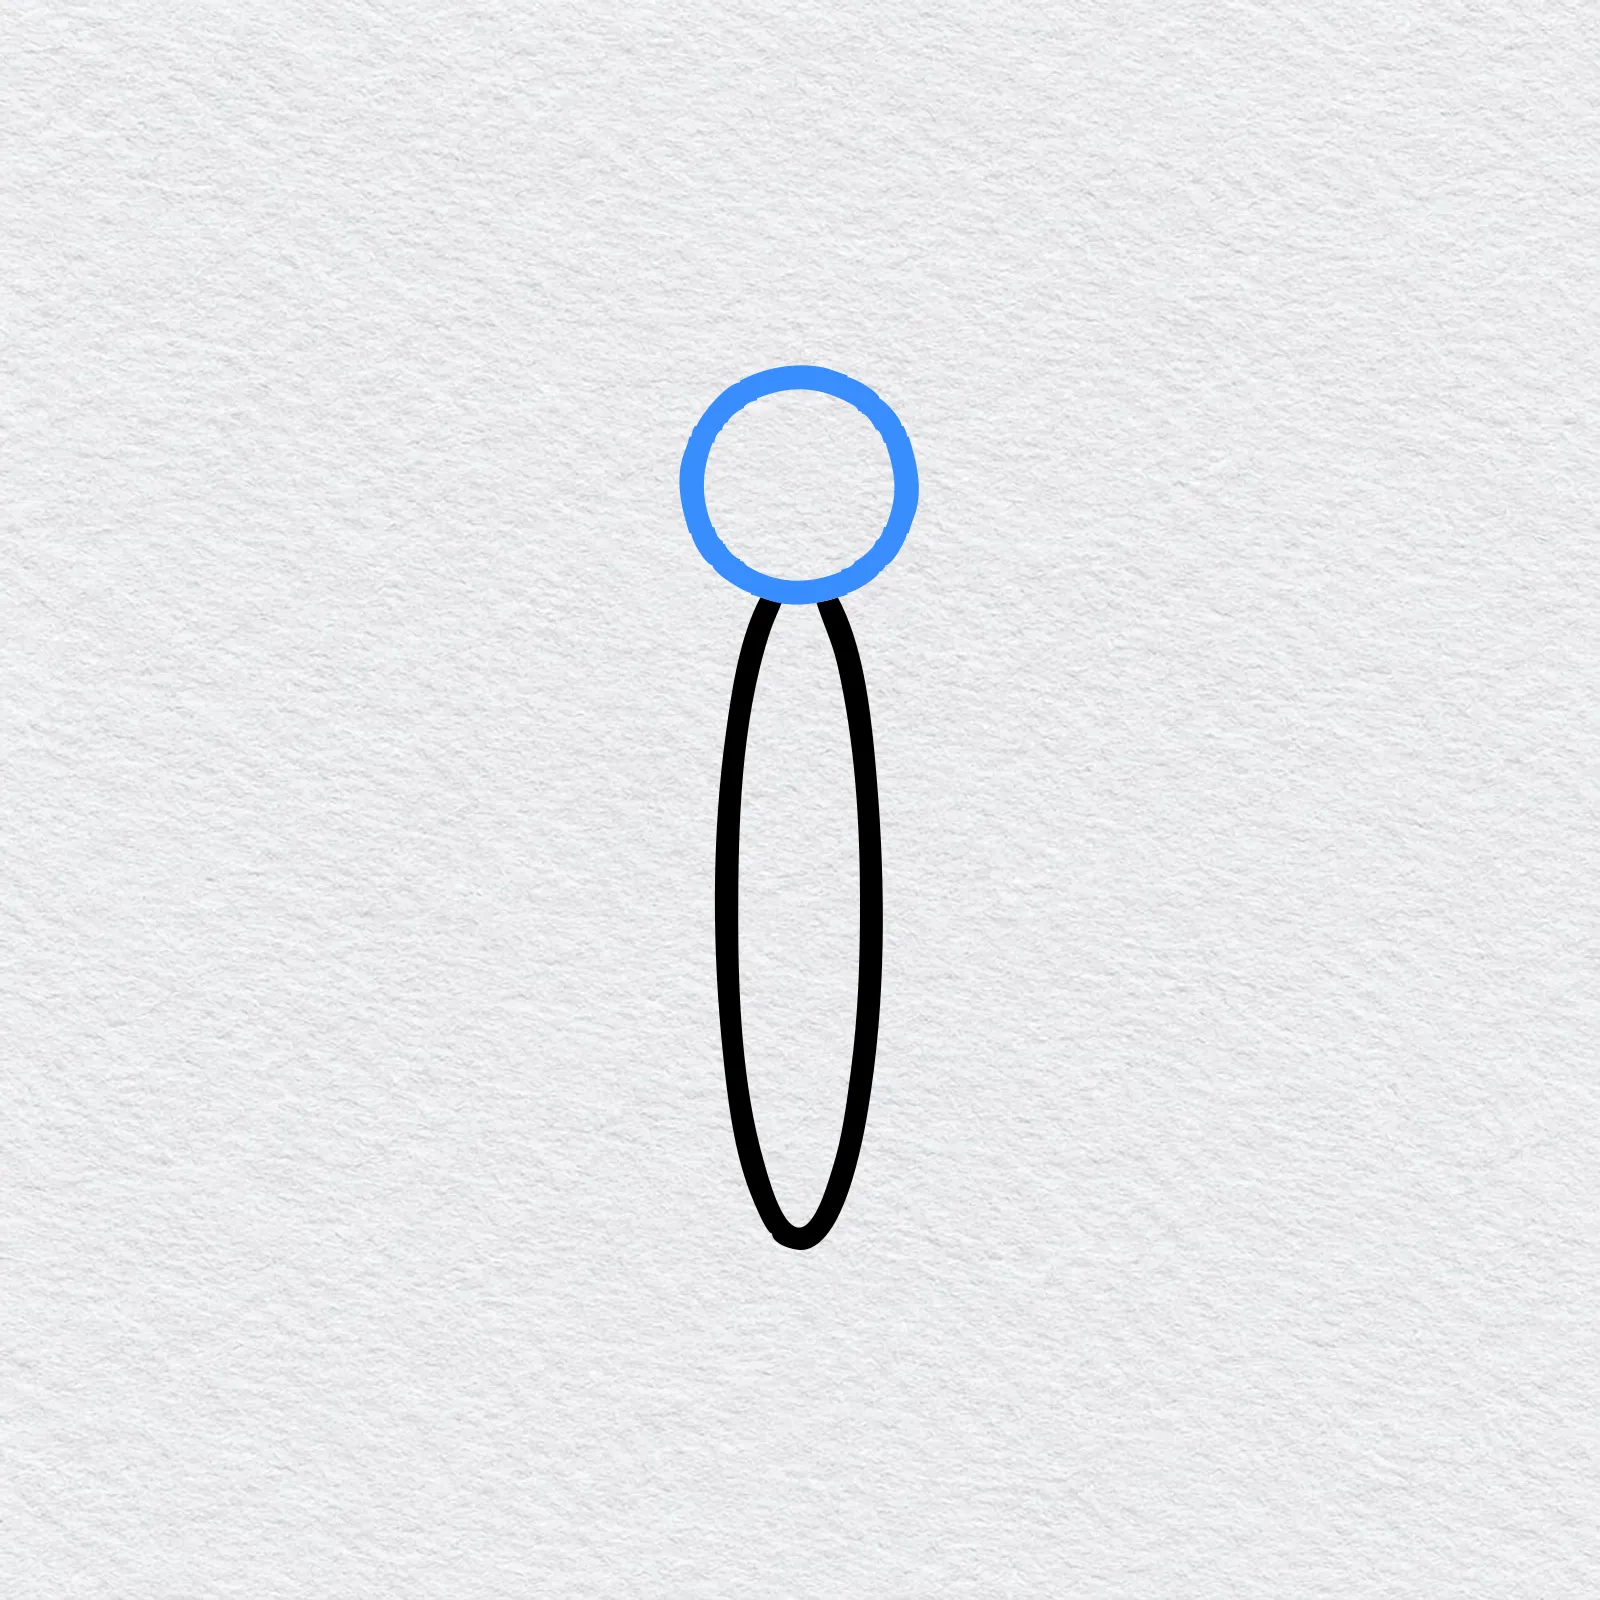
Draw a small circle right on top of the body. Let it touch the oval so the head and body join.
-
Step 3 : Draw the happy face
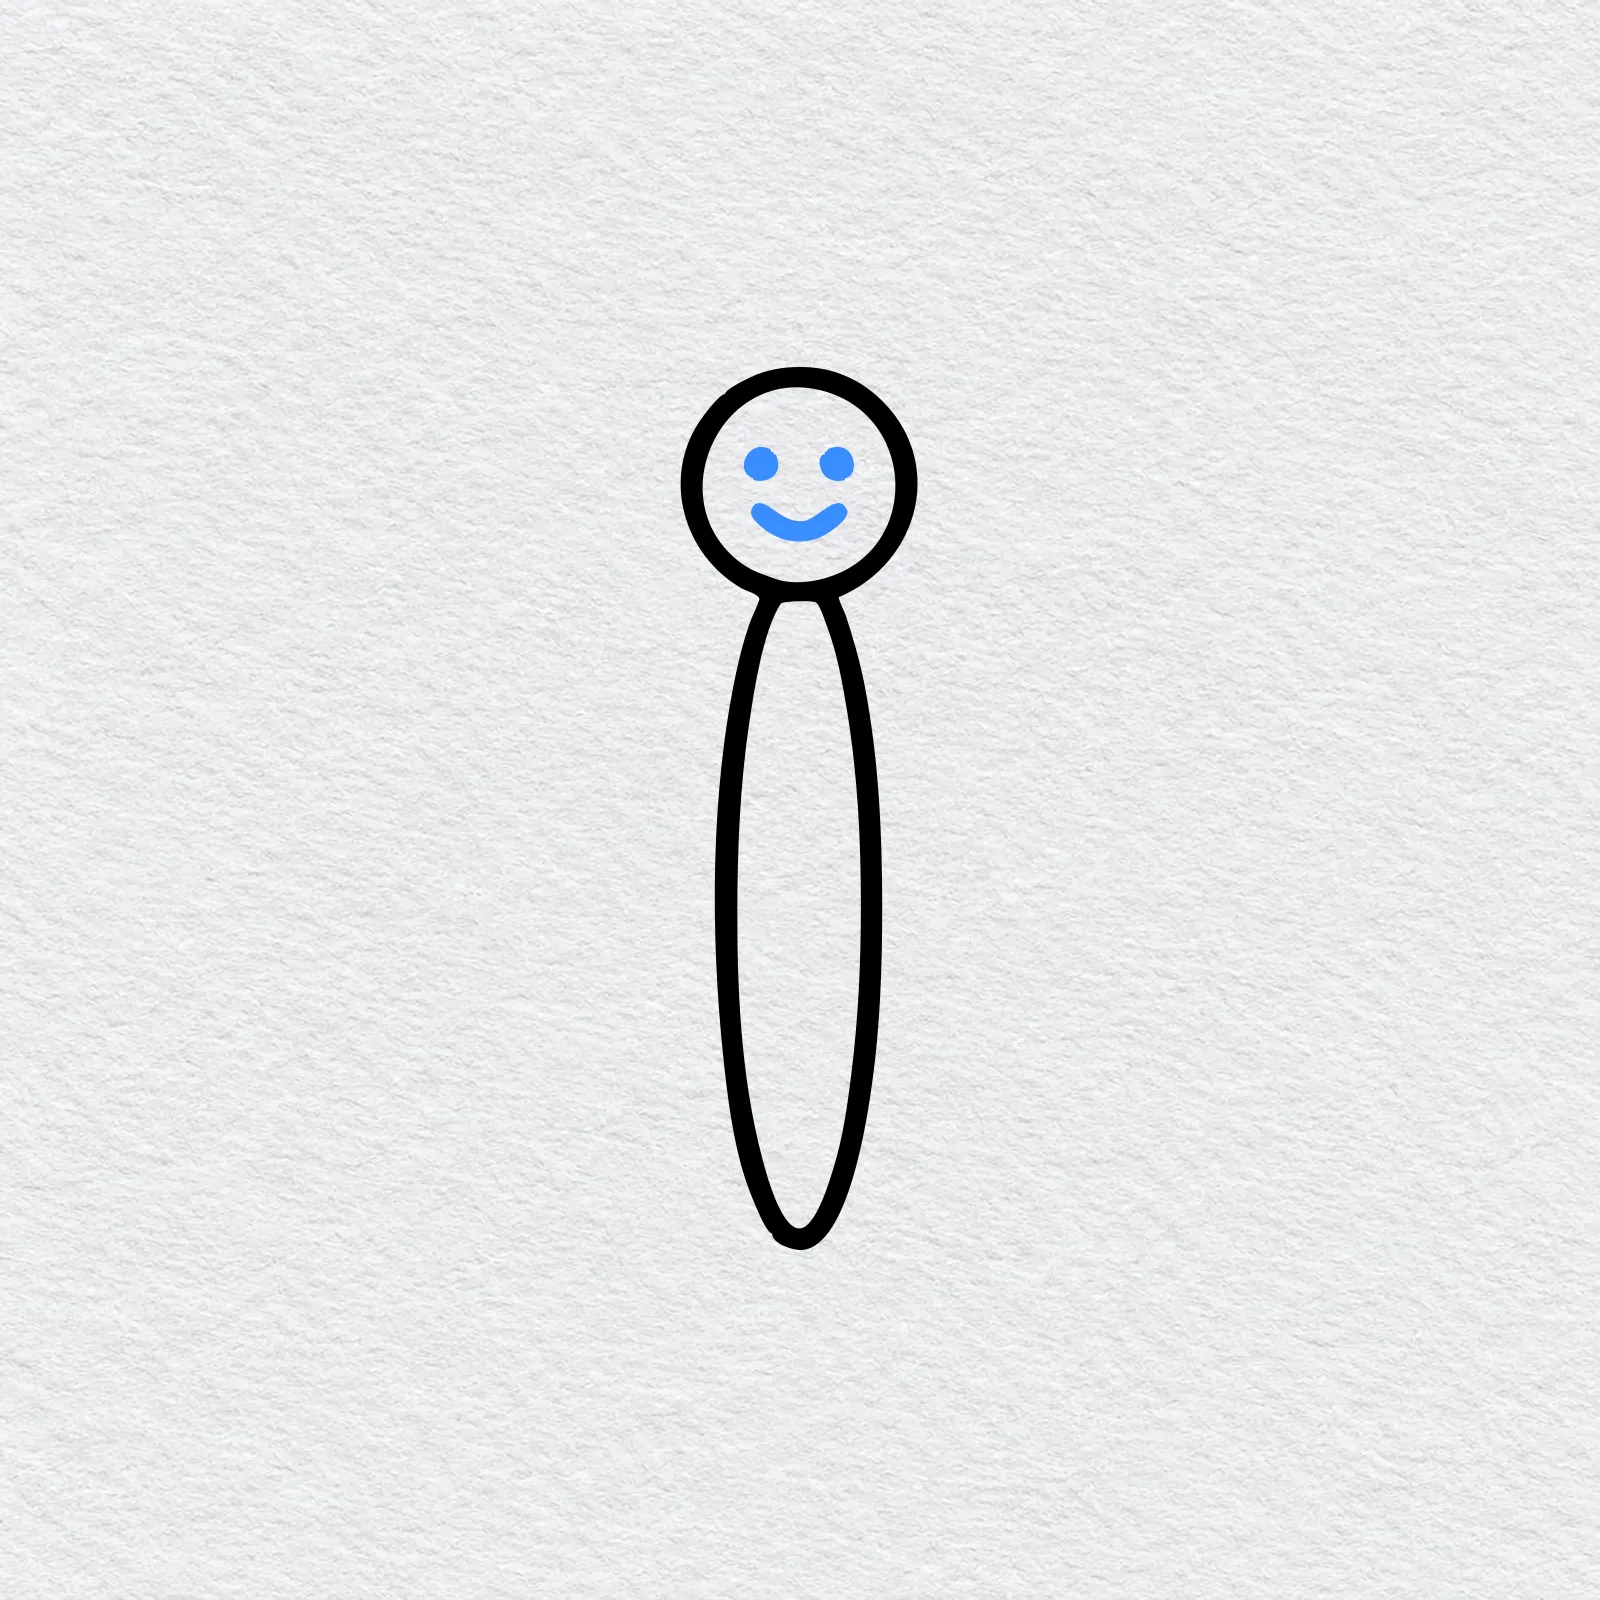
Inside the head, add two small dots for eyes and a little curved smile underneath. Now your butterfly is smiling back at you.
-
Step 4 : Draw the antennae
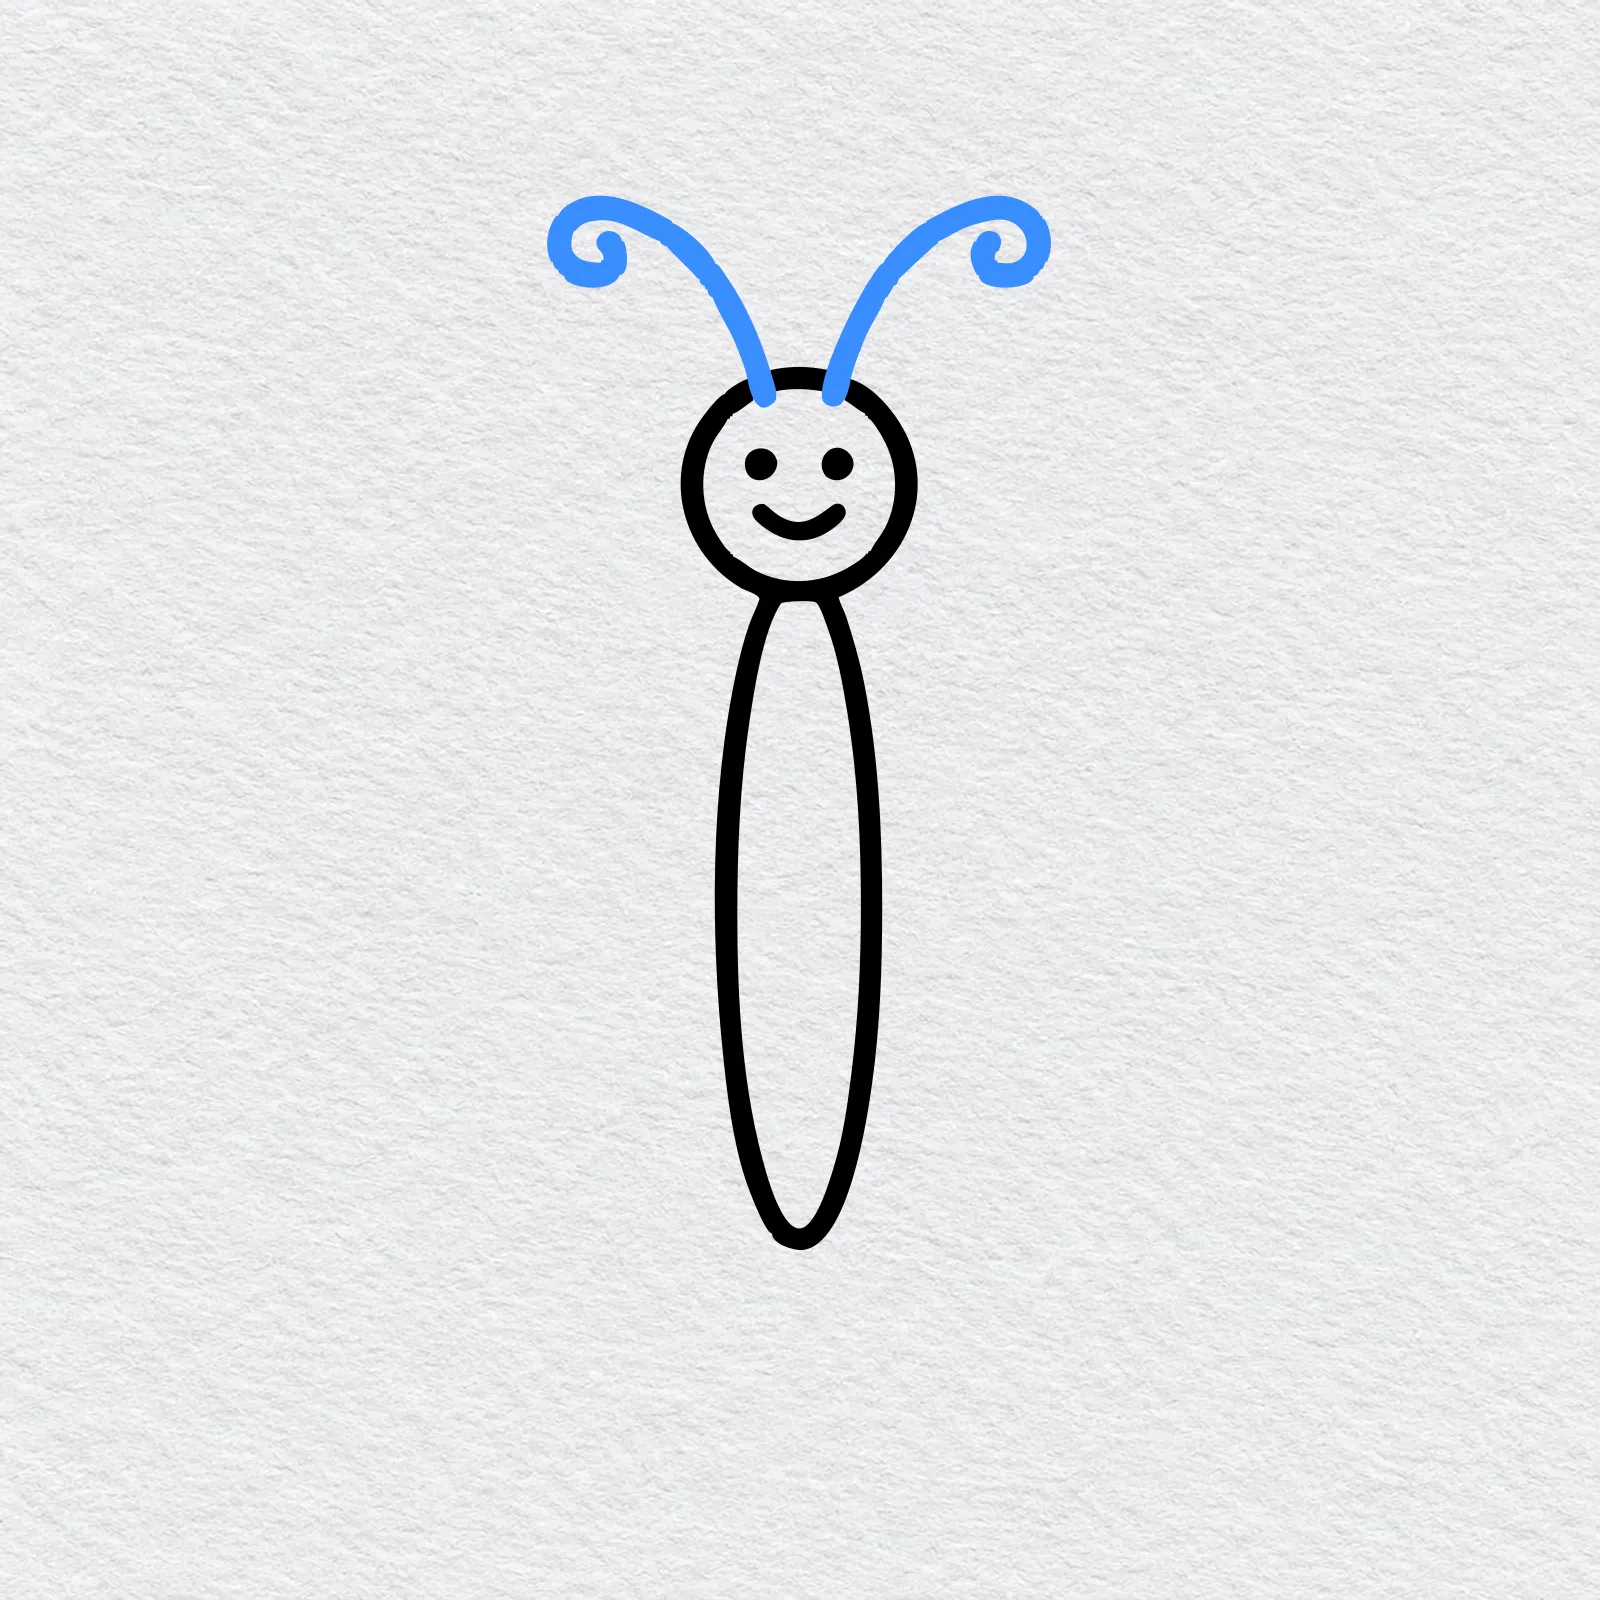
Draw two thin lines going up from the top of the head, leaning out a little. Finish each one with a tiny curl at the end.
-
Step 5 : Draw the top wings
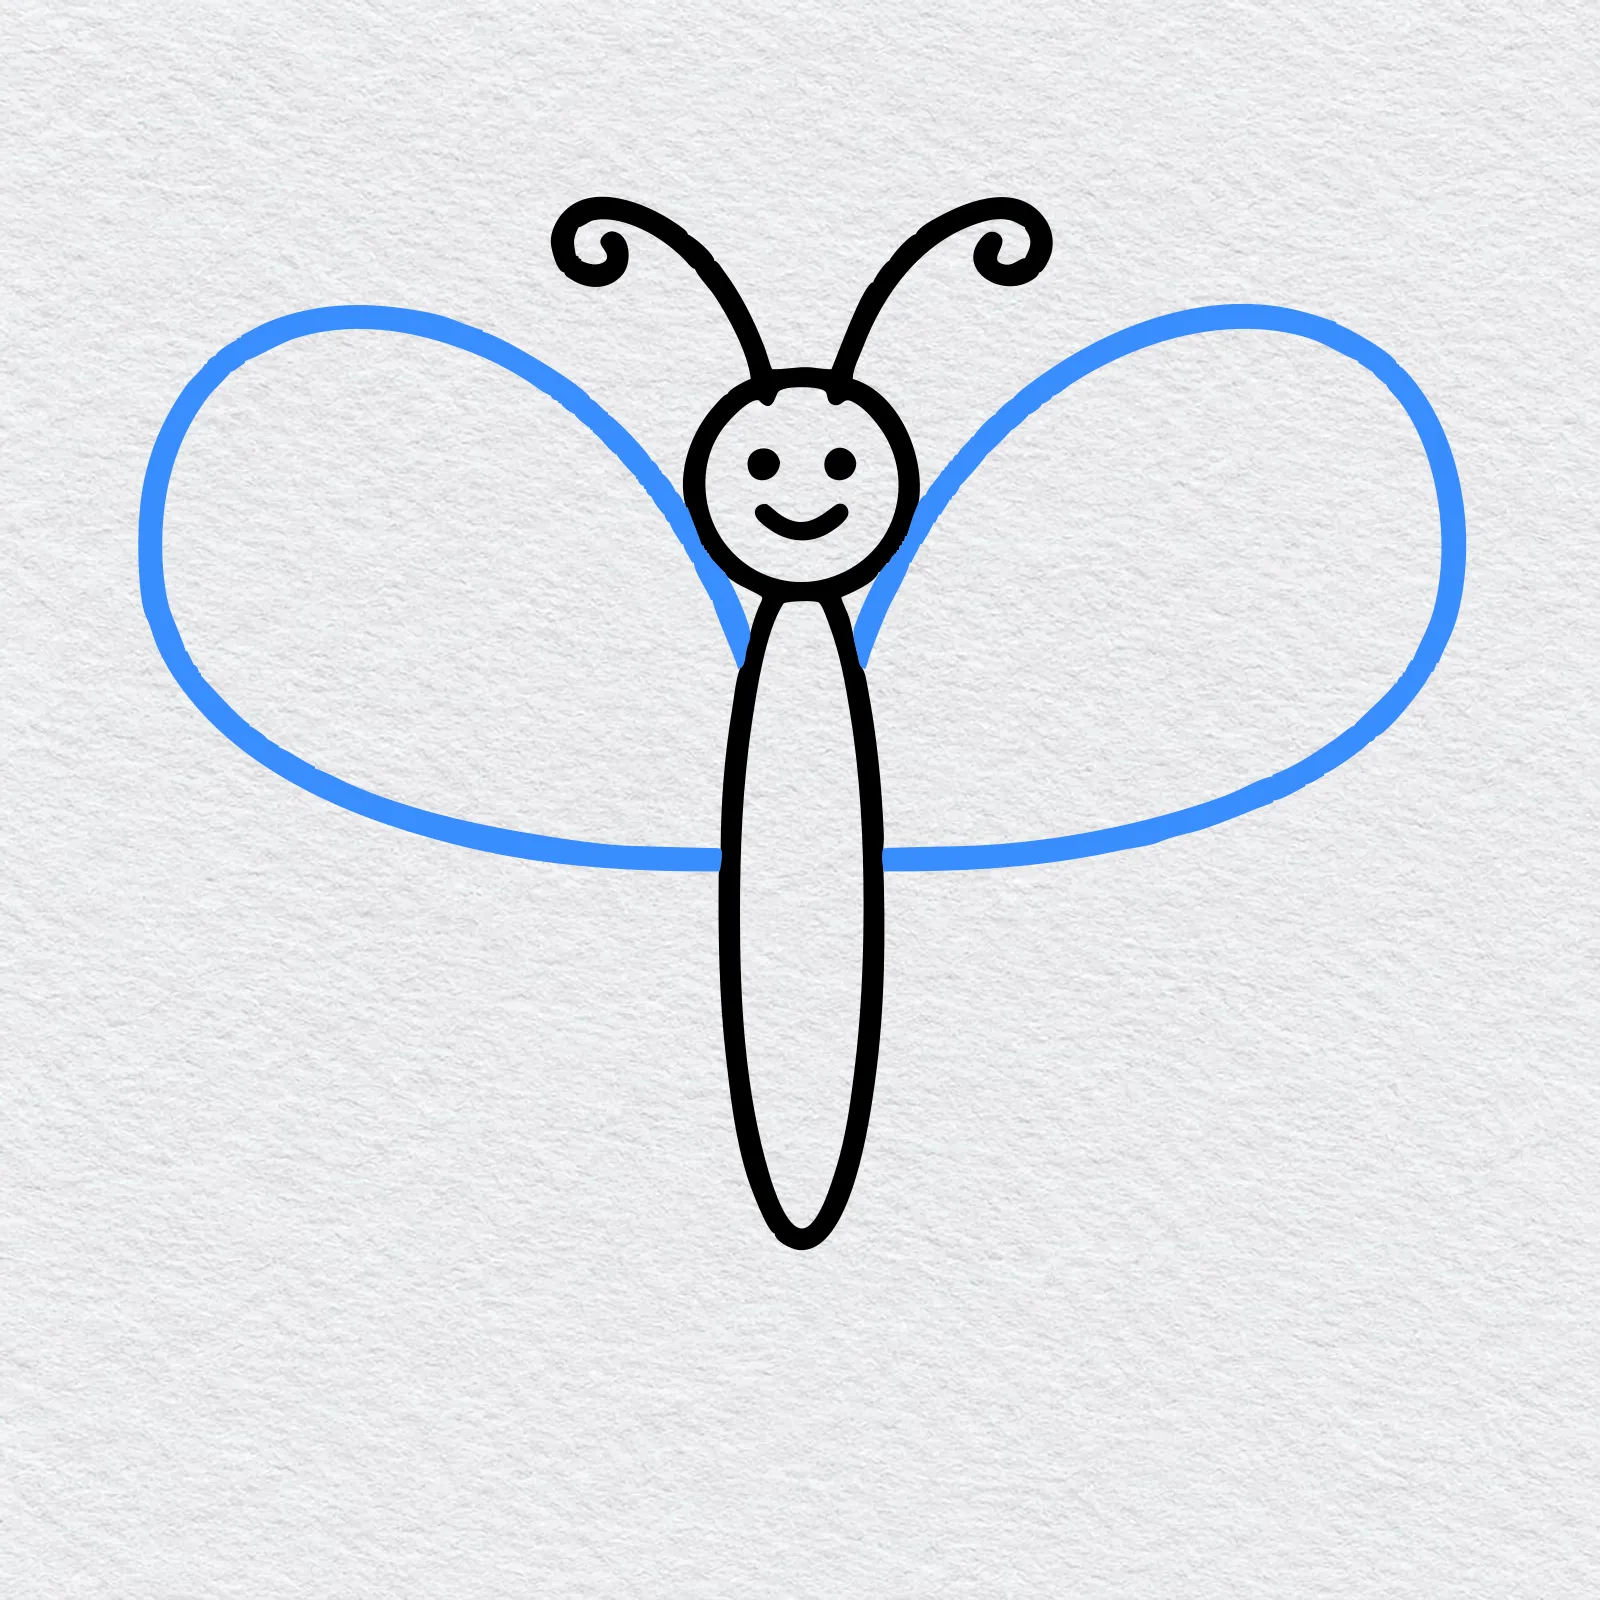
Draw one big rounded wing on each side of the body, close to the head. Try to make both wings the same size, like a mirror.
-
Step 6 : Draw the bottom wings
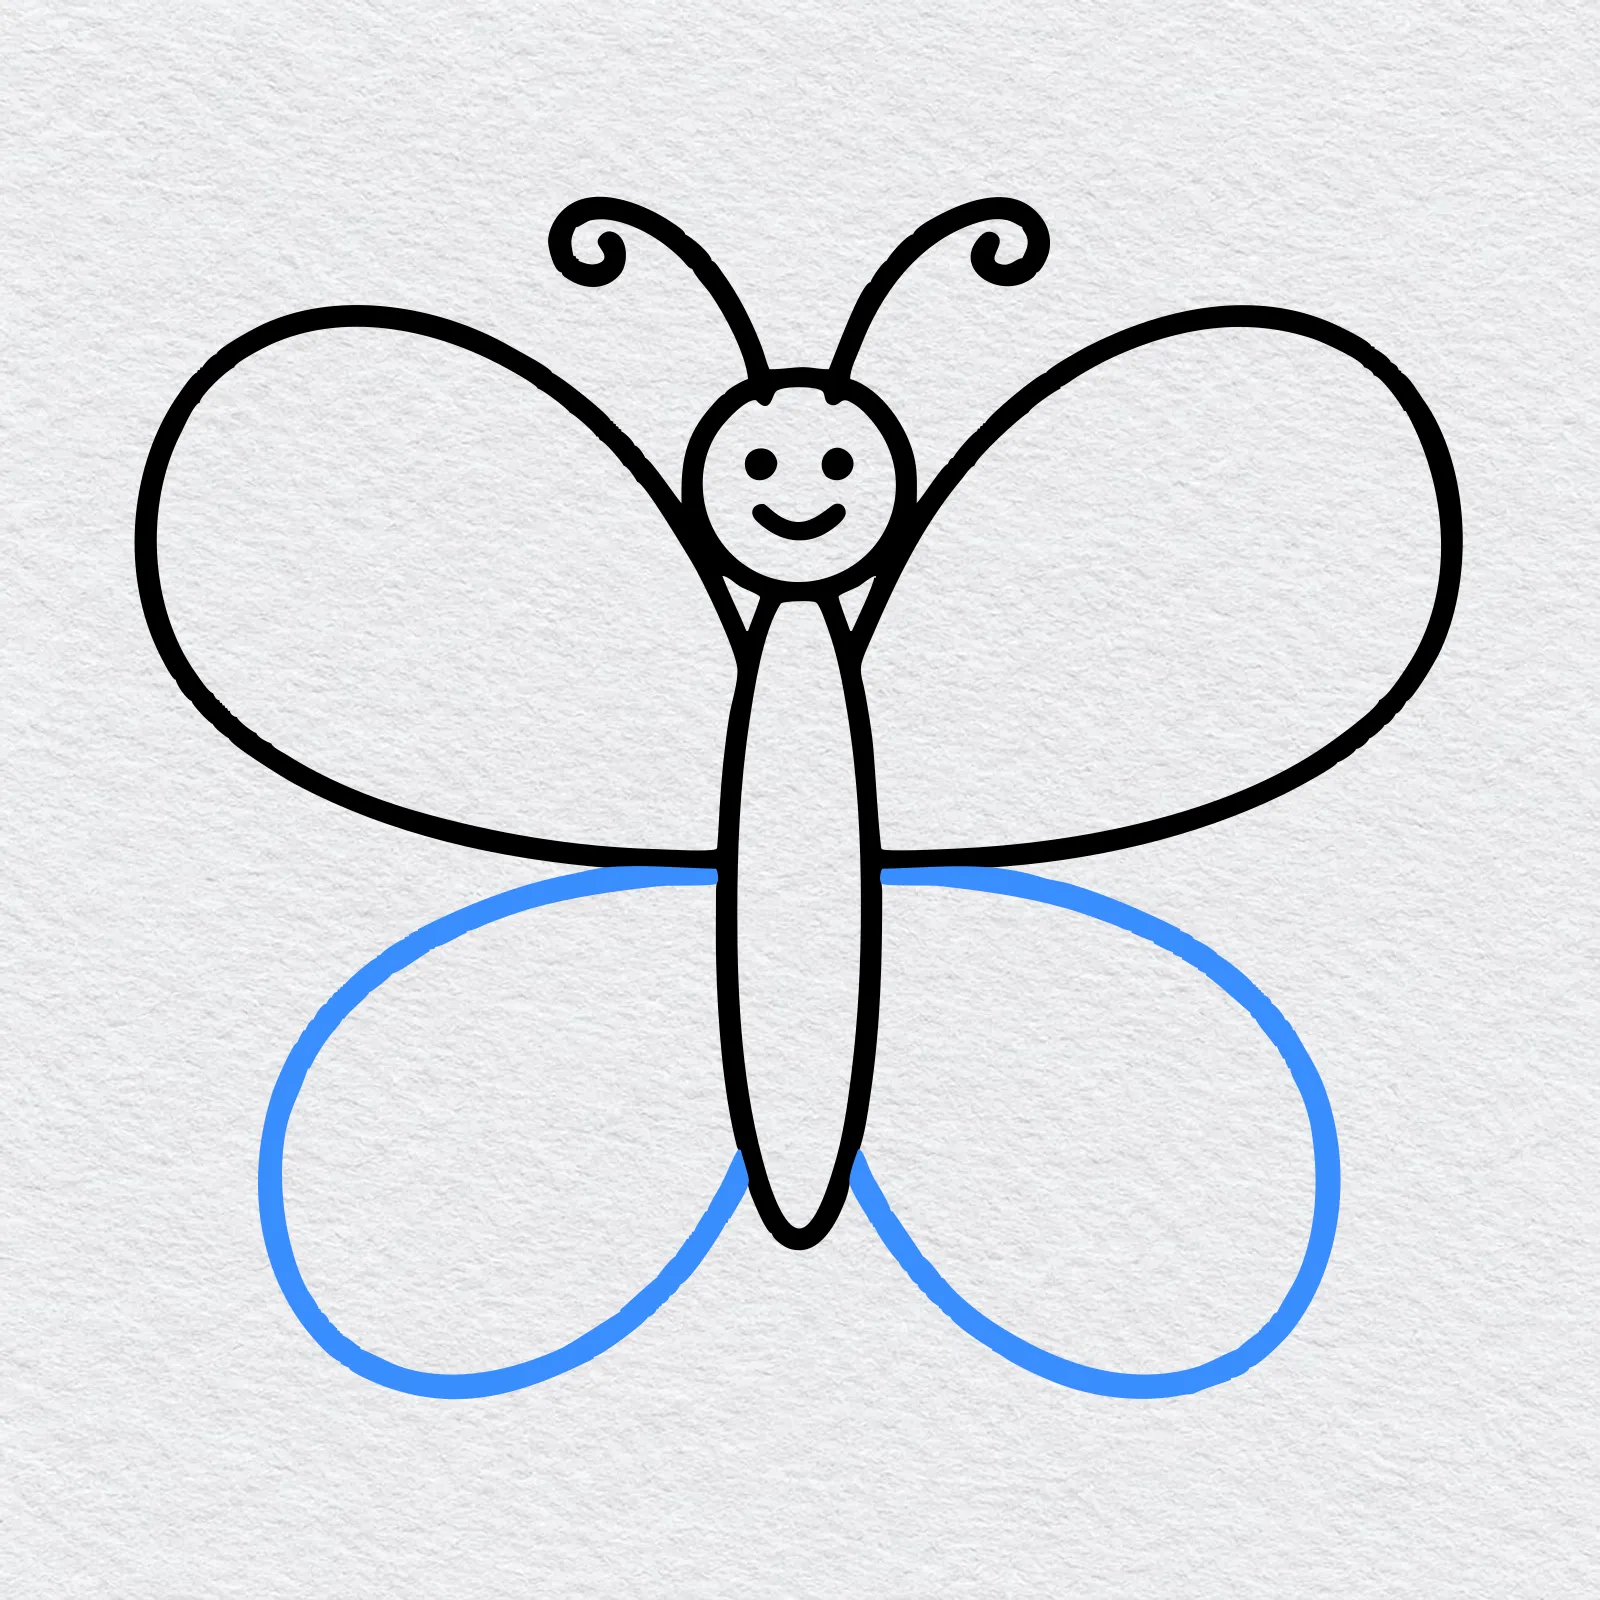
Under each top wing, draw a smaller rounded wing. They tuck in close to the lower part of the body.
-
Step 7 : Draw the inner wing edges
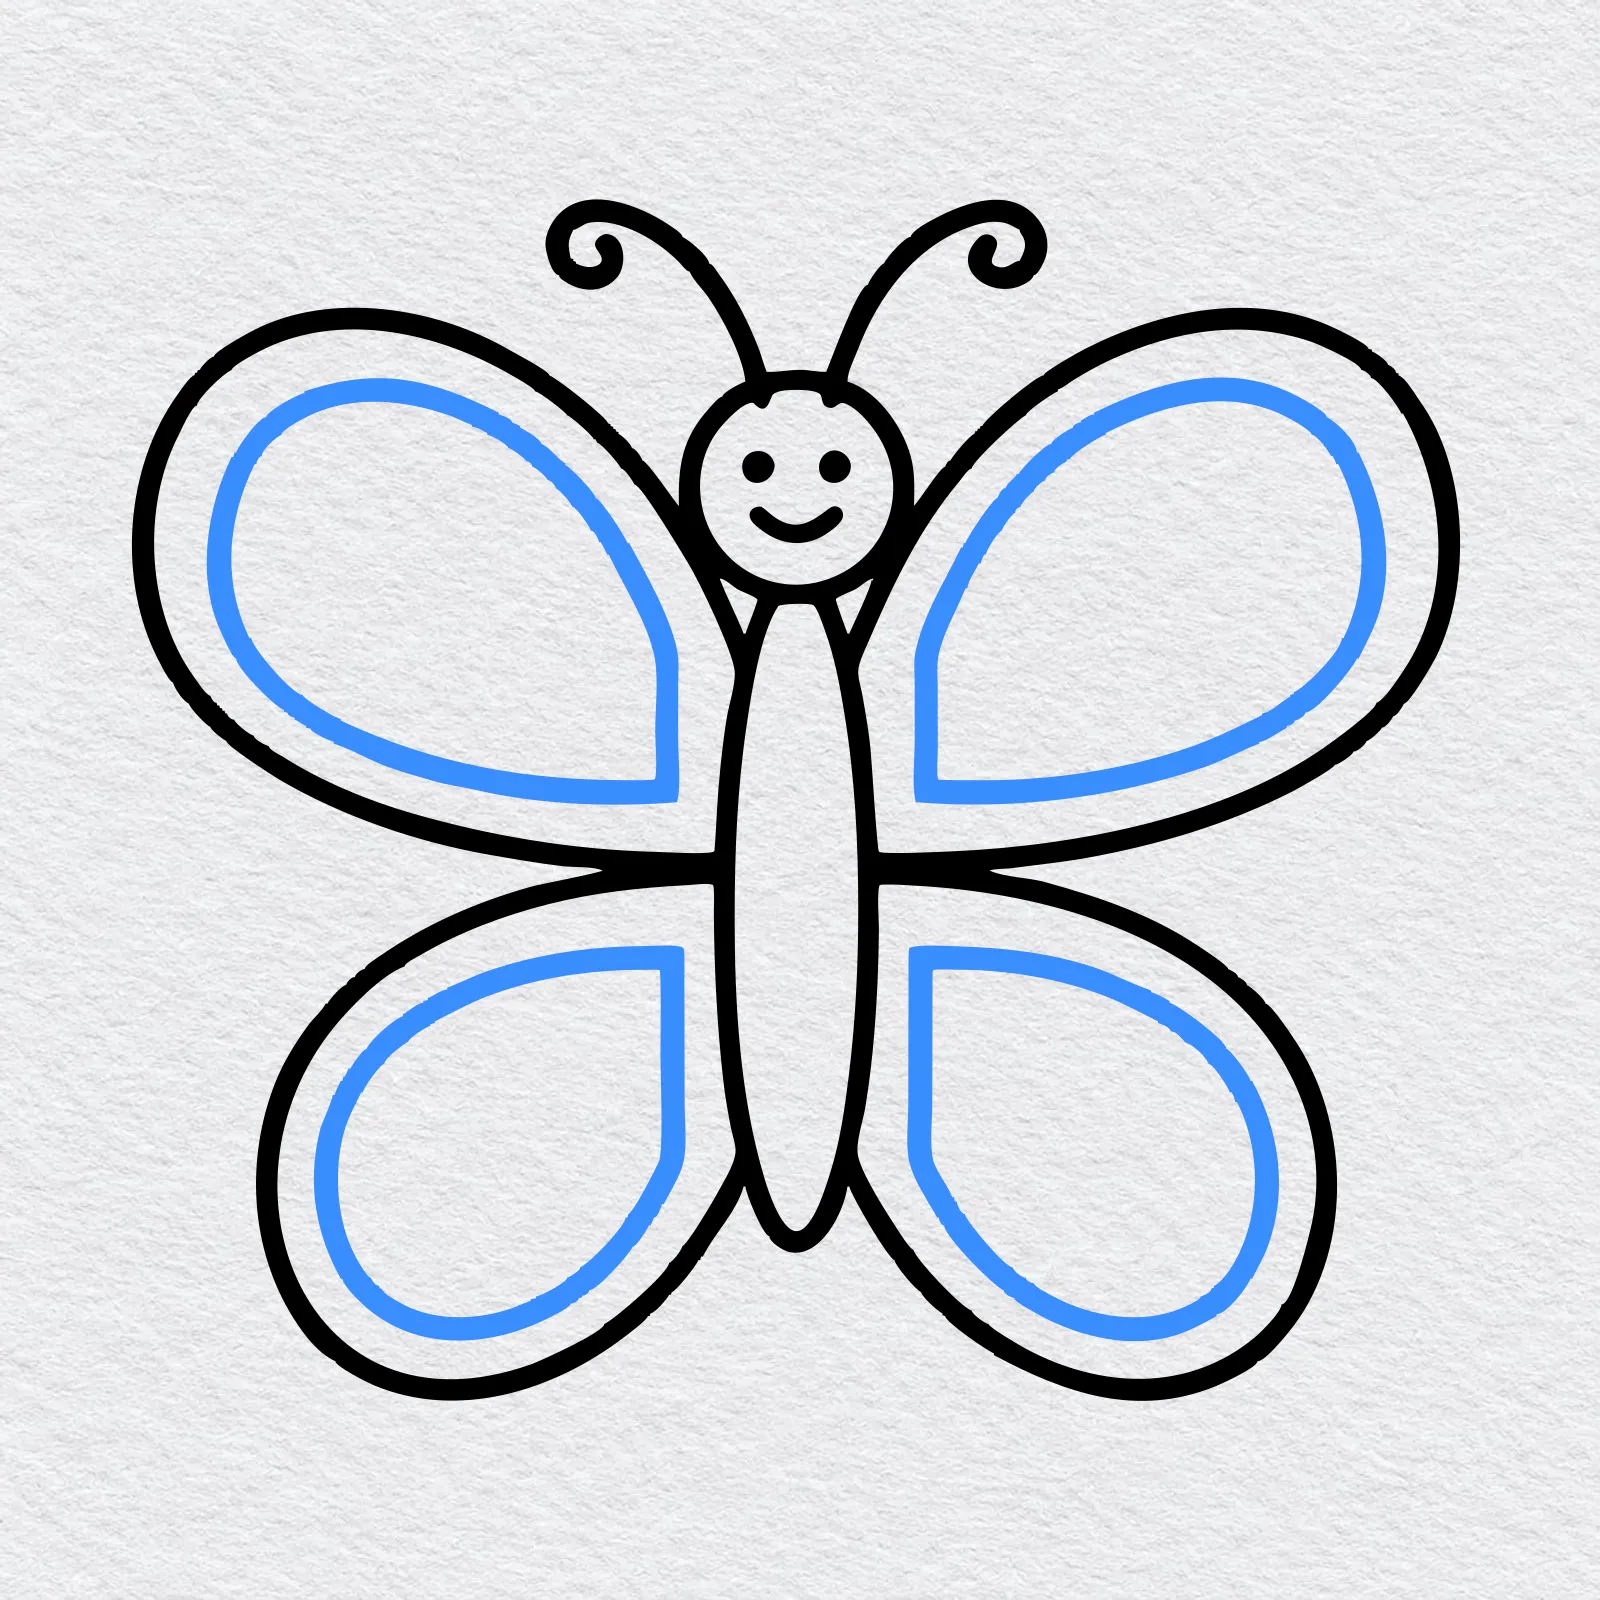
Go inside each wing and draw a second line that follows its shape. Leave a wide gap so each wing gets a thick border.
-
Step 8 : Draw the circles
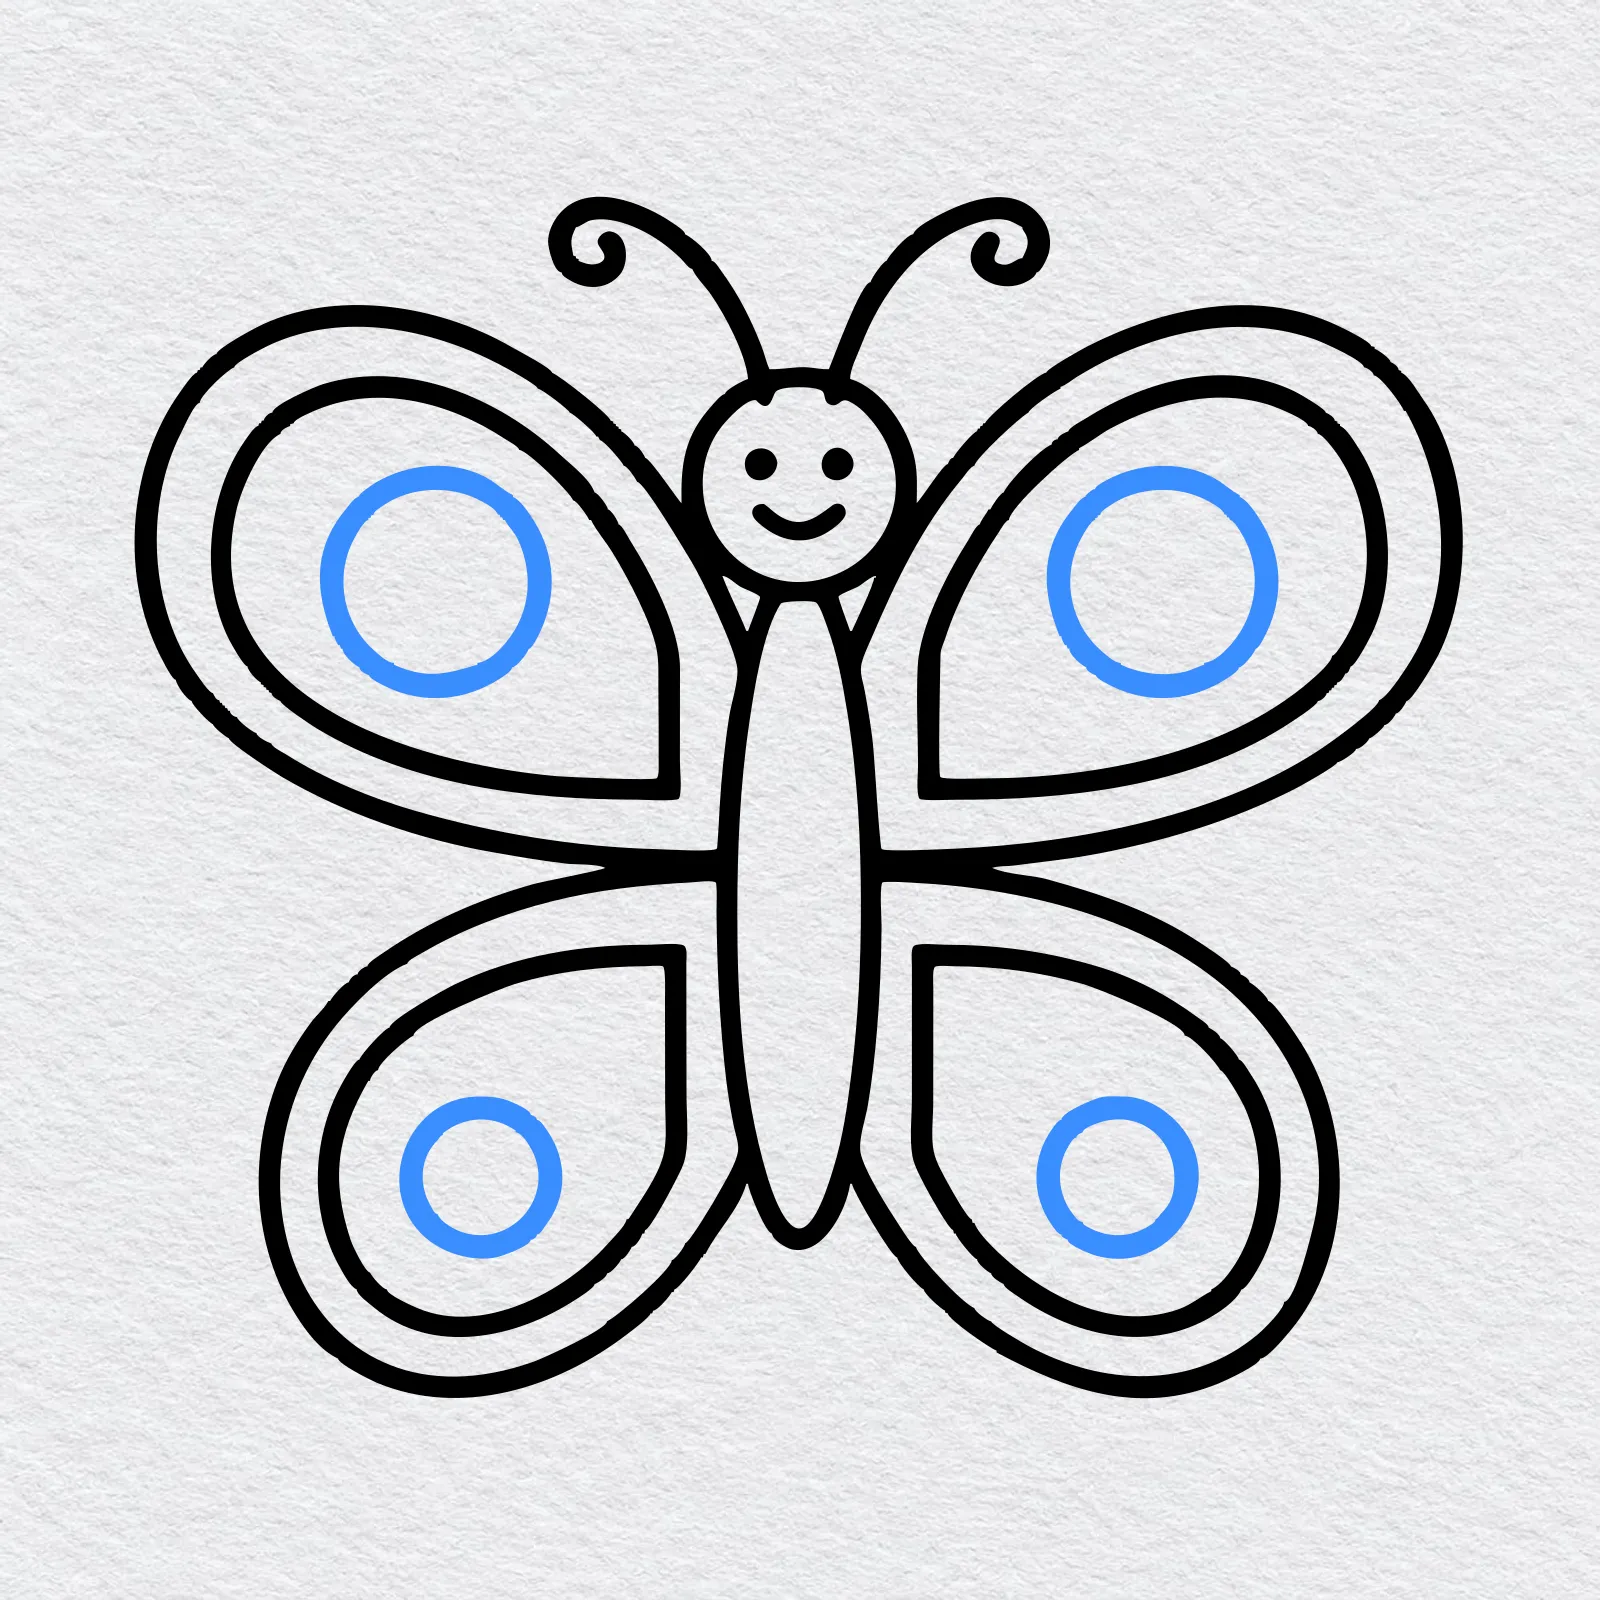
Put one circle inside each wing. Make the circles on the top wings bigger and the circles on the bottom wings smaller.
-
Step 9 : Draw the dots
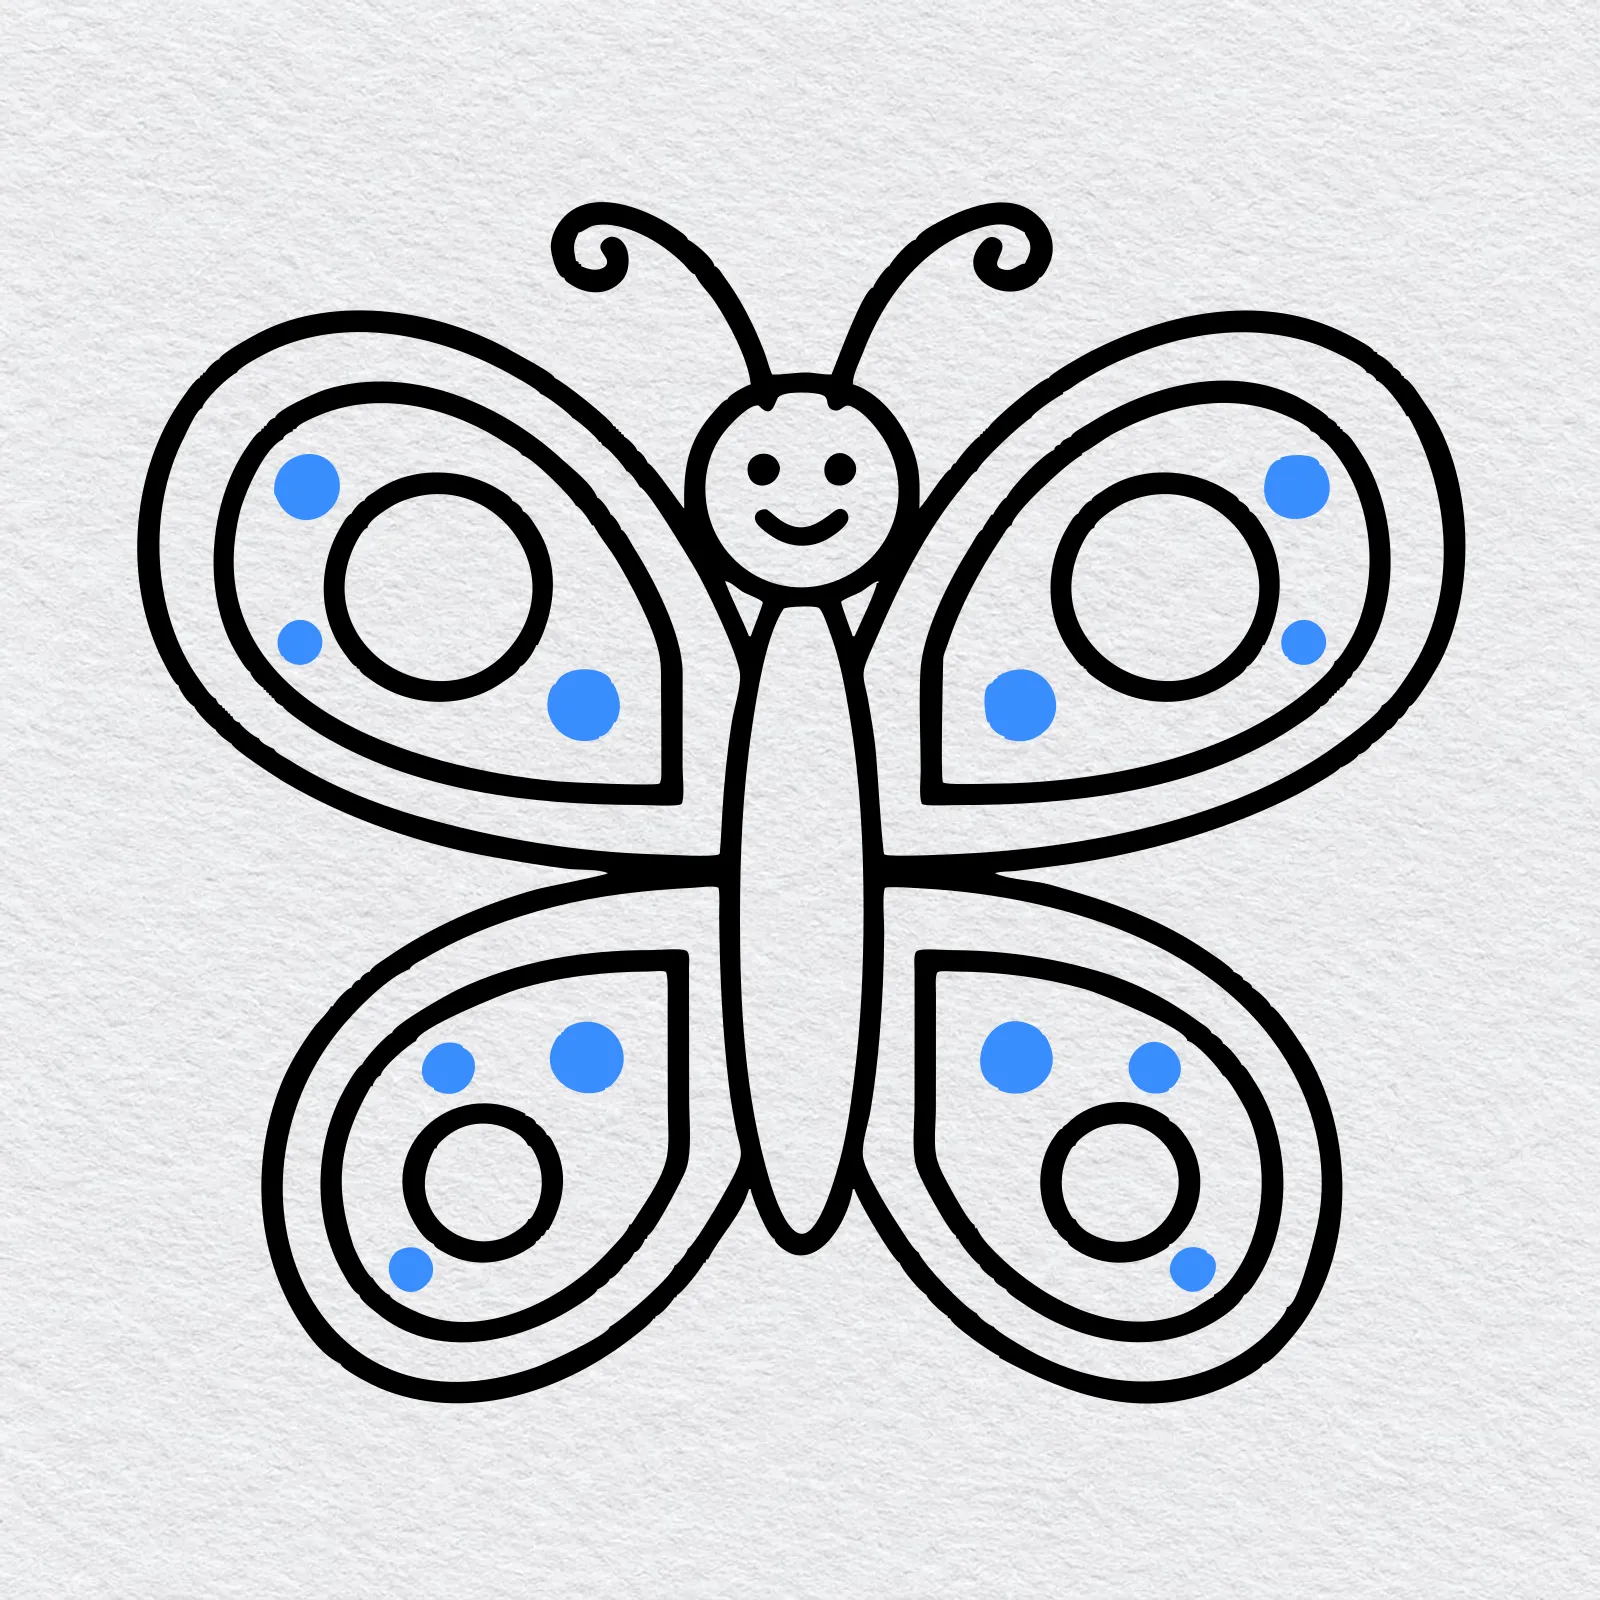
Add a few small round dots around each circle. Put the same number of dots on both sides, and your butterfly is finished.
-
Step 10 : Color your butterfly
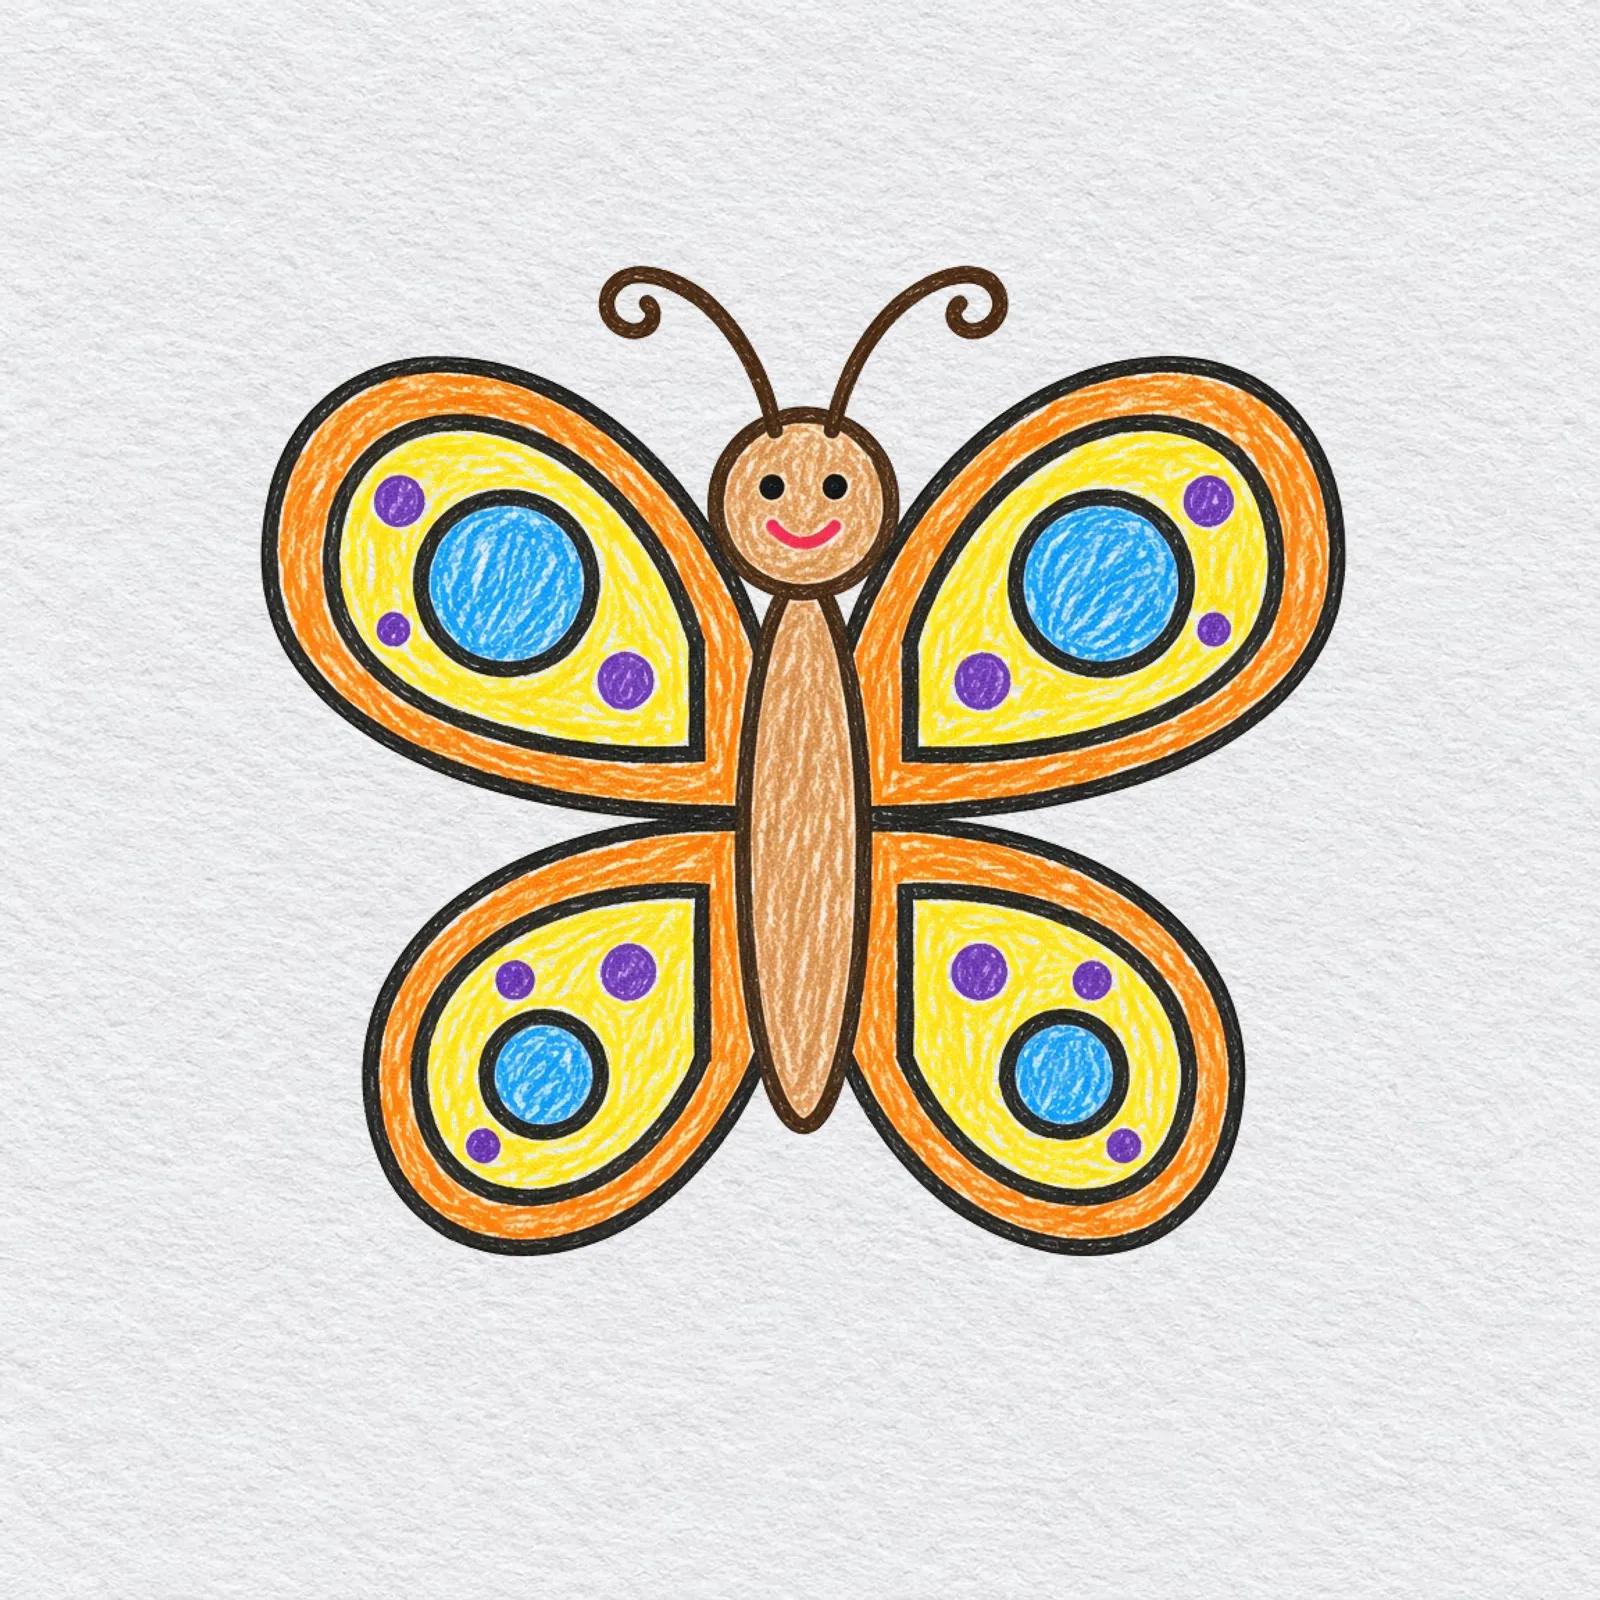
Pick two or three bright colors for the wings and one calm color for the body. Color slowly and keep both sides matching, so your butterfly looks ready to fly.
Printable butterfly drawing PDFs
 Save
Friendly Butterfly Outline to Color
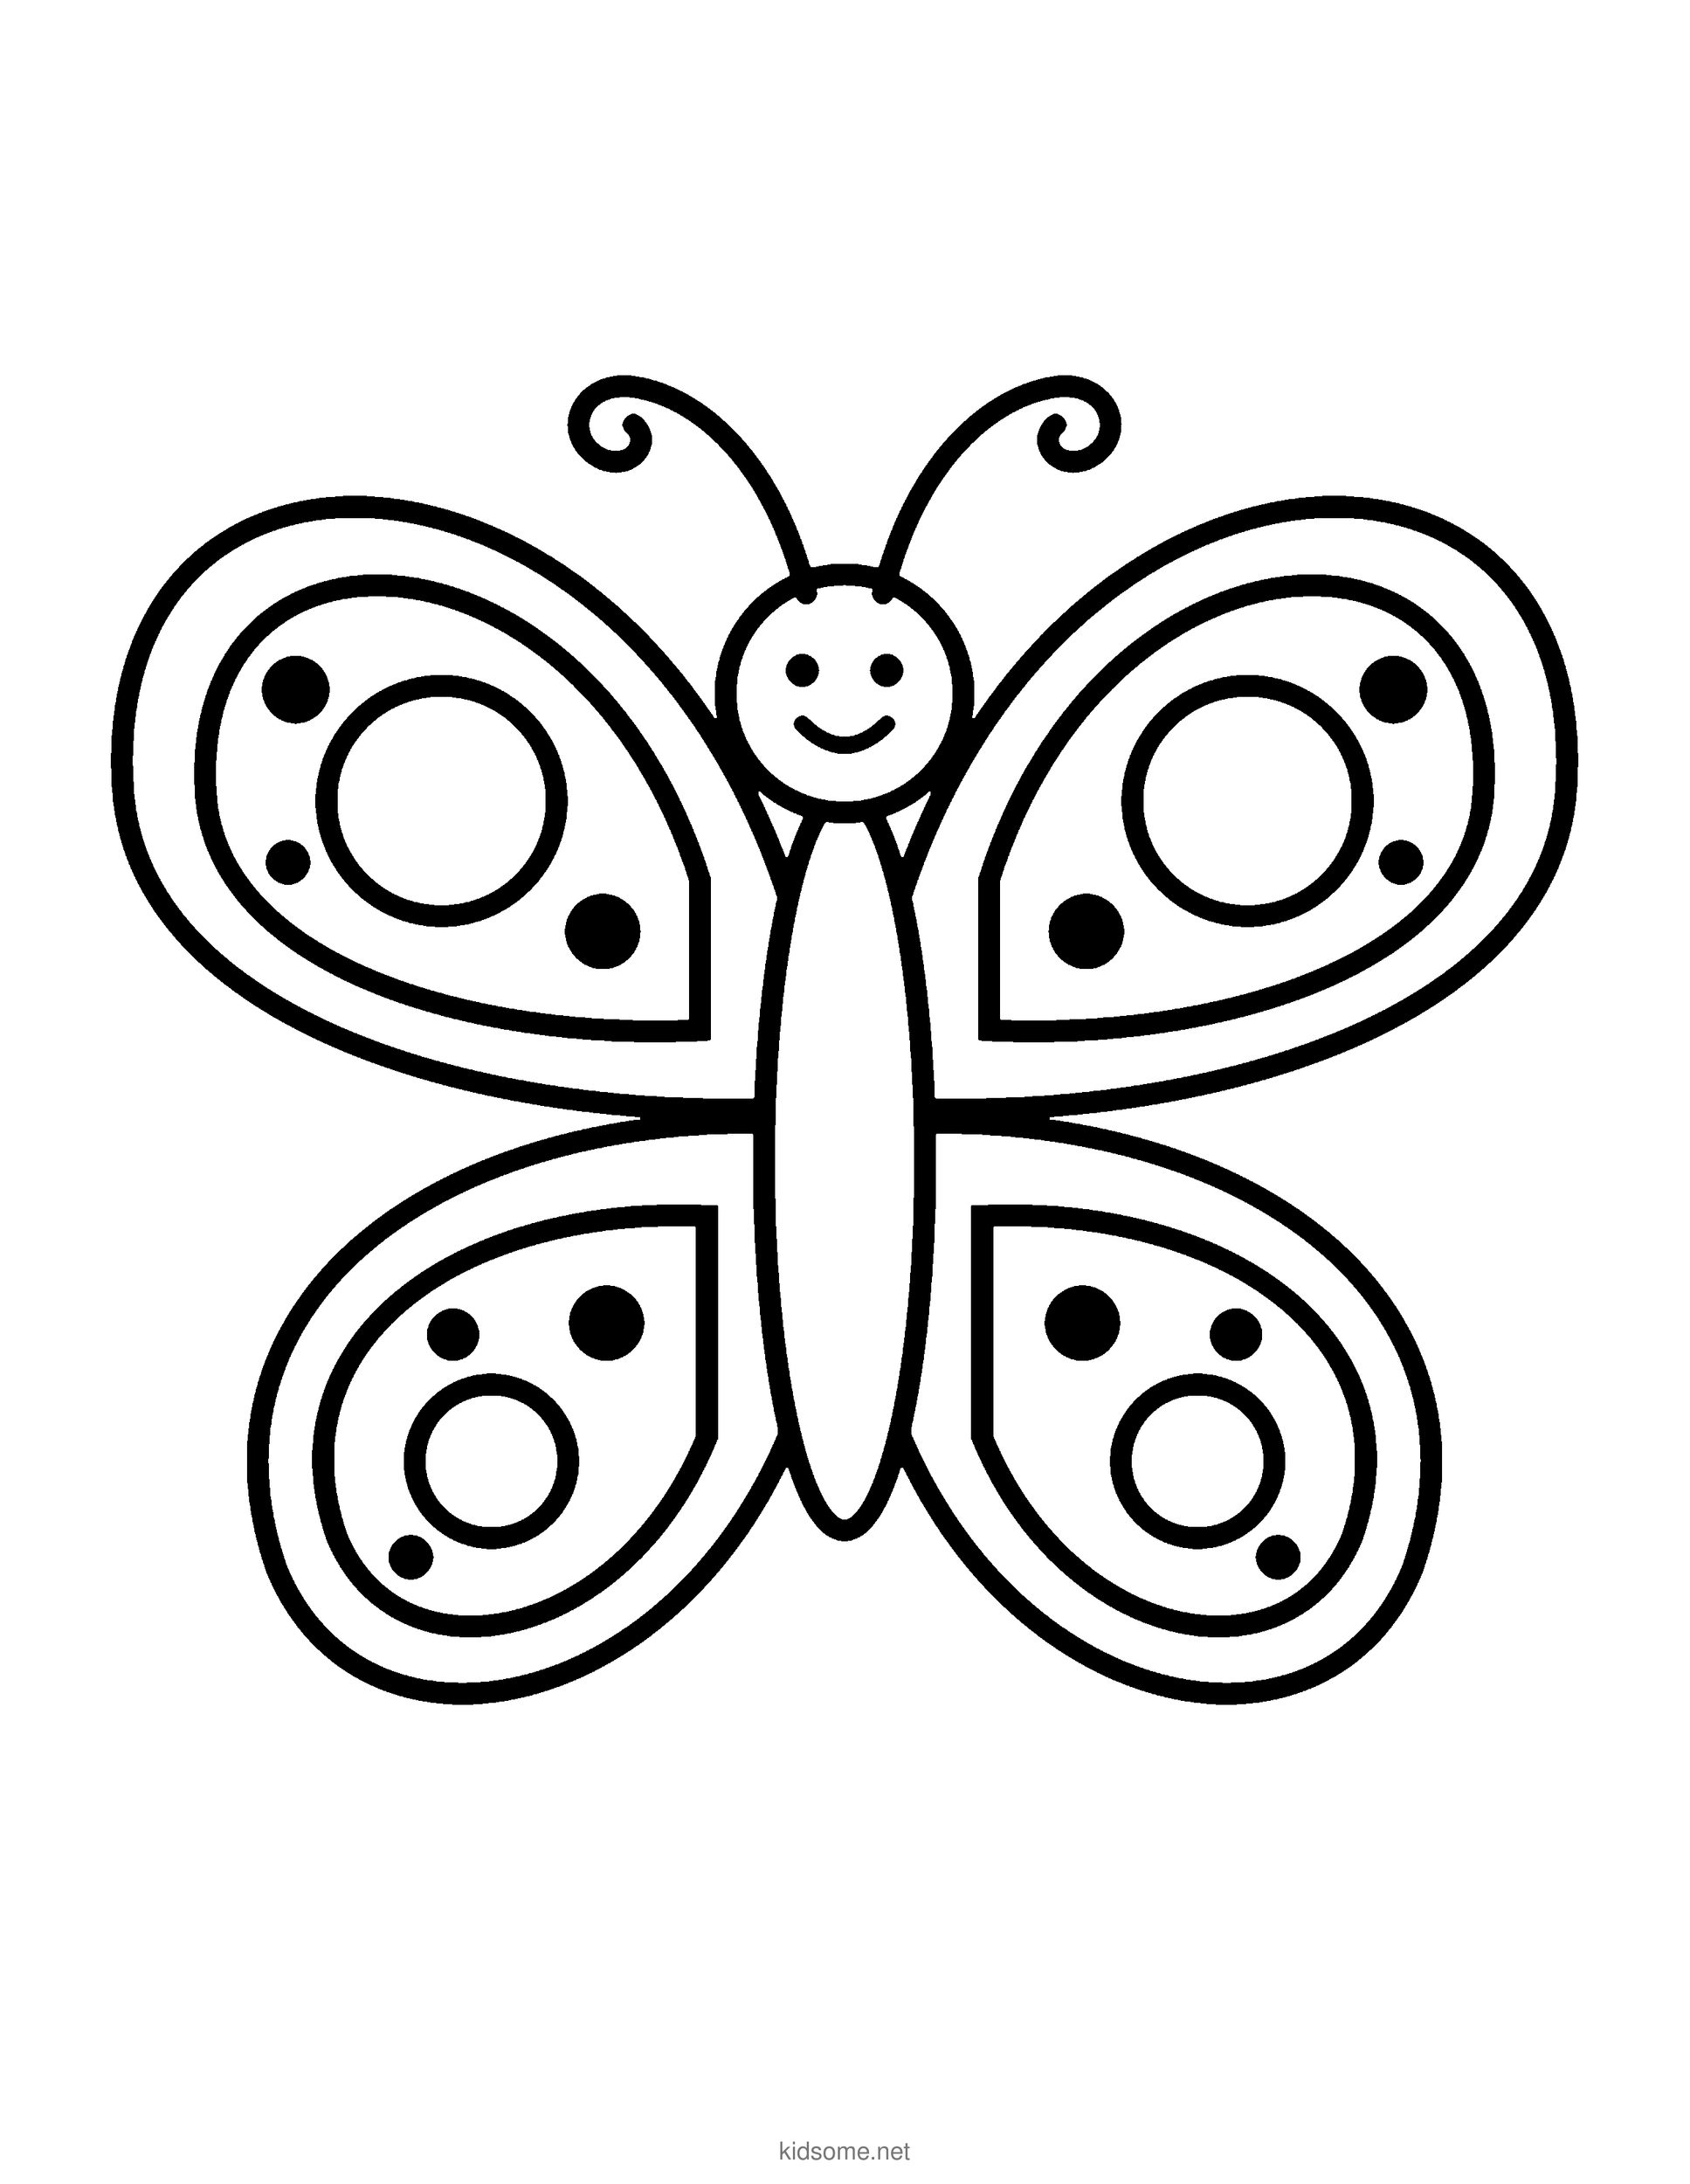
The finished smiling butterfly as a clean outline to color, with the colored butterfly on page two.
Download PDF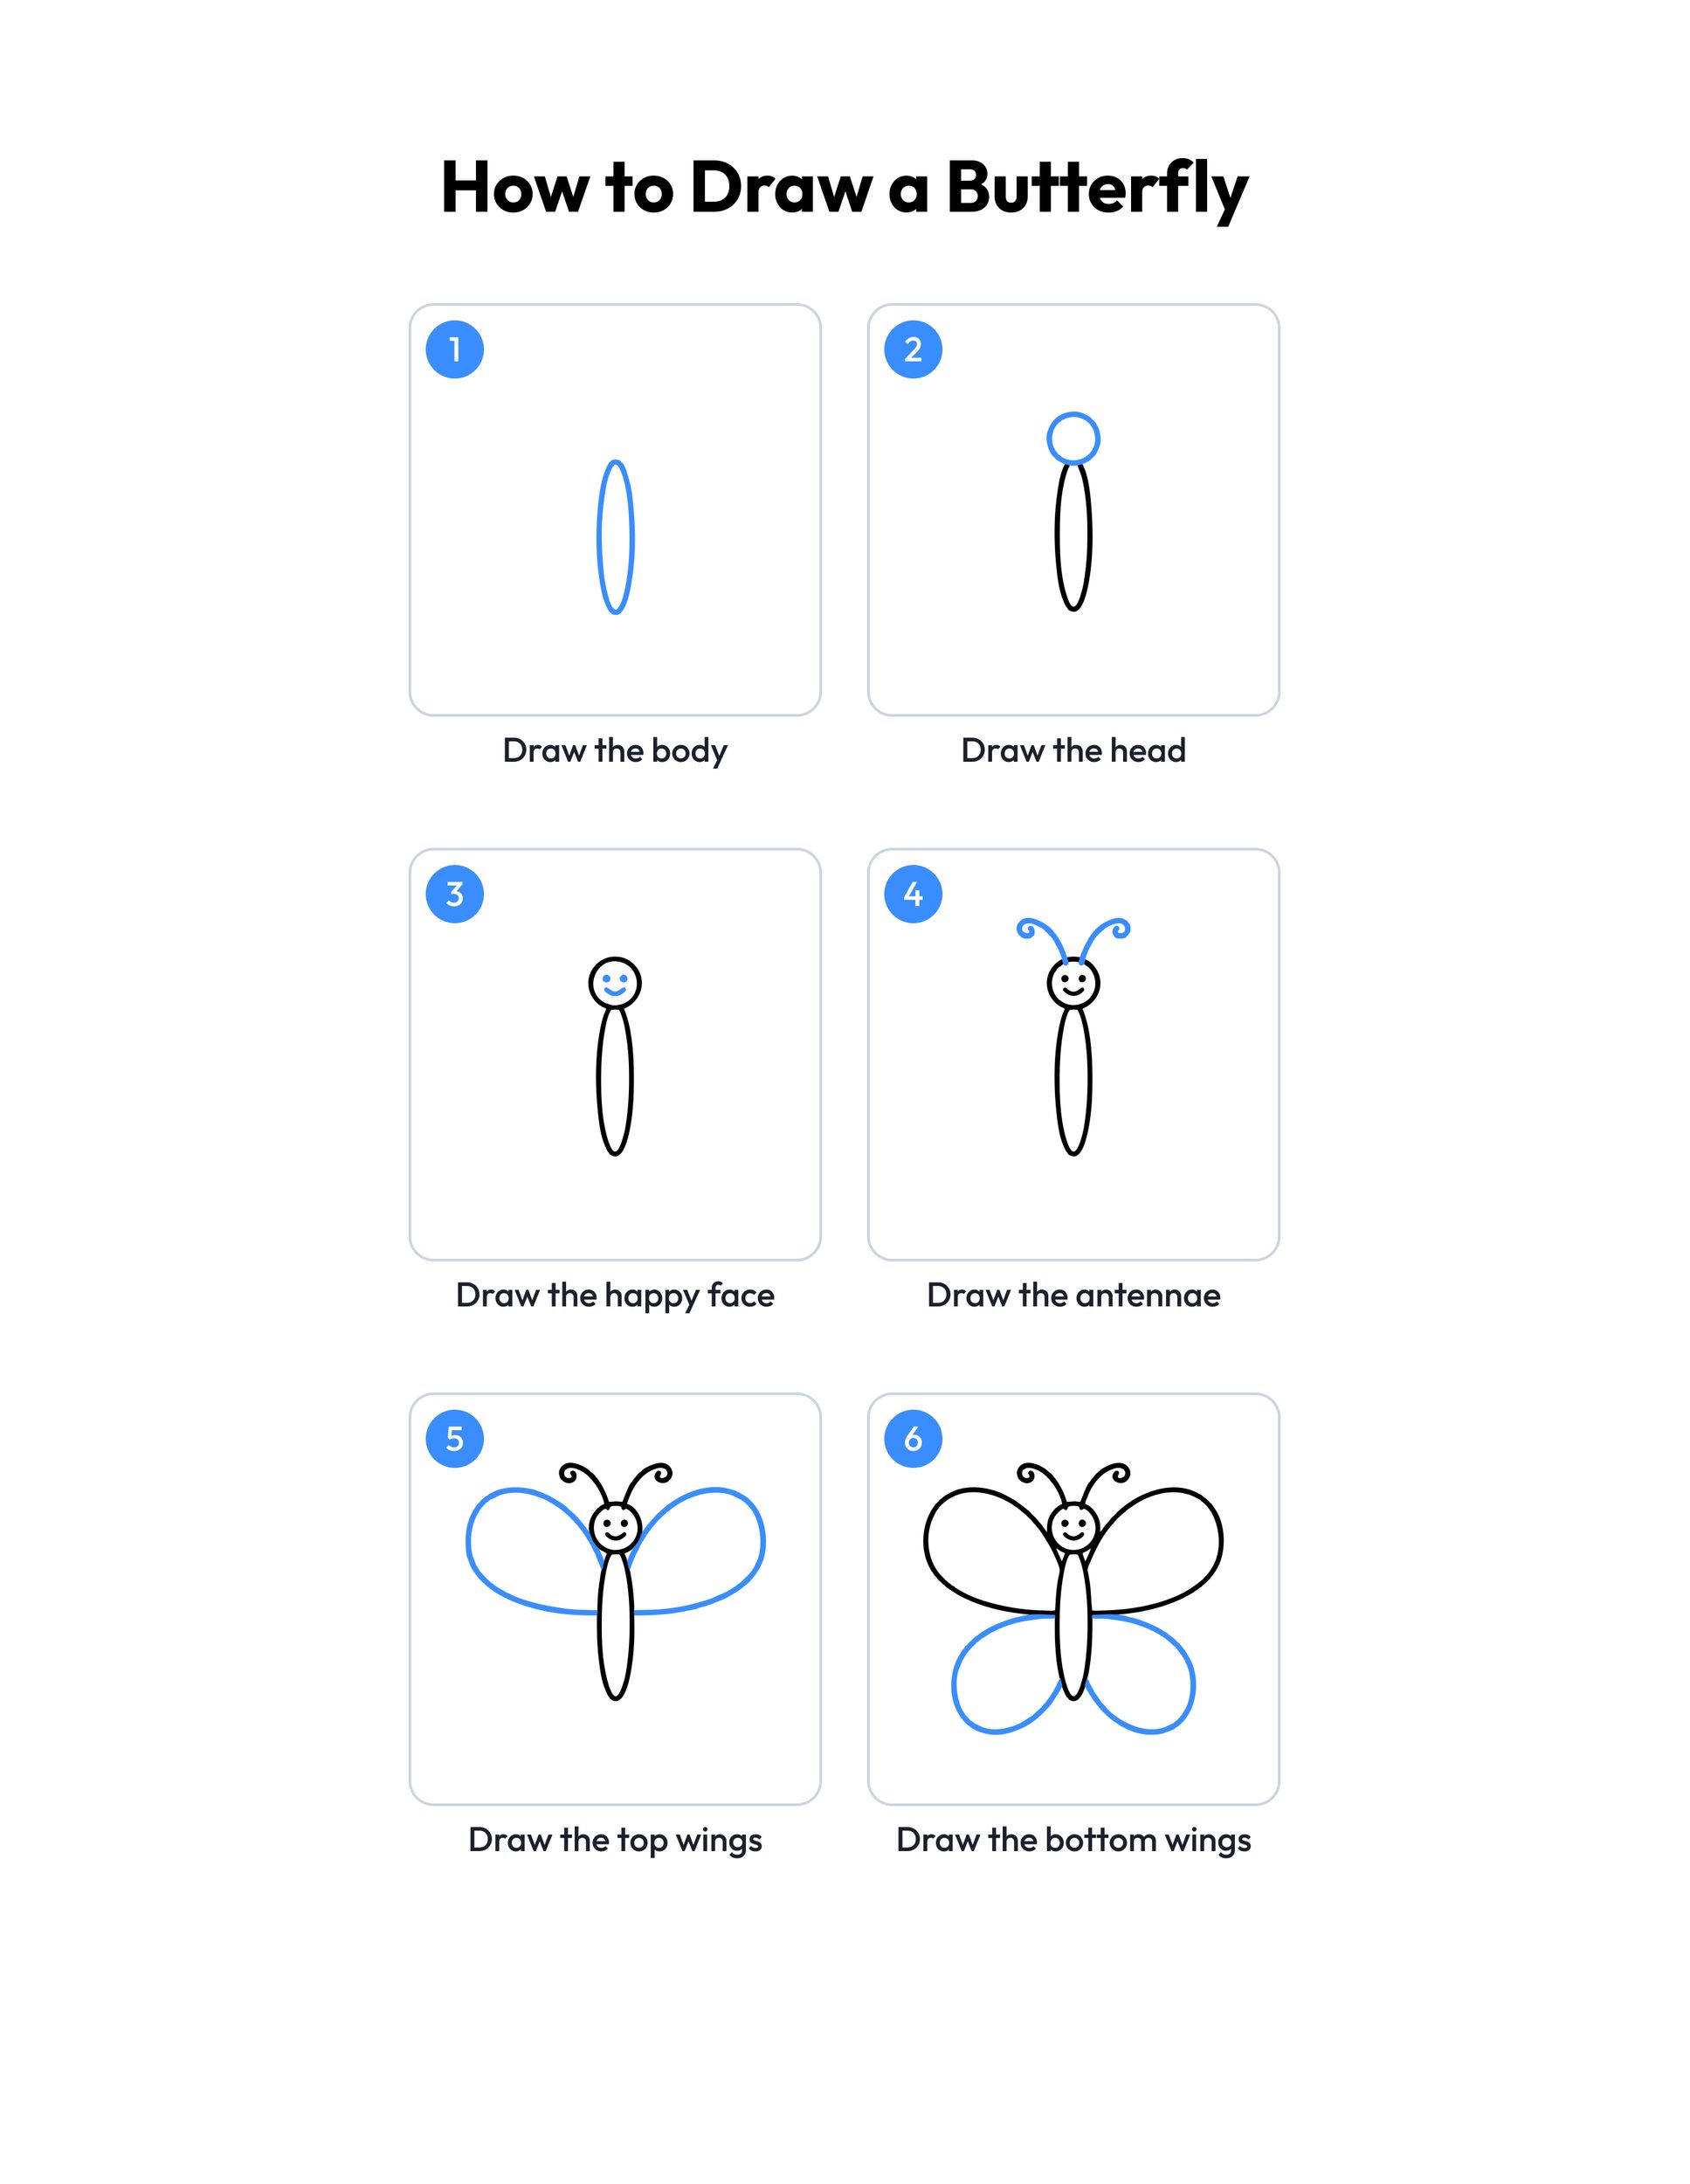 Save
Printable butterfly drawing guide
Every step, two to a row, with the finished butterfly in color at the end.
Download PDFHow to use this guide
Print the outline at 100 percent, or choose Fit to page if your printer asks. The PDF is set to US Letter, and the margins leave room for A4. Page one is the outline to color and page two is the colored butterfly, so print page one alone if you only want the drawing.
For drawing, plain copy paper and a pencil with a good eraser work best. Draw the body and the wings lightly at first, because the wing borders and circles follow those shapes. When it looks right, trace over the lines with a marker or a dark crayon. Use cardstock for markers or paint so the color does not soak through to the table.
The first four steps are the easiest: the body, the head, the face and the antennae. Younger children can stop after the wings and color a simple butterfly. The inner wing edges take the most care, so a grown-up can draw one lightly and let the child copy it on the other side.
Lay the printed step guide next to the paper, or keep this page open on a tablet. Point to the blue part in each step and name it before your child draws it. For another animal made from simple shapes, try the how to draw a cat guide.
Ideas for your butterfly drawing
- Mirror wings: Fold the paper in half down the middle before drawing. Children can check that each wing matches the one on the other side of the fold.
- Garden picture: Draw two or three butterflies on one big sheet, then add flowers, grass and a sun to turn them into a whole garden scene to hang on the fridge.
- Spring classroom wall: During a spring or insects unit, let every child draw and color a butterfly, cut it out and add it to a class garden on the wall.
- Real butterfly colors: Look at a photo of a monarch or a blue morpho together, then color the drawing to match, or invent a new butterfly.
- Greeting card: Fold a sheet in half and draw the butterfly on the front. Write a short note inside for a birthday, a grandparent or a get well wish.
- Count and add: Ask how many circles and dots the finished butterfly has, then draw a new one with more dots and count again together. It turns a drawing break into easy number practice.
- Coloring partner: A sibling who would rather color can print a page from the cat coloring pages and sit beside the young artist, so both children share the same table, crayons and quiet time.
- Word break: After drawing, try the spring word search and look for flower, bug and garden words together while the pencils rest for a few minutes.
- Life cycle story: Draw a tiny caterpillar and a leaf beside the finished butterfly, then tell the story of how a caterpillar rests in a chrysalis and comes out with wings.
What age is this butterfly drawing for?
It is made for ages 4 to 8. The youngest children can draw the body, head, face and wings with a grown-up nearby, and older kids can add the wing borders, circles and dots alone. Every step is a shape children already know, like ovals and circles, so nothing on the page feels too hard to try.
How do I help a child who finds the wings hard?
Draw one wing lightly yourself and let your child copy it on the other side, then trace both together. Big, slow movements help more than small ones. If the wings come out different sizes, keep the drawing: real butterflies are not perfect either, and the next try is usually better.
Can I print the guide for my class?
Yes. Teachers, homeschool parents and art clubs can print as many copies of the outline and the step guide as their students need. Both PDFs are free for personal and classroom use. Please do not sell them or post the files on another site, but you are welcome to share a link.
What should we draw after the butterfly?
The how to draw a dog guide is a good next step, because it also starts with simple shapes and adds one part at a time. Keep the same pencils, eraser and habit of looking at the blue part first before drawing it.