This hot chocolate drawing guide is made for kids ages 4 to 8 and the grown-up drawing beside them on a cold day. A cozy mug of cocoa looks fancy, but it is really a few friendly shapes: a round mug, a curvy handle, two ovals for the rim and the cocoa, a pile of marshmallows, a flat saucer and some wavy steam. Each part is a shape a child already knows, so the drink comes together one easy piece at a time and ends up a picture they will be proud to color.
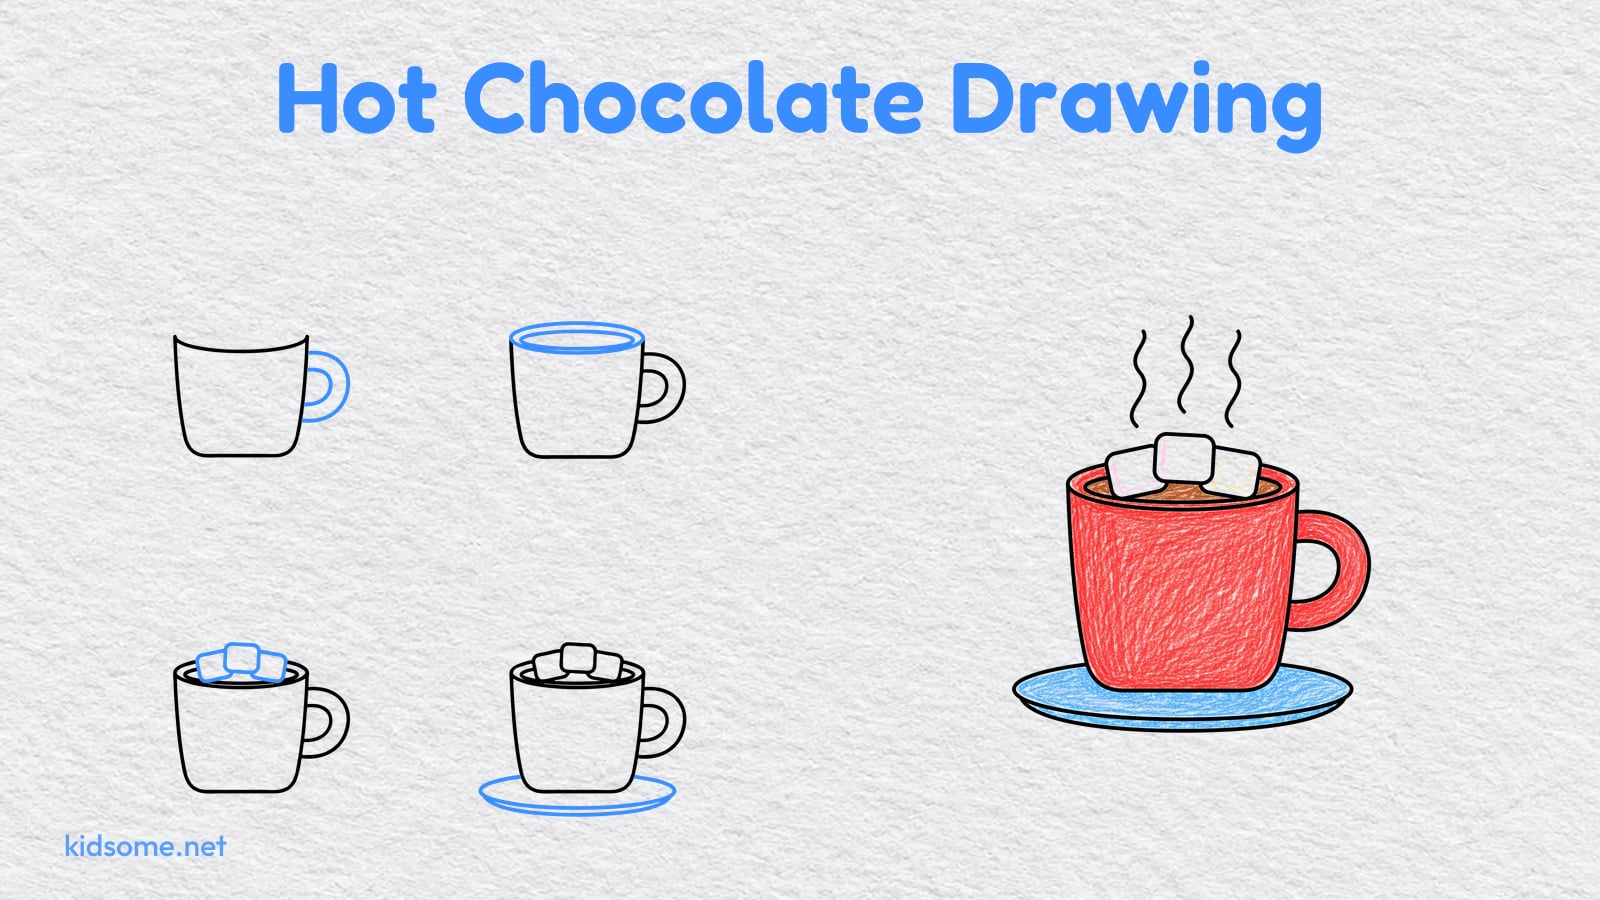
There are six steps. Each step shows the drawing so far in black and the new part in blue, so your child always knows what to add next. First comes the mug, then the handle, the rim with the cocoa and the marshmallows. The saucer and the steam finish the picture. The last step shows the mug colored in with crayons.
Two free PDFs go with the guide: the finished outline to color, and a printable guide with every step to keep beside the paper. Both print on US Letter and A4, with no sign-up.
-
Step 1 : Draw the mug
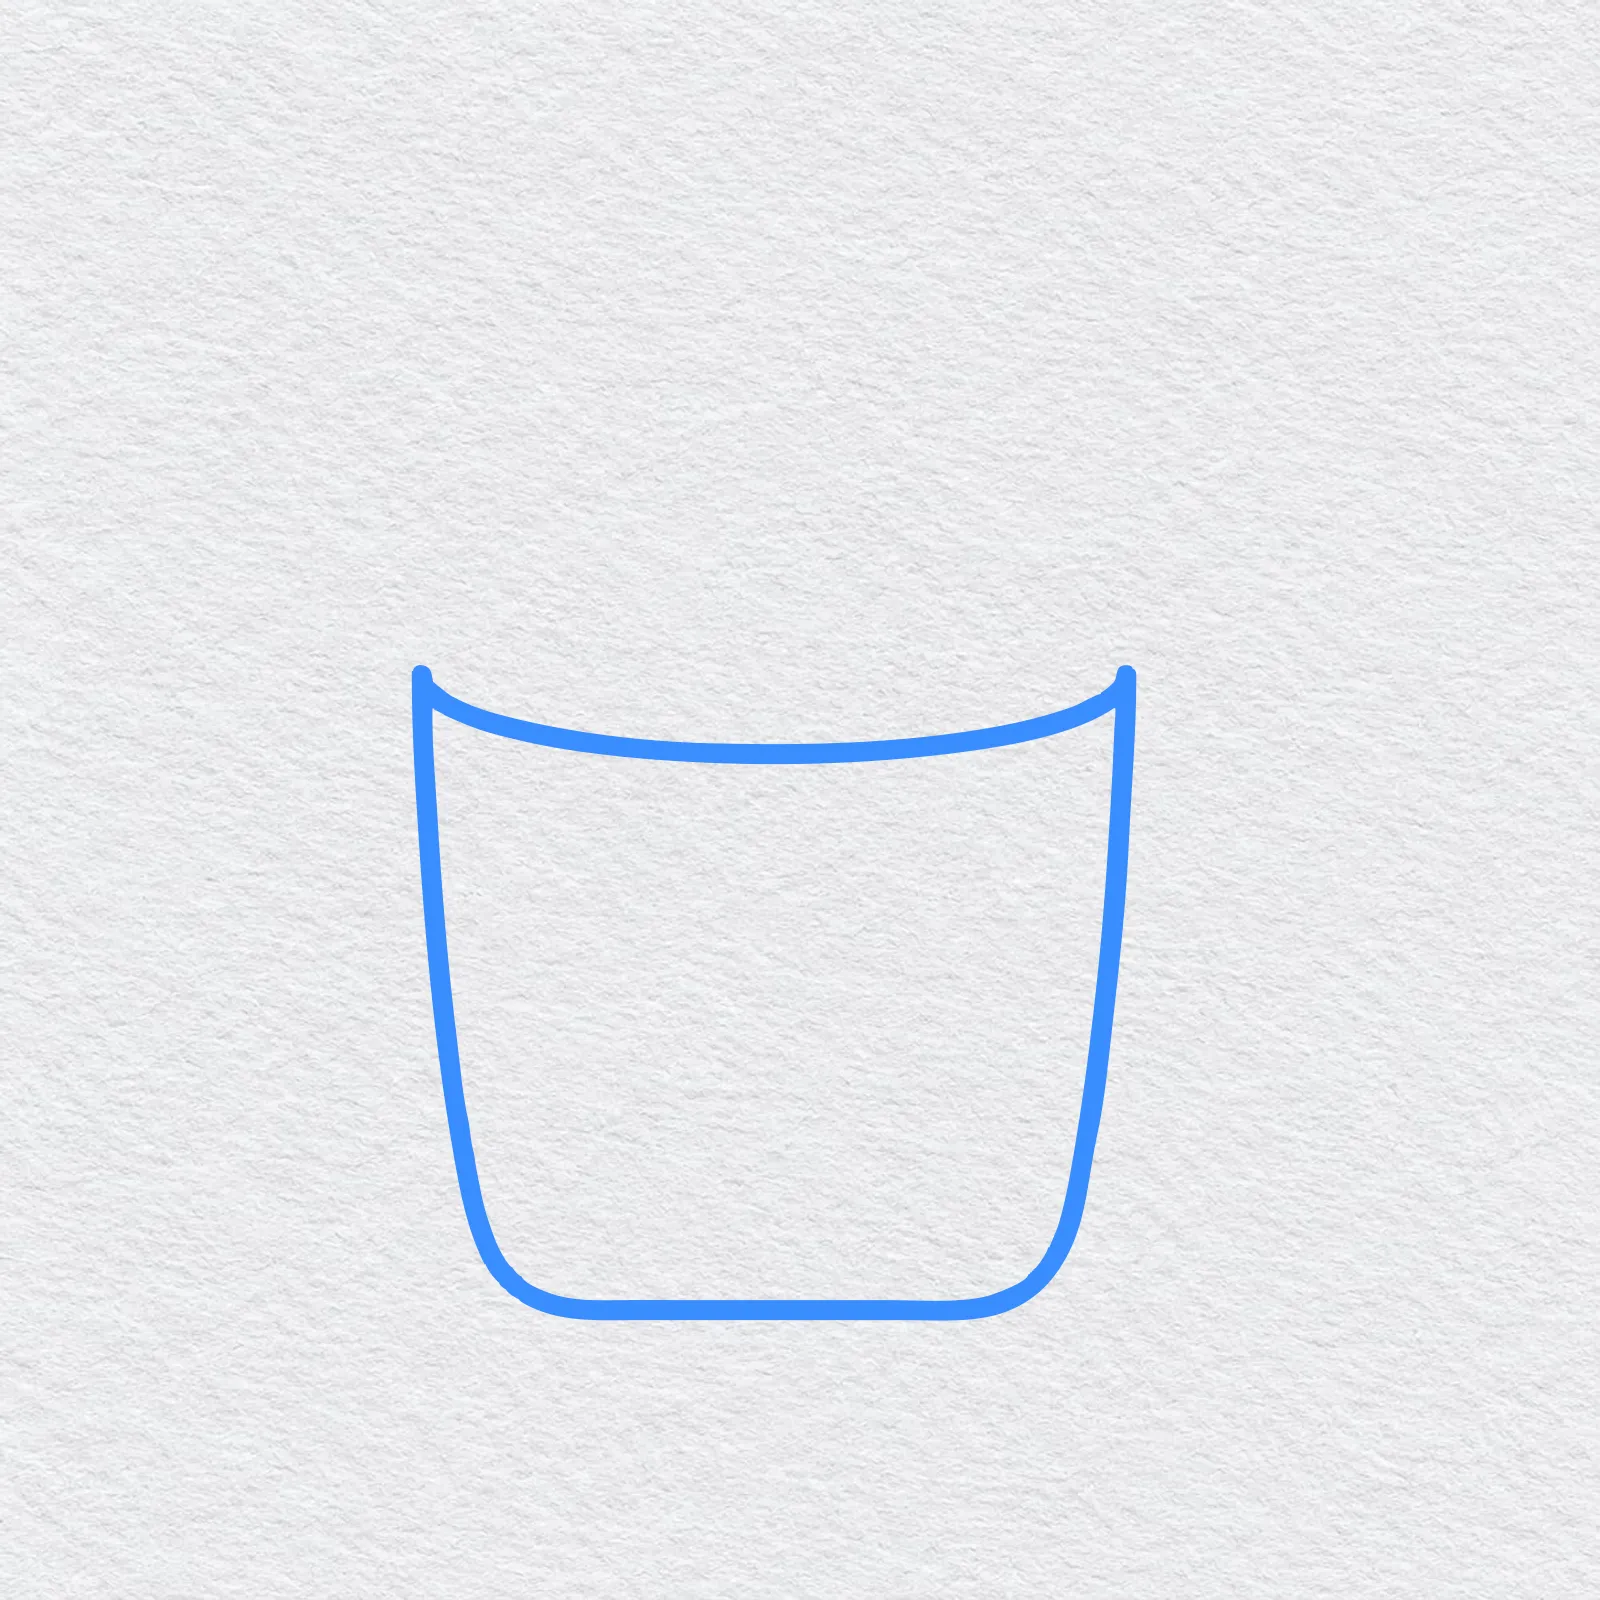
Draw a big rounded shape for the mug, a little wider at the top than at the bottom. Keep the bottom flat so the mug can stand up.
-
Step 2 : Draw the handle
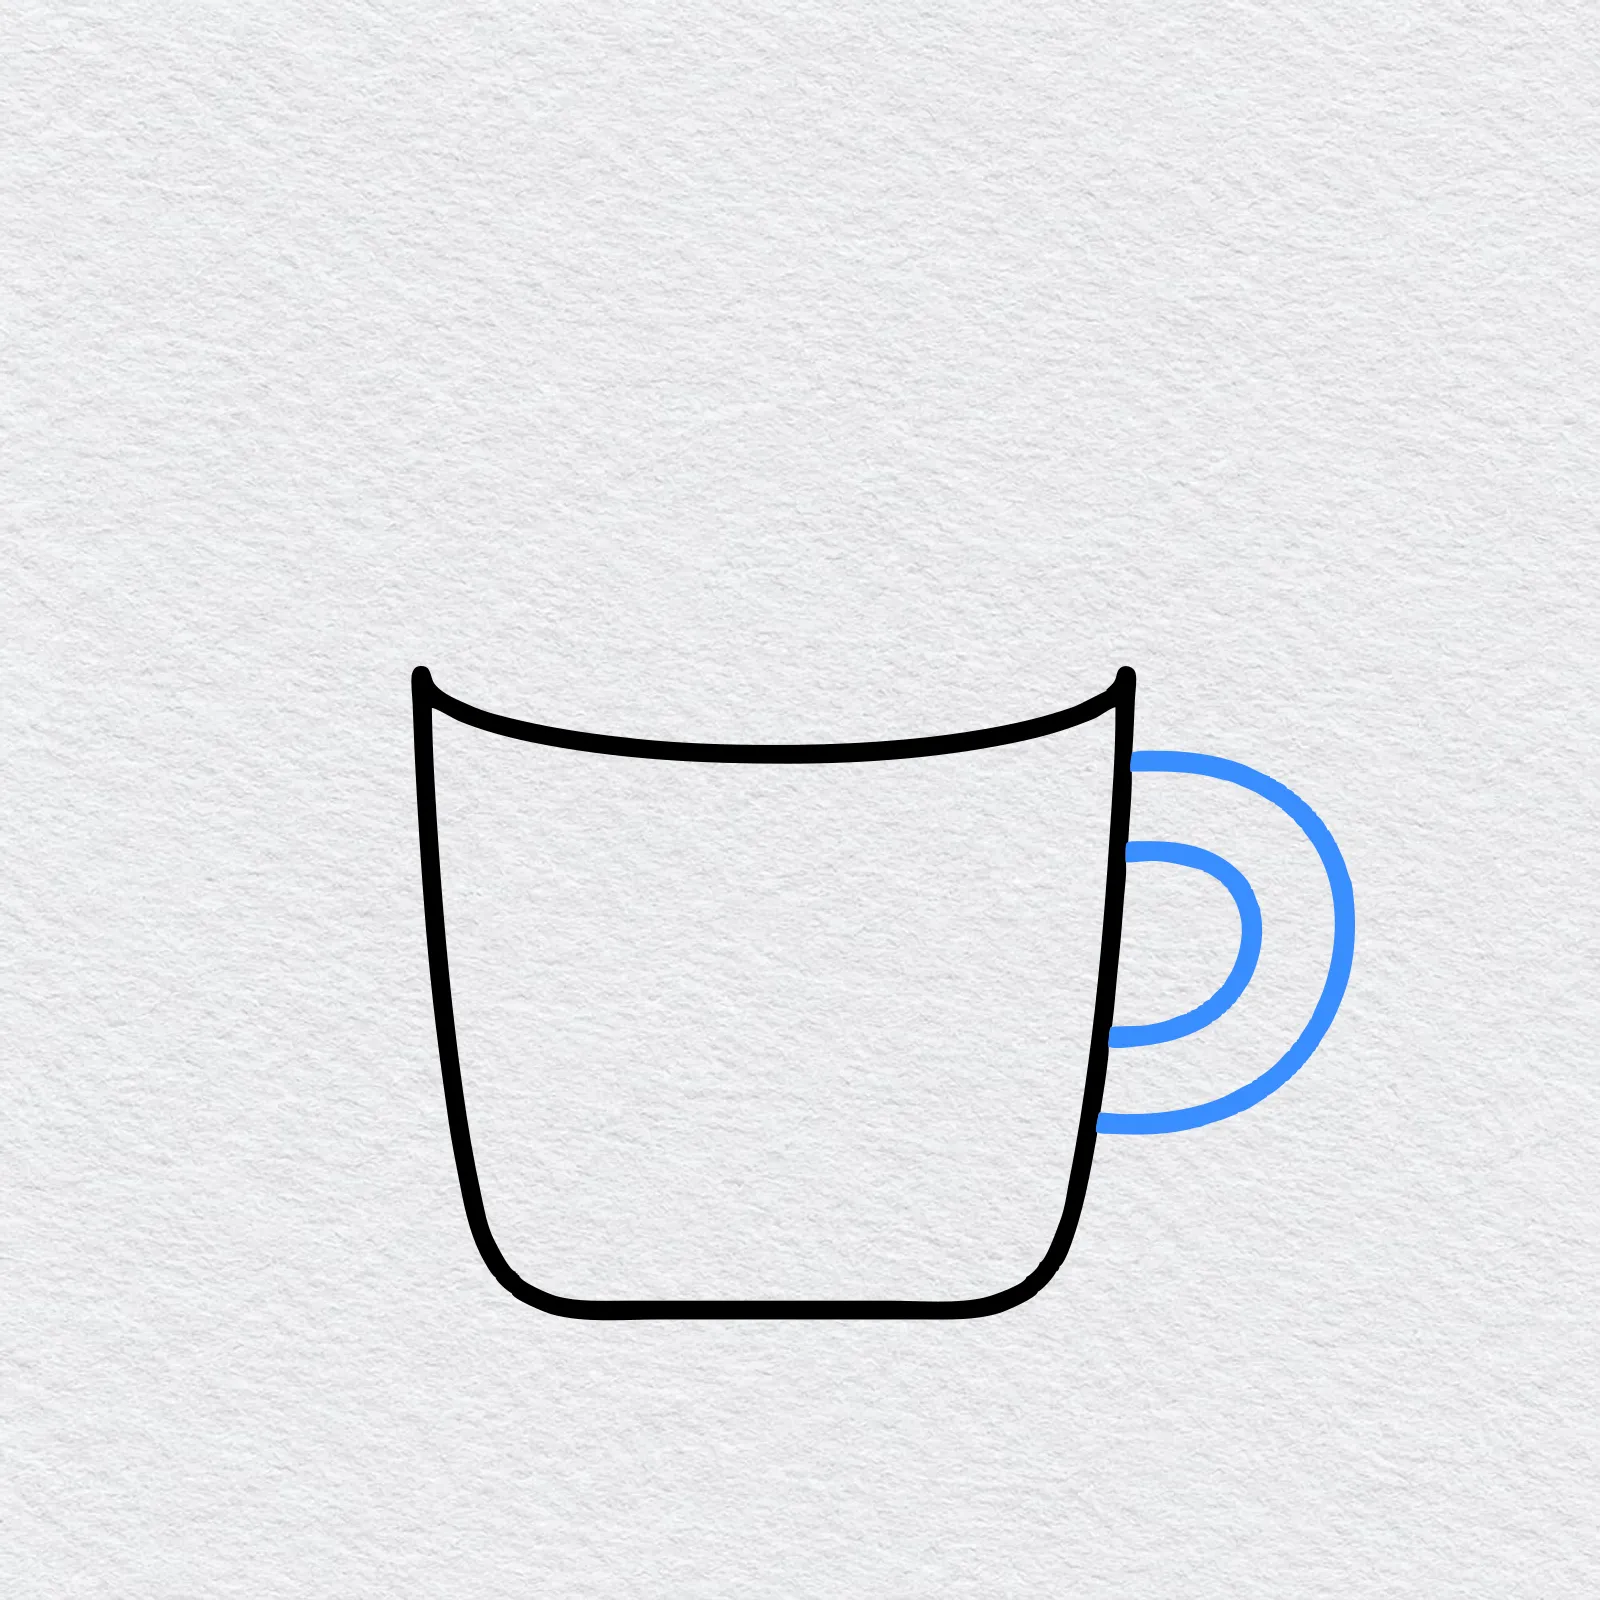
On the right side of the mug, draw a curvy ring for the handle, like a big letter C. Draw a smaller curve inside it so the handle has a hole for your fingers.
-
Step 3 : Draw the rim and cocoa
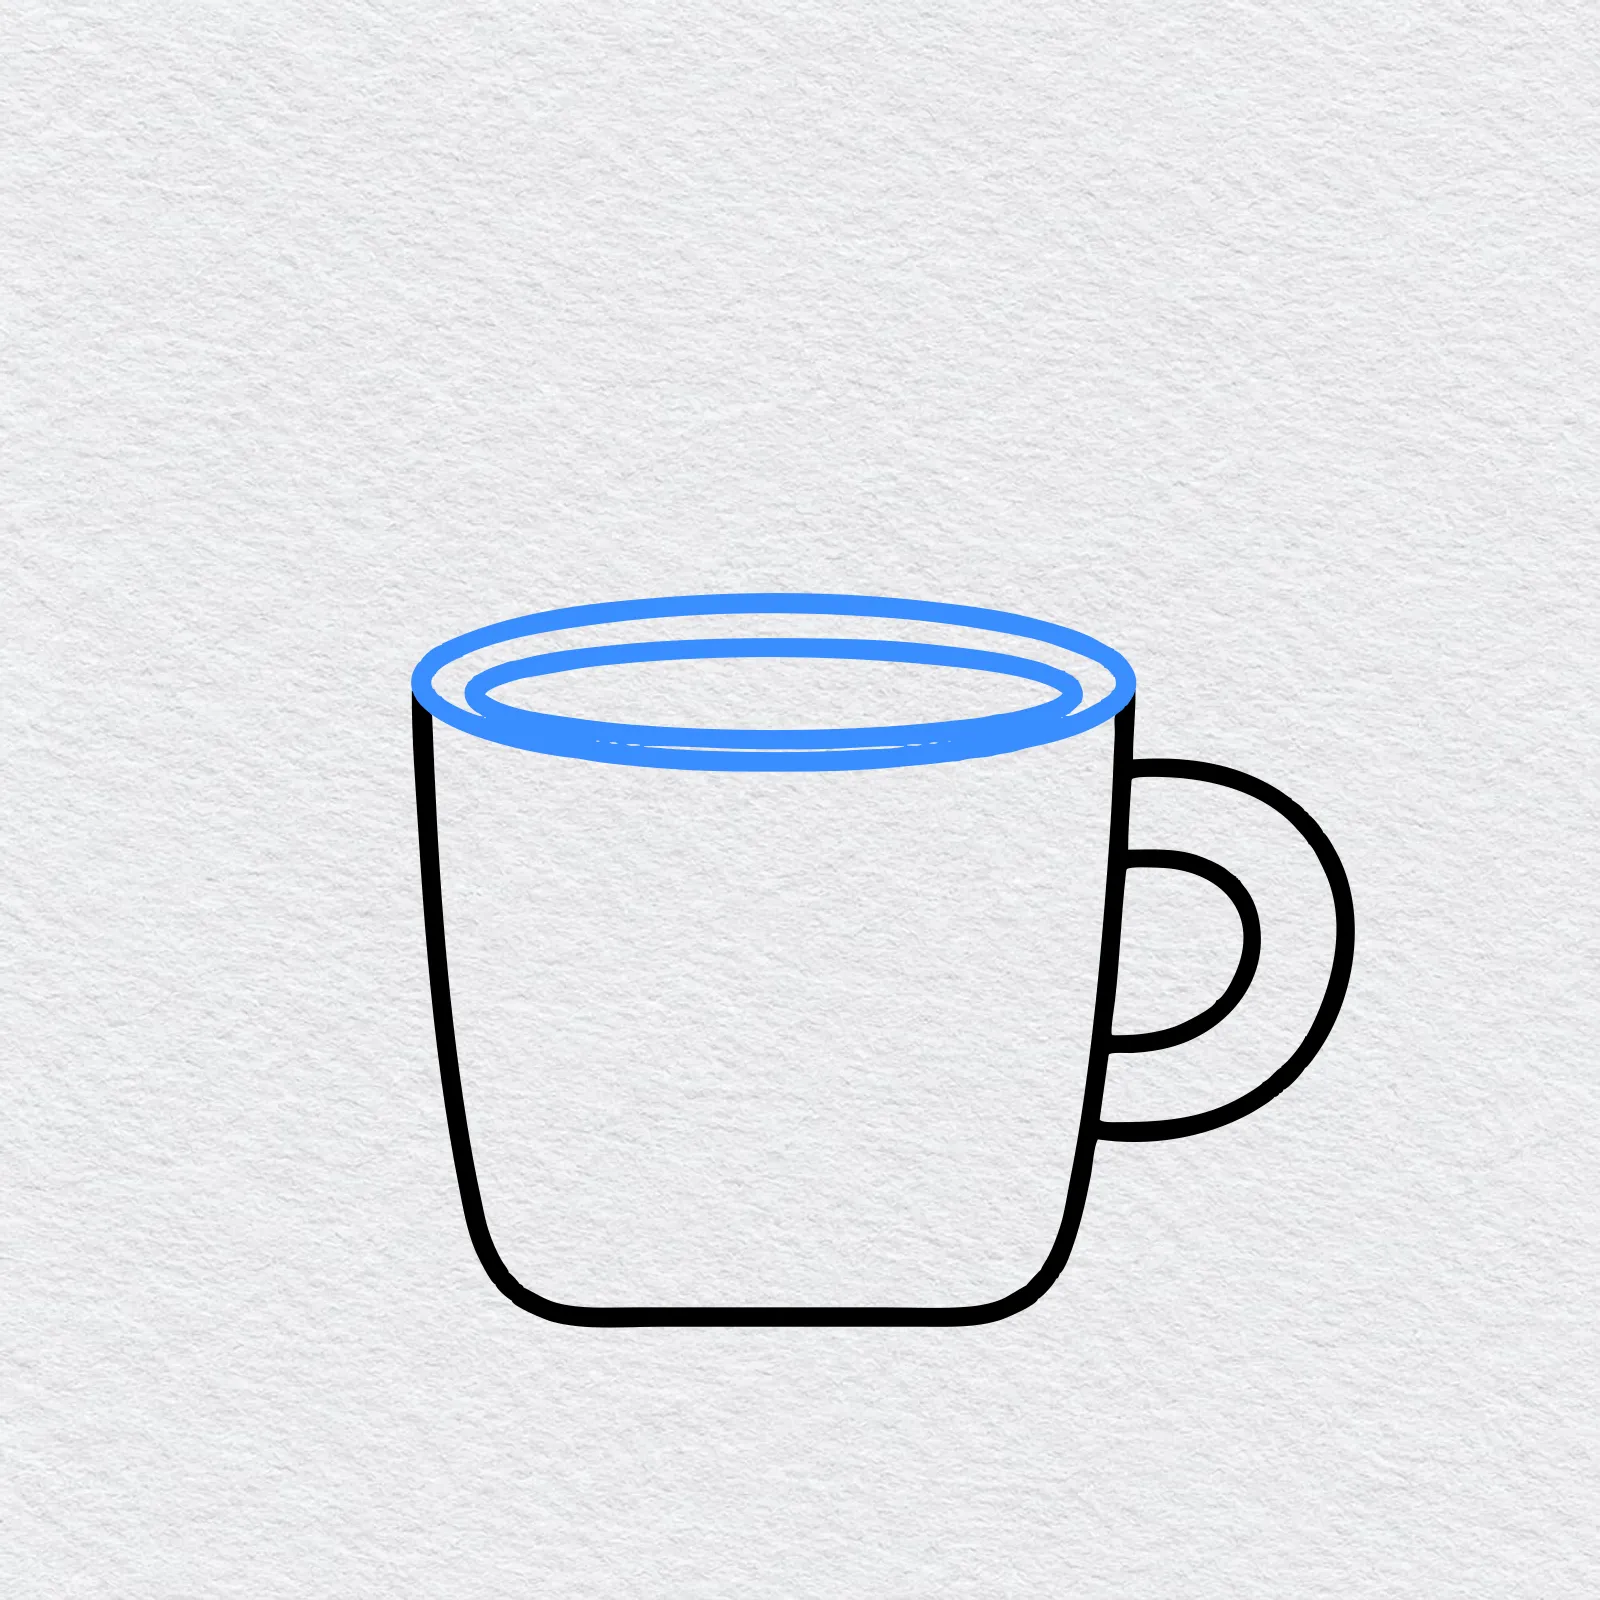
Across the top of the mug, draw a wide oval for the rim. Inside it, draw a smaller oval with a little gap between the two lines. That inner oval is the cocoa.
-
Step 4 : Draw the marshmallows
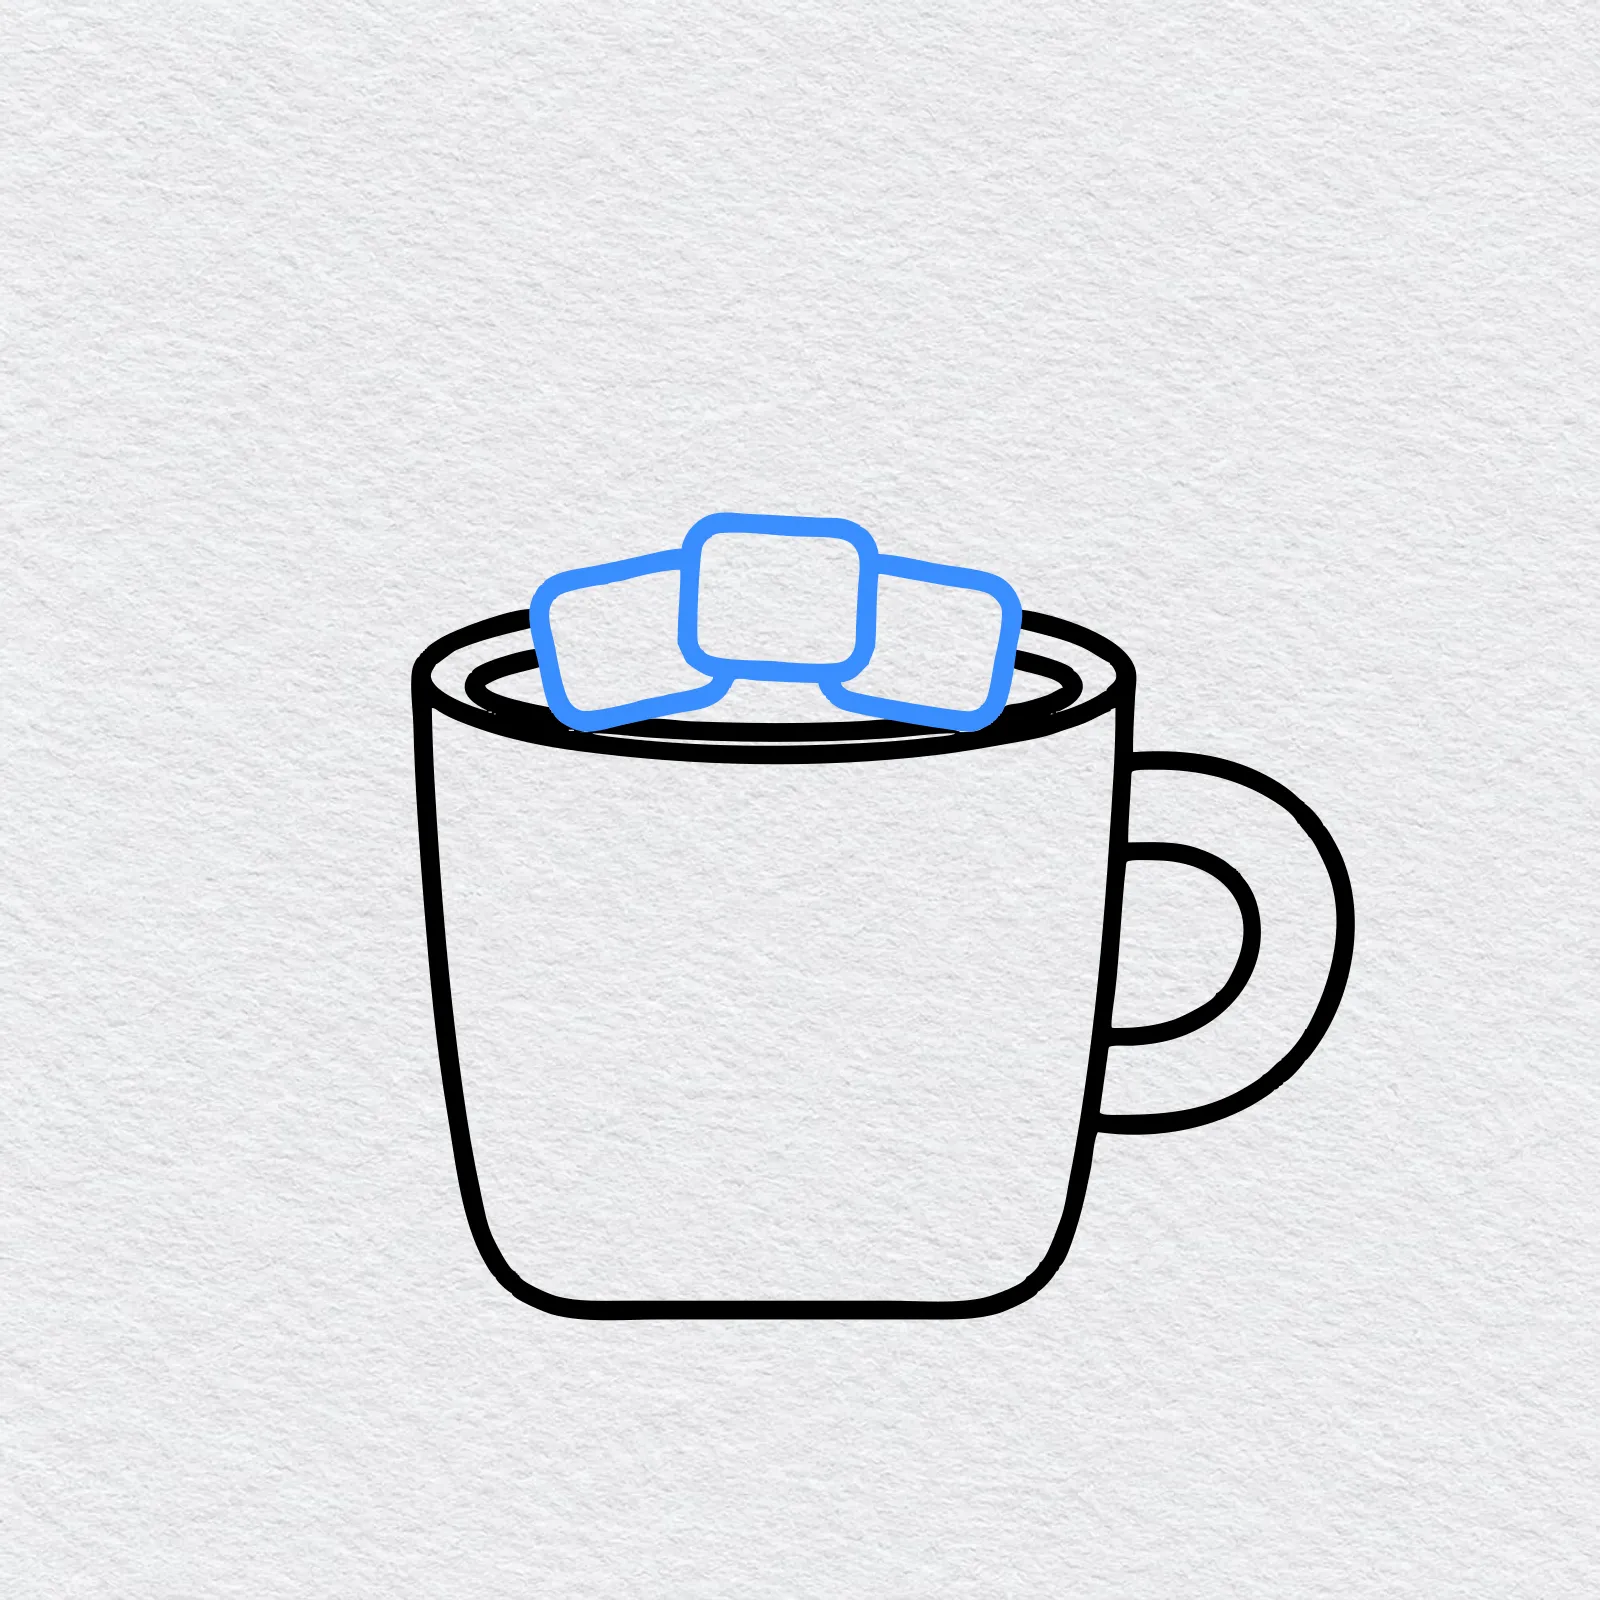
Draw three soft squares with rounded corners on top of the cocoa. Put one in the middle and lean one on each side so they look piled up.
-
Step 5 : Draw the saucer
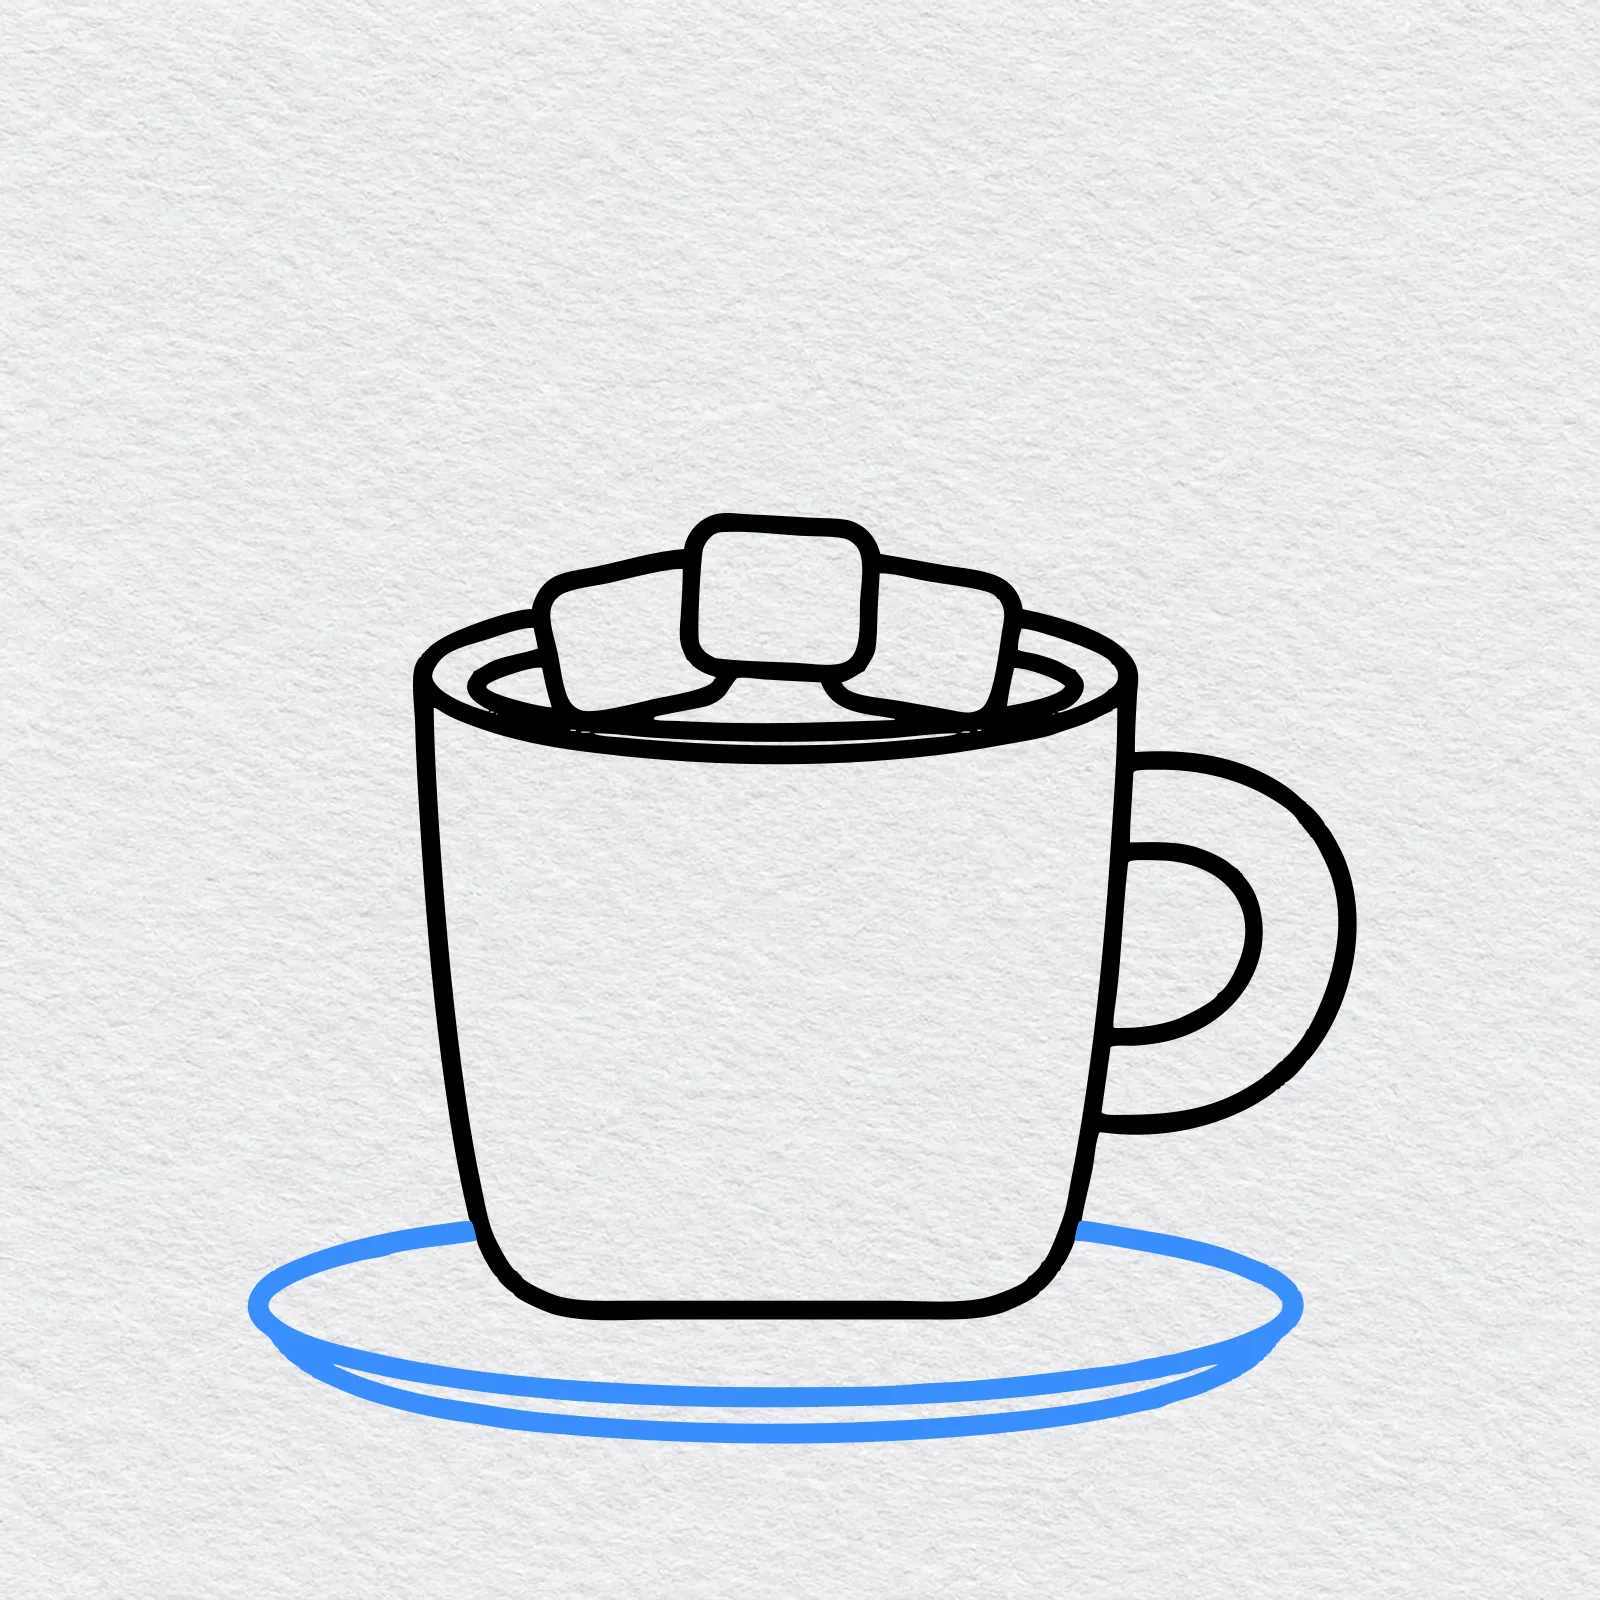
Under the mug, draw a long flat oval for the saucer. Add a curved line just below it to show the bottom of the saucer, and erase any lines hidden behind the mug.
-
Step 6 : Draw the steam
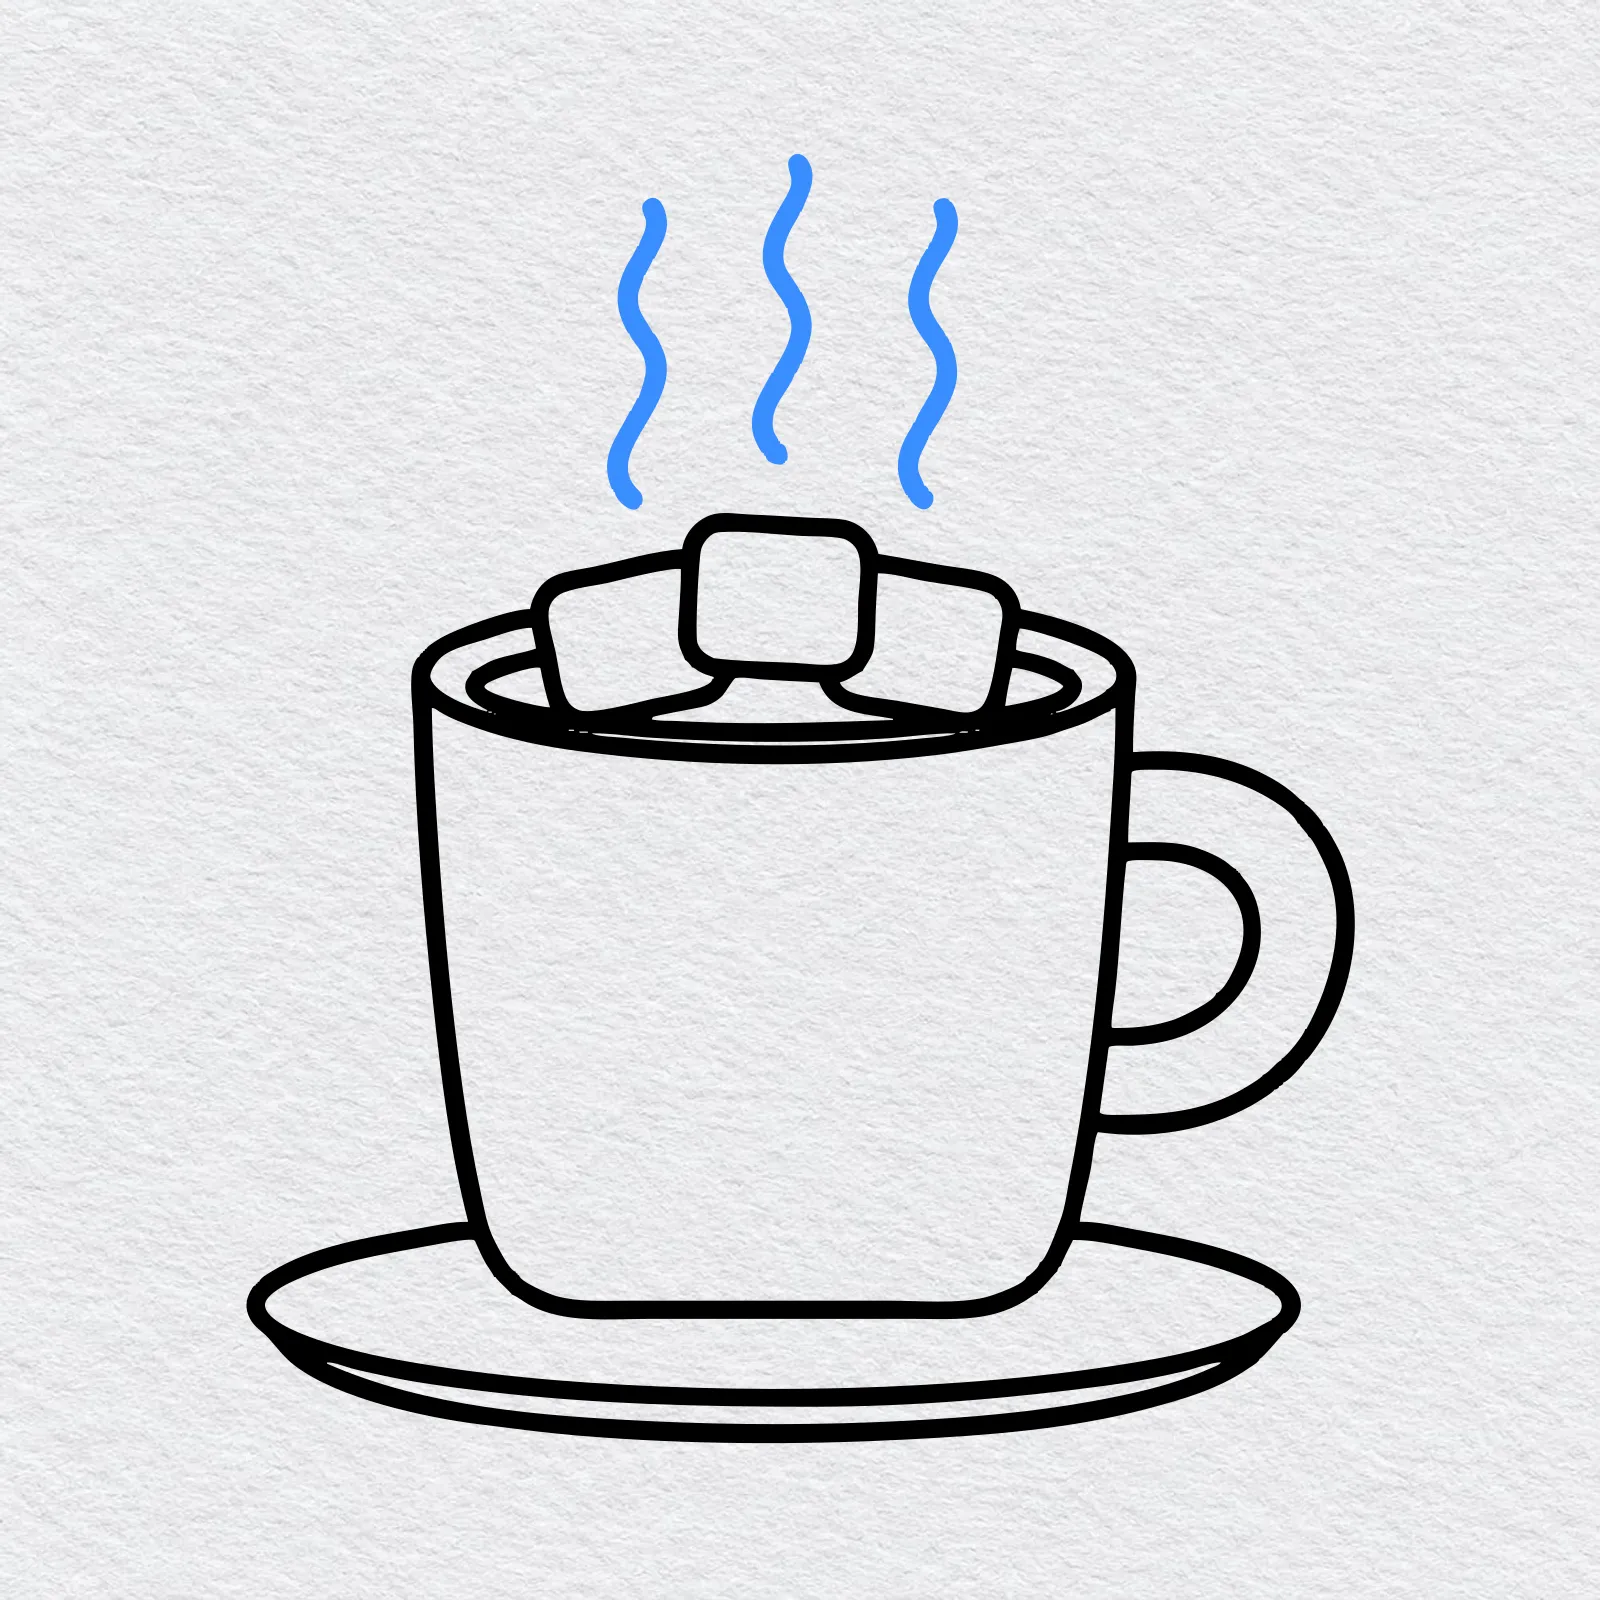
Above the marshmallows, draw three wavy lines going up, like little snakes. Now your mug of hot chocolate looks warm and ready to color.
-
Step 7 : Color your hot chocolate
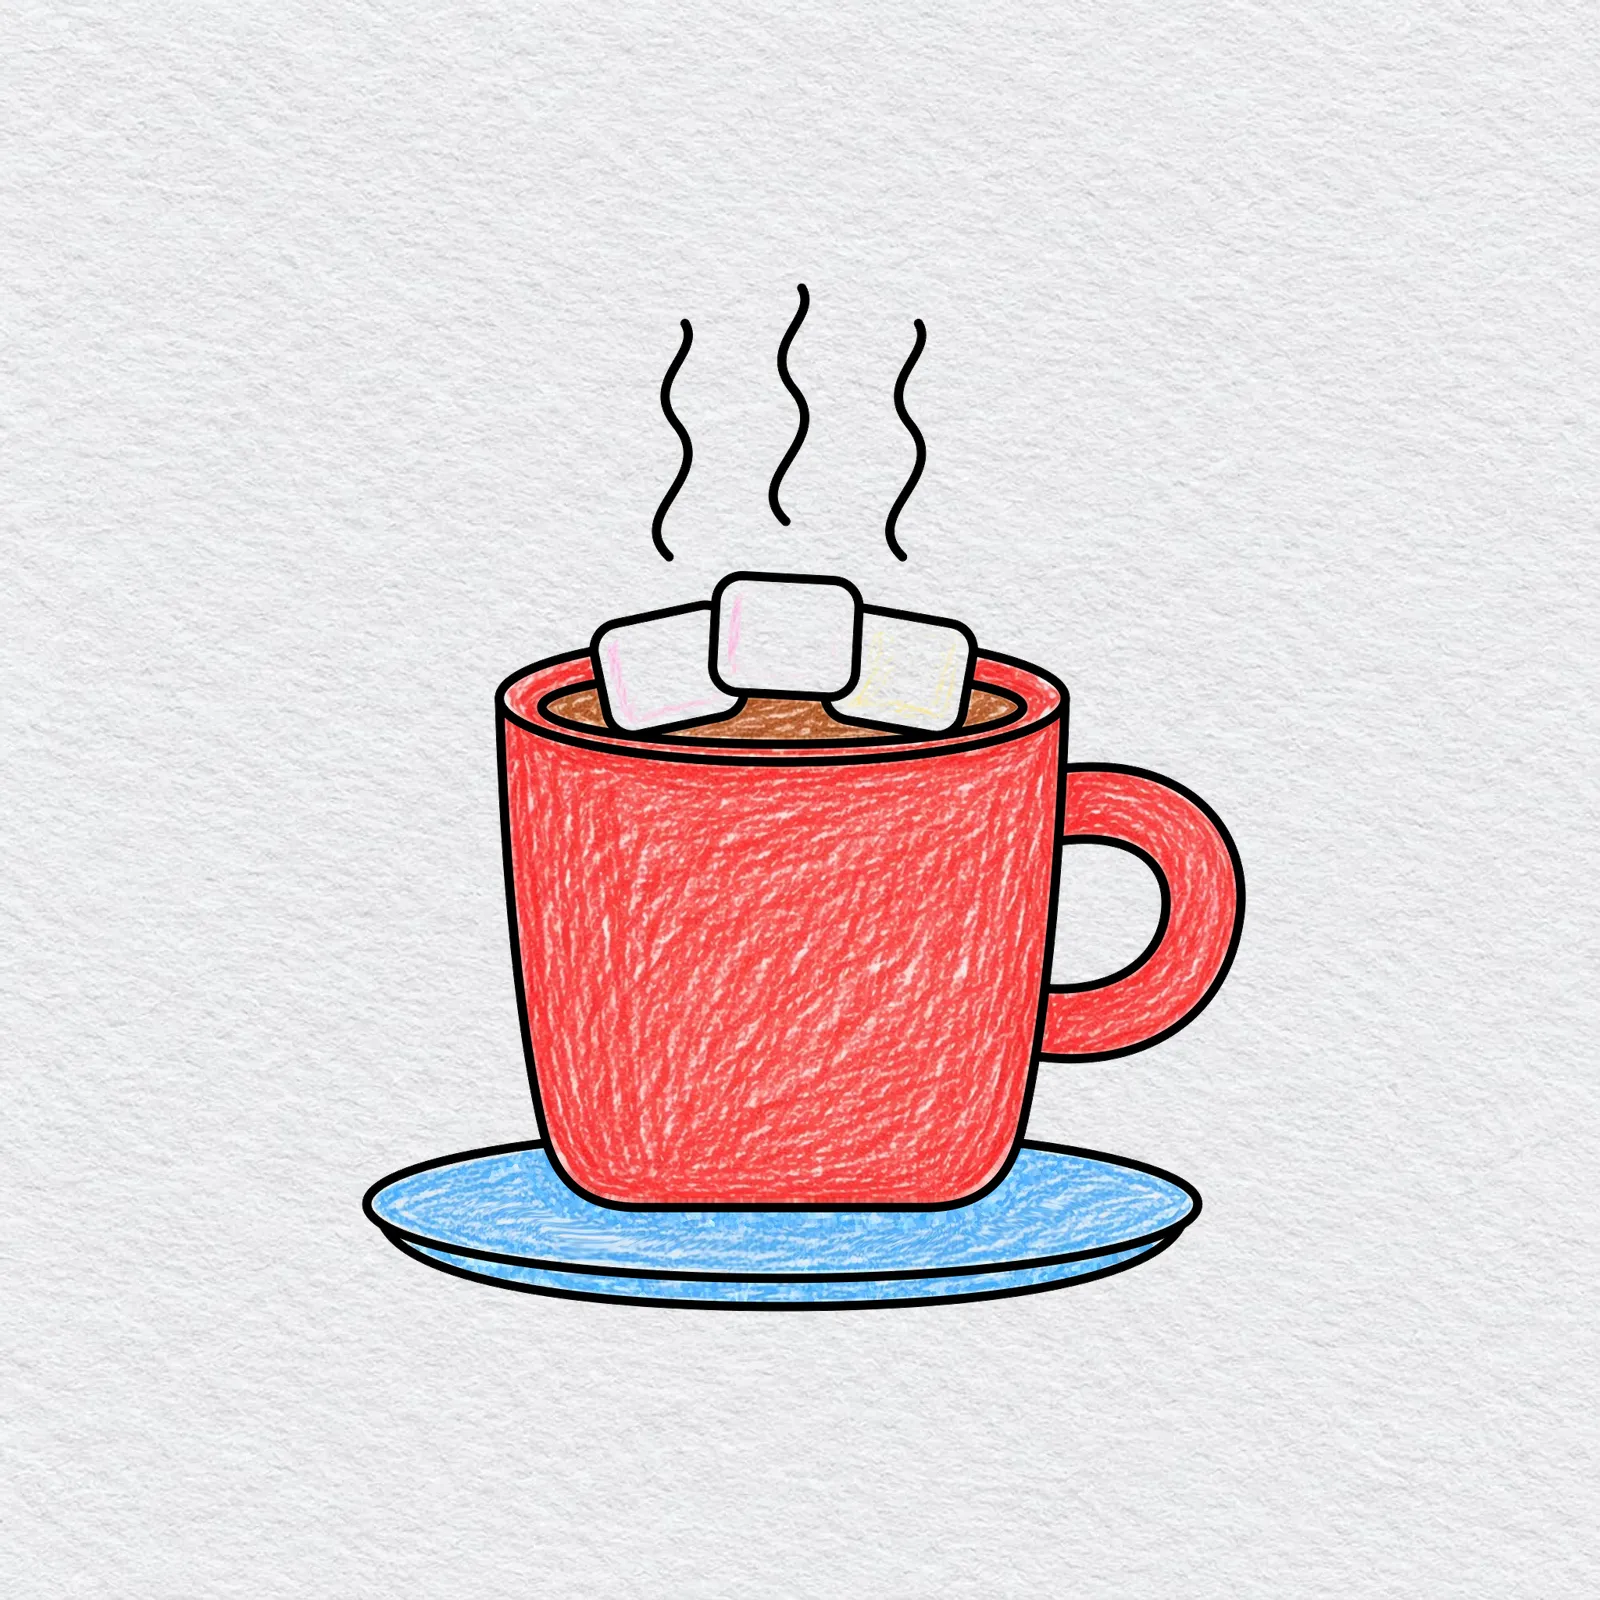
Pick a bright crayon for the mug, like red or blue, and color it with light strokes. Go over the sides again to make the color deeper.
Use brown for the cocoa, leave the marshmallows mostly white with a little pink or yellow, and color the saucer a pale color. Leave the steam as lines on white paper.
Printable hot chocolate drawing PDFs
 Save
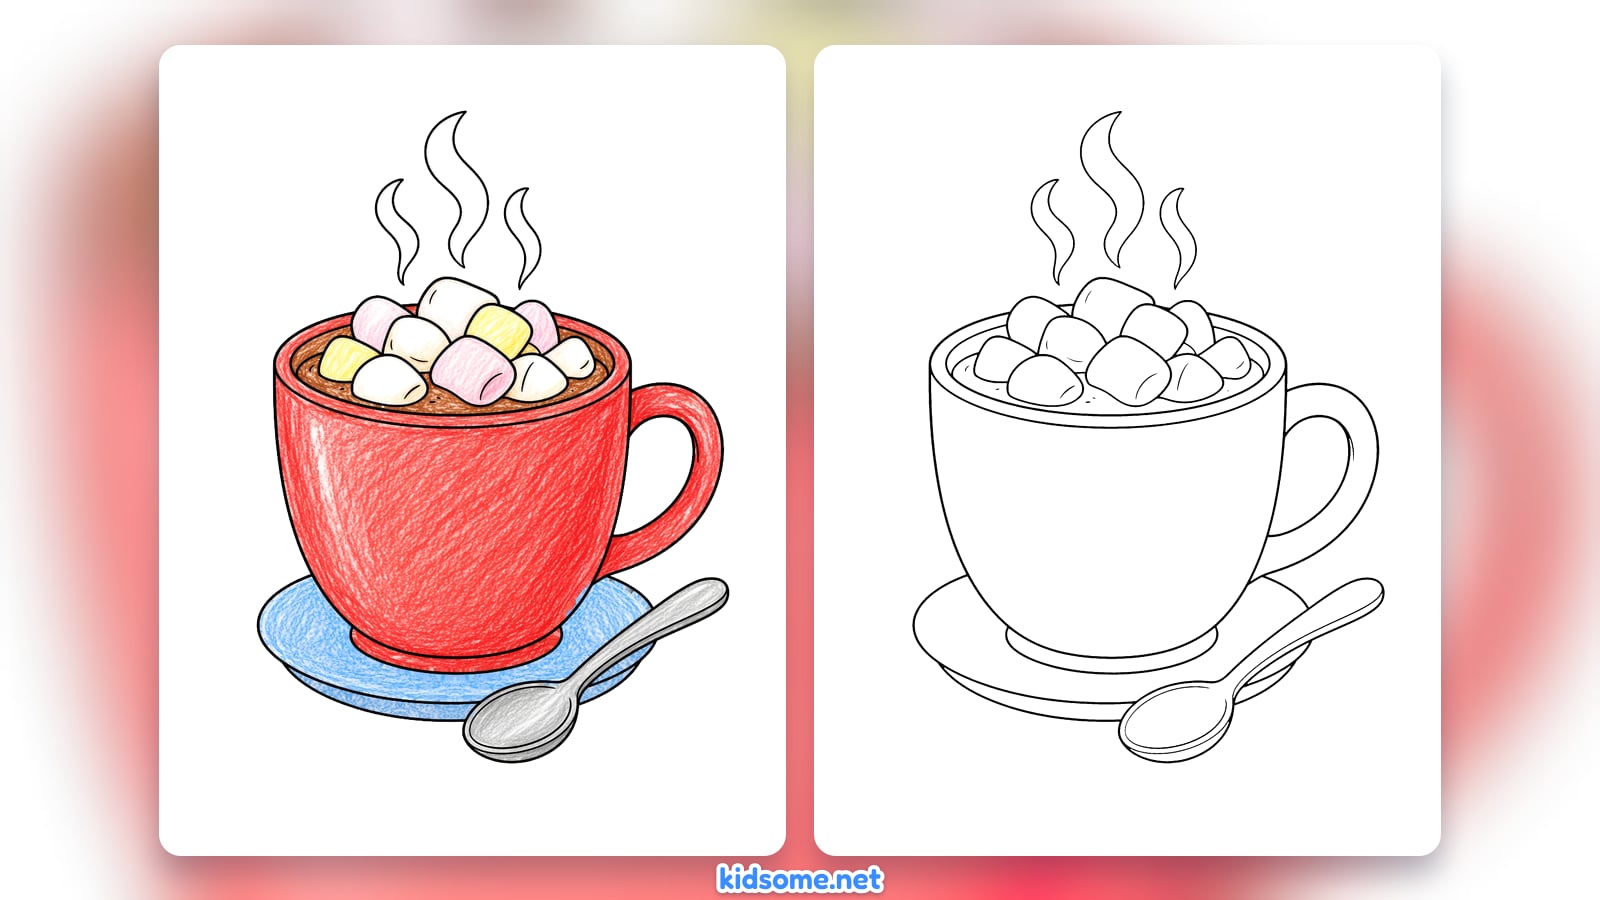
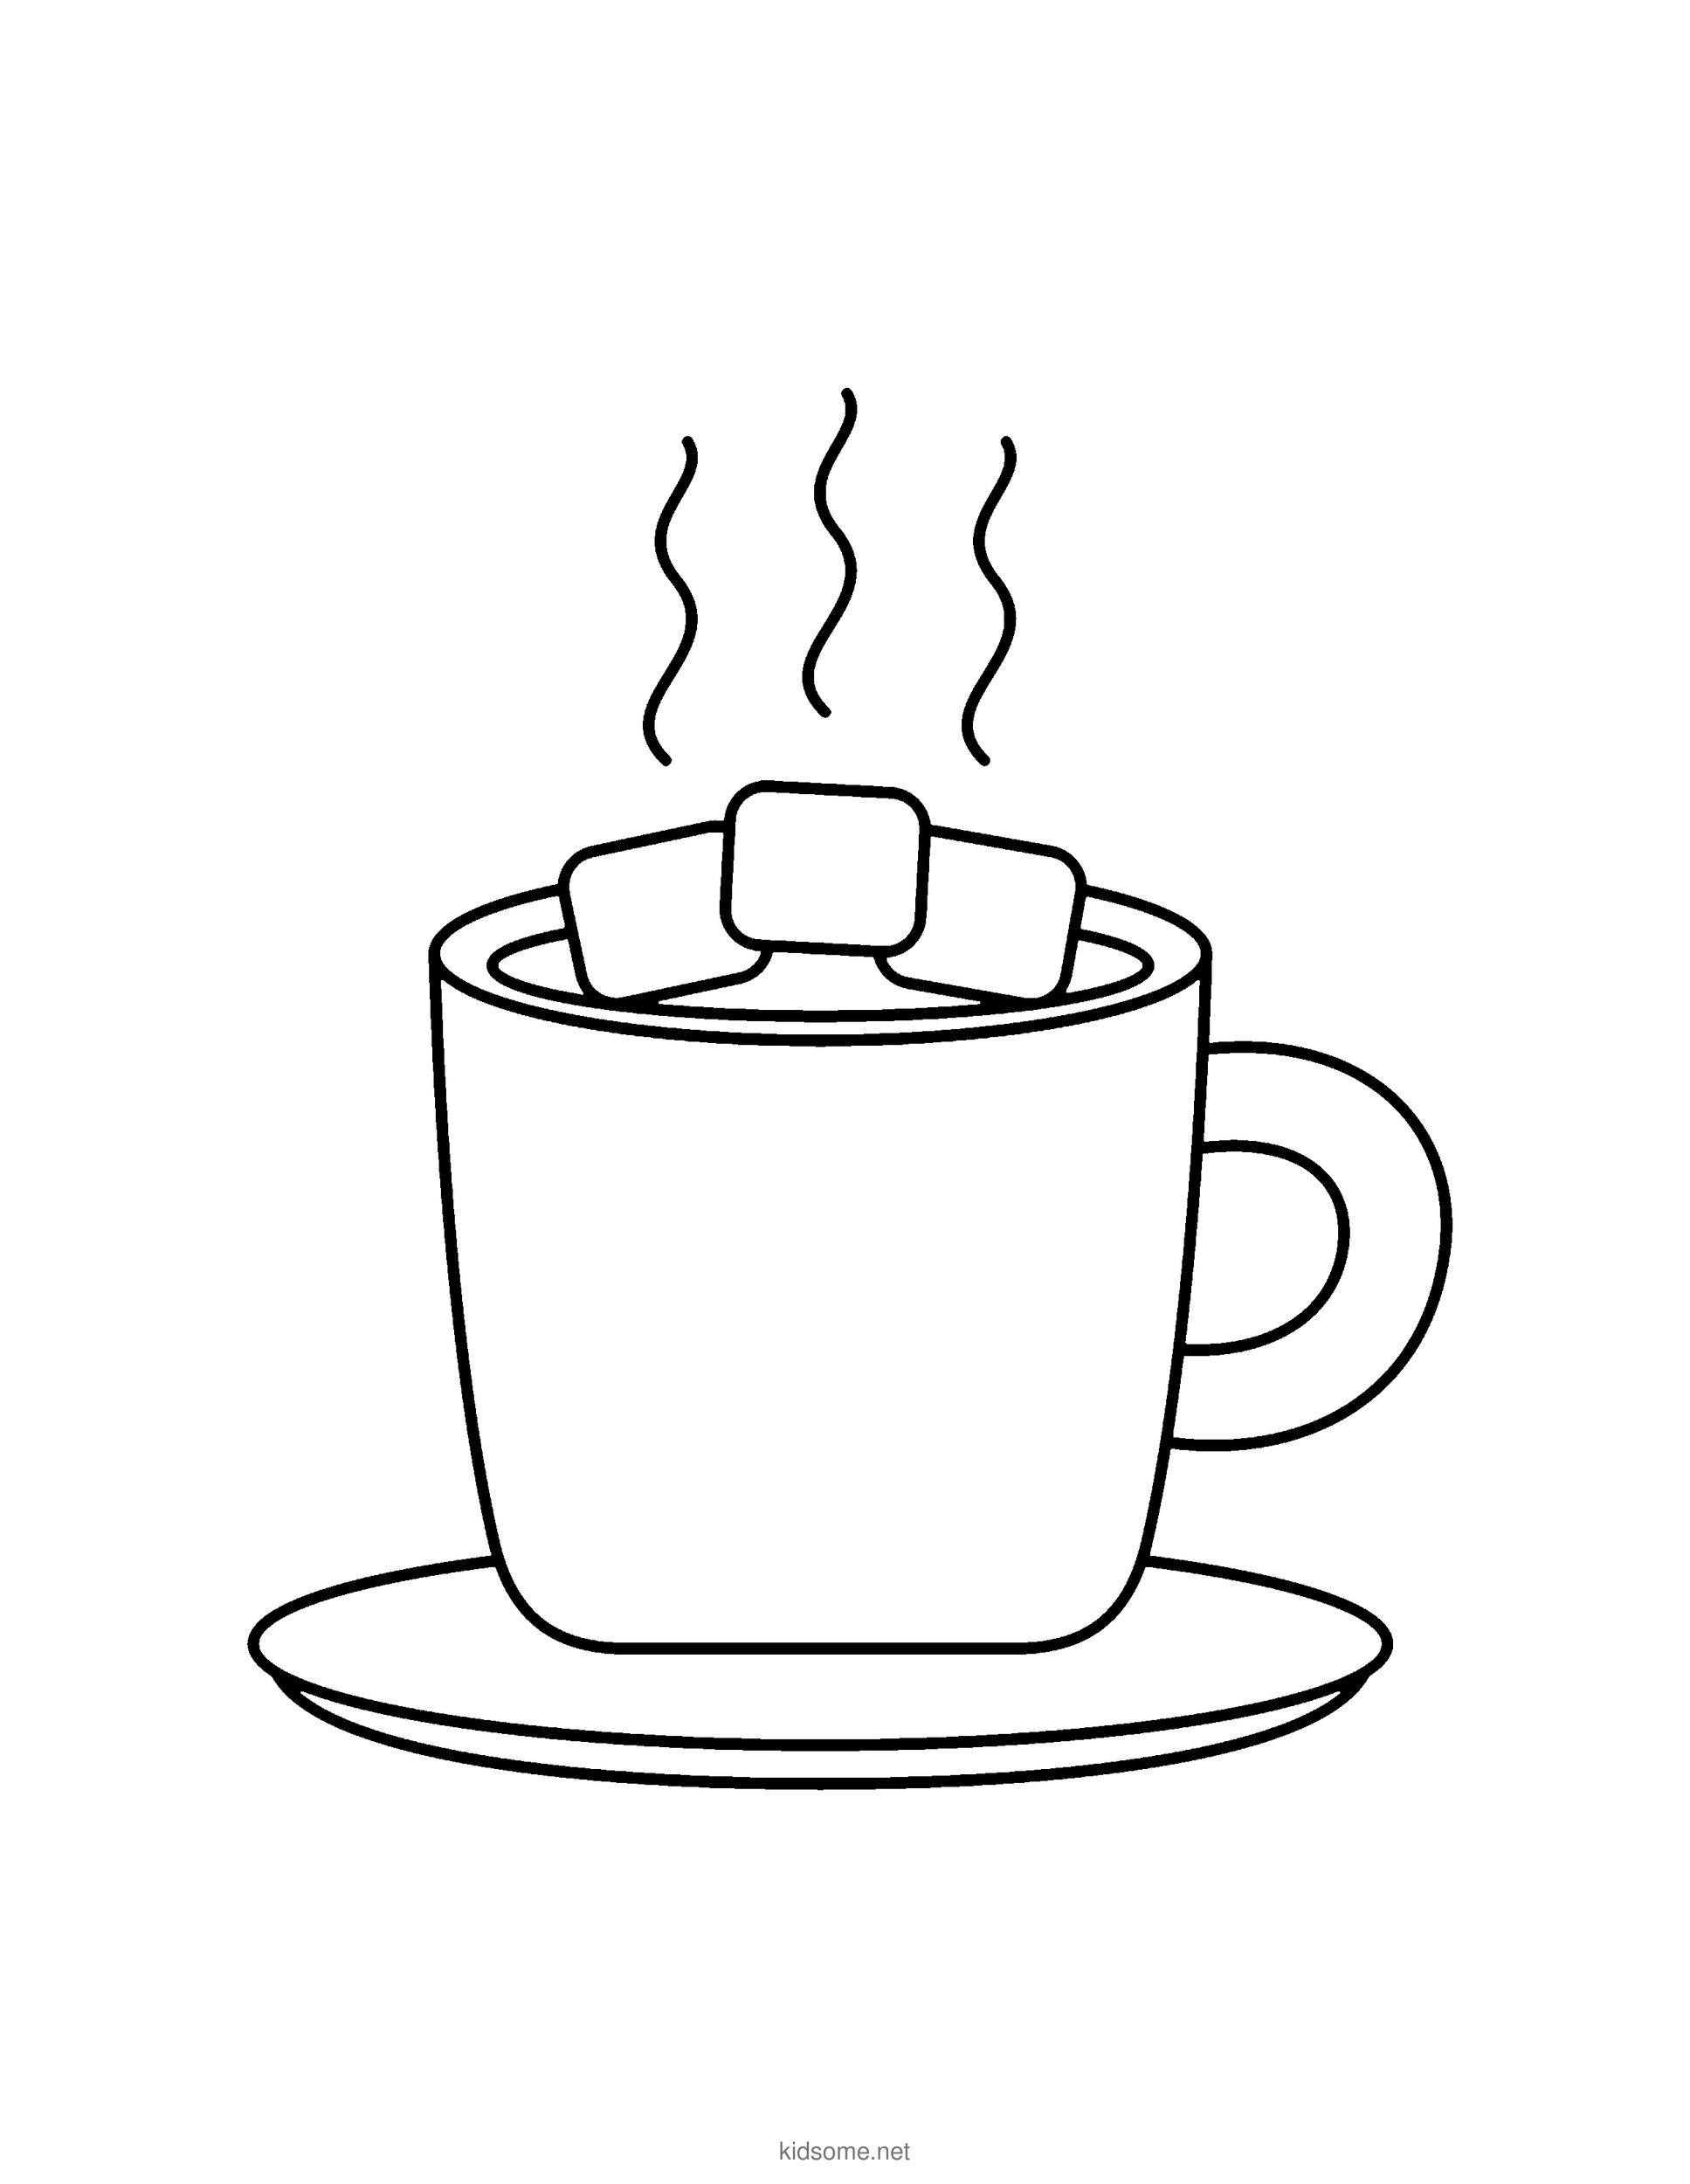
Hot Chocolate Outline to Color
The finished mug of hot chocolate on its saucer as a clean outline to print and color, with big open shapes for crayons.
Download PDF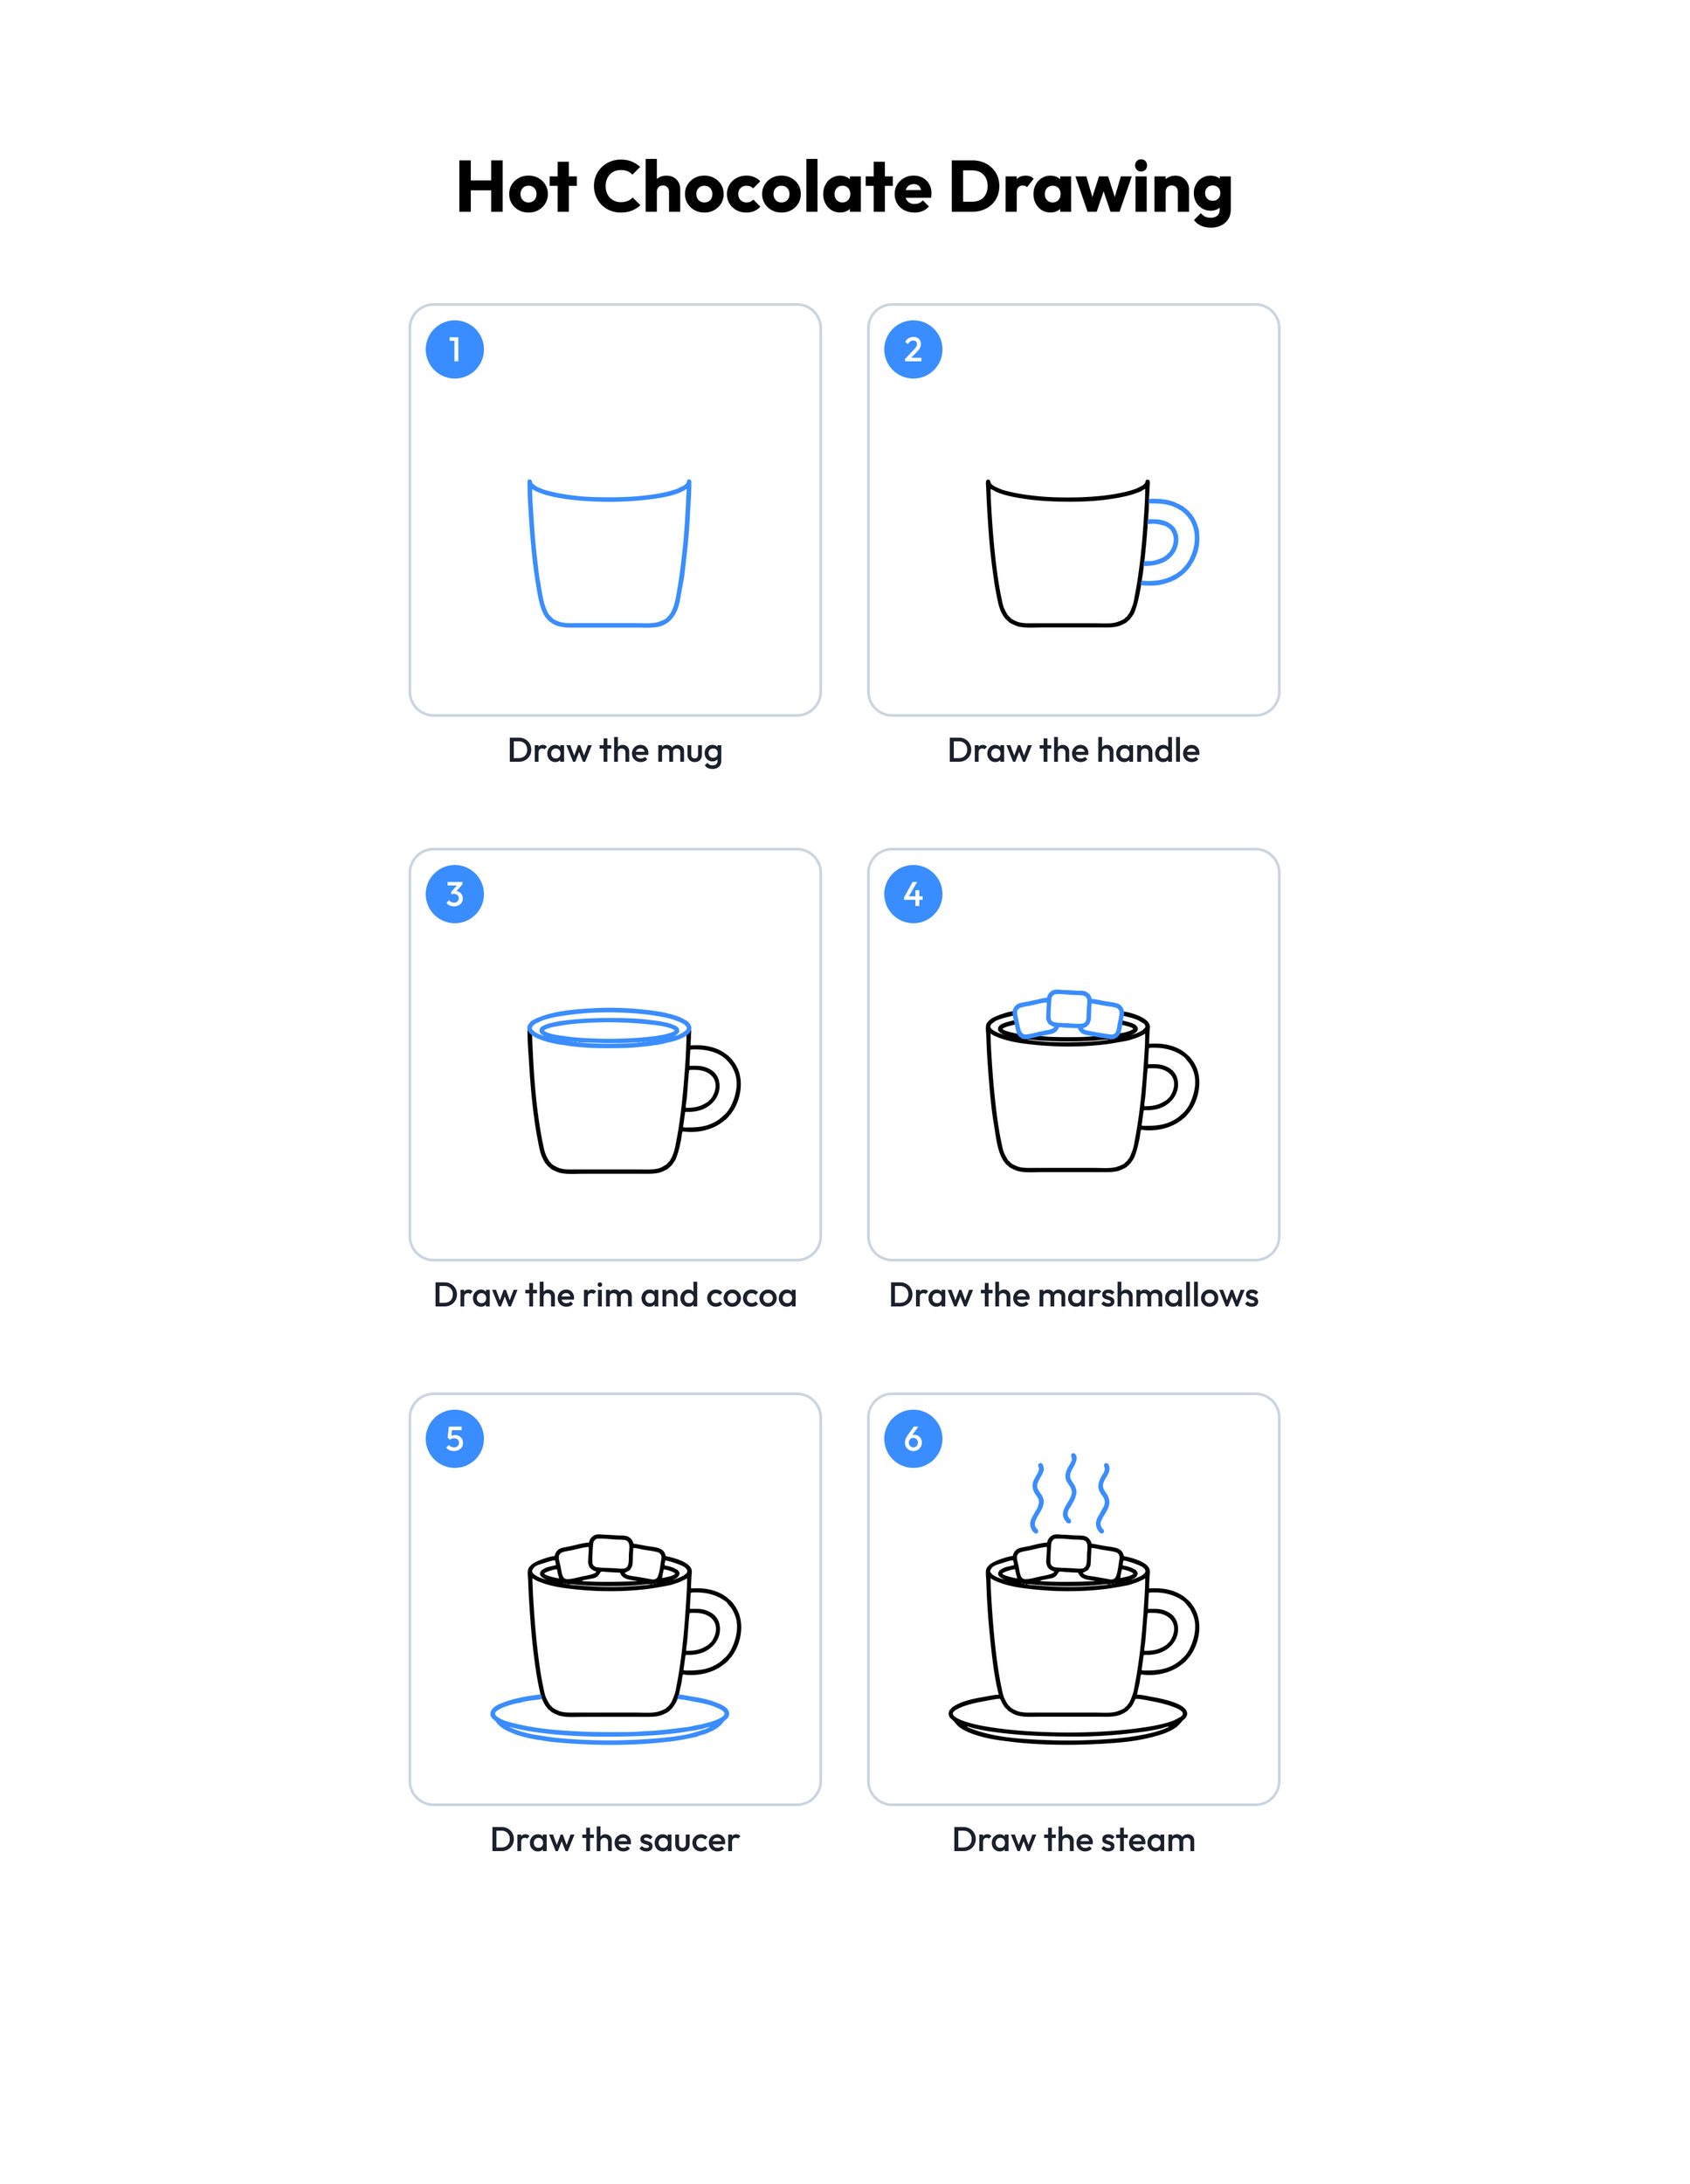 Save
Printable hot chocolate drawing guide
Every step, two to a row, with the finished hot chocolate drawing in color at the end.
Download PDFHow to use this guide
Print the outline at 100 percent, or choose Fit to page if your printer asks. The margins fit US Letter and A4, so the whole mug stays on the sheet. Page one is the outline to color. Page two is the colored mug, so print page one alone if you only want the picture to fill in.
For drawing, plain copy paper and a pencil with a good eraser work best. Draw lightly at first, because ovals and handles often need a second try. When the mug looks right, trace over the lines with a marker or a dark crayon. Markers and paint need cardstock so the color does not soak through.
This hot chocolate drawing easy version keeps every part big and simple, which makes it a gentle way to learn how to draw hot chocolate step by step. The rim is the step to take slowly: draw a wide oval across the top, then a smaller oval inside it, and leave a clear gap between the two lines so the cocoa reads as a drink in the cup. The marshmallows can be any size, and kids can add more if they like a full mug.
Most people color the cocoa brown and the marshmallows white, but the mug can be any color your child likes. When the mug feels easy, our ice cream drawing guide makes another sweet treat to draw next to it.
Ideas for your hot chocolate drawing
- Snowy window scene: Once your hot chocolate drawing is finished, draw a window frame around it with snowflakes falling outside. A warm mug by a snowy window makes a cozy winter picture.
- Mug patterns: Draw three mugs in a row and give each one a different pattern, like stripes, dots or hearts. Then color them and choose a favorite for a family cup.
- Hot cocoa party: Draw a hot cocoa drawing for each person in your family and write their name on the saucer. Hang them together on the fridge for a snow day.
- Snowman friend: Draw a snowman next to the mug using our snowman drawing guide, then color both pictures and add lots of falling snow around them.
- Shape hunt: Before drawing, find the circles, ovals, squares and wavy lines in the finished picture together. It turns the guide into a quick shape game for younger kids.
- Cafe menu: Fold a sheet of paper in half, draw the mug on the front and write a pretend cafe menu inside with cocoa, cookies and marshmallows for a game of cafe.
- Penguin pal: Add a penguin holding the mug with help from our penguin drawing guide. Kids love giving the drink to a cold little friend.
- Word fun to finish: When the pencils are put away, try our winter word search and look for words like snow, mitten and cocoa, then draw one more mug.
- Snowflake border: Draw a border of snowflakes around the page with our snowflake drawing guide, then color the mug in warm colors and the snowflakes in cool blues.
What age is this hot chocolate drawing guide for?
It is made for ages 4 to 8. The youngest children can draw the mug, handle and marshmallows with a grown-up nearby, and older kids can draw the whole mug alone and add a pattern, a table or a snowy window. Every step uses circles, ovals, squares and wavy lines, so no step is too hard.
How do I teach a hot cocoa drawing to beginners?
Start with the round mug and the handle, because they are the biggest shapes. Then draw the rim oval and the smaller cocoa oval inside it. Marshmallows, the saucer and the steam are small easy shapes added last. Drawing lightly in pencil first makes it simple to fix a wobbly oval.
What colors should we use for hot chocolate?
Brown is the classic color for the cocoa, with white marshmallows that have a little pink or yellow. The mug can be any color, from red to blue with stripes. A pale saucer helps the mug stand out, and the steam looks best as lines left on the white paper.
Can I use the guide in my classroom?
Yes. The outline and the step guide are free for personal and classroom use, so teachers can print one for every student for a winter lesson or a snow day. Please share a link to this page instead of the files, and do not sell the pages or post them on other sites.
What else can we draw after the hot chocolate?
More cozy pictures start with the same circles, ovals and wavy lines you just used. Try a snowman, a penguin or a snowflake next, then color your drawings together with our winter coloring pages for a whole snow day of fun at home or in class.