This how to draw ice cream guide is for kids ages 4 to 8 and the parent or teacher drawing beside them, on a hot afternoon or at an art table at school. If you can draw a triangle and a couple of circles, you can finish a tall, drippy cone you will want to color and show off.
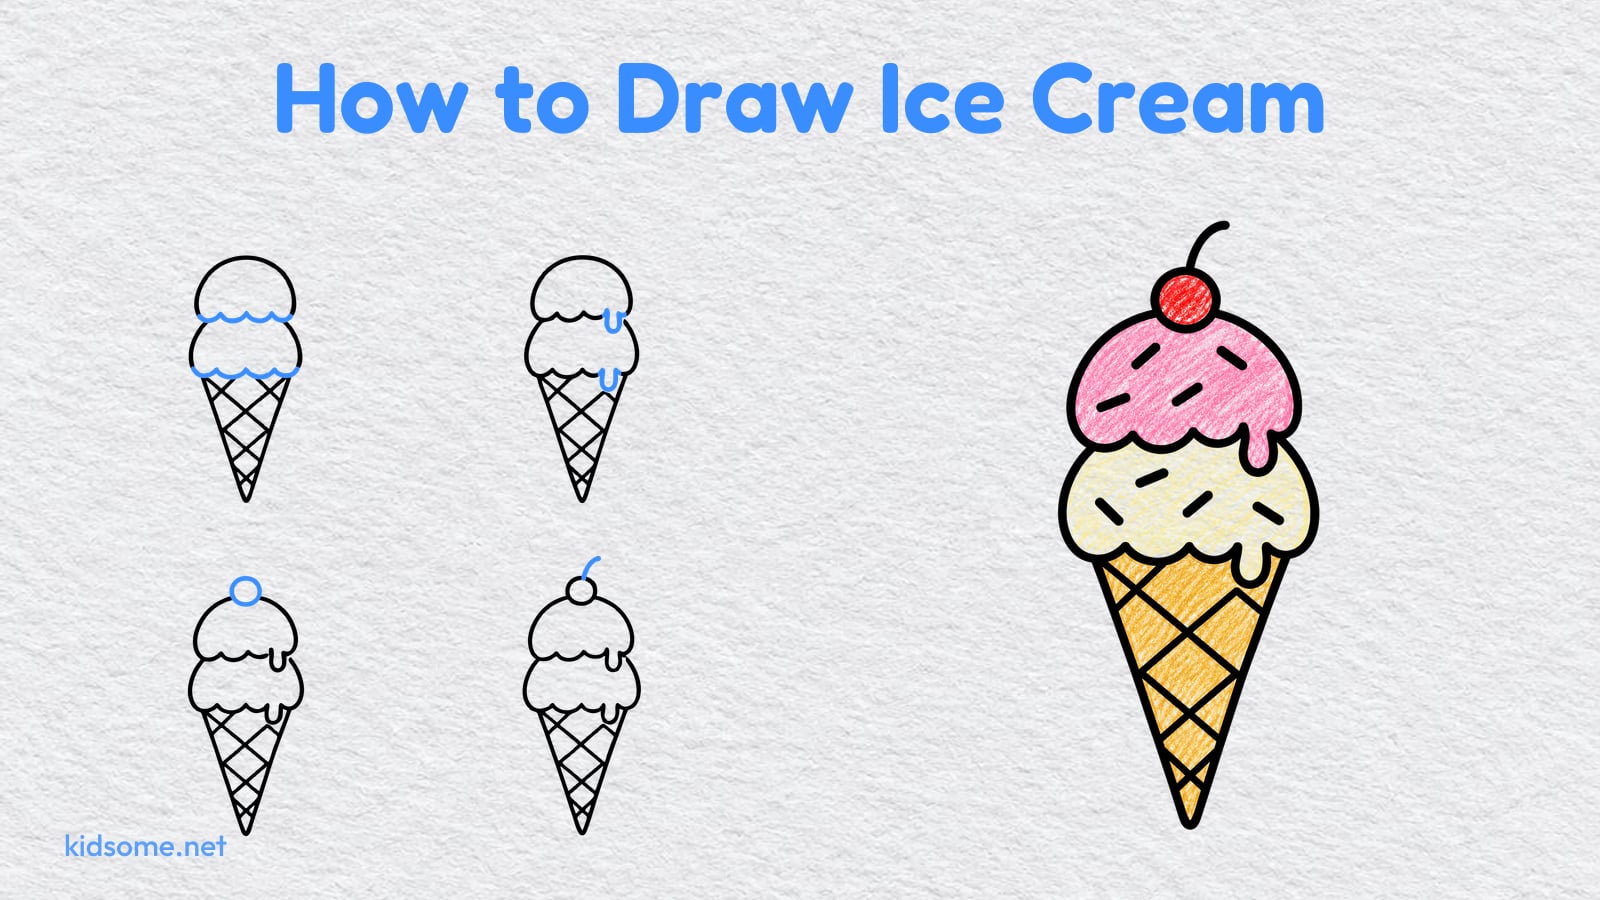
There are nine steps: the waffle cone, the crisscross lines, two round scoops, the wavy scoop edges, two drips, a cherry, its stem and the sprinkles. Each step shows the drawing so far in black and the new part in blue, so your child always knows what to add next. The last step shows the cone colored in, as an idea to copy or change. Two free PDFs go with the guide: the finished outline to color, and a printable guide with every step to keep beside the paper. Both print on US Letter and A4, and there is no sign-up.
When the cone is done, you can find this guide again under food drawings, ready for the next hot day.
-
Step 1 : Draw the cone

Draw a triangle that points down, in the bottom half of your paper. Make the top line flat and let the two long sides meet in a point. This is your cone.
-
Step 2 : Draw the crisscross lines
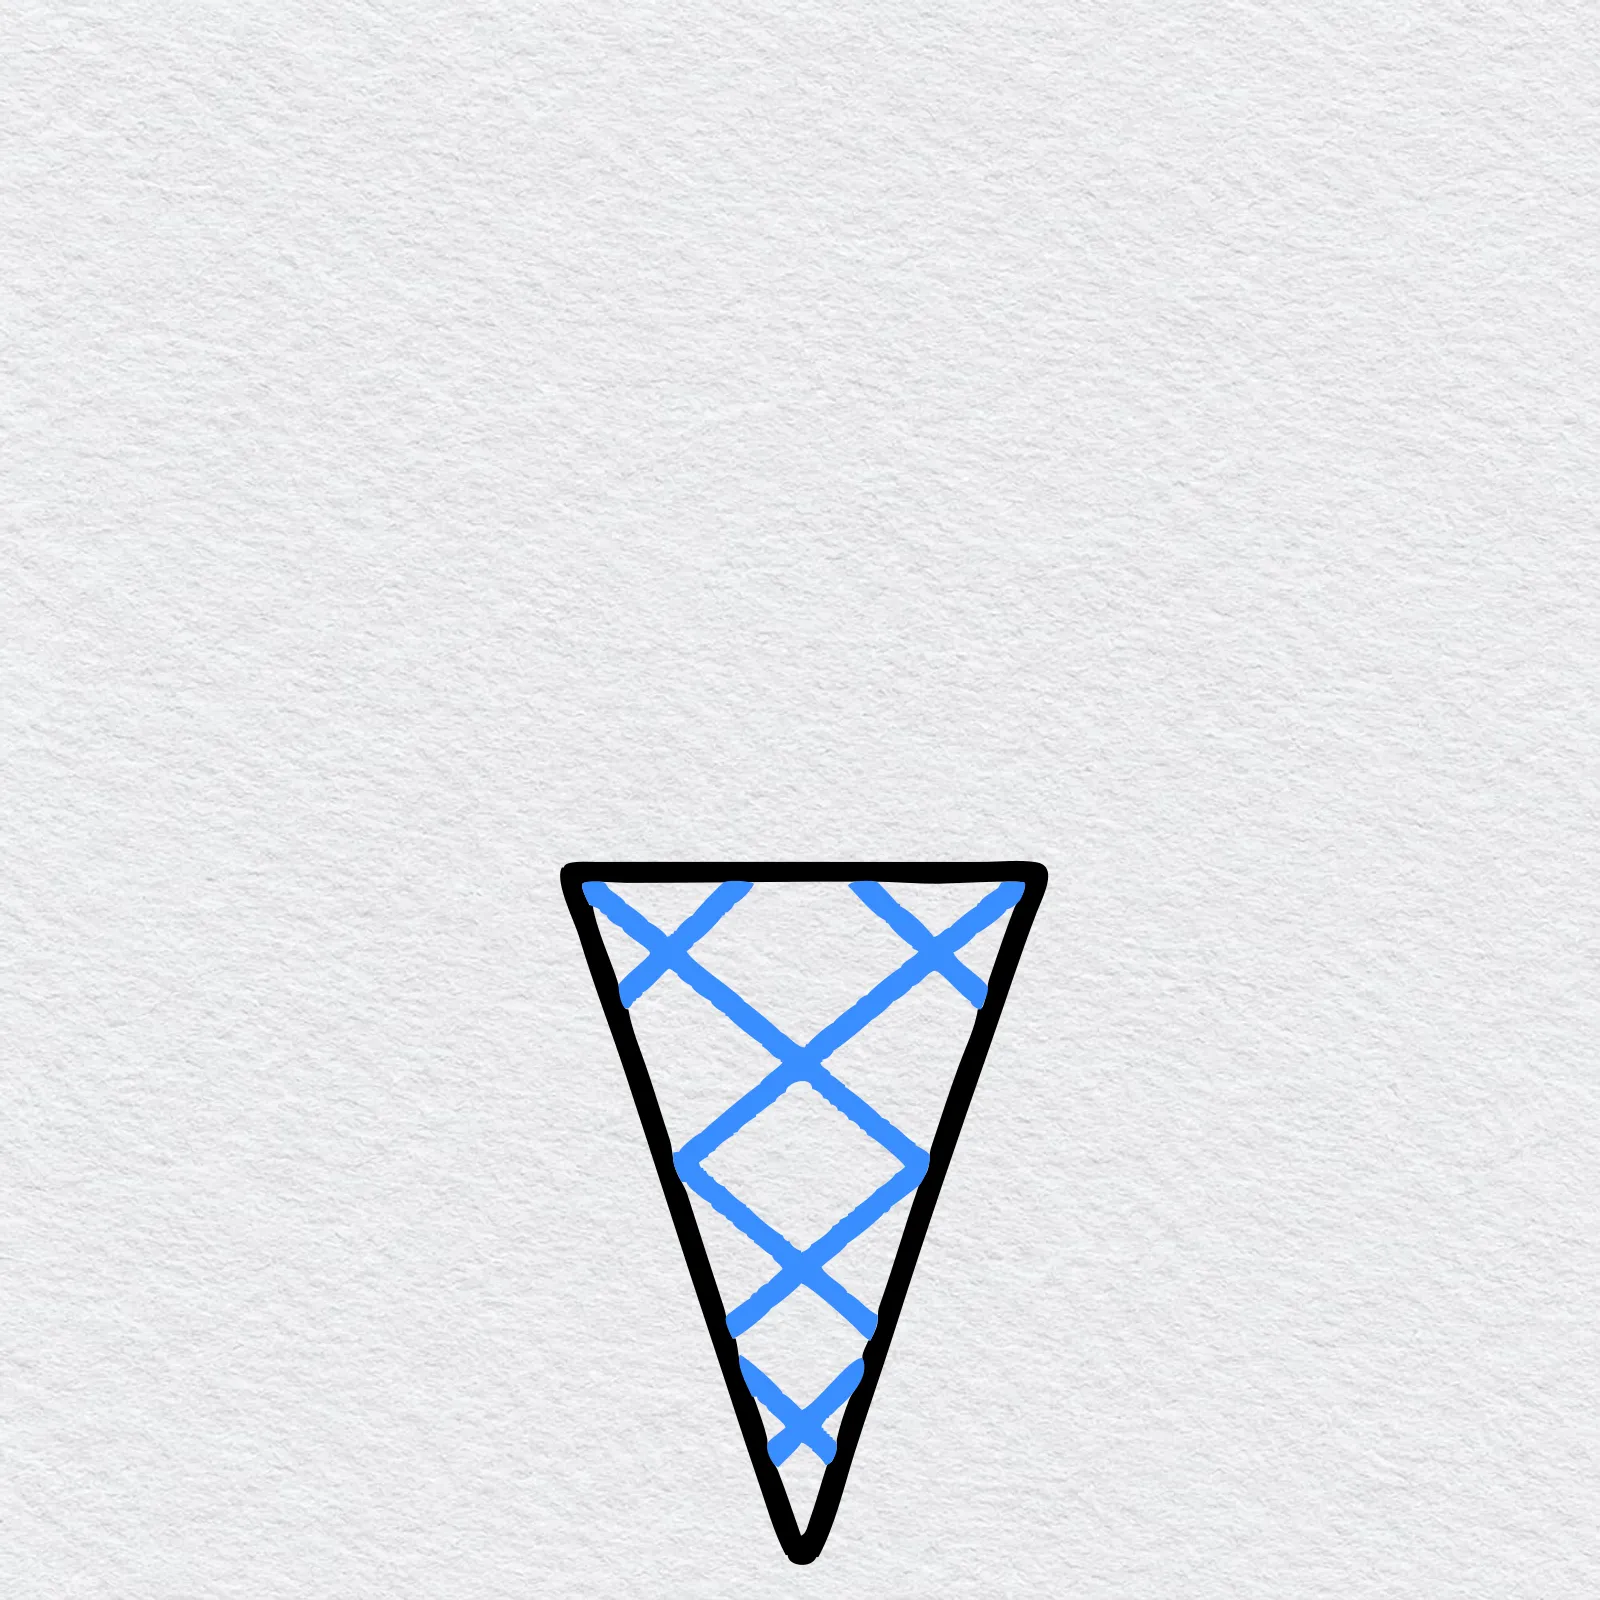
Draw a few slanted lines across the cone, from one side to the other. Then draw more lines slanting the other way, so they cross and make diamonds.
-
Step 3 : Draw the bottom scoop
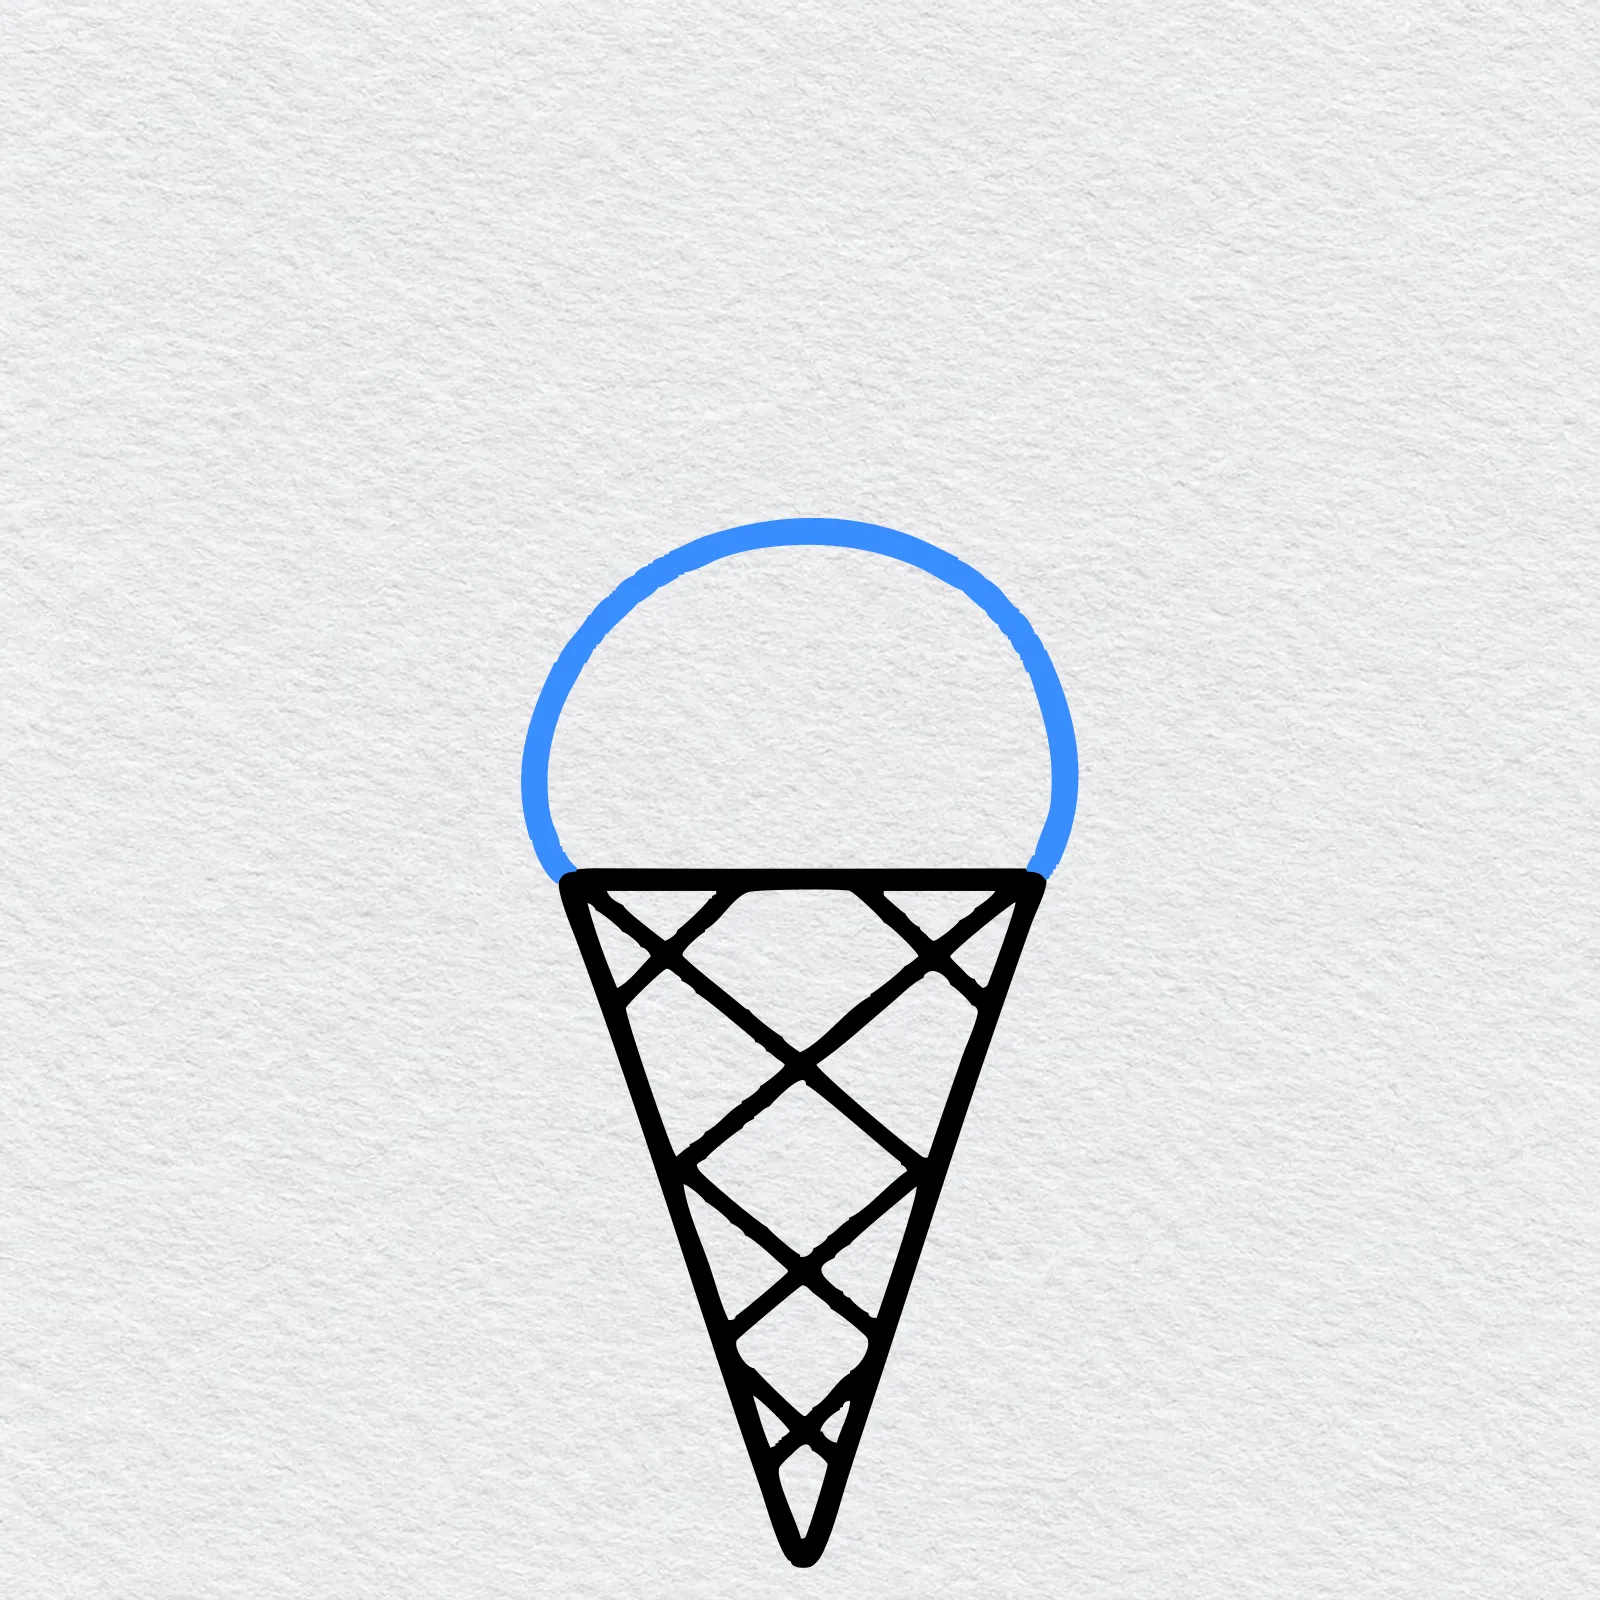
Put your pencil on one corner of the flat line. Draw a big round curve up and over, and come back down at the other corner. That is your first scoop.
-
Step 4 : Draw the top scoop

Draw a second big curve above the first scoop. Start on one side of it, go up and over, and come back down on the other side.
-
Step 5 : Draw the wavy scoop edges
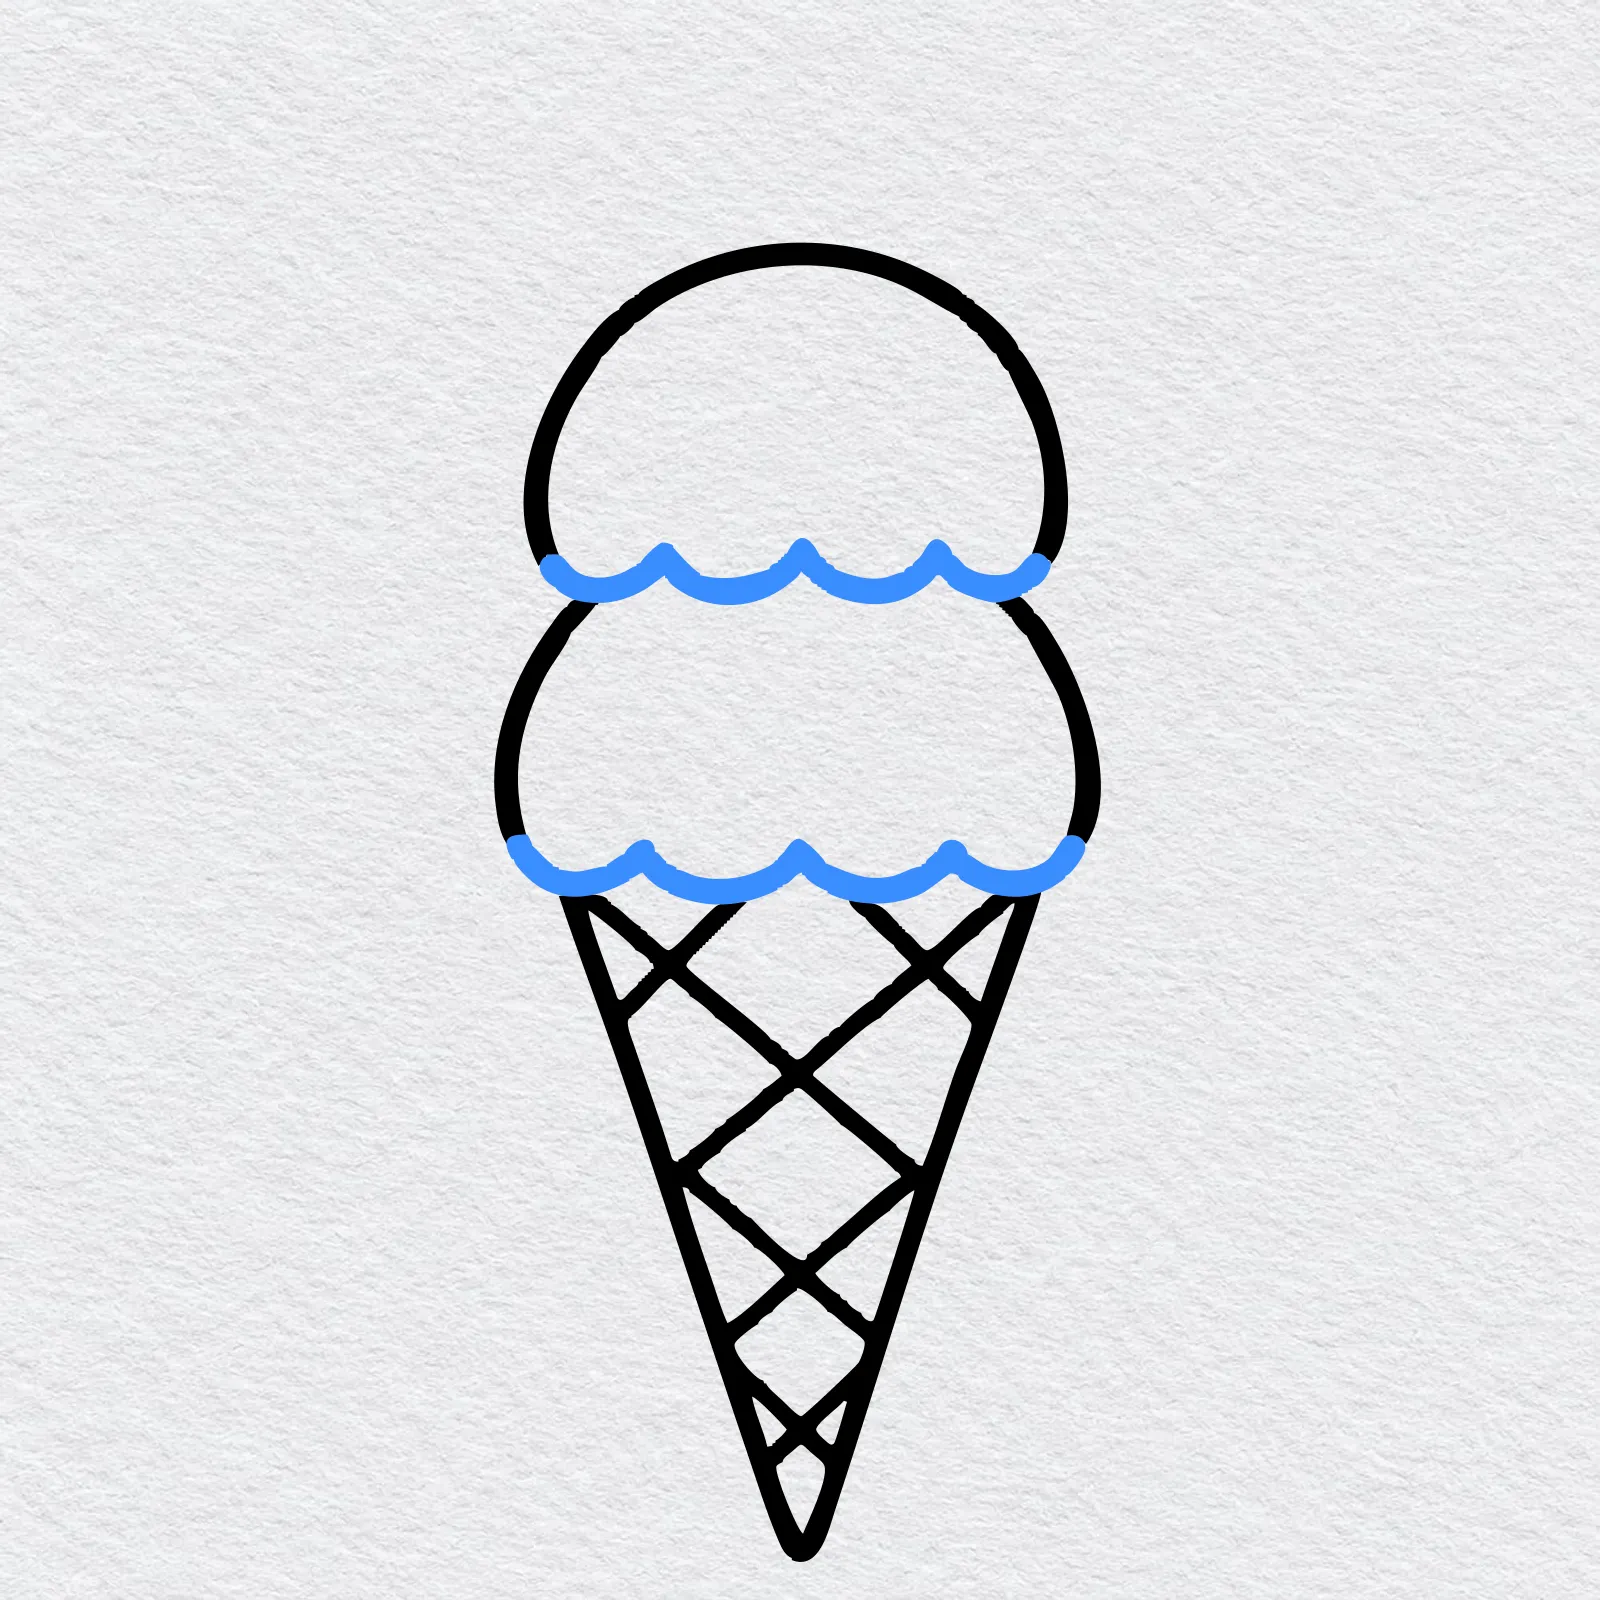
Draw a wavy line with four soft bumps along the bottom of each scoop. Then erase the old line underneath, so the scoops look soft and puffy.
-
Step 6 : Draw the drips
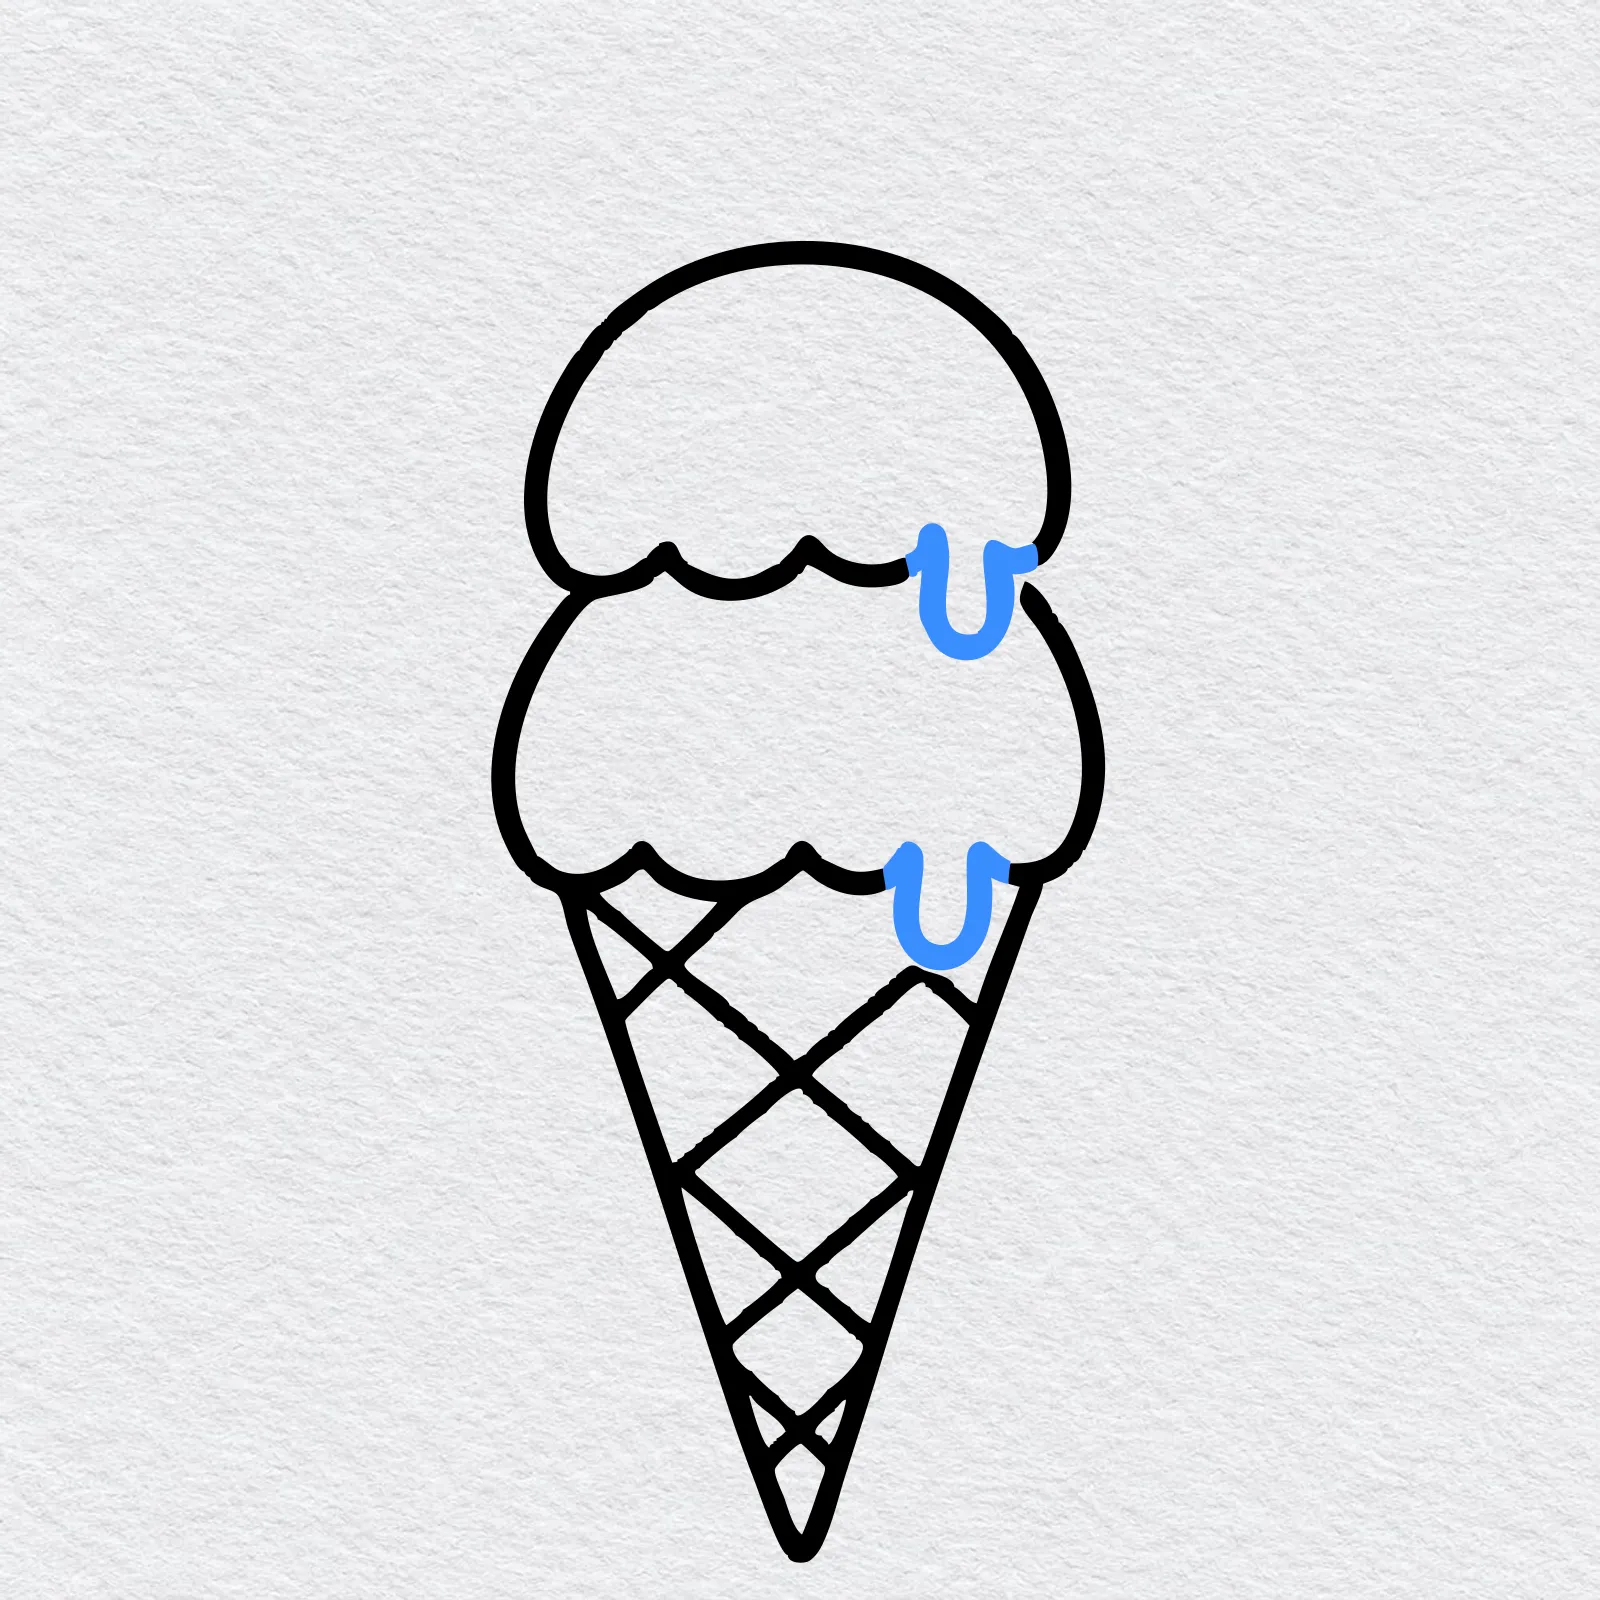
Near the right end of each wavy line, draw a drip shaped like a long letter U. One drip runs down from the top scoop and one runs onto the cone. Erase any lines inside them.
-
Step 7 : Draw the cherry

Draw a small circle on the very top of the ice cream, right in the middle. Erase the scoop line inside it, so the cherry sits in front.
-
Step 8 : Draw the stem
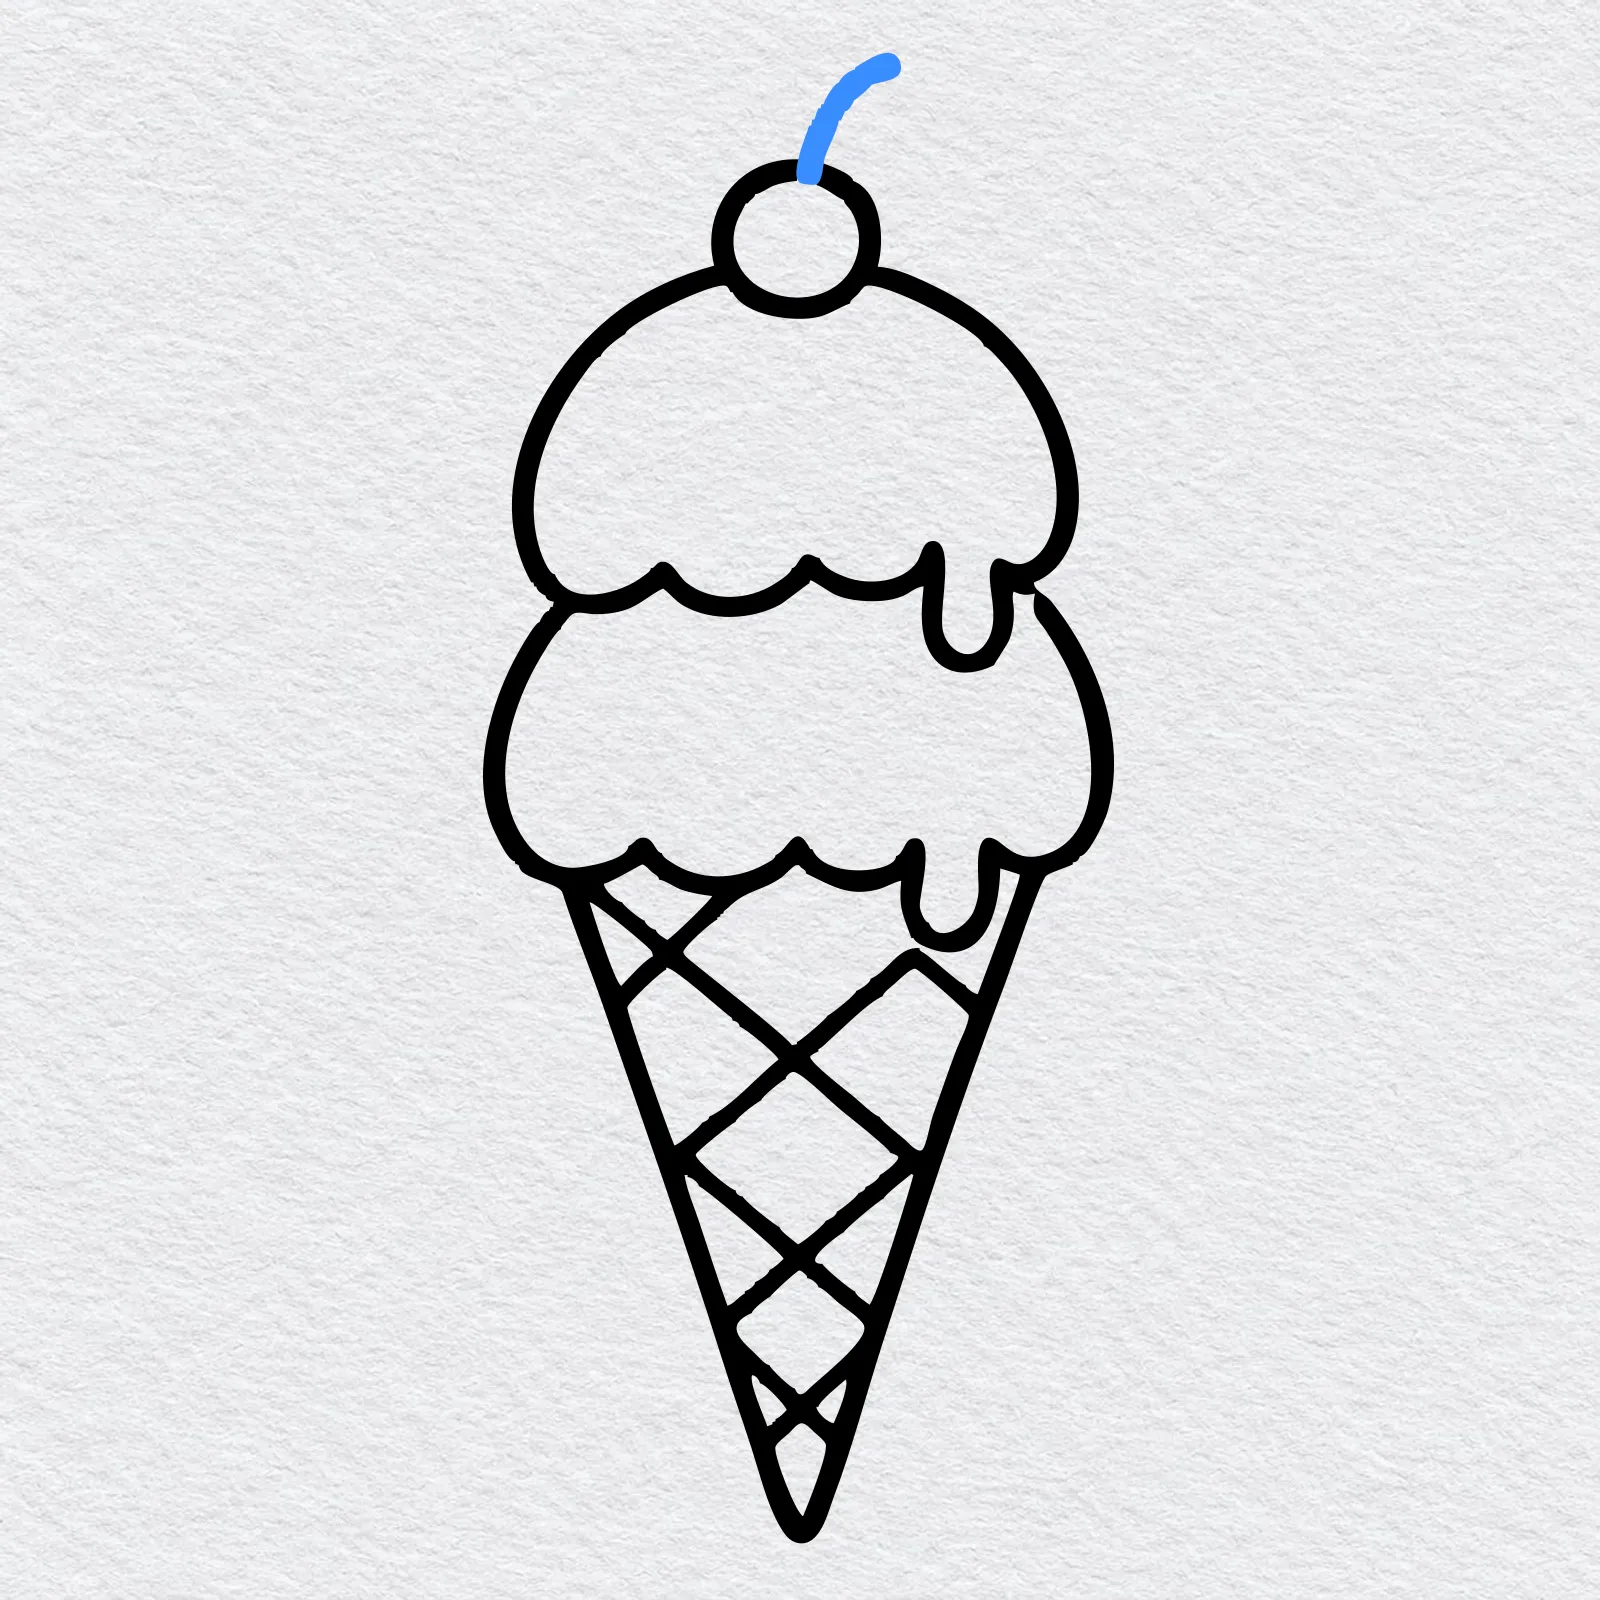
Start at the top of the cherry and draw one line going up. Let it curve over to the right at the end, like a little hook.
-
Step 9 : Draw the sprinkles

Draw eight short lines on the scoops, four on each one. Point them in different directions, as if they just landed. Your ice cream cone drawing is finished.
-
Step 10 : Color your ice cream cone

Pick a color for each scoop, such as pink for the top and pale yellow for the bottom. Use golden brown for the cone and red for the cherry.
Go slowly and press lightly first. You can always add more color, but it is hard to take it away.
Printable ice cream drawing PDFs
 Save
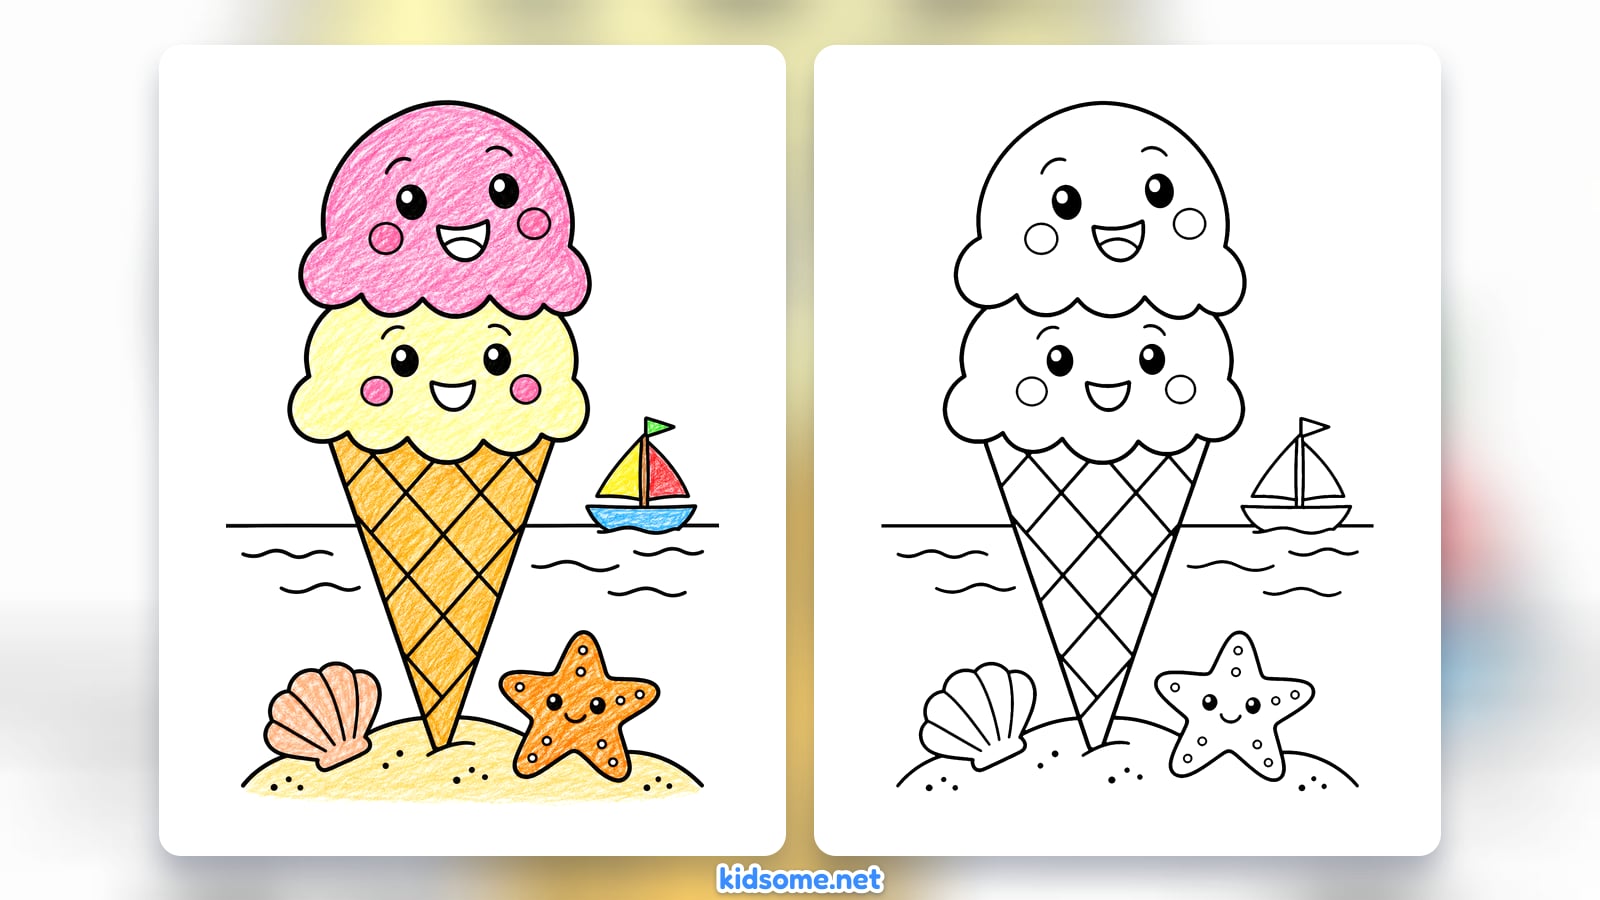
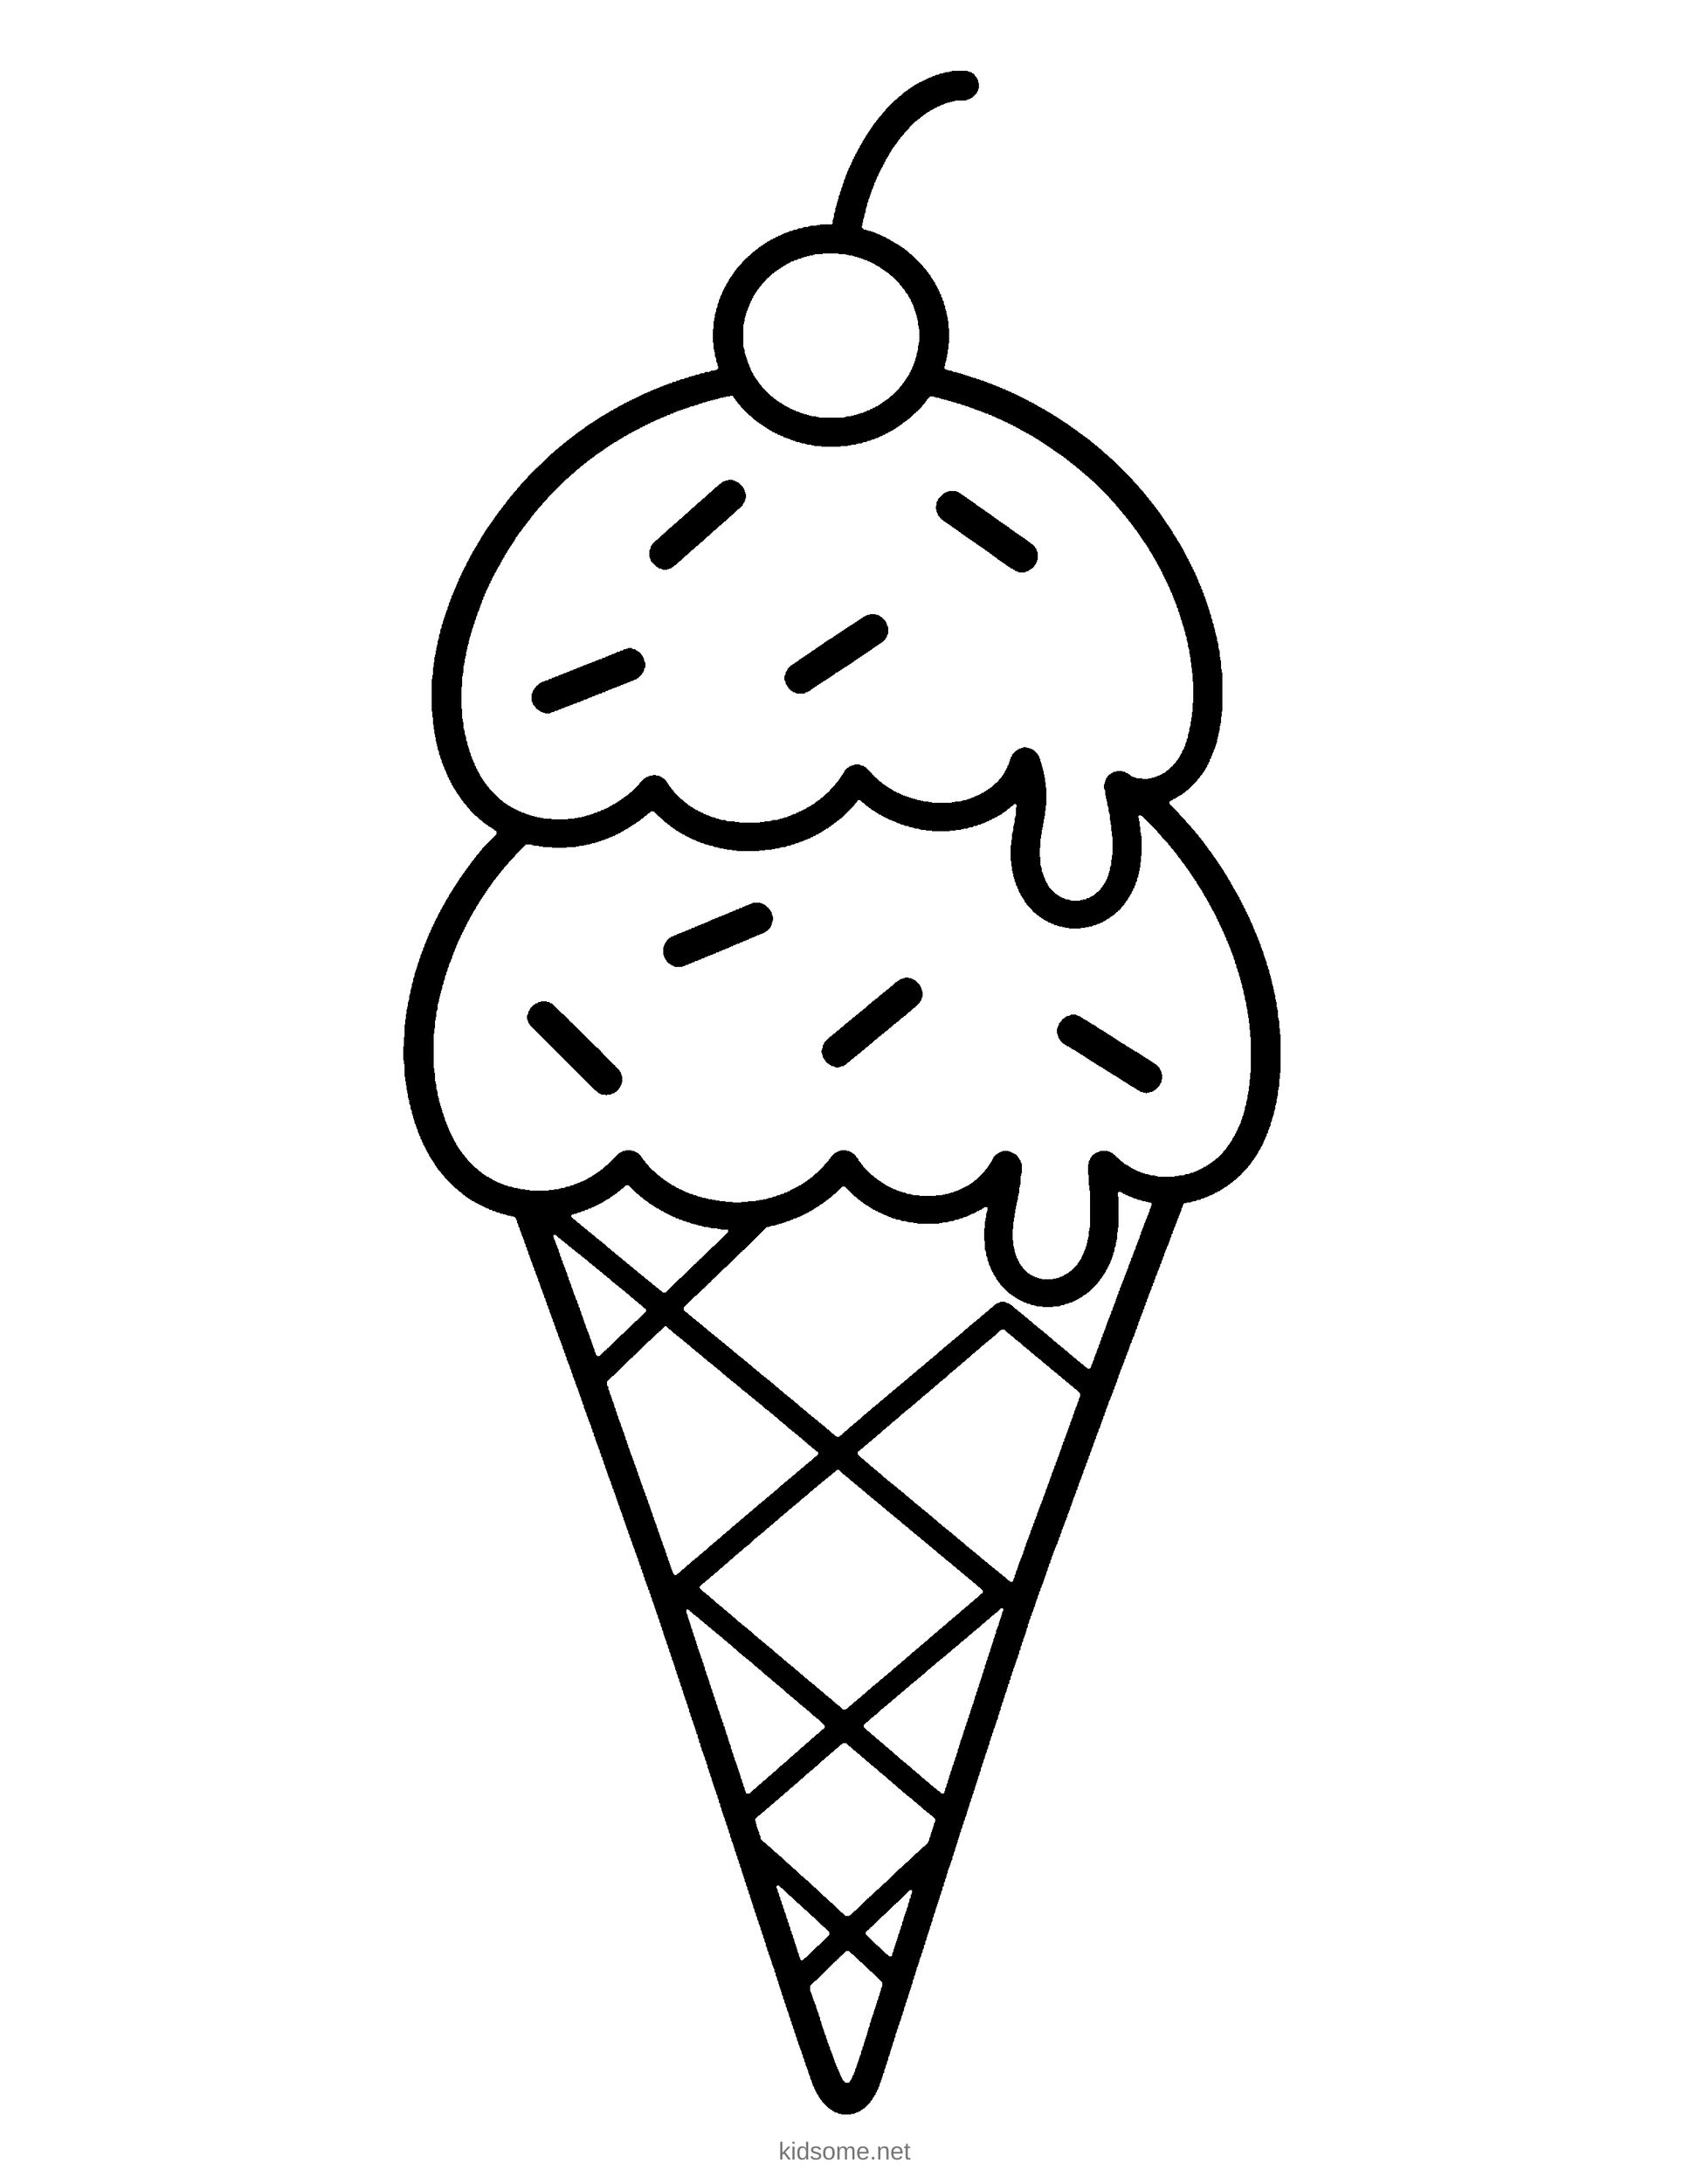
Ice Cream Cone Outline to Color
The finished two scoop cone as a clean outline to color, with the colored cone on page two.
Download PDF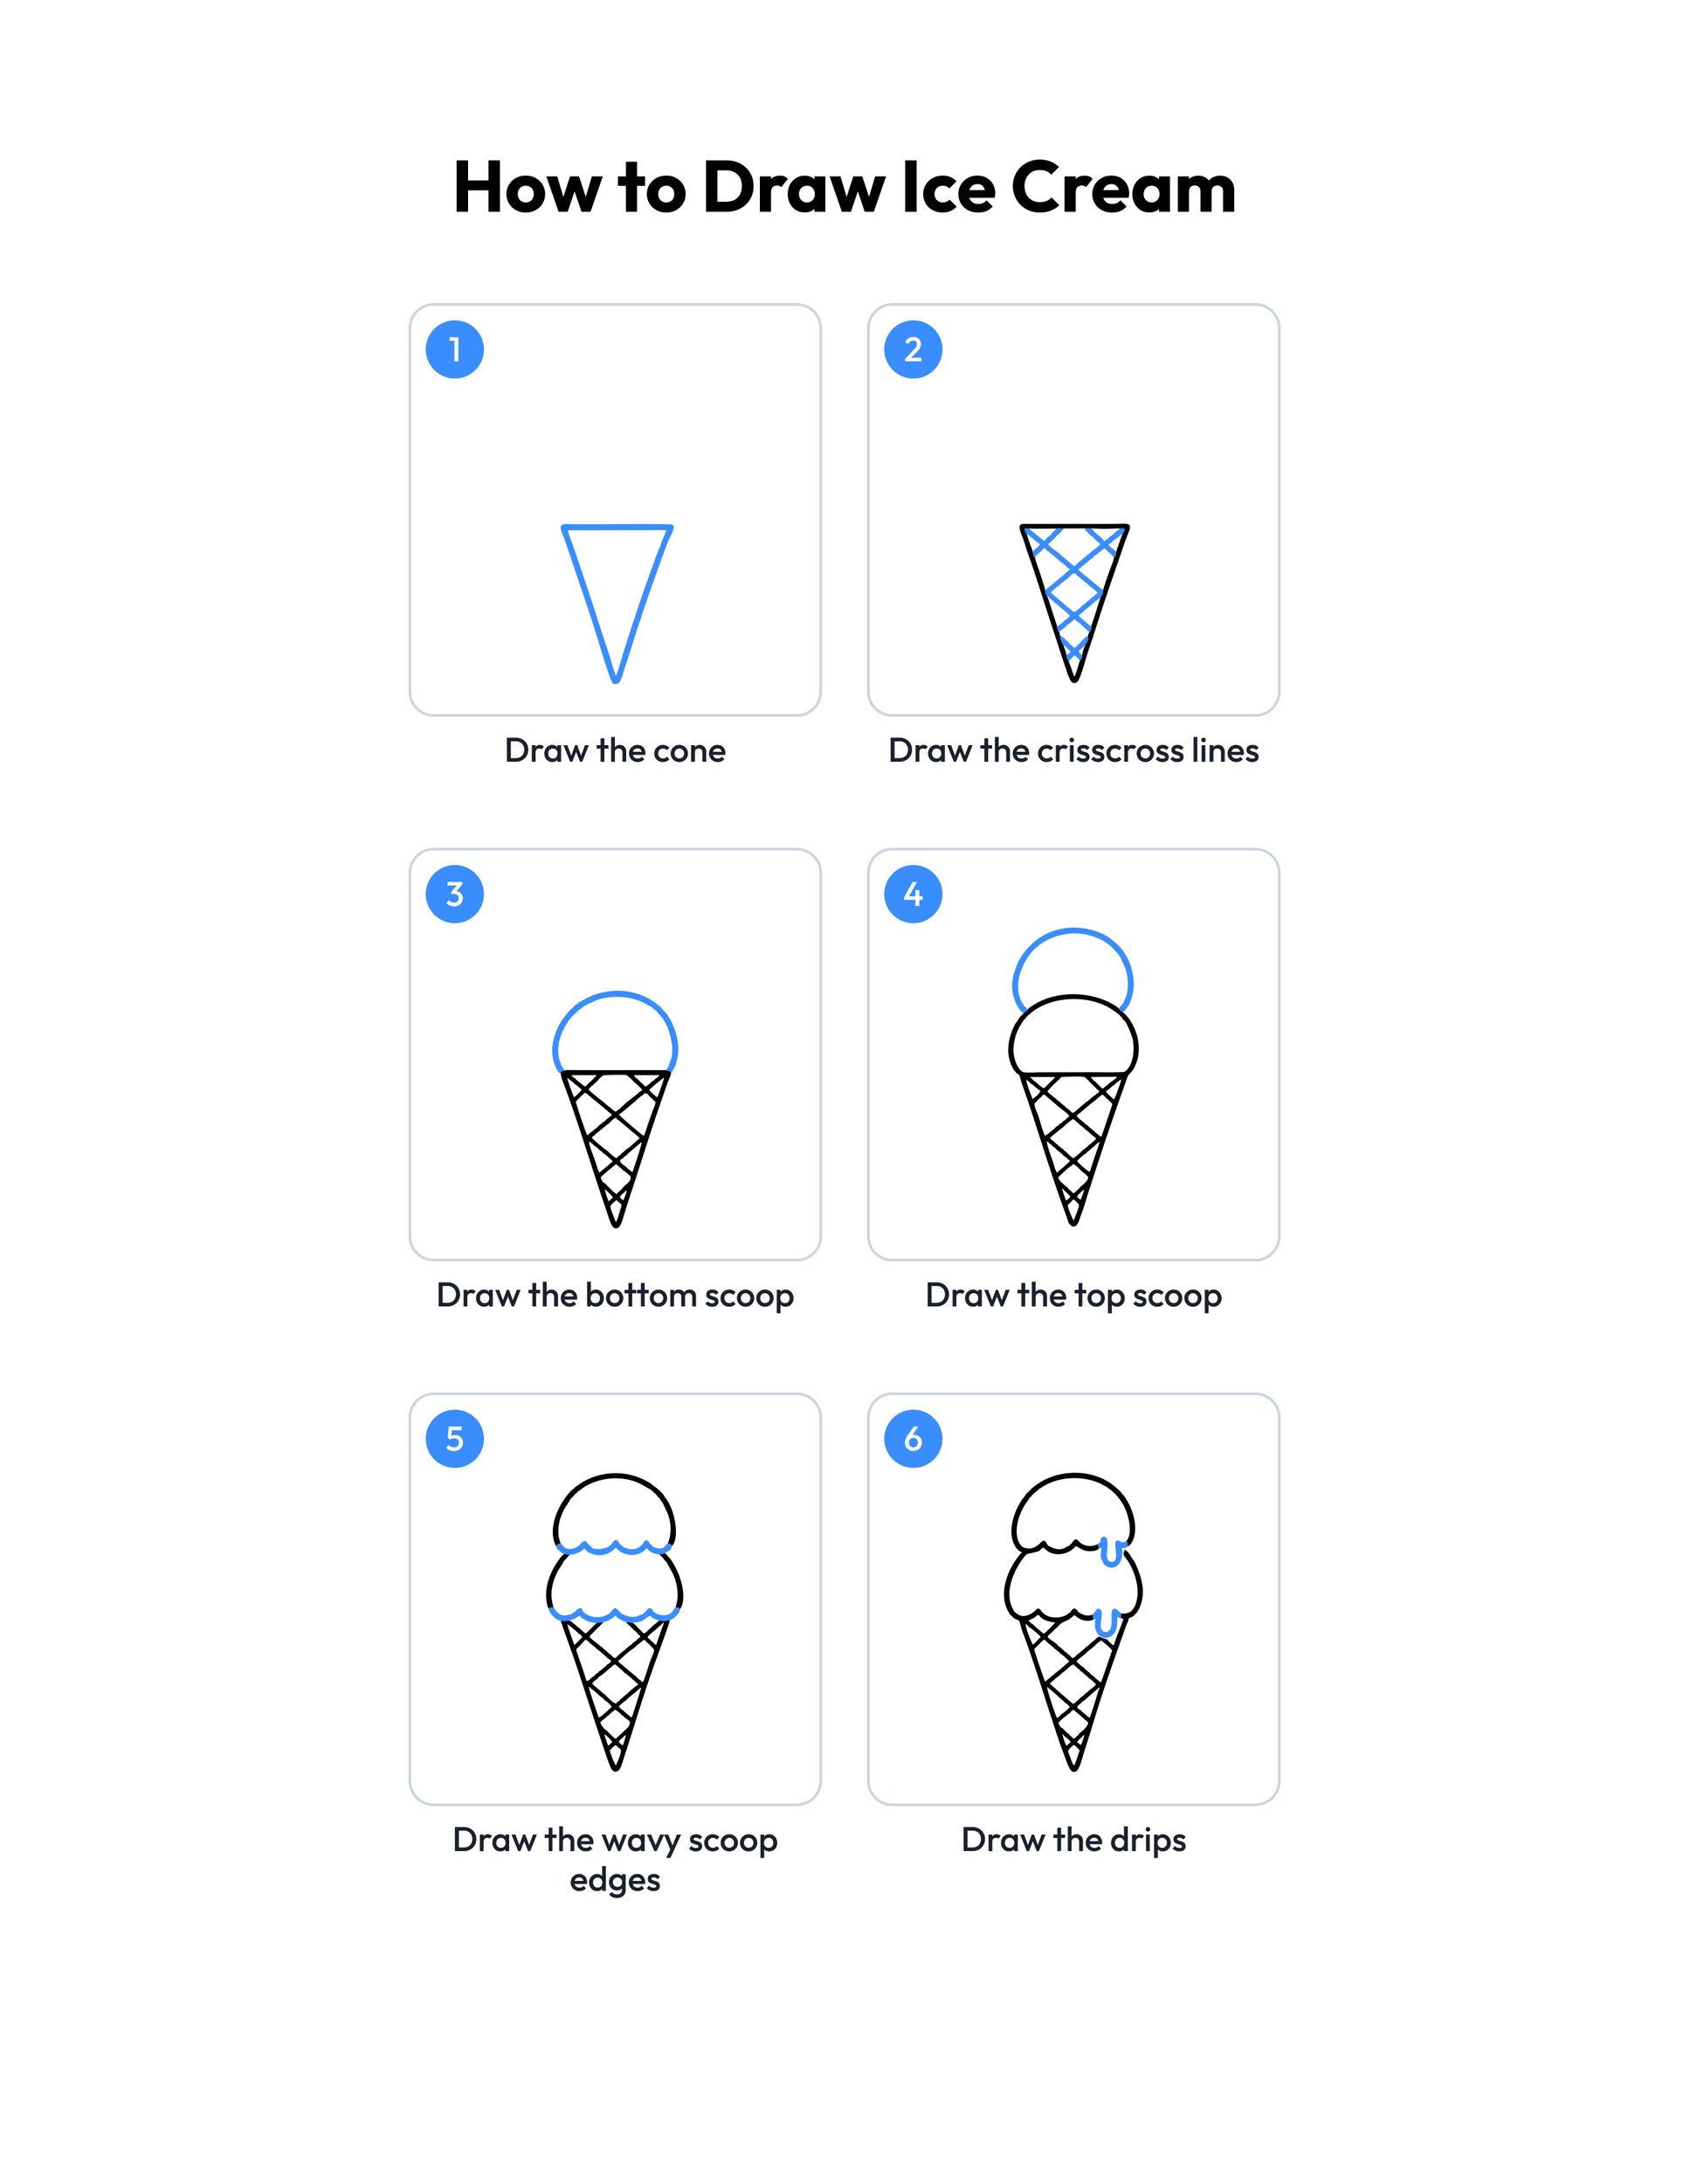 Save
Printable ice cream drawing guide
Every step, two to a row, with the finished ice cream in color at the end.
Download PDFHow to use this guide
Print the outline at 100 percent, or choose Fit to page if your printer asks. The PDF is set to US Letter, and the margins leave room for A4 too, so the whole cone stays on the sheet. Page one is the outline to color. Page two is the colored cone, so print page one alone if you only want the drawing to fill in.
For drawing, plain copy paper and a pencil with a good eraser work best. Draw lightly at first, because the scoops often need a second try and the wavy edges go over lines you will erase. When the cone looks right, go over the lines with a marker or a dark crayon. Crayons and colored pencils are fine on plain paper. Markers and paint need cardstock so the color does not soak through.
Ice Cream Cone Triangle and Bottom Scoop on the Cone are the easiest steps, with shapes young children already know. Crisscross Lines on the Cone, Wavy Edges on Both Scoops and Melting Drips on the Scoops take more care, so a grown-up can draw each line lightly and let the child go over it. Round Cherry on Top and Sprinkles on Both Scoops are quick, happy ways to finish.
Print the step guide and lay it next to the paper. Point to the blue line in each step and say what it is before your child draws it. Once a child knows how to draw ice cream cone shapes, the same triangle turns into a traffic cone or a pine tree.
Ideas for your ice cream drawing
- Ice cream shop: Have everyone draw a cone, then cut them out and set up a pretend shop on a table. Children take turns choosing flavors and handing over each cone.
- Flavor names: Color each scoop as a made-up flavor, such as sunshine lemon or blue sky mint. Write the flavor under the cone and read the names out loud.
- Shape hunt: Before drawing, find the triangle, the round shapes and the diamonds in the finished cone. Count the diamonds, then count them again on your own drawing.
- Sprinkle math: Draw a different number of sprinkles on each scoop and ask your child to count them. Add two more, count again and write the new number.
- Hot and cold: Draw the cone on one side of a page and use the how to draw a snowman guide for the other. Talk about what melts in the sun and why.
- Classroom art center: Put printed step guides, pencils and erasers in an art center during a food unit. Early finishers can move on to the food word search at the same table.
- Hot day folder: Keep the step guide, blank sheets and a summer word search in a folder for car trips, waiting rooms and warm afternoons at home.
- Next drawing: When the cone feels easy, try the how to draw a butterfly guide. It works the same way, one new part at a time, and has its own outline to color.
What age is this ice cream drawing made for?
It is made for ages 4 to 8. The youngest children can draw the triangle and the scoops with a grown-up nearby, and older kids can draw the whole cone alone, then add a third scoop, more sprinkles or a table and a napkin around it.
Is this how to draw an ice cream cone or a single scoop?
It is a full cone with two scoops, a cherry and sprinkles. For a simpler drawing, stop after the bottom scoop, add the wavy edge and color it in. One scoop on a waffle cone still looks like ice cream, and it takes only a few minutes.
How do I help a child who finds it hard?
Draw each new part lightly in pencil yourself and let your child go over it, then swap for the next step. Big, slow movements help more than small ones. If a scoop comes out lopsided, keep it: a wobbly scoop looks even more like real ice cream.
Can I print the guide for my class?
Yes. Teachers, homeschool parents and art clubs can print as many copies of the outline and the step guide as their students need. Both PDFs are free for personal and classroom use. Please do not sell them or post the files on another site.