This sweater drawing guide shows kids ages 4 to 8, and the parents and teachers beside them, how to draw a sweater one easy step at a time on a cold winter day. The sweater in this guide is a warm knitted one with a round neck, long sleeves, ribbed cuffs, a ribbed waistband, cosy stripes and a big snowflake on the front. Every part is made from rectangles, curves and straight lines, so it is a great first sweater drawing, easy for early readers to follow.
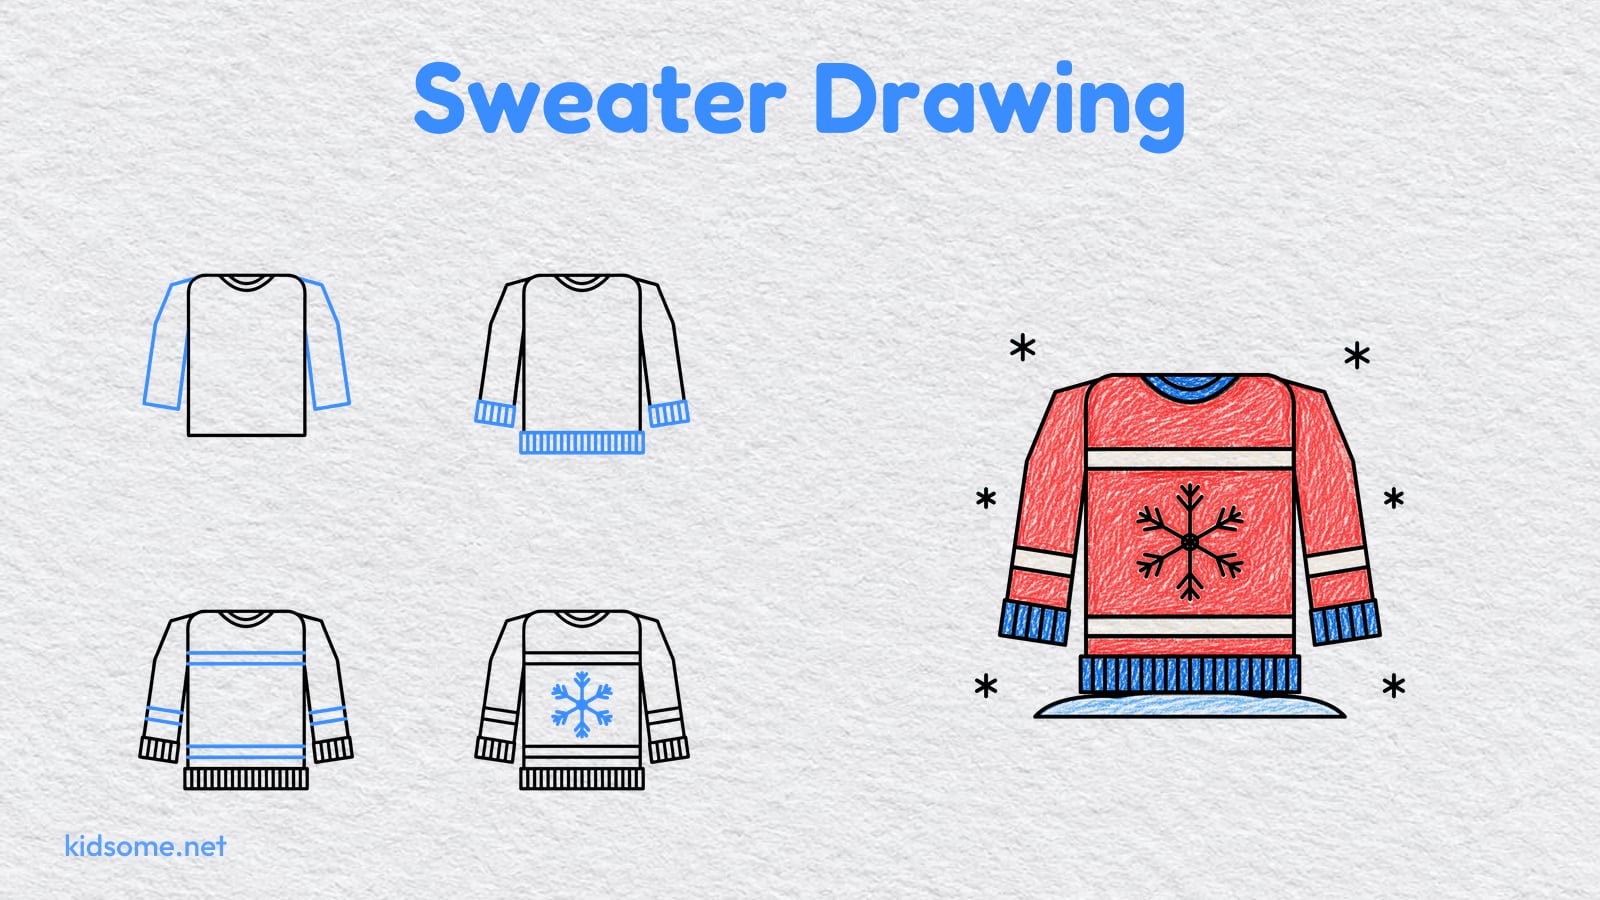
There are seven steps. Each step shows the drawing so far in black and the new part in blue, so it is always clear what to add next. At the end there is a free printable outline of the finished sweater to trace or color, plus a crayon colored example to copy. The PDF prints on US Letter and A4, with no sign-up. All you need is a pencil, an eraser, a ruler if you like and a few crayons.
Kids who enjoy it can find more cold weather pictures to draw in our winter drawing guides.
-
Step 1 : Draw the body
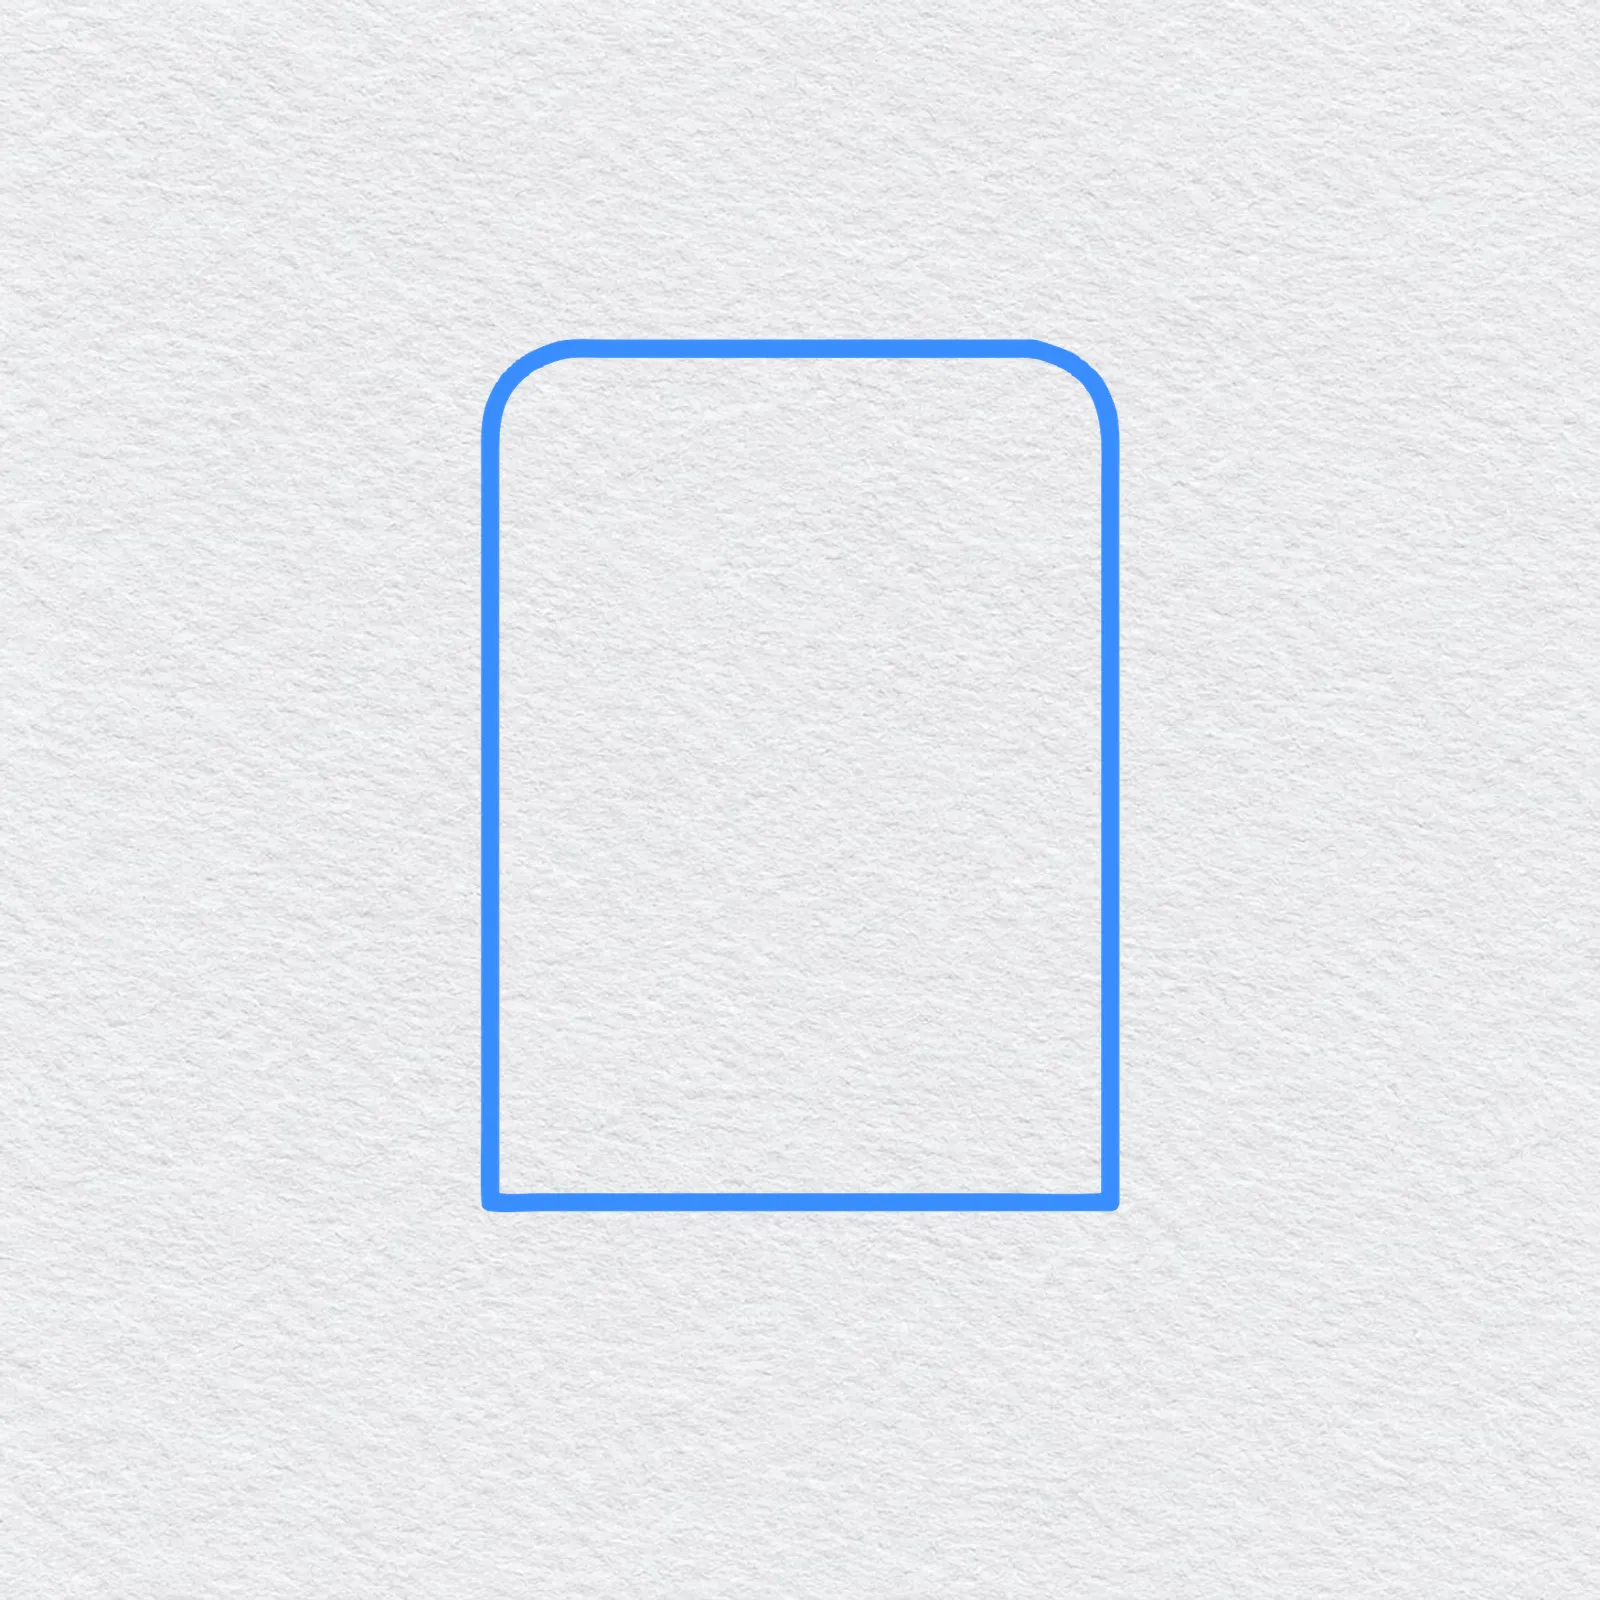
Draw a tall rectangle in the middle of your page. Round off the two top corners a little. This is the body of your sweater.
-
Step 2 : Add the round neck
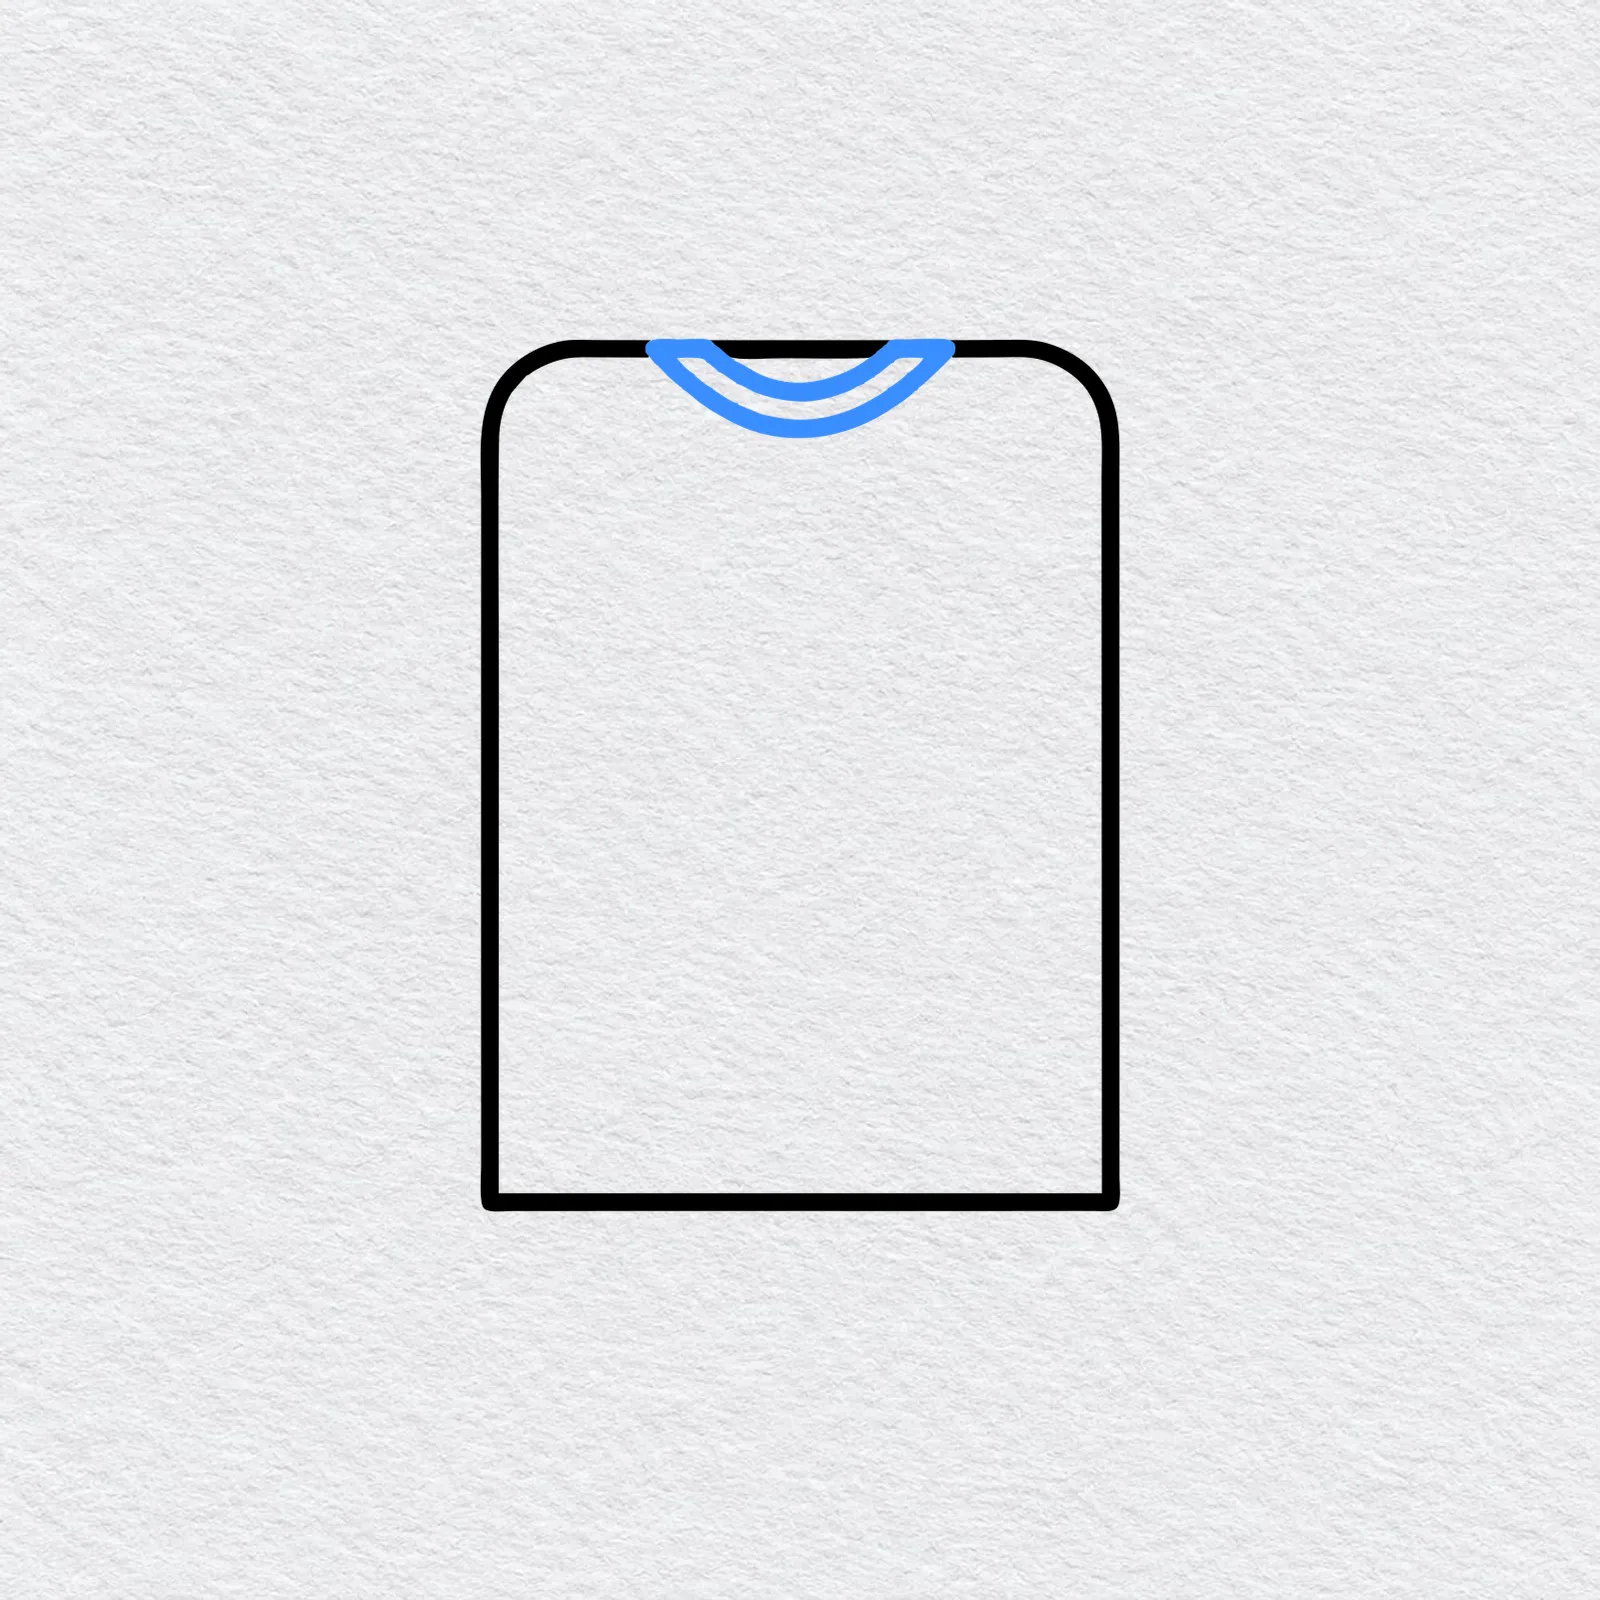
At the top of the body, draw a small curve that dips down in the middle. Draw a second curve just inside it to make the collar band.
-
Step 3 : Draw the sleeves
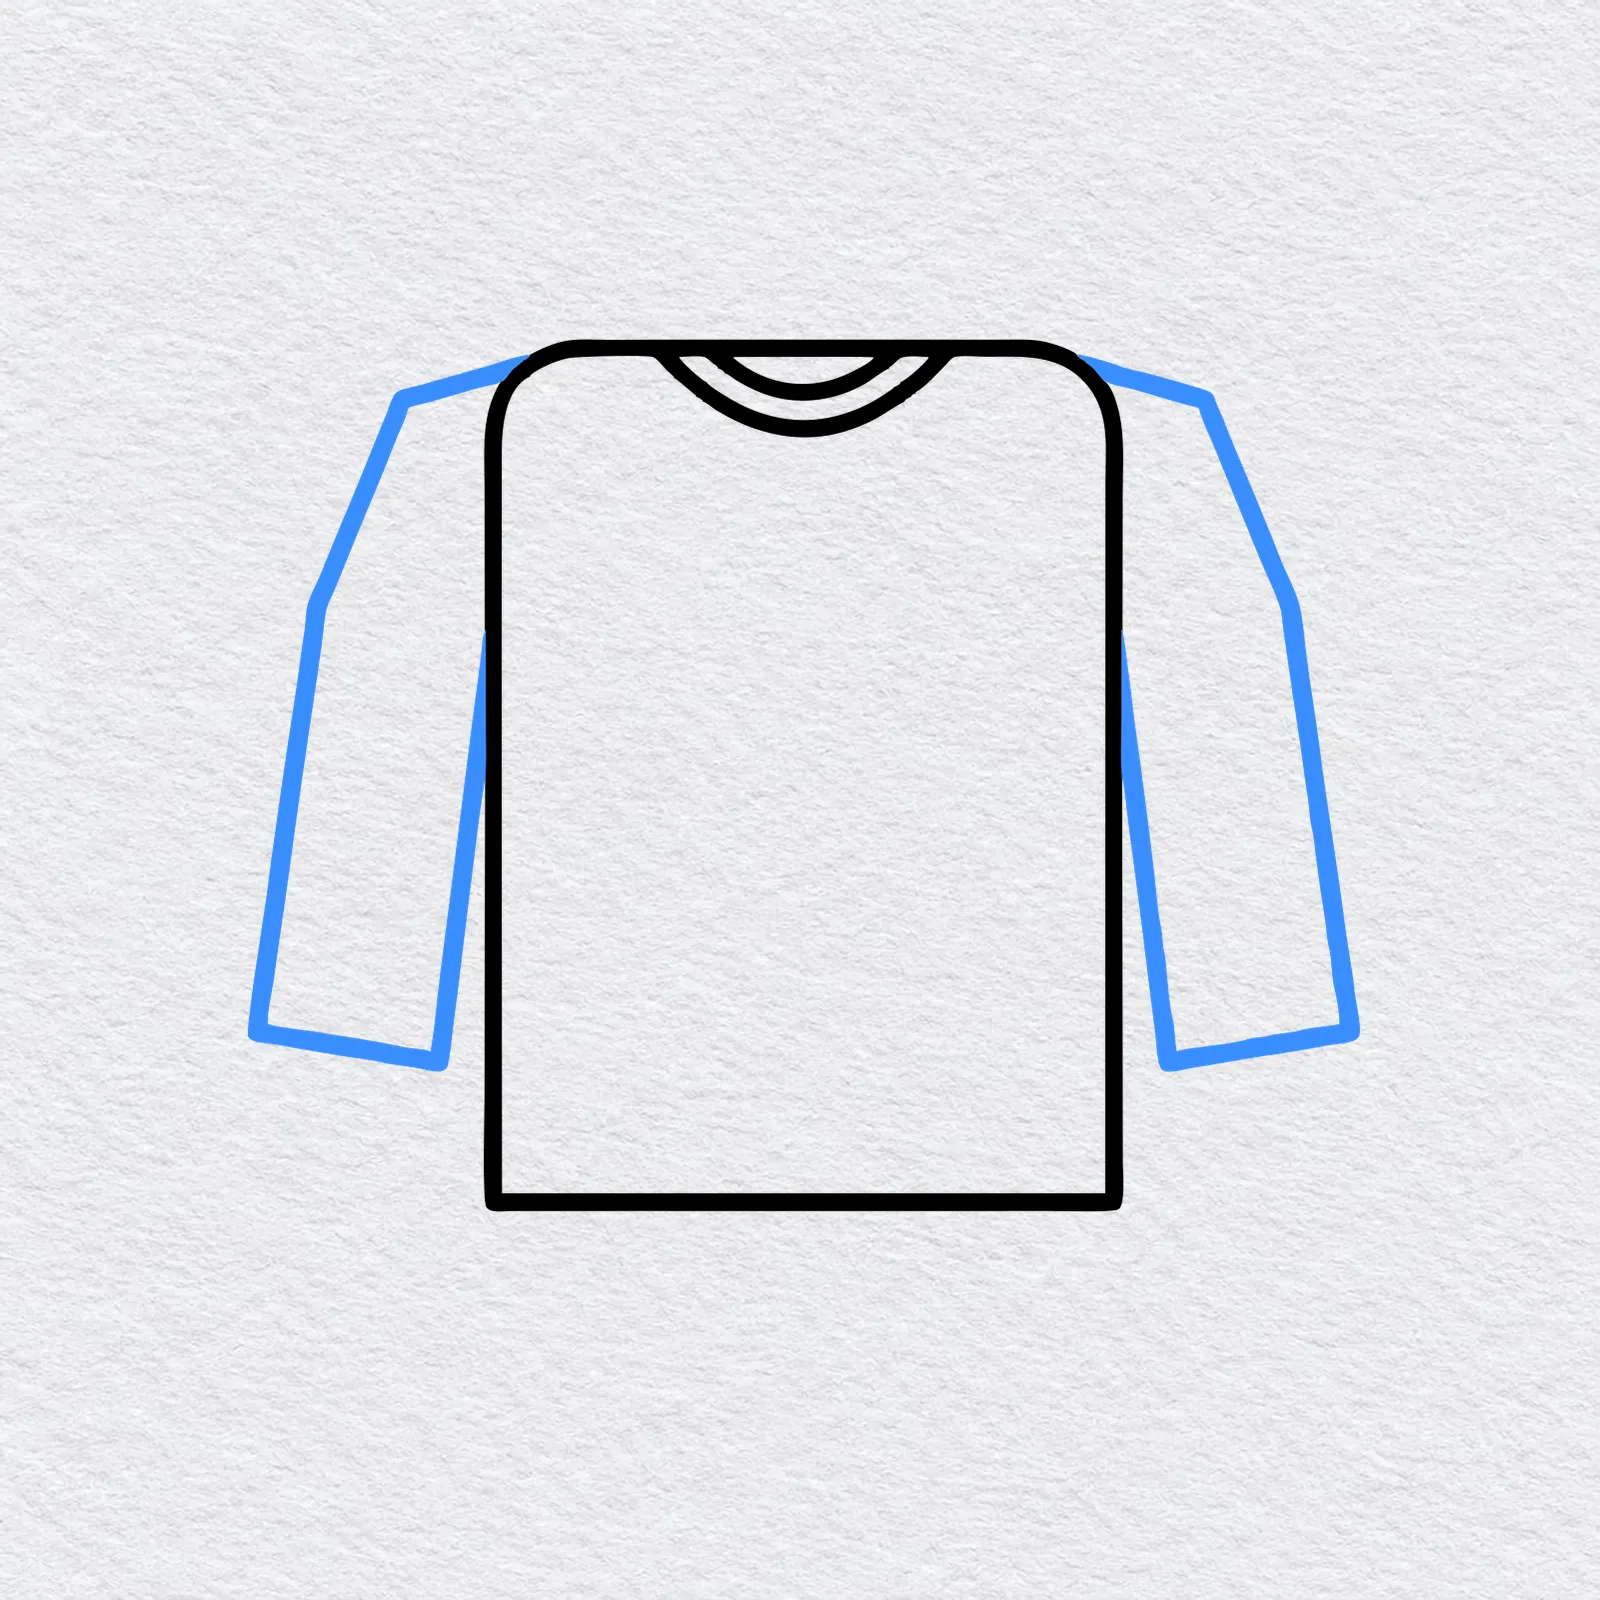
From each top corner, draw a long sleeve that slopes down and out. Make each sleeve a little wider at the bottom, and stop it a bit above the bottom of the body.
-
Step 4 : Add the cuffs and waistband
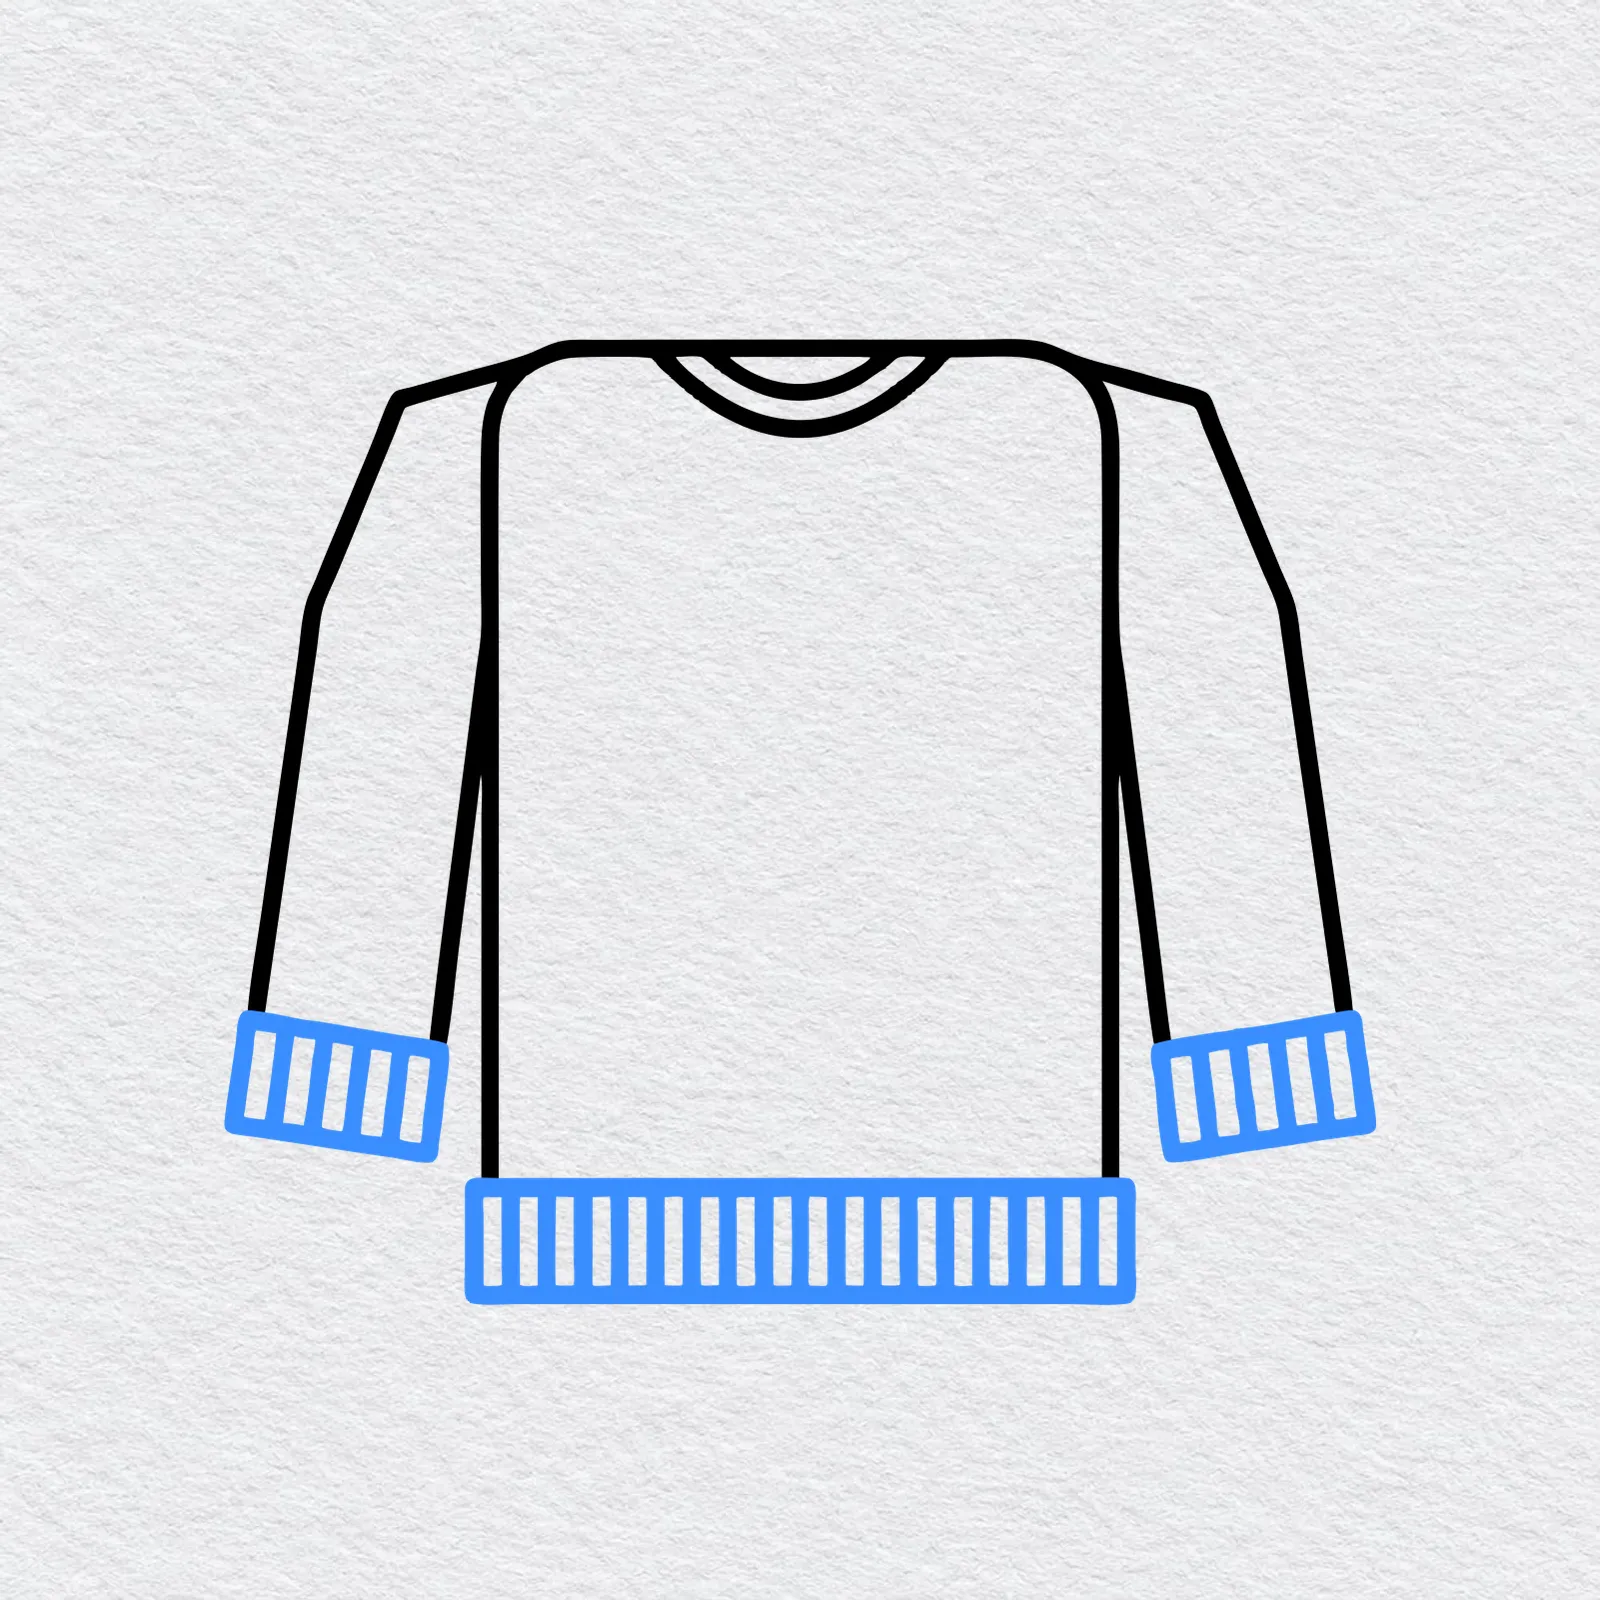
Draw a small box at the end of each sleeve for the cuffs, and a long box along the bottom of the body for the waistband.
Fill each box with short up and down lines to make the ribbing.
-
Step 5 : Draw the stripes
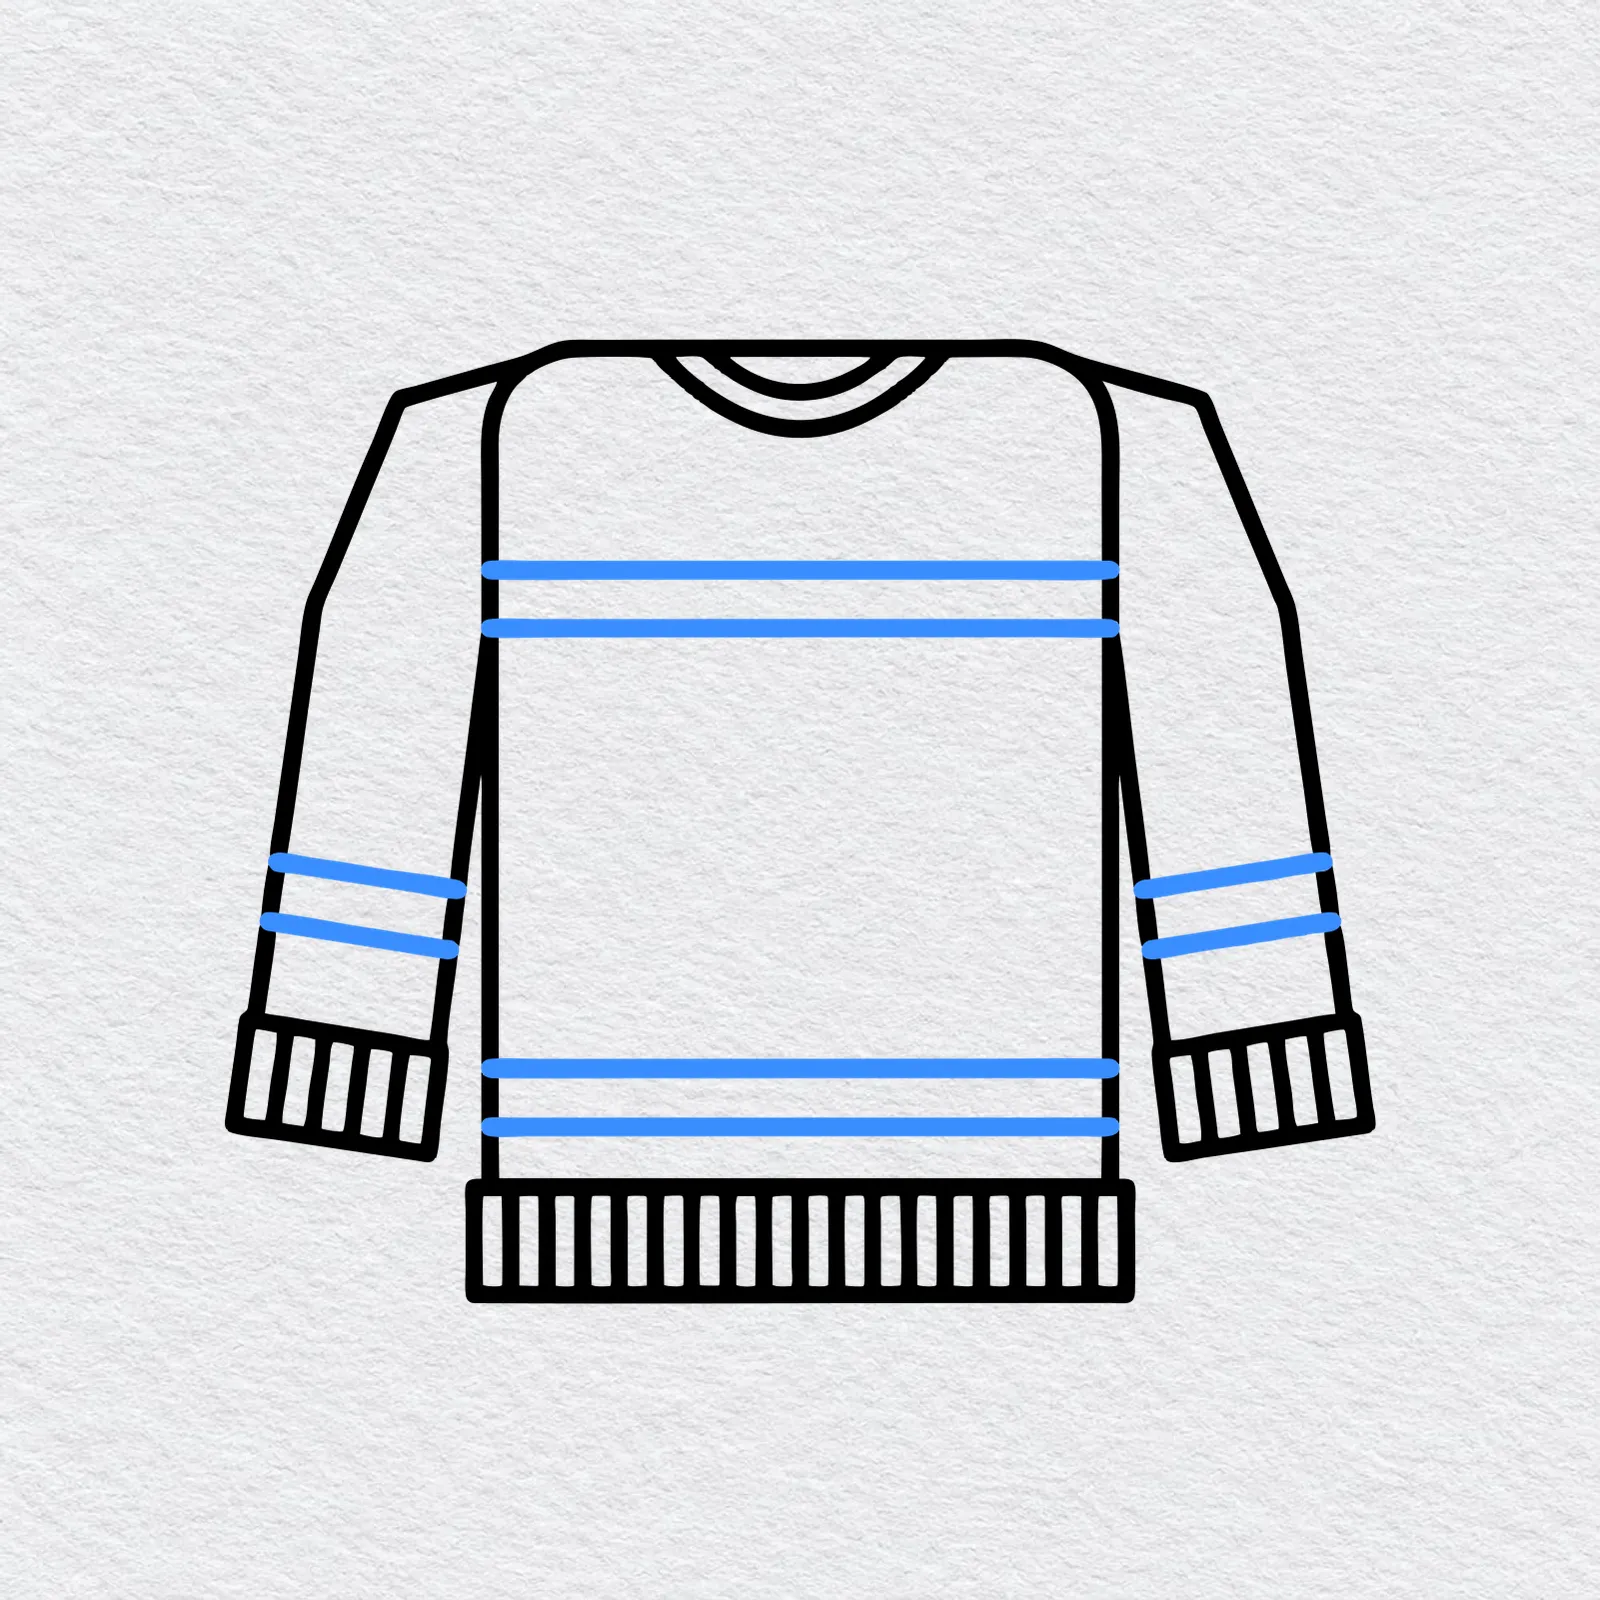
Draw two straight lines close together across the chest, and two more just above the waistband. Add a pair of lines across each sleeve, too.
-
Step 6 : Add the snowflake
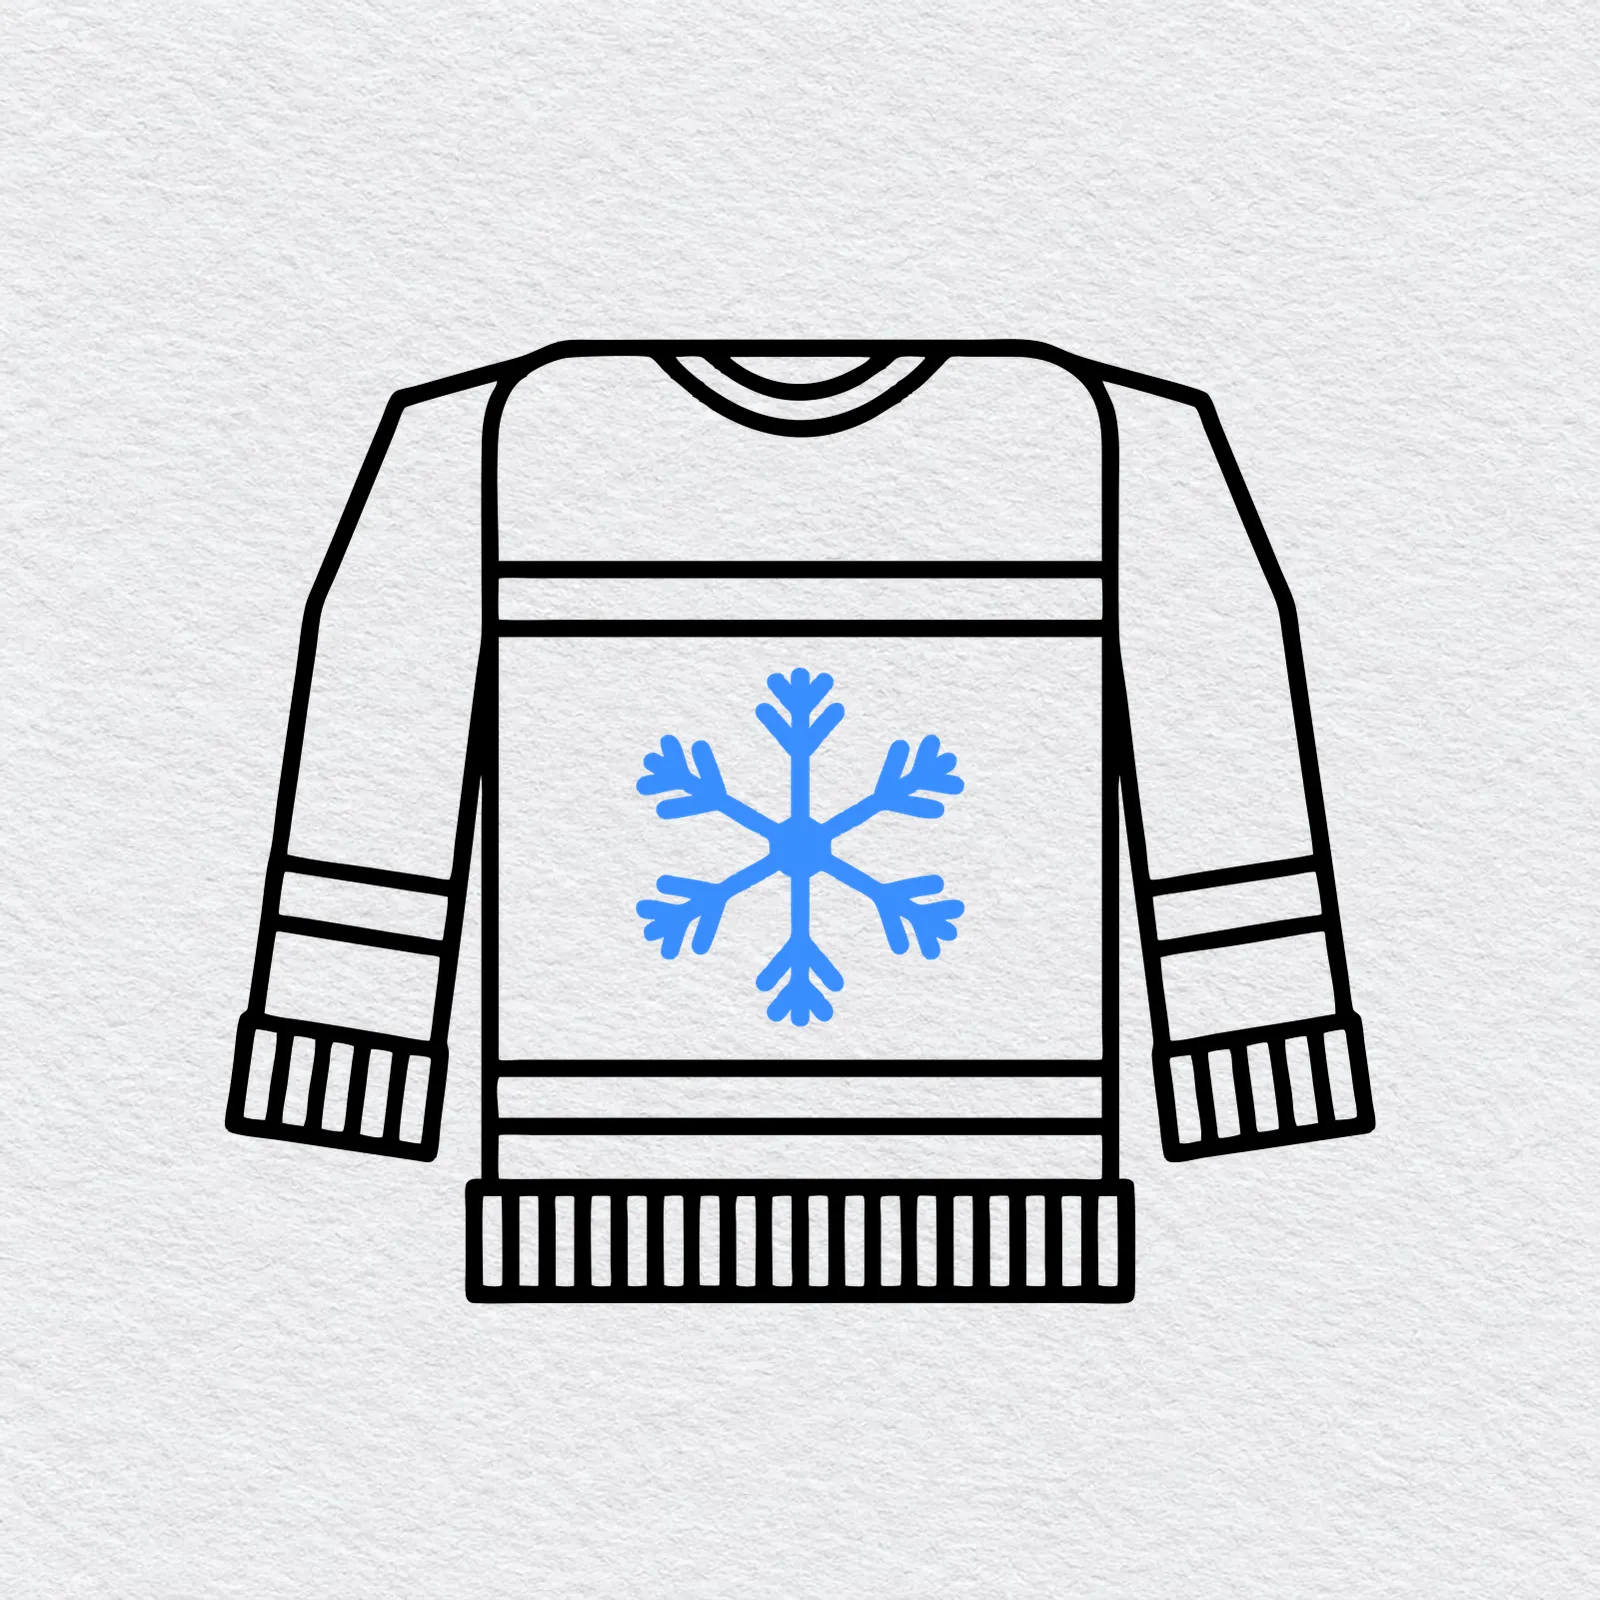
In the middle of the sweater, draw a star of three crossing lines. Add a small V near the end of each line to turn it into a snowflake.
-
Step 7 : Add the snow
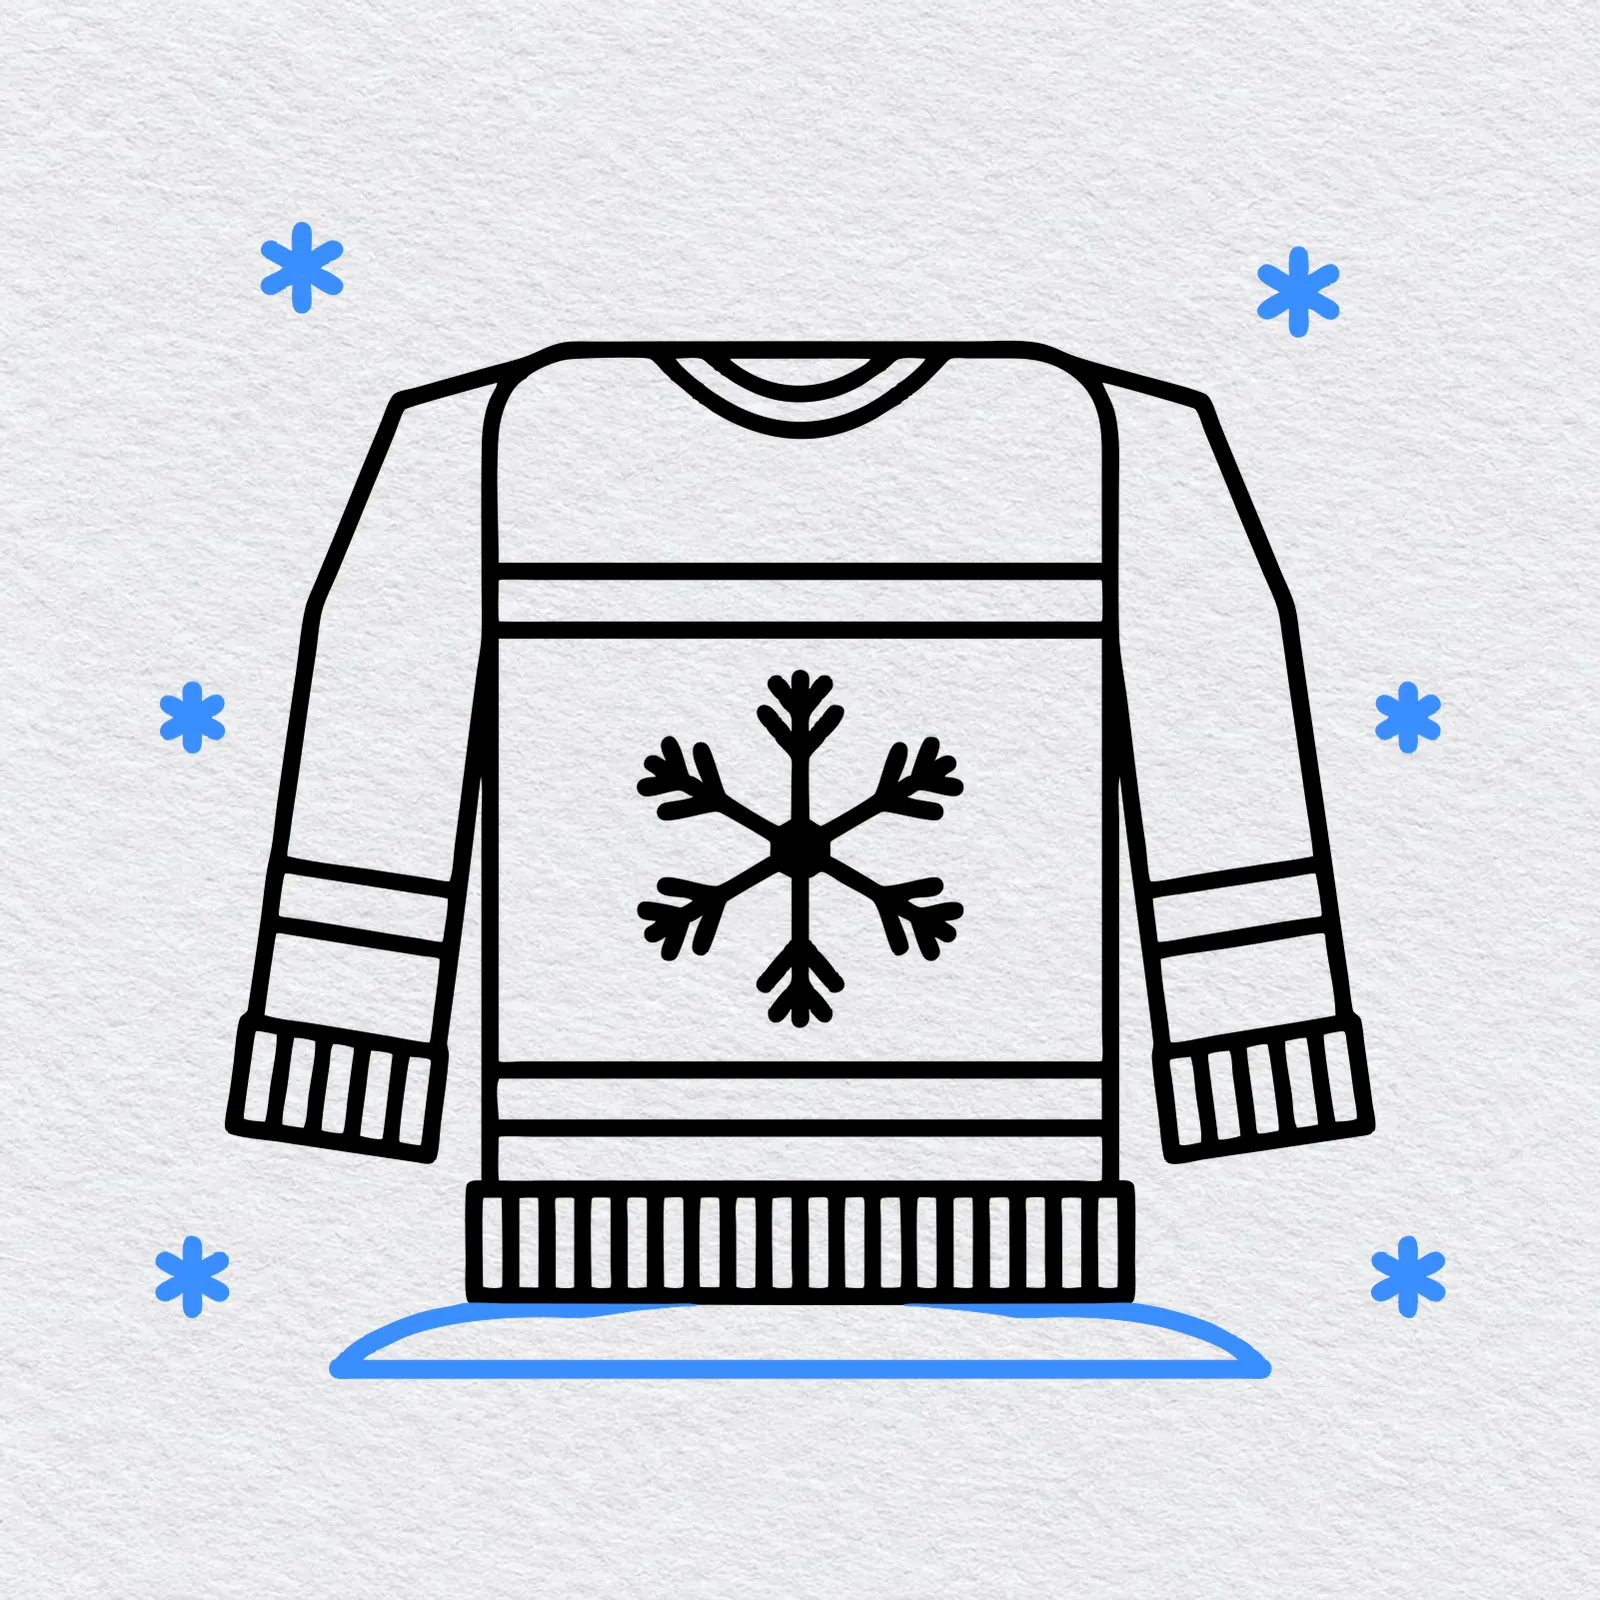
Draw a low curved patch of snow under the sweater. Then add six little snowflakes around it, each made of a few short crossing lines.
-
Step 8 : Color your sweater
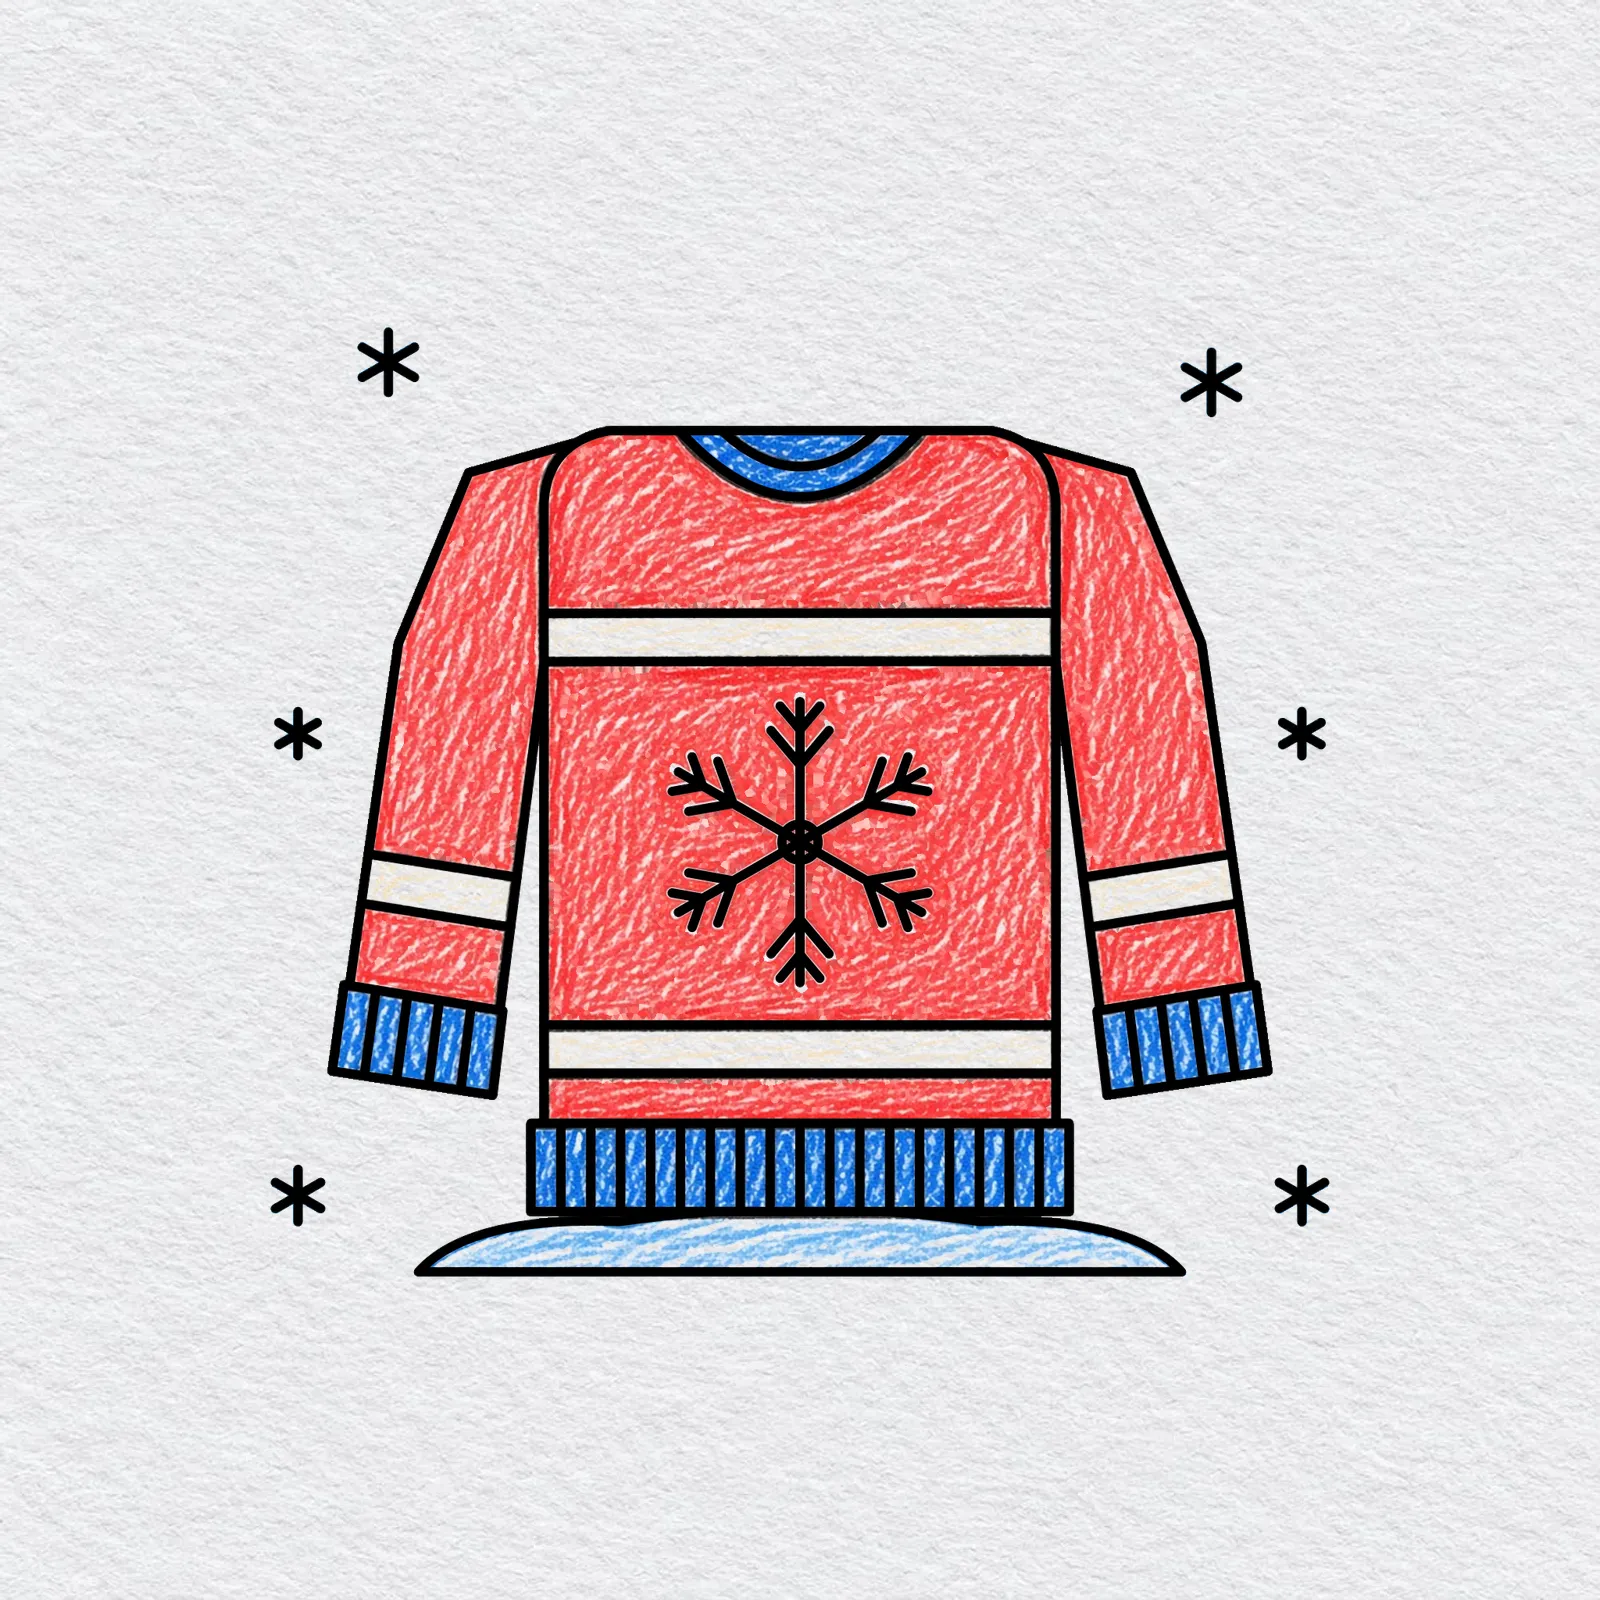
Pick one main color for the body and sleeves, like red, and color slowly inside the lines. Use a light color such as cream or yellow for the stripes.
Leave the snowflake white so it stands out, color the cuffs and waistband dark blue, and add pale blue to the snow.
Printable sweater drawing PDFs
 Save
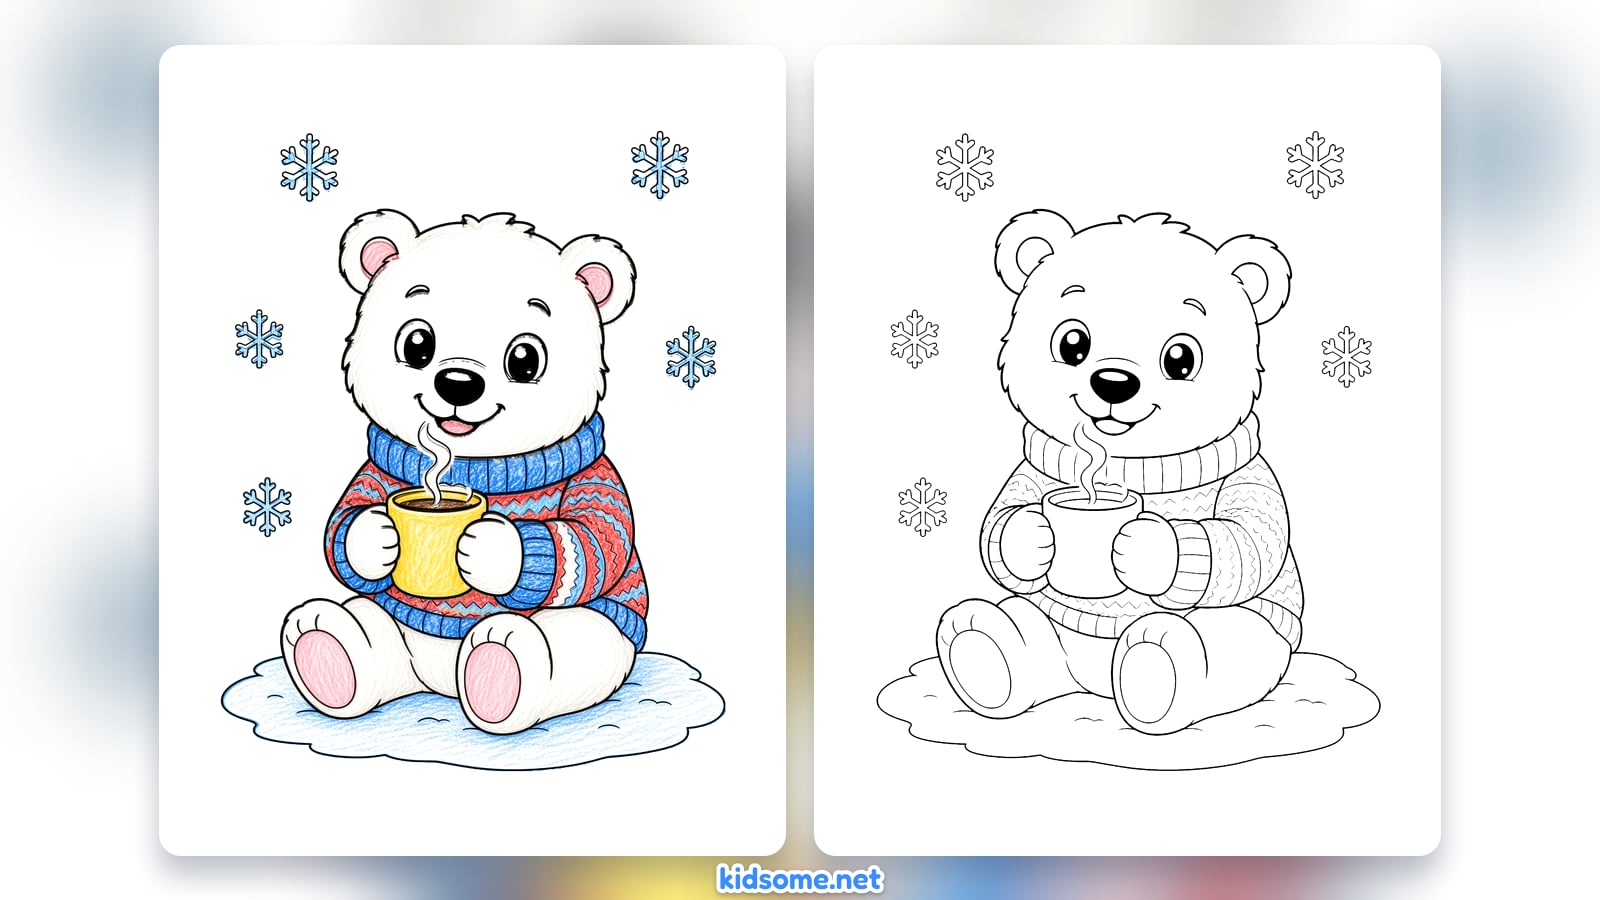
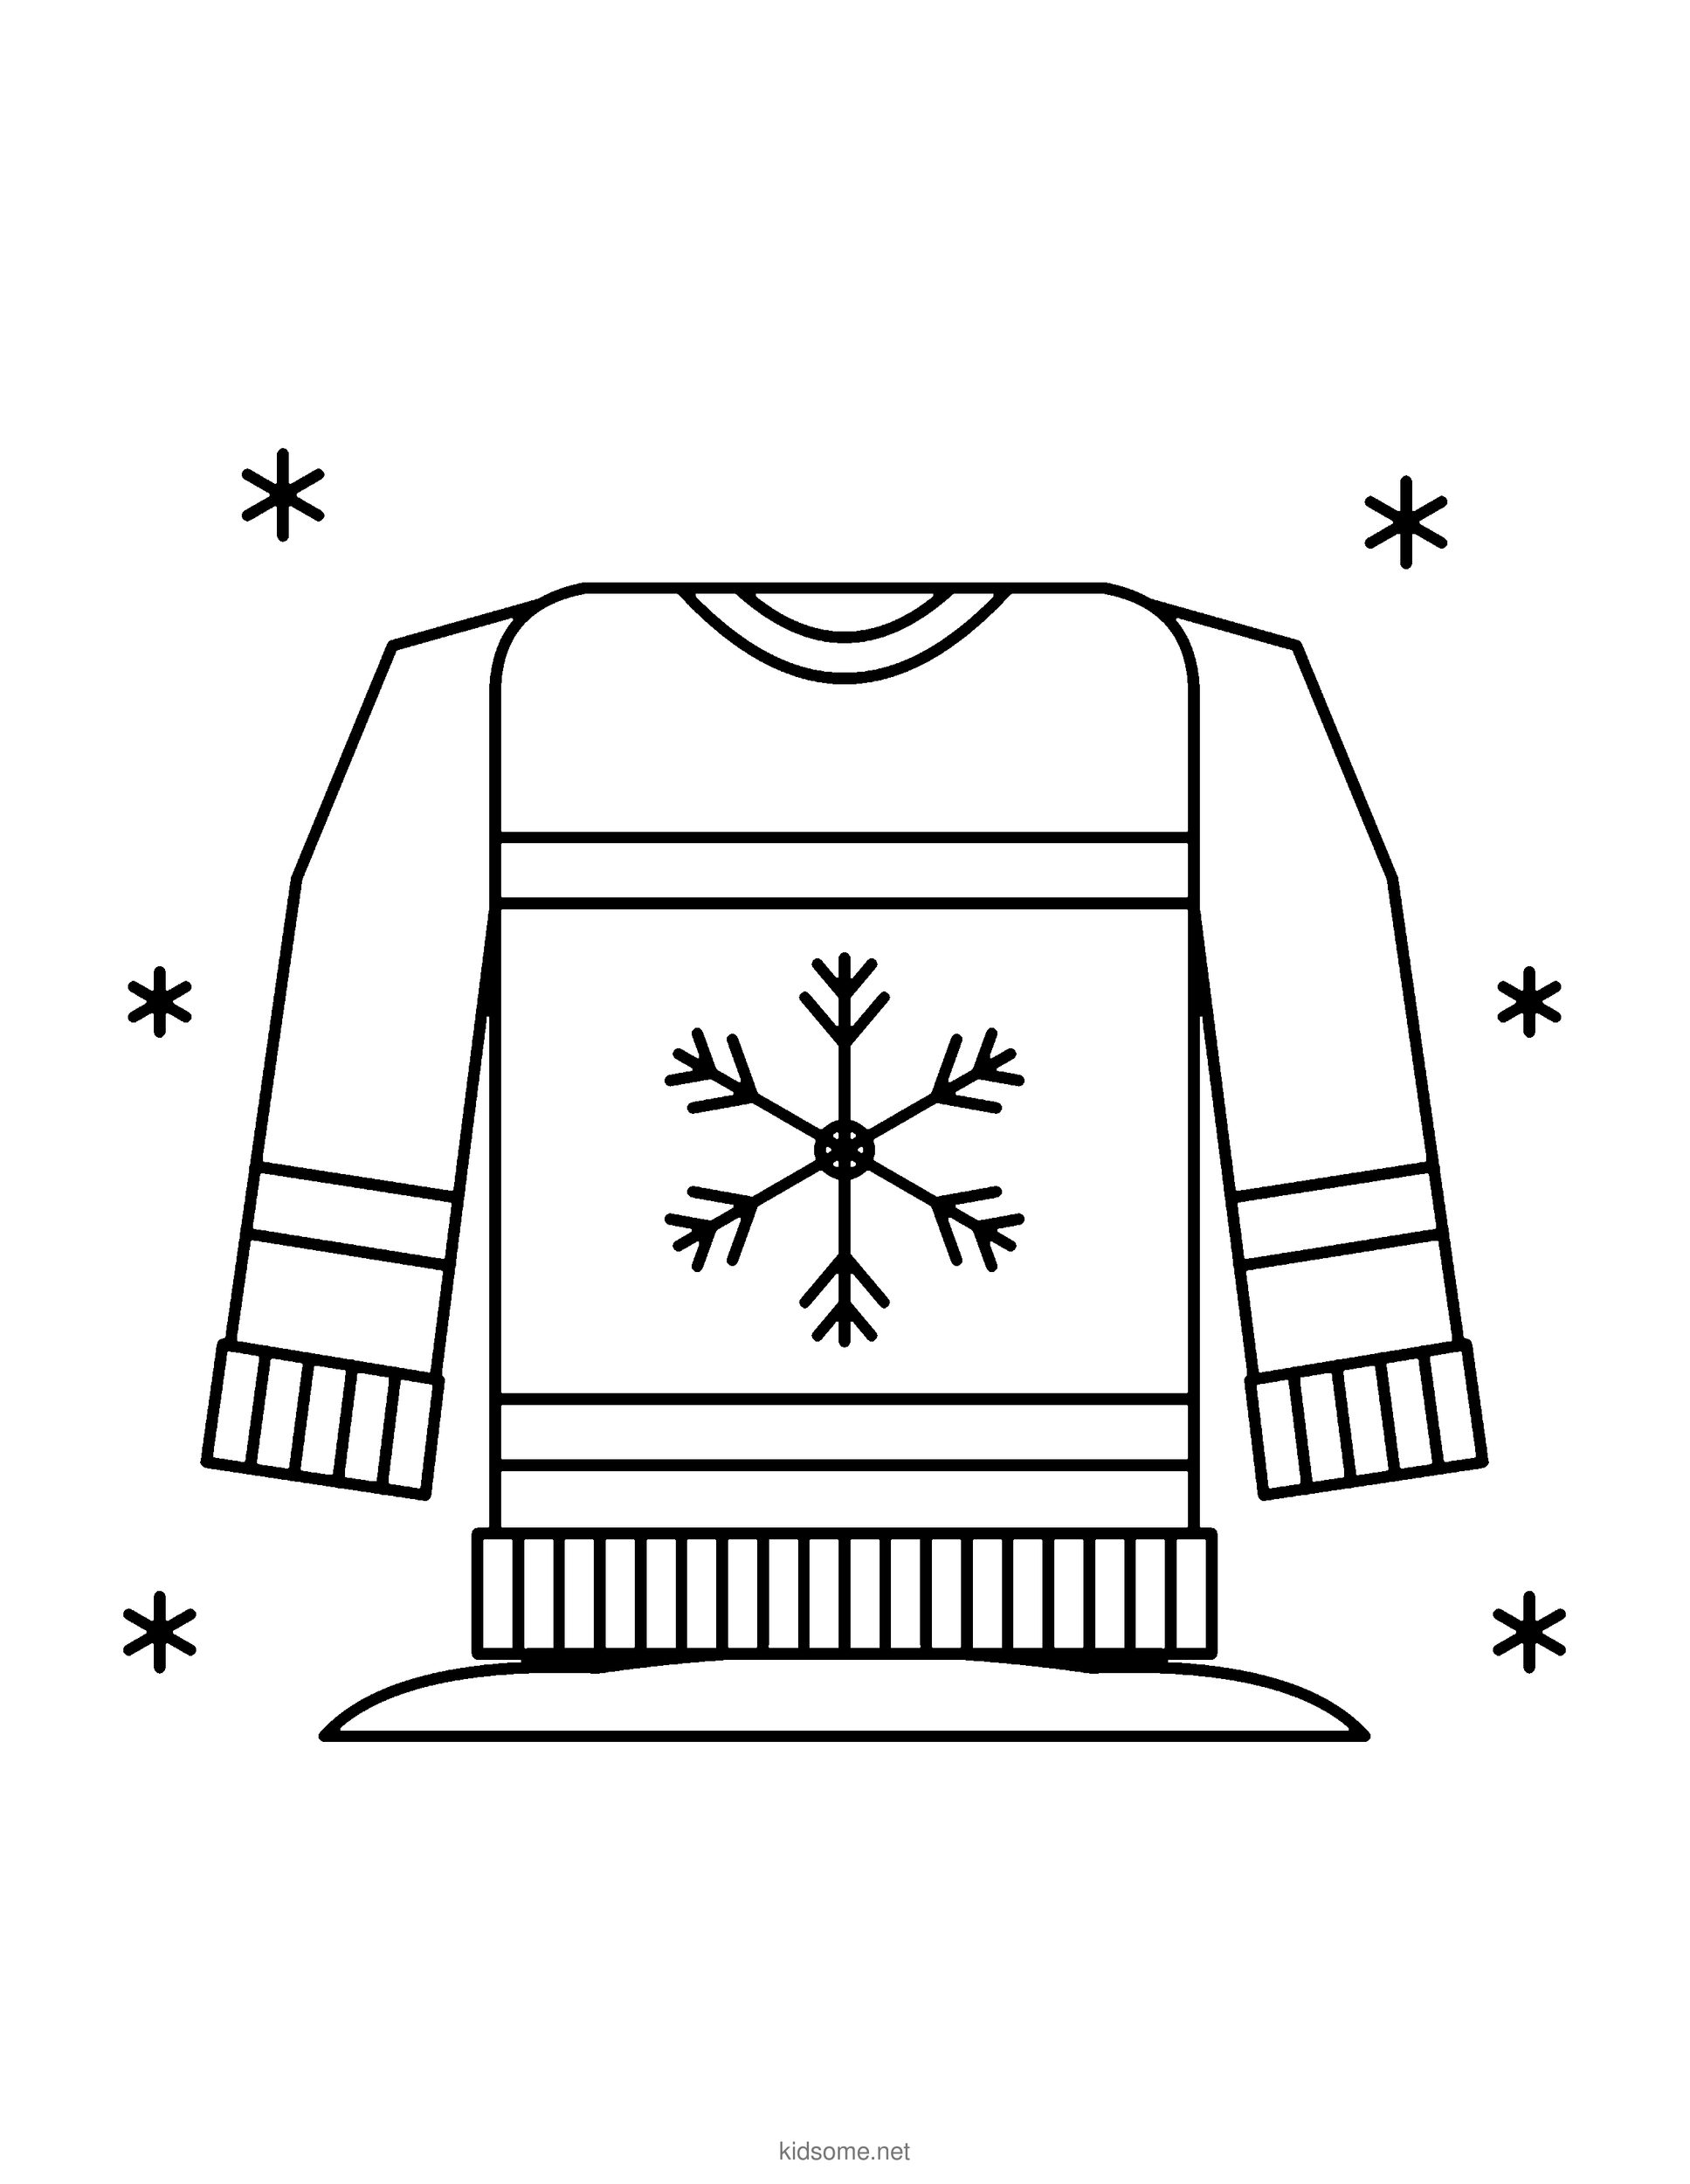
Sweater Outline to Color
The finished knitted sweater with its round neck, ribbed cuffs, stripes, big snowflake and snowy patch, as a clean outline to print and color.
Download PDF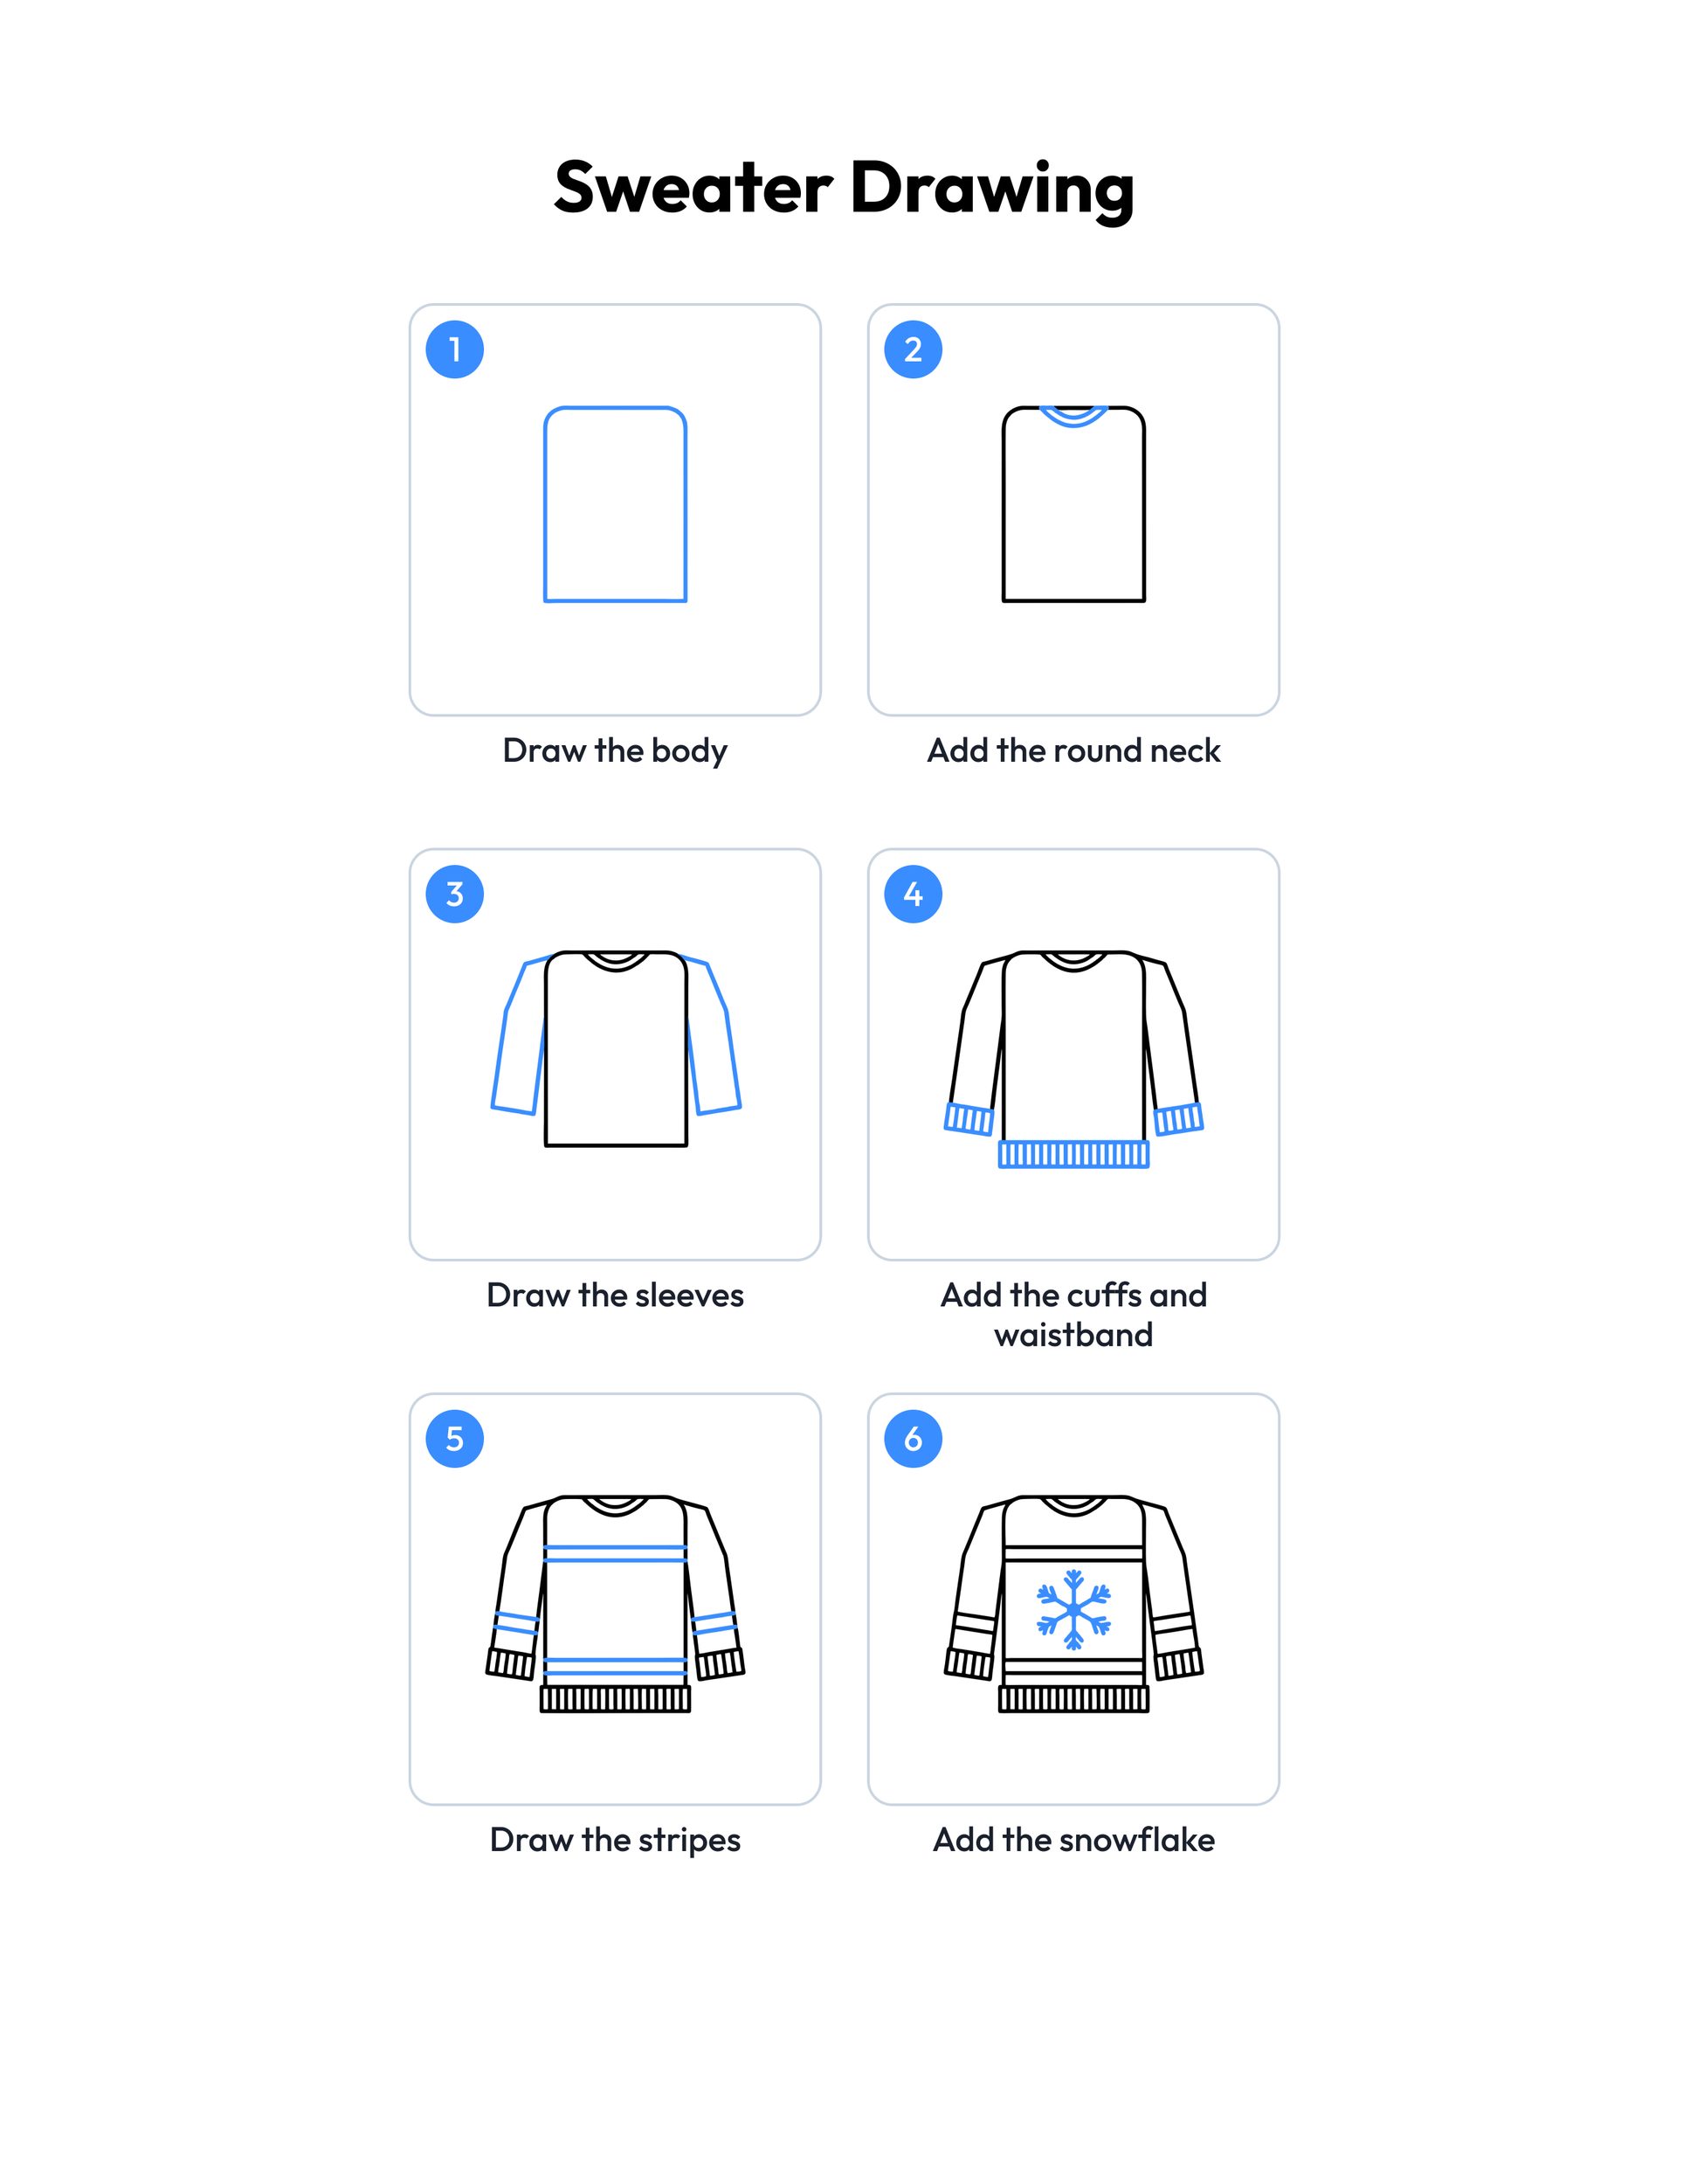 Save
Printable sweater drawing guide
Every step, two to a row, with the finished sweater in color at the end.
Download PDFHow to use this guide
Print the outline at 100 percent, or choose Fit to page if your printer asks. The margins fit US Letter and A4, so the whole sweater and its snowflakes stay on the sheet. Page one is the outline to color. Page two is the colored example, so print page one alone if you only want the picture to fill in.
For drawing, plain copy paper and a pencil with a good eraser work best. Sketch lightly first, because the sleeves often need a second try to match. Start the body in the middle of the page and leave room on both sides for the sleeves and below for the snow. A ruler helps with the long stripe lines, but a wobbly hand drawn stripe looks just like real knitting.
The cuffs and the waistband are what make it look knitted. Draw each one as a box, then fill it with short lines straight up and down, close together and evenly spaced. Younger kids can stop after the sleeves and cuffs and color a plain sweater. Older kids can add the stripes, the snowflake and their own extras, like hearts or stars on the sleeves.
When the sweater looks right, trace the lines with a marker or a dark crayon and erase the pencil marks. For markers or paint, choose cardstock so the color does not soak through.
Ideas for your sweater drawing
- Design a sweater: Draw the sweater a second time and swap the snowflake for a heart, a star or the first letter of your name to make a sweater that is all your own.
- Matching mittens: Follow our mittens drawing guide next and color the mittens in the same stripes and colors as your sweater to make a cosy matching set.
- Snowflake practice: Try our snowflake drawing guide and practice a few different snowflakes, then pick your favorite to put on the front of the sweater.
- Cosy drink: Draw a mug next to your sweater with our hot chocolate drawing guide, then color both for a warm snow day picture.
- Dress a snowman: Use our snowman drawing guide to draw a snowman, then give him a little striped sweater with ribbed cuffs, just like in step four.
- Coloring next: Print our mitten coloring pages for a calm coloring break after the drawing is done, and color them to match your new sweater.
- Classroom clothesline: String yarn across the classroom wall and use clothes pegs to hang every child's colored sweater drawing, so the whole class can see all the different patterns.
- Pattern talk: Ask kids to color the stripes in a repeating order, like red, cream, red, and talk about other patterns they can spot on their own clothes.
- Weather chart: Draw a small sweater for each cold day on a class weather chart, and count at the end of the week how many sweater days there were.
What age is this sweater drawing for?
It is made for ages 4 to 8. The youngest kids can draw the body, neck and sleeves with a grown up nearby and color a plain sweater. Older children can draw every step on their own, add the stripes and the snowflake, and then invent new patterns for a second sweater.
Is this a sweater drawing easy enough for beginners?
Yes. The whole sweater is built from a rectangle, two sleeves, a few boxes and straight lines, with only one new part in each step. Kids who can draw a box and a line can finish it, and the colored example shows how the end result can look.
How do I print the outline?
Click the outline card to open the PDF, then print at 100 percent or choose Fit to page. It prints on US Letter and A4 paper. Page one is the outline to color, and page two is the colored example, so print page one alone if you only need the picture.
Can I use this guide in my classroom?
Yes. The guide and the outline are free for personal and classroom use, so teachers can print a copy for every child for a winter art lesson or a snow day indoors. Please share a link to this page instead of the files, and do not sell them or post them on other websites.
What colors should I use for a sweater?
Any colors work, since real sweaters come in every shade. A red body with cream stripes and dark blue cuffs looks warm and classic. Leave the snowflake white so it stands out, add pale blue to the snow, or try a green, purple or rainbow sweater for fun.