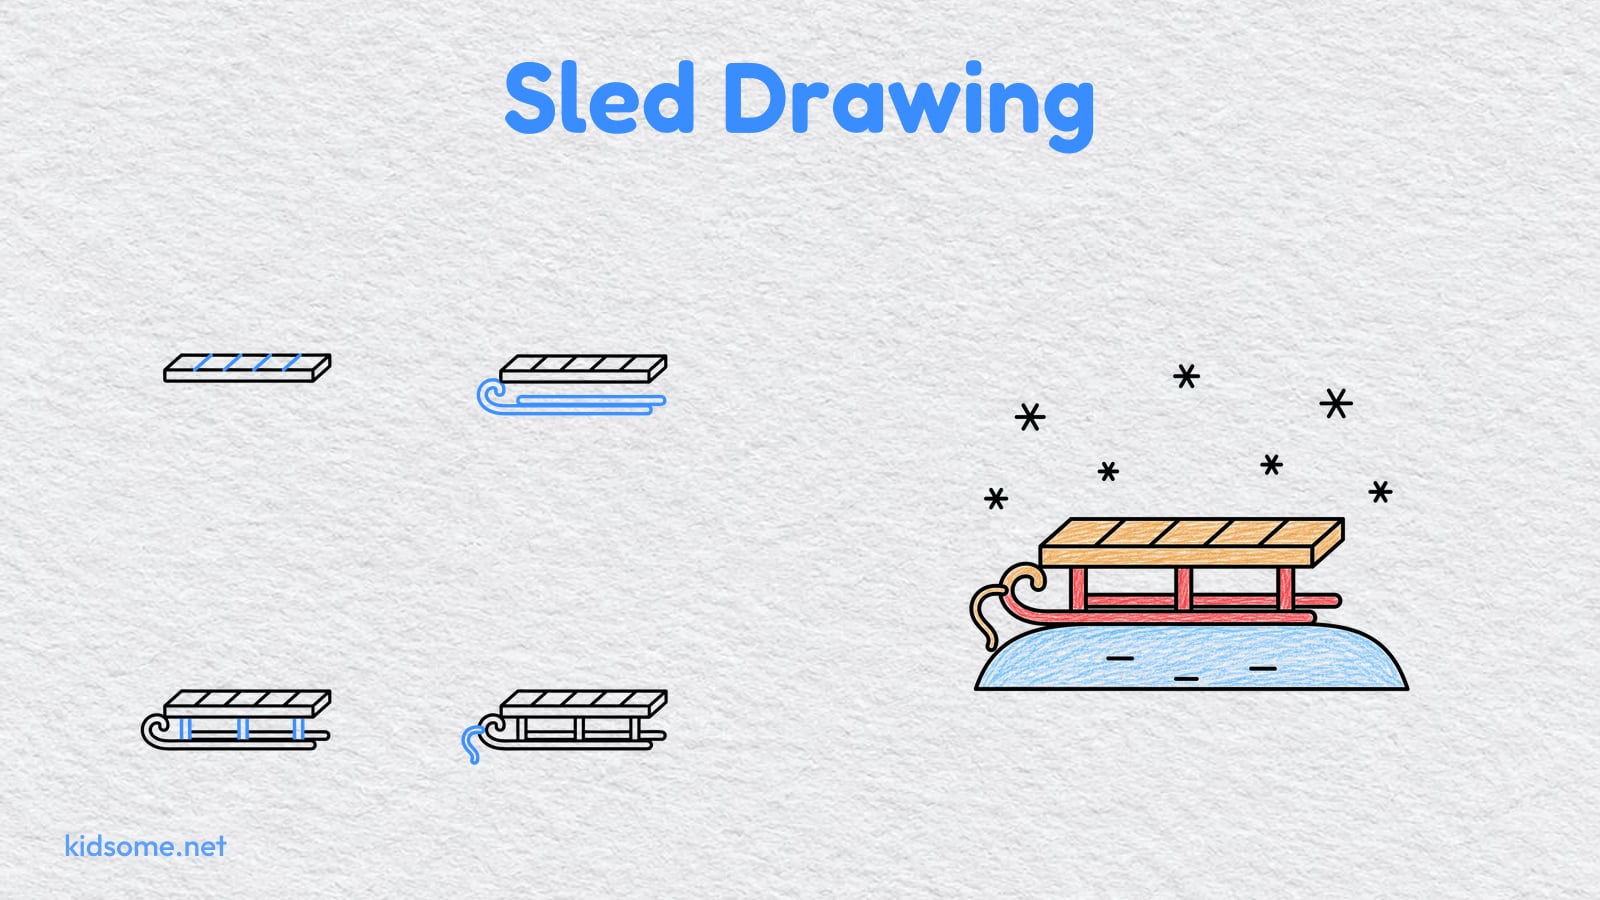
This sled drawing guide shows kids ages 4 to 8, and the grown-ups drawing beside them, how to draw a wooden snow sled one easy step at a time. A sled can look tricky because of its curly runners and all those little parts, but this one is built from simple shapes: a flat seat like a long box, a few slats across the top, two long runners that curl up at the front, three short supports, a wiggly tow rope and a small snowy hill with snowflakes falling around it. By the last step, a handful of boxes, lines and curls has turned into a sled ready for a ride down the hill. No special art skills are needed, just a pencil, an eraser and a little patience.
There are six steps. Each step shows the drawing so far in black and the new part in blue, so it is always clear what to add next. At the end there is a free printable outline of the finished sled to trace or color, plus a crayon colored example to copy if you like. Kids who enjoy it can try more of our winter drawing guides next.
-
Step 1 : Draw the seat
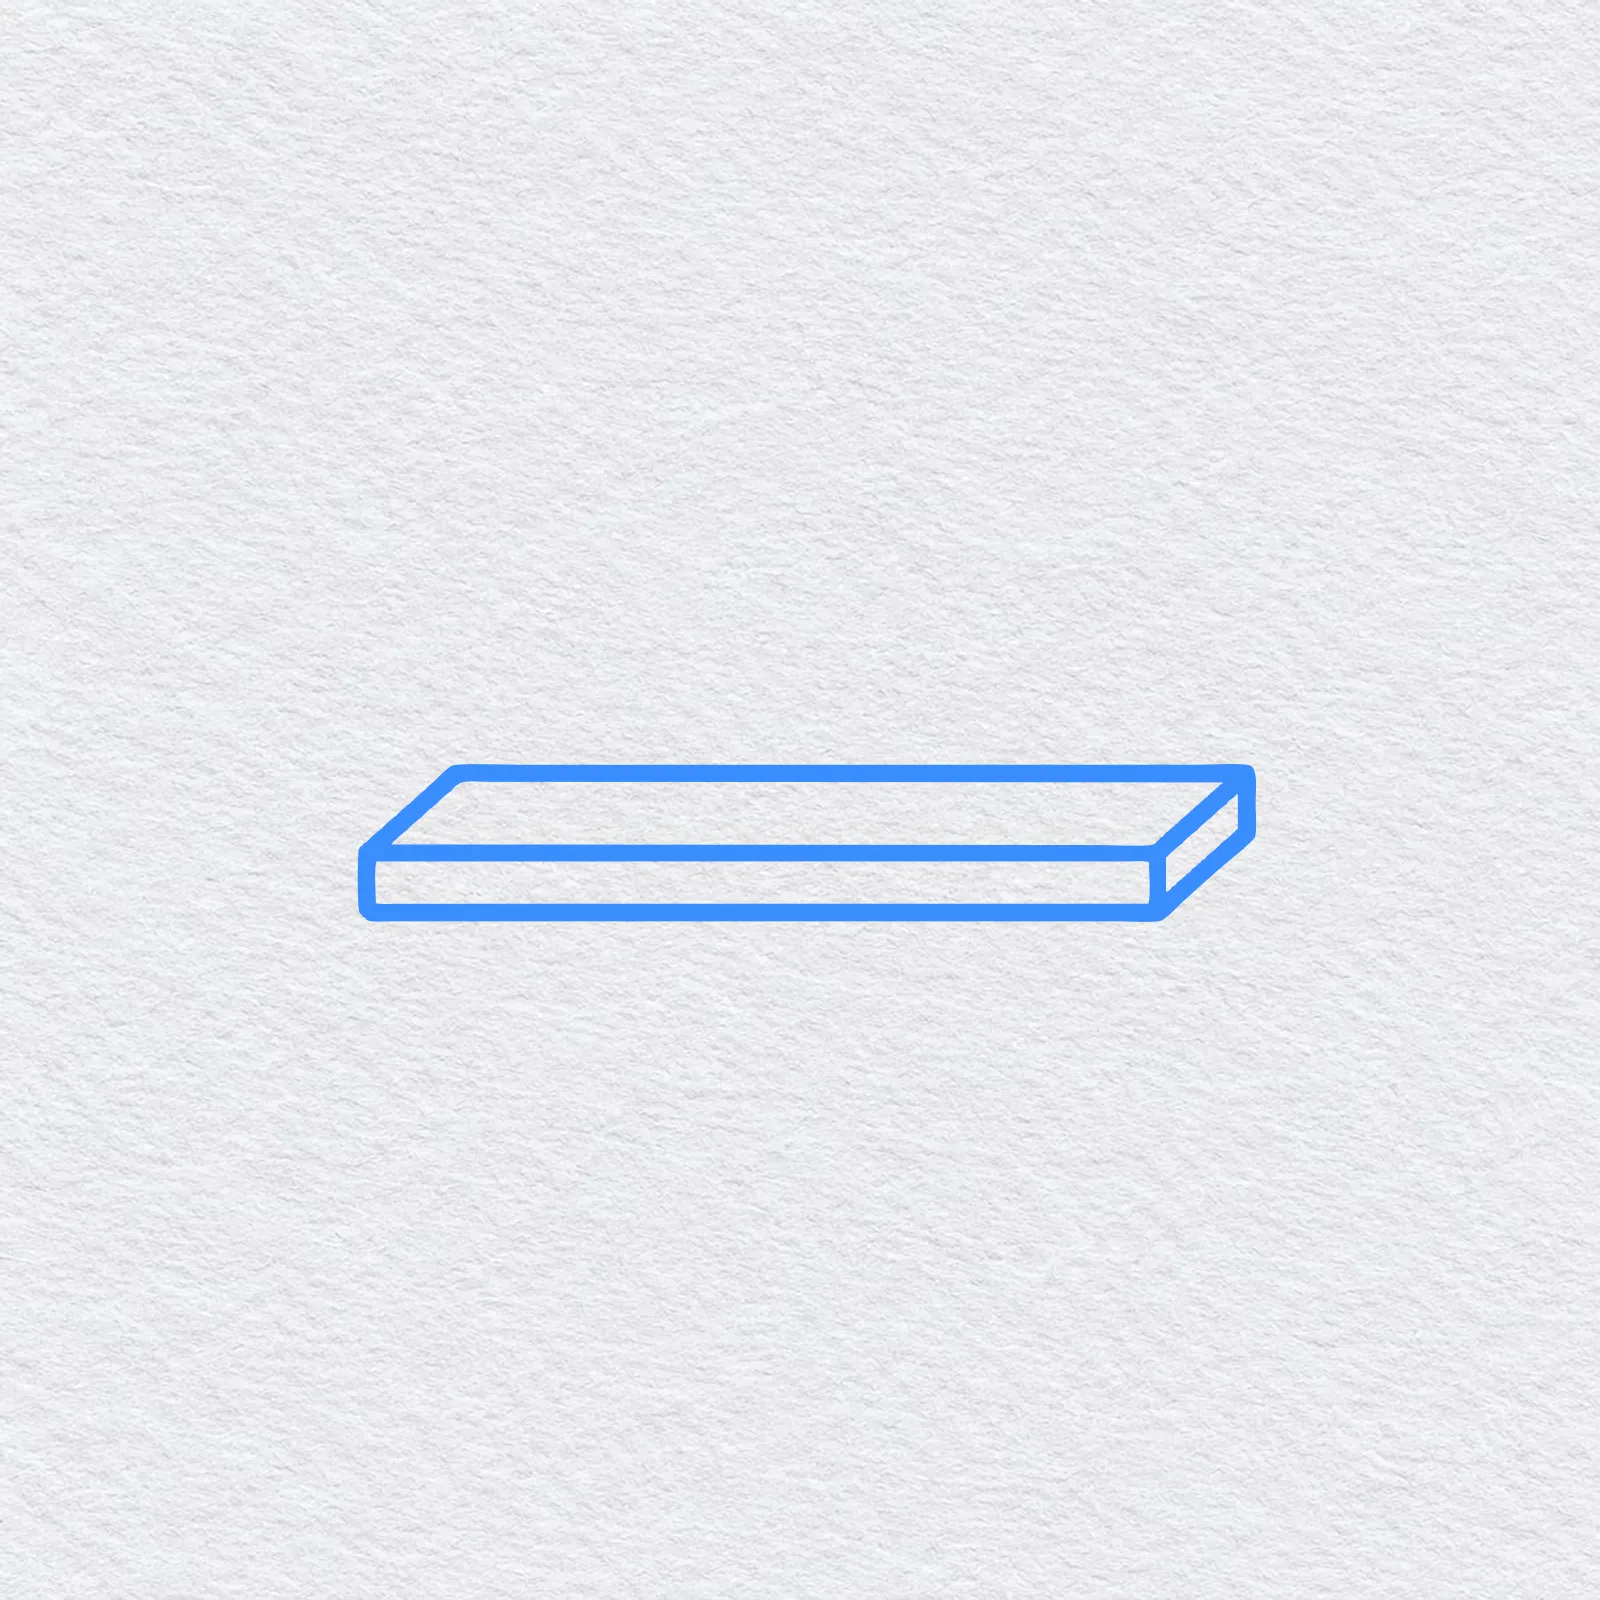
Across the middle of the page, draw a long, flat box with a thin top face and a short side at the right end. This is the wooden seat.
-
Step 2 : Add the slats
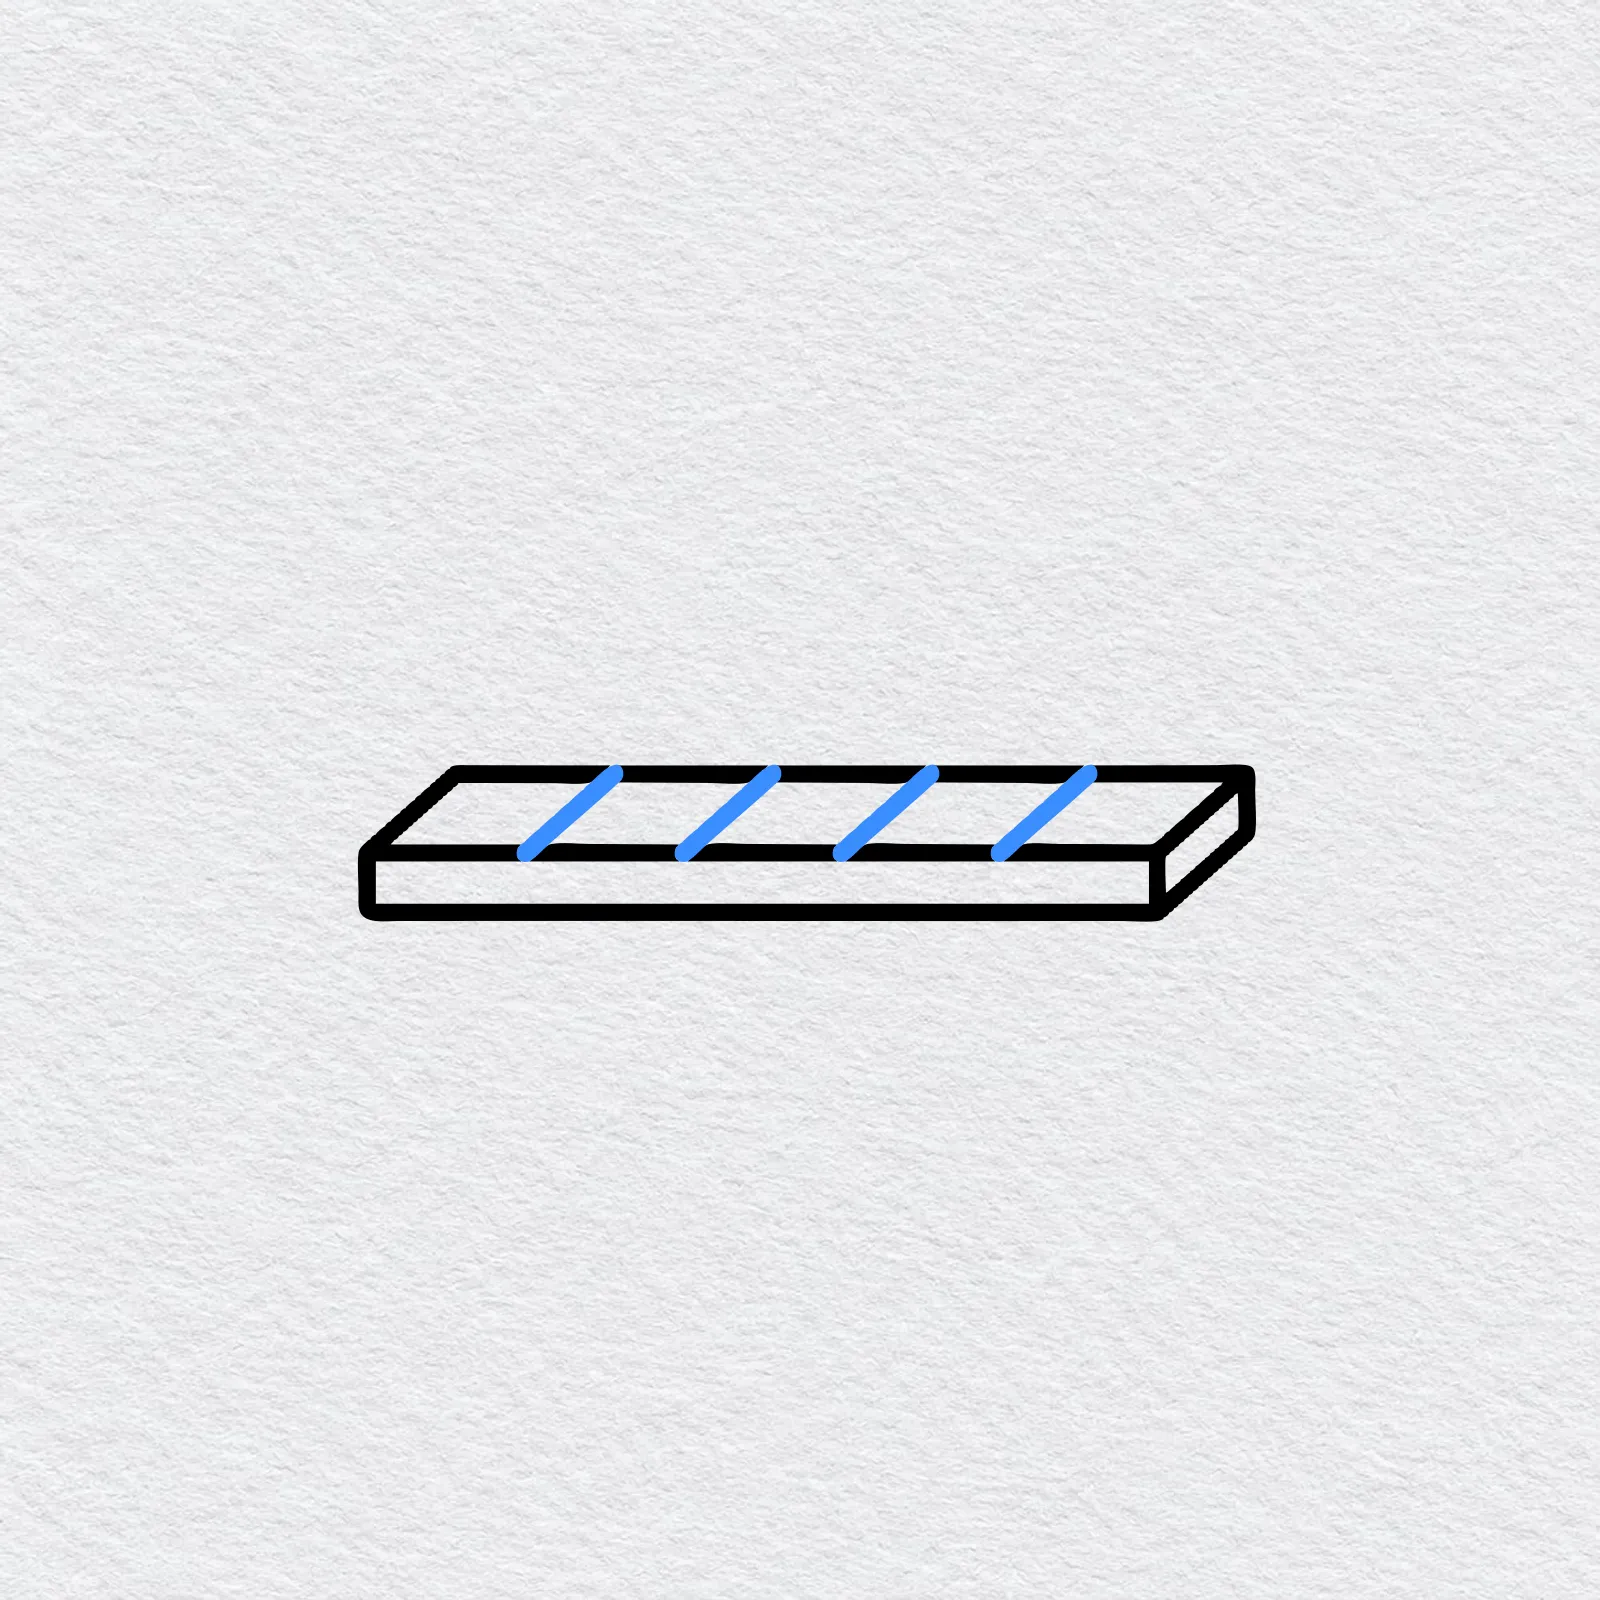
On the top of the seat, draw four short slanted lines, evenly spaced, to split it into five slats.
-
Step 3 : Draw the runners
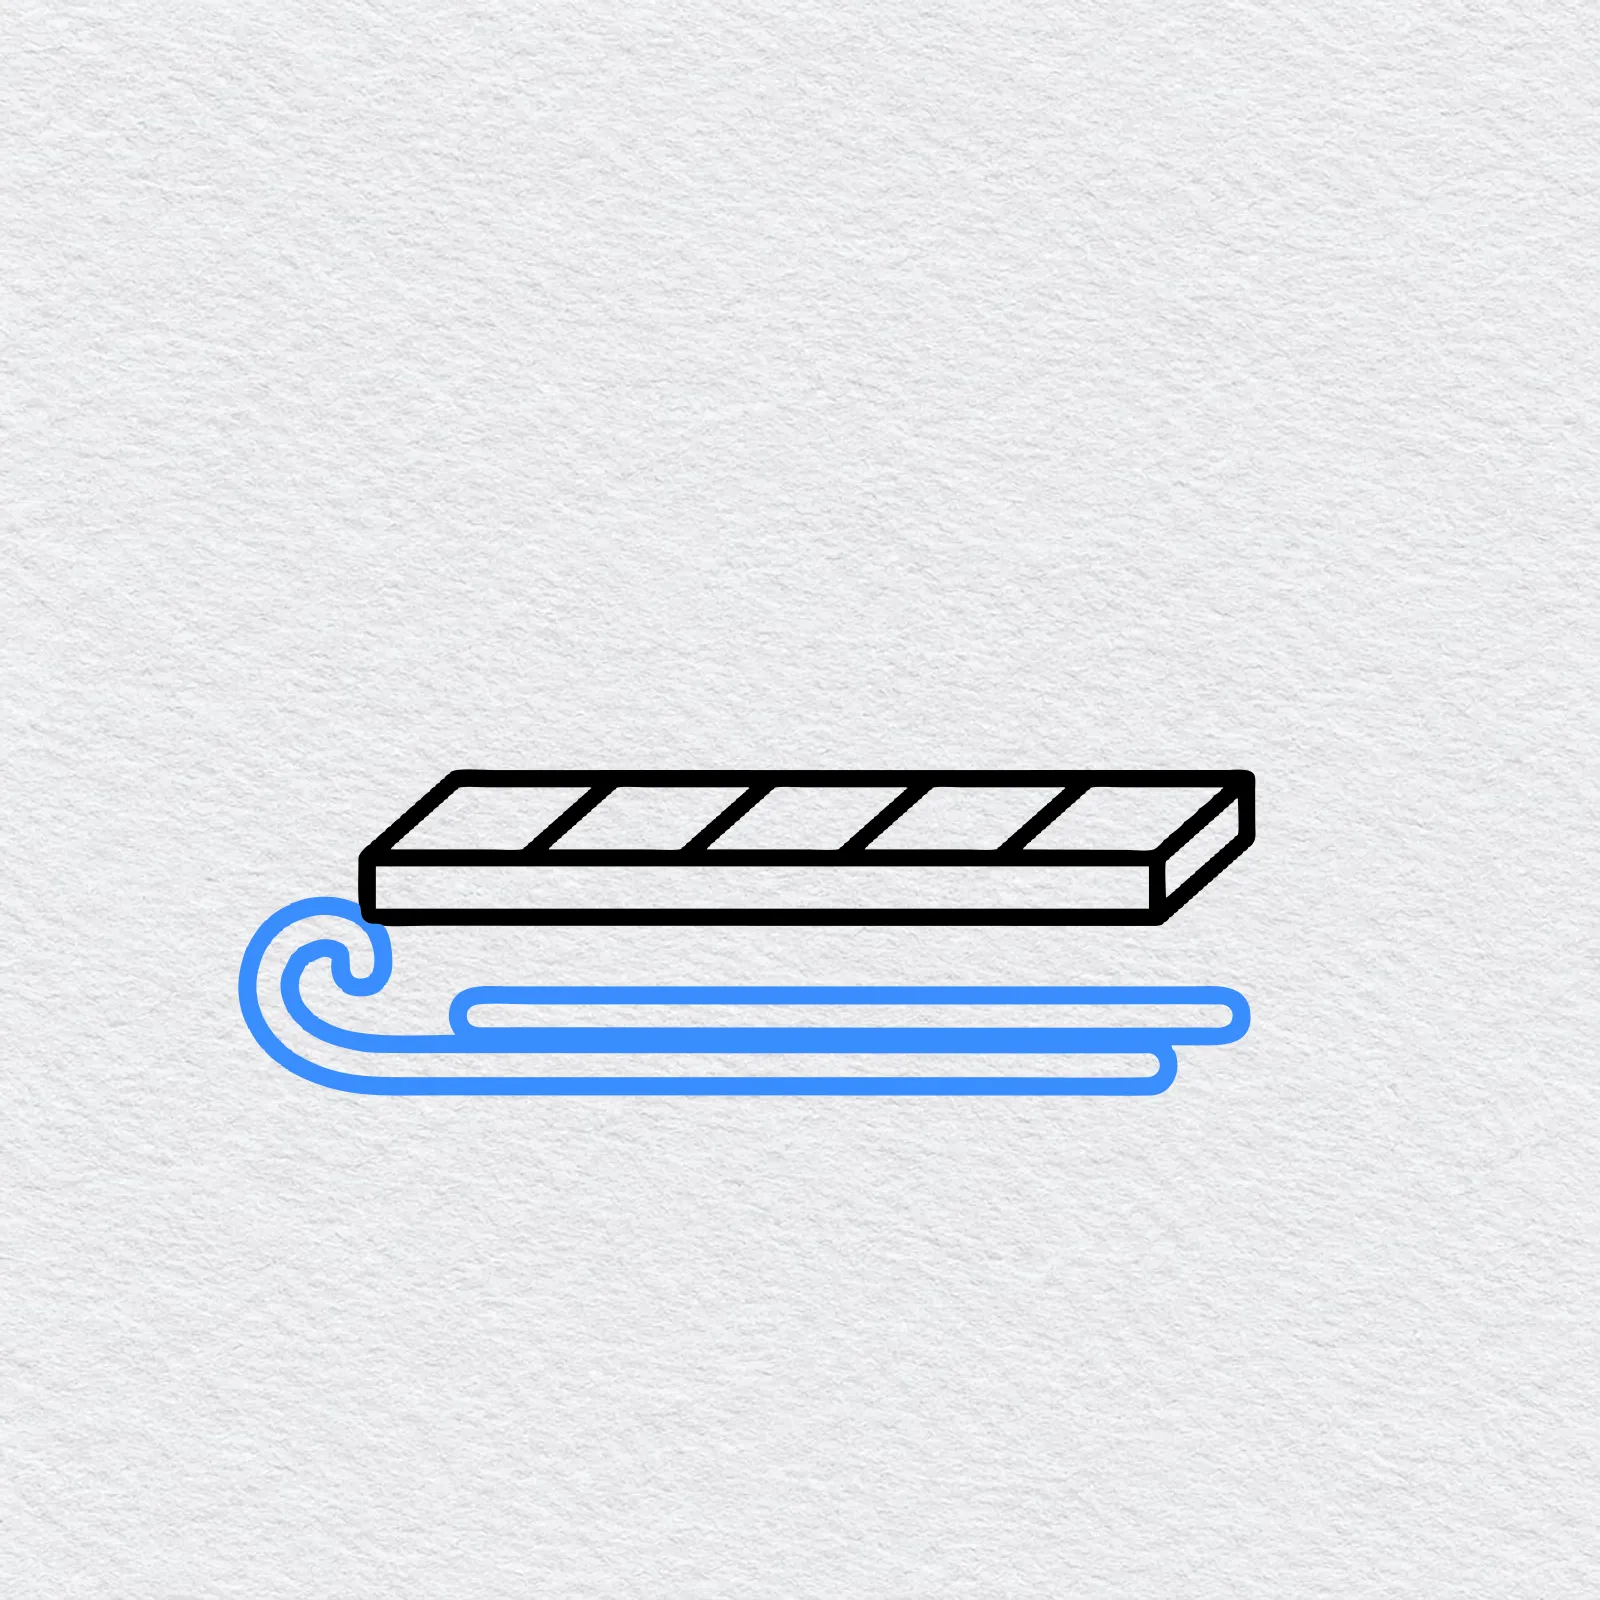
Under the seat, draw two long thin runners, one a little lower than the other. Curl the front of each runner up and around in a round loop.
-
Step 4 : Add the supports
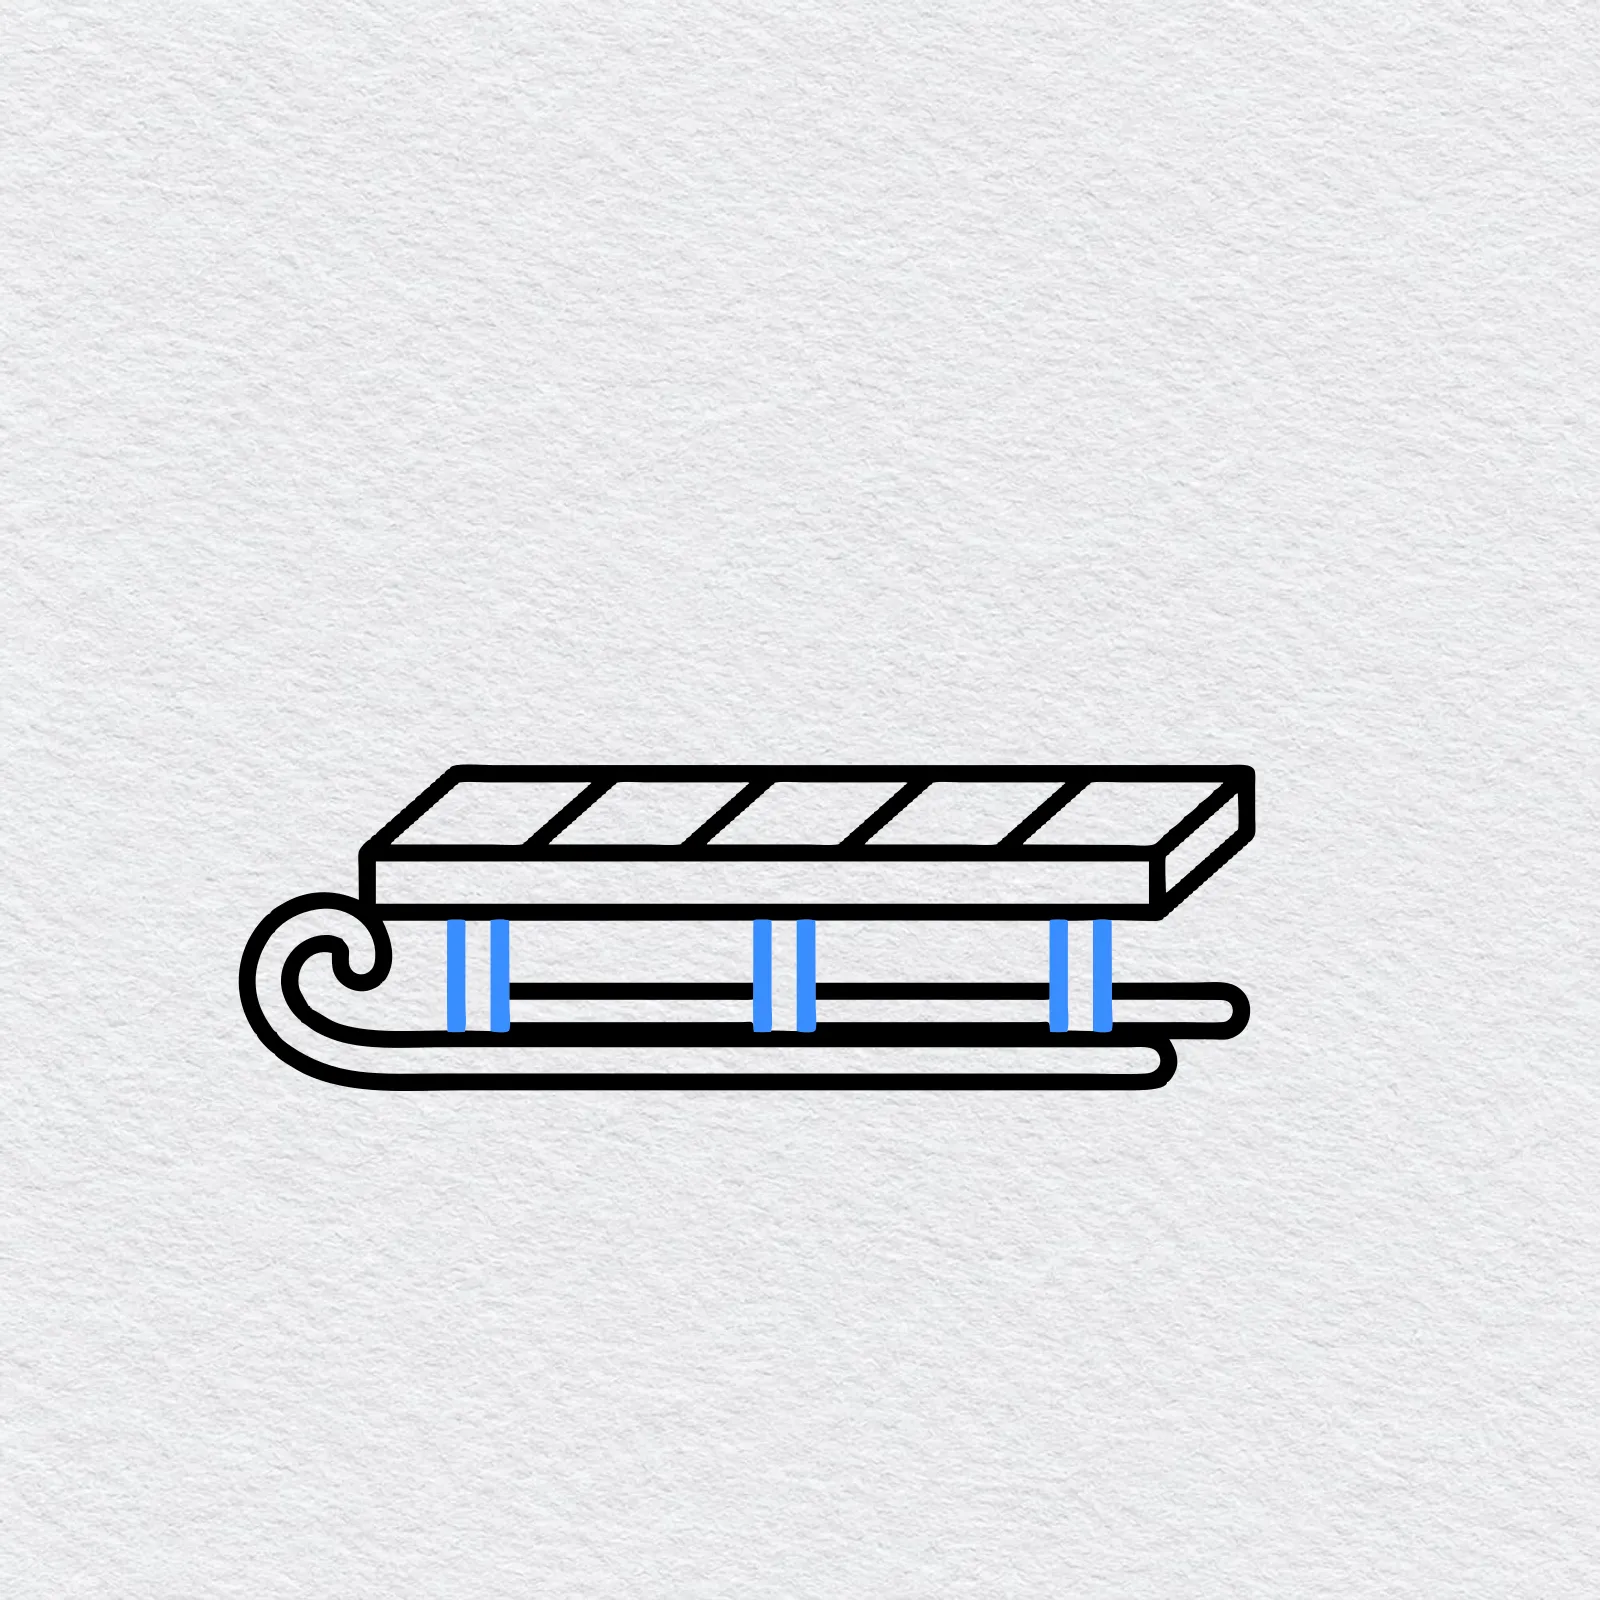
Draw three short upright posts between the seat and the runners: one near the back, one in the middle and one near the front.
-
Step 5 : Draw the tow rope
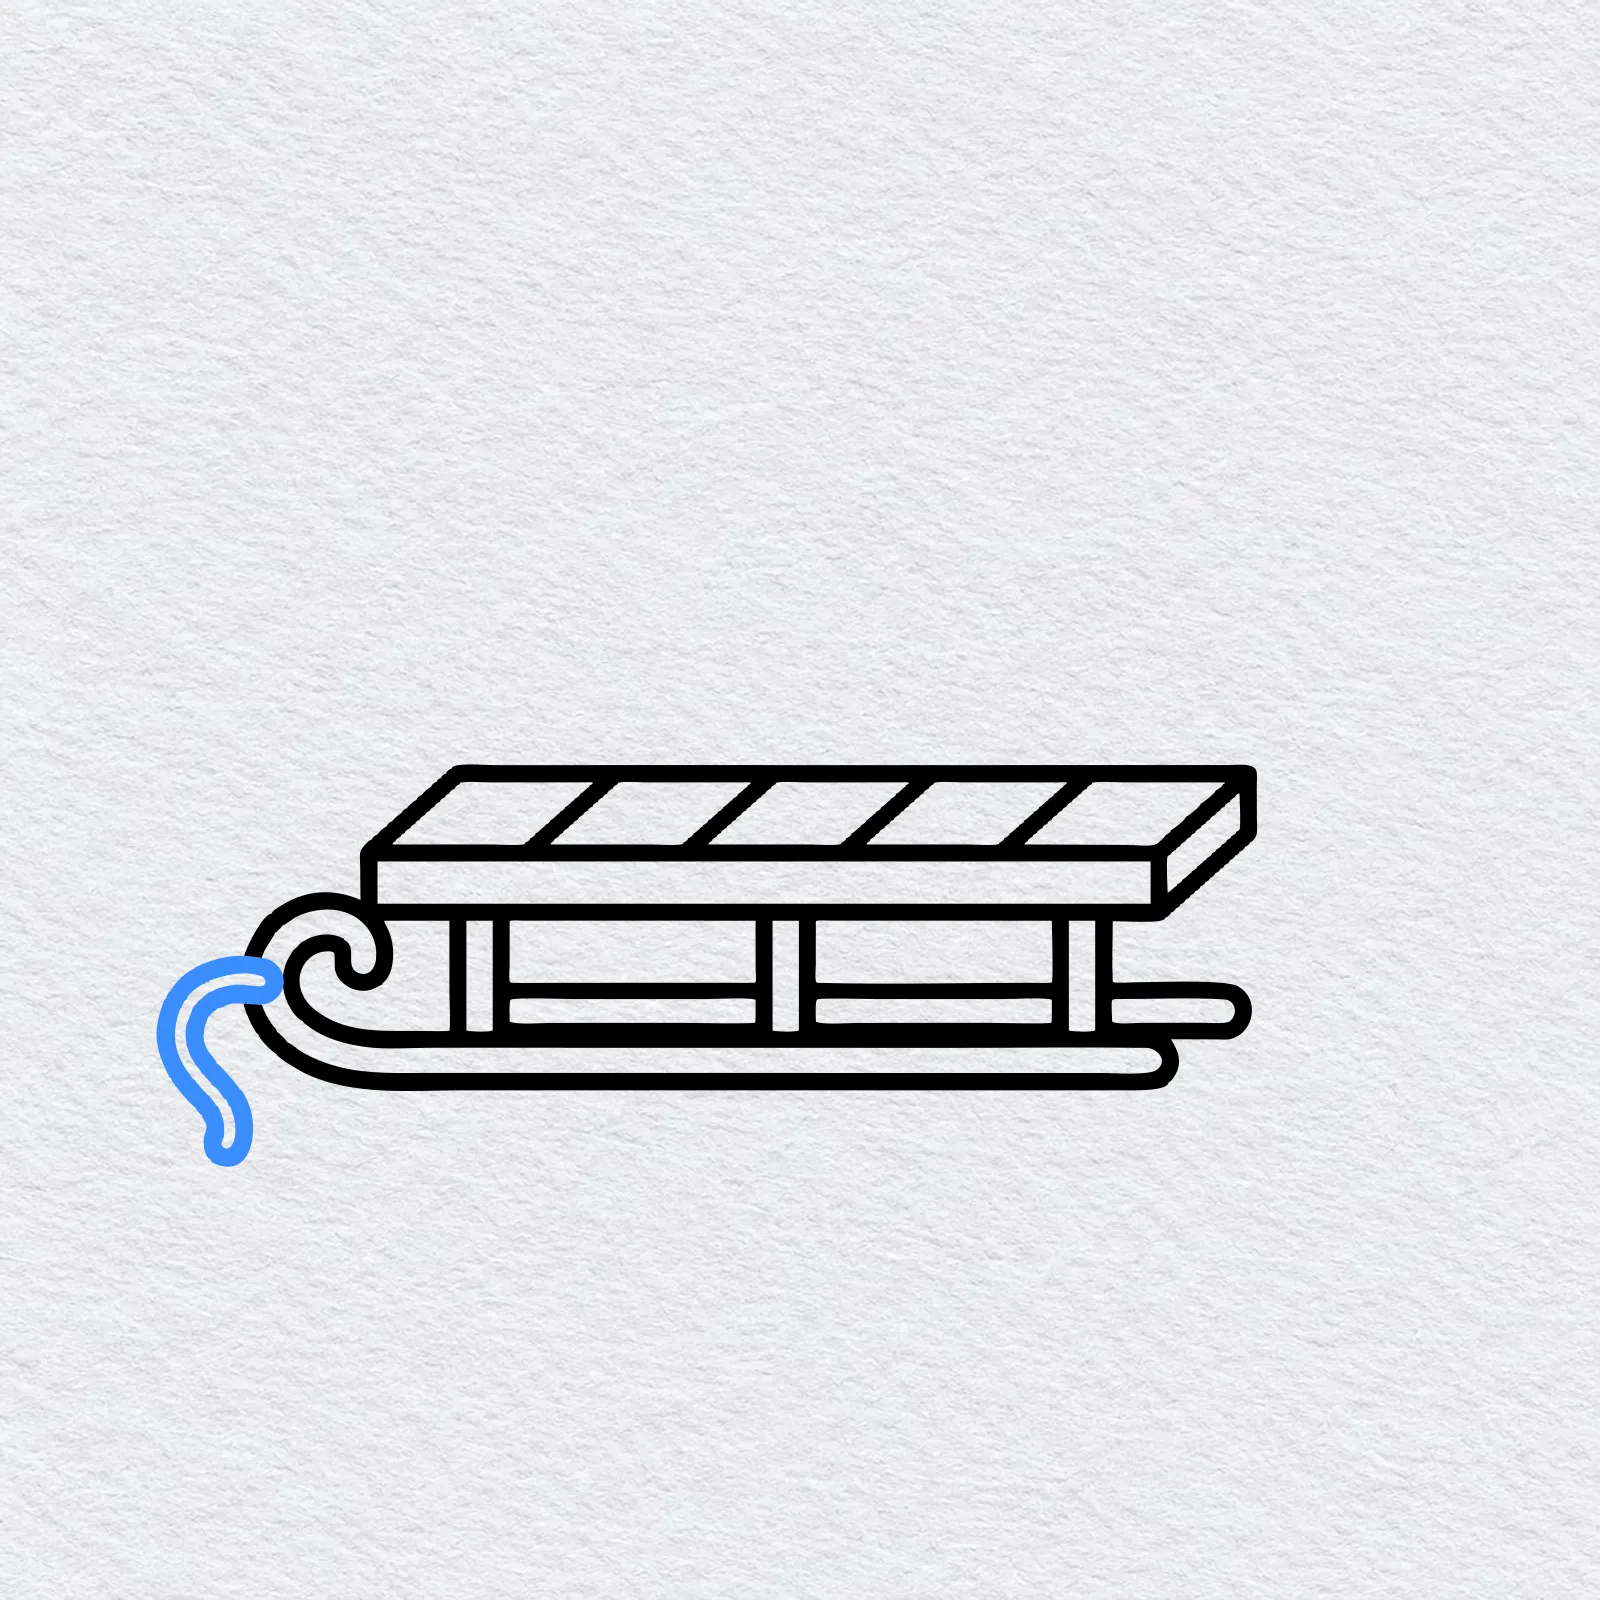
From the front curl, draw a wiggly rope hanging down with a small rounded end.
-
Step 6 : Add the hill and snow
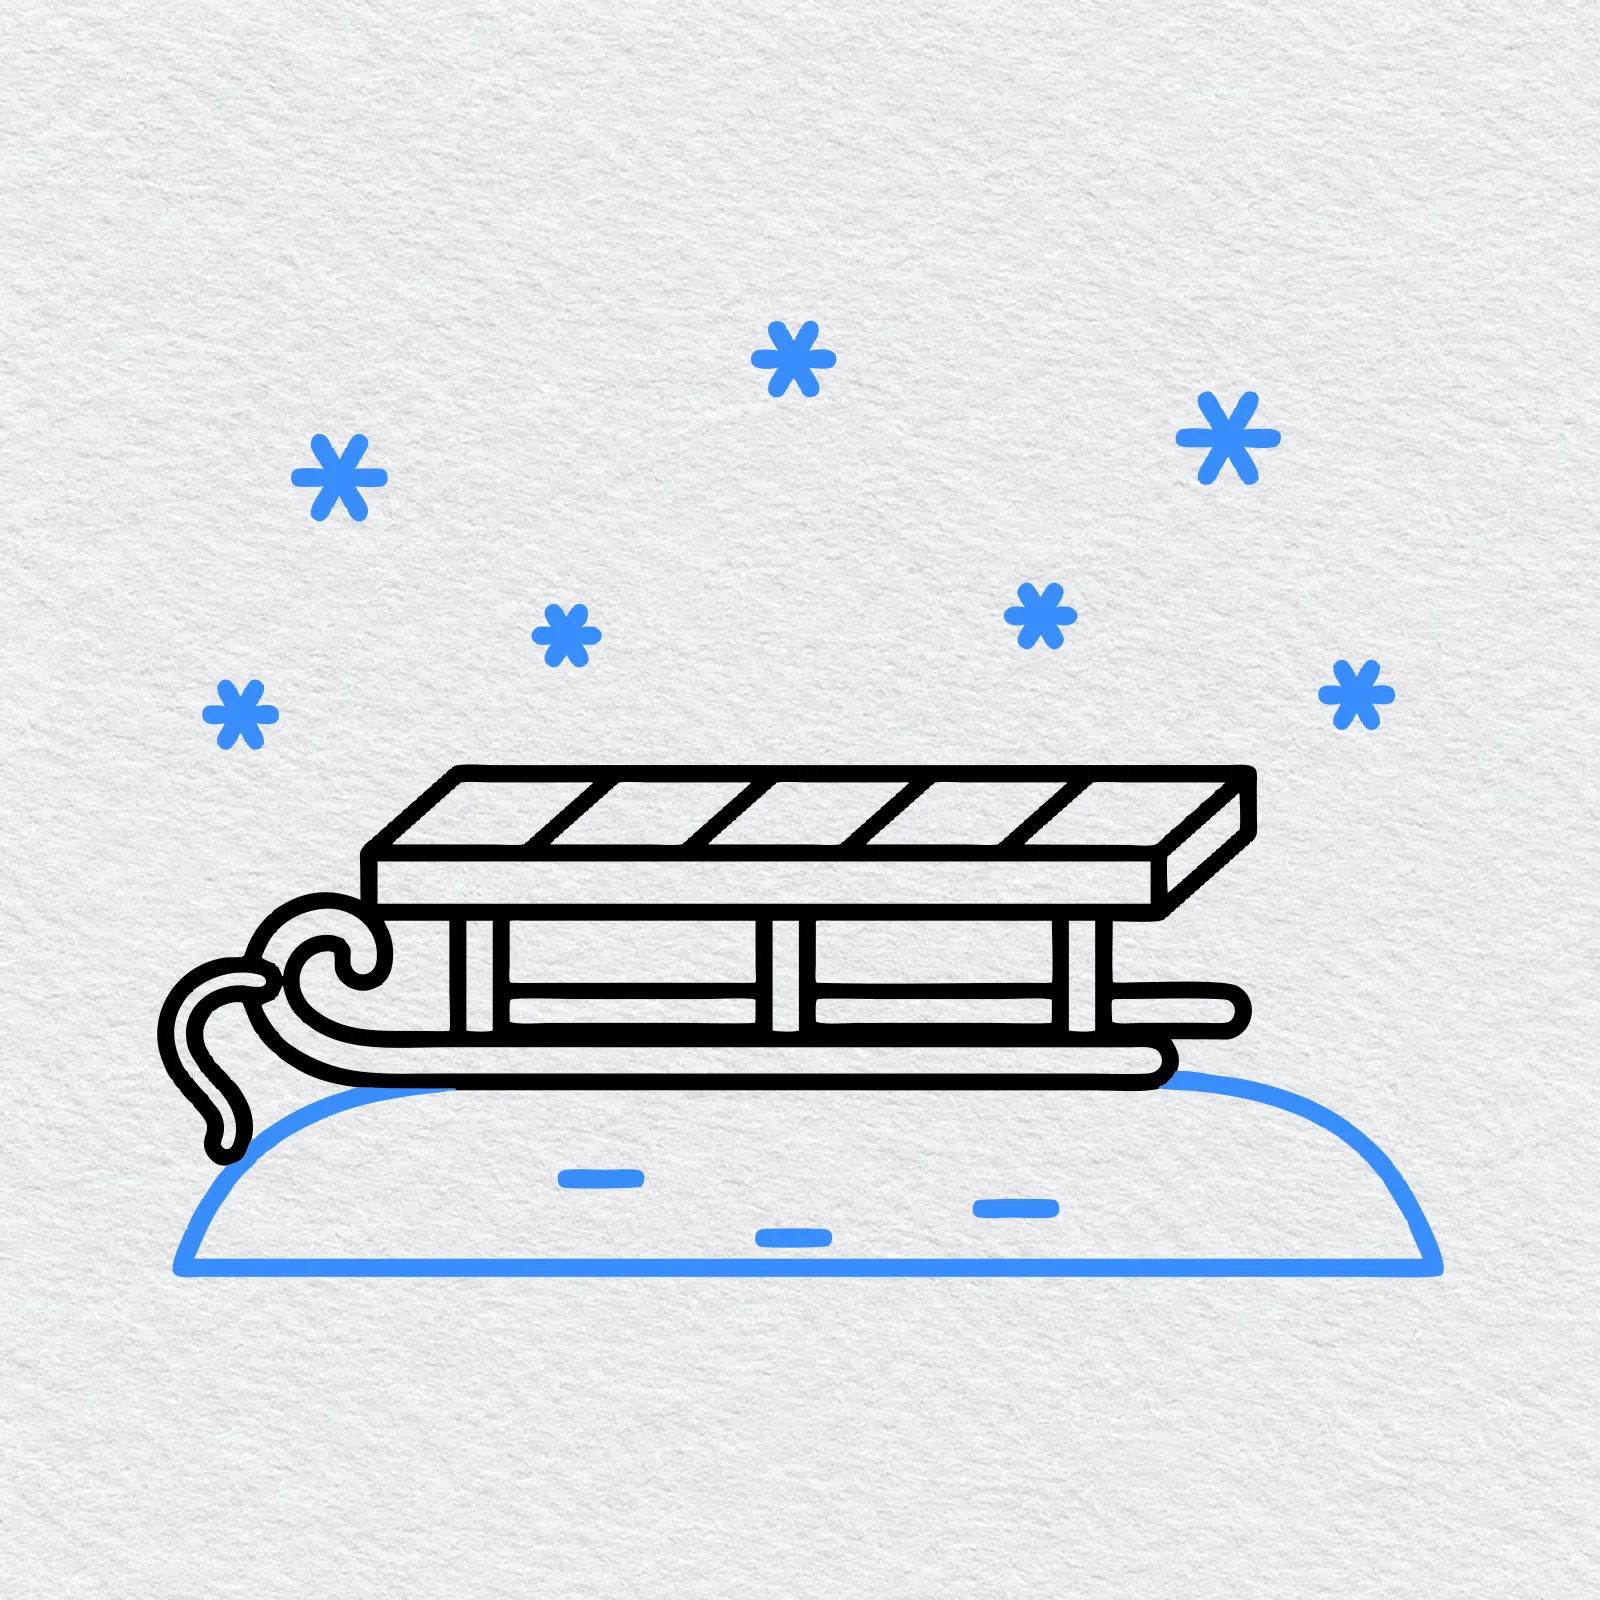
Draw a rounded snowy hill under the runners with three little dashes on it.
Add seven small snowflakes in the sky above the sled.
-
Step 7 : Color your sled
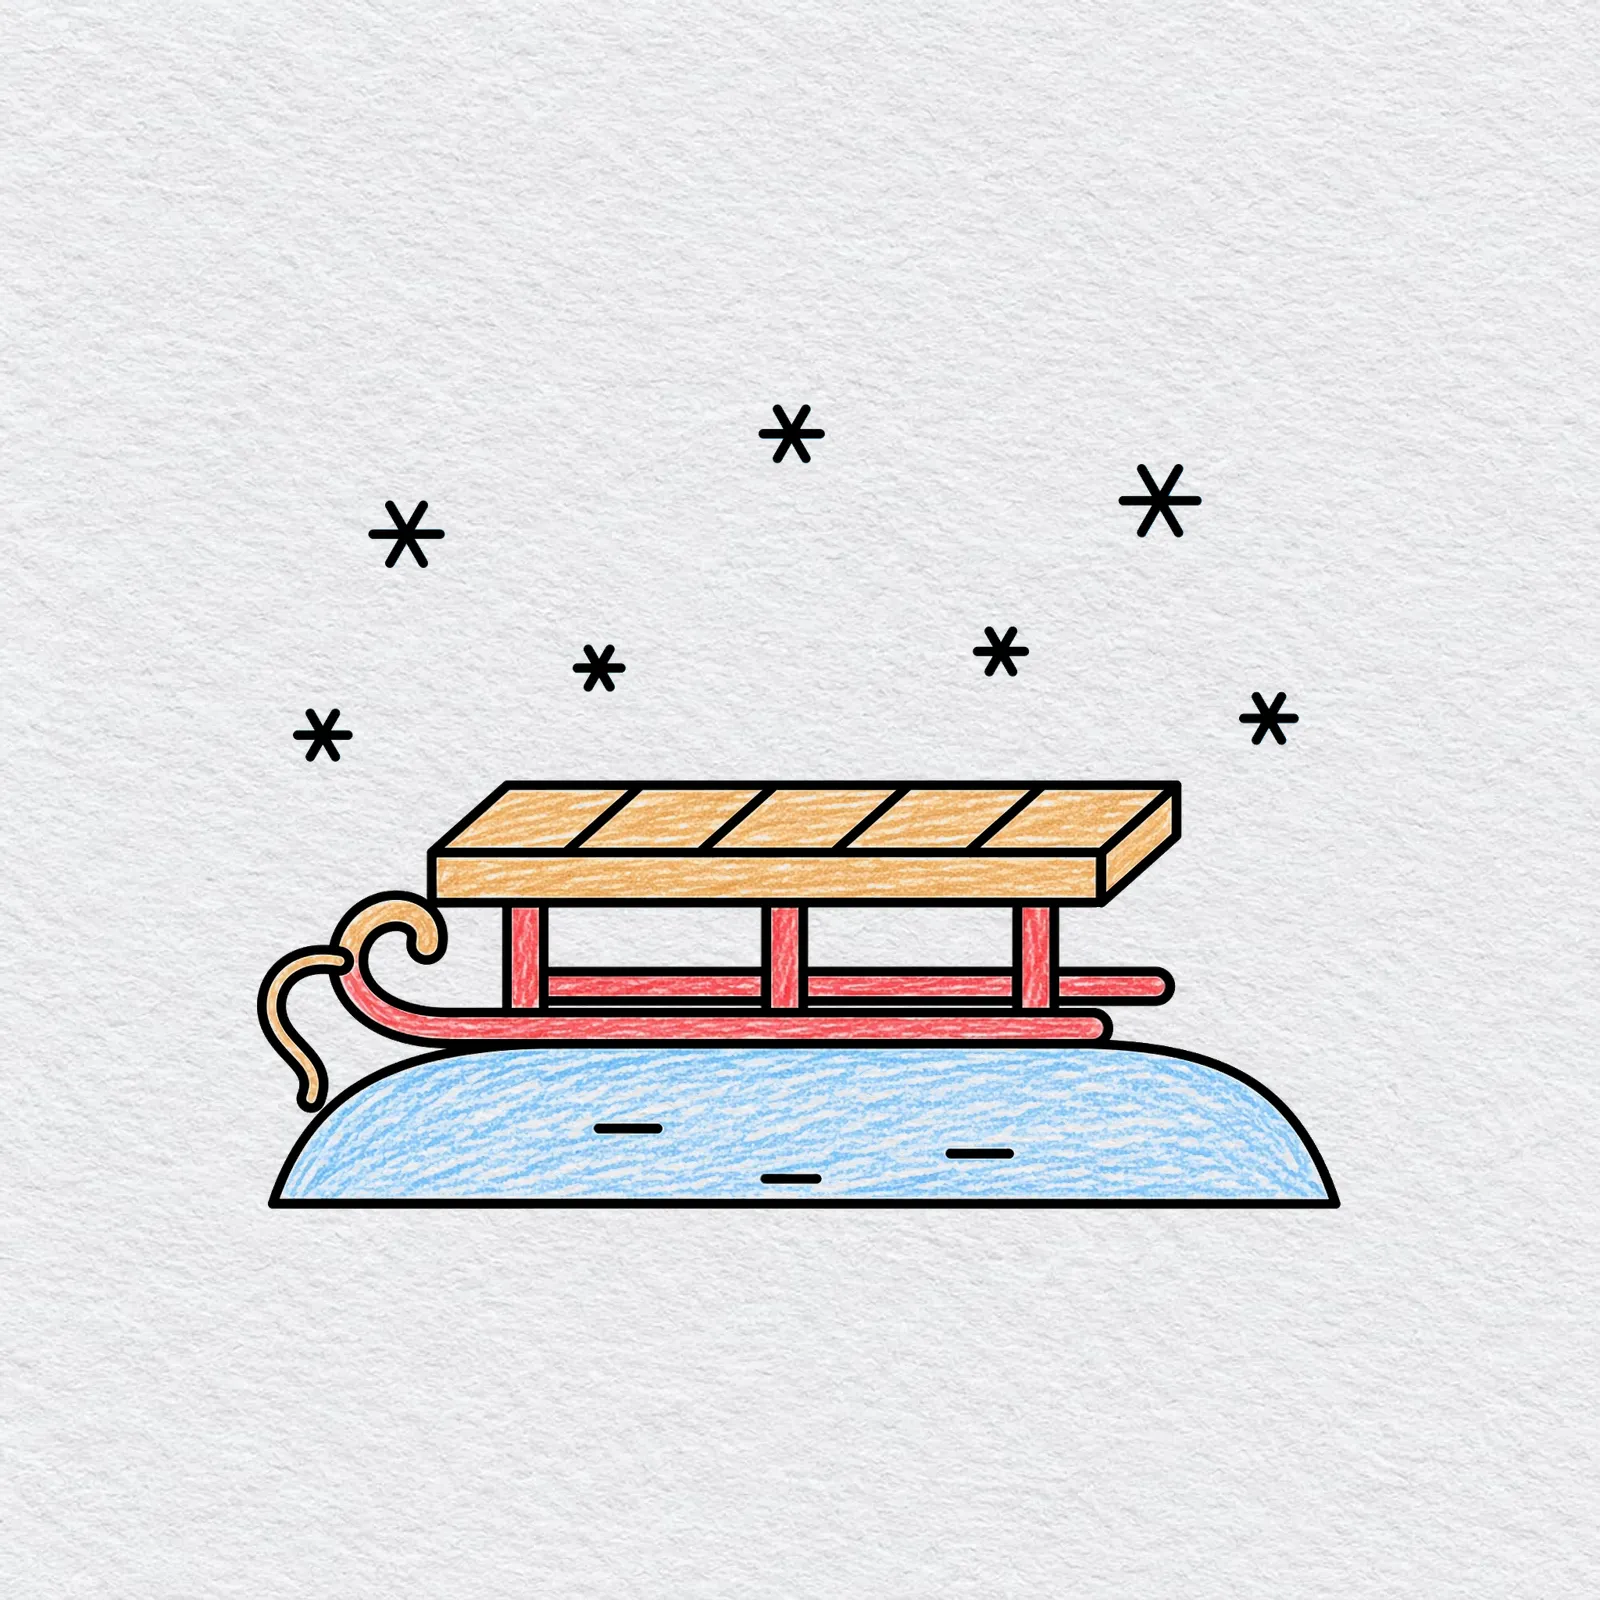
Color the seat a warm light brown, the runners and supports red, and the rope tan.
Give the hill a pale blue, leaving a little paper showing in the crayon strokes.
Printable sled drawing PDFs
 Save
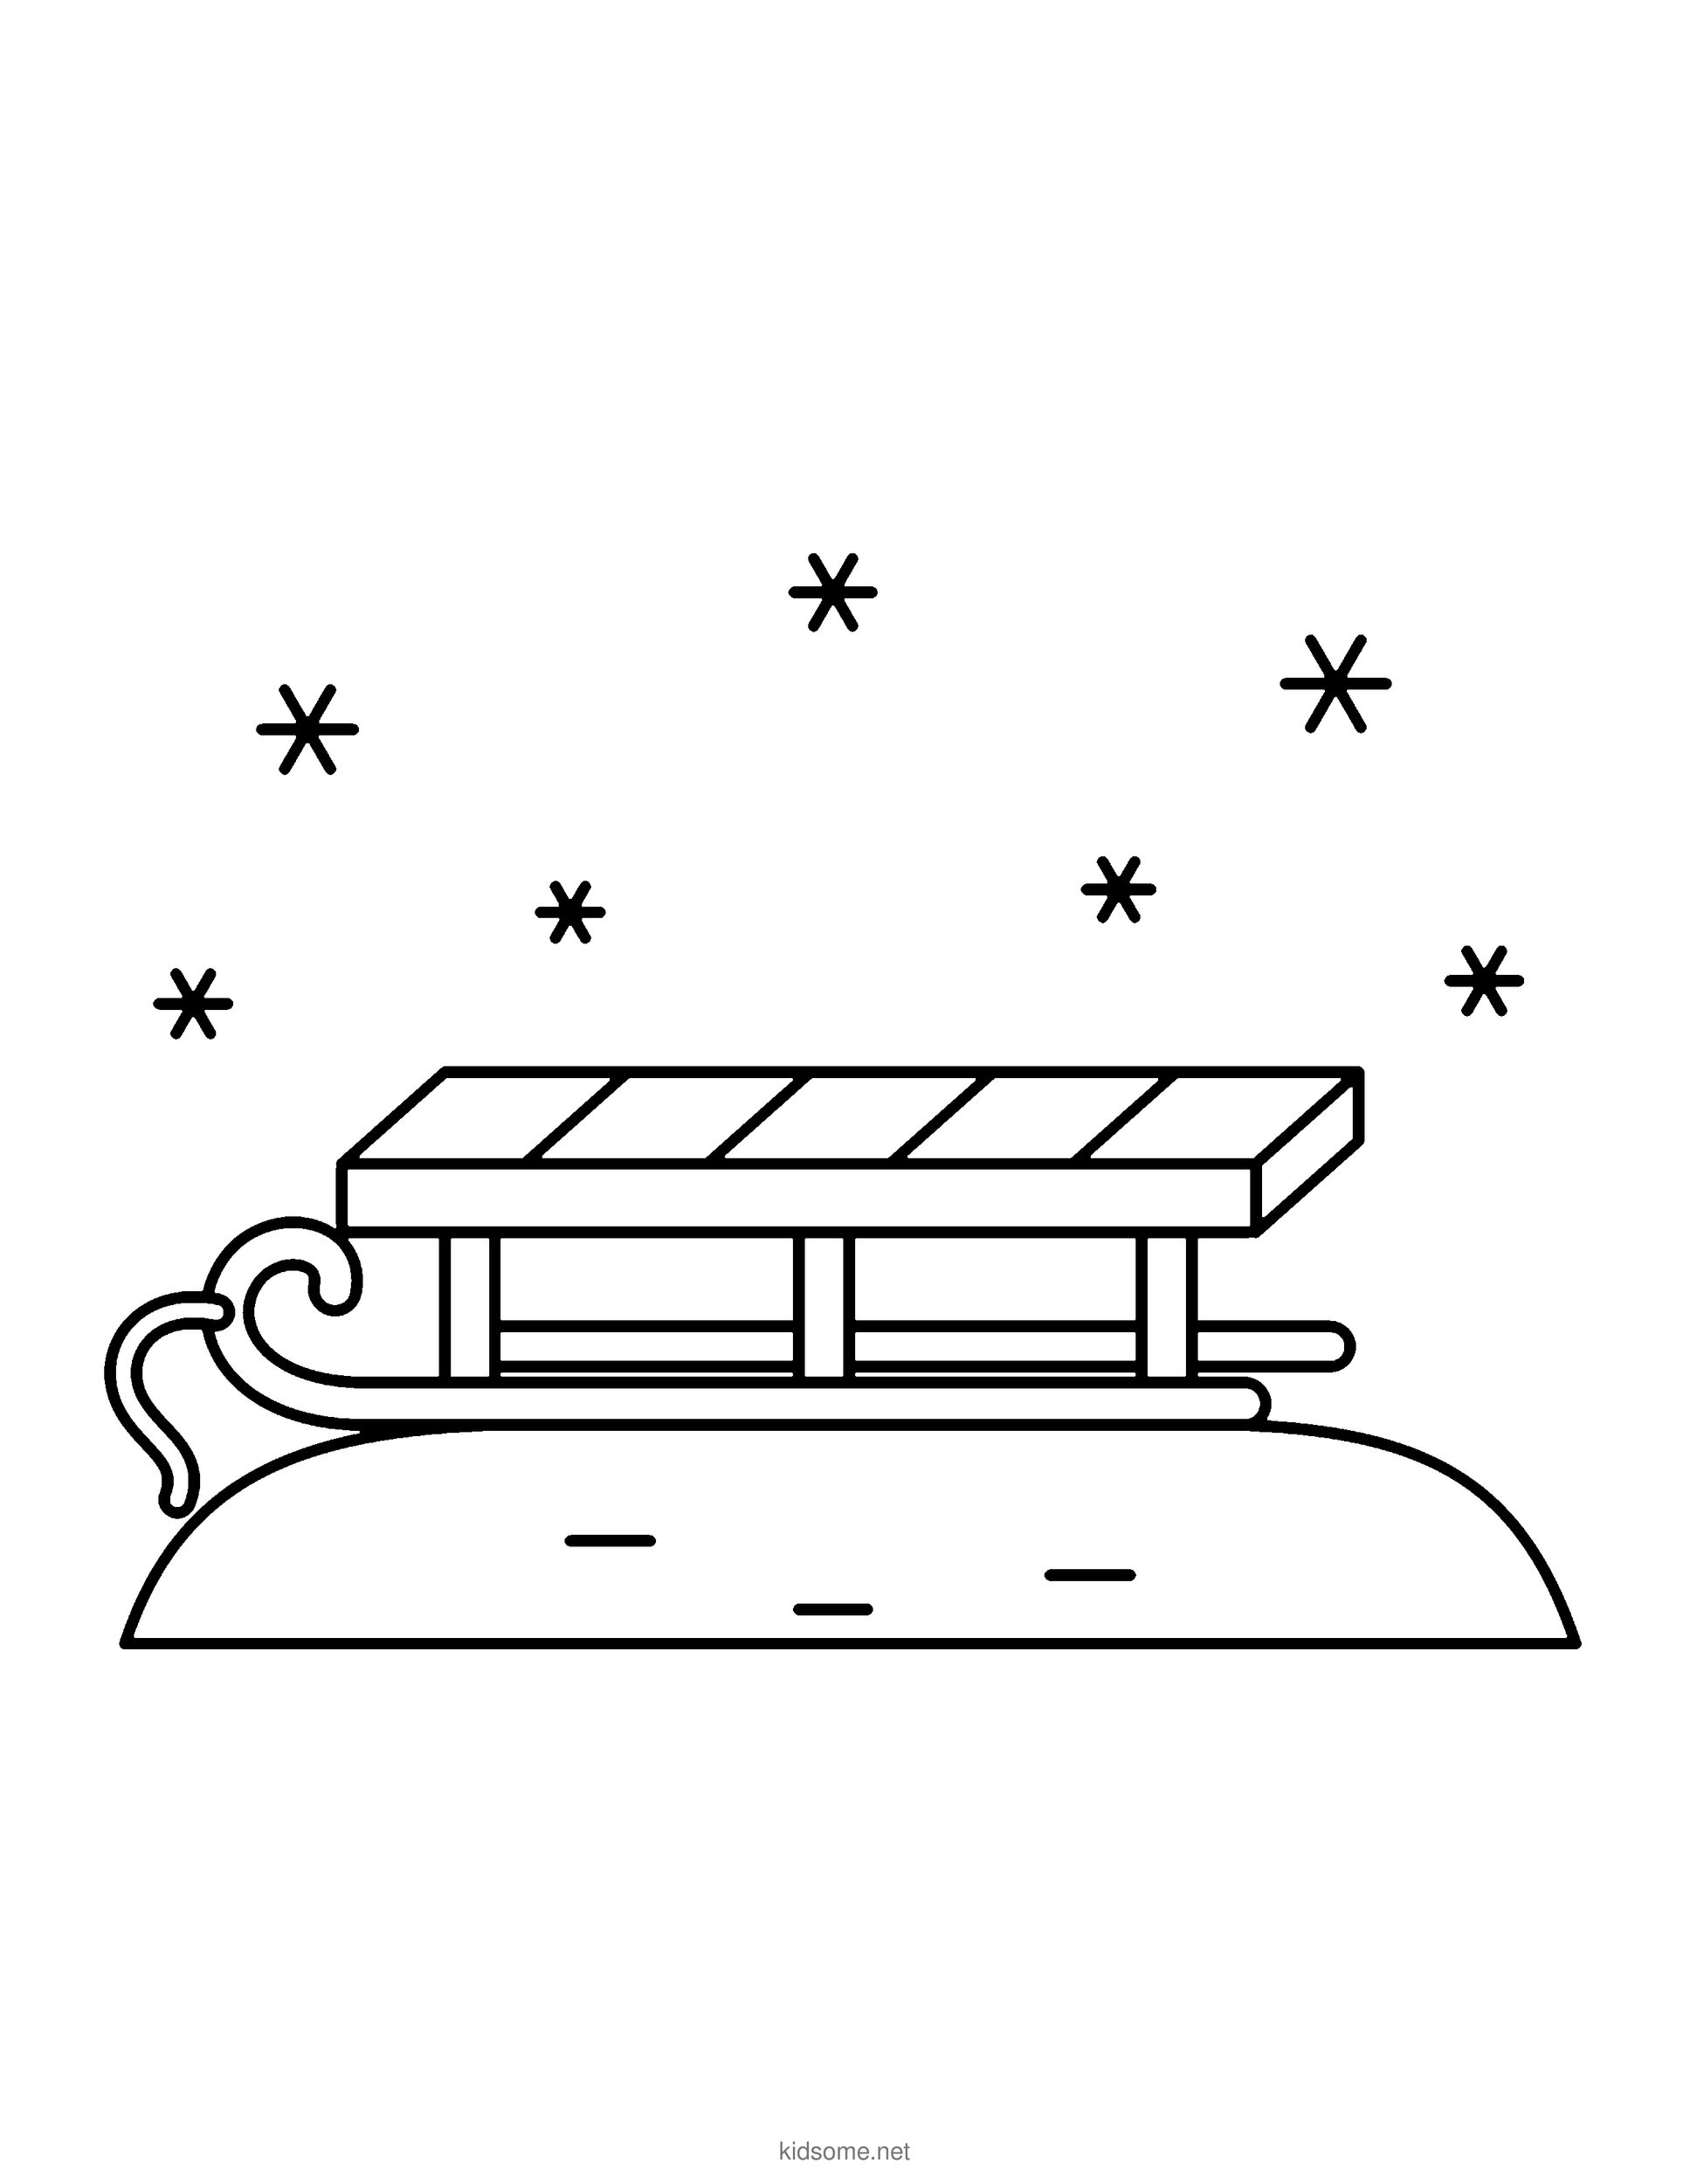
Sled Outline to Color
The finished wooden sled with curled runners and a tow rope resting on a snowy hill, as a clean outline to print and color.
Download PDF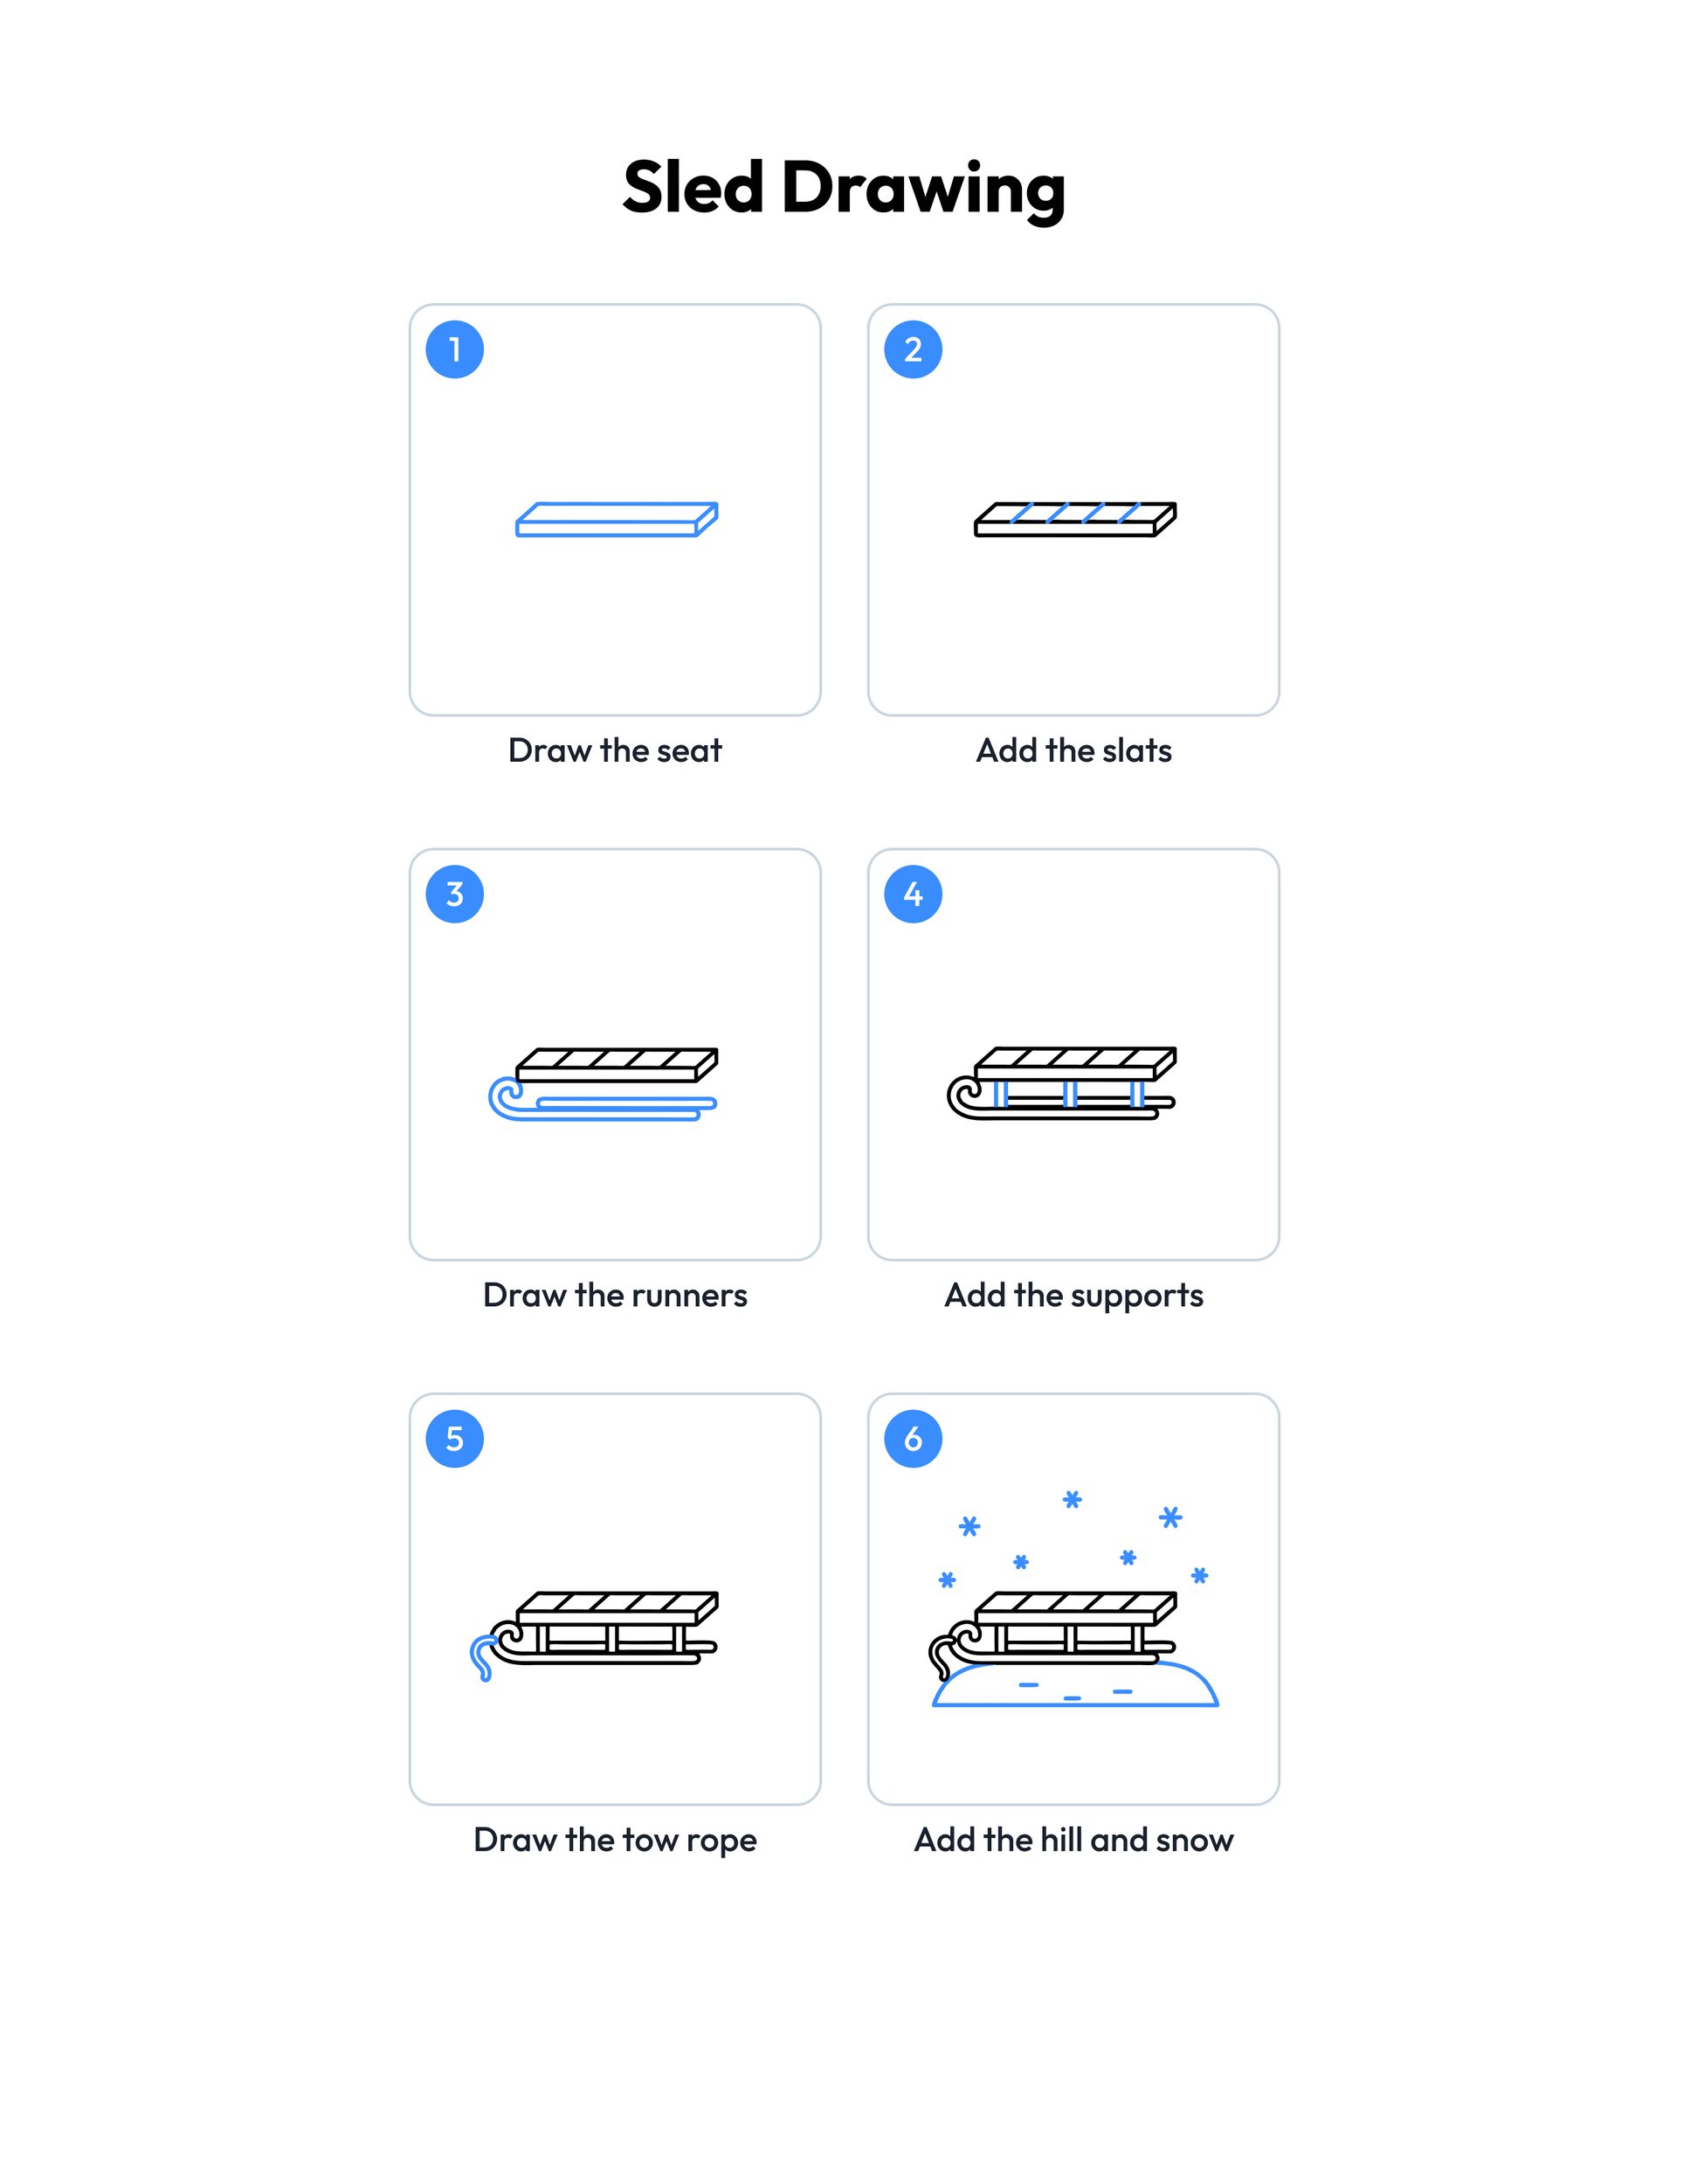 Save
Printable sled drawing guide
Every step, two to a row, with the finished sled in color at the end.
Download PDFHow to use this guide
Print the outline at 100 percent, or choose Fit to page if your printer asks. The margins fit US Letter and A4, so the sled, the curled runners, the rope, the hill and the snowflakes all stay on the sheet. Page one is the outline to color. Page two is the colored example, so print page one alone if you only want the picture to fill in.
For drawing, plain copy paper and a pencil with a good eraser work best. Sketch lightly at first, because the curl at the front of the runners often needs a second try to look round and smooth. Draw the seat across the middle of the page and leave space on the left for the curls and the rope, and space underneath for the hill. When the sled looks right, trace over the lines with a marker or a dark crayon and erase the pencil marks underneath. For markers or paint, choose cardstock so the color does not soak through.
Give each step plenty of time. Younger kids can draw the seat, the slats and the runners, then take a break before the supports and the rope. Older kids can follow the whole guide in one go and then add a hill, some trees or a rider. The runners are the part that takes the most care. Draw each one as two lines close together, keep them level with the seat, and finish the front with a round curl like the start of a snail shell.
When you color, try a warm light brown for the wooden seat, red for the runners and supports, tan for the rope and a pale blue for the snowy hill, leaving a little paper showing through the crayon strokes.
Ideas for your sled drawing
- Snowman rider: Draw a small snowman from our snowman drawing guide sitting on the seat of your sled, holding the rope and ready to zoom down the hill.
- Snowflake storm: Fill the sky above the hill with bigger flakes from our snowflake drawing guide, so your sled looks like it is out in a real snowfall.
- Big hill: Draw a much taller, longer hill that slopes down to the right, then place the sled at the very top so it is ready to slide.
- Speed lines: Add a few short straight lines behind the sled and a puff of snow at the front of the runners to show it racing down the slope.
- Sled tracks: Draw two thin wavy lines in the snow behind the runners to show the path the sled made on its way down the hill.
- Two sleds: Draw a second sled, smaller and a little higher on the hill, so the picture shows two friends going sledding together on a snowy afternoon.
- Pattern play: Color each slat on the seat a different shade, or paint stripes on the runners, to make your very own one of a kind sled.
- Coloring time: After your sled drawing, print a page from our winter coloring pages and color more snowy scenes and winter friends to go with it.
- Winter fun: Find puzzles, mazes and more cold weather pages in our winter activities, great for a snow day at home or a winter lesson in class.
What age is this sled drawing guide for?
It is made for ages 4 to 8. Younger children can draw the seat, the slats and the runners with a grown-up nearby, and older kids can draw the whole sled alone, supports, rope, hill and snowflakes too. Every step uses simple boxes, straight lines and curls, so no step is too hard.
How do you draw sled runners?
Under the seat, draw two long thin bands, each made of two lines close together, running from the back of the sled to the front. At the front, bend each band up and around into a round curl. The near runner sits a little lower than the far one so the sled looks solid.
Is this an easy way to learn how to draw a sled?
Yes. The guide builds the sled from big simple shapes, adding one new part at a time in blue, so kids always know what comes next. The sled is drawn from the side, which keeps every part easy to see, and once kids know the shapes they can draw it from memory.
Can I use the guide in my classroom?
Yes. The outline and the step guide are free for personal and classroom use, so teachers can print one for every child for a winter or snow day lesson. Please share a link to this page instead of the files, and do not sell the pages or post them on other websites.
What colors should I use for my sled?
Wooden sleds are often a warm light brown, so that is a great choice for the seat. Our example uses red runners and supports, a tan rope and a pale blue snowy hill, with black snowflakes on white paper. Kids can also make a bright blue or green sled, since there is no wrong answer.