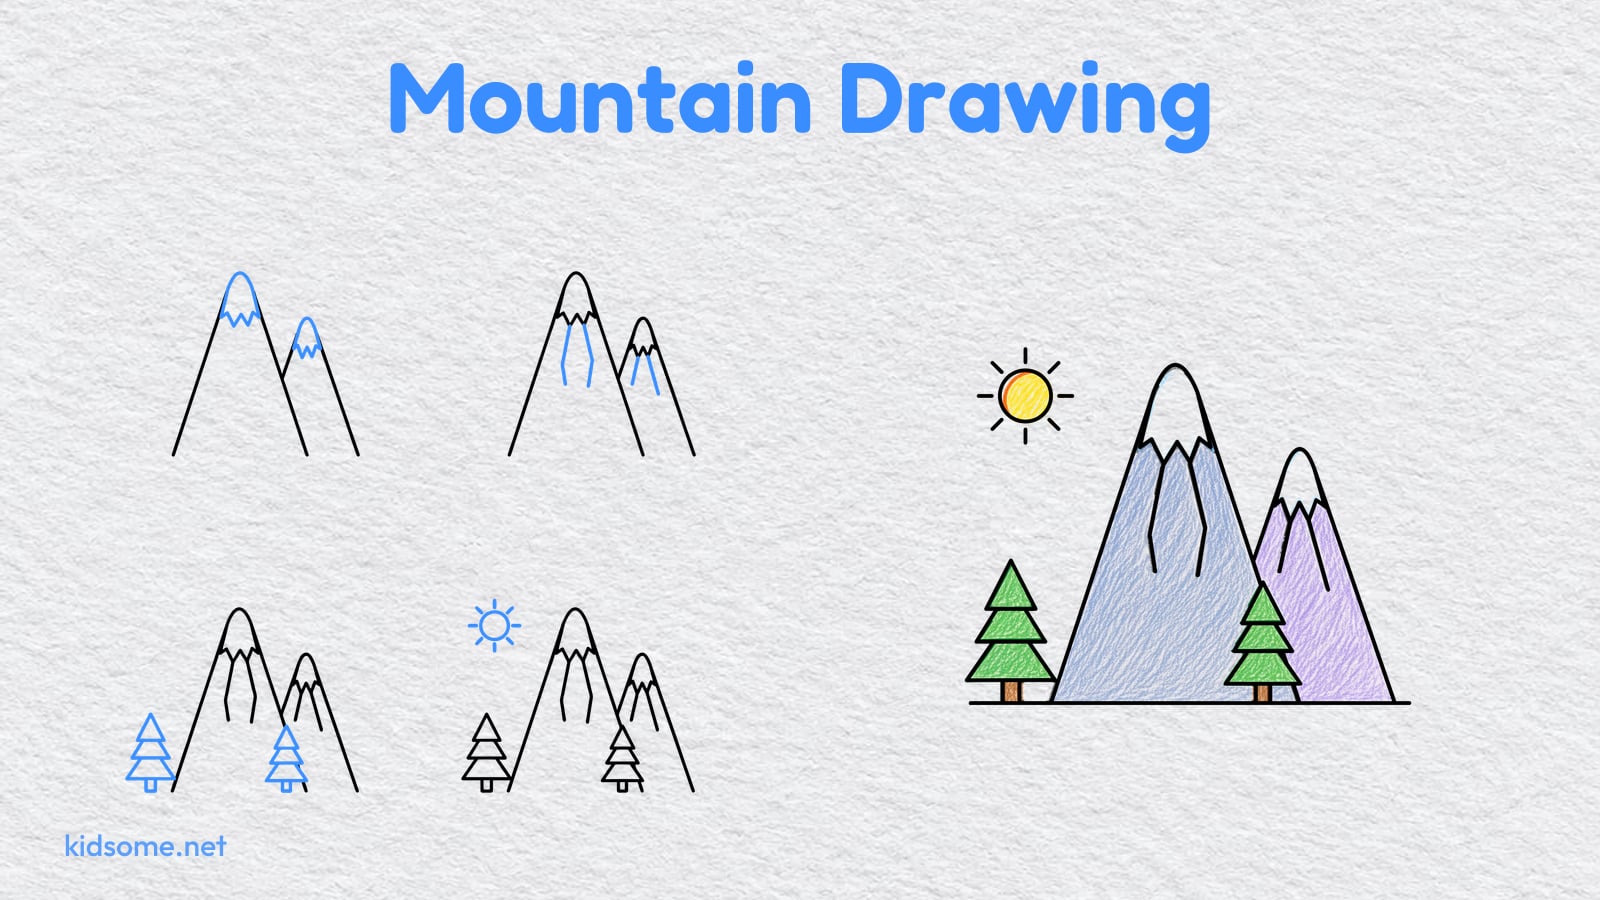
This mountain drawing guide shows kids ages 4 to 8, and the parents and teachers beside them, how to draw a mountain one easy step at a time. The picture has two big snowy mountains with zigzag snow caps, rocky ridge lines, two little pine trees and a round sun. Every part is made from straight lines, triangles and a circle, so it is a simple mountain drawing that early readers can follow and finish on their own.
There are seven steps. Each step shows the drawing so far in black and the new part in blue, so it is always clear what to add next. At the end there is a free printable outline of the finished mountains to trace or color, plus a crayon colored example to copy. The PDF prints on US Letter and A4, with no sign-up. All you need is a pencil, an eraser and a few crayons or colored pencils.
Kids who enjoy it can find more outdoor pictures to draw in our nature drawing guides.
-
Step 1 : Draw the tall peak

Draw two long lines that lean toward each other and meet at the top in a soft rounded point. Leave the bottom open. This is your tall front mountain.
-
Step 2 : Add the smaller peak
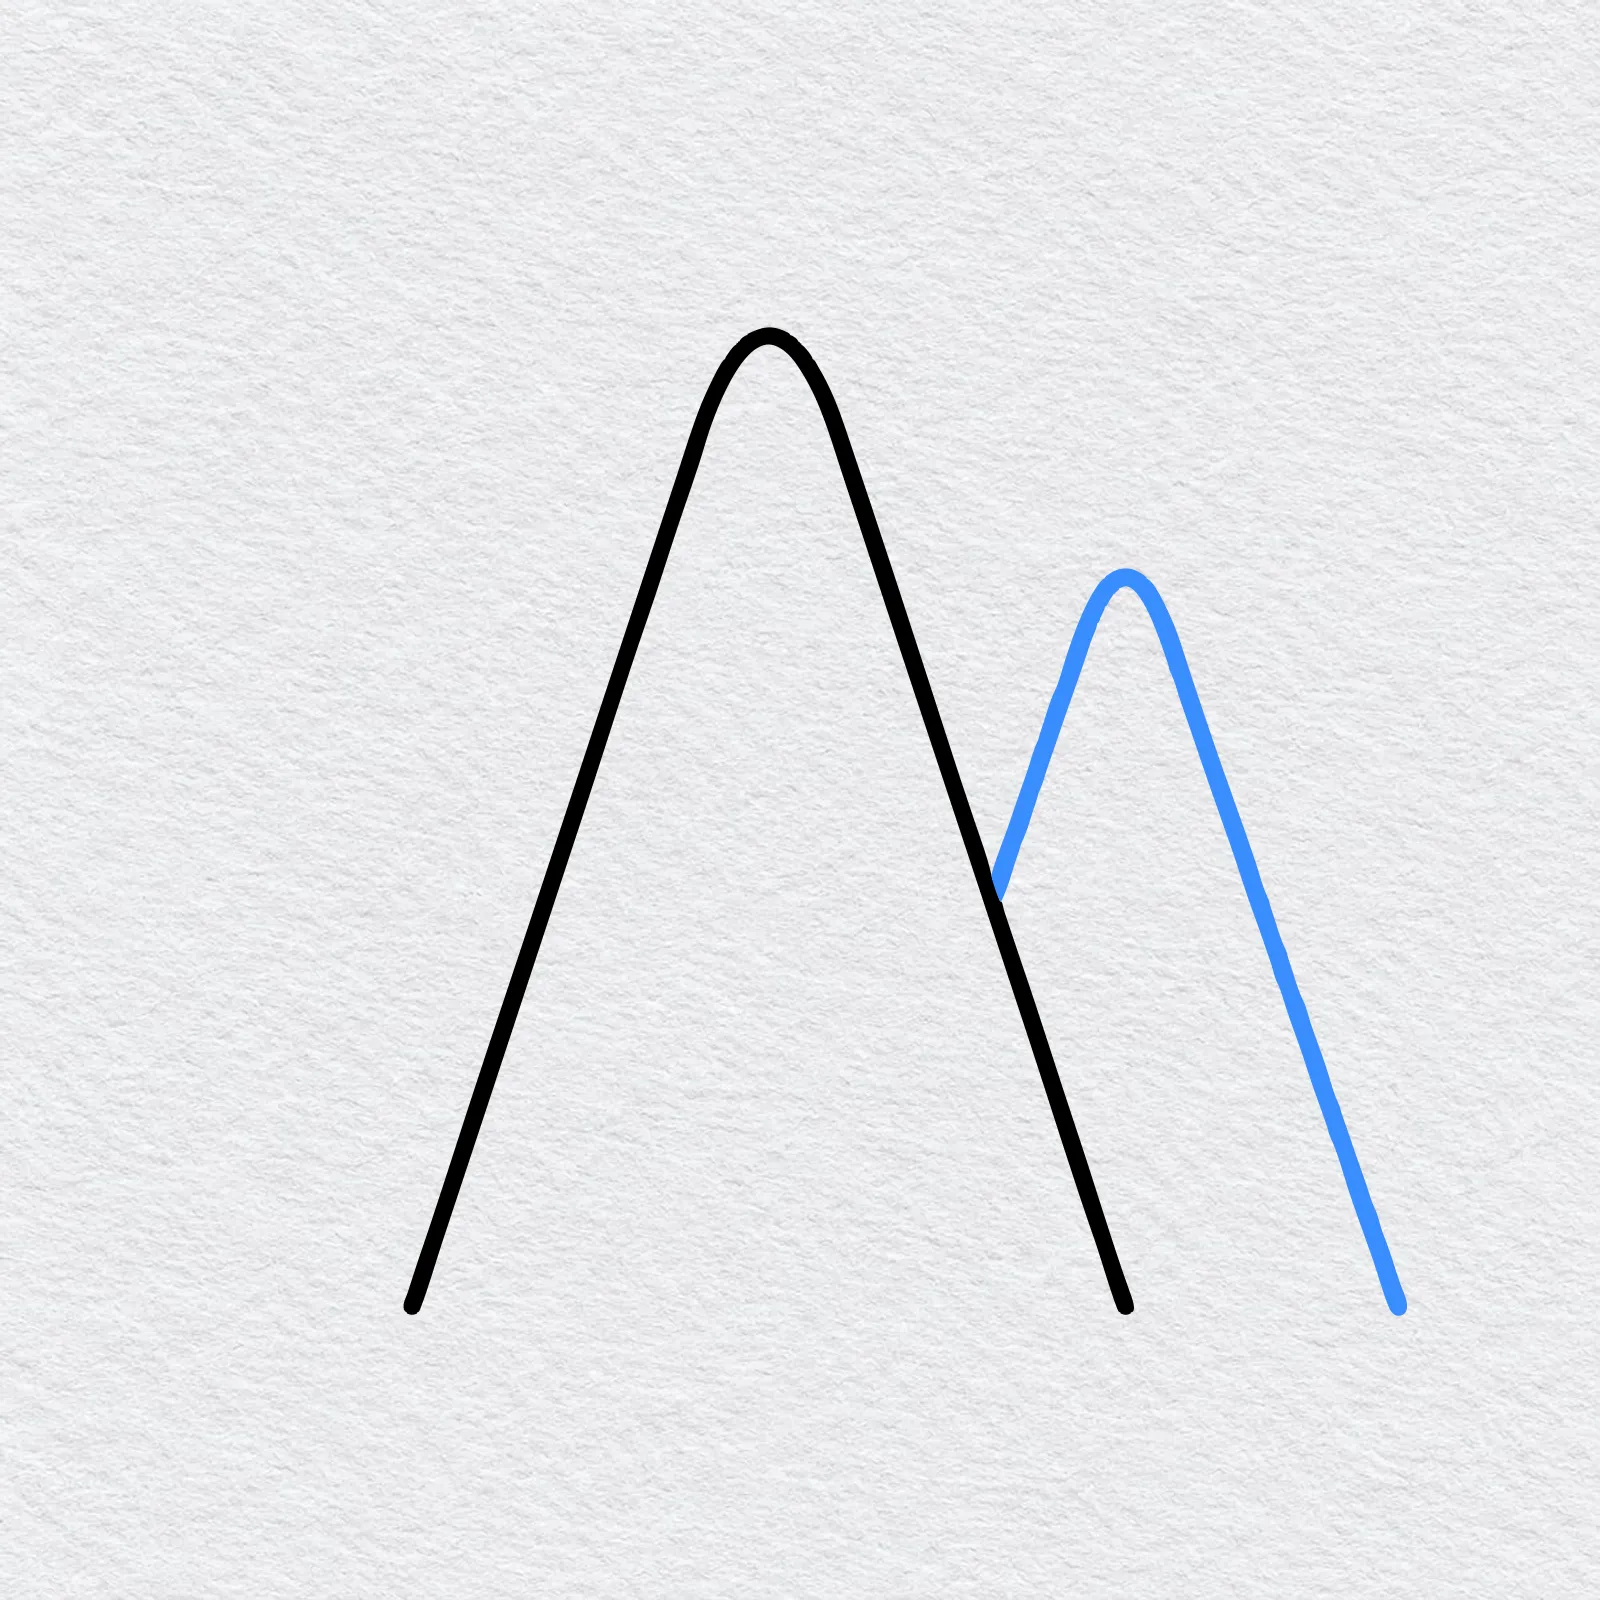
On the right side, draw a shorter mountain behind the first one. Start its left line on the big mountain's slope, so it looks like it is standing further back.
-
Step 3 : Draw the snow caps
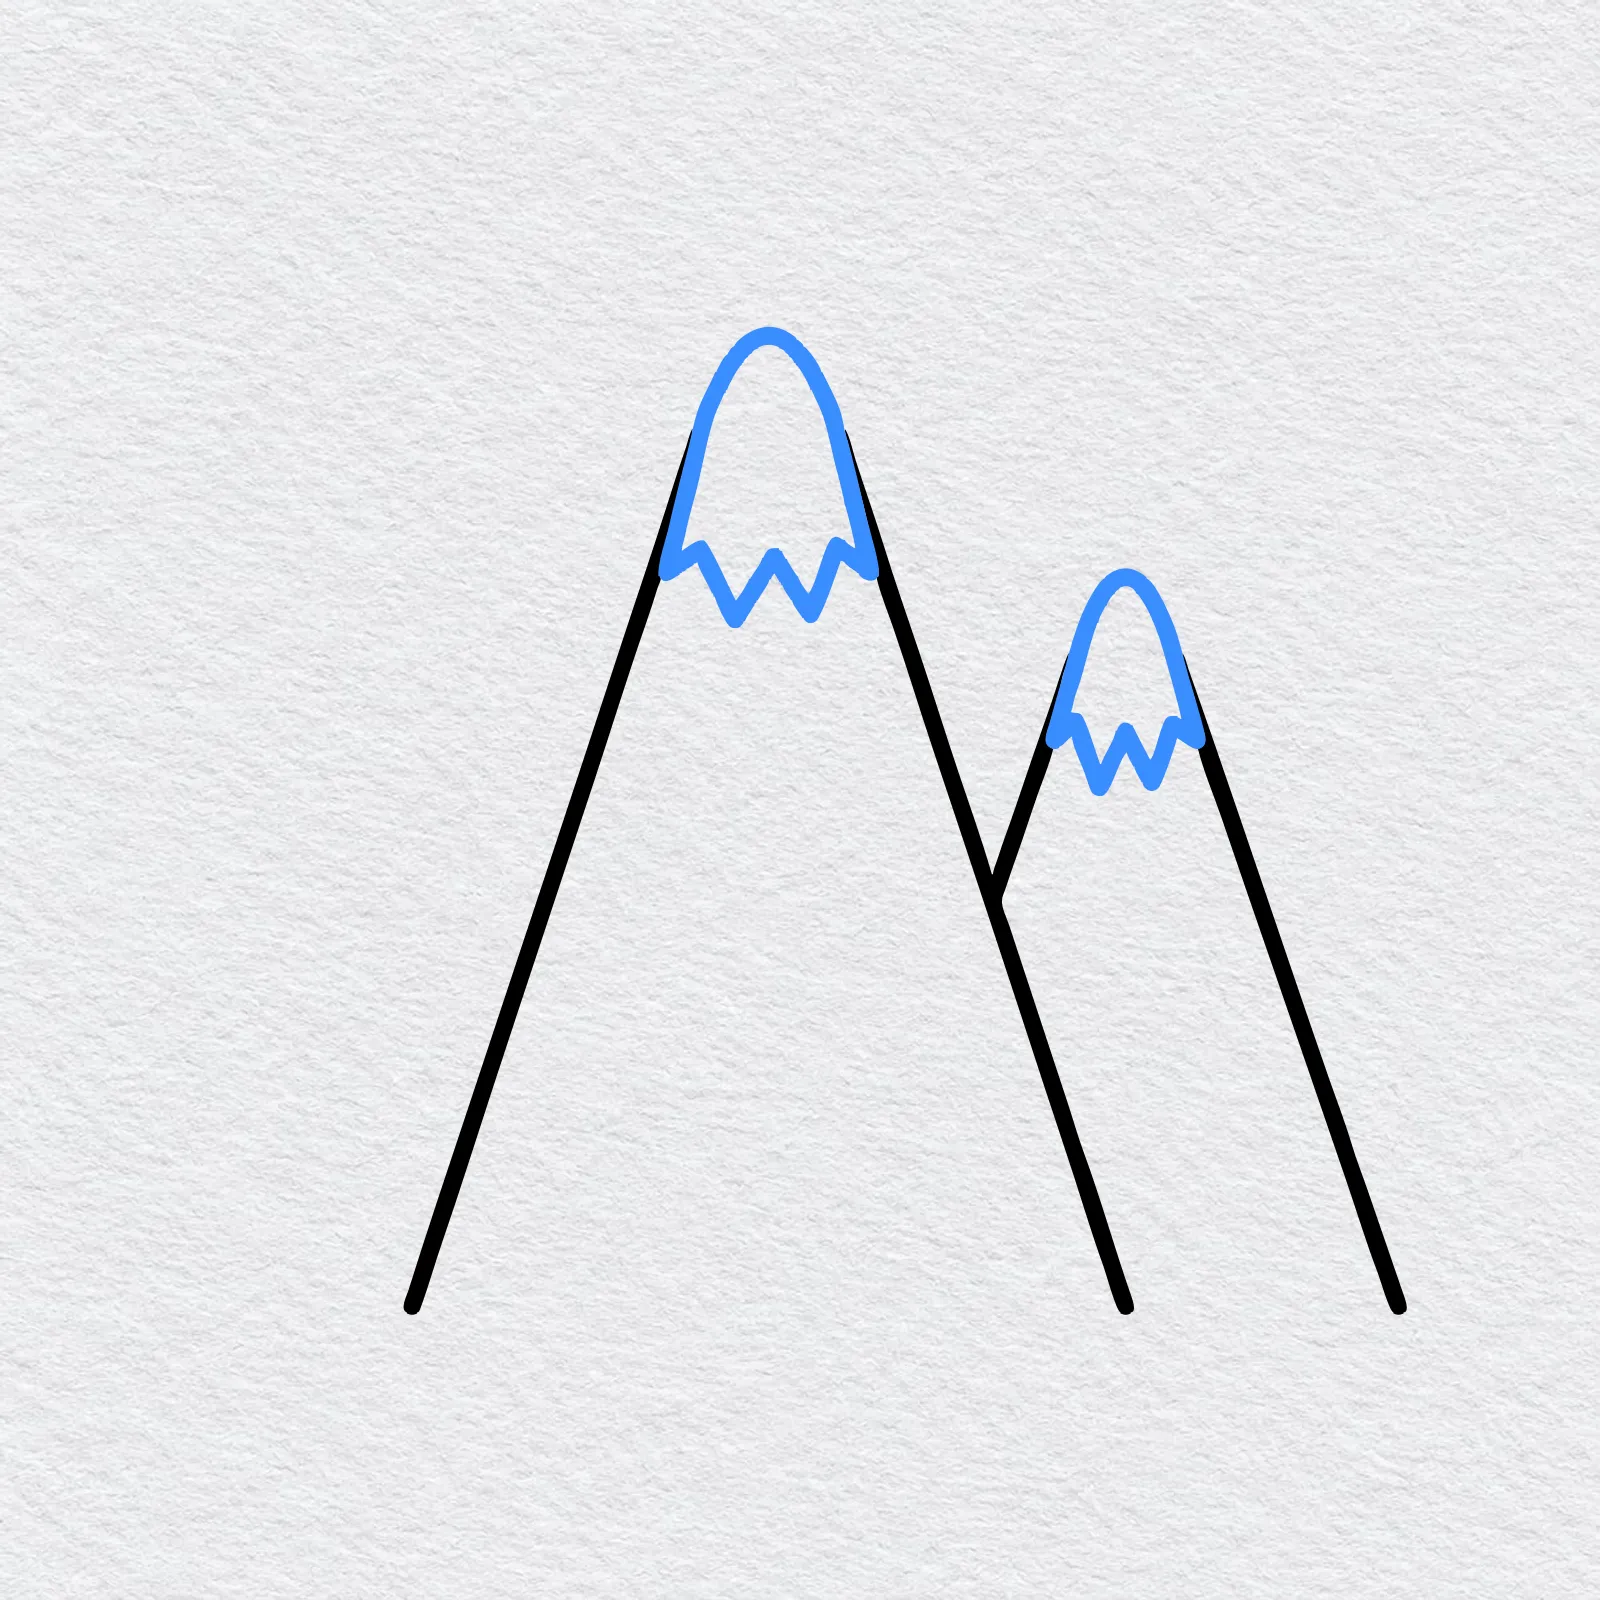
Near the top of each mountain, draw a zigzag line from one slope to the other. Everything above the zigzag is snow.
-
Step 4 : Add the ridge lines
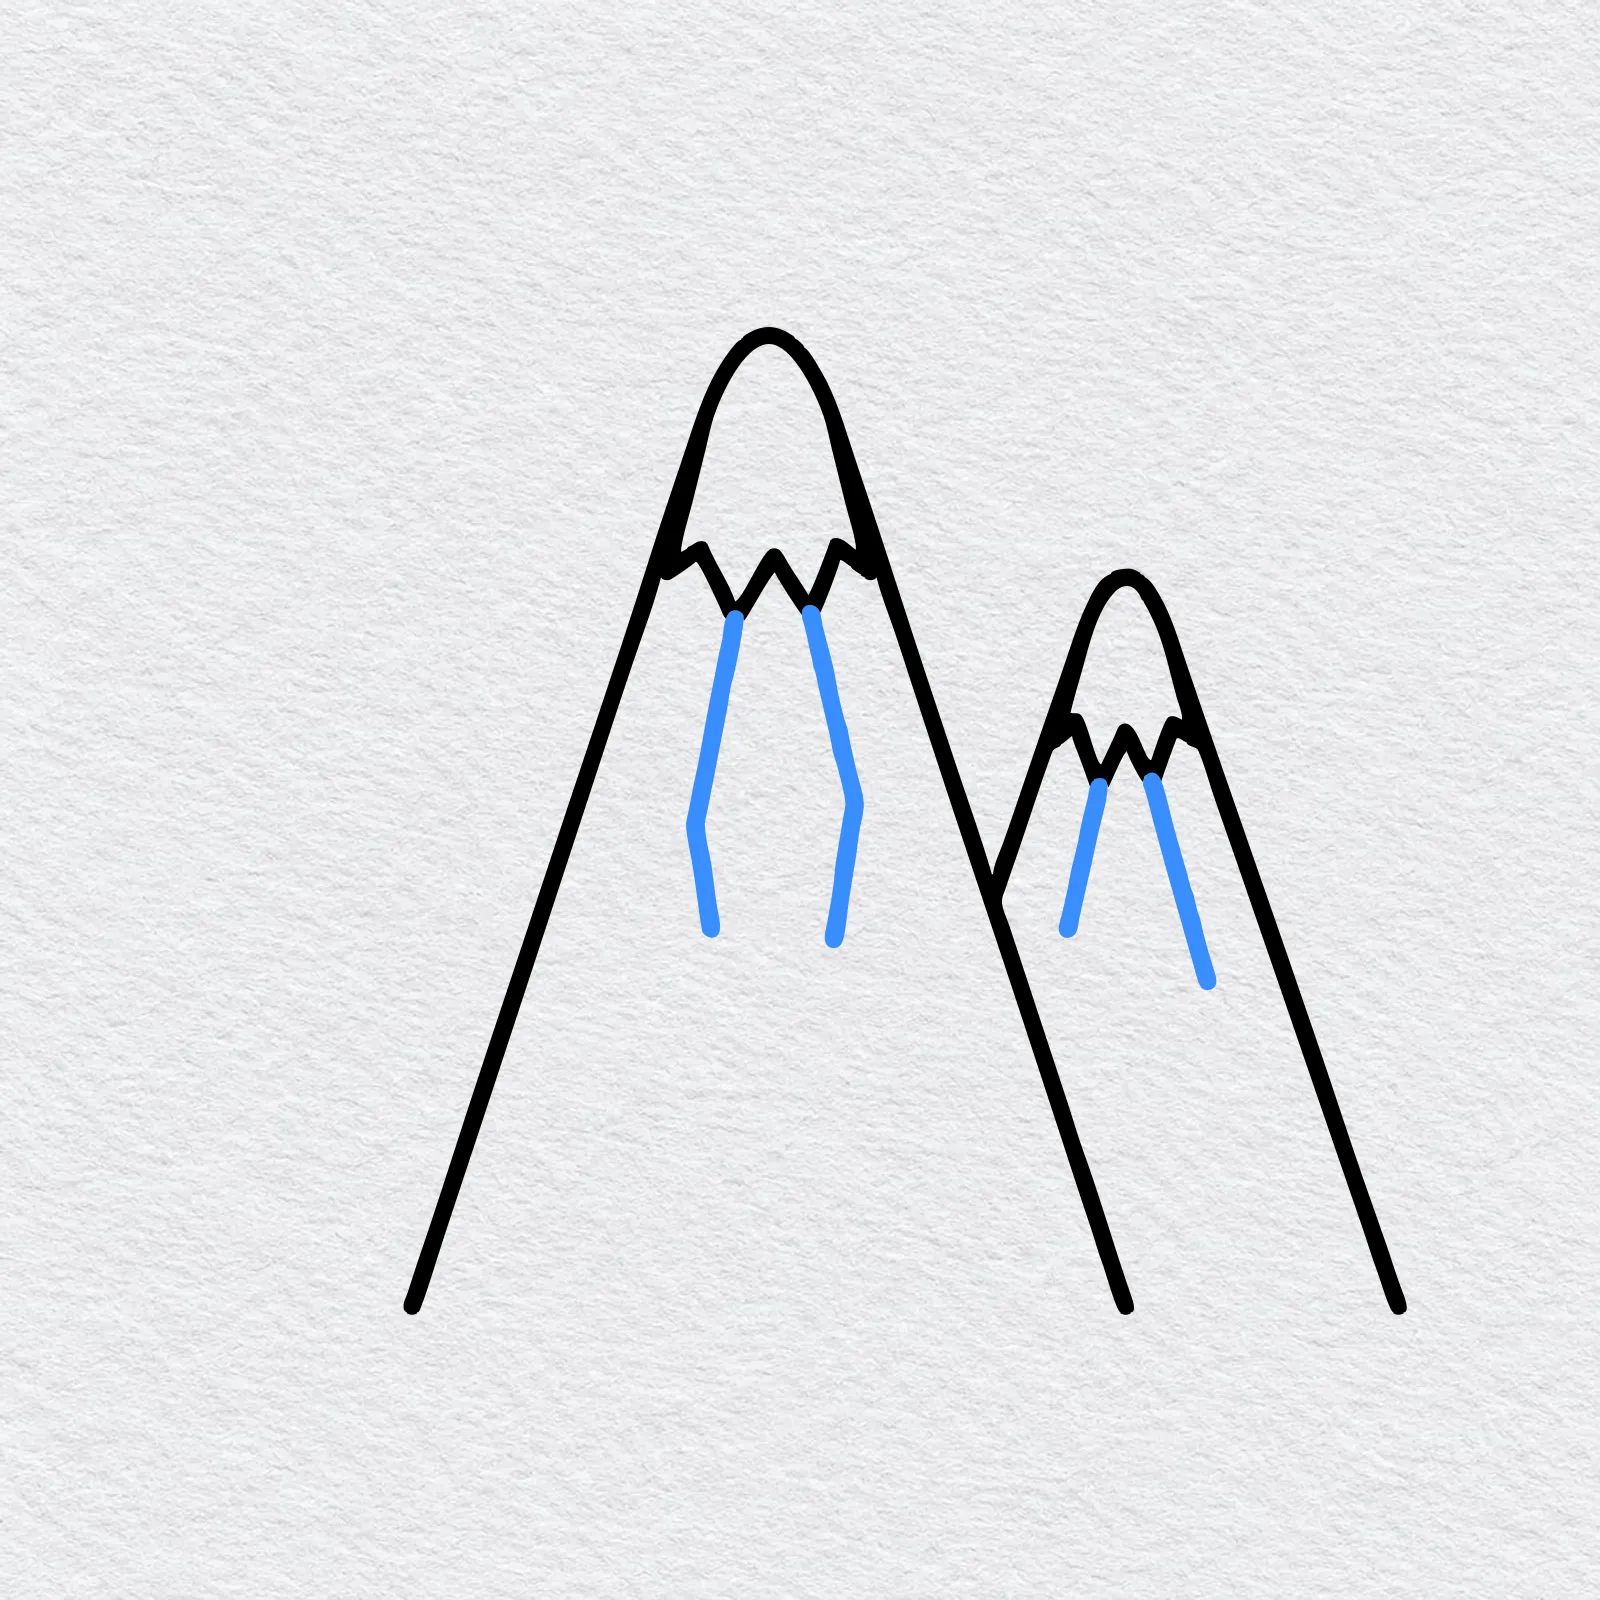
Under each snow cap, draw two wiggly lines going down the mountain. They show the rocky ridges and make your mountains look tall and steep.
-
Step 5 : Draw the pine trees
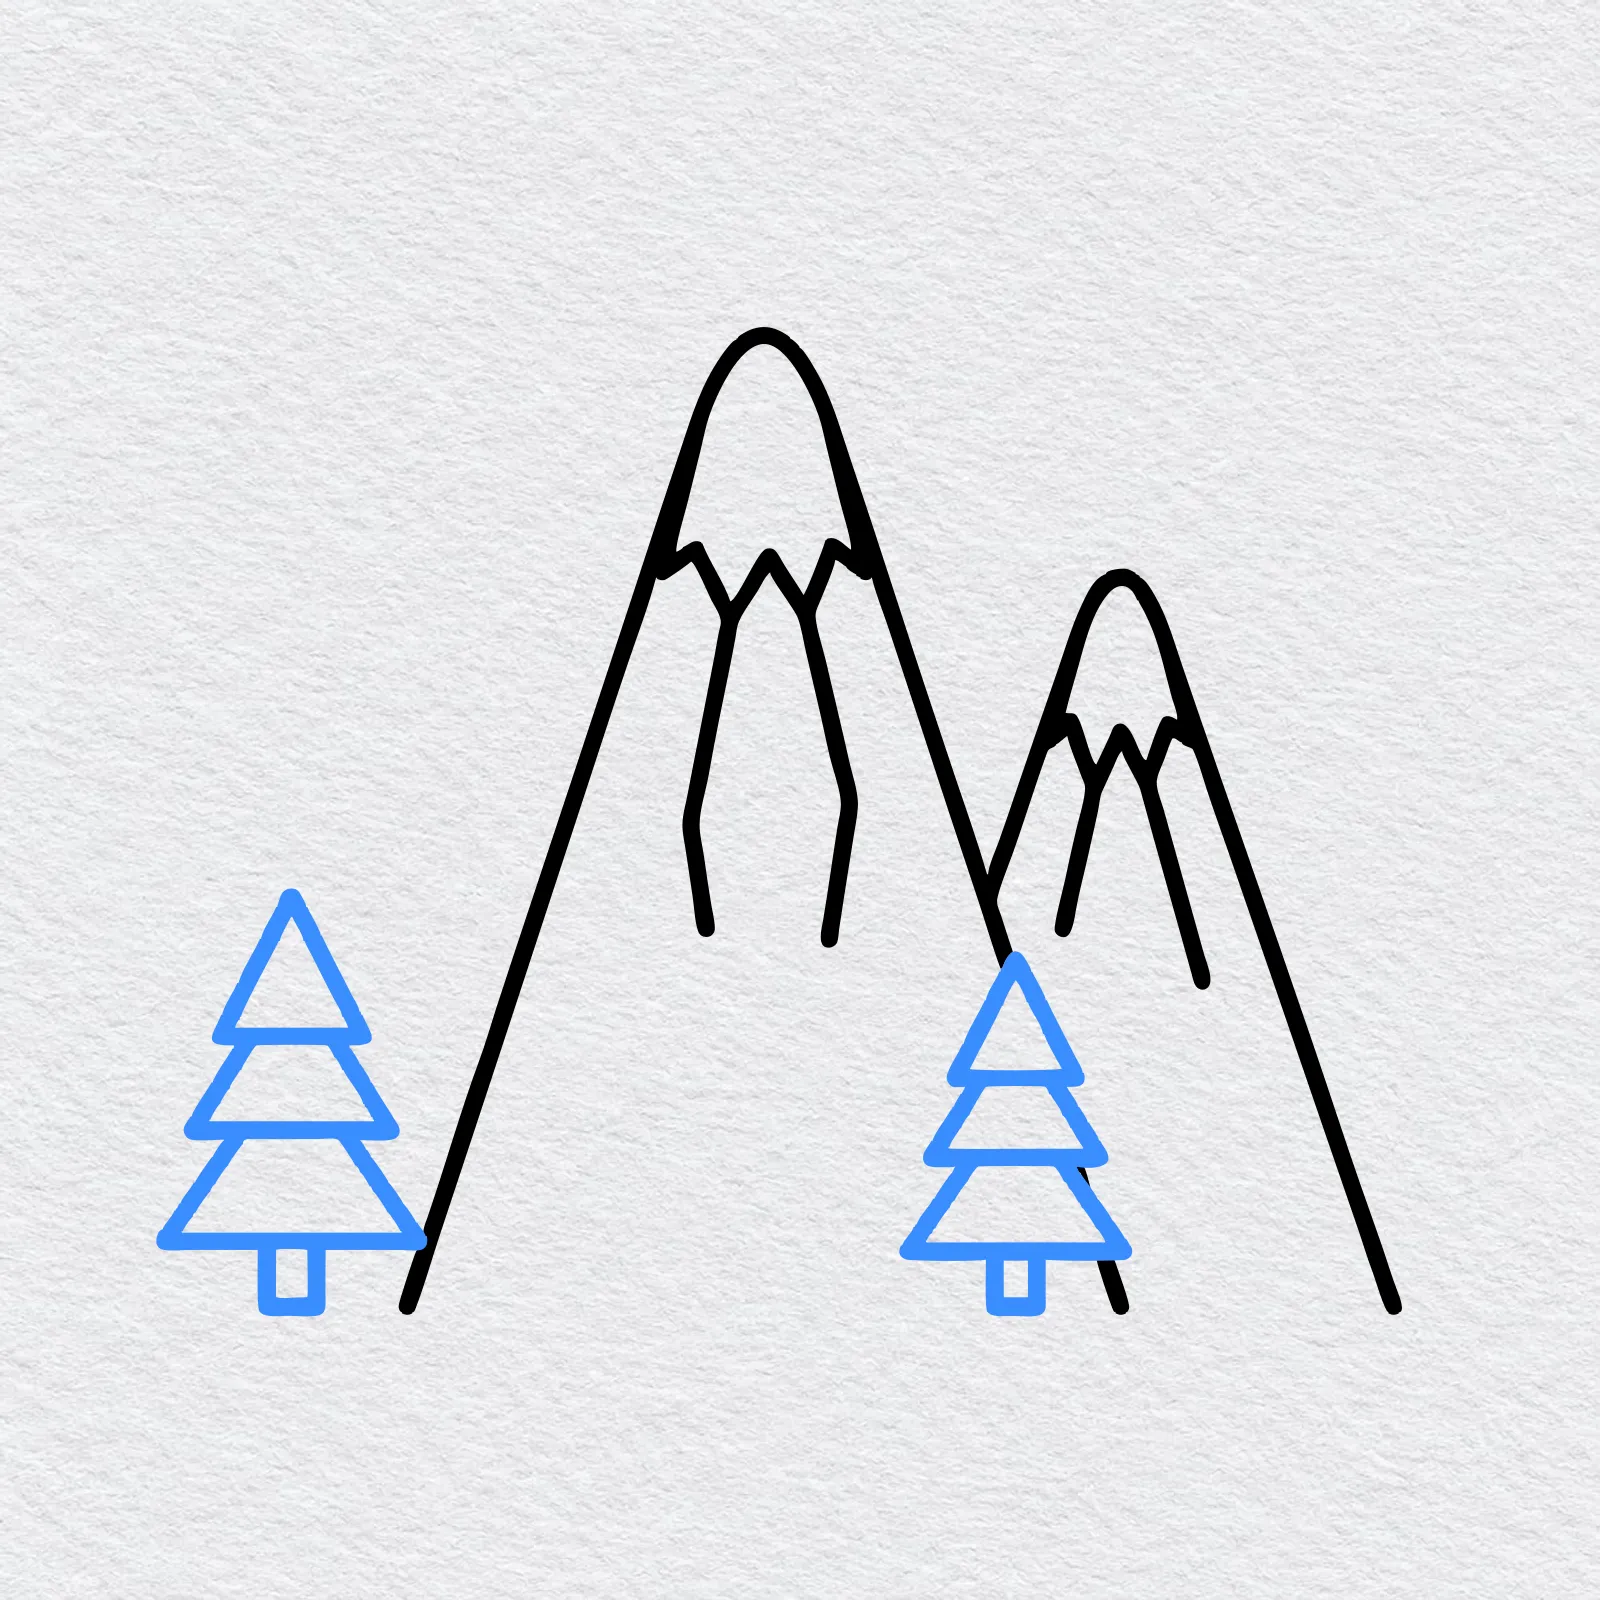
Draw a little pine tree on the left and another in front of the mountains. Stack three triangles, small on top and bigger at the bottom, then add a short square trunk.
-
Step 6 : Add the sun
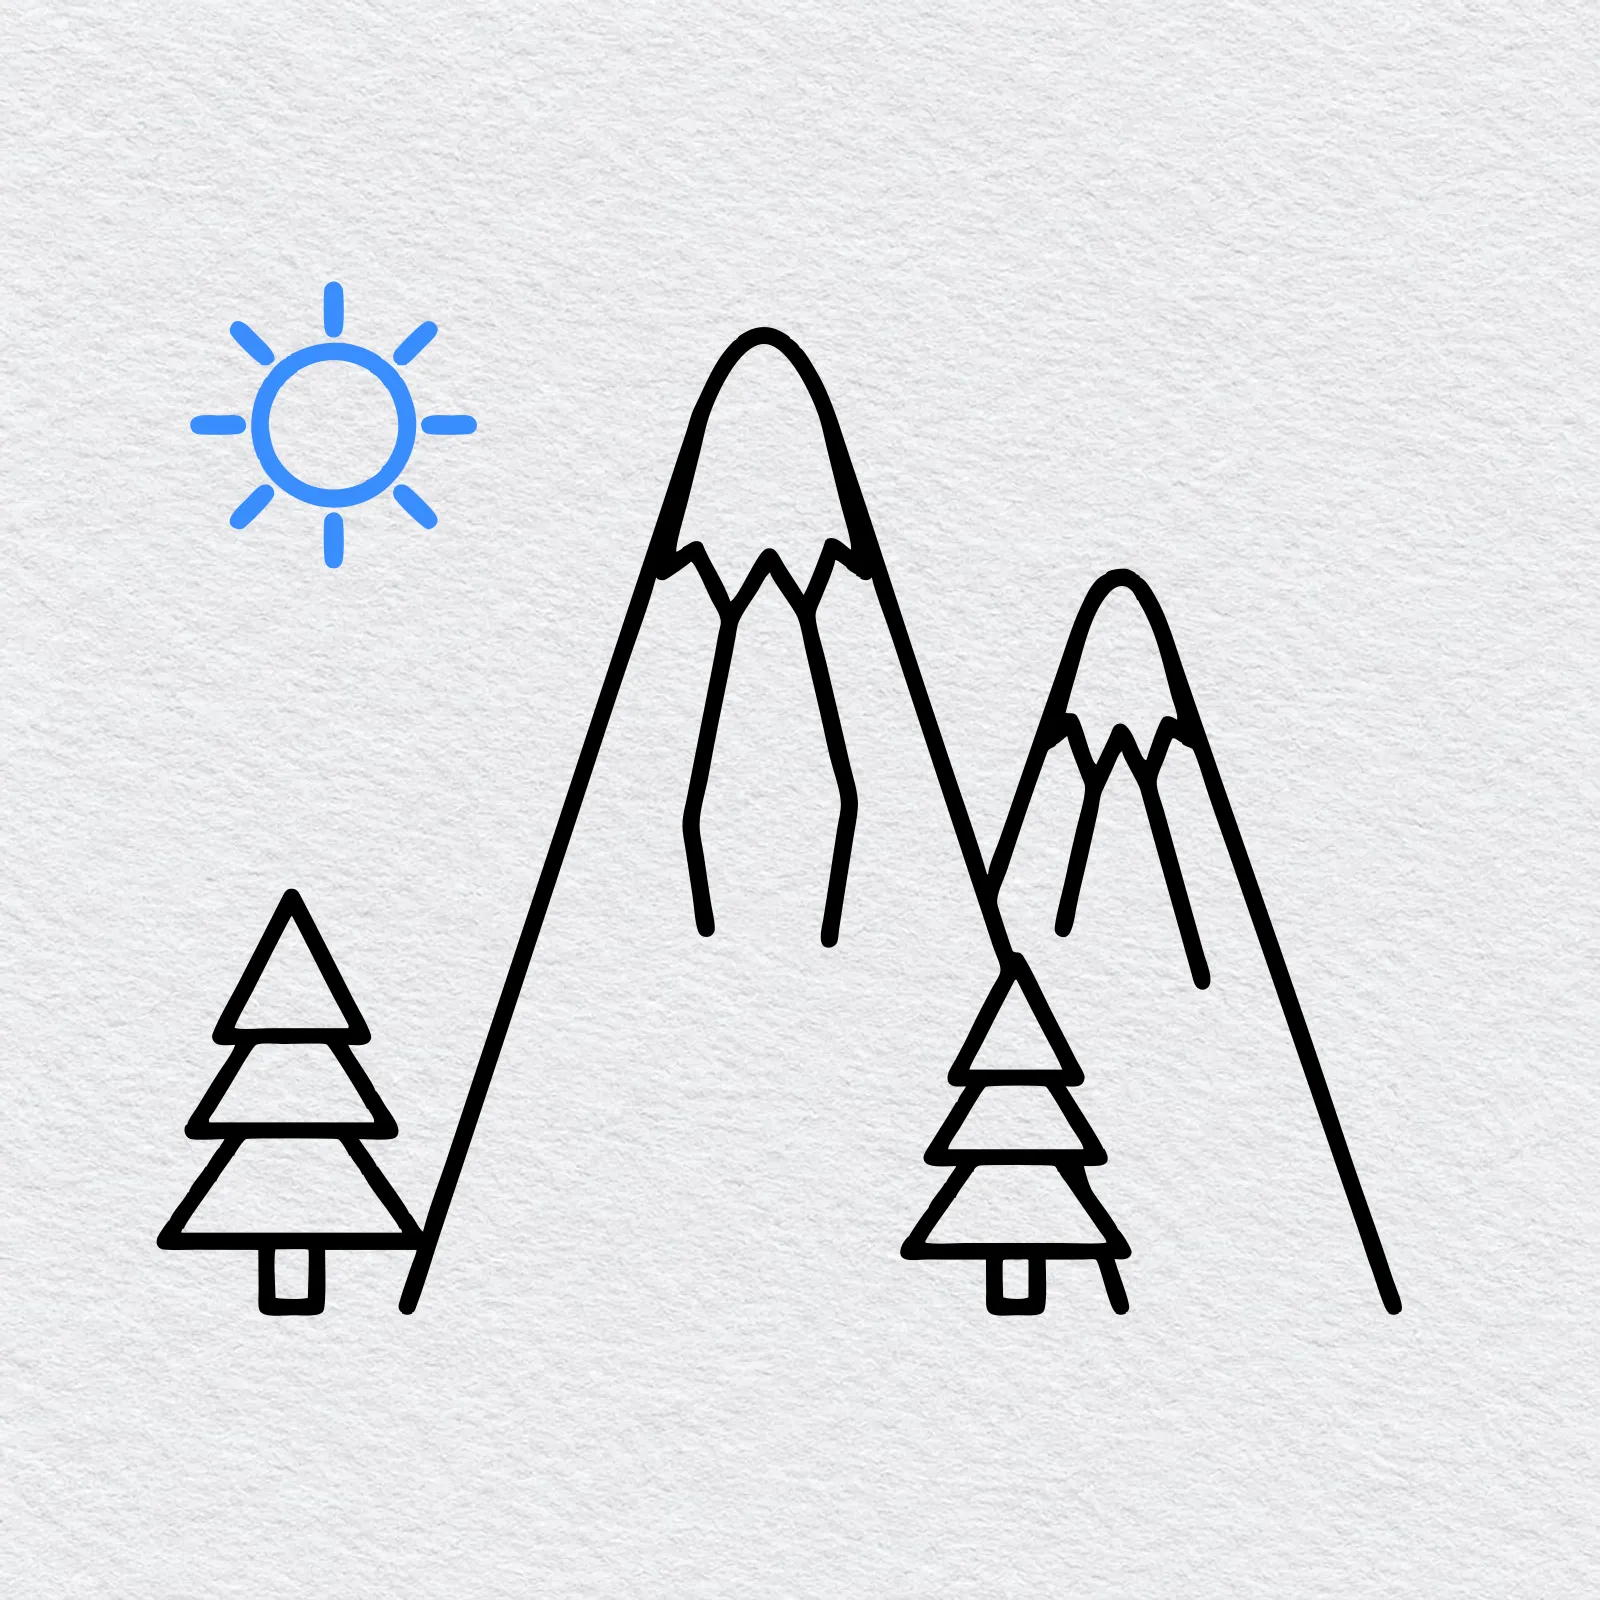
In the sky on the left, draw a small circle for the sun. Add eight short lines around it for the rays.
-
Step 7 : Draw the ground
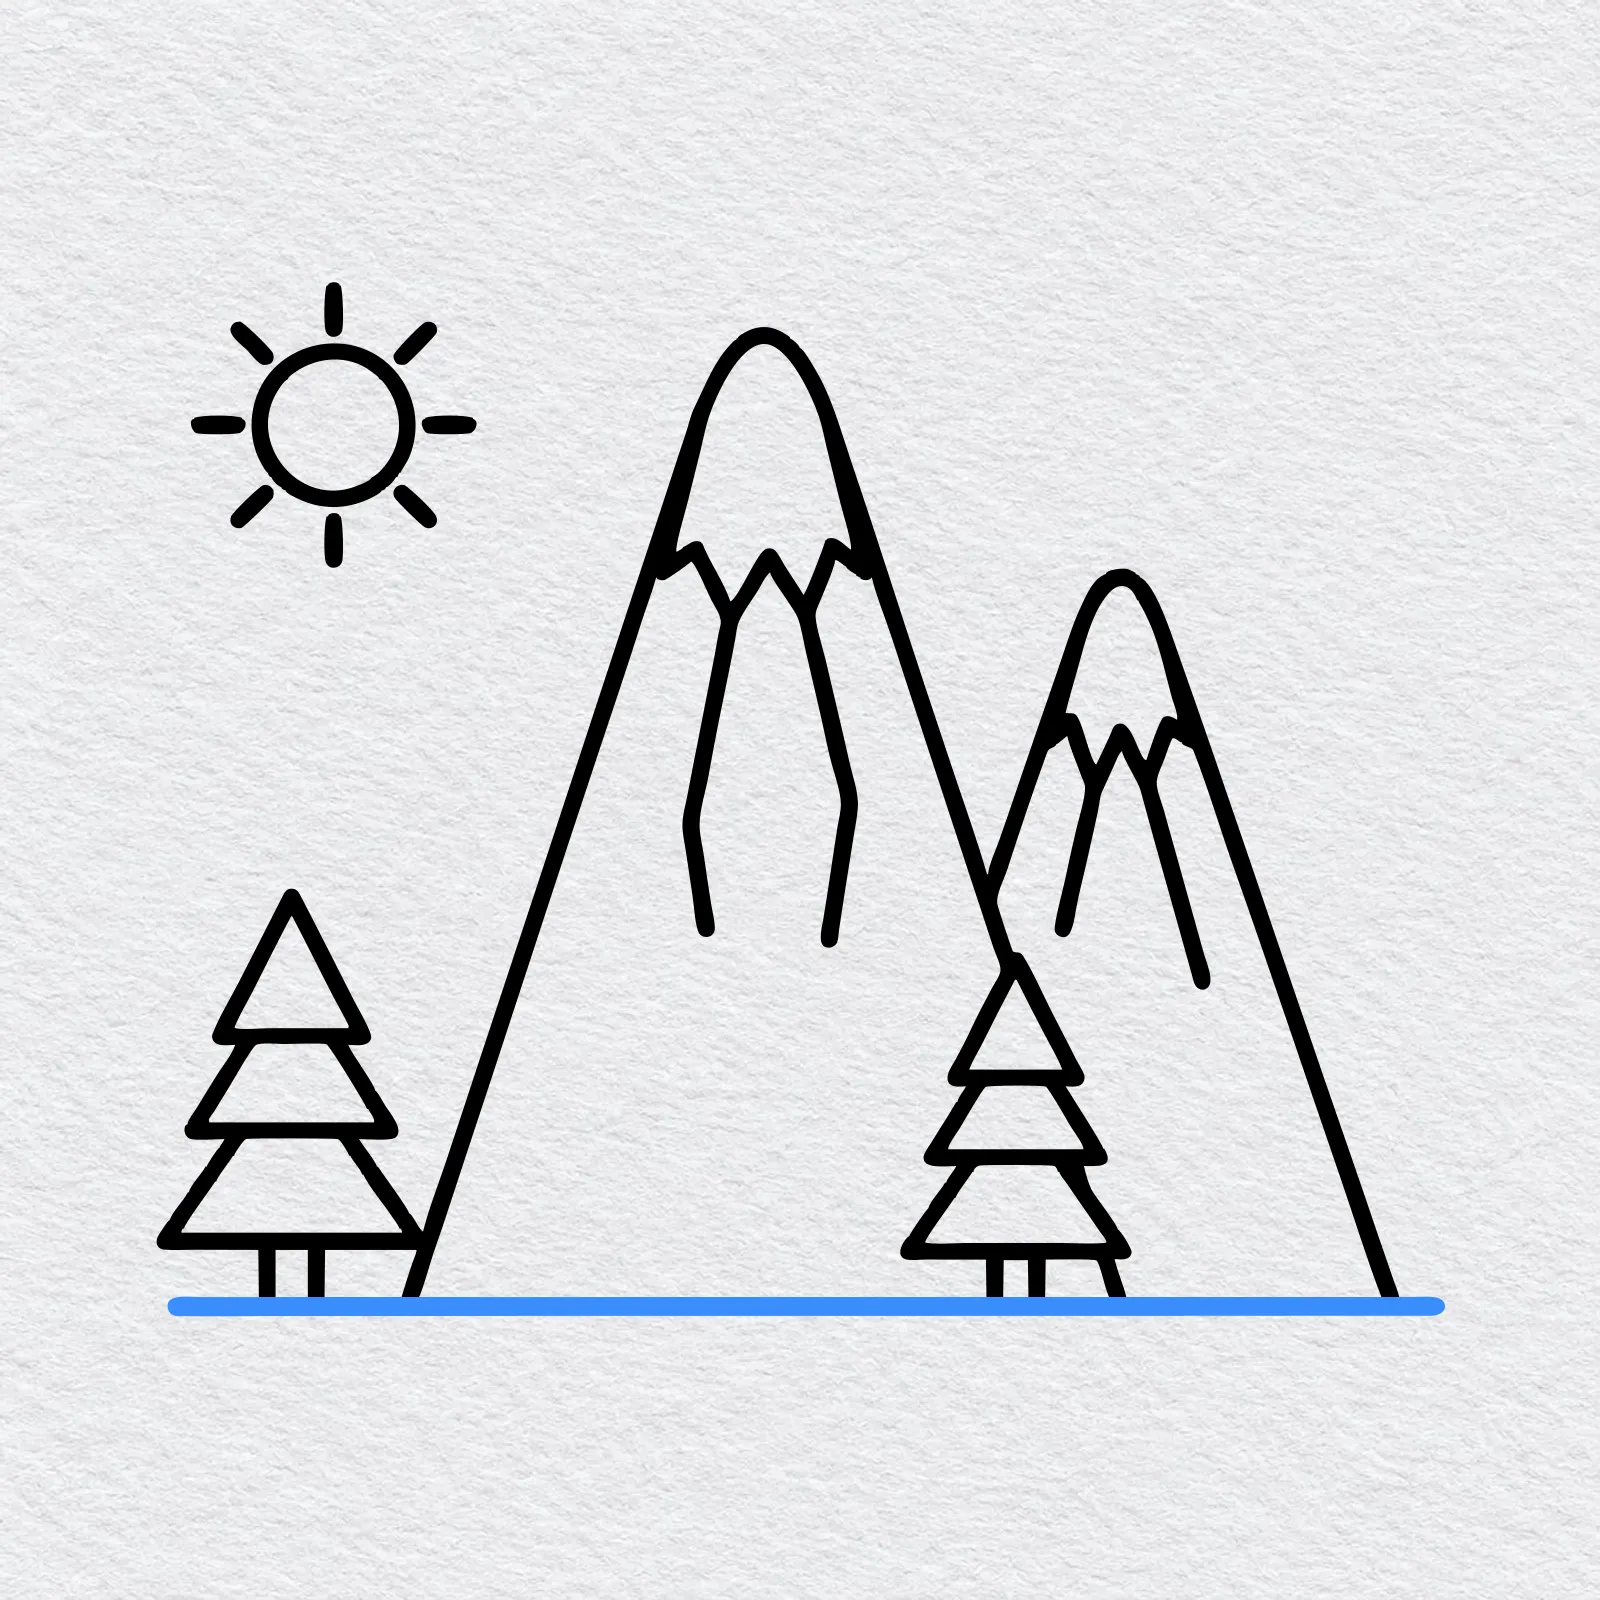
Finish with one long straight line along the bottom, so the mountains and the trees all stand on the ground.
-
Step 8 : Color your mountains
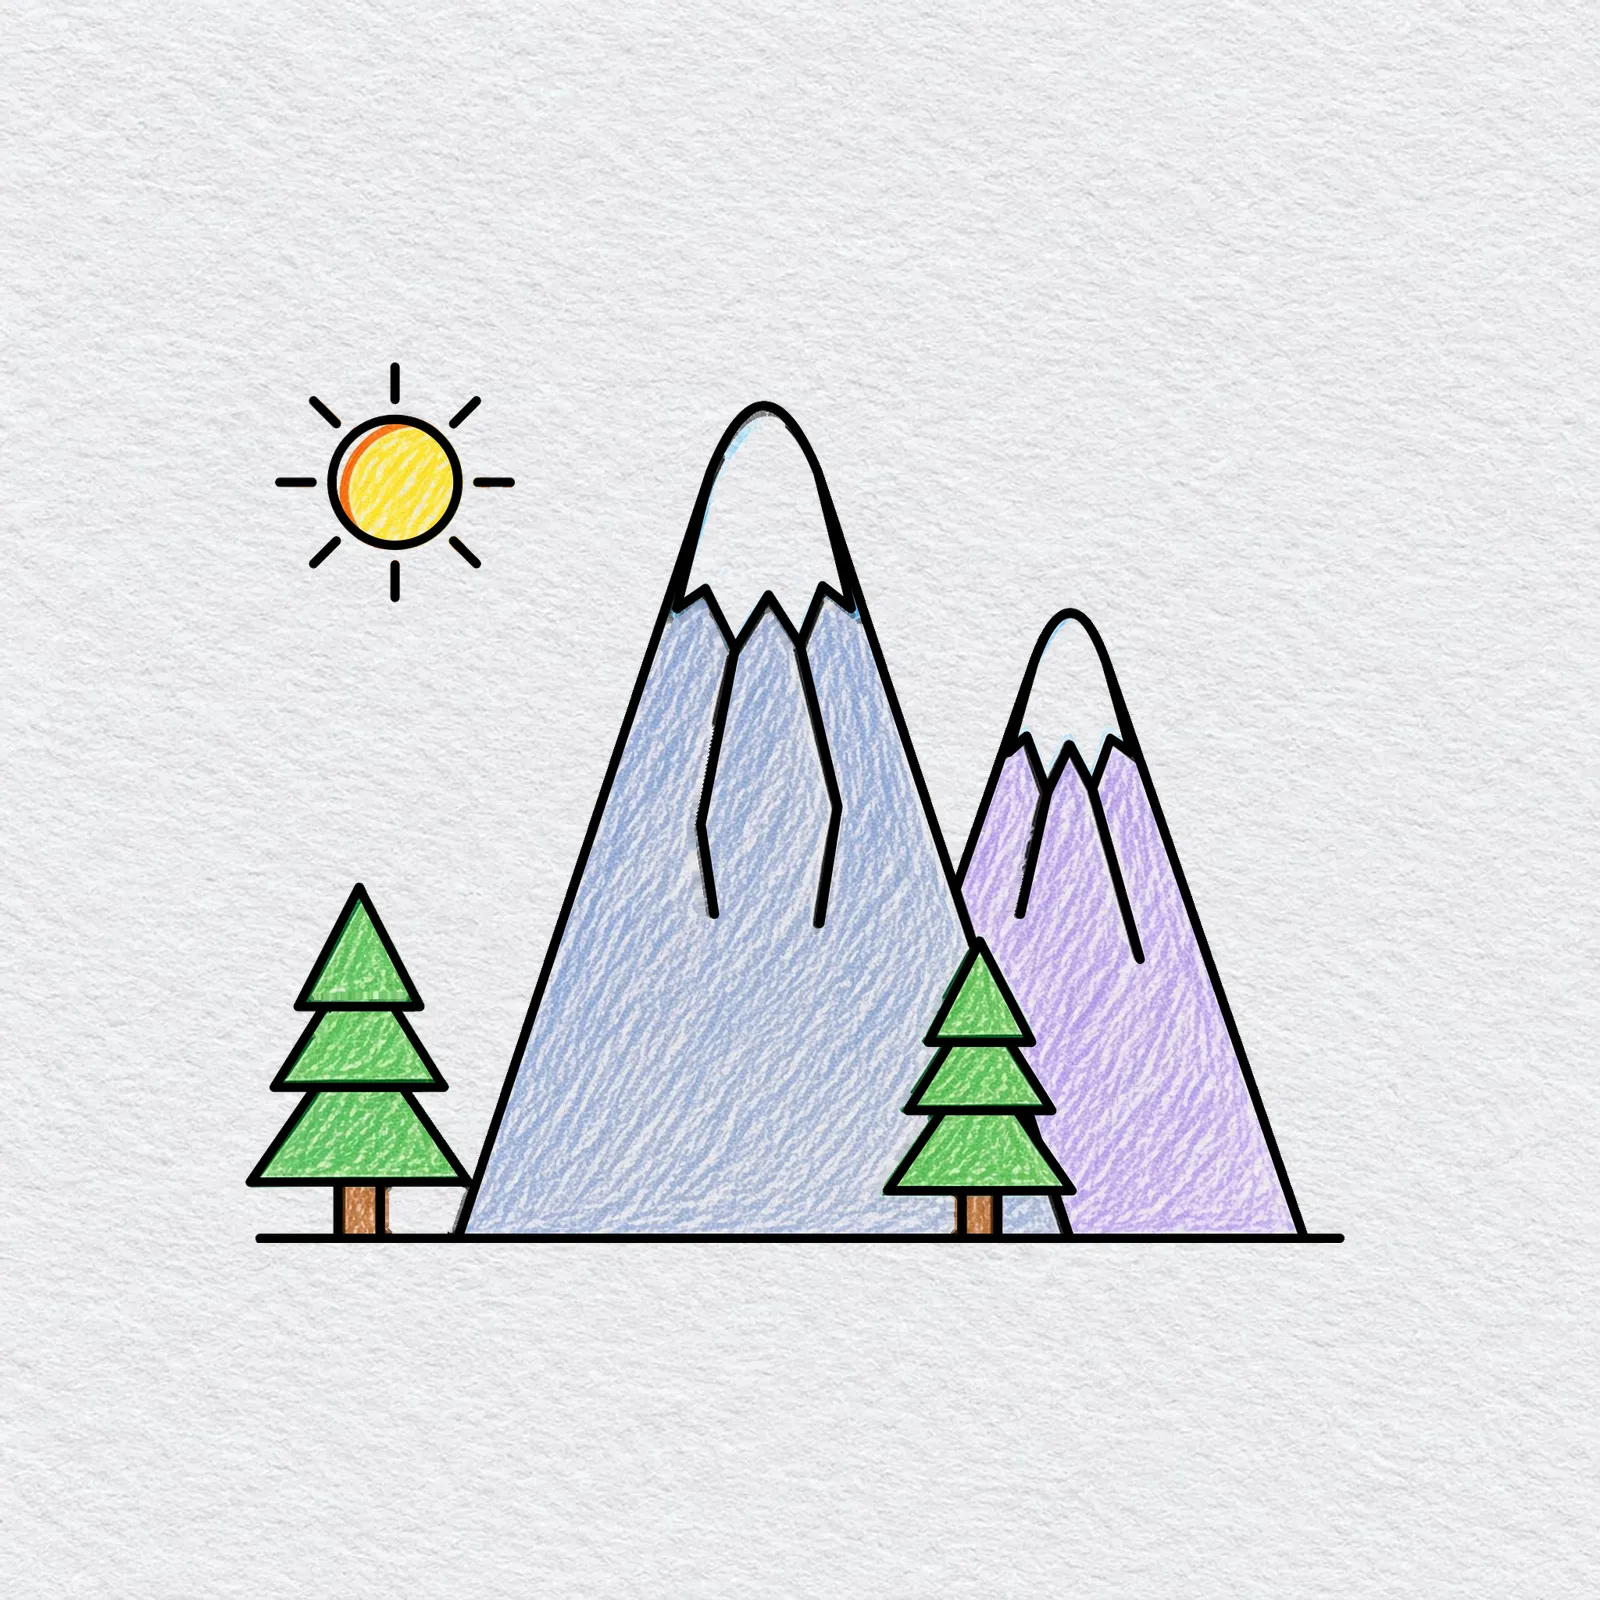
Color the tall mountain blue grey and the one behind it light purple, so they look different. Press lightly and color slowly, following the slopes.
Leave the snow caps white with a little pale blue, color the trees green with brown trunks and make the sun bright yellow with an orange edge.
Printable mountain drawing PDFs
 Save
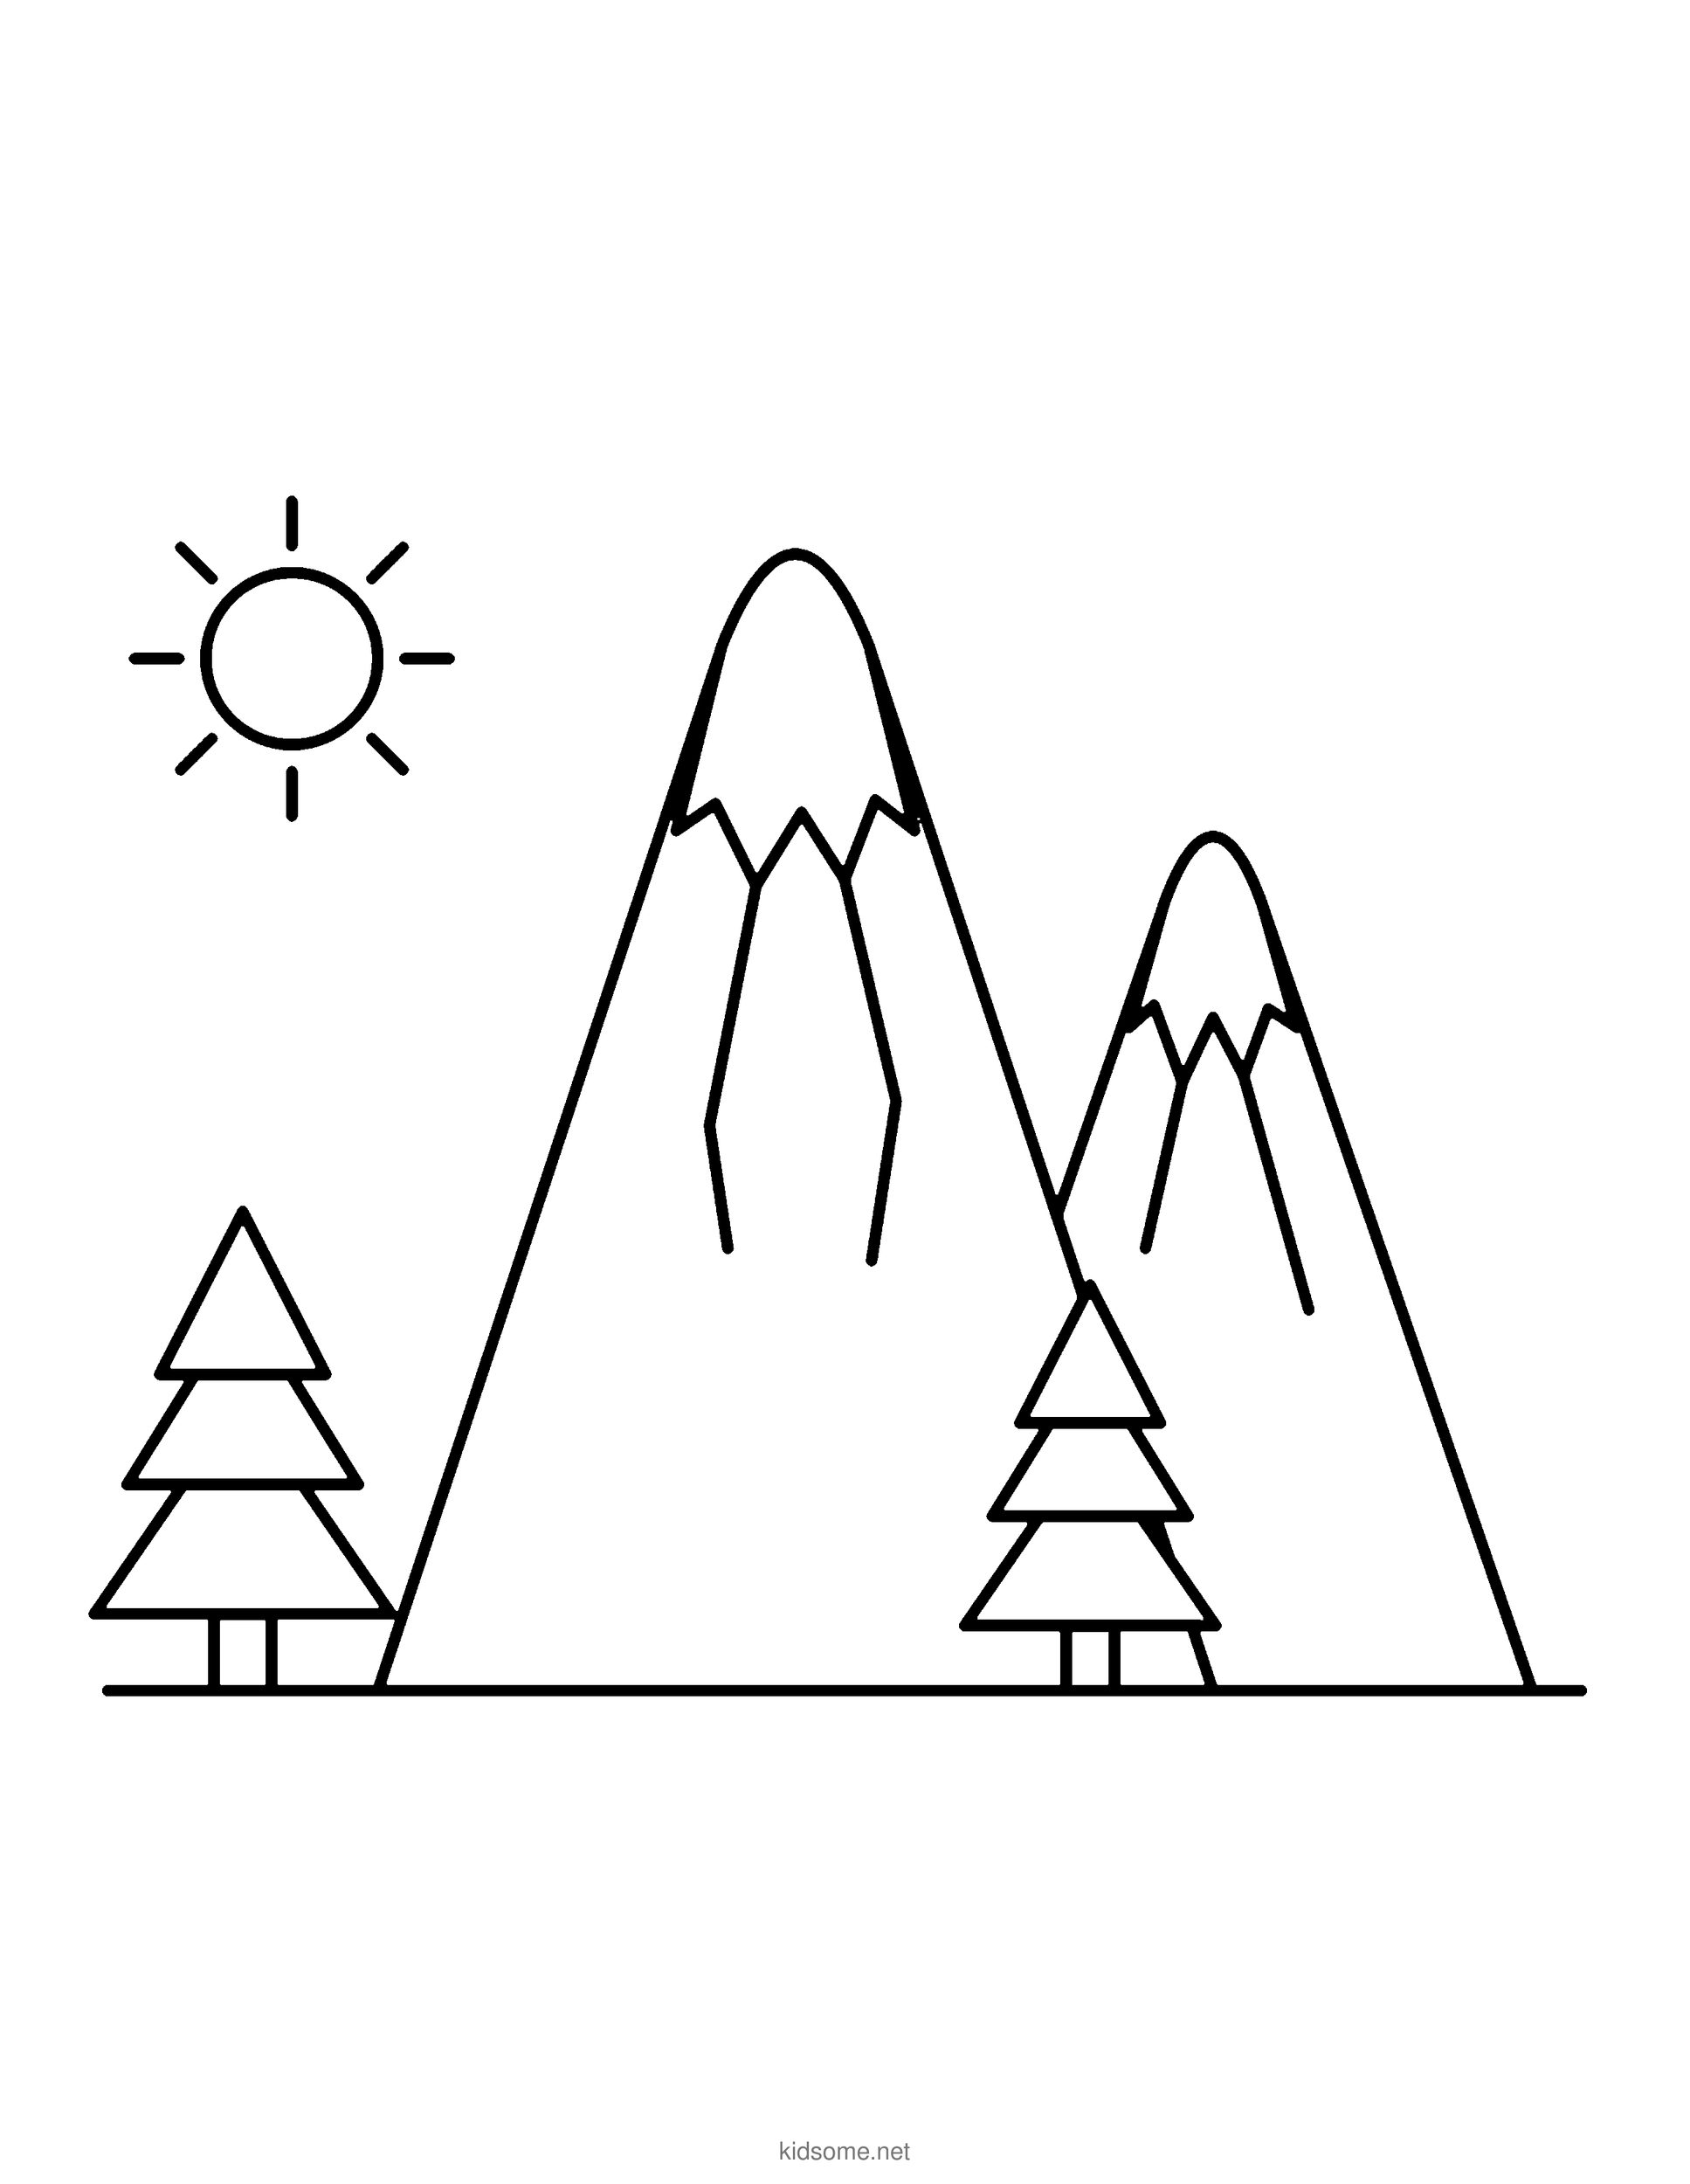
Mountain Outline to Color
The finished picture of two snowy mountains with zigzag caps, ridge lines, two pine trees and a sun, as a clean outline to print and color.
Download PDF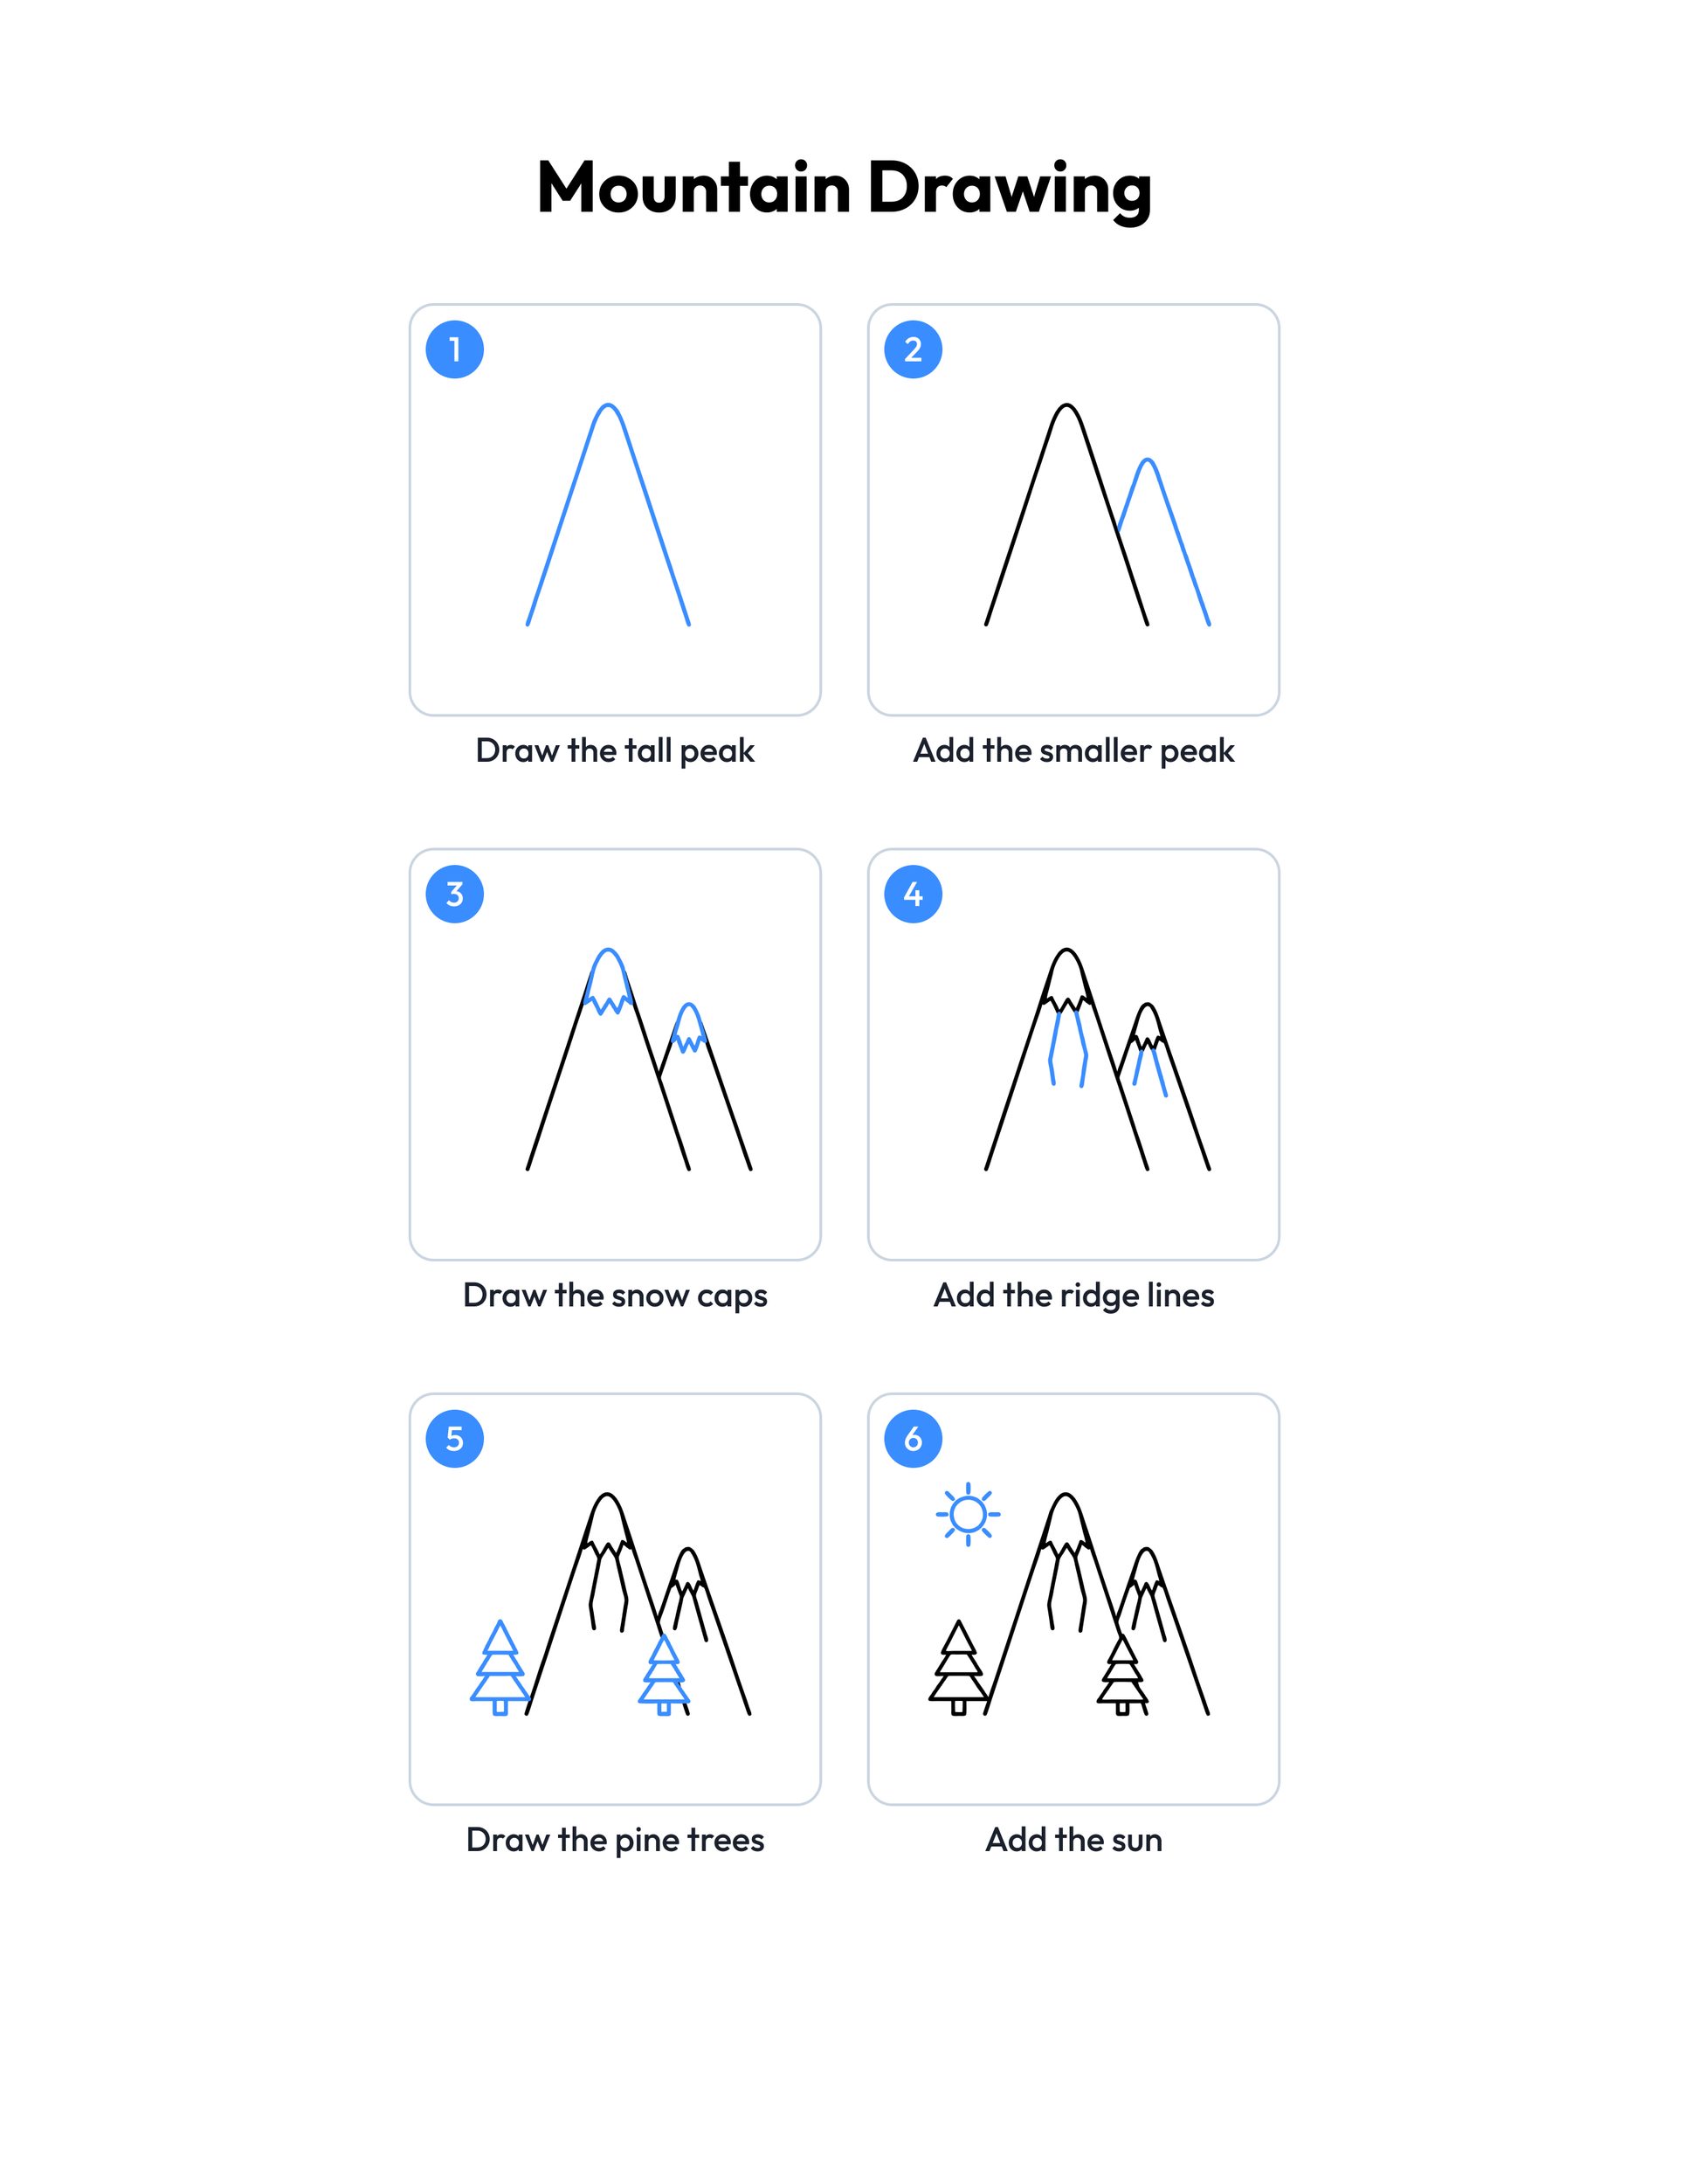 Save
Printable mountain drawing guide
Every step, two to a row, with the finished mountain in color at the end.
Download PDFHow to use this guide
Print the outline at 100 percent, or choose Fit to page if your printer asks. The margins fit US Letter and A4, so both mountains, the trees and the sun stay on the sheet. Page one is the outline to color. Page two is the colored example, so print page one alone if you only want the picture to fill in.
For drawing, plain copy paper and a pencil with a good eraser work best. Sketch lightly at first, because the slopes often need a second try to look even. Start the tall peak a little left of the middle and leave room on the right for the second mountain and on the left for the sun and a tree. The lines do not have to be perfectly straight. Real mountains are bumpy, so a wobbly slope looks just right.
The snow caps are what make this an easy mountain drawing look snowy. Draw each zigzag with small, even points, and keep it near the top of the peak. Younger kids can stop after the snow caps and color two plain mountains. Older kids can add the ridges, the trees and the sun, then their own extras, like clouds, birds or a little cabin.
When the drawing looks right, trace the lines with a marker or a dark crayon and erase the pencil marks. For markers or paint, choose cardstock so the color does not soak through.
Ideas for your mountain drawing
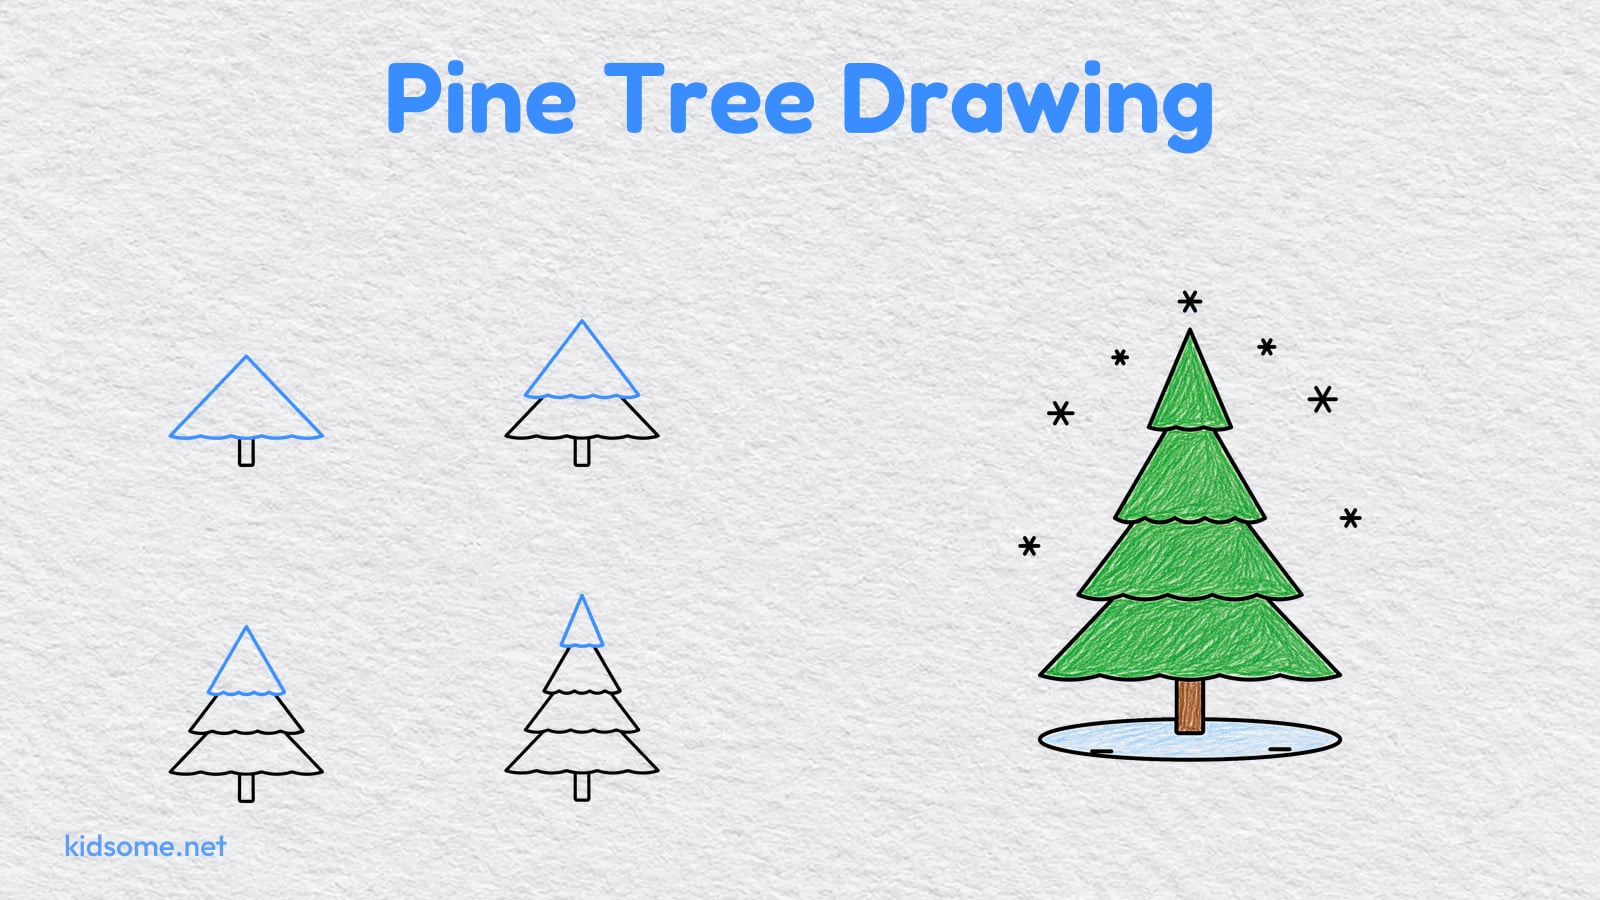
- Pine forest: Follow our pine tree drawing guide and add a whole row of pine trees along the ground, some big and some small, to turn your mountains into a forest.
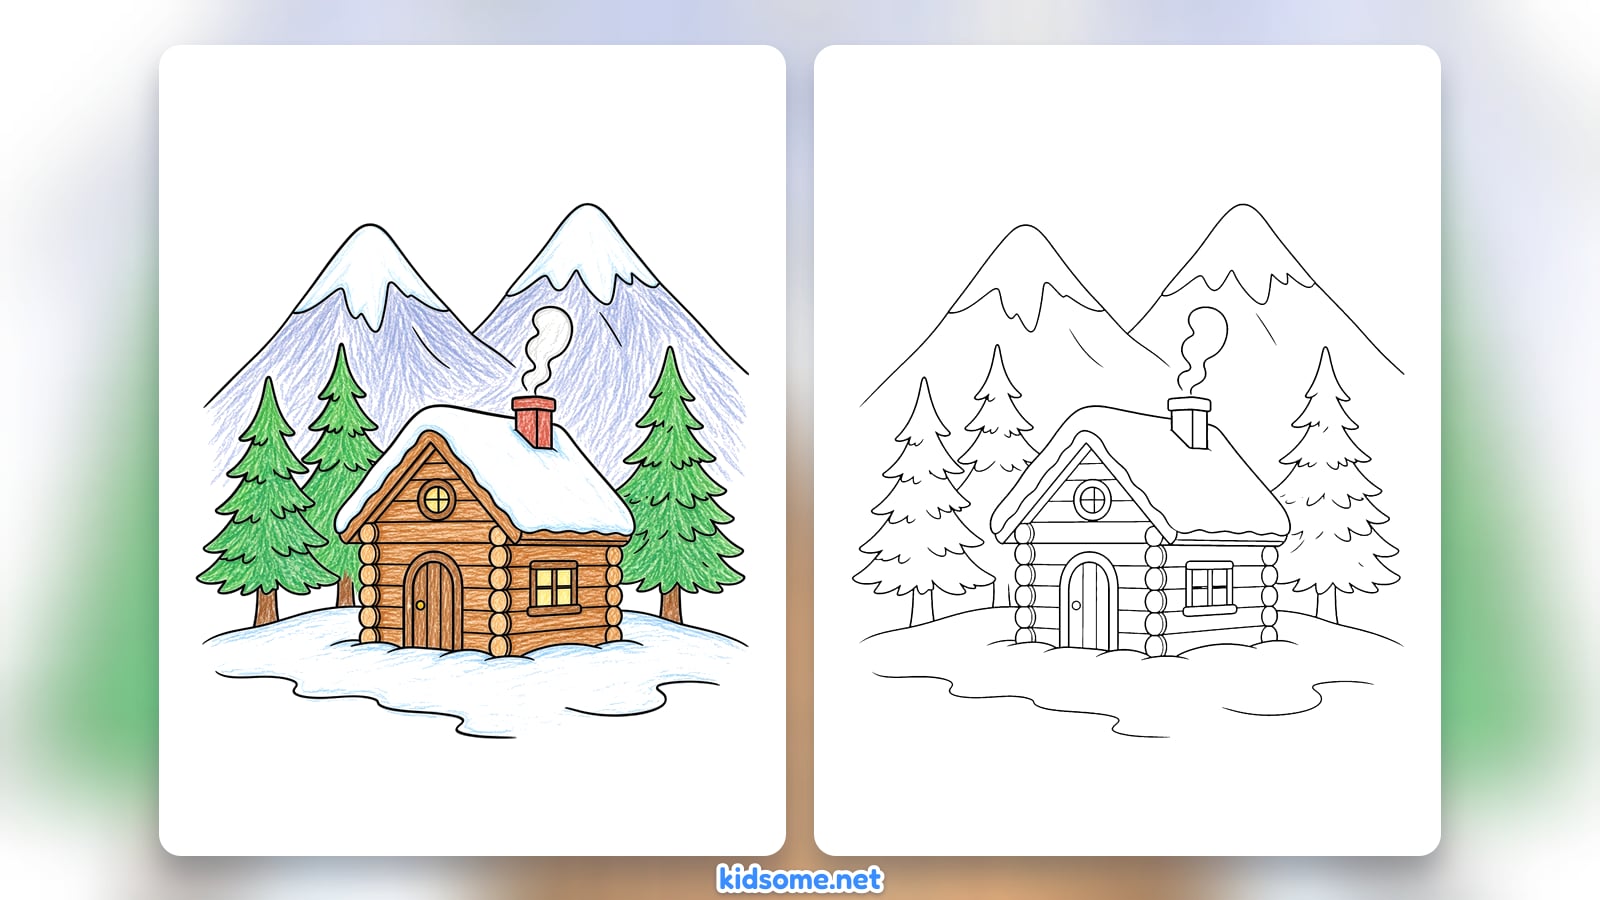
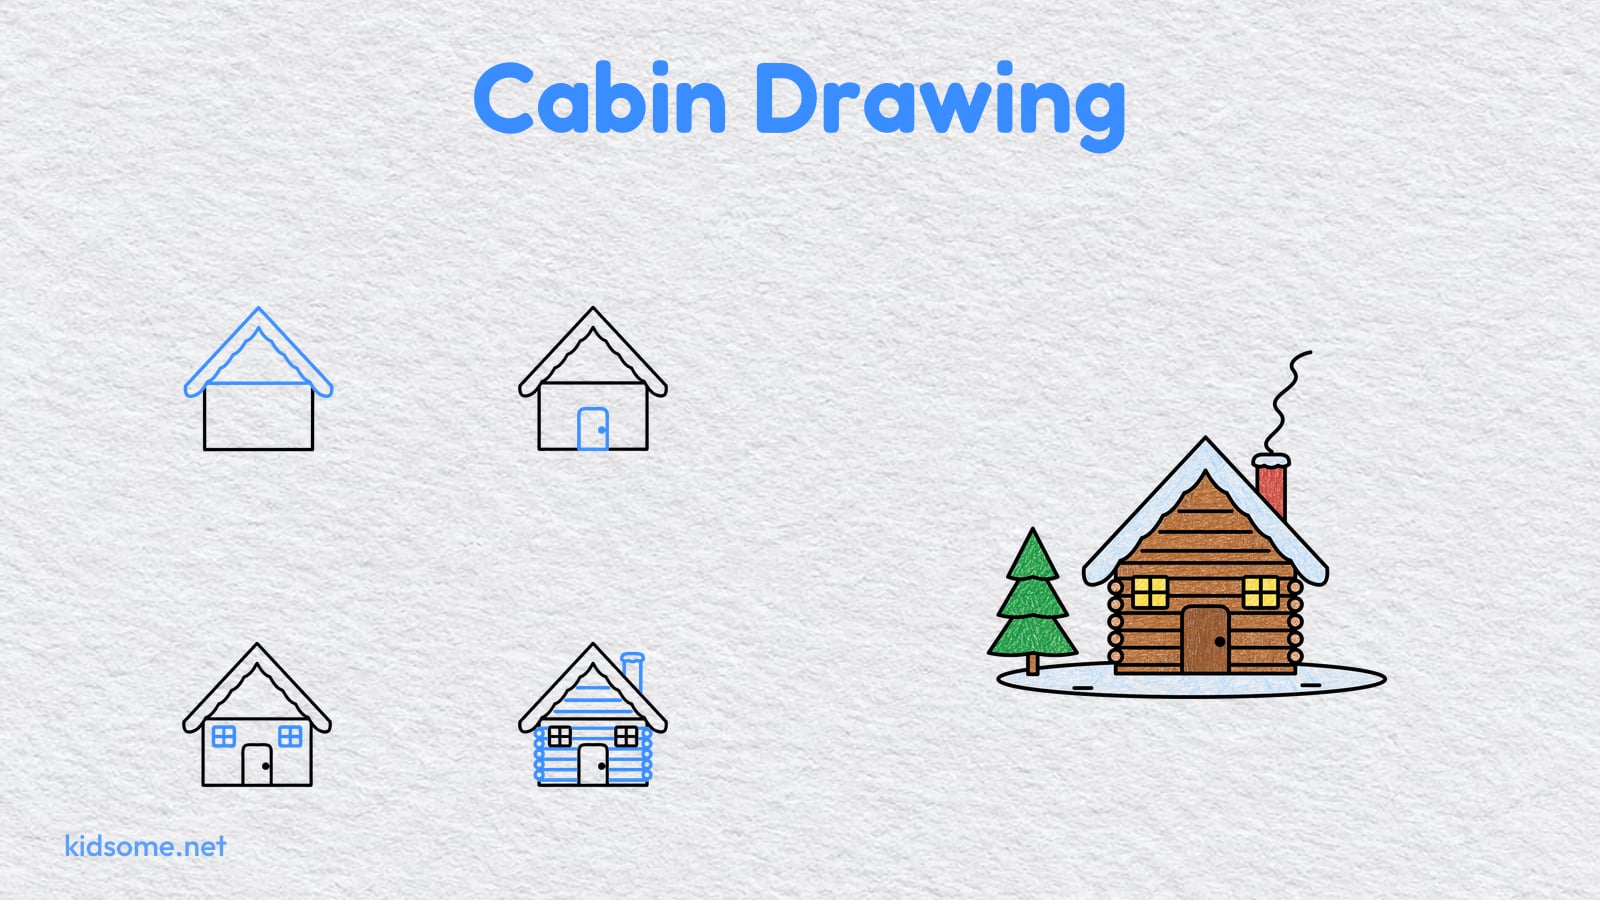
- Cabin in the hills: Use our cabin drawing guide to draw a little log cabin at the foot of the mountains, then add a curl of smoke from its chimney.
- Cloudy peaks: Try our cloud drawing guide and draw a few puffy clouds floating around the top of the tall mountain, so the peak pokes out above them.
- Snowy home: Draw an igloo in the snow next to the mountains with our igloo drawing guide, and color the whole scene in cool blues and whites.
- Mountain animal: Add a mountain animal to your picture with our snow leopard drawing guide, sitting on a rock at the foot of the peaks.
- Night mountains: Draw the mountains again, color the sky dark blue and add bright waves with our northern lights drawing guide for a glowing night scene.
- Coloring break: Print our winter coloring pages for a calm coloring time after the drawing is done, and color them in the same snowy colors as your mountains.
- Seasons chart: Draw the same mountains four times and color each one for a different season: snowy in winter, green in spring, golden in summer and orange in autumn.
- Classroom range: Ask every child to draw one mountain, then line up all the drawings along the wall to make a long mountain range that the class can name together.
What age is this mountain drawing for?
It is made for ages 4 to 8. The youngest kids can draw the two peaks and the snow caps with a grown up nearby and color them in. Older children can draw every step on their own, add the ridges, trees and sun, and then make up new mountain scenes with clouds, cabins or animals.
Is this mountain drawing easy for beginners?
Yes. The whole picture is built from slanted lines, zigzags, triangles and a circle, with only one new part in each step. Kids who can draw a straight line and a triangle can finish it, and the colored example shows how the end result can look.
How do I print the outline?
Click the outline card to open the PDF, then print at 100 percent or choose Fit to page. It prints on US Letter and A4 paper. Page one is the outline to color, and page two is the colored example, so print page one alone if you only need the picture.
Can I use this guide in my classroom?
Yes. The guide and the outline are free for personal and classroom use, so teachers can print a copy for every child for an art lesson, a geography unit or a snowy day indoors. Please share a link to this page instead of the files, and do not sell them or post them on other websites.
What colors should I use for mountains?
Blue, grey and purple make mountains look cool and far away, while brown and green suit the lower slopes. Leave the snow caps white with a touch of pale blue, color the pine trees dark green with brown trunks, and give the sun a bright yellow middle with an orange edge.