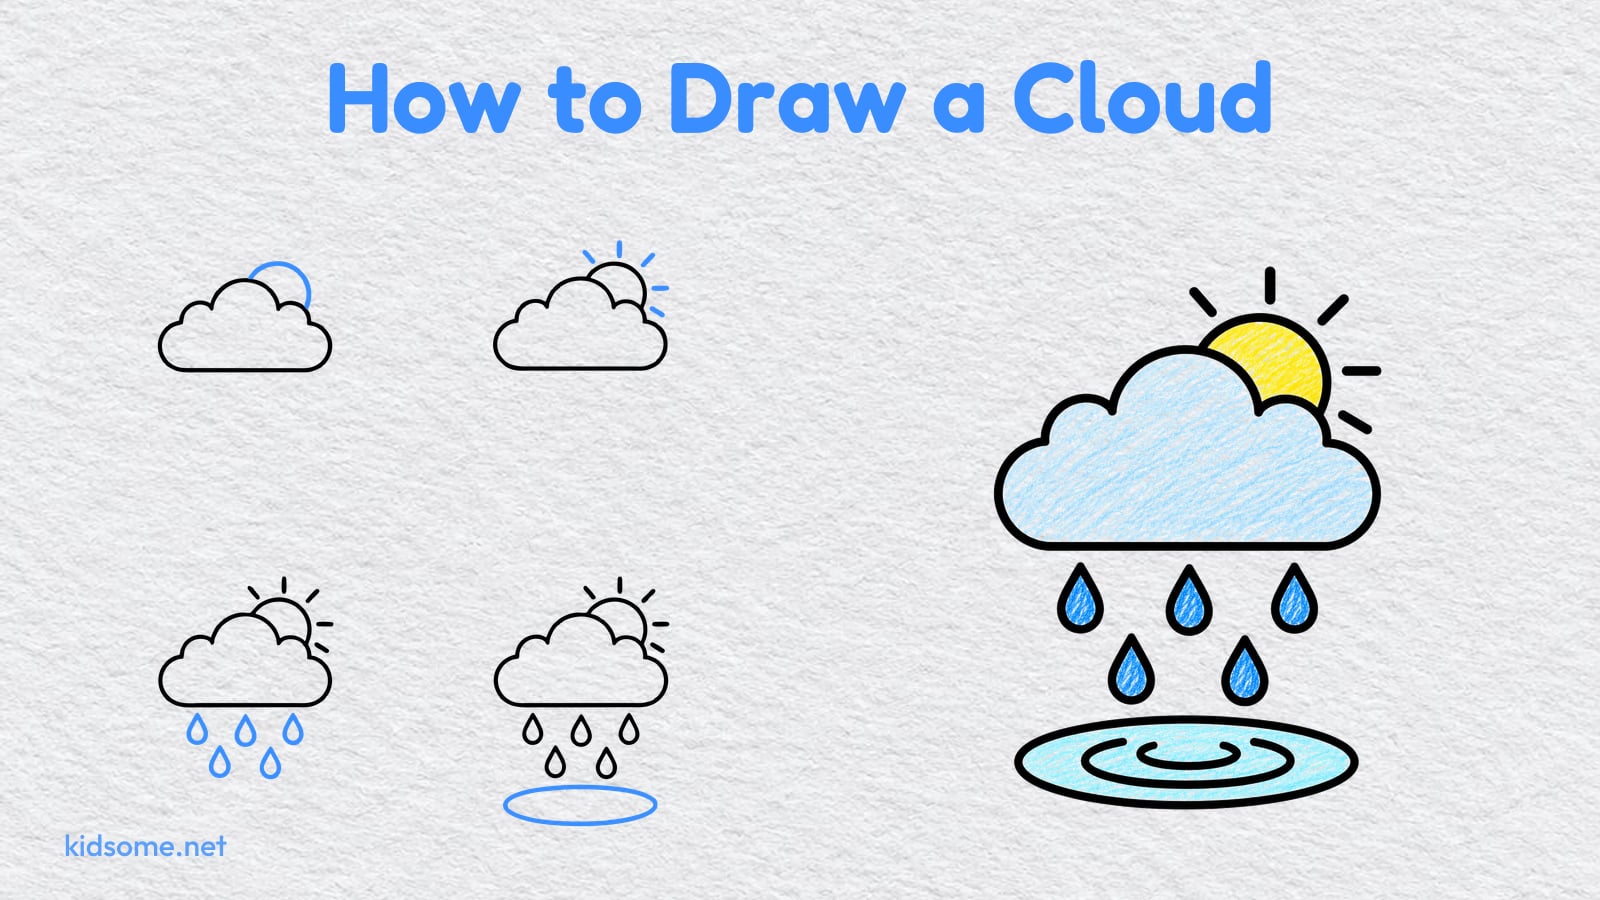
This how to draw a cloud guide is made for kids ages 4 to 8 and the parent or teacher drawing beside them. If your child can draw a bumpy curve, they can draw this whole picture: a puffy cloud with the sun peeking out behind it and five raindrops falling to a puddle with ripple rings. It is the sky of a spring day, when the rain has not quite stopped and the sun is already back.
There are nine steps. Each step shows the drawing so far in black and the new part in blue, so your child always knows what to add next. The last picture shows the cloud colored in. Two free PDFs go with the guide: the finished outline to color, and a printable guide with every step to keep beside the paper. Both print on US Letter and A4, and there is no sign-up.
When the cloud is done, look through the nature drawing guides for the next simple picture to try.
-
Step 1 : Draw the top bump

Start with one bump in the top half of your paper, like a little hill. This is the top of your cloud, so leave room above it for the sun.
-
Step 2 : Draw two smaller bumps
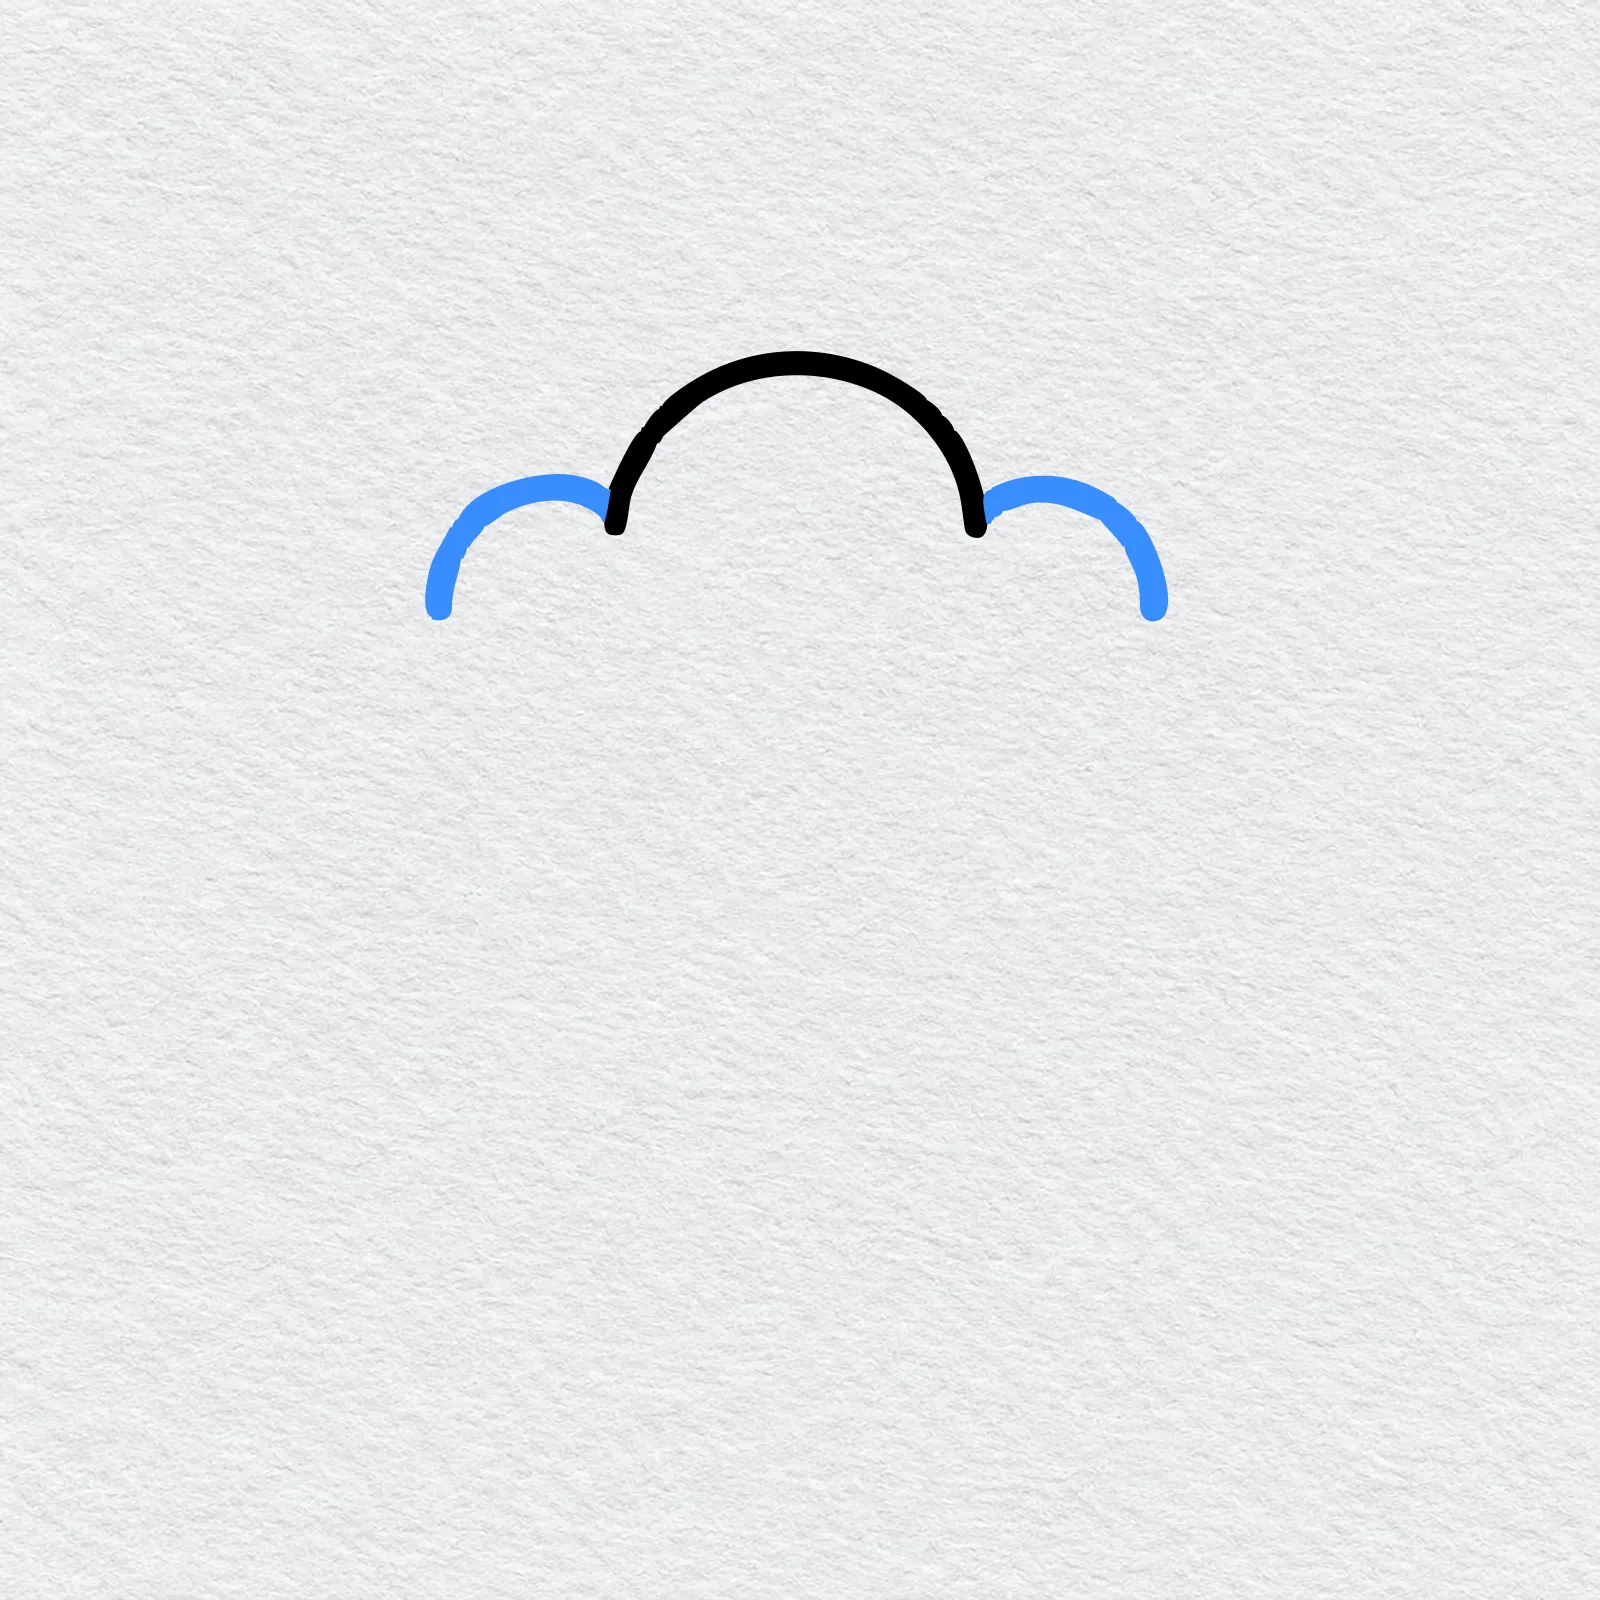
Add a smaller bump on each side of the first one, starting where the big one ends. Now your cloud has three bumps on top.
-
Step 3 : Draw the side bumps
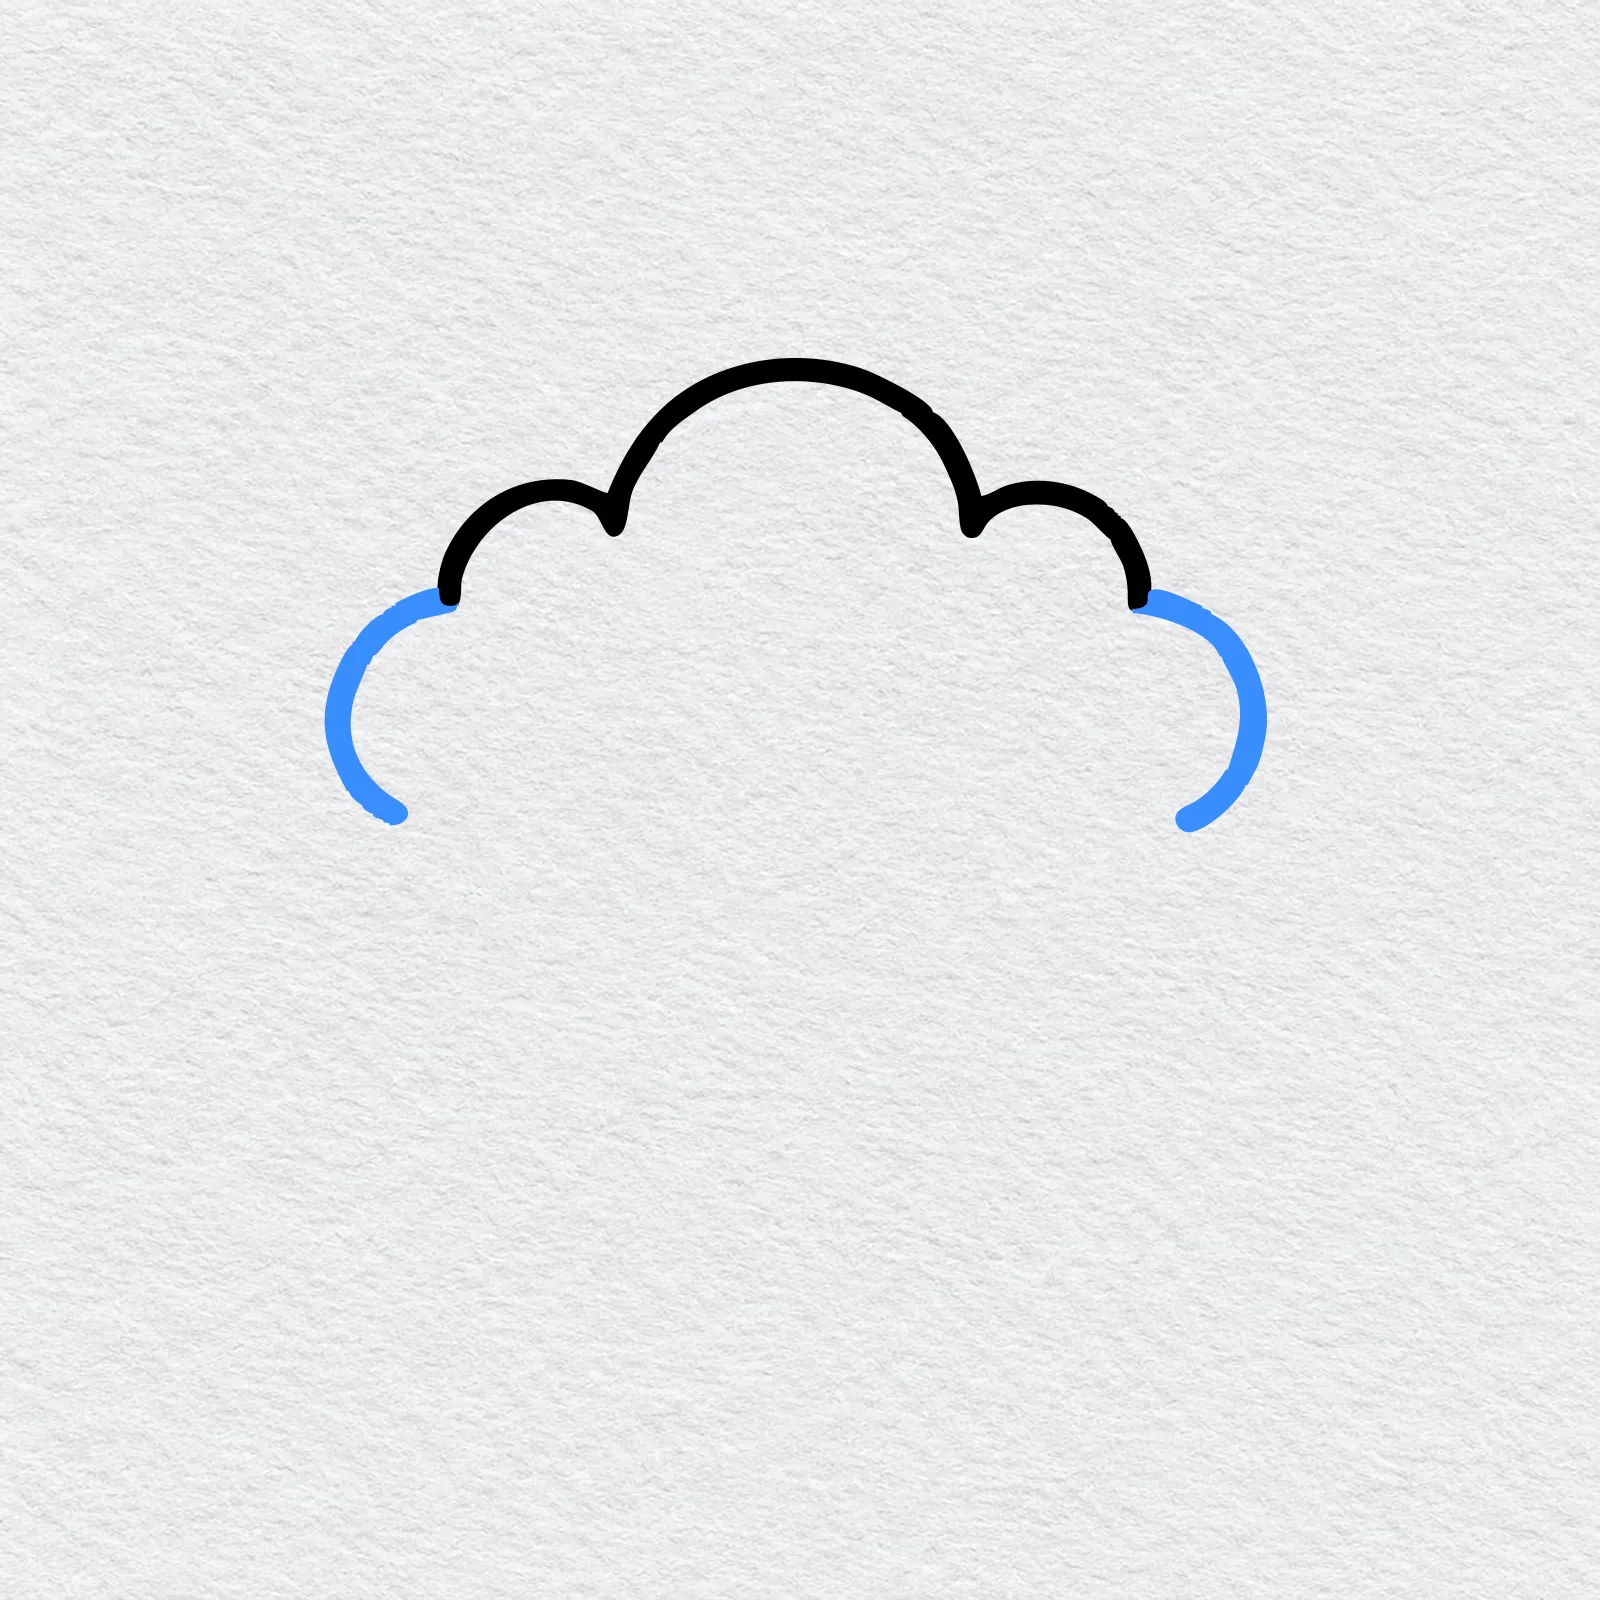
Draw a round bump on each side, curving out and then back in underneath. The left one looks like the letter C and the right one like a C turned around.
-
Step 4 : Draw the flat base
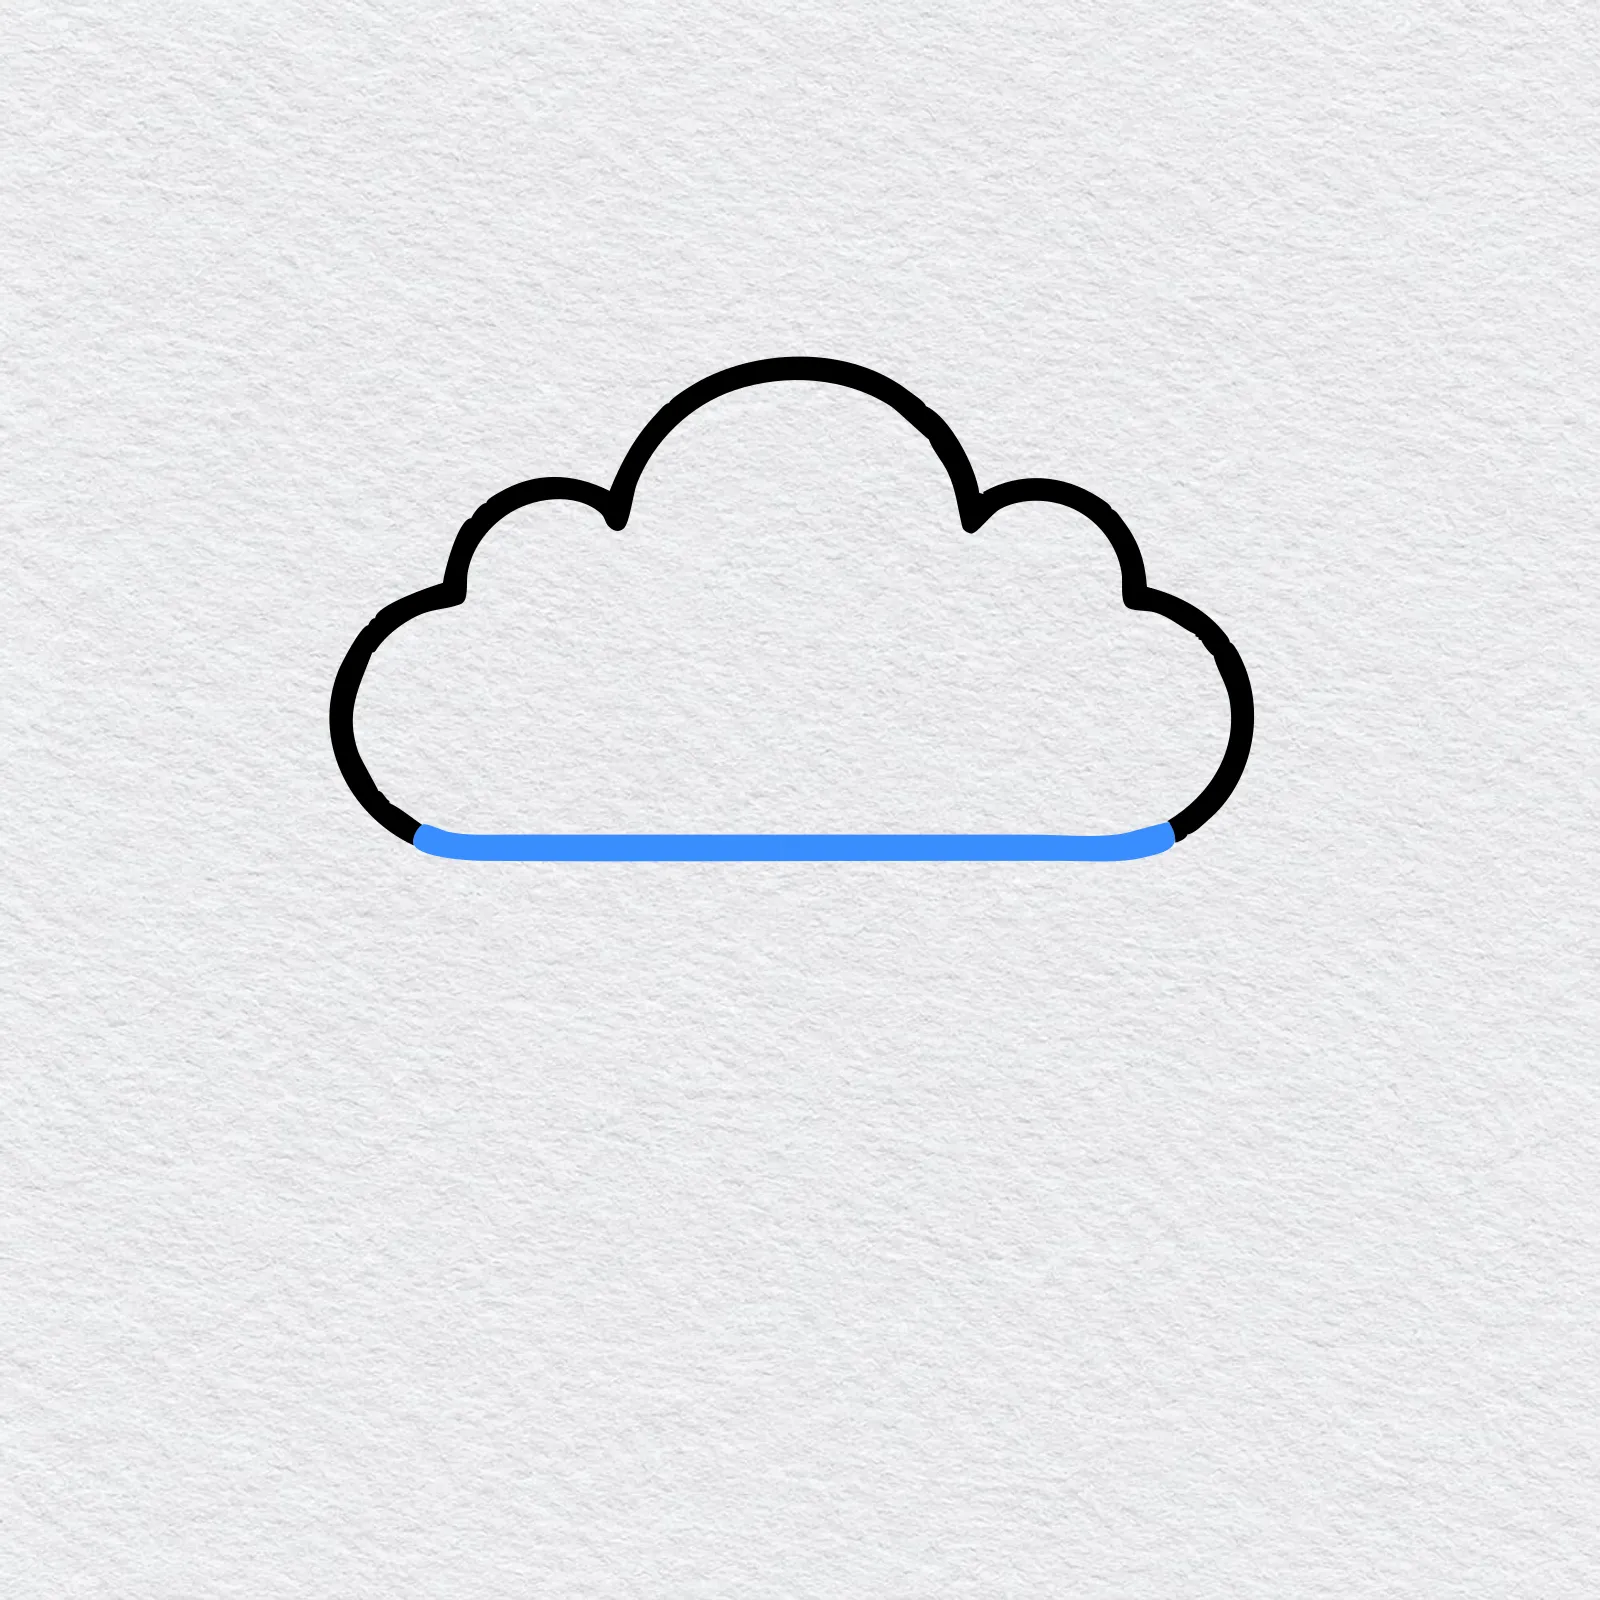
Join the two sides with one long, flat line along the bottom. Puffy clouds often look flat underneath, and now yours is closed.
-
Step 5 : Draw the half sun
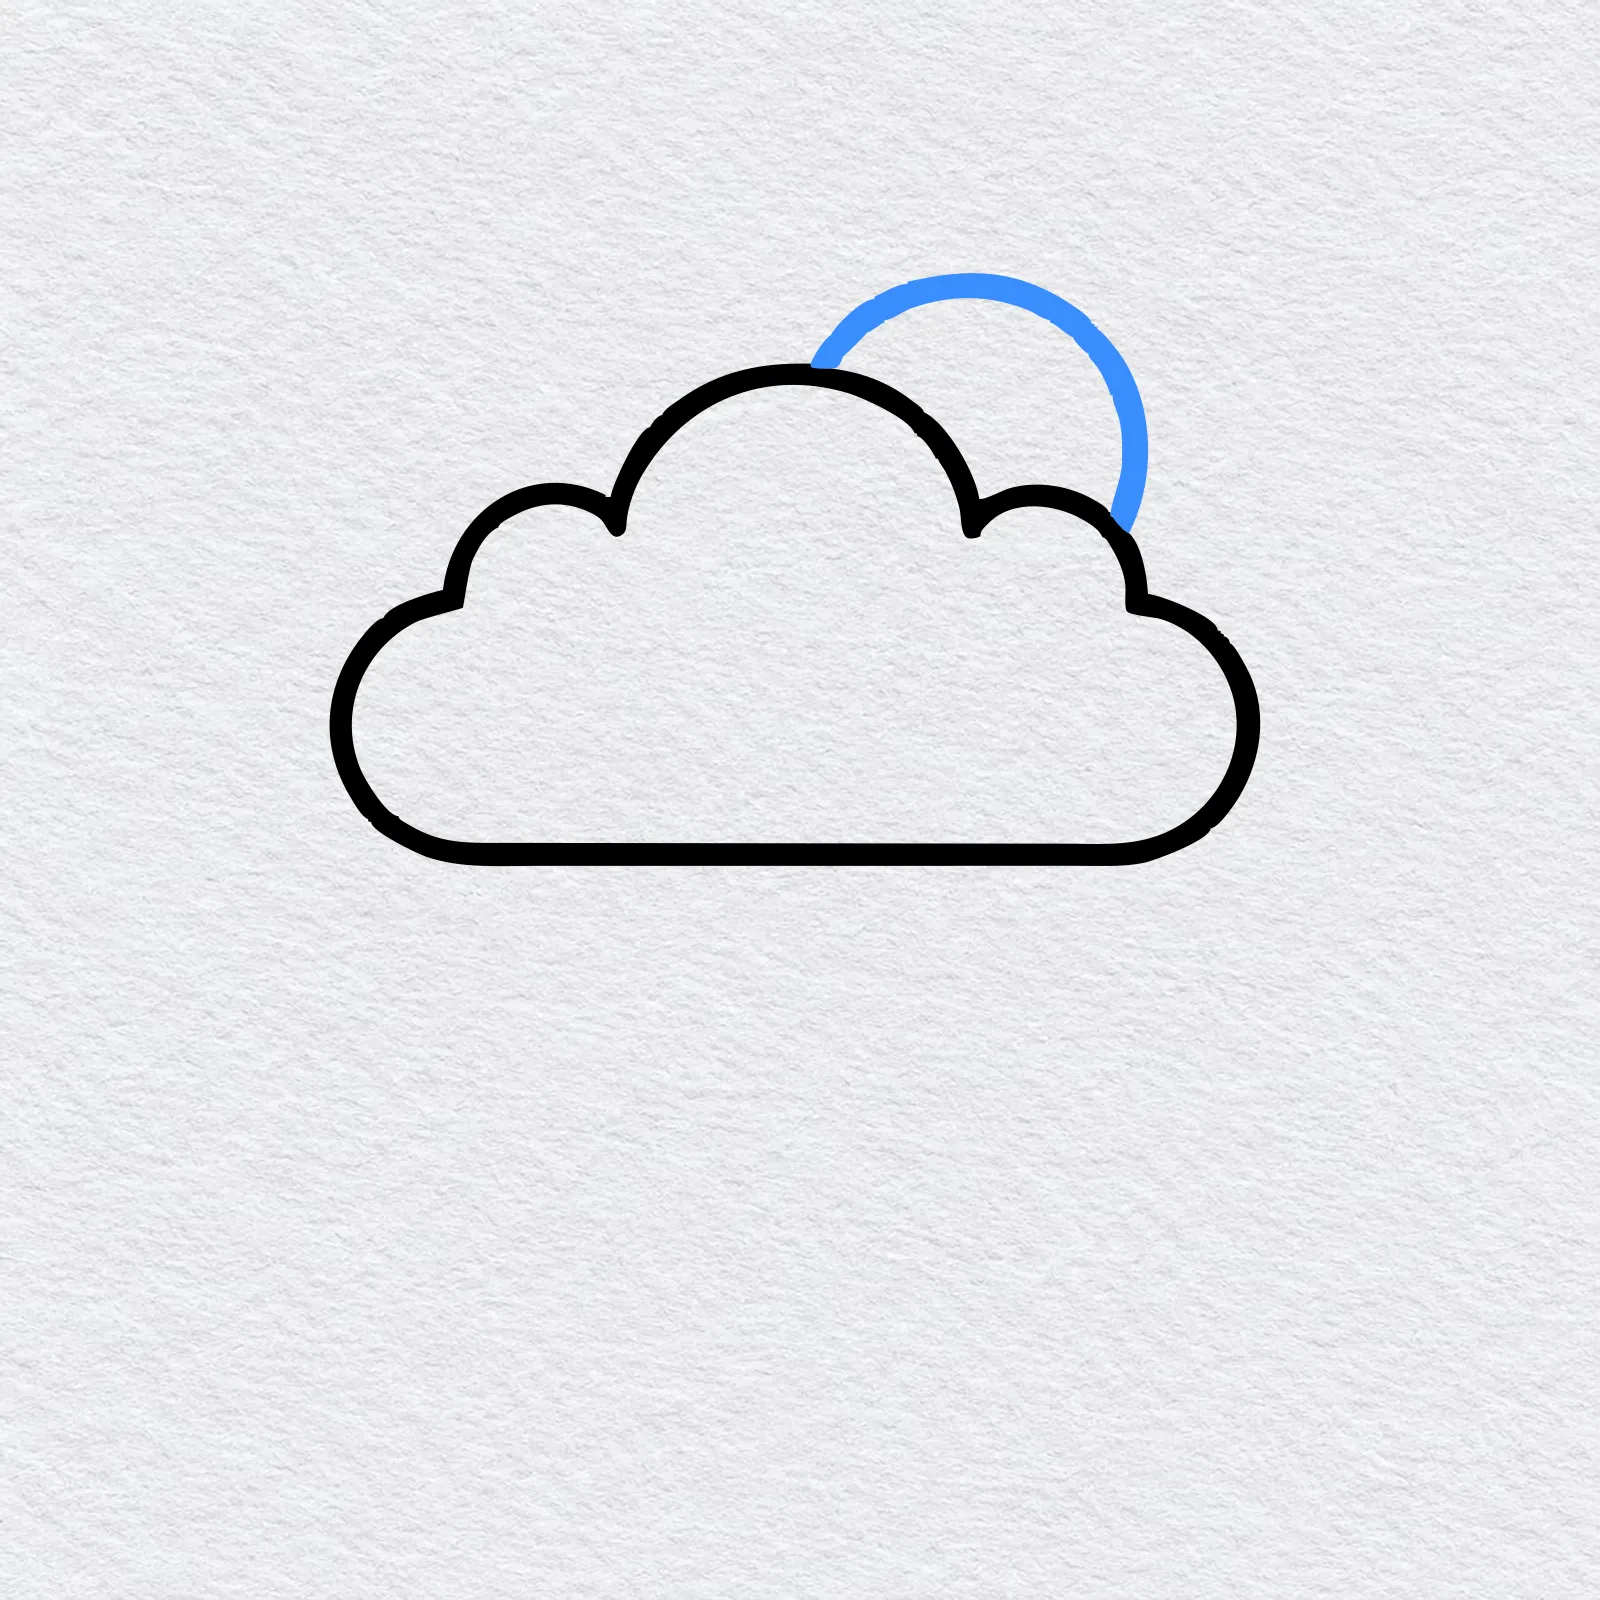
Draw a curved line from the top of the cloud around to its right side, like half a circle. This is the sun peeking out from behind the cloud.
-
Step 6 : Draw the sun's rays
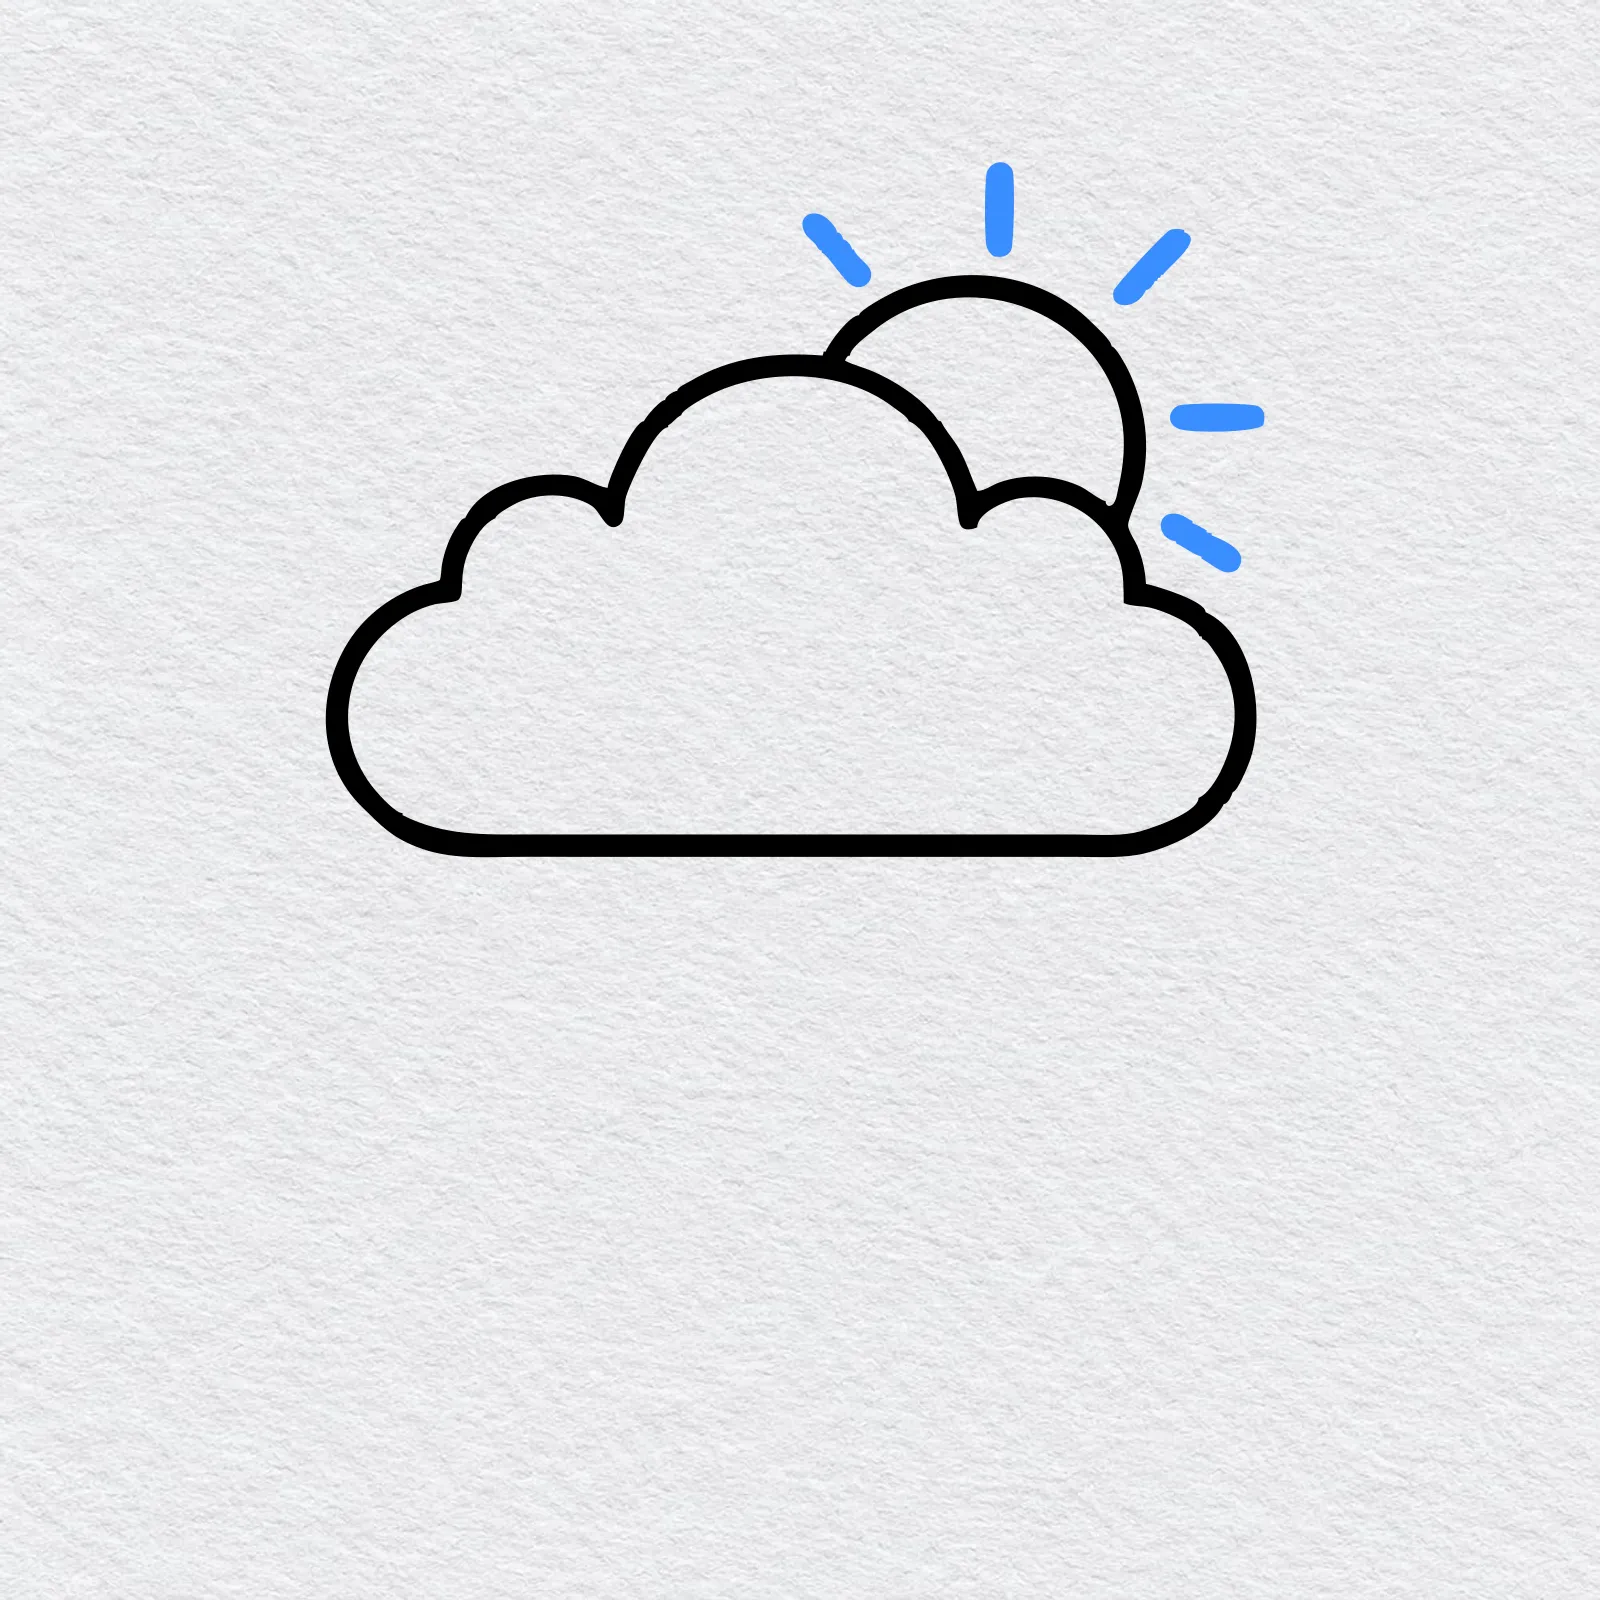
Add five short lines around the sun, each one pointing away from it. Leave a small gap between every ray and the sun.
-
Step 7 : Draw the raindrops
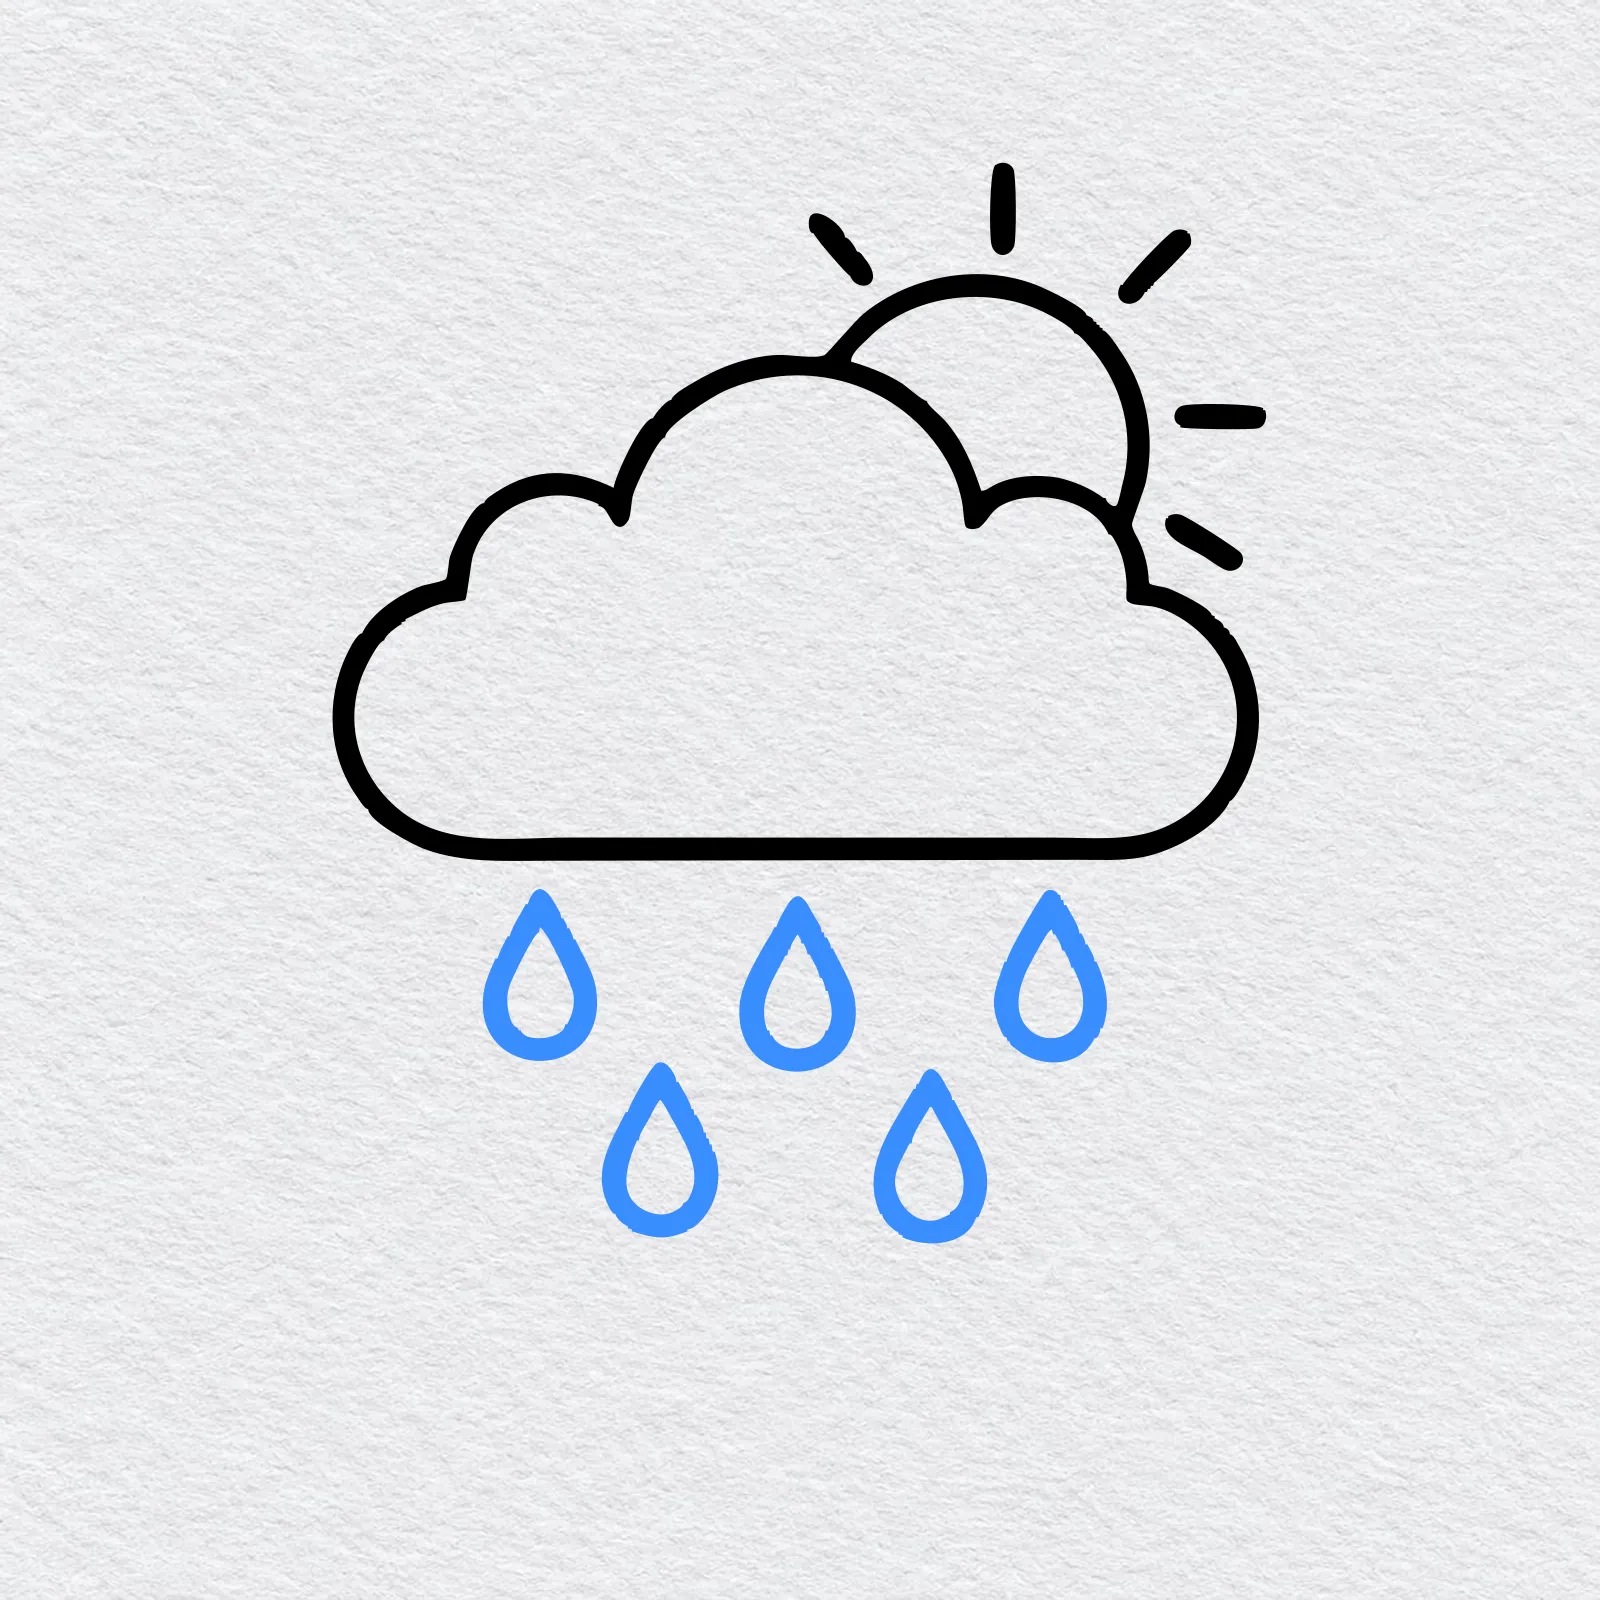
Draw five raindrops under the cloud, three in a row and two below them. Each drop starts with a point at the top and gets round at the bottom.
-
Step 8 : Draw the puddle
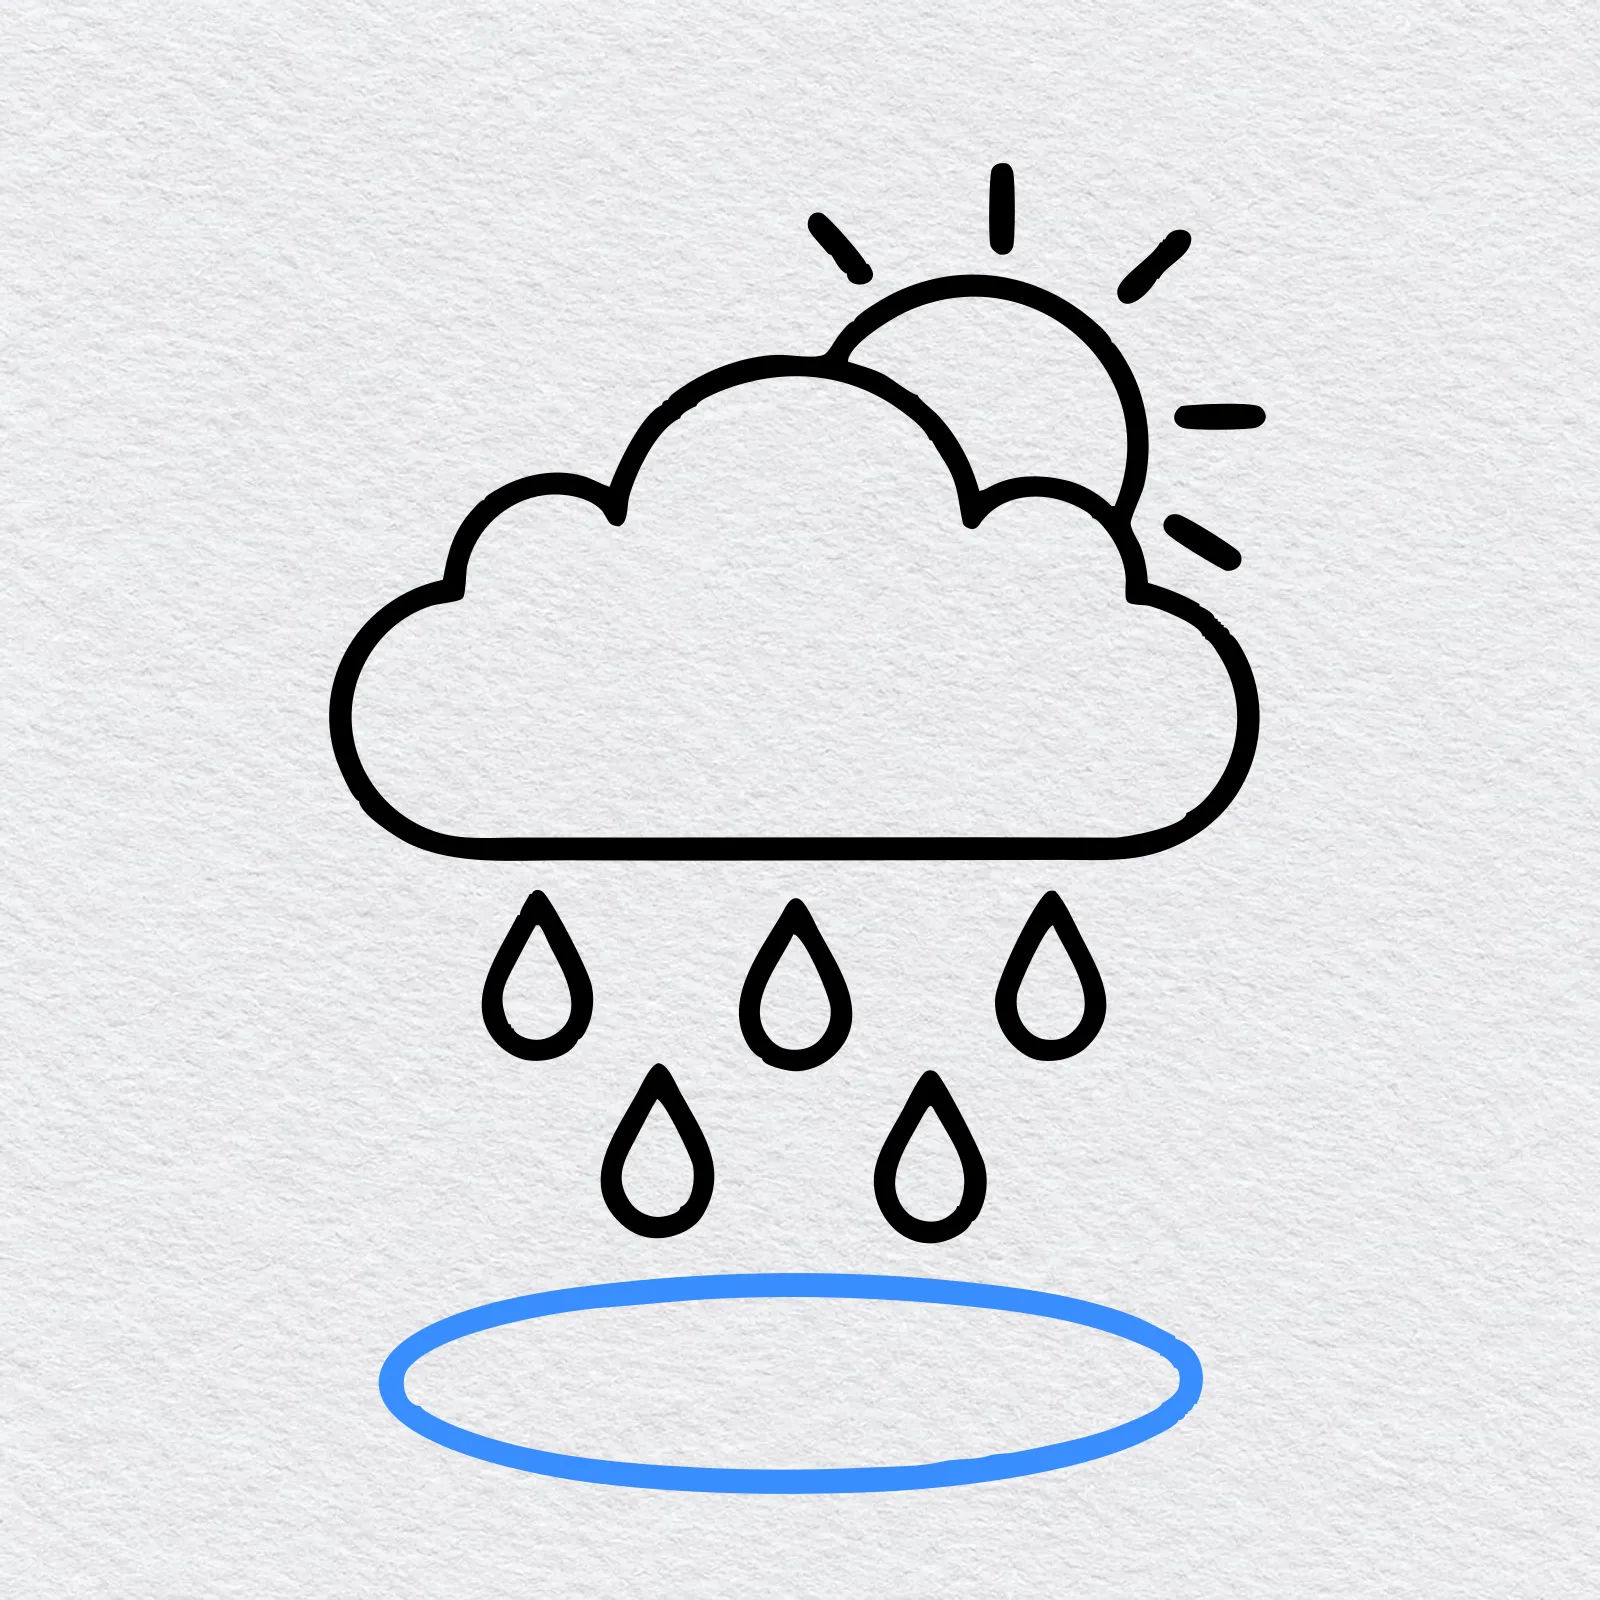
Under the raindrops, draw a wide, flat oval, like a circle that has been squashed. This is the puddle where the rain lands.
-
Step 9 : Draw the ripple rings
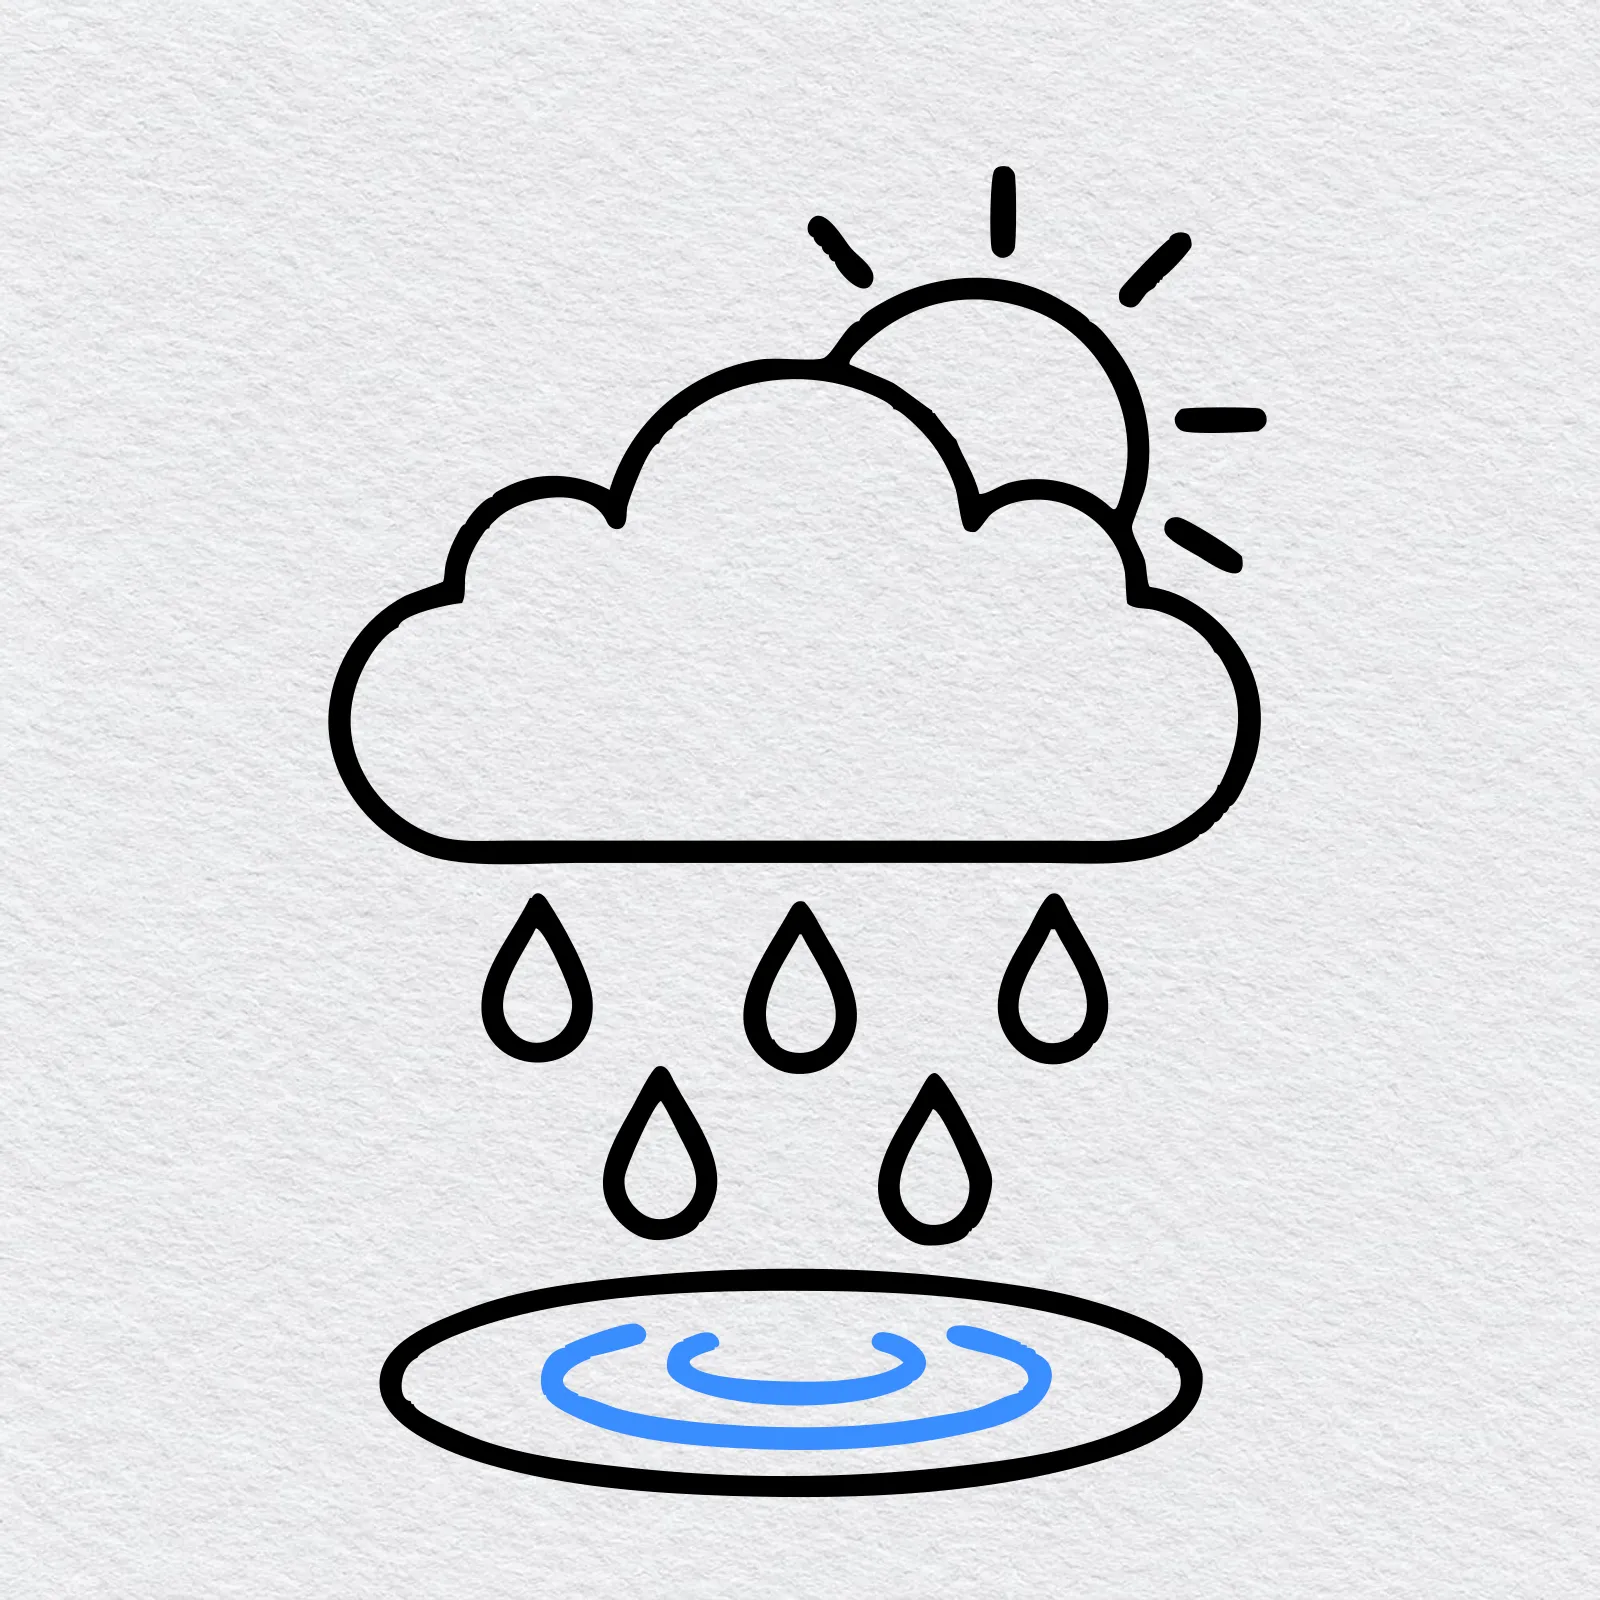
Inside the puddle, draw two curved rings, a small one inside a bigger one, and leave each ring open at the top. These are the ripples a raindrop makes. Your cloud drawing is finished.
-
Step 10 : Color your cloud
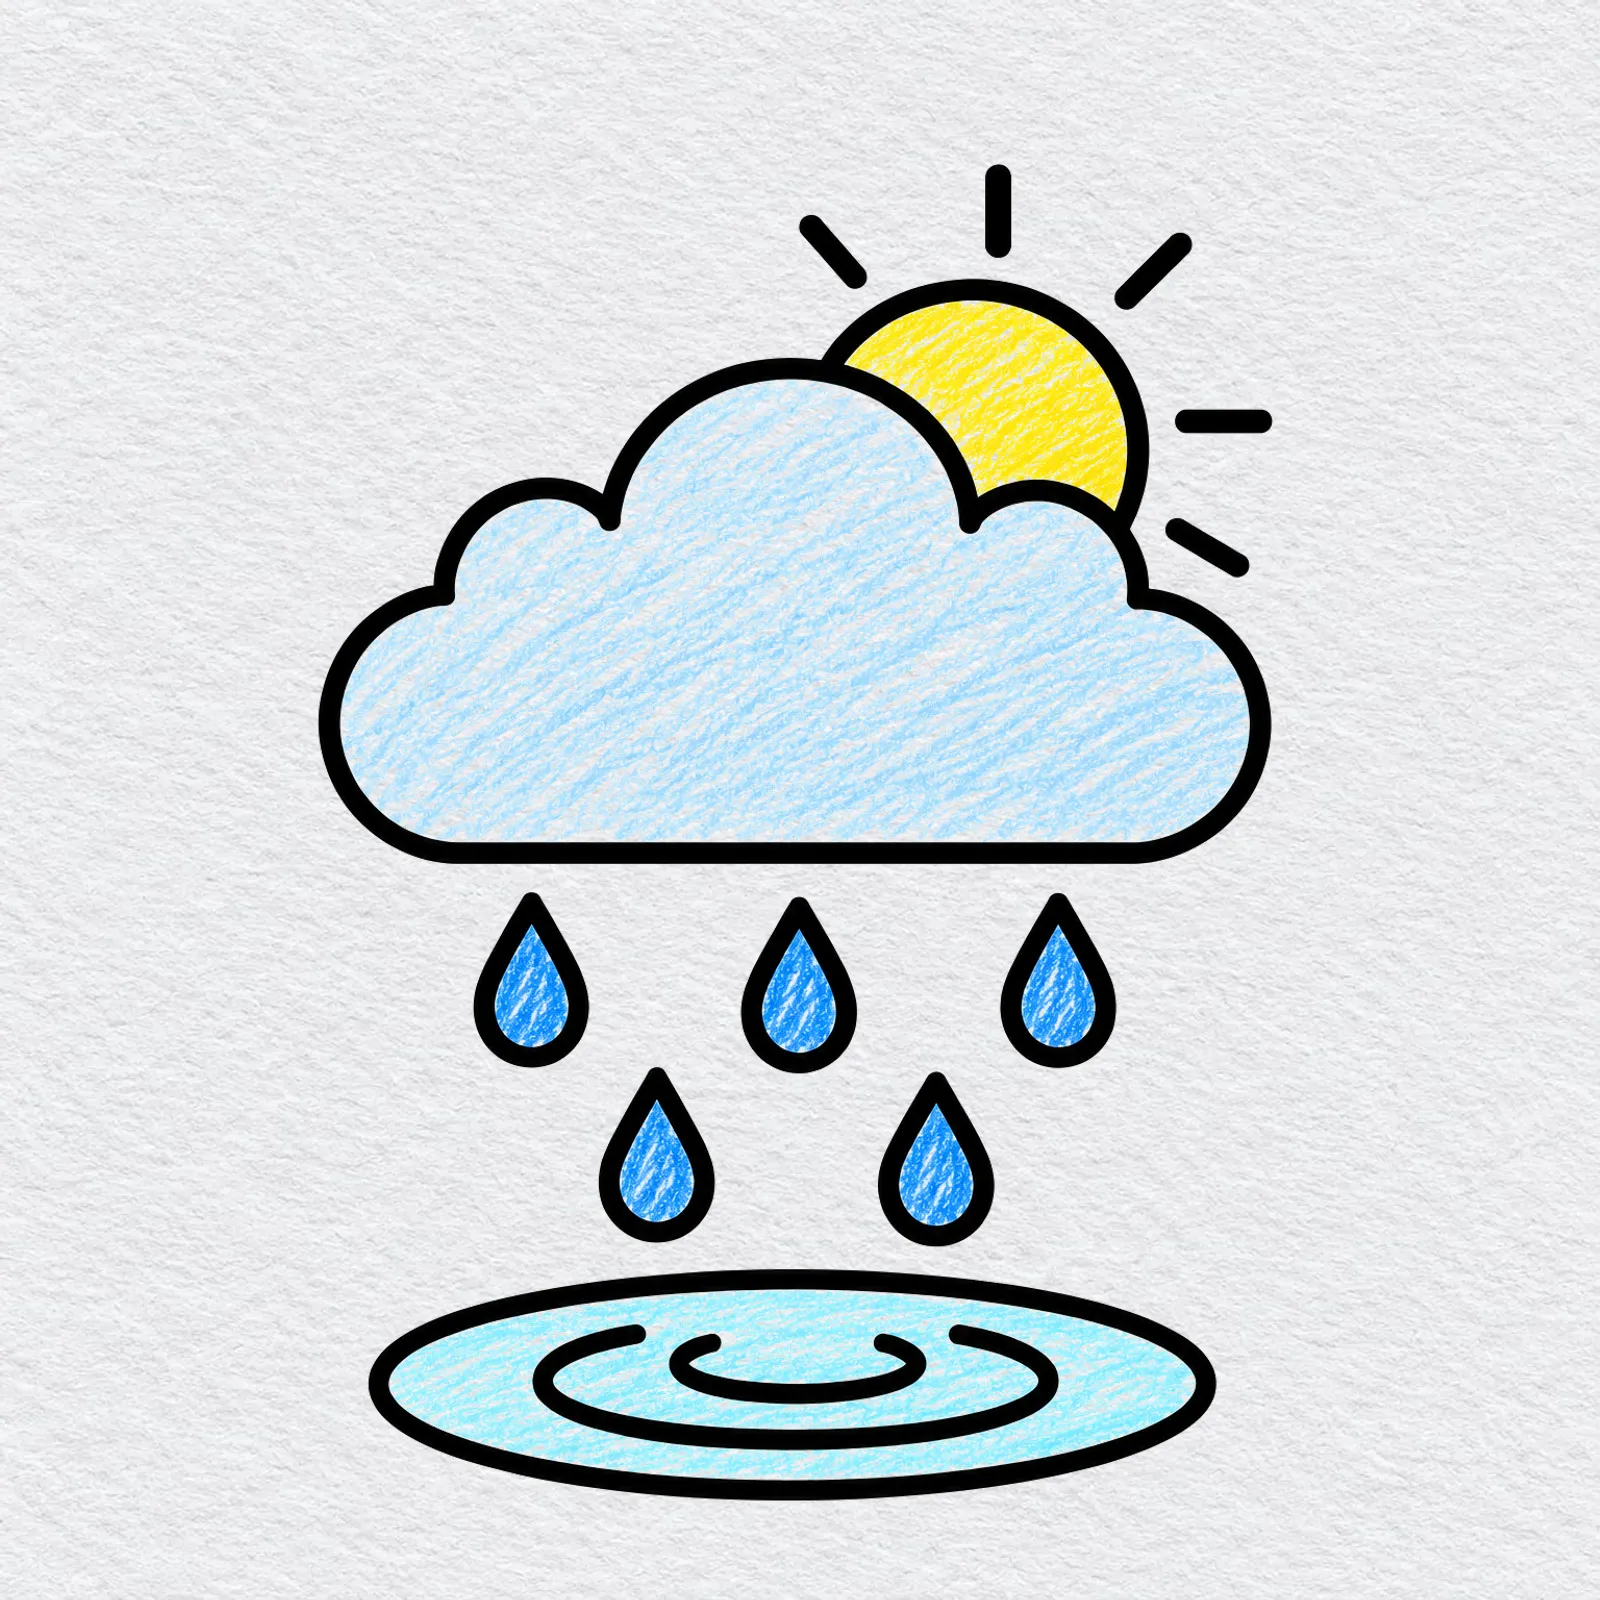
Color the cloud light blue or soft gray, or leave it white. Make the sun yellow, the raindrops a darker blue and the puddle a pale blue.
Go slowly and press lightly first. You can always add more color, but it is hard to take it away.
Printable cloud drawing PDFs
 Save
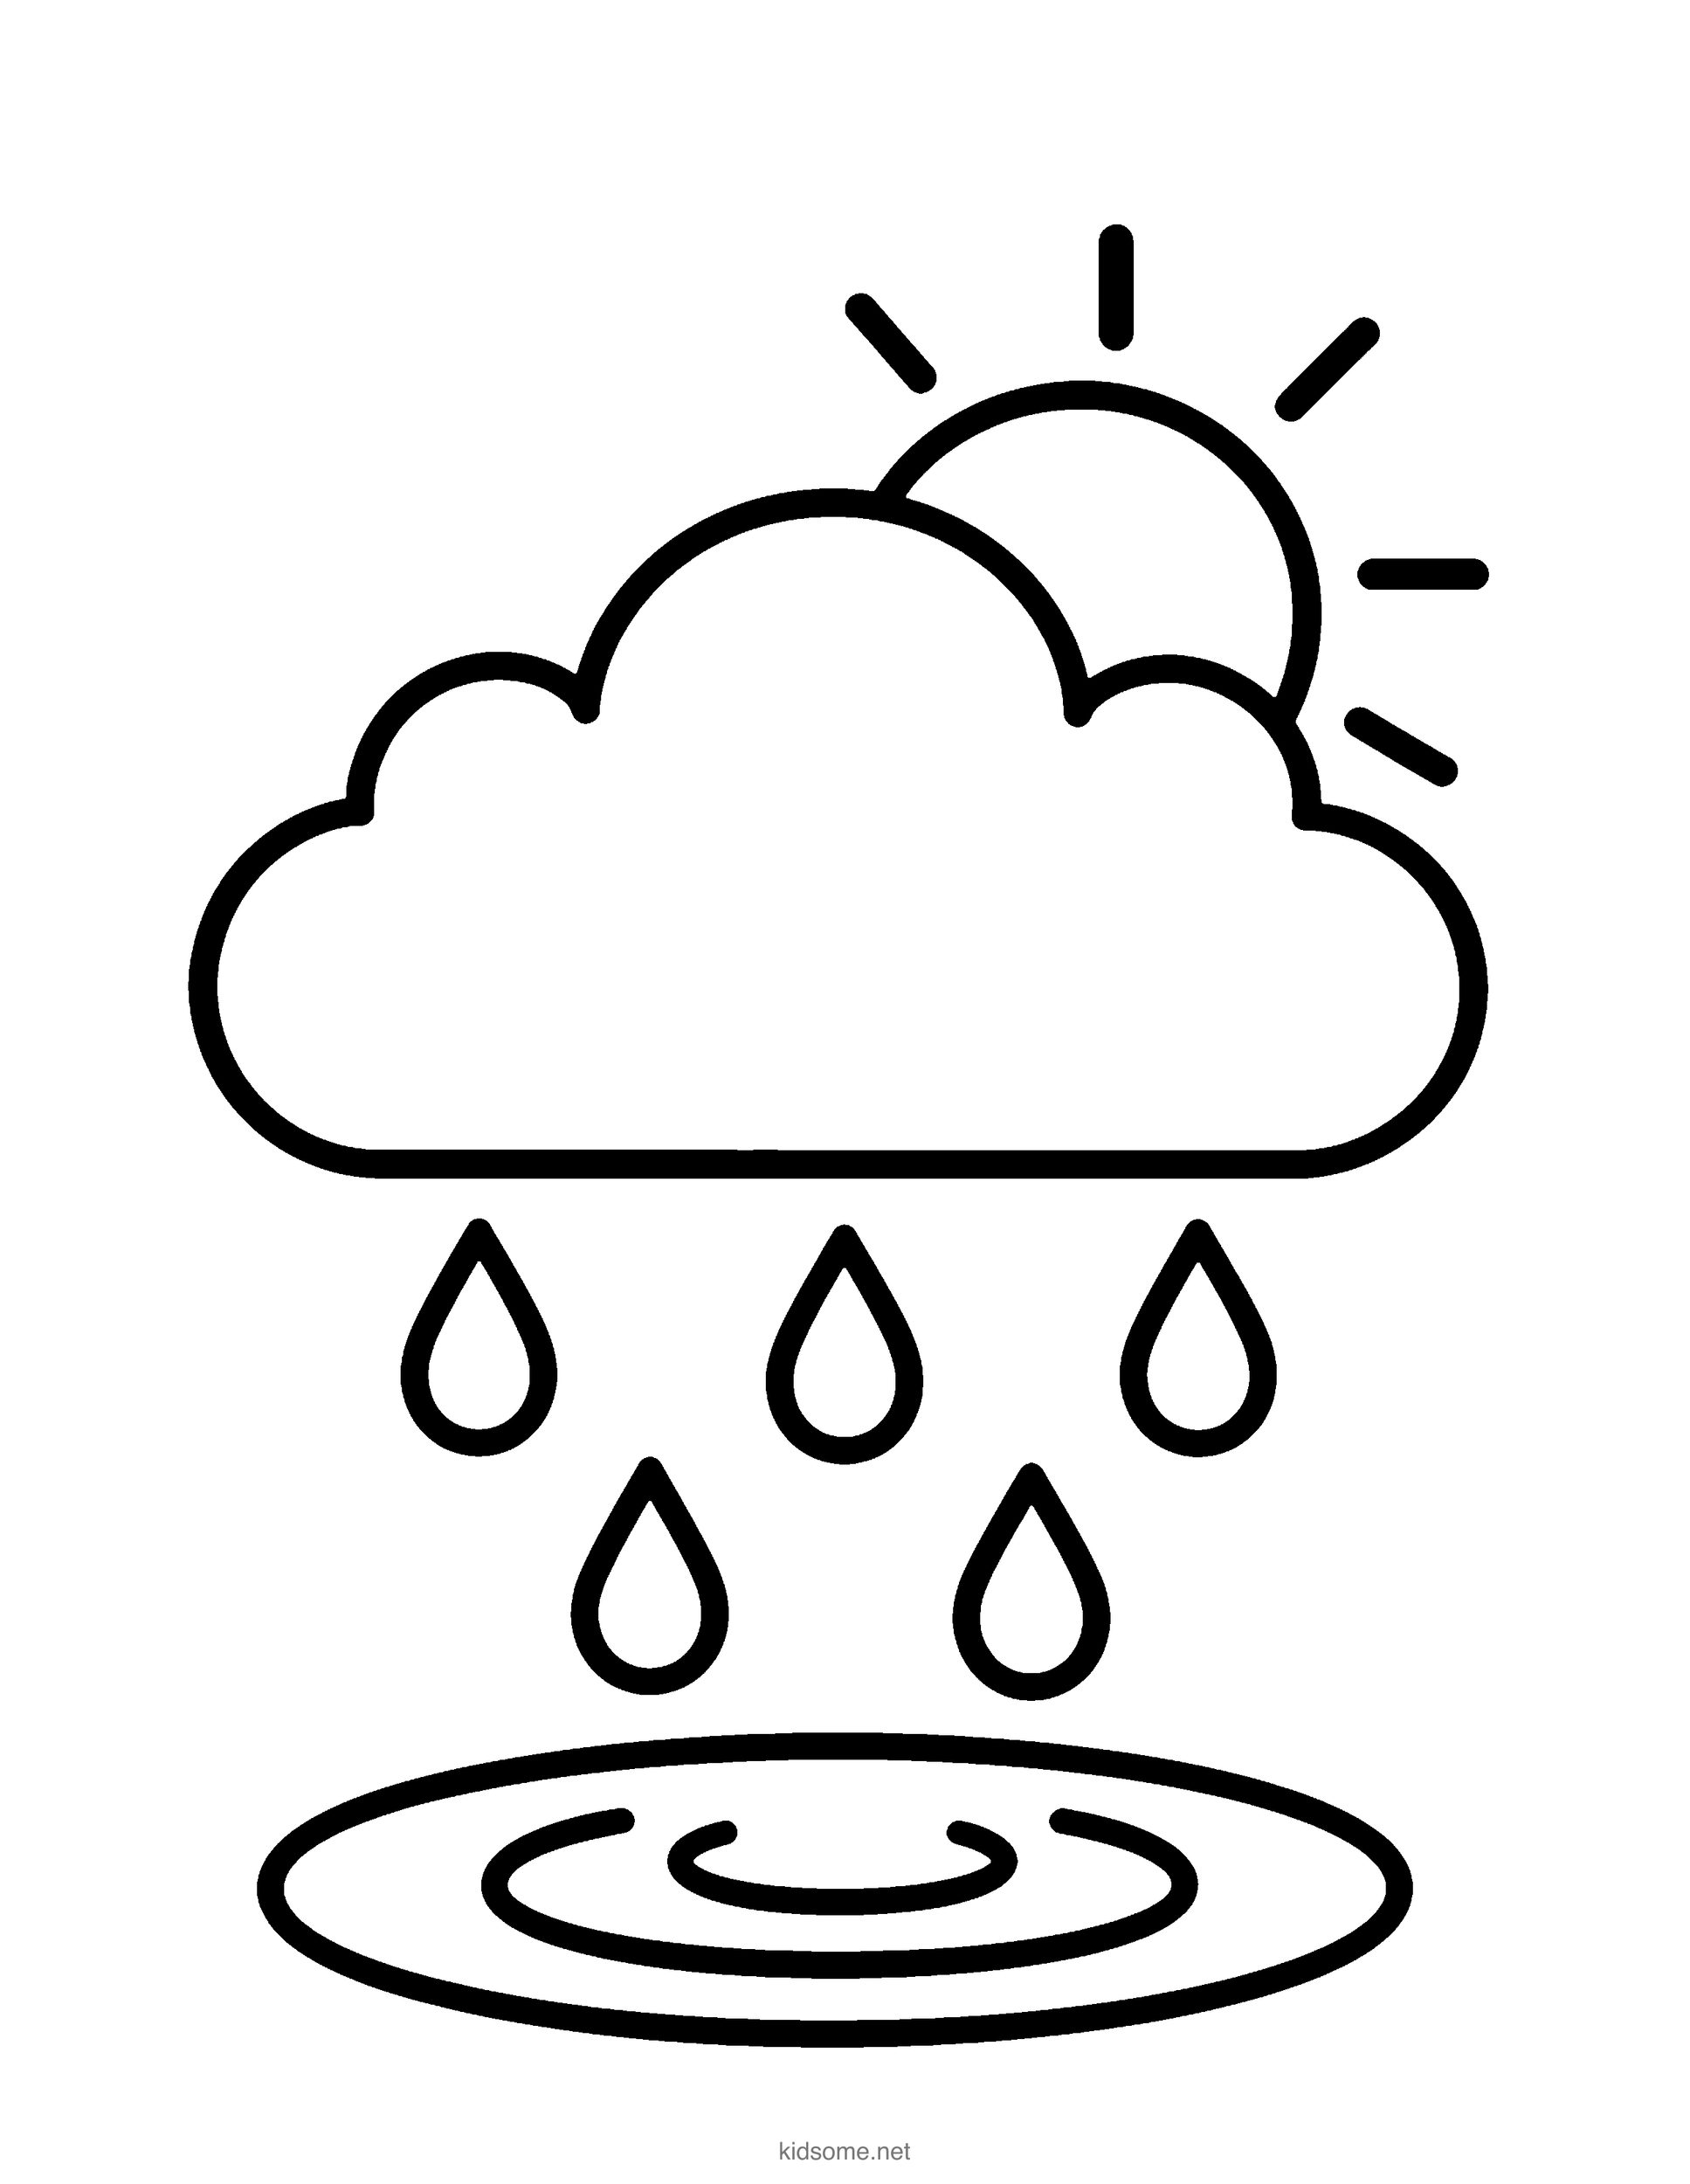
Rain Cloud Outline to Color
The finished cloud with its sun, raindrops and puddle as a clean outline to color, with the colored picture on page two.
Download PDF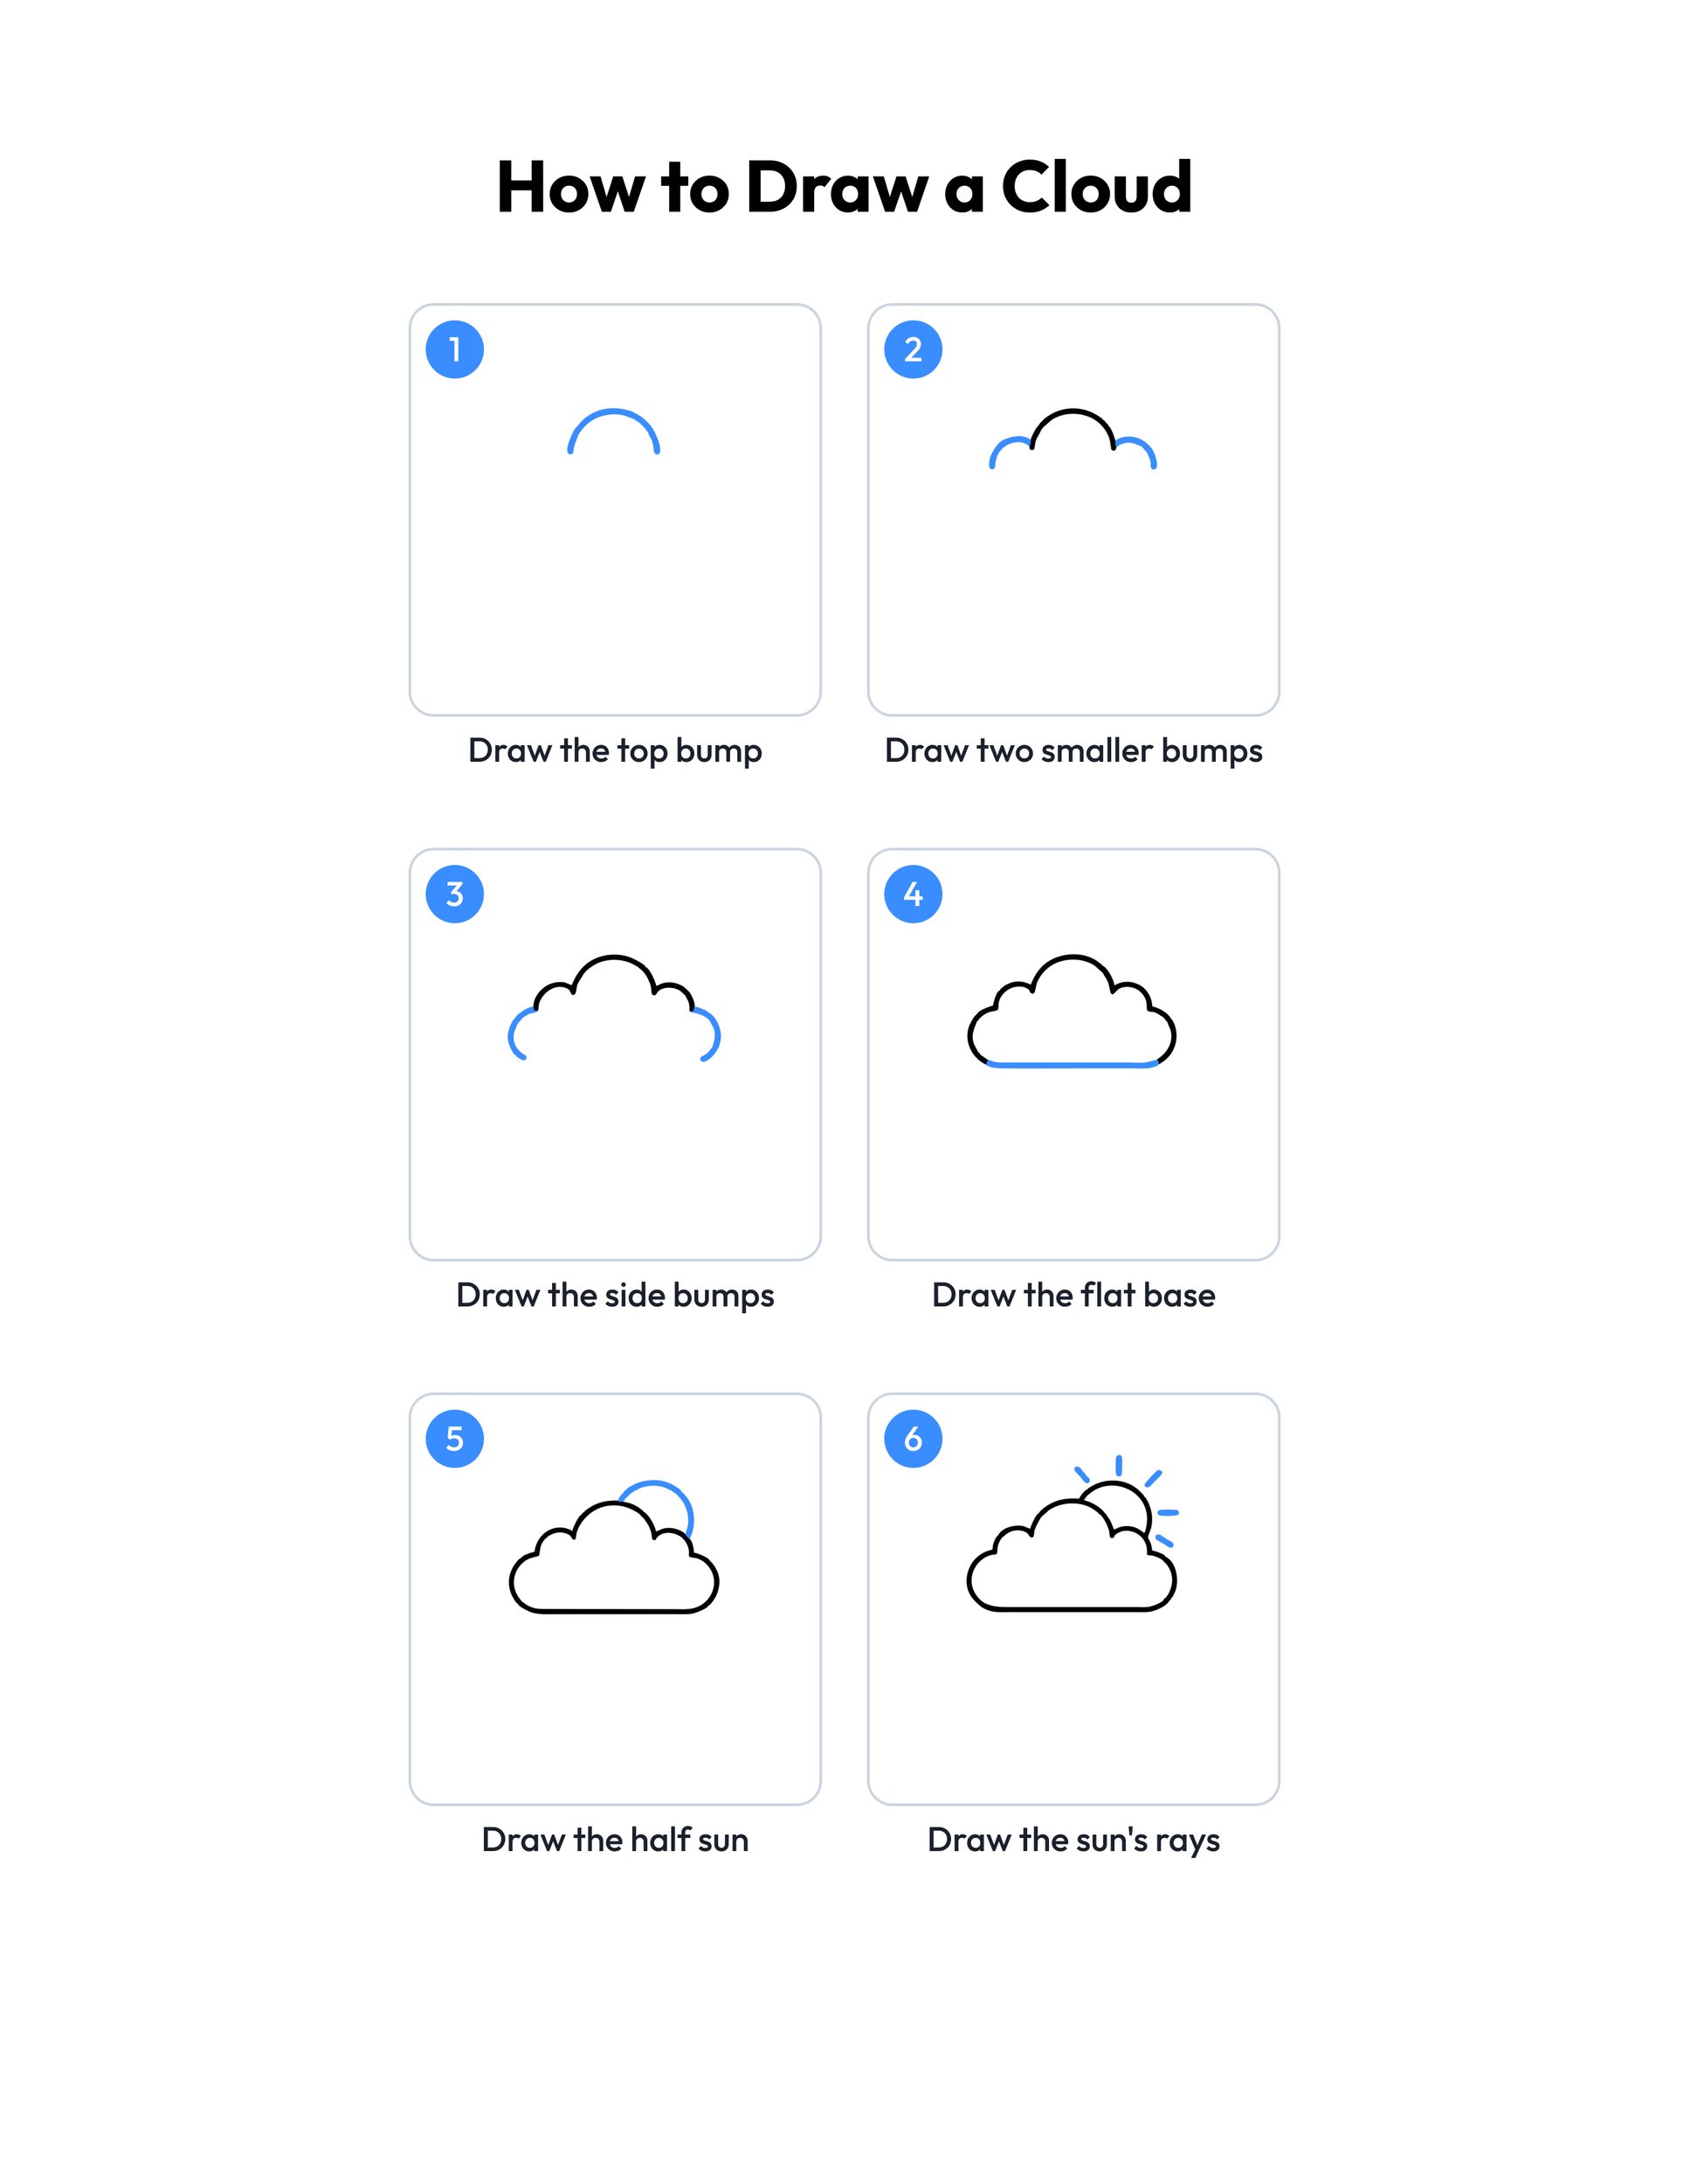 Save
Printable cloud drawing guide
Every step, two to a row, with the finished cloud in color at the end.
Download PDFHow to use this guide
Print the outline at 100 percent, or choose Fit to page if your printer asks. The PDF is set to US Letter, and the margins leave room for A4 too, so the whole picture stays on the sheet. Page one is the outline to color. Page two is the cloud colored in, so print page one alone if you only want the drawing to fill in.
For drawing, plain copy paper and a pencil with a good eraser work best. Turn the paper tall, because the picture runs from the sun at the top to the puddle at the bottom. Draw lightly at first, since the bumps often need a second try. Markers and paint need cardstock so the color does not soak through.
The first four steps are the easiest: one big bump, two smaller ones, two round sides and a flat line underneath. Younger children can stop there and color a puffy cloud, which is a finished cloud drawing on its own. The half sun, the raindrops and the ripple rings take more care, so a grown-up can draw each shape lightly and let the child go over it.
Print the step guide and lay it next to the paper, or keep this page open on a tablet. Point to the blue line in each step and say what it is before your child draws it. A little weather talk helps too: ask where the rain comes from, and where the puddle goes when the sun comes out.
Ideas for your cloud drawing
- Weather chart: Draw a small cloud for each rainy day and a sun for each sunny day on a calendar for one week, then count which came most often.
- Raindrop story: Use the picture to tell the story of one raindrop: it falls from the cloud, lands in the puddle, warms in the sun and rises to make a new cloud.
- Cloud watching: Take paper and pencils outside on a day with puffy clouds. Lie back, pick one cloud each and draw its bumps before the wind changes its shape.
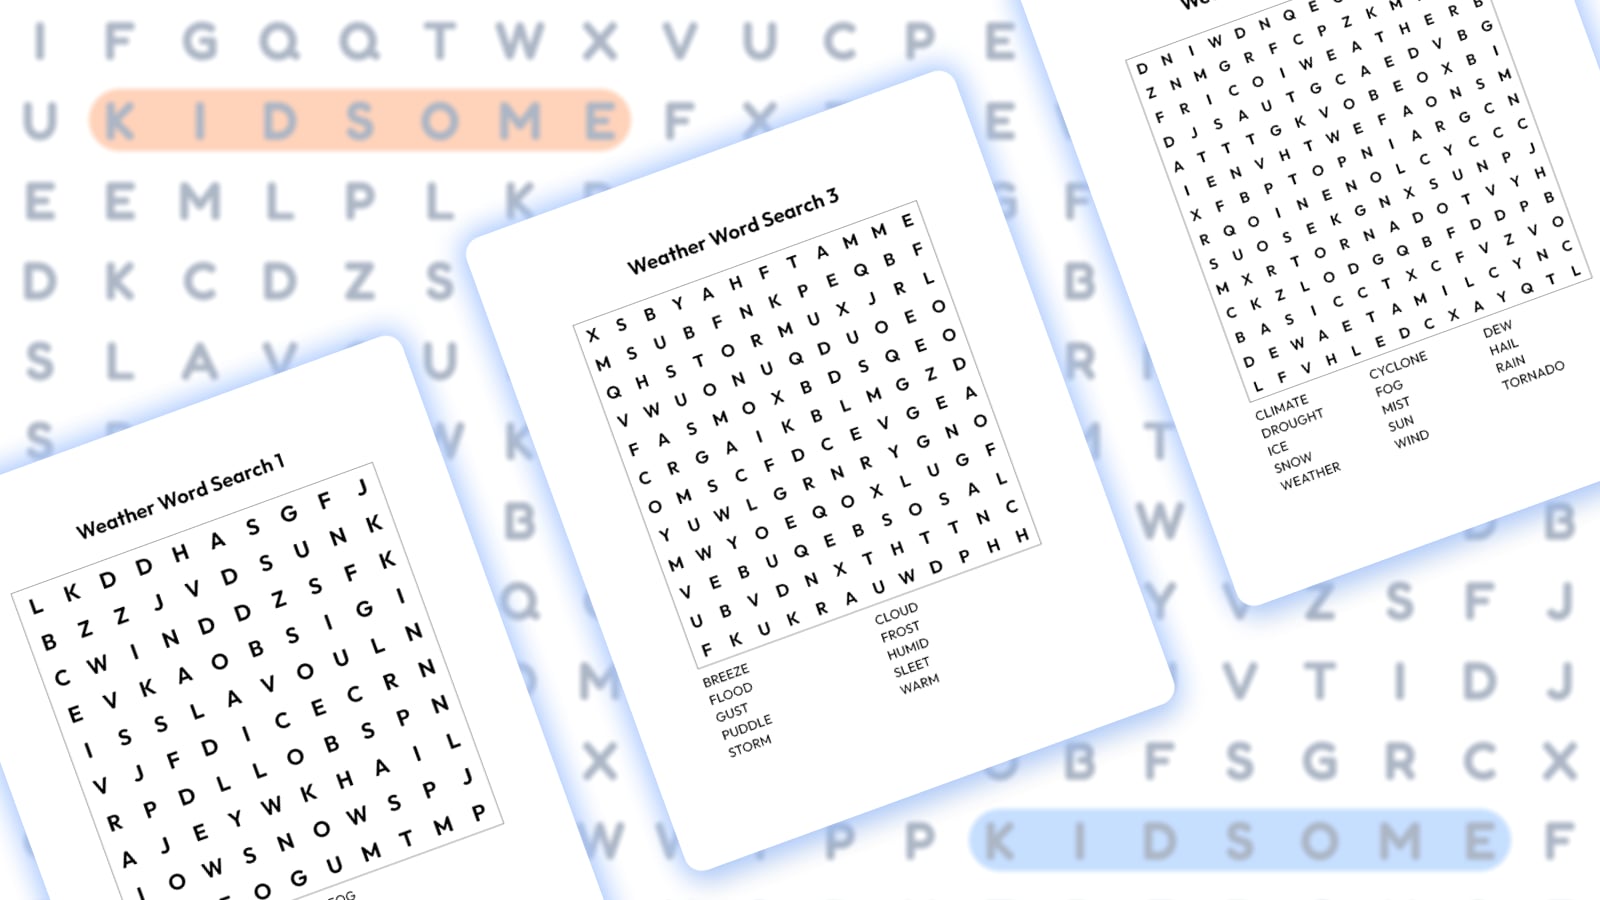
- Classroom weather unit: Put printed step guides and pencils in an art center. Children draw at their own speed, then try the weather word search while the others finish.
- Spring garden: Leave out the puddle and draw a row of flowers under the rain instead. The how to draw a flower guide shows each petal and leaf.
- Day and night sky: Fold a sheet in half. Draw the cloud with its sun on one side and a second cloud with a crescent moon on the other.
- Sunny day card: Fold a sheet in half and draw the cloud on the front with the sun and no rain. Add a palm tree below and a note inside.
- Rainy day folder: Keep the step guide and a few blank sheets in a folder for wet afternoons, car trips and waiting rooms. A cloud is quick to draw.
What age is this cloud drawing for?
It is made for ages 4 to 8. The youngest children can draw the bumps and the flat base with a grown-up nearby, and older kids can draw the whole picture alone, then add birds, a rainbow or houses under the rain.
What makes this cloud drawing easy?
The cloud is built from bumps, and every bump is the same curve drawn a little bigger or smaller. Nothing has to match exactly, because real clouds are lumpy and uneven. The sun is half a circle and each ray is one short line.
How do I help a child who finds it hard?
Draw each new part lightly in pencil yourself and let your child go over it. Big, slow arm movements make smoother bumps than small ones. If the cloud comes out lopsided, keep it: once children know how to draw clouds, they see that real ones come in every shape.
Can I print the guide for my class?
Yes. Teachers, homeschool parents and art clubs can print as many copies as their students need. Both PDFs are free for personal and classroom use. Please do not sell them or post the files on another site. For a spring display, hang the spring coloring pages beside the finished clouds.
Can we turn the rain into snow?
Yes. Leave out the raindrops and draw small dots or tiny stars falling from the cloud instead, then swap the puddle for a curved line of snowy ground. Add a snowman under the cloud and the same drawing becomes a winter scene.