This guide shows how to draw a snow globe for kids ages 4 to 8, one simple shape at a time. It is made for a snowy day at the kitchen table, with a child drawing and a parent or teacher drawing right beside them.
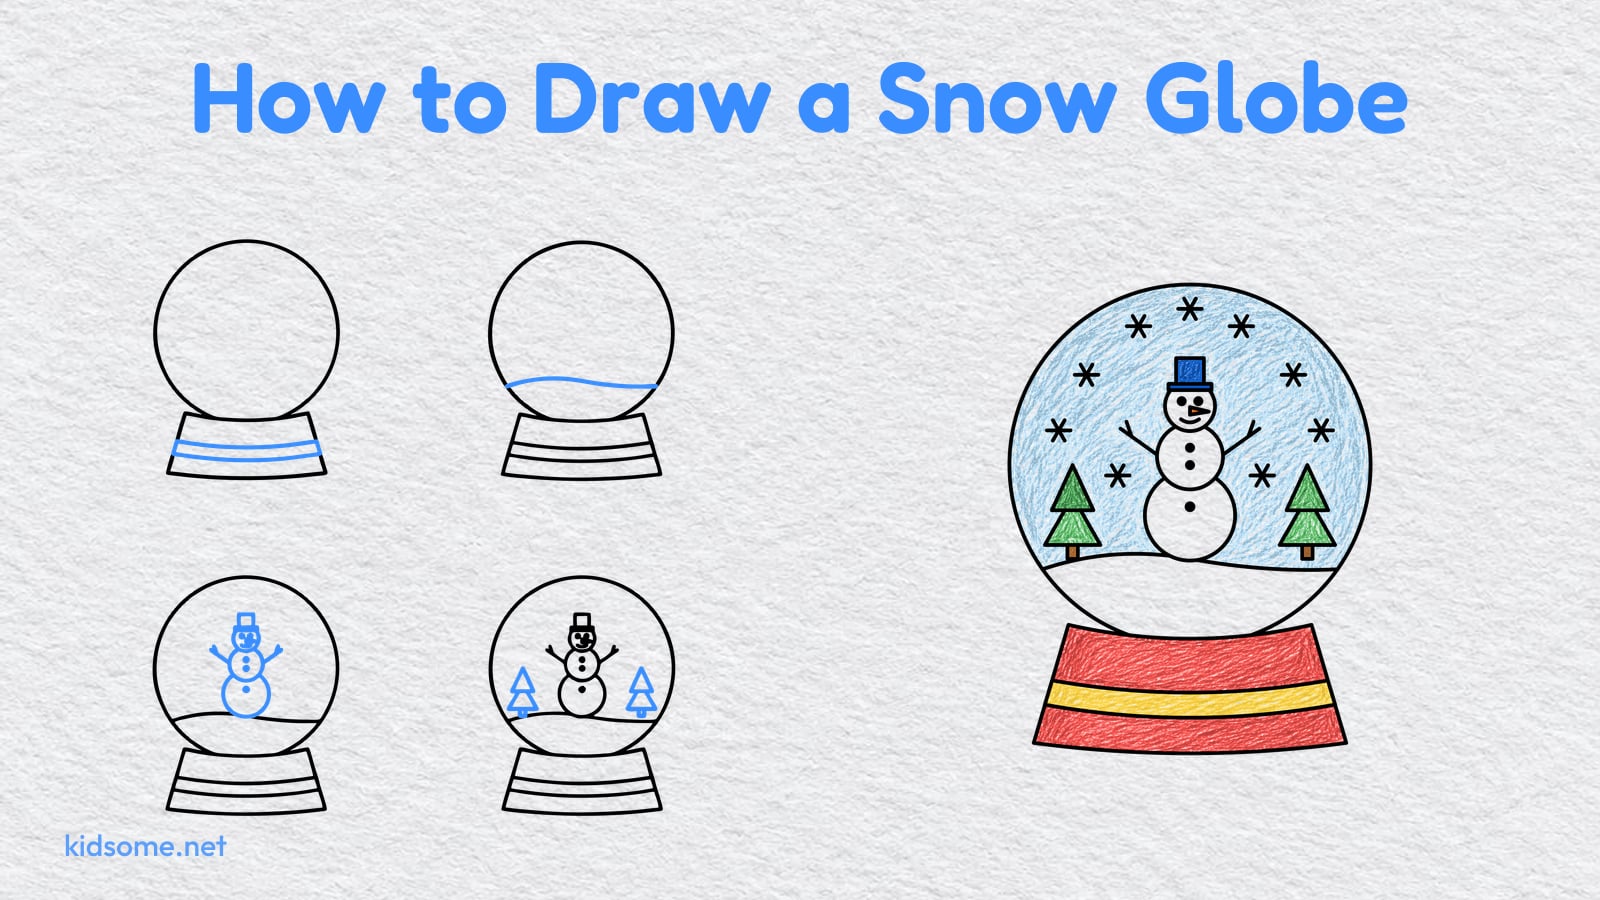
There are seven steps. You start with a big circle for the glass ball, add a wide curved base under it and a band across the base. Then a wavy line makes the snowy ground inside the glass, a little snowman stands on it, two small pine trees join him and snowflakes fall all around. Each new part is drawn in blue, so it is easy to see what to add next.
When the drawing is done, color it in. The last step shows a colored snow globe with a pale blue sky, green trees and a bright red base to copy or change. You can also print the finished outline as a free PDF on US Letter or A4, with no sign-up, and color that instead.
-
Step 1 : Draw the glass ball

Start with a big circle near the top of your paper. This is the glass ball. Leave space under it for the base, and do not worry if it comes out a little wobbly.
-
Step 2 : Draw the base

Under the circle, draw a wide base. Its top is a gentle curve that touches the ball, its sides slant out, and its bottom is a longer curve.
-
Step 3 : Draw the band

Draw two curved lines across the base, close together, following the shape of its top. This makes a band you can color later.
-
Step 4 : Draw the snowy ground

Inside the ball, near the bottom, draw a soft wavy line from one side of the circle to the other. Everything below it is snow.
-
Step 5 : Draw the snowman
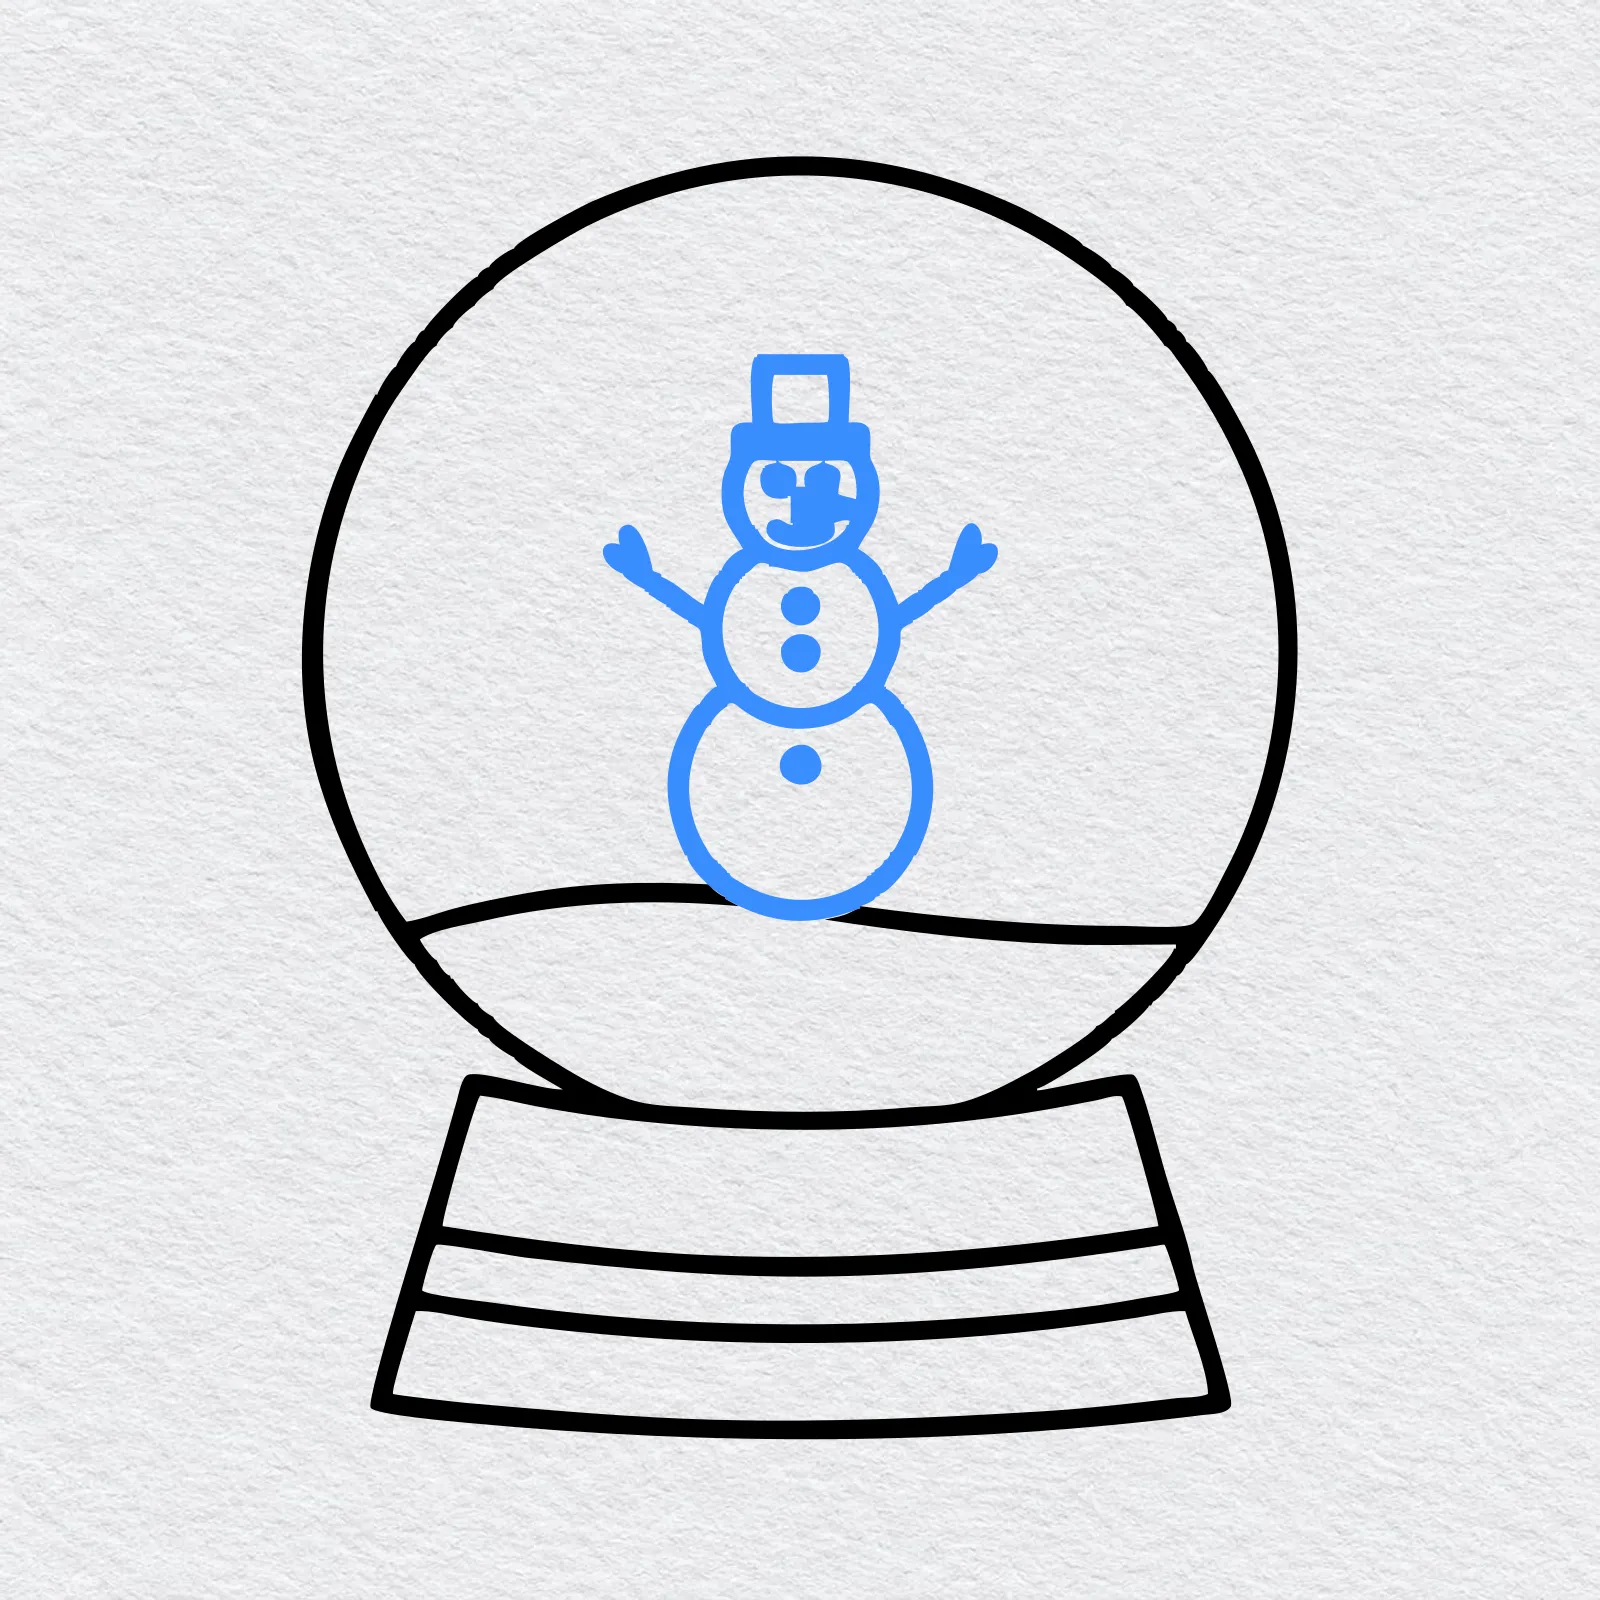
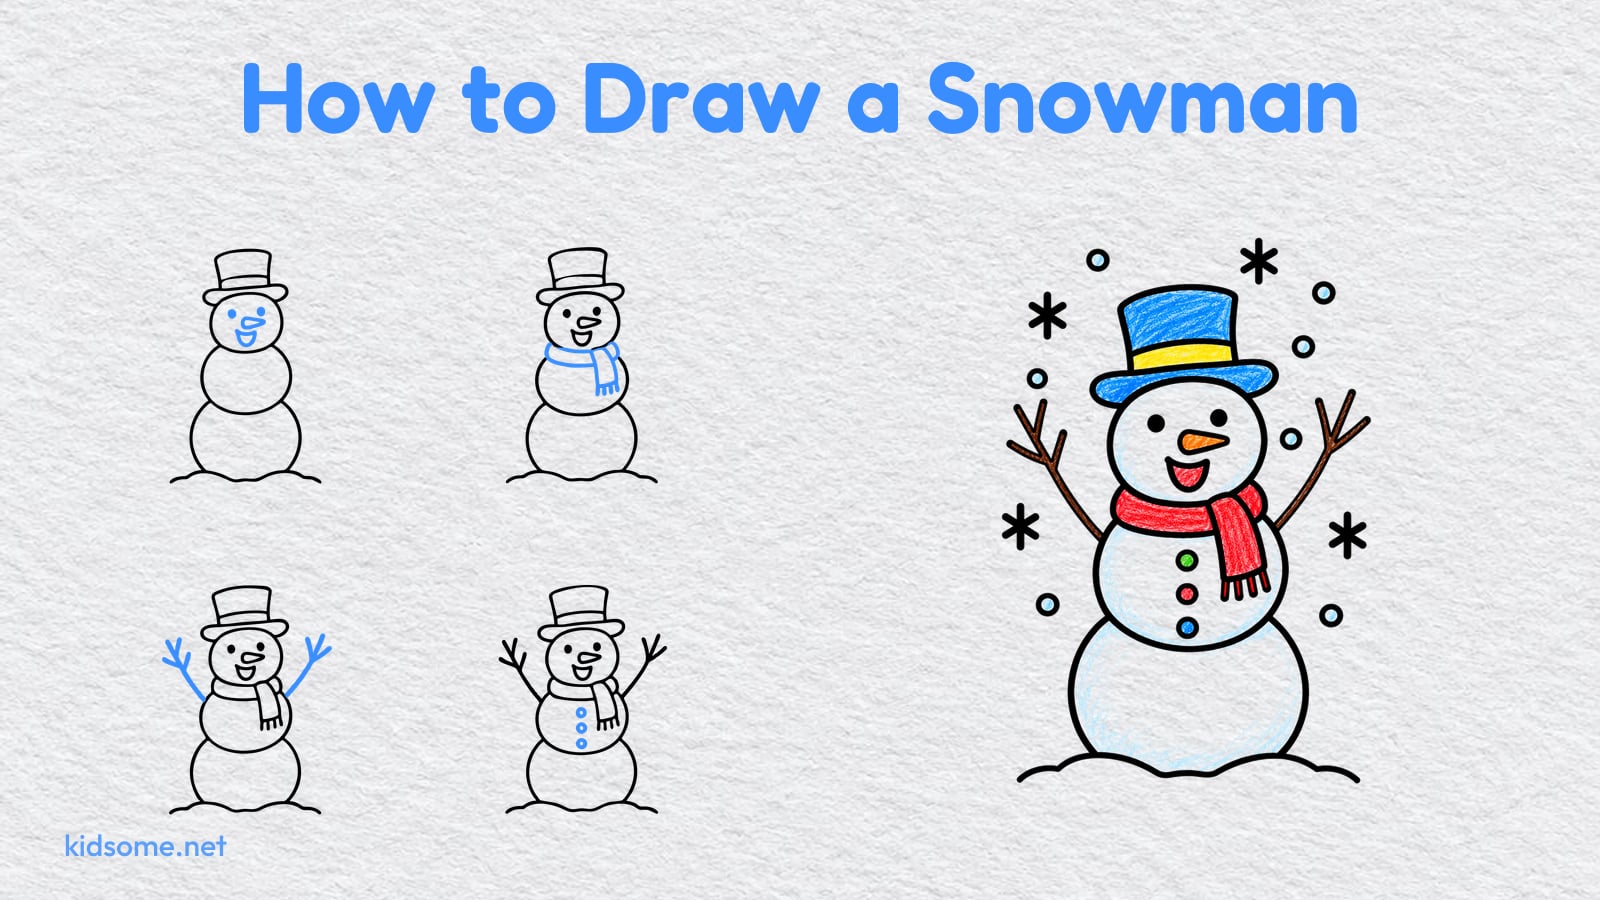
In the middle, stand a little snowman on the ground: a big ball, a smaller ball and a small head. Add a top hat, two stick arms, dots for buttons and eyes, and a smile.
-
Step 6 : Draw the pine trees
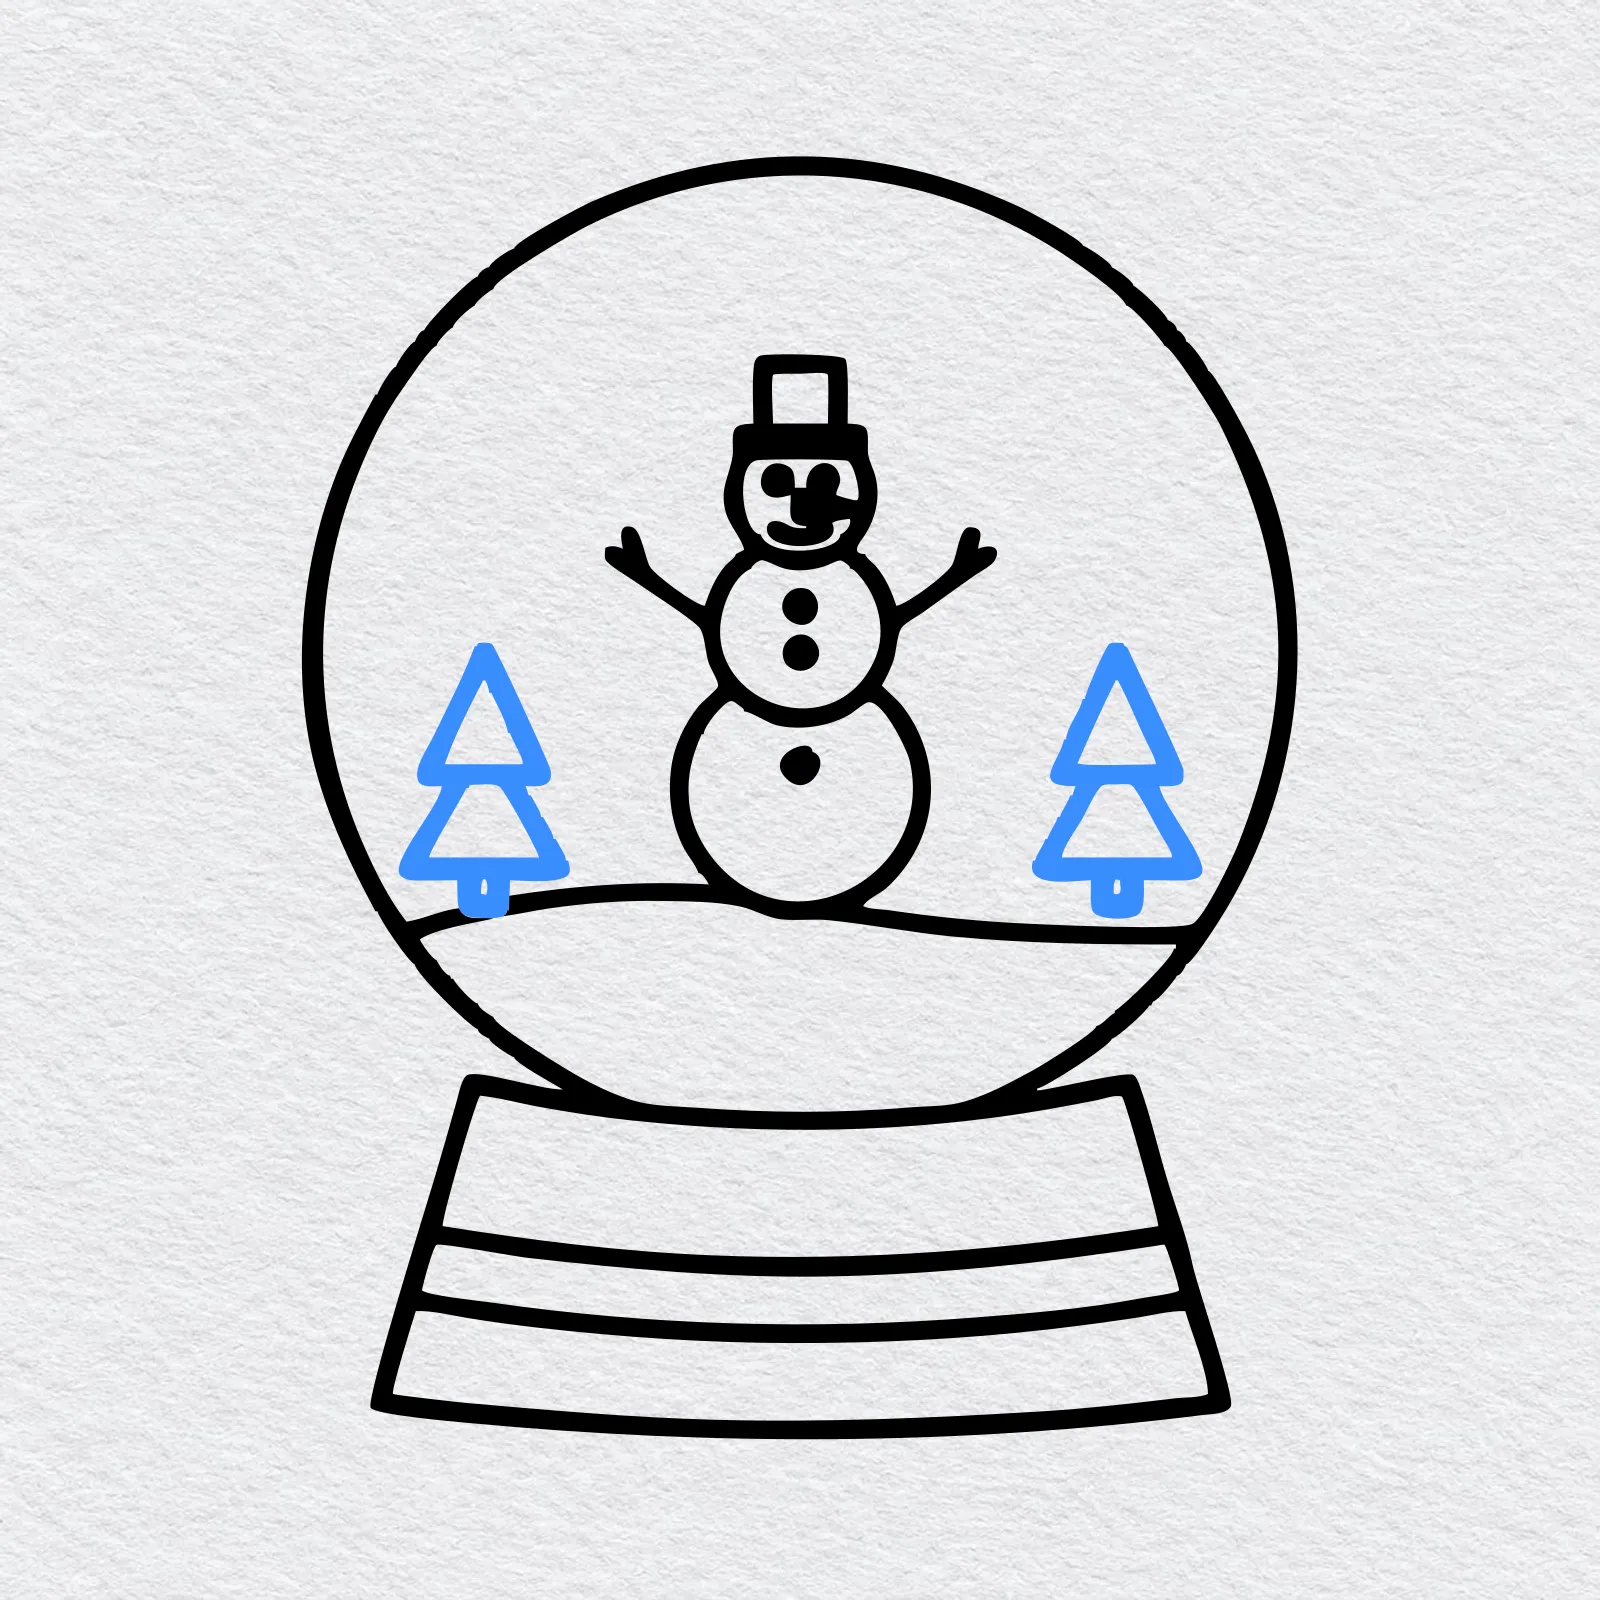
Draw a small pine tree on each side of the snowman. Stack two triangles, add a tiny trunk, and keep each tree inside the glass.
-
Step 7 : Draw the snowflakes
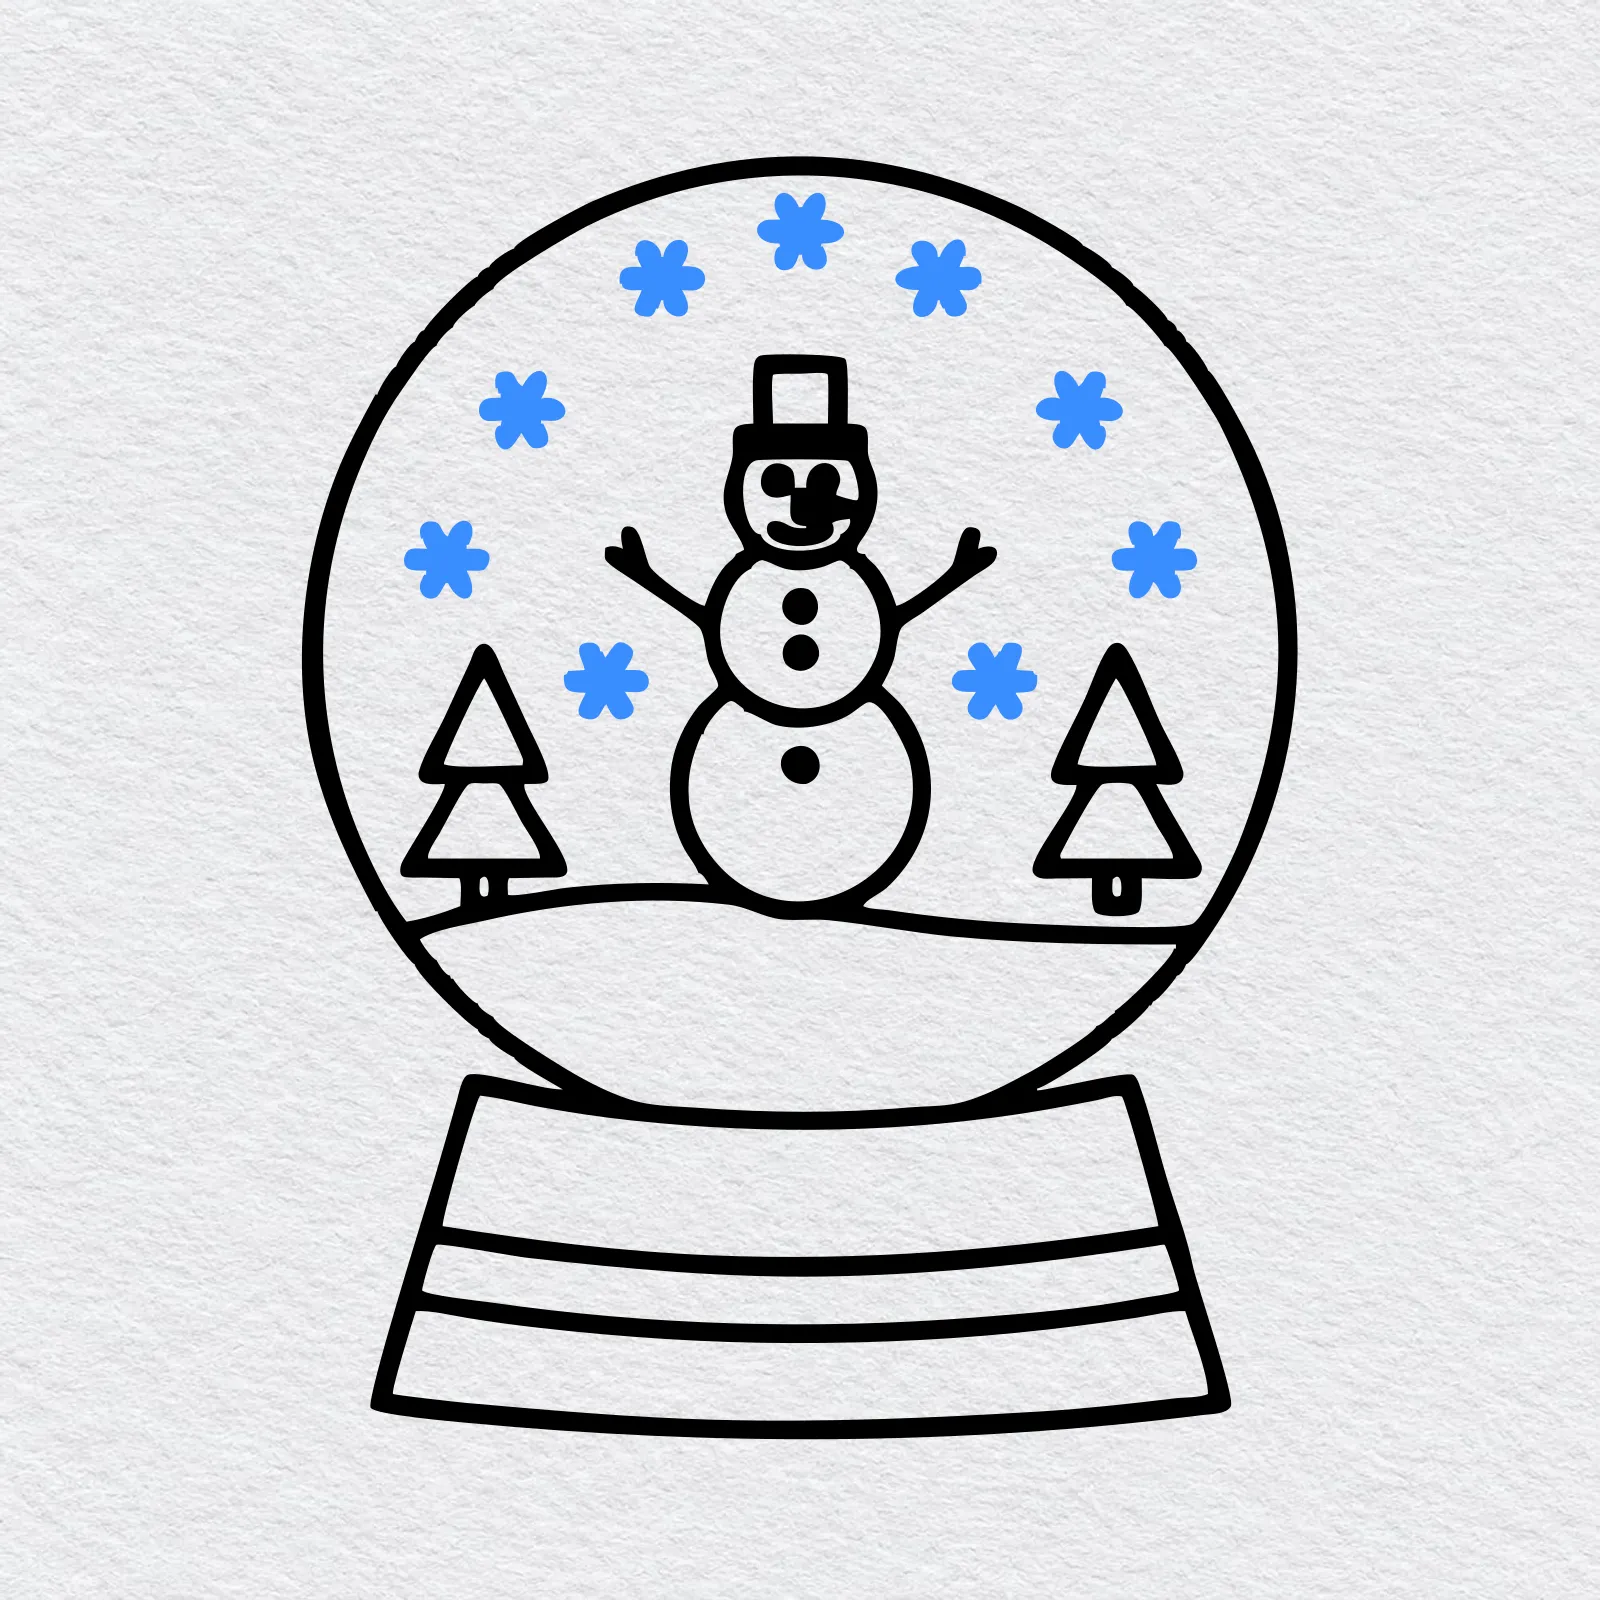
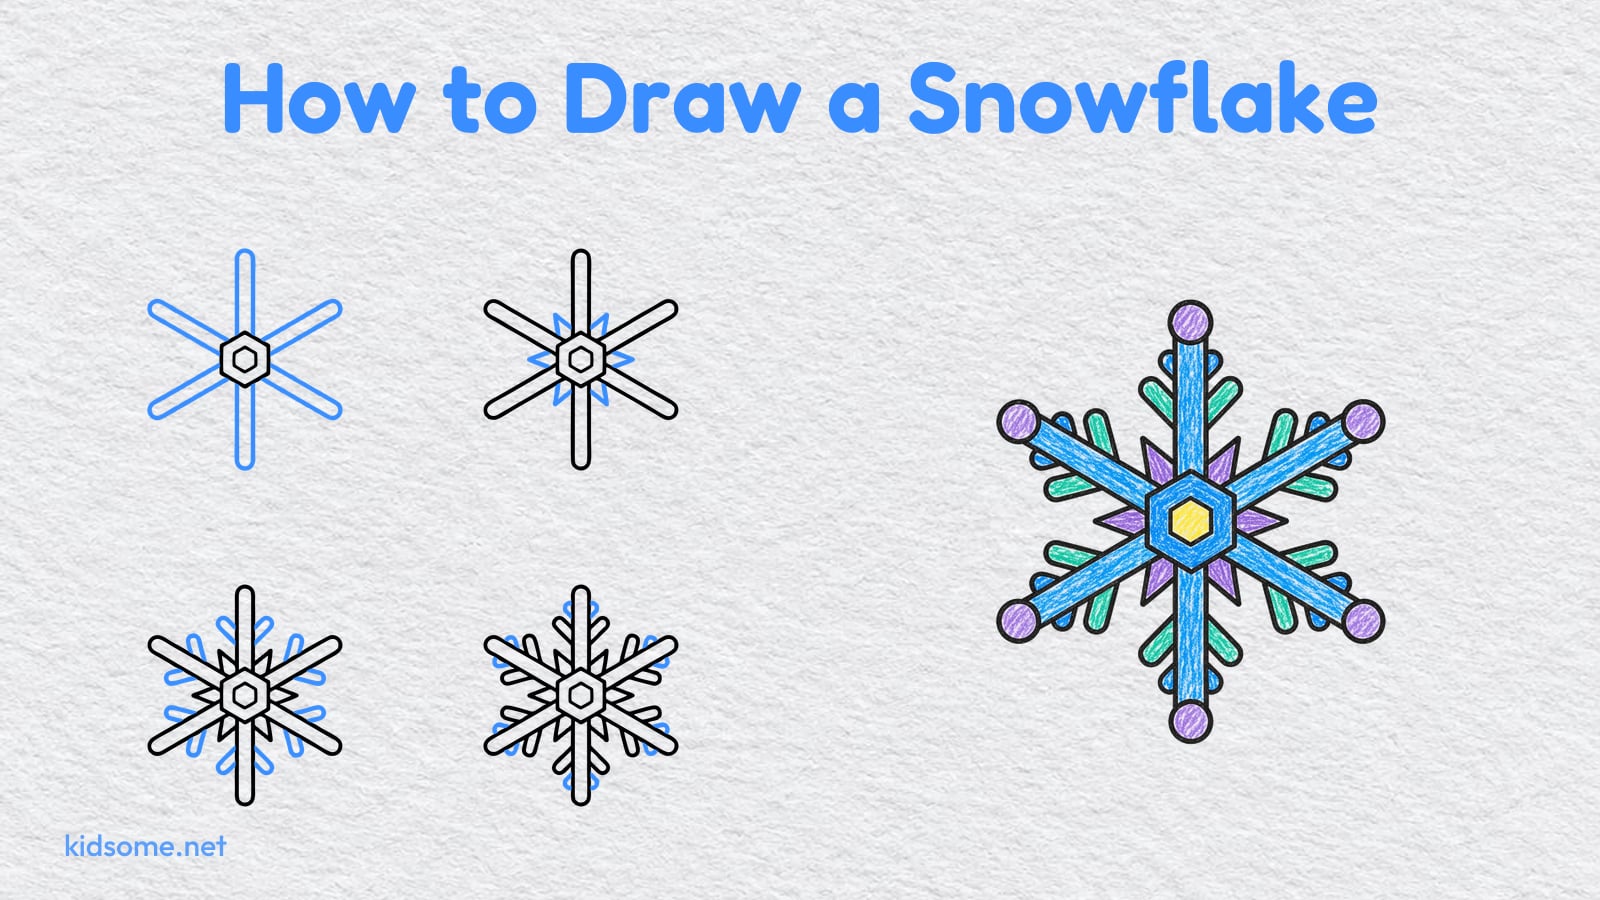
Fill the sky with small snowflakes. Draw a little cross, then add more short lines through the middle, so each flake looks like a tiny star.
-
Step 8 : Color your snow globe
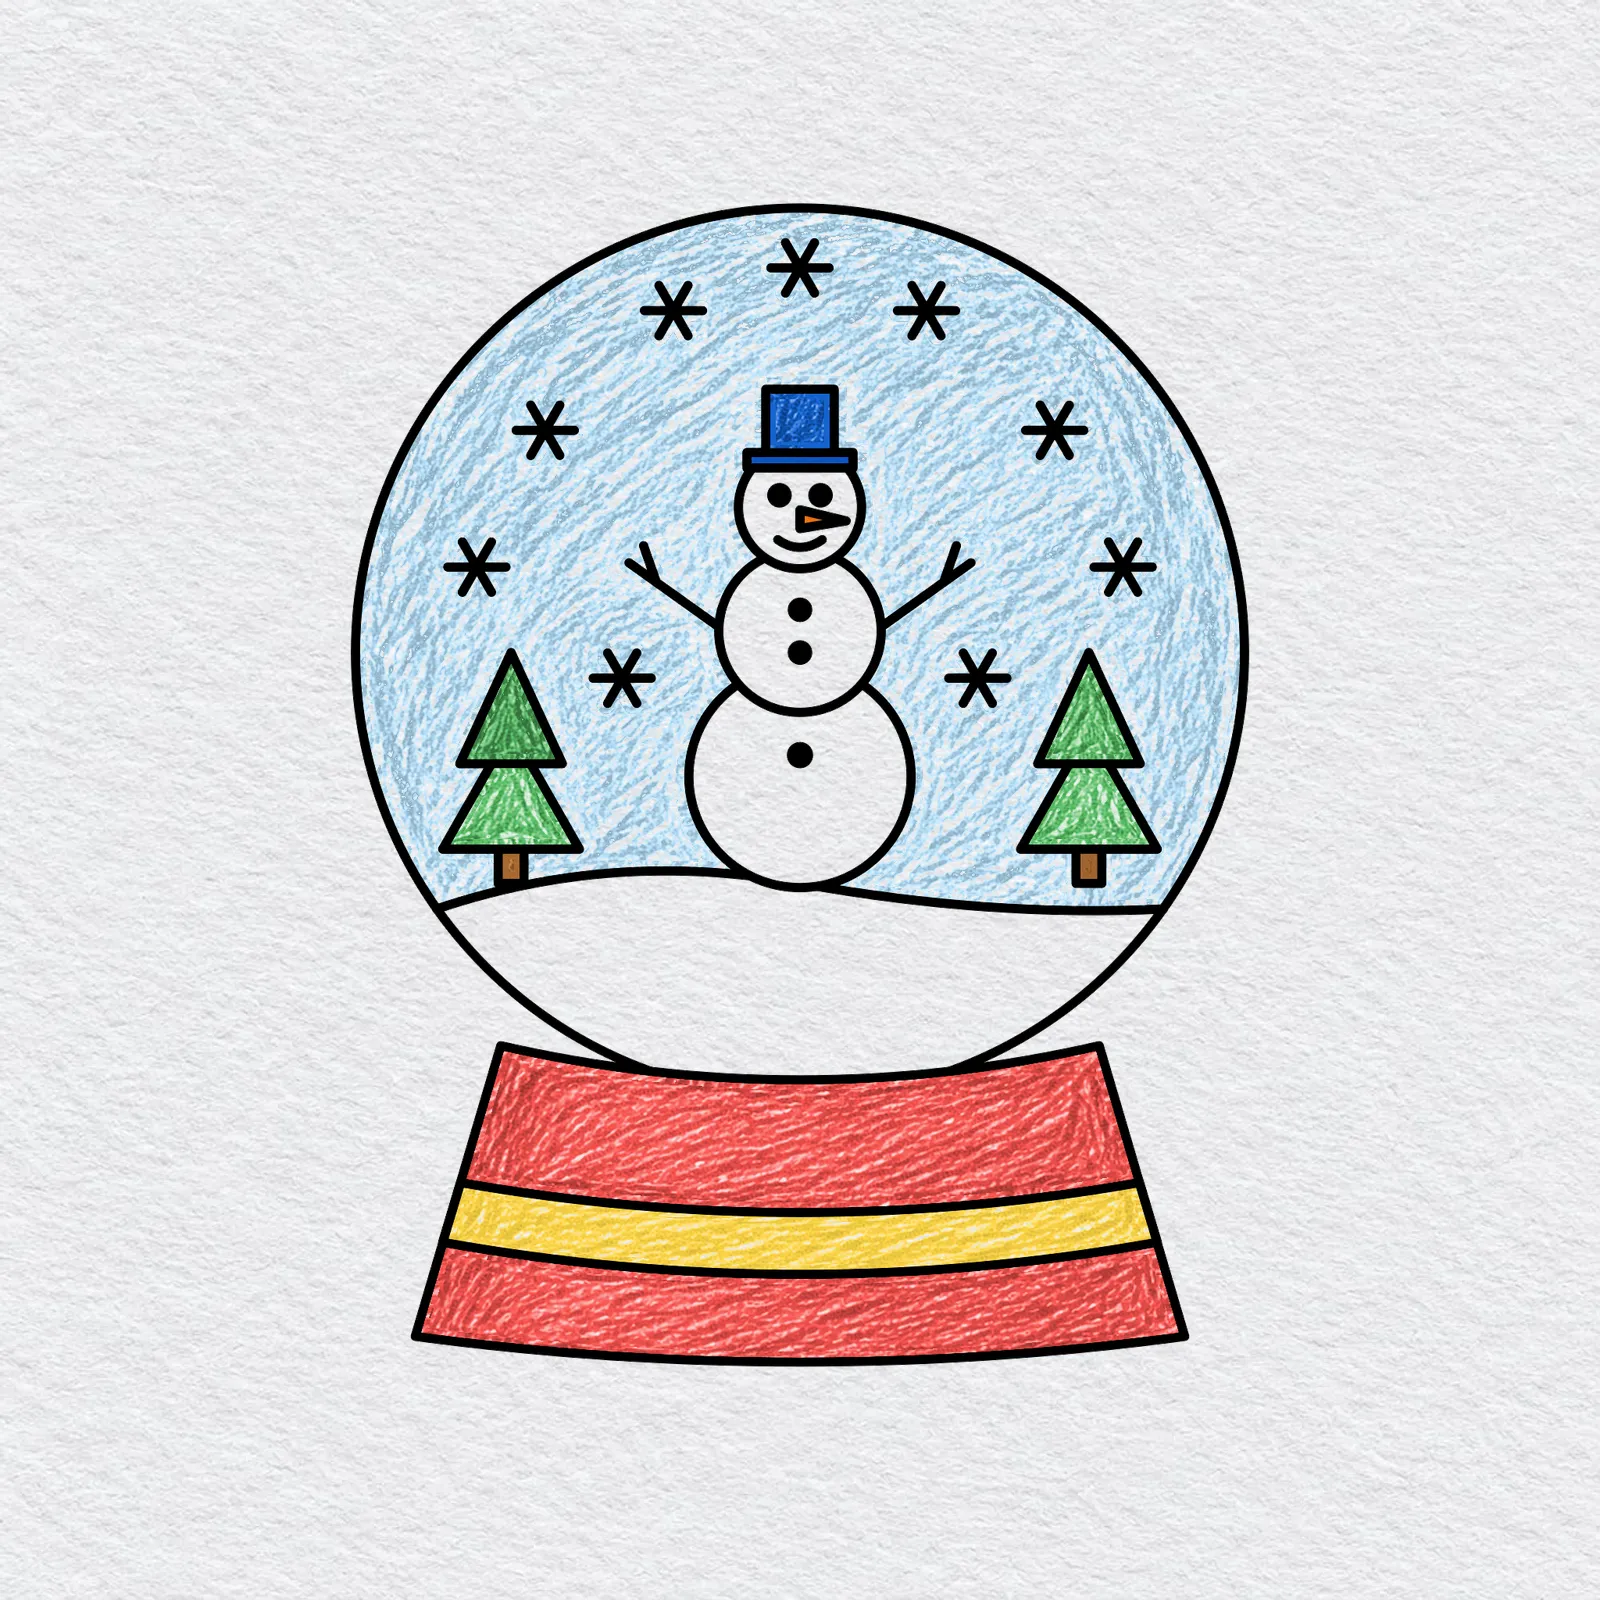
Color the glass a pale blue and leave the snow and the snowman white. Make the trees green, the nose orange and the base any bright color you like.
Go slowly and press lightly first. You can always add more color.
Printable snow globe drawing PDFs
 Save
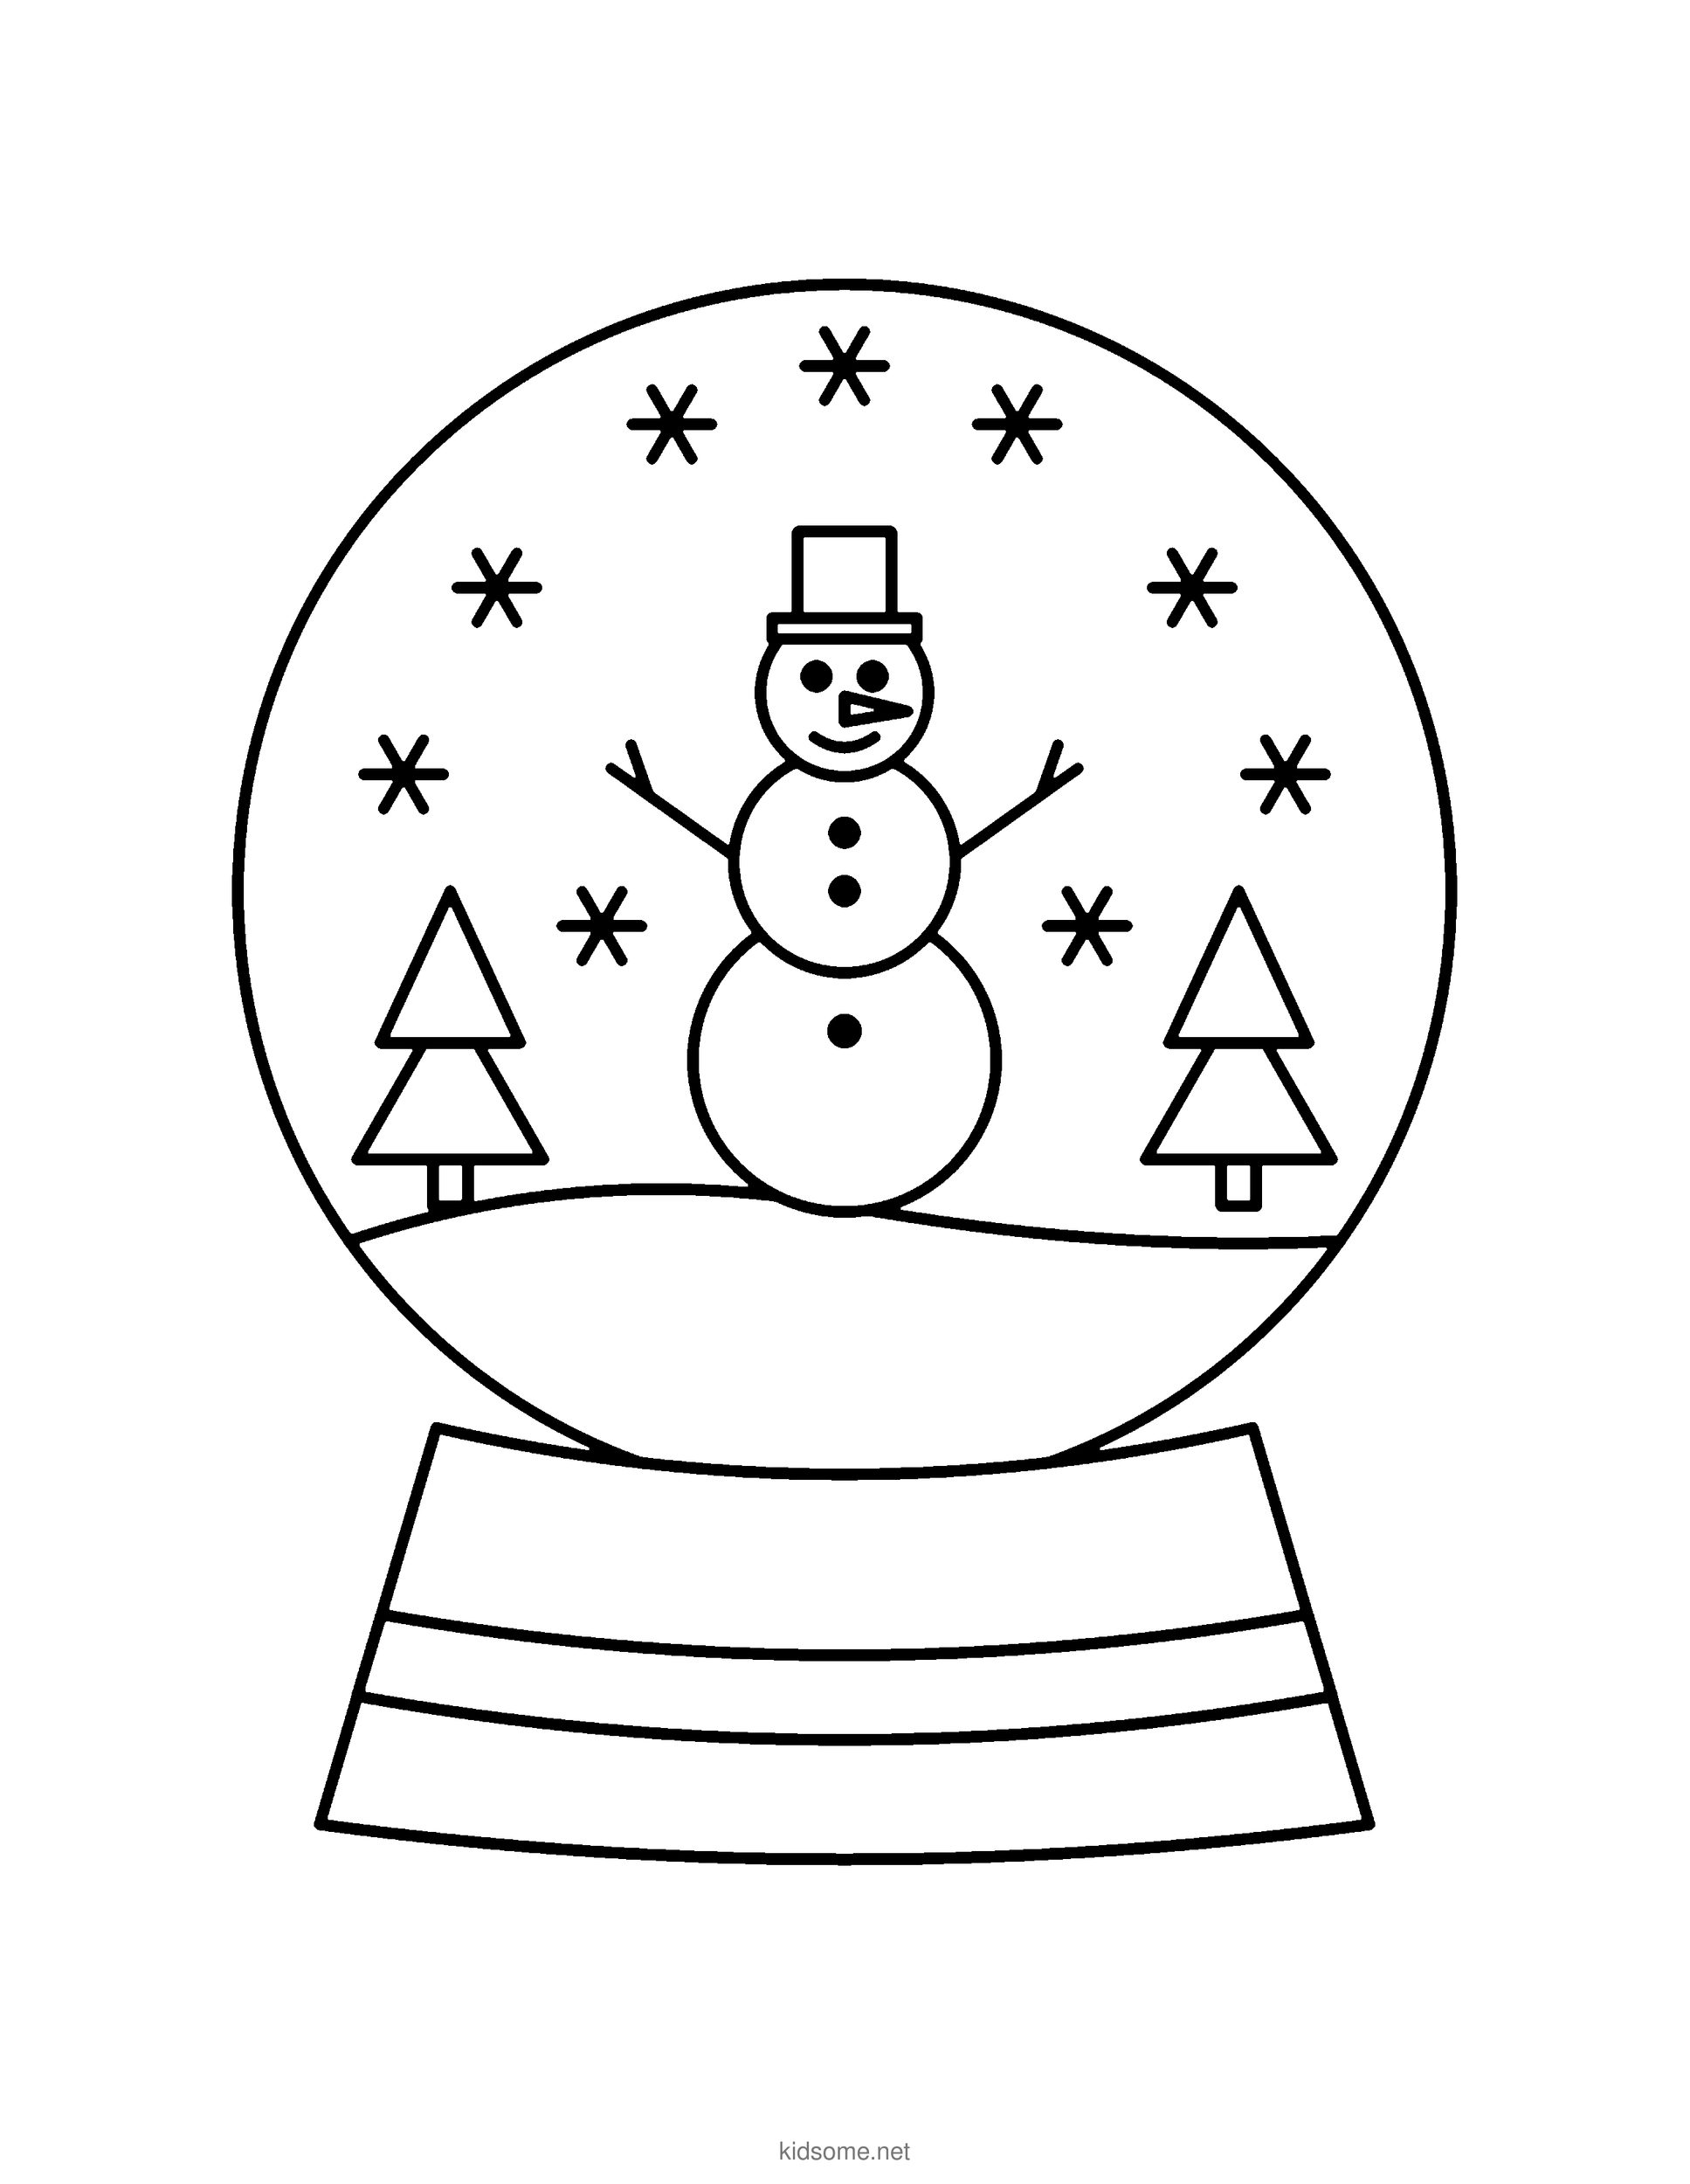
Snow Globe Outline to Color
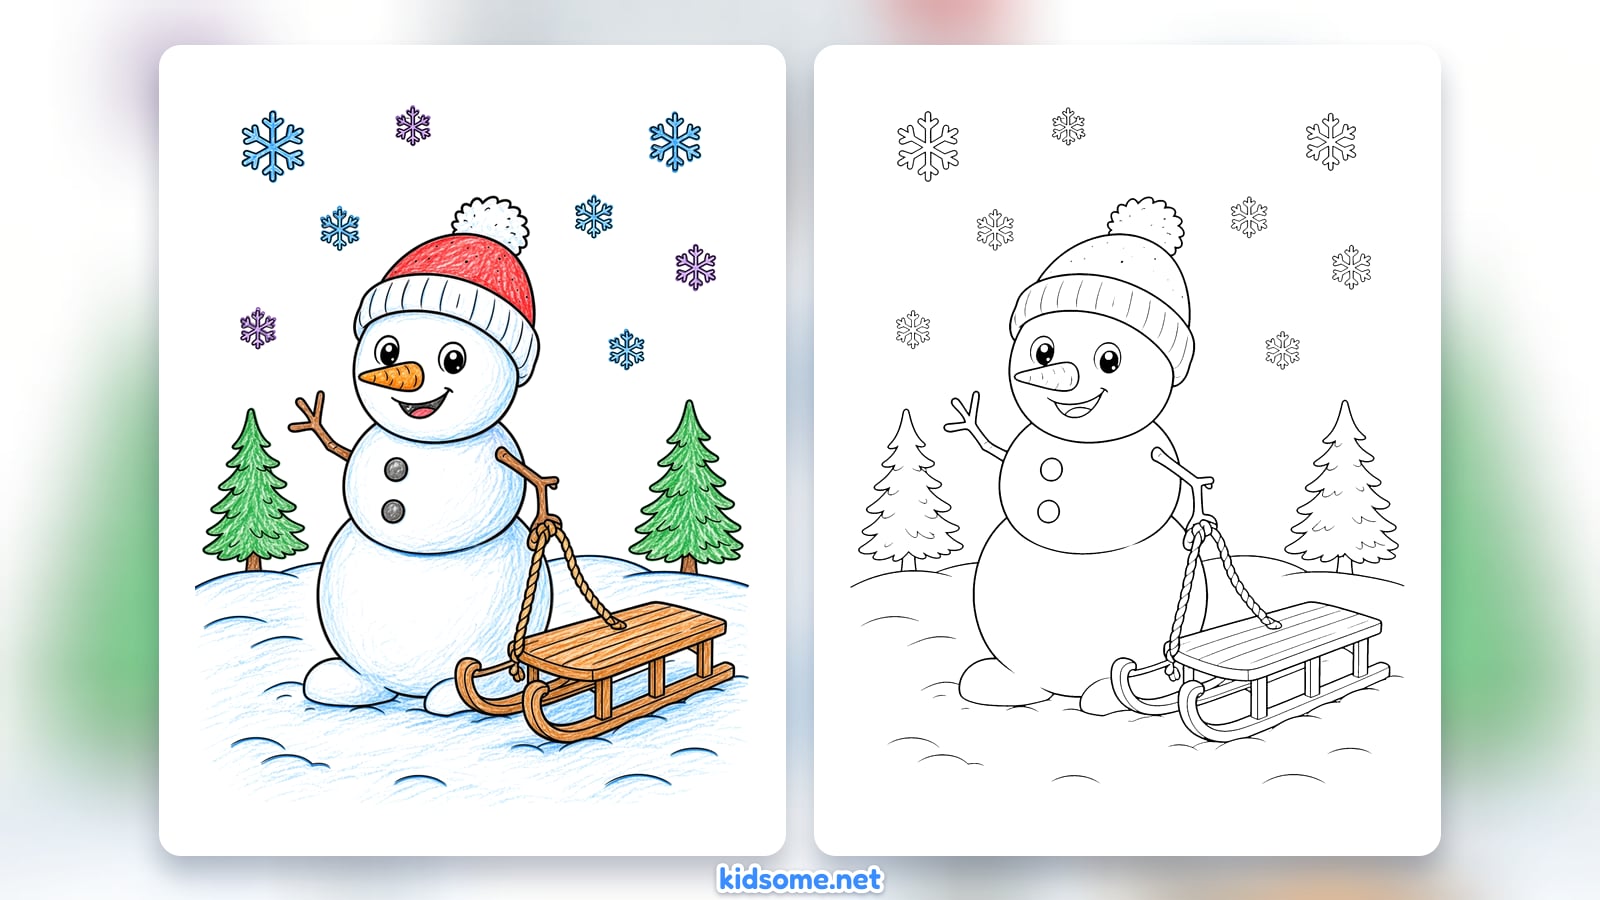
The finished snow globe as a clean outline to color, with the colored snow globe on page two.
Download PDF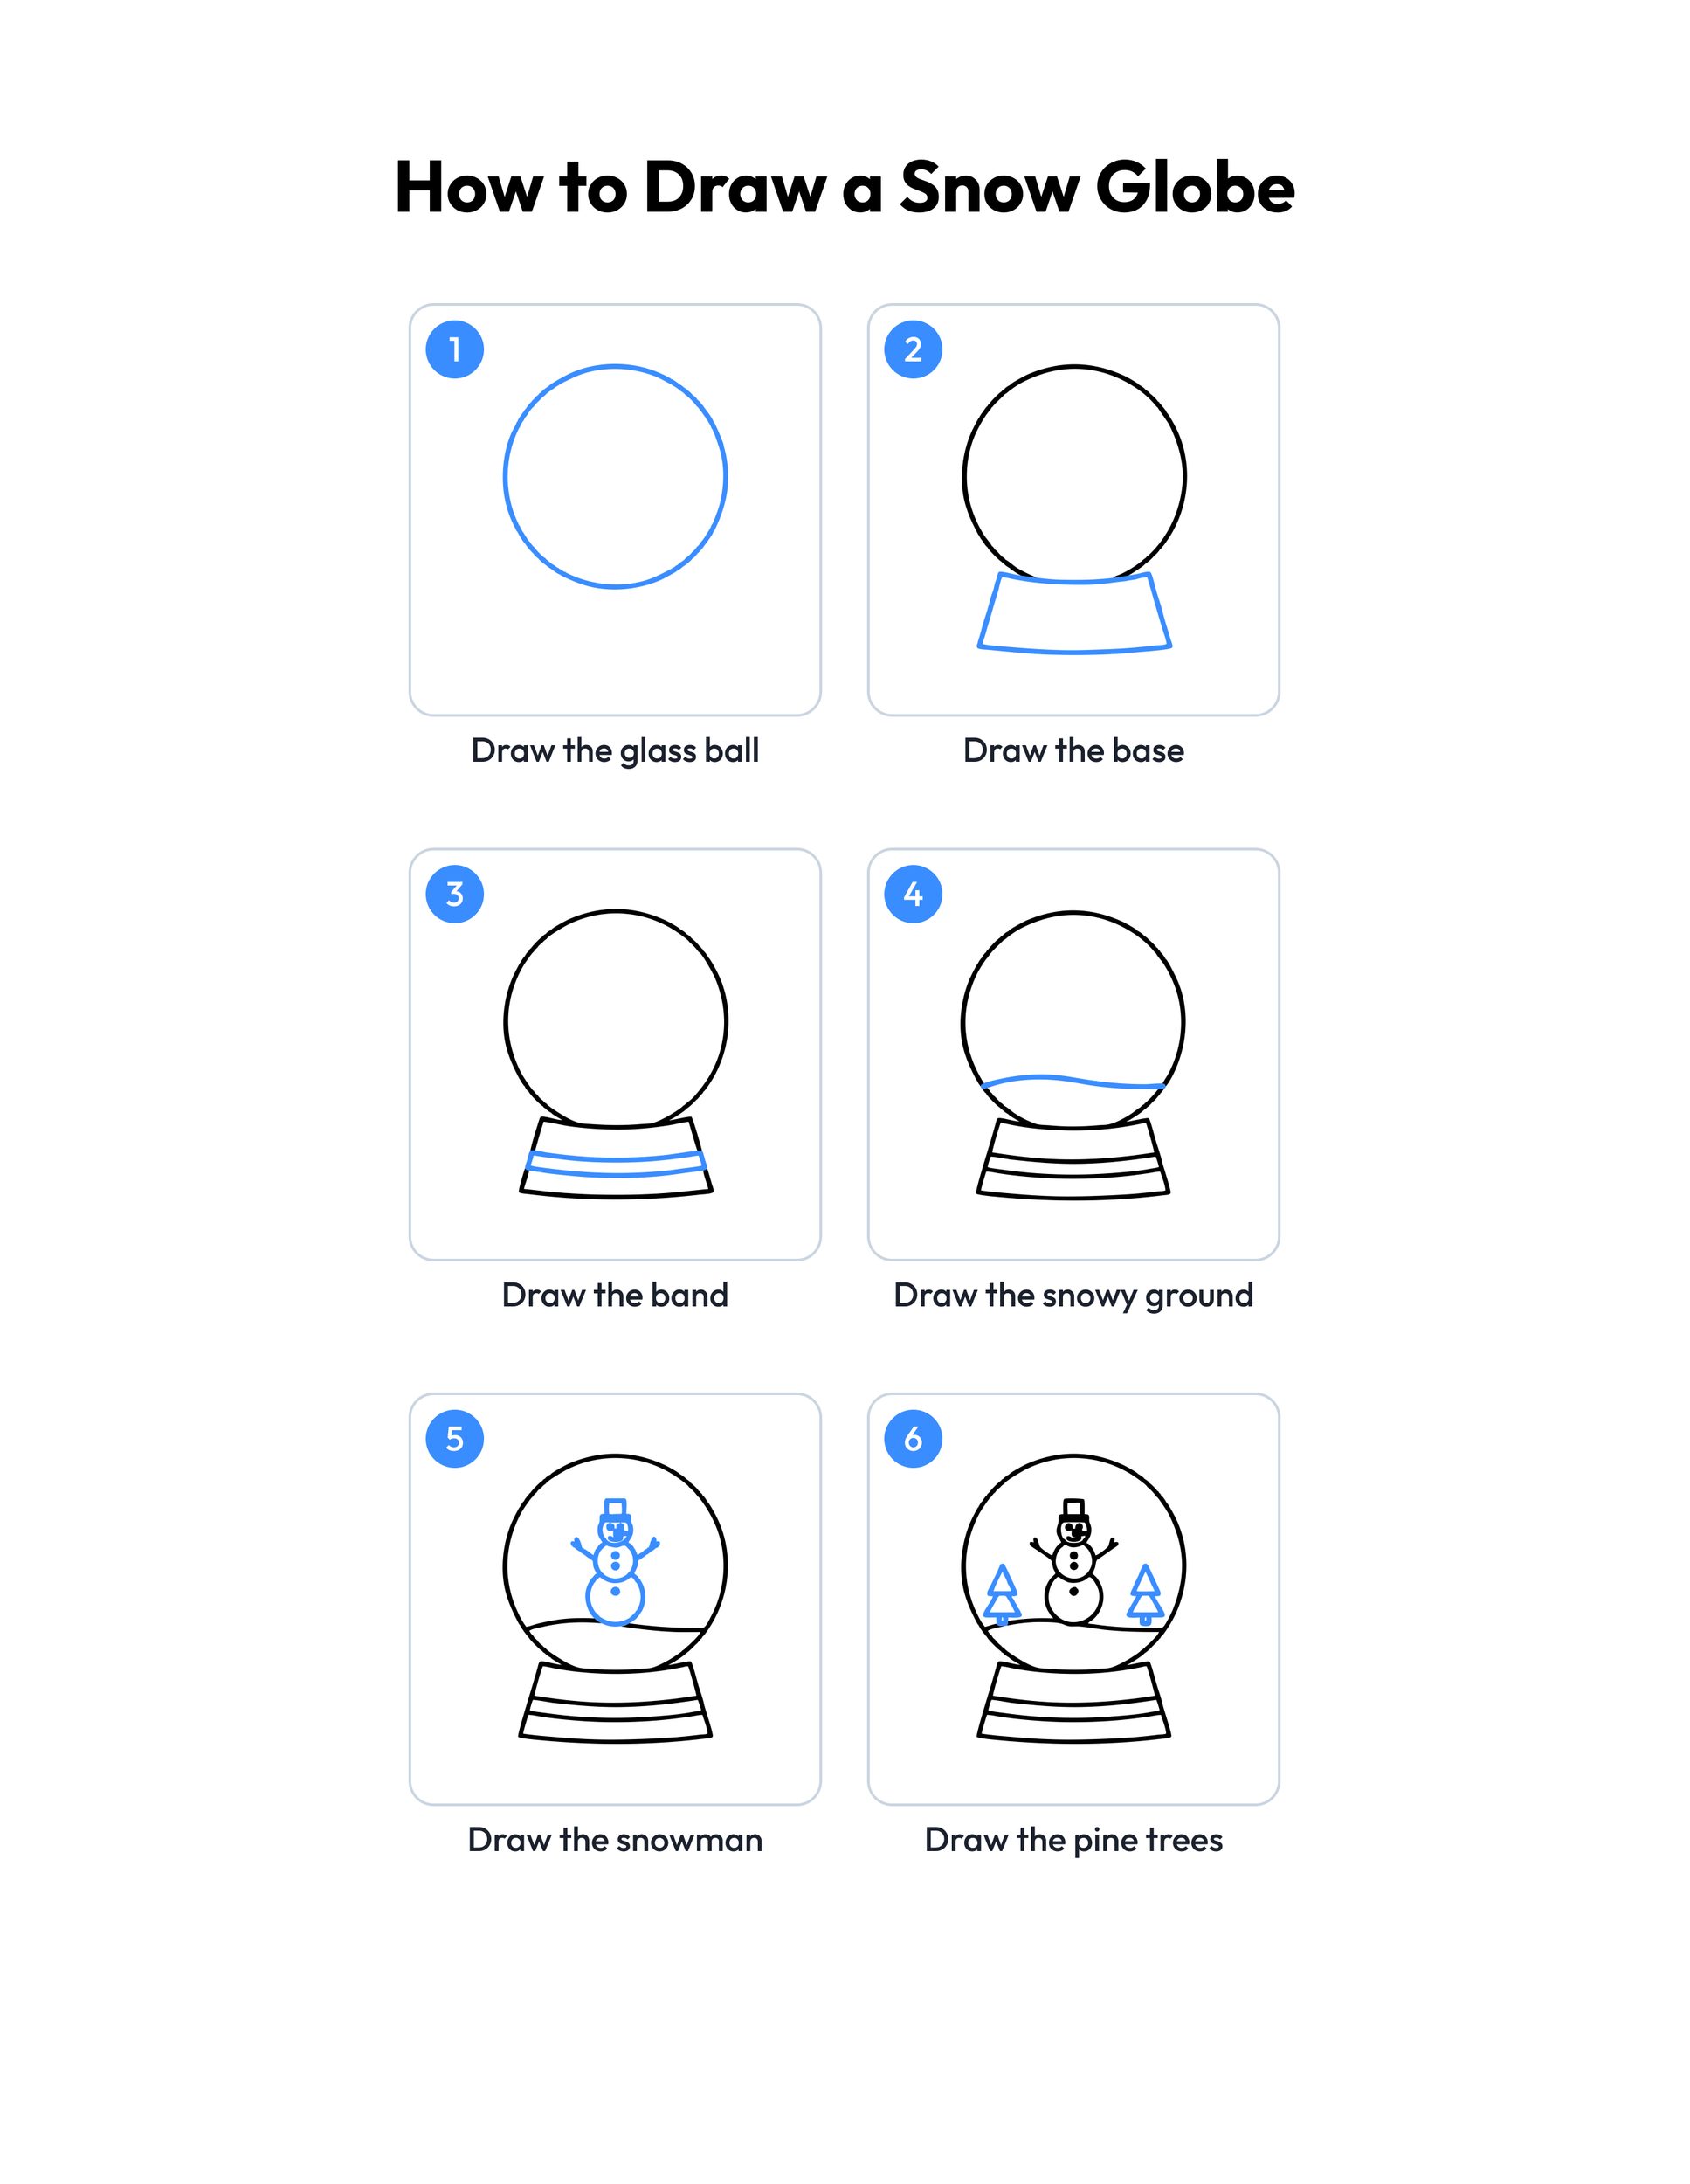 Save
Printable snow globe drawing guide
Every step, two to a row, with the finished snow globe in color at the end.
Download PDFHow to use this guide
Give your child a pencil with a good eraser and a sheet of plain paper. Draw lightly at first, because the big circle and the base are guide shapes that often need a second try. Once the snow globe looks right, go over the lines with a marker or a dark crayon.
Look at one step at a time. The blue line shows the new part, and the black lines are what you already drew. Say the name of the part out loud, point to where it starts, then draw it together. The first three steps are the easiest: a circle, a base and a band. Younger children can stop there, color the glass blue and the base red, and still have a snow globe.
The snowman, the trees and the snowflakes are smaller, so they take more care. Draw the snowman in the middle of the glass, a little above the ground line, and keep the trees short so they fit inside the ball.
To print the outline, download the PDF and print at 100 percent, or choose Fit to page. It is set to US Letter with margins for A4. Page one is the outline to color and page two is the colored snow globe, so print page one alone for coloring. Use cardstock for markers or paint. If you were looking for snow globe coloring pages, the printed outline works as one: it is the same finished drawing, ready for crayons.
Ideas for your snow globe drawing
- Hang a row of finished snow globes on a classroom wall and let each child add their own small scene inside the glass, such as a house, a pet or a sled.
- Draw the snow globe on a paper plate, color it, then glue on a few cotton ball snowflakes for a soft, bumpy picture to hang up.
- Use white crayon for the snowflakes before painting the glass with watery blue paint, and watch the white snowflakes appear through the blue like a surprise.
- Make a snow globe card for a grandparent. Fold a sheet of paper in half, draw the globe on the front and write a short winter message inside.
- Talk about circles and curves while you draw. Ask your child to find other round shapes in the room, such as clocks, plates and buttons, after the drawing is done.
- Draw two snow globes side by side, one sunny and one snowy, and talk about how the weather changes what we wear and play outside.
- After drawing the globe, learn how to draw a snowman in a bigger size, so the tiny snowman inside the glass gets a big brother.
- Set a quiet drawing corner on a snow day with this guide, a few pencils, crayons and a stack of paper, so children can draw more globes alone.
- Keep going with more winter drawing guides, then put every finished picture into a small stapled book called My Winter Drawings to read together.
What age is this snow globe drawing for?
It is made for ages 4 to 8. The youngest children can draw the circle, the base and the band with a grown-up nearby, and older kids can draw the whole snow globe alone, then add more snowflakes, a house or a sled inside the glass.
How do I make the circle look round?
Draw it lightly and slowly, in small arcs, turning the paper as you go. You can also trace around a plate, a bowl or a roll of tape. A slightly wobbly circle is fine, because the base and the snowman inside still make it read as a snow globe.
What colors should we use?
A pale blue for the glass makes it look like winter air, with white left for the snowy ground and the snowman. Green works for the pine trees, brown for their trunks and orange for the carrot nose. The base can be any bright color, such as red, gold or purple.
Can I print this drawing for my class?
Yes. The outline PDF is free for personal and classroom use, so print as many copies as your class needs. Please share a link to this page instead of uploading the file elsewhere, and do not sell it. For more pictures to color, see the winter coloring pages.
Do I need to sign up to download?
No. The outline is a free PDF with no account, no email and no sign-up. Click the download button, print it at 100 percent on US Letter or A4, and color it with crayons, colored pencils or markers on cardstock.