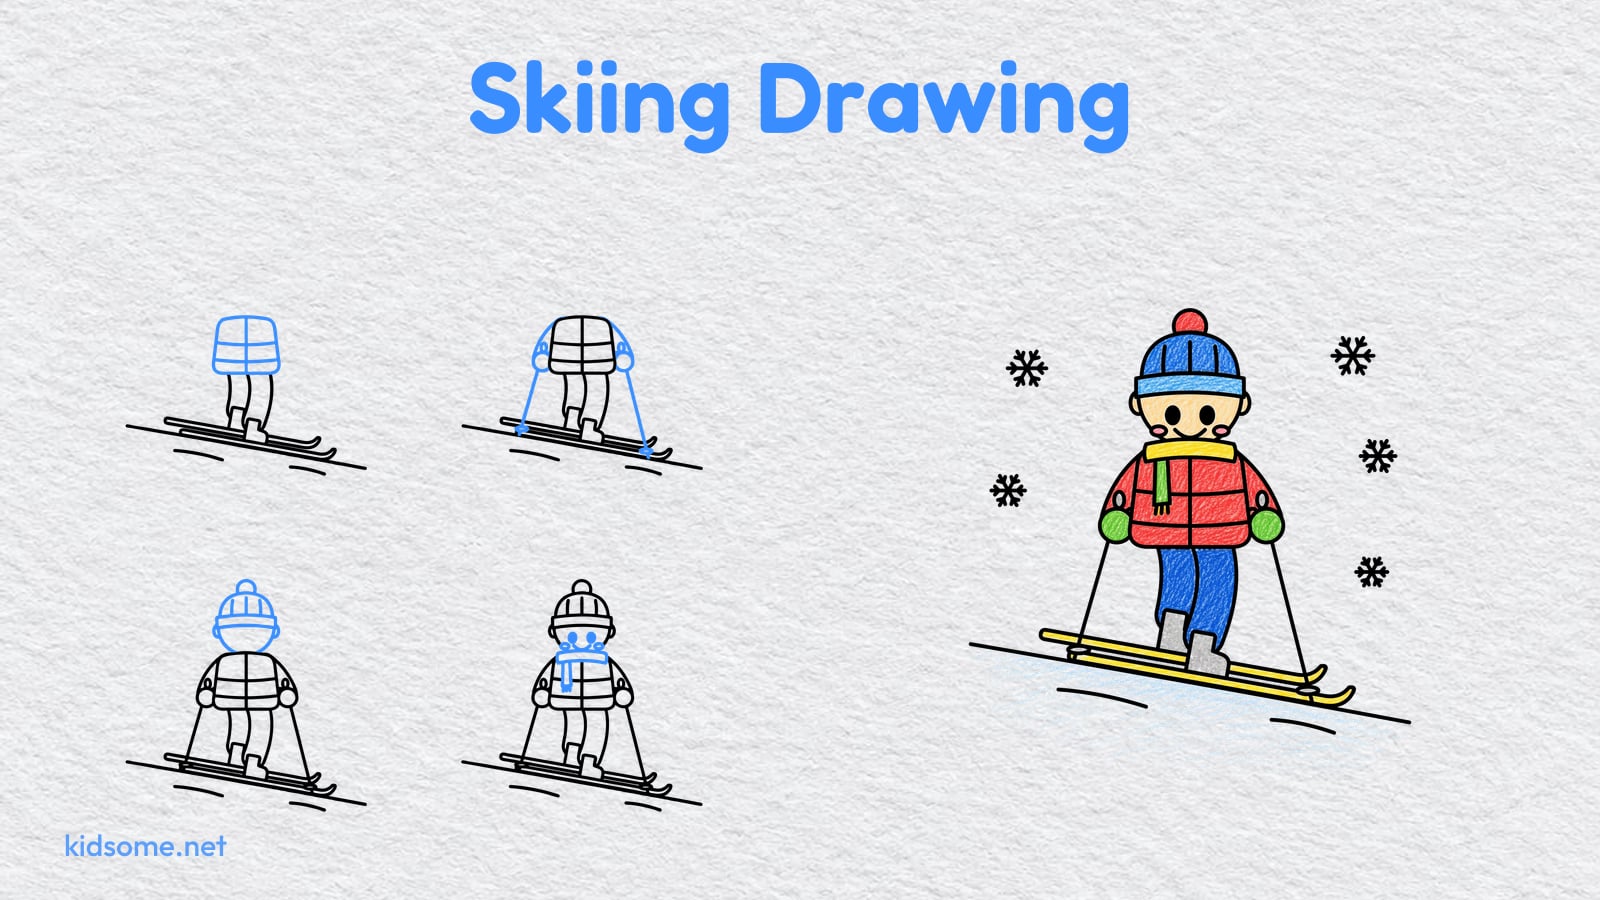
This skiing drawing guide shows kids ages 4 to 8 how to draw a skier, a smiling kid gliding down a snowy hill, one easy step at a time. The skier is made from simple shapes: a slanted line for the slope, two long skis, bent legs, a puffy jacket, mittens holding two poles and a round head in a pom-pom hat. A cozy scarf, a big smile and a few snowflakes finish the picture, so by the last step your child has a lively skier drawing to be proud of.
There are eight steps. Each one shows the drawing so far in black and the new part in blue, so it is always clear what to add next. At the end you get a free printable outline of the finished skier to trace or color, plus a crayon colored example for ideas. The PDF prints on US Letter and A4, and there is no sign-up. It fits a winter drawing session at home or in class, and kids who enjoy it can try another of our winter drawing guides next.
-
Step 1 : Draw the slope

Draw a long line that slants down across the page. This is your snowy hill. Add two short curved lines under it for bumps in the snow.
-
Step 2 : Add the two skis
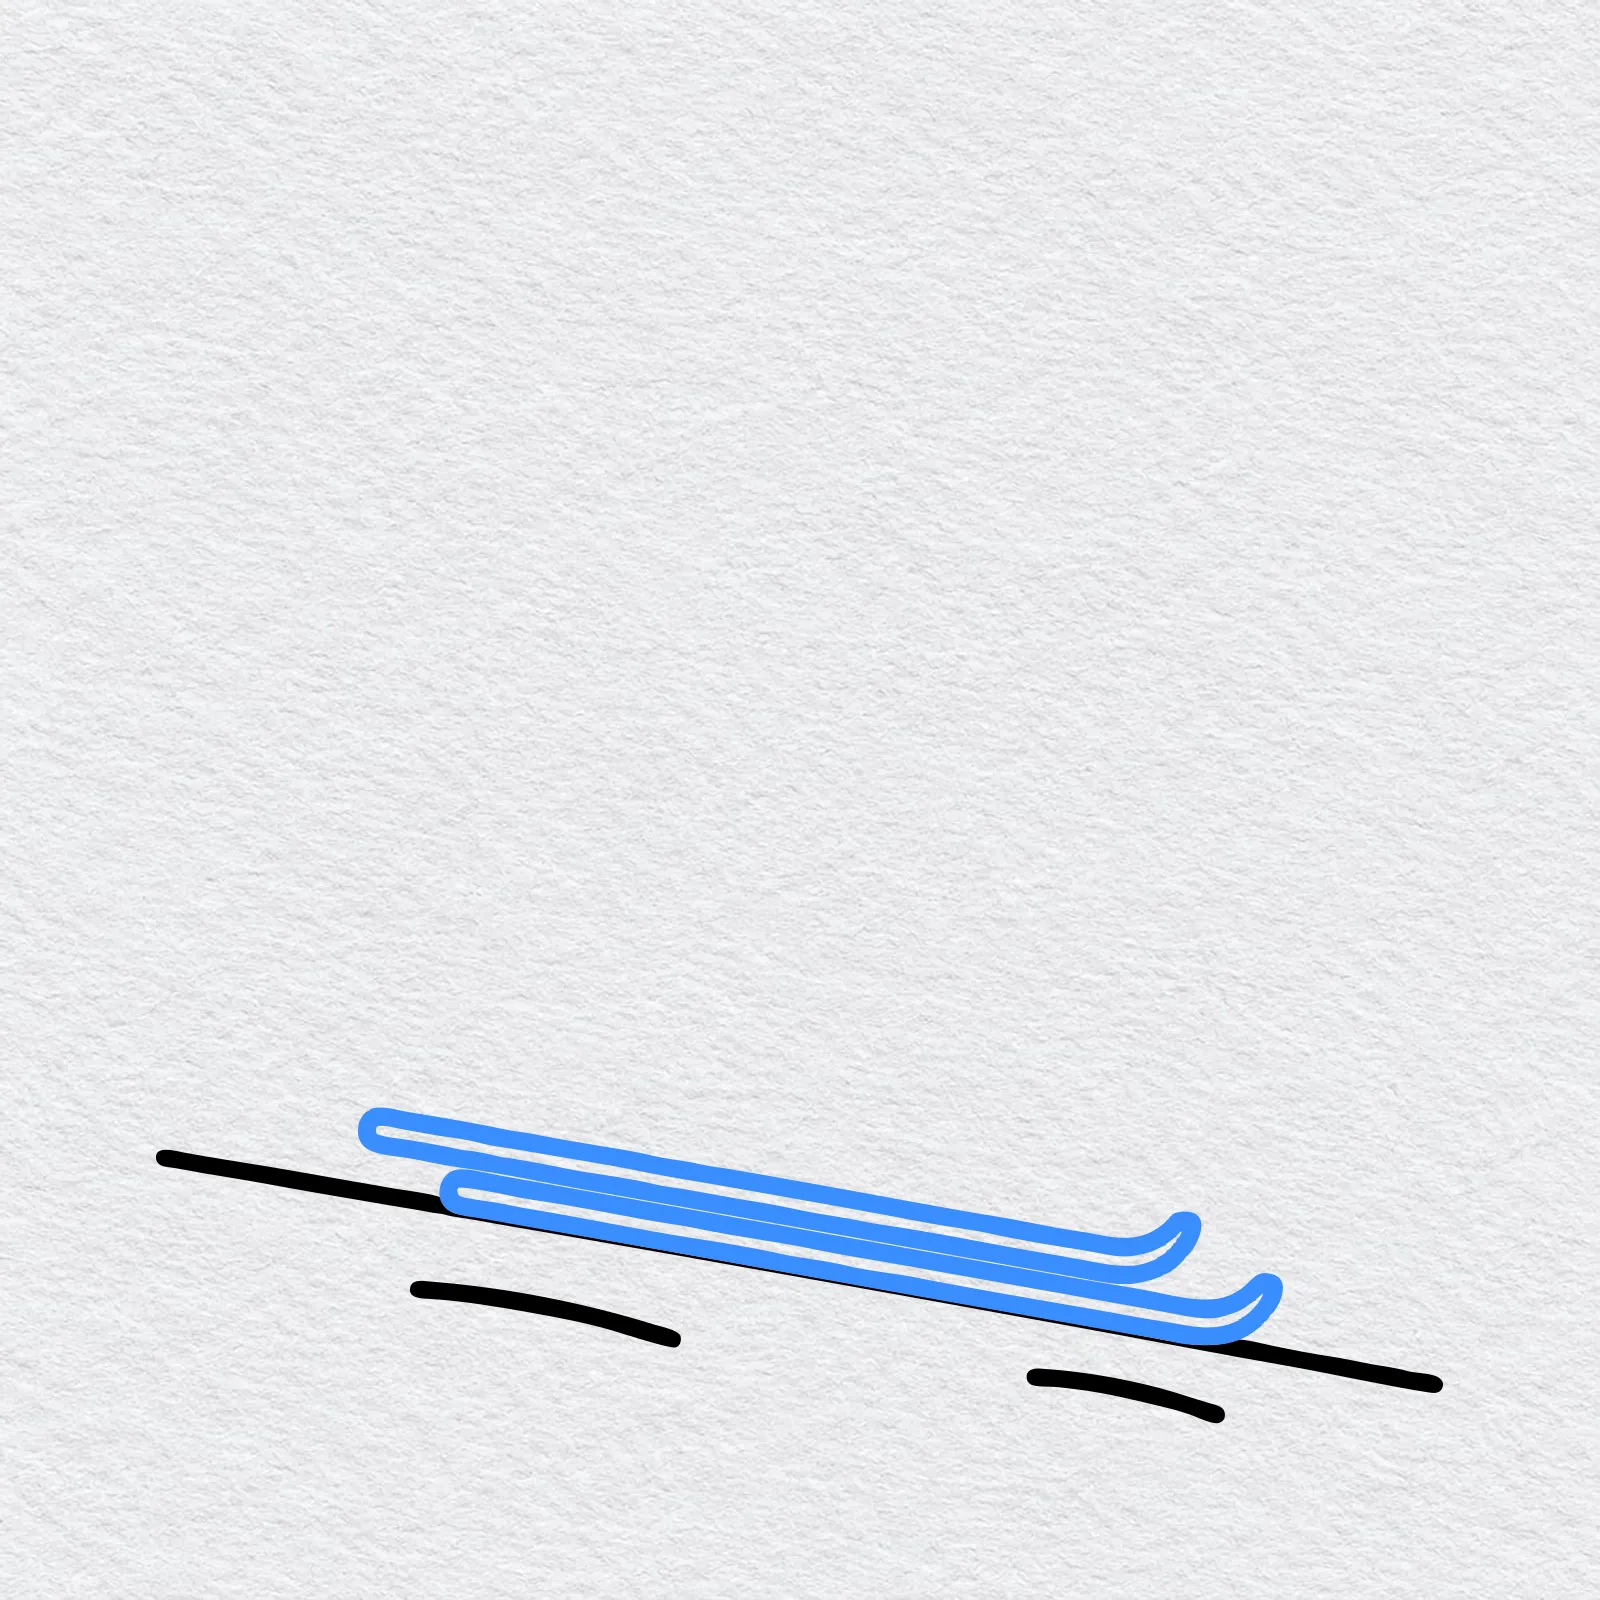
Draw two long, thin skis on the slope, one just above the other. Curl the front tip of each ski up like a little hook.
-
Step 3 : Draw the boots and legs
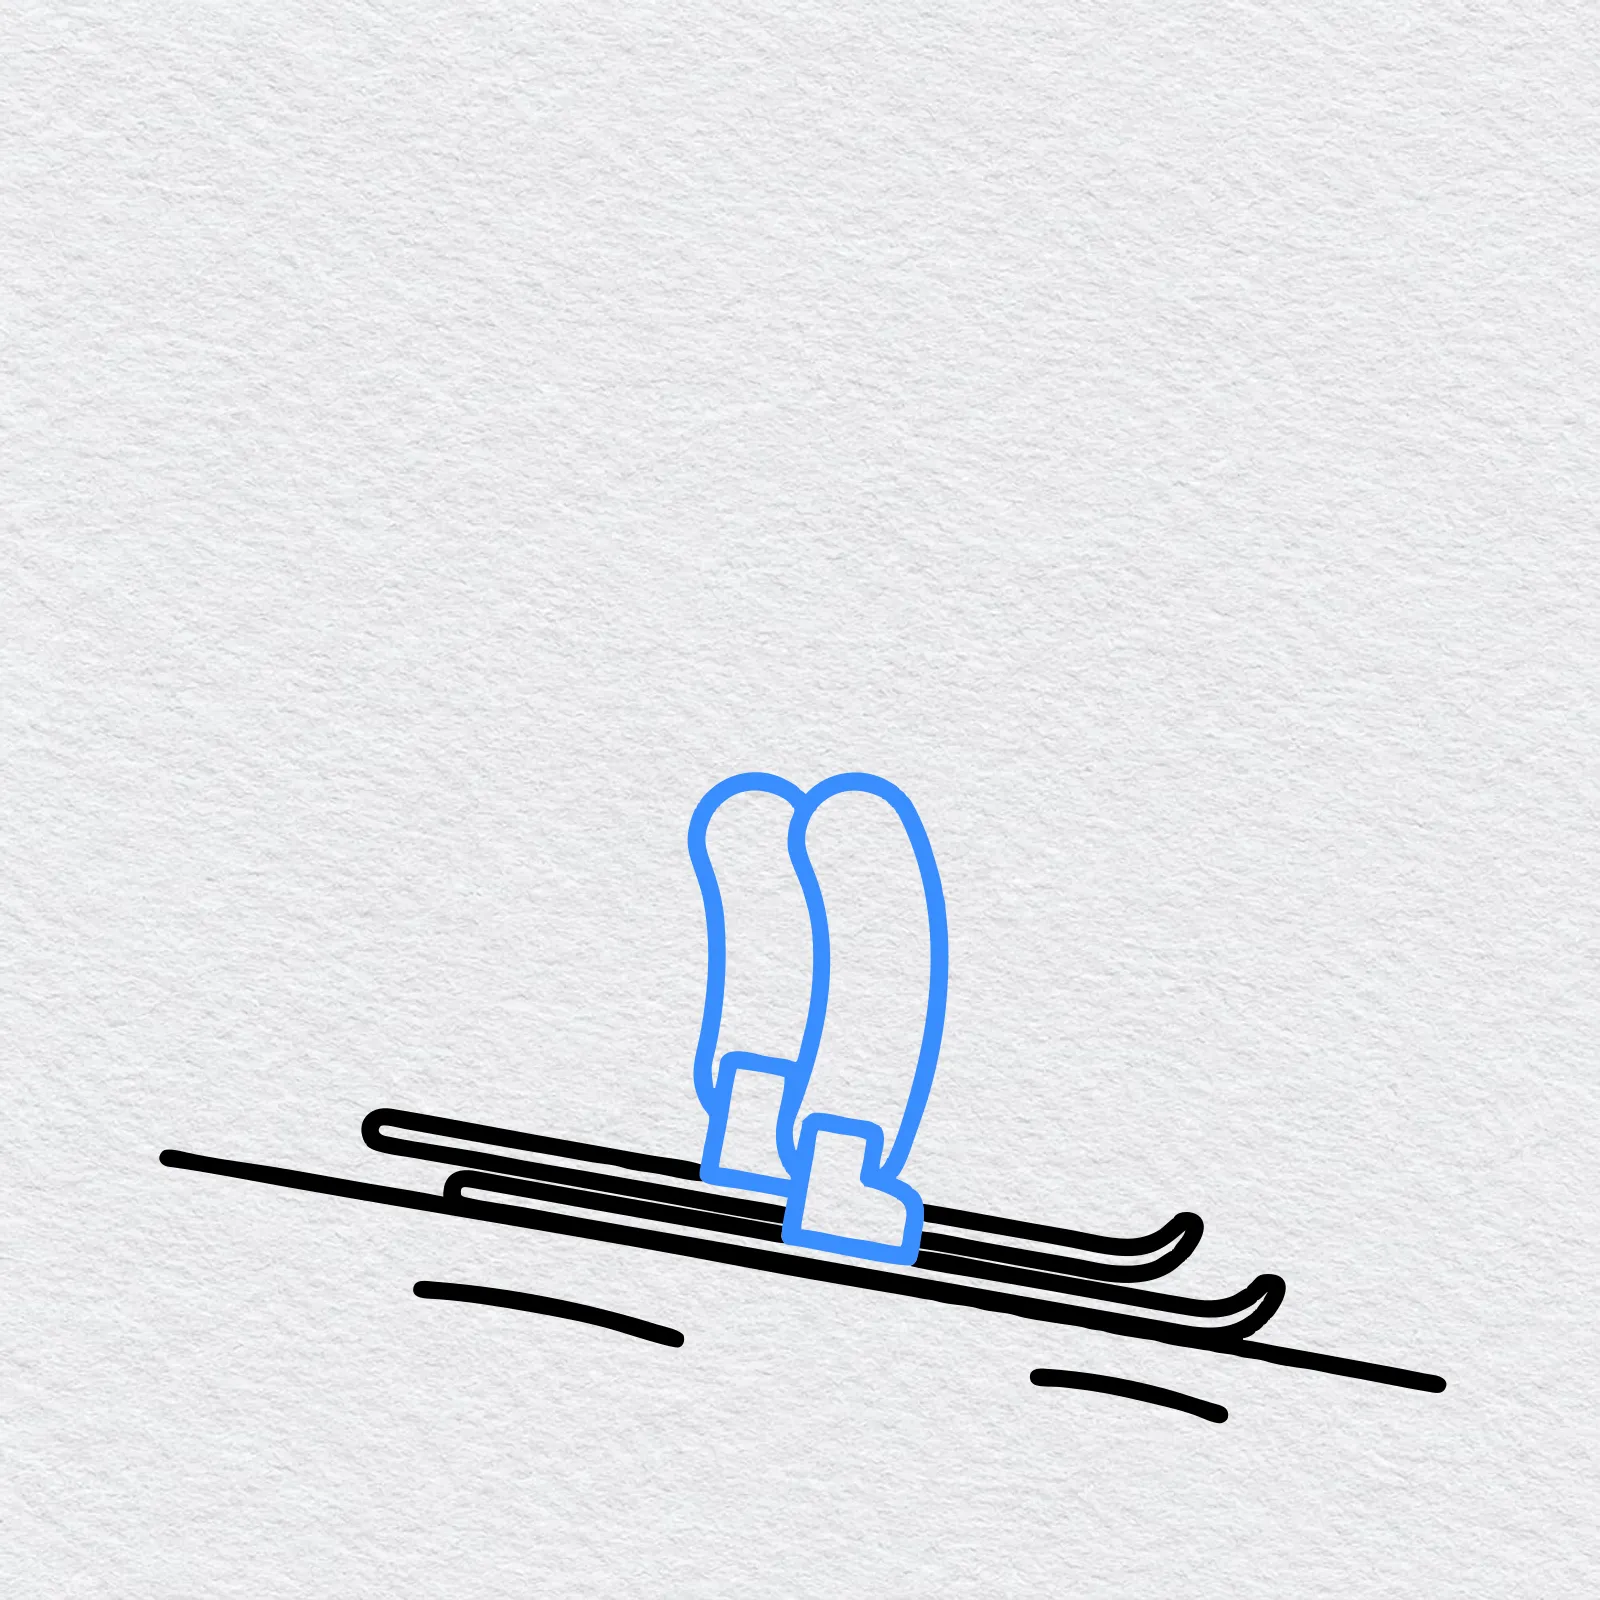
Draw two boots on the skis, one on each ski. From each boot, draw a long leg going up, with a gentle bend at the knee.
-
Step 4 : Add the puffy jacket
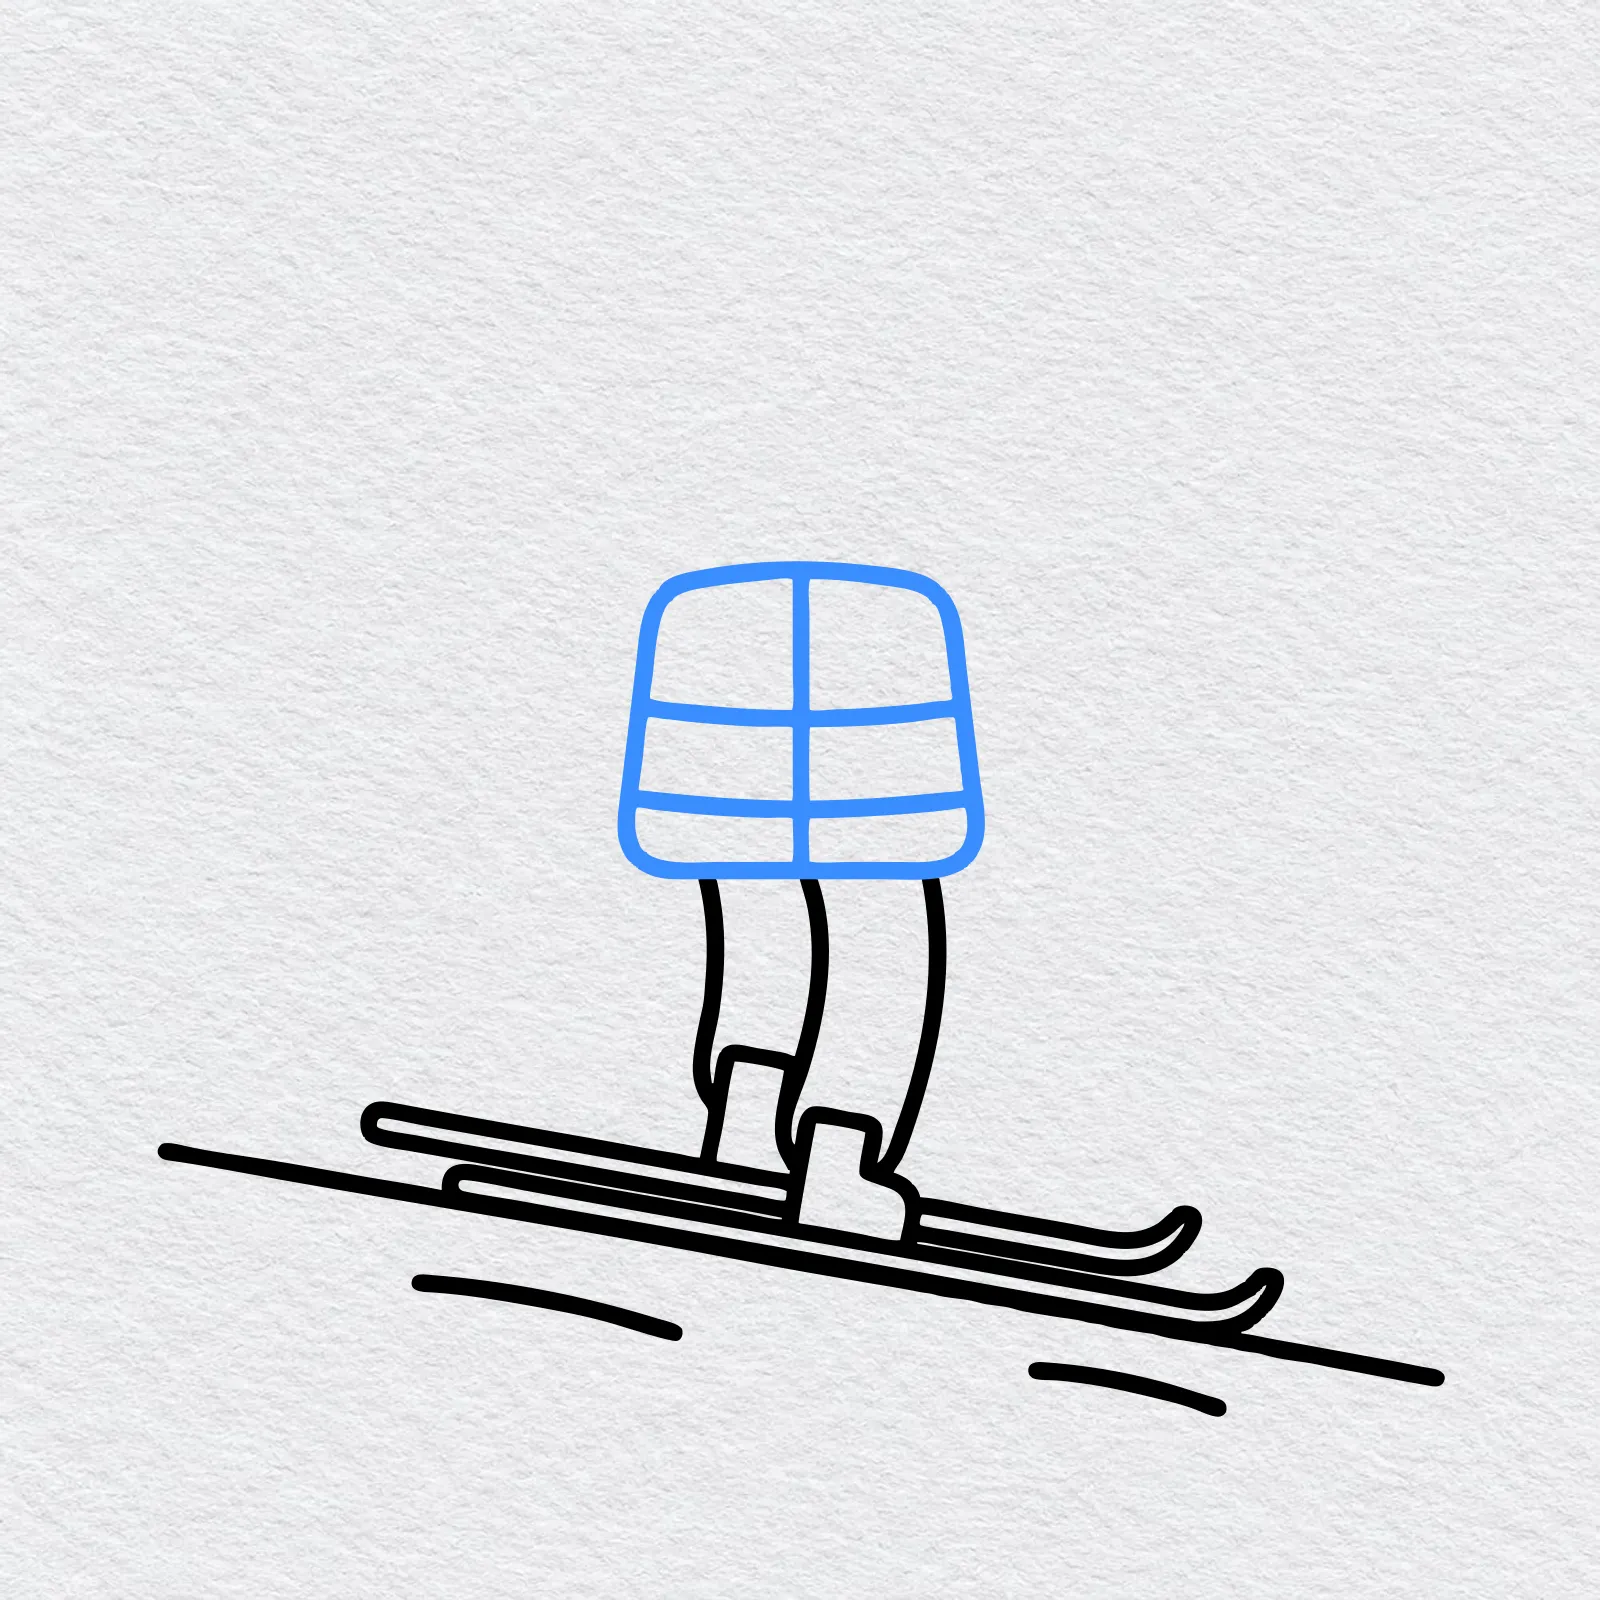
On top of the legs, draw a big rounded shape for the jacket. Draw a line down the middle for the zip and two lines across to make it look puffy.
-
Step 5 : Draw the arms and poles
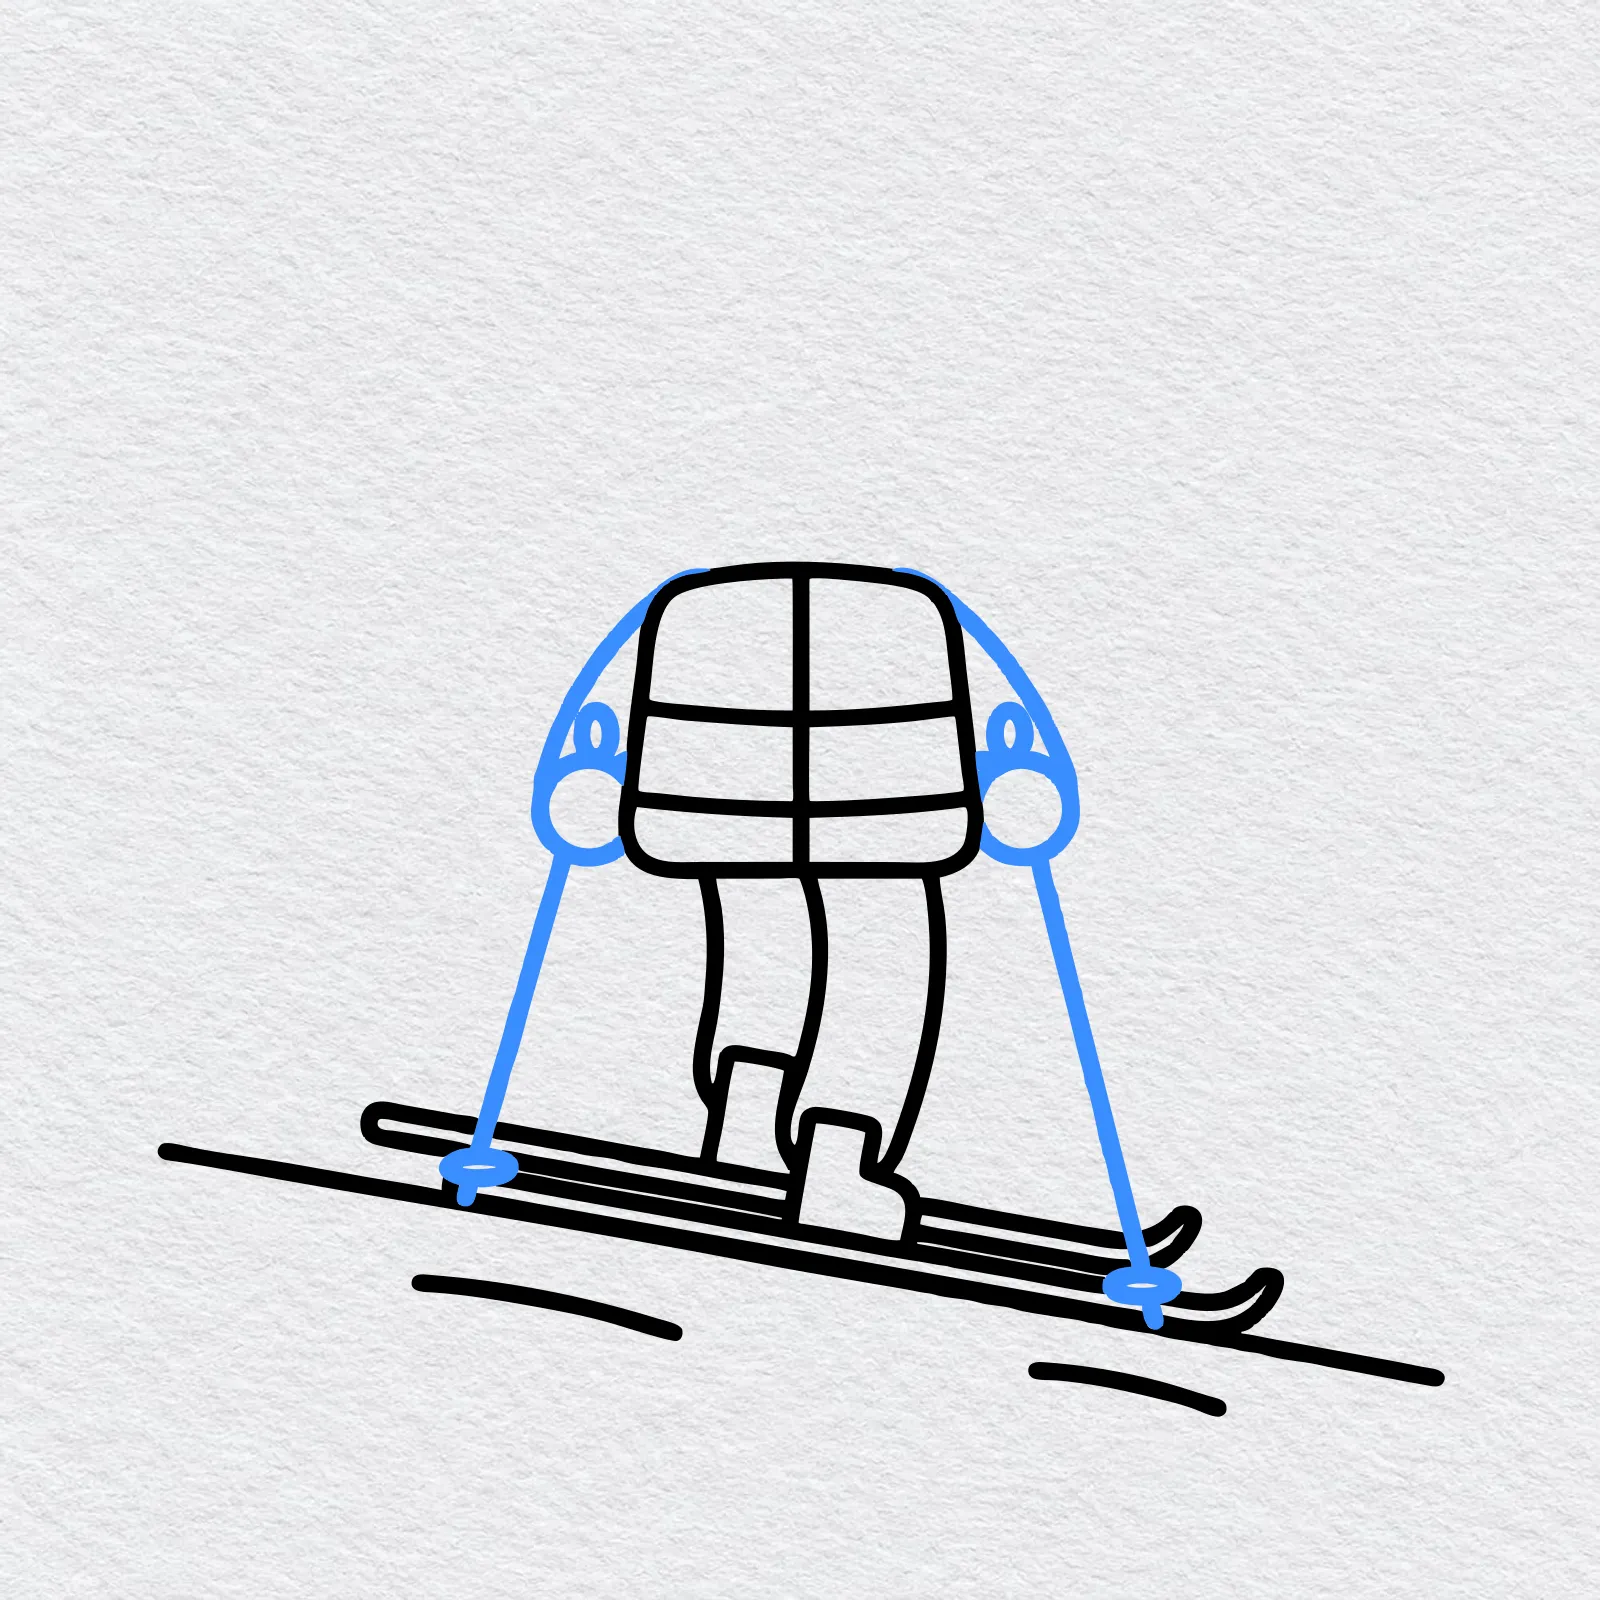
Draw a round mitten on each side of the jacket. From each mitten, draw a long straight pole down to the snow. Add a small handle on top and a little oval basket near the bottom of each pole.
-
Step 6 : Draw the head and hat
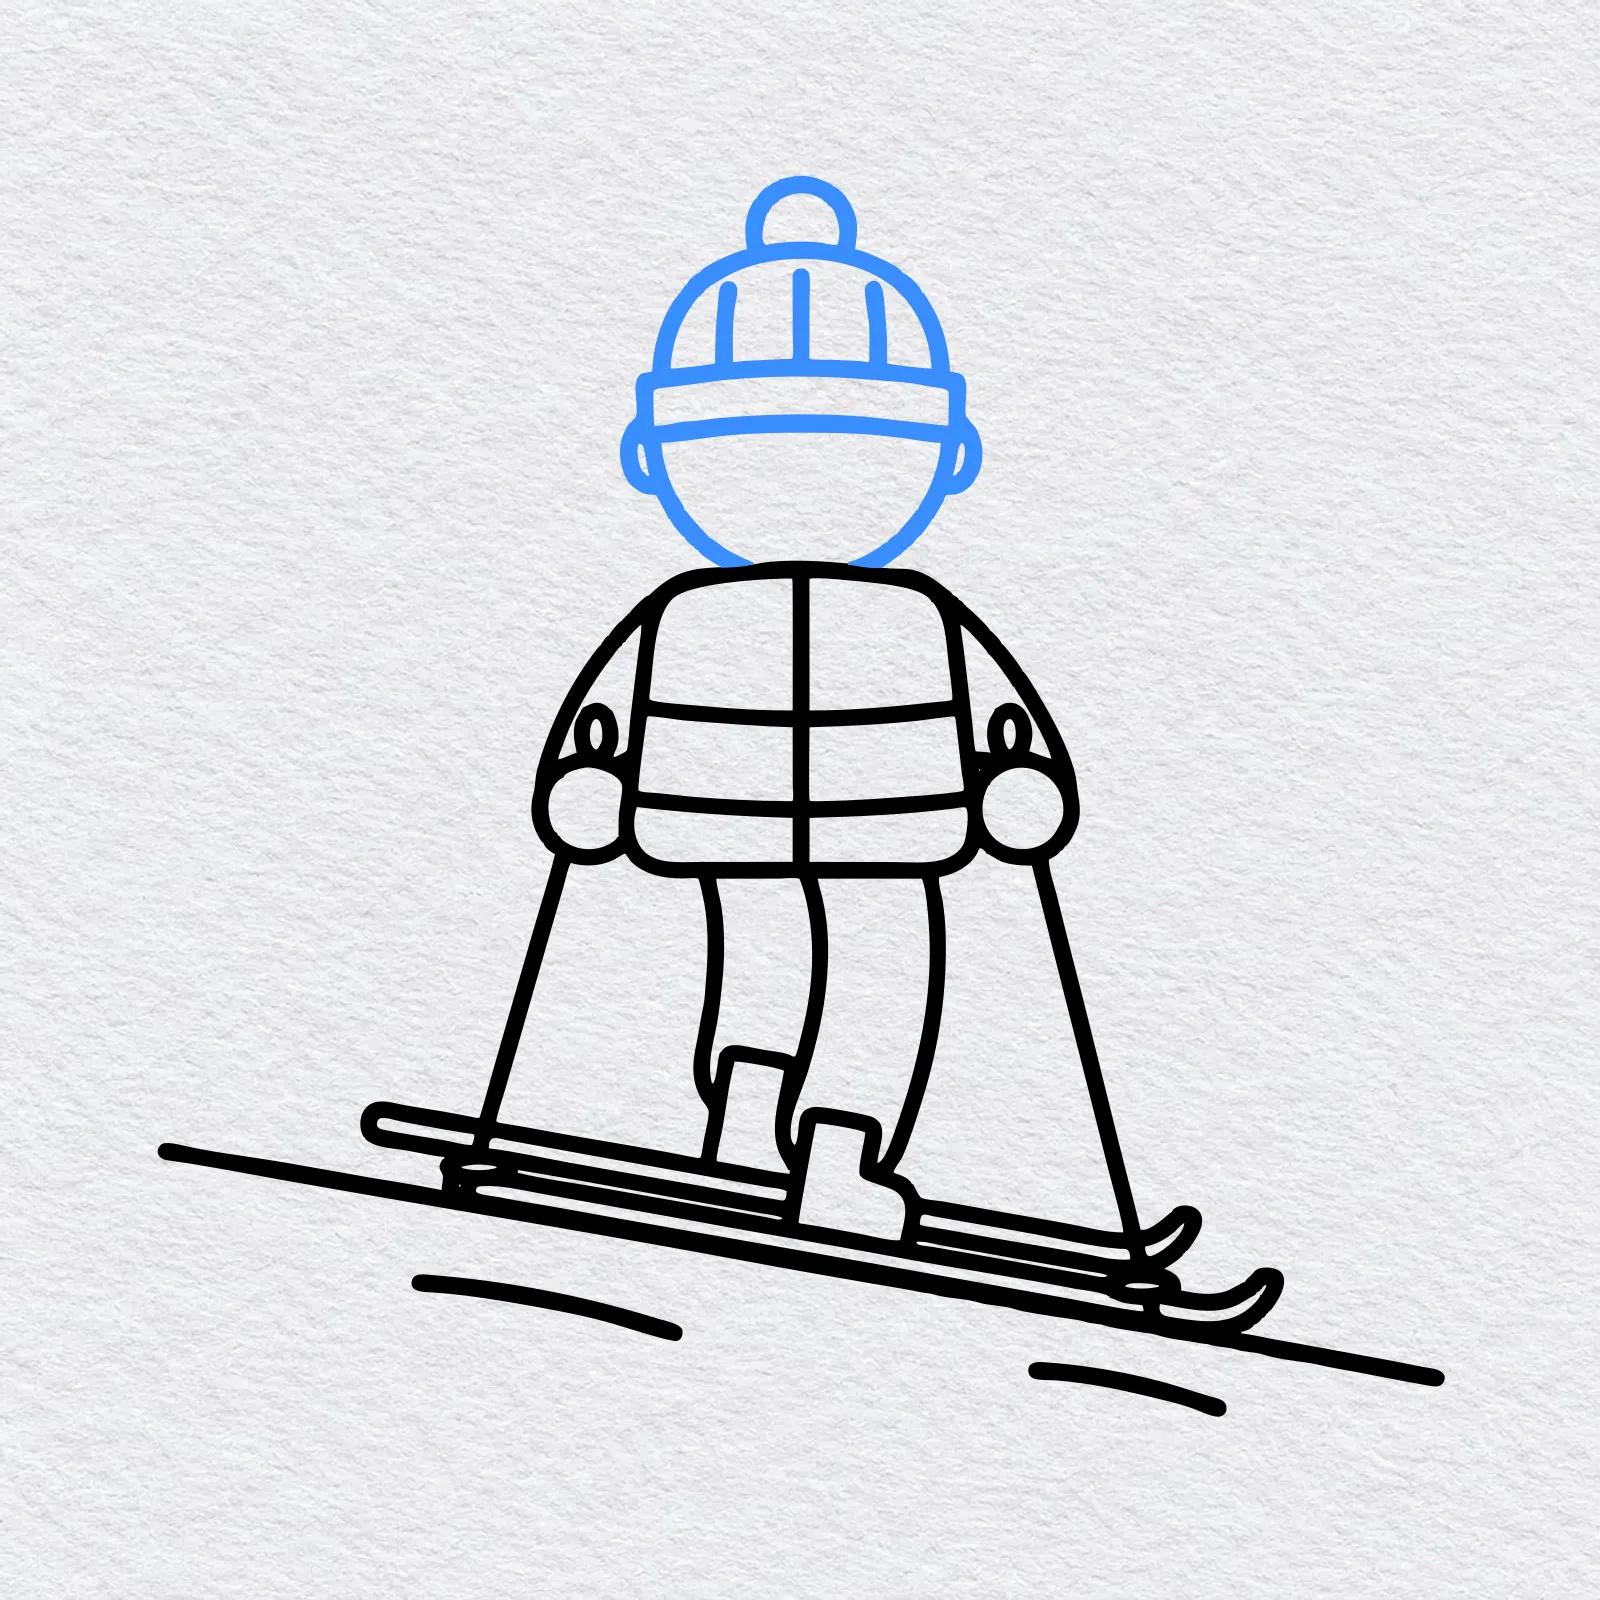
Draw a round head on top of the jacket and add a small ear on each side. Draw a knitted hat with a folded cuff, a few lines on it and a round pom-pom on top.
-
Step 7 : Add the face and scarf
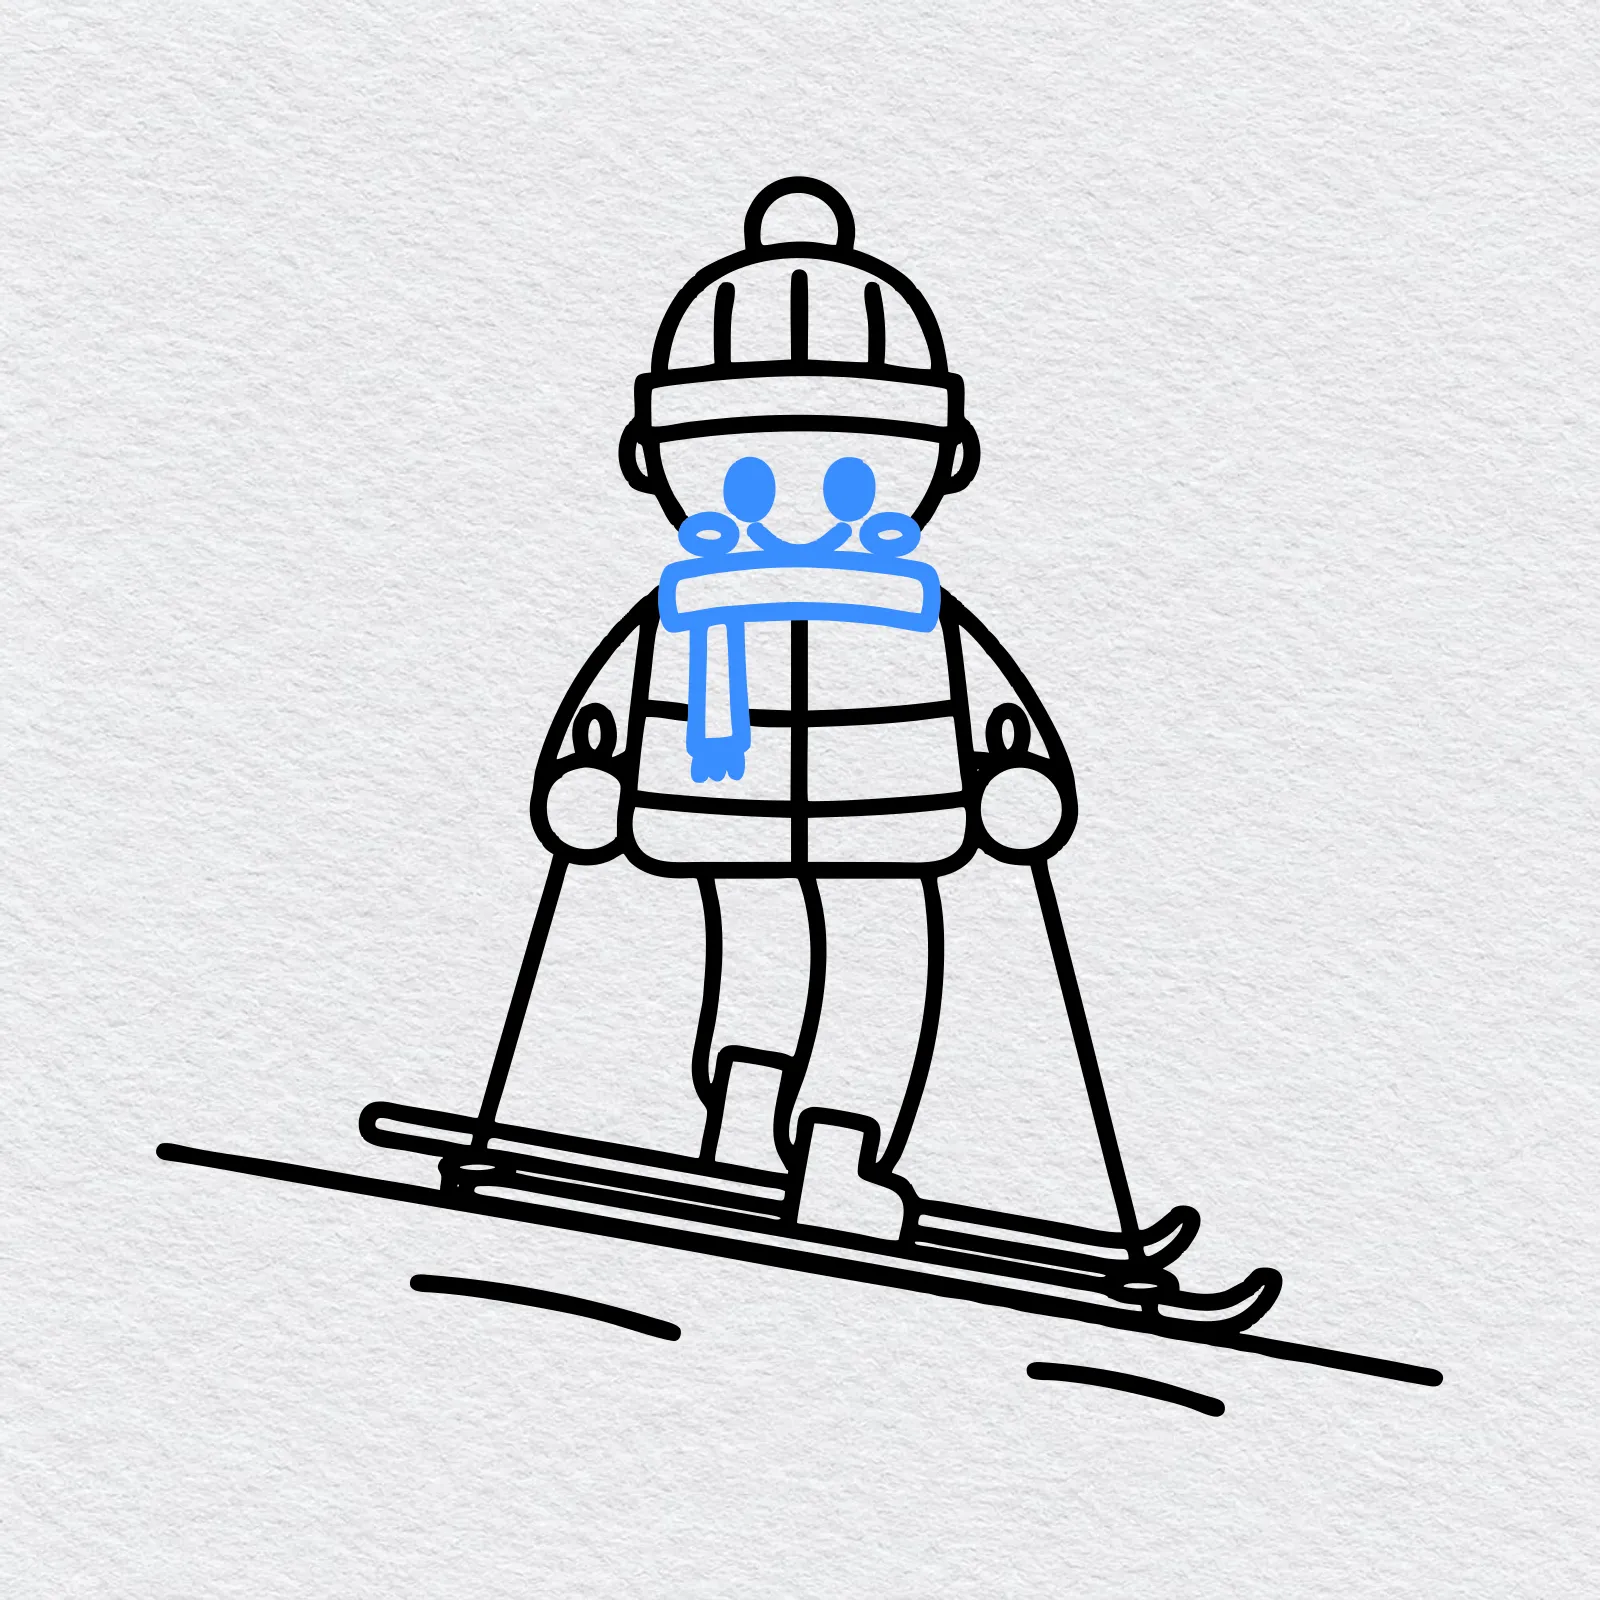
Draw two oval eyes, two round cheeks and a smile. Wrap a scarf around the neck and let one end hang down the jacket with a fringe at the bottom.
-
Step 8 : Add the snowflakes
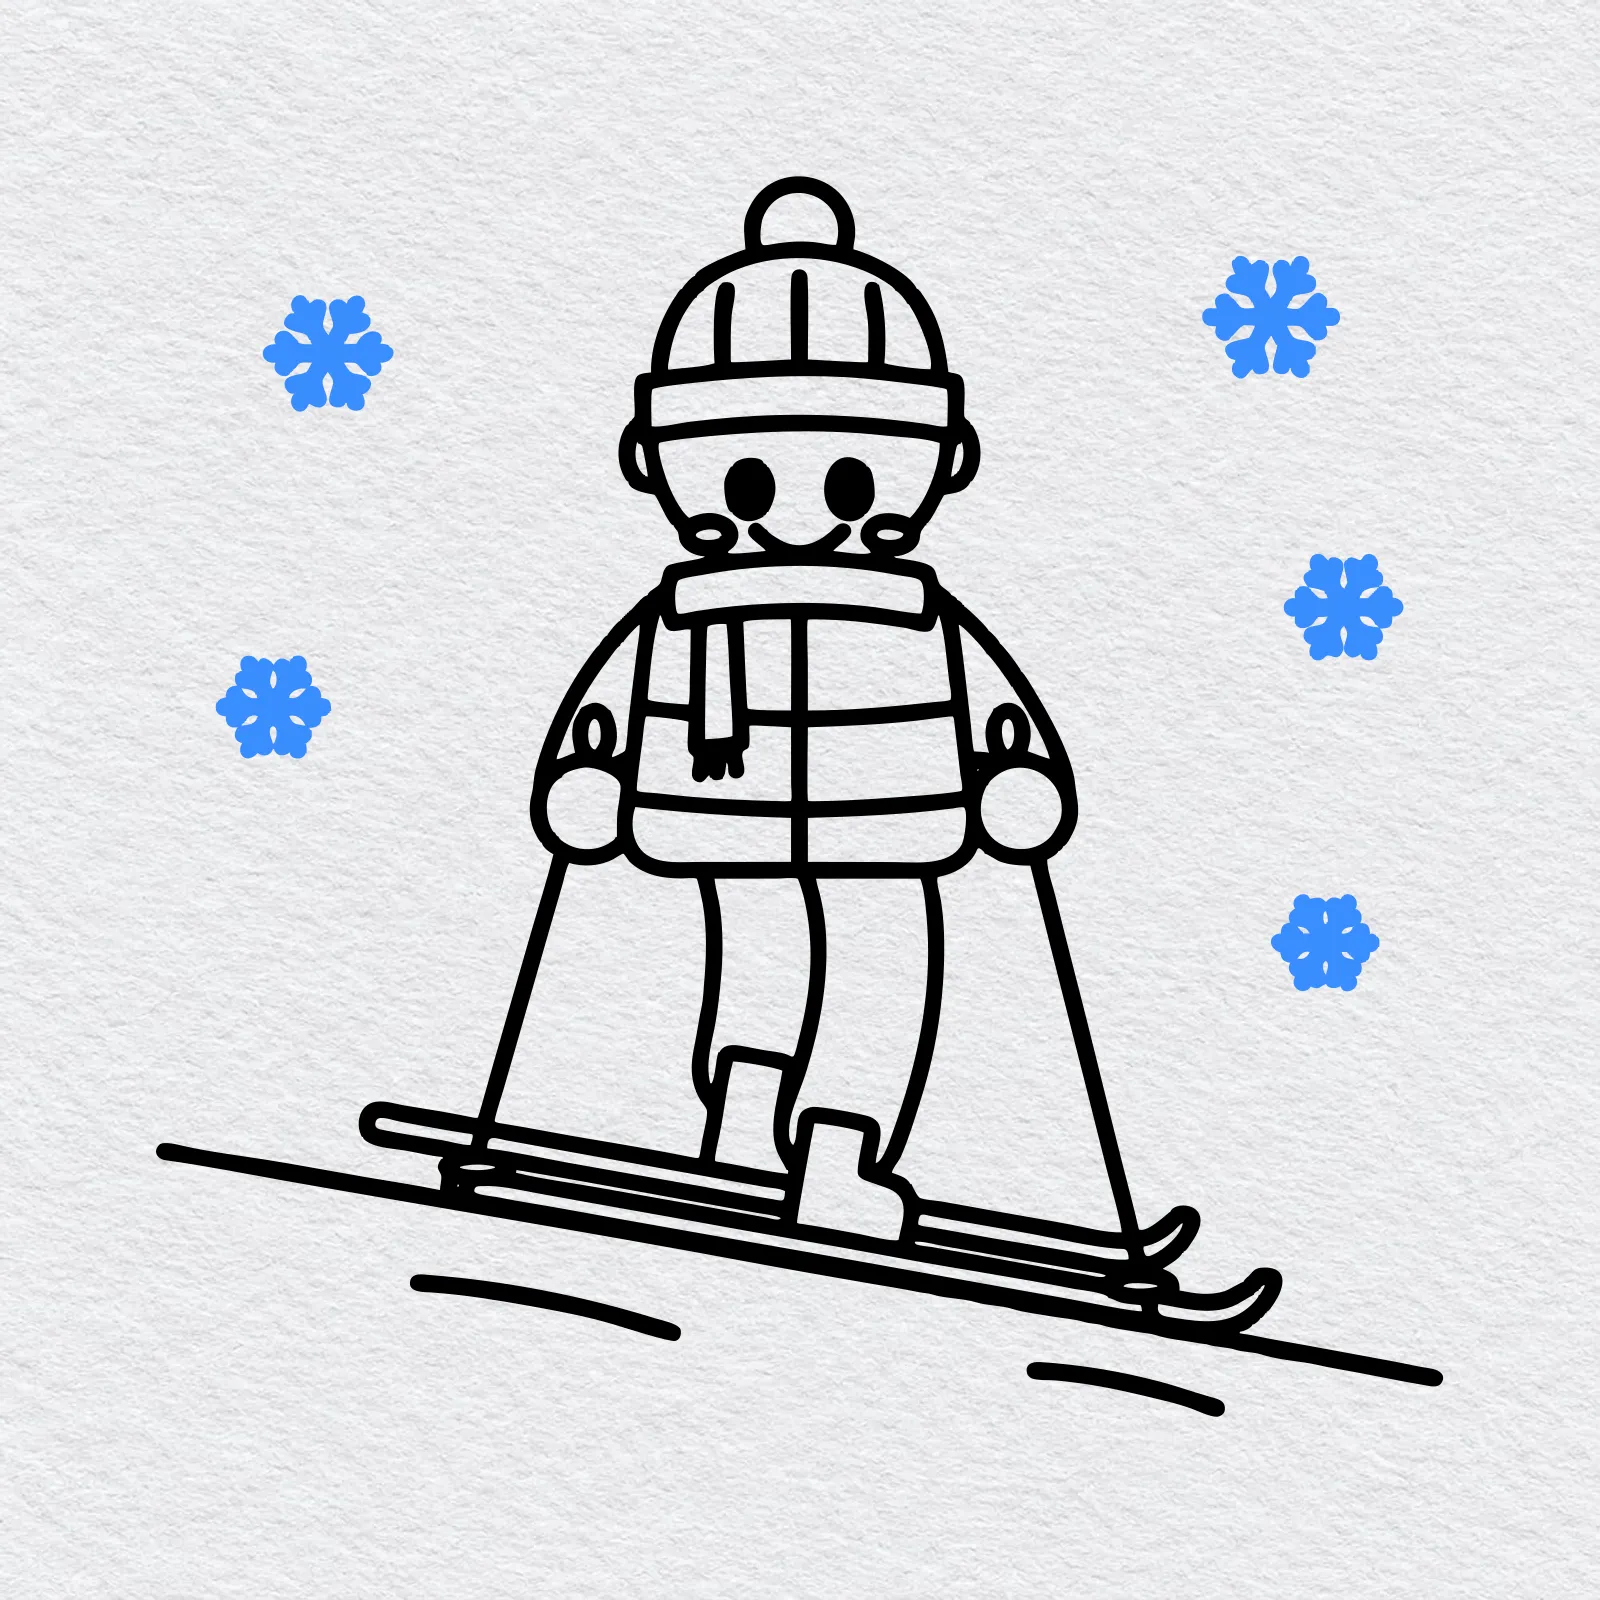
Draw five small snowflakes in the sky around your skier. Each one is three crossing lines with tiny V shapes at the ends.
-
Step 9 : Color your skier
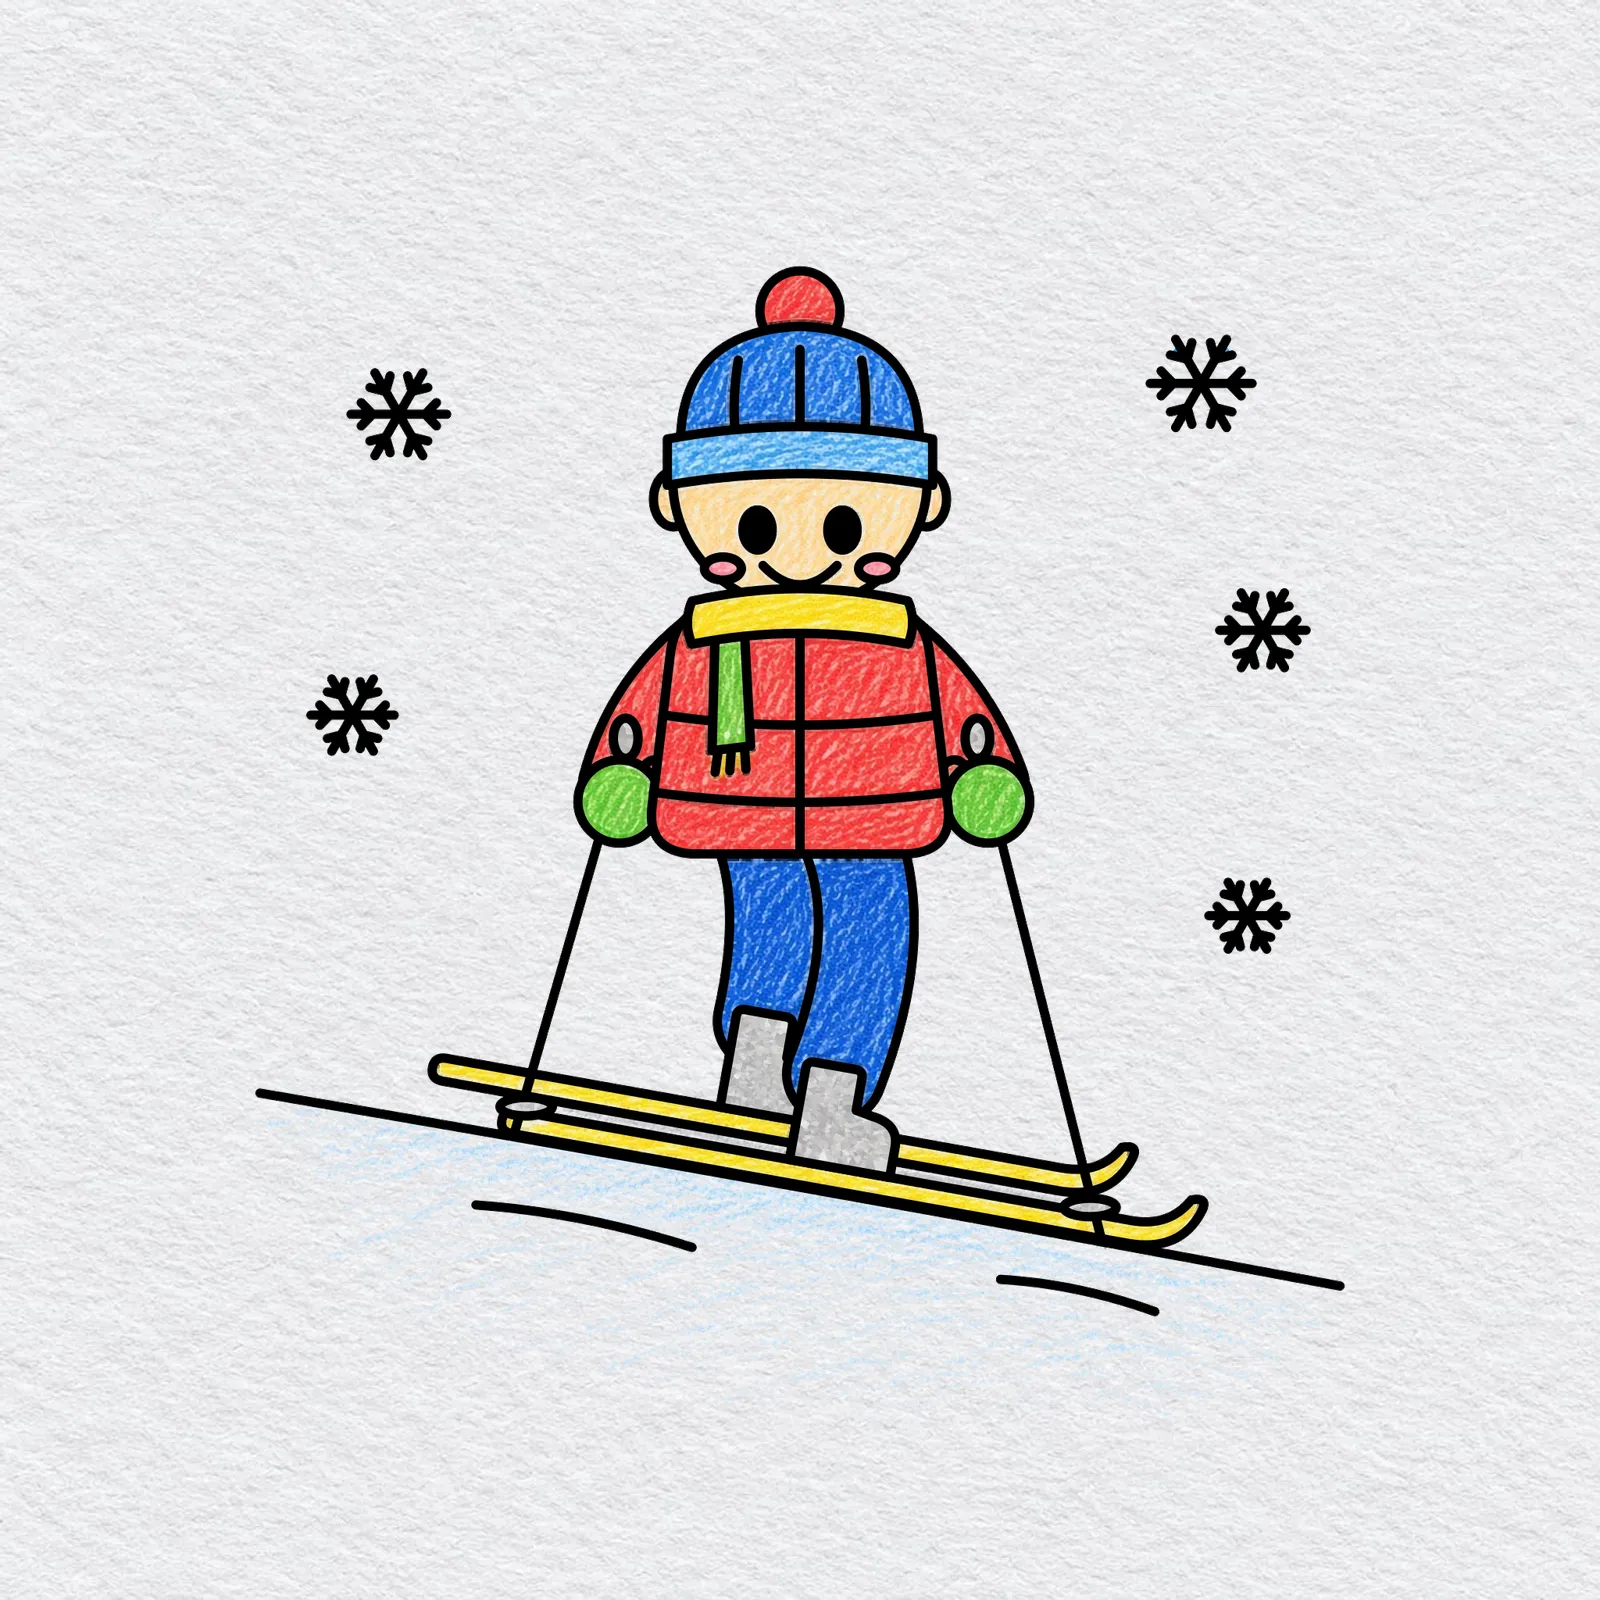
Pick a bright color for the jacket and another for the pants. Color the hat, the scarf and the skis in colors you like, go slowly near the lines and leave most of the snow white with a little light blue.
Printable skiing drawing PDFs
 Save
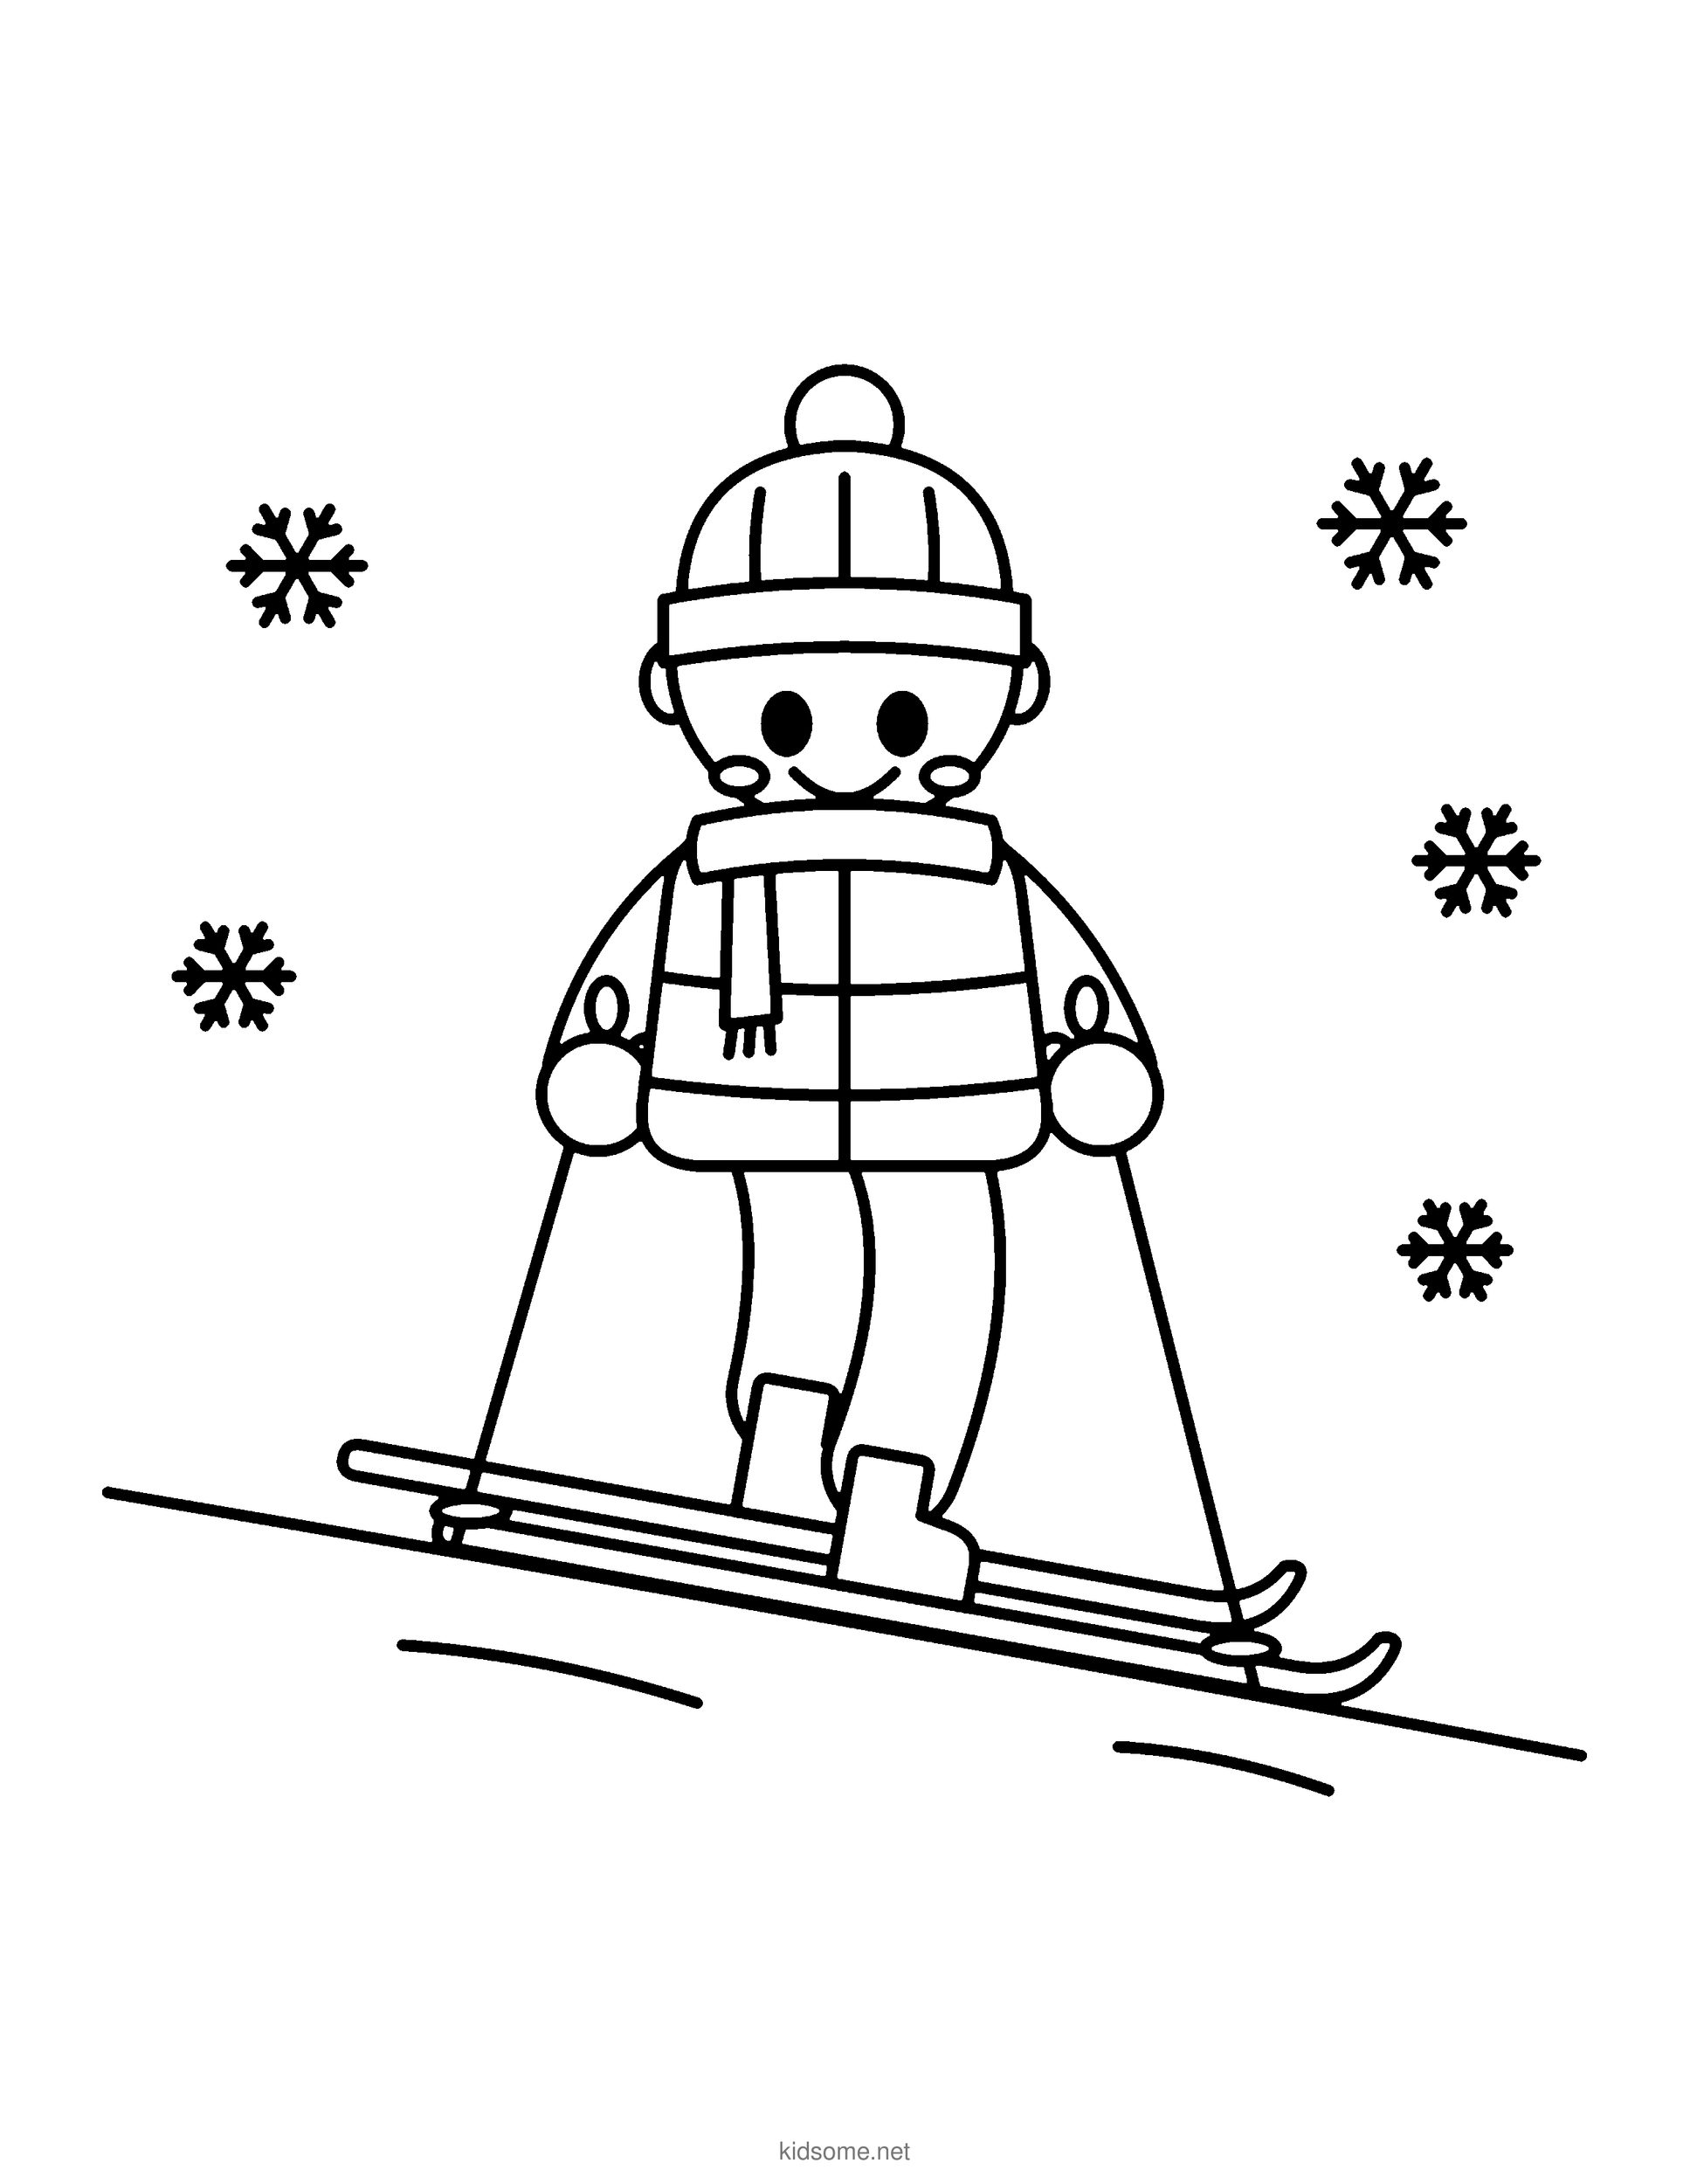
Skier Outline to Color
The finished kid on skis with two poles, a pom-pom hat, a scarf and falling snow, as a clean outline to print, trace or color.
Download PDF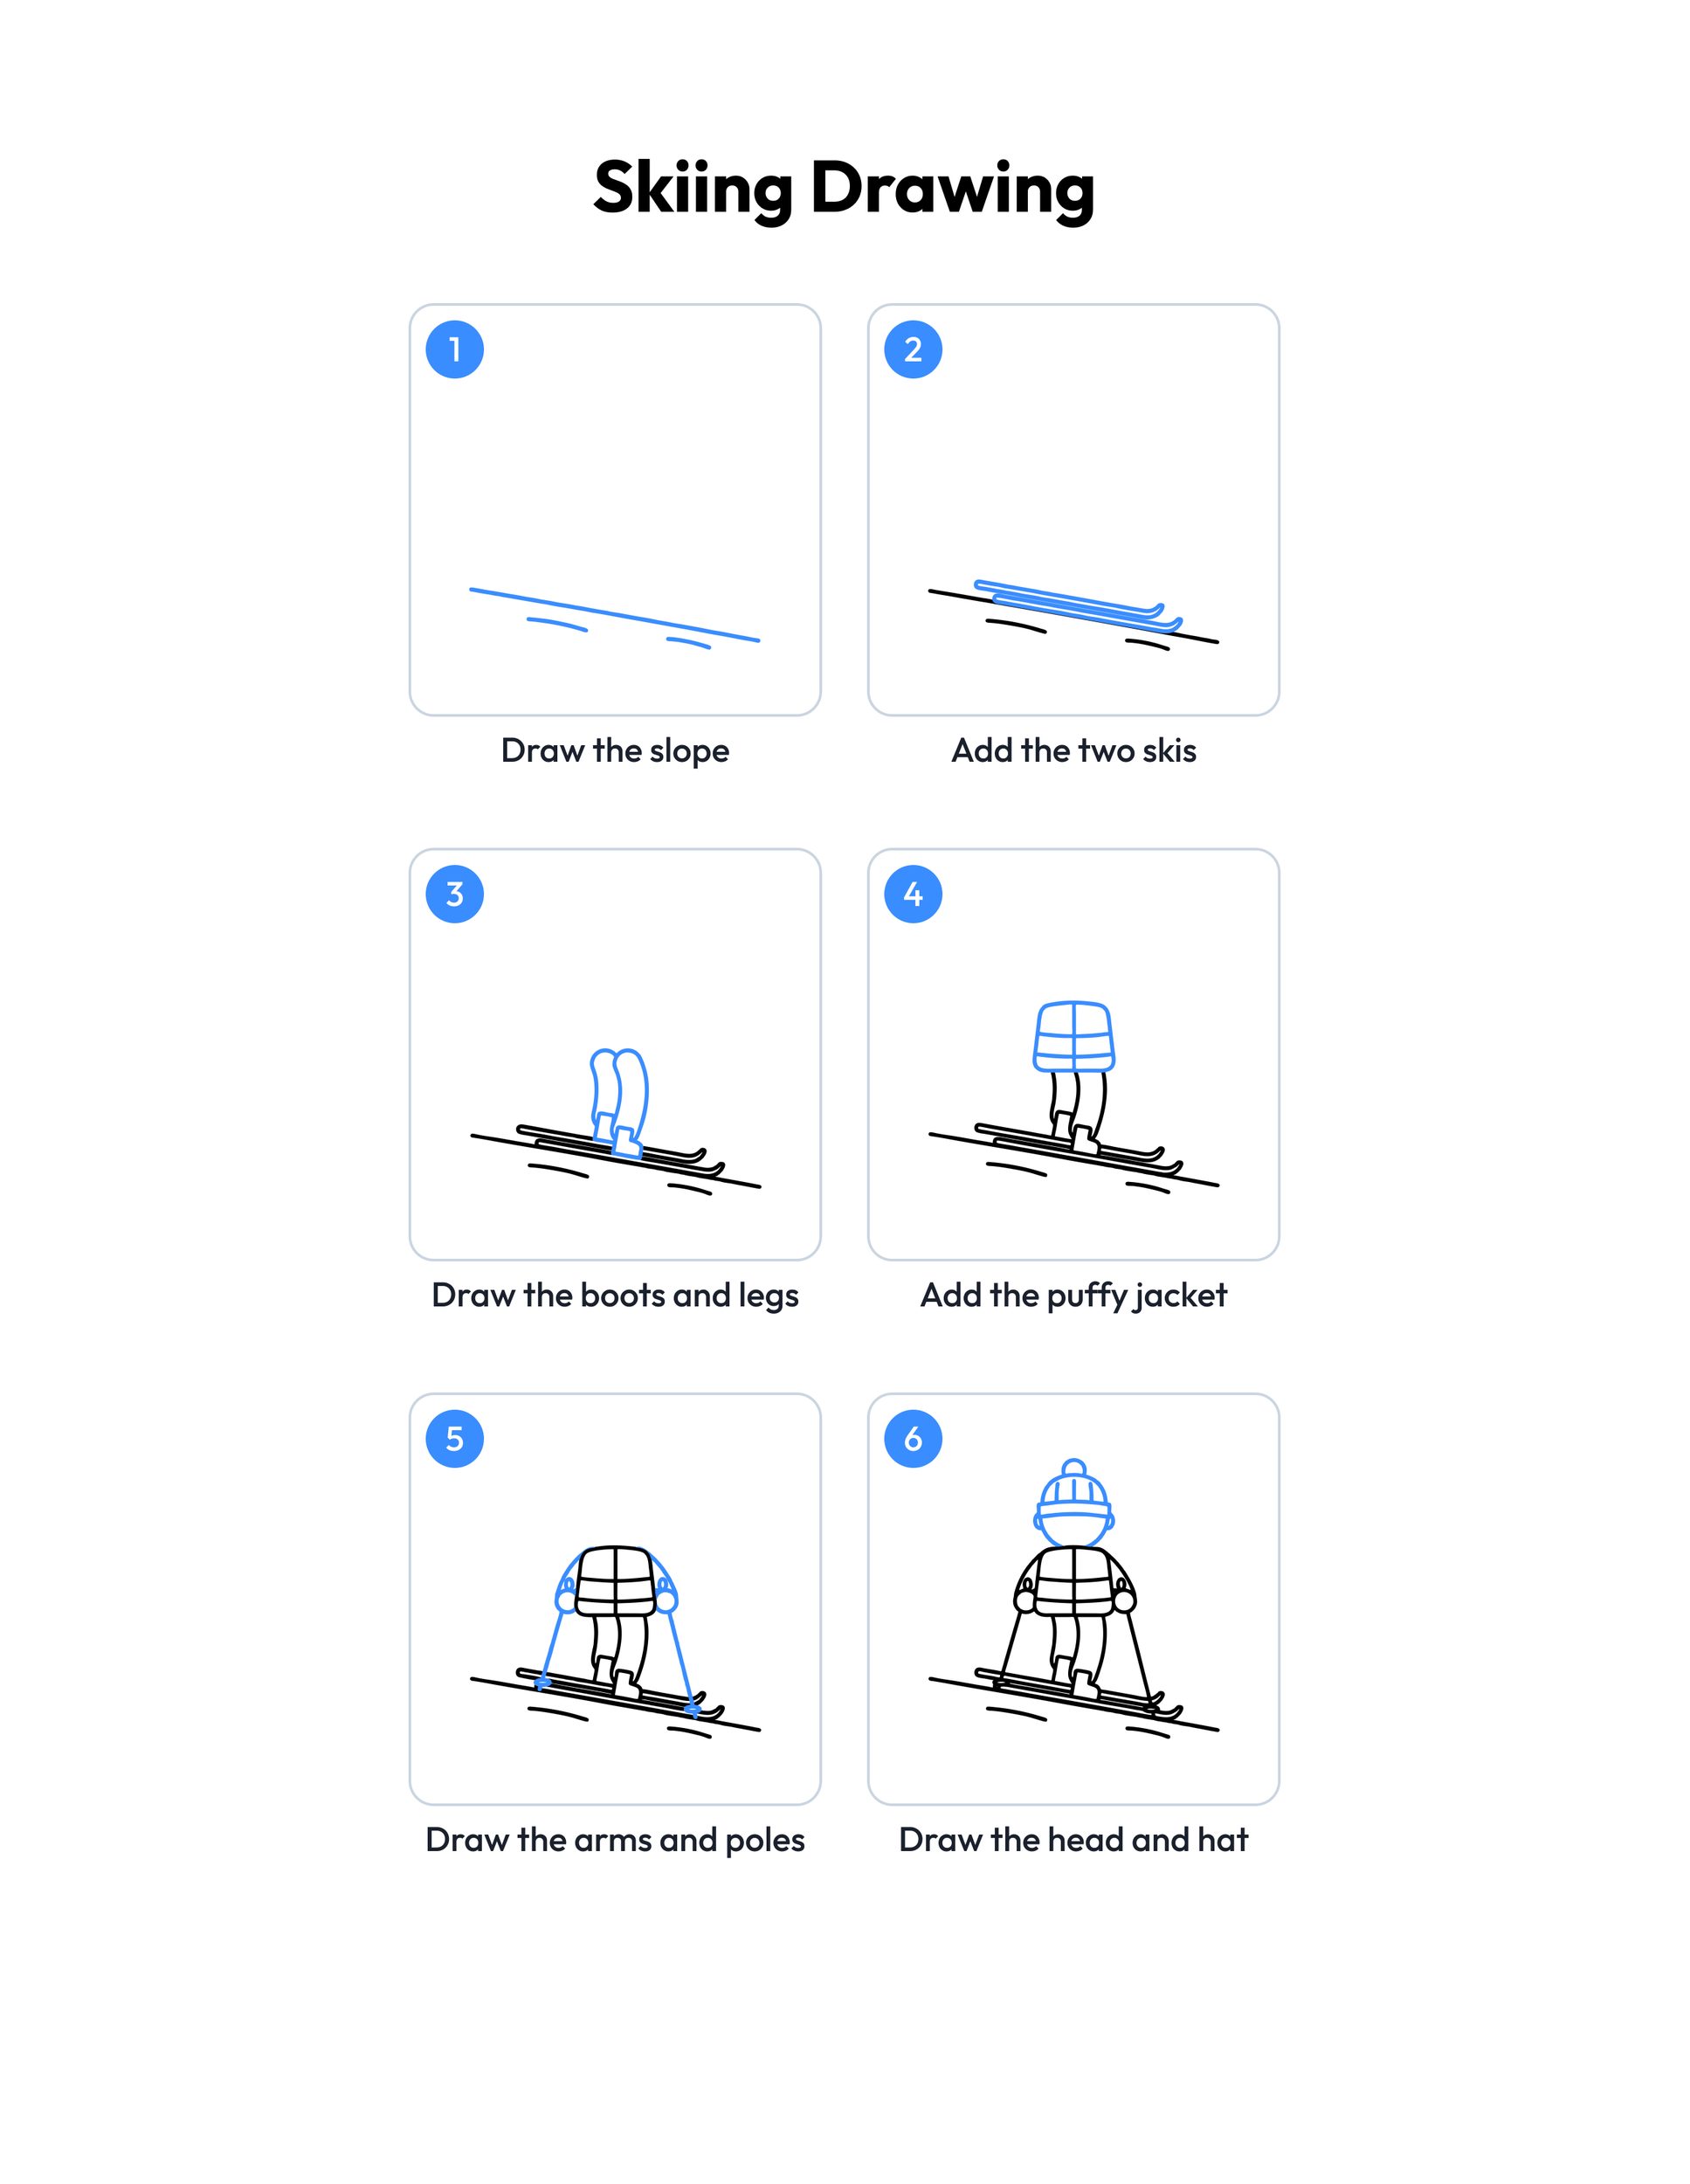 Save
Printable skiing drawing guide
Every step, two to a row, with the finished skiing in color at the end.
Download PDFHow to use this guide
Print the outline at 100 percent, or choose Fit to page if your printer asks. The margins fit US Letter and A4, so the slope, the ski tips and every snowflake stay on the sheet. Page one is the outline to color and page two is the colored example, so print page one alone if you only want the picture to fill in.
For drawing, use plain copy paper and a pencil with a good eraser, and sketch lightly first. The slope runs downhill from left to right, and both skis follow the same angle, so draw them as two long lines close together with the back ski a little higher. The poles are the part kids find hardest: draw each one as a straight line from the mitten down to the snow, then add a tiny oval near the bottom for the basket. When the drawing looks right, go over the lines with a marker or a dark crayon and erase the pencil marks. For markers or paint, choose cardstock so the color does not soak through.
Younger kids can draw the slope, the skis and the legs, take a short break, then come back for the jacket, the poles and the head. Older kids can draw all eight steps in one go and add their own details, such as goggles, a flag on the hill or ski tracks in the snow.
Ideas for your skiing drawing
- Mitten match: Draw a big pair of mittens with our mittens drawing guide, then color them the same as the skier's mittens so the two pictures make a matching pair.
- Snowman at the bottom: Add a snowman waiting at the bottom of the hill with our snowman drawing guide, so the skier has a friend to race toward.
- Ski race: Print the outline twice and color each skier in a different jacket. Line them up side by side and let your child decide who wins the race down the hill.
- Ski tracks: Show how to draw two thin lines behind the skis and a spray of snow dots to make the skier look fast. A still picture suddenly seems to move.
- Story starter: Ask your child where the skier is going and who is waiting at the bottom. Write one or two sentences under the picture together to make a tiny winter story.
- Coloring break: After drawing, choose a page from our winter coloring pages for a calm coloring break, using the same reds and blues as the skier.
- Winter sports lesson: Talk about sports people do on snow and ice, then have each child draw the skier and add one more thing to the hill, such as a sled or a flag.
- Snow day plan: Turn it into a whole snow day with our winter activities: drawing in the morning, a word game after lunch and coloring before dinner.
What age is this skiing drawing guide for?
It is made for ages 4 to 8. Younger children can follow the first steps with a grown-up nearby, drawing the slope, the skis and the legs, while older kids can draw the whole skier alone and add their own ideas. Every step uses lines, curves, circles and rounded boxes.
How do you draw a skier step by step?
Start with a slanted line for the hill and draw two long skis on it at the same angle. Add the boots and legs, then the jacket, the mittens and the two poles. Draw the head with a pom-pom hat, then the face and scarf, and finish with snowflakes. Keeping the skis and the slope at one angle makes the skier look like they are gliding.
Is this skier drawing easy for beginners?
Yes. Each step adds one part in blue, so kids only think about one shape at a time. The poles take a steady hand, and a light pencil sketch makes them easy to fix. Once kids know the order, they can draw the skier again from memory.
Can I use this drawing guide in my classroom?
Yes. The outline and the step guide are free for personal and classroom use, so teachers can print a copy for every child for a winter or snow day lesson. Please share a link to this page instead of the files, and do not sell the pages or post them on other websites.