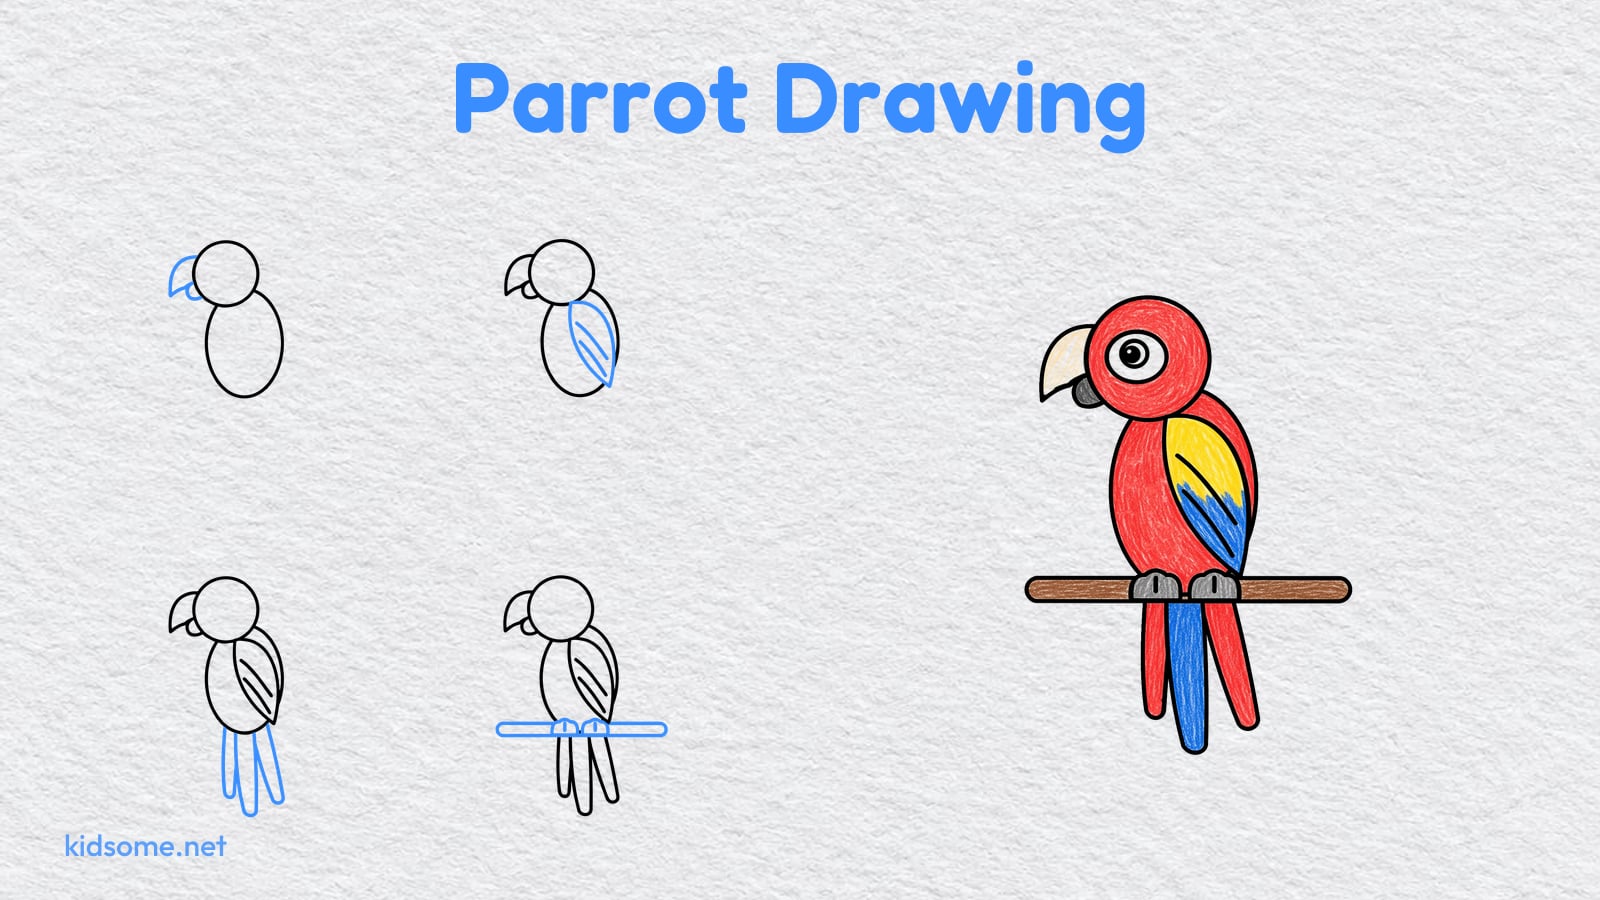
This parrot drawing guide shows kids ages 4 to 8, and the parents and art teachers beside them, how to draw a parrot one small step at a time. The picture is a cute cartoon parrot seen from the side, perched on a branch, with a round head, a curved hooked beak, a folded wing, three long tail feathers and a big friendly eye. Every part is a circle, an oval or a simple curve, so it is an easy parrot drawing that early readers can follow and finish on their own, often in one short sitting.
There are seven steps. Each one shows the drawing so far in black and the new part in blue, so it is always clear what to add next. At the end there is a free printable outline of the finished parrot to trace or color, plus a crayon colored example to copy. The PDF prints on US Letter and A4, with no sign-up. All you need is a pencil, an eraser and a few red, yellow, blue and brown crayons.
Kids who enjoy it can find more birds and other creatures to draw in our animal drawing guides.
-
Step 1 : Draw the head

Near the top of the page, a little left of the middle, draw a big circle for the parrot's head. It does not have to be perfect.
-
Step 2 : Draw the body
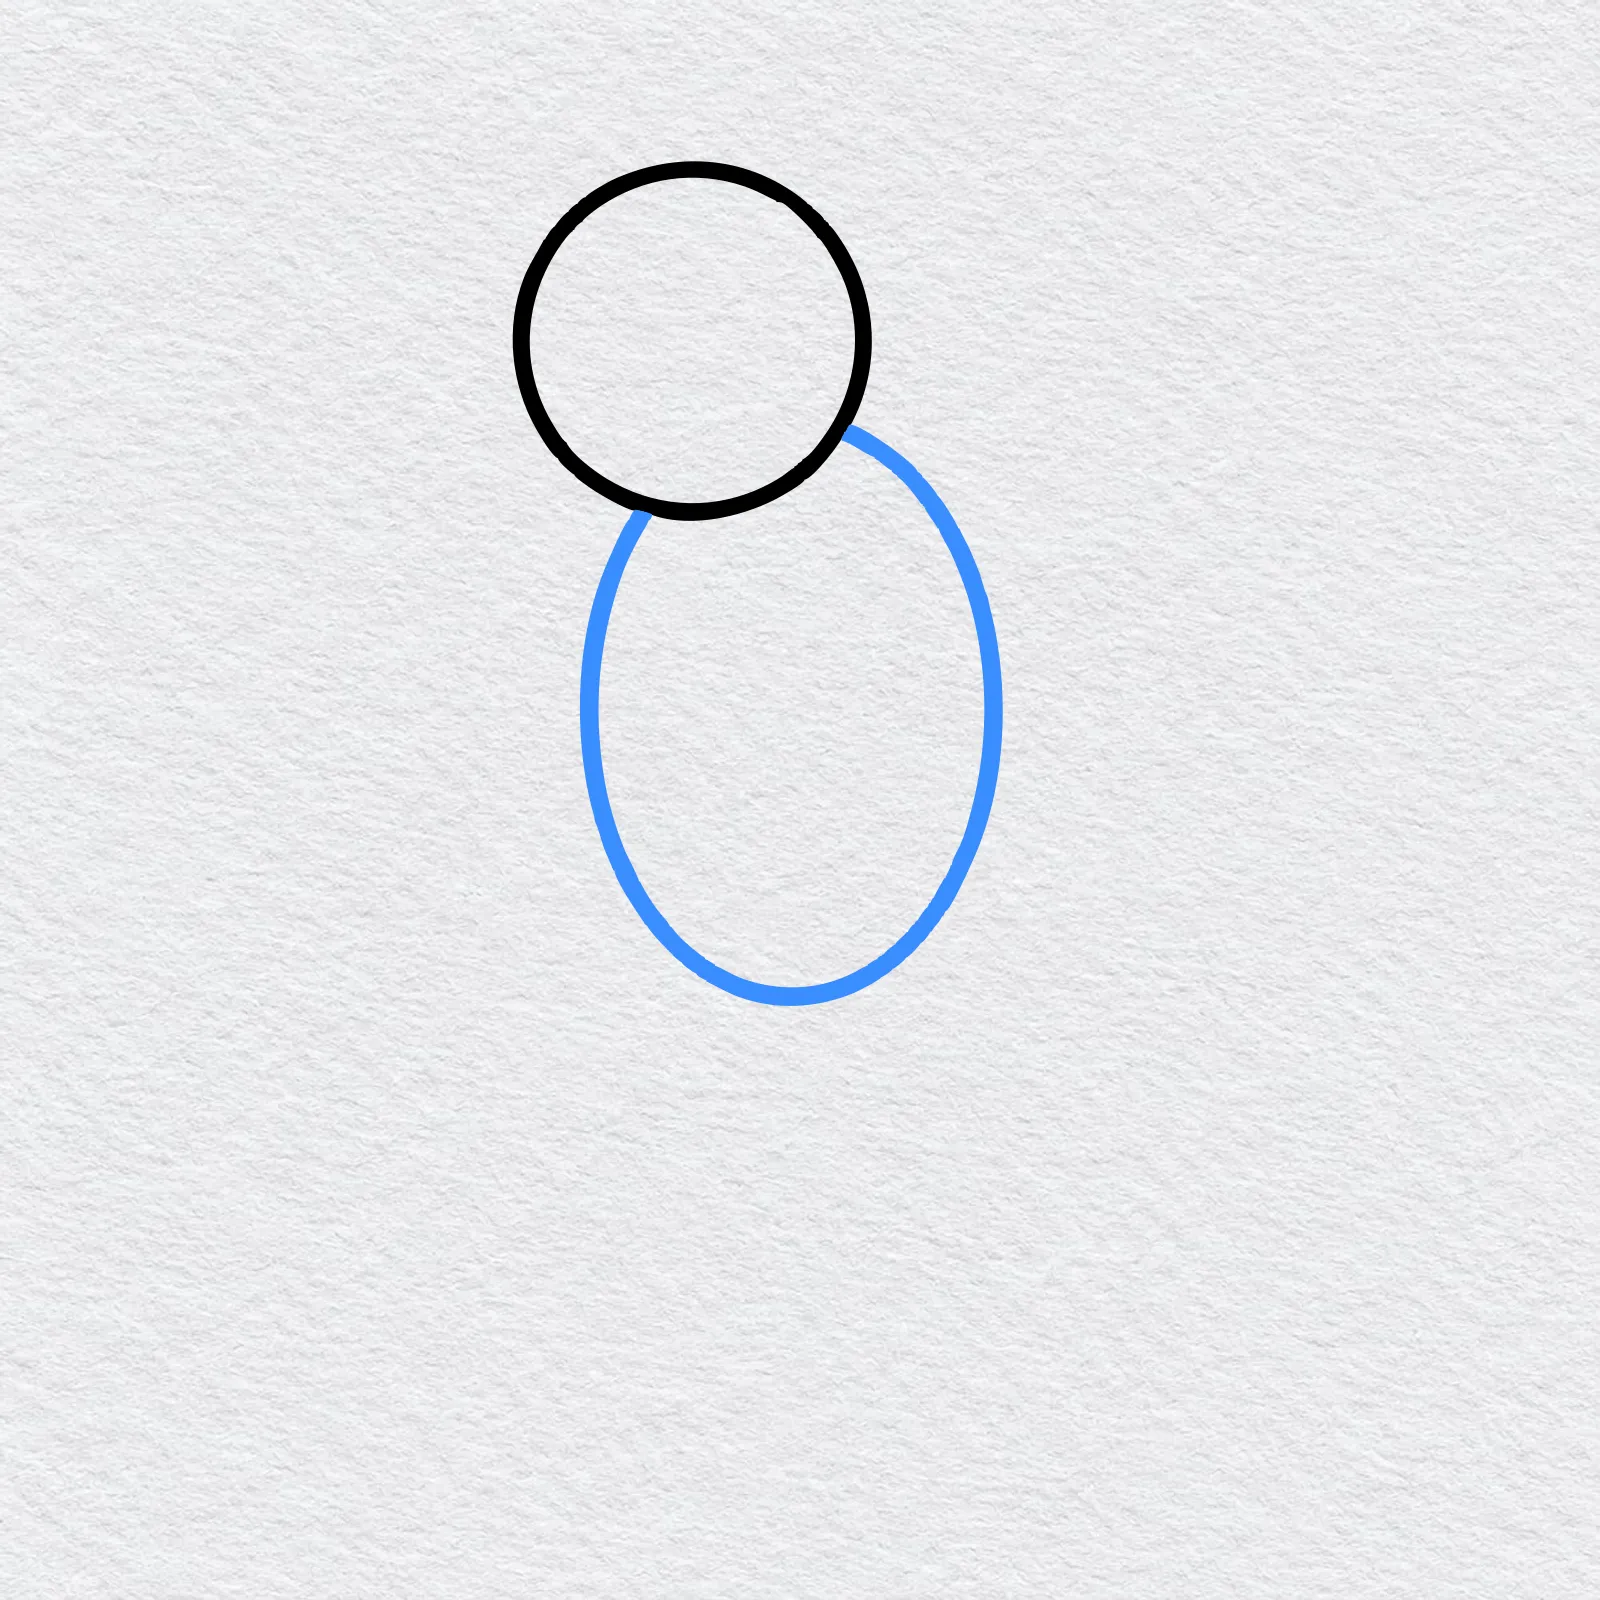
Under the head, draw a tall oval for the body. Let the top of the oval touch the bottom of the circle so they join.
-
Step 3 : Draw the beak
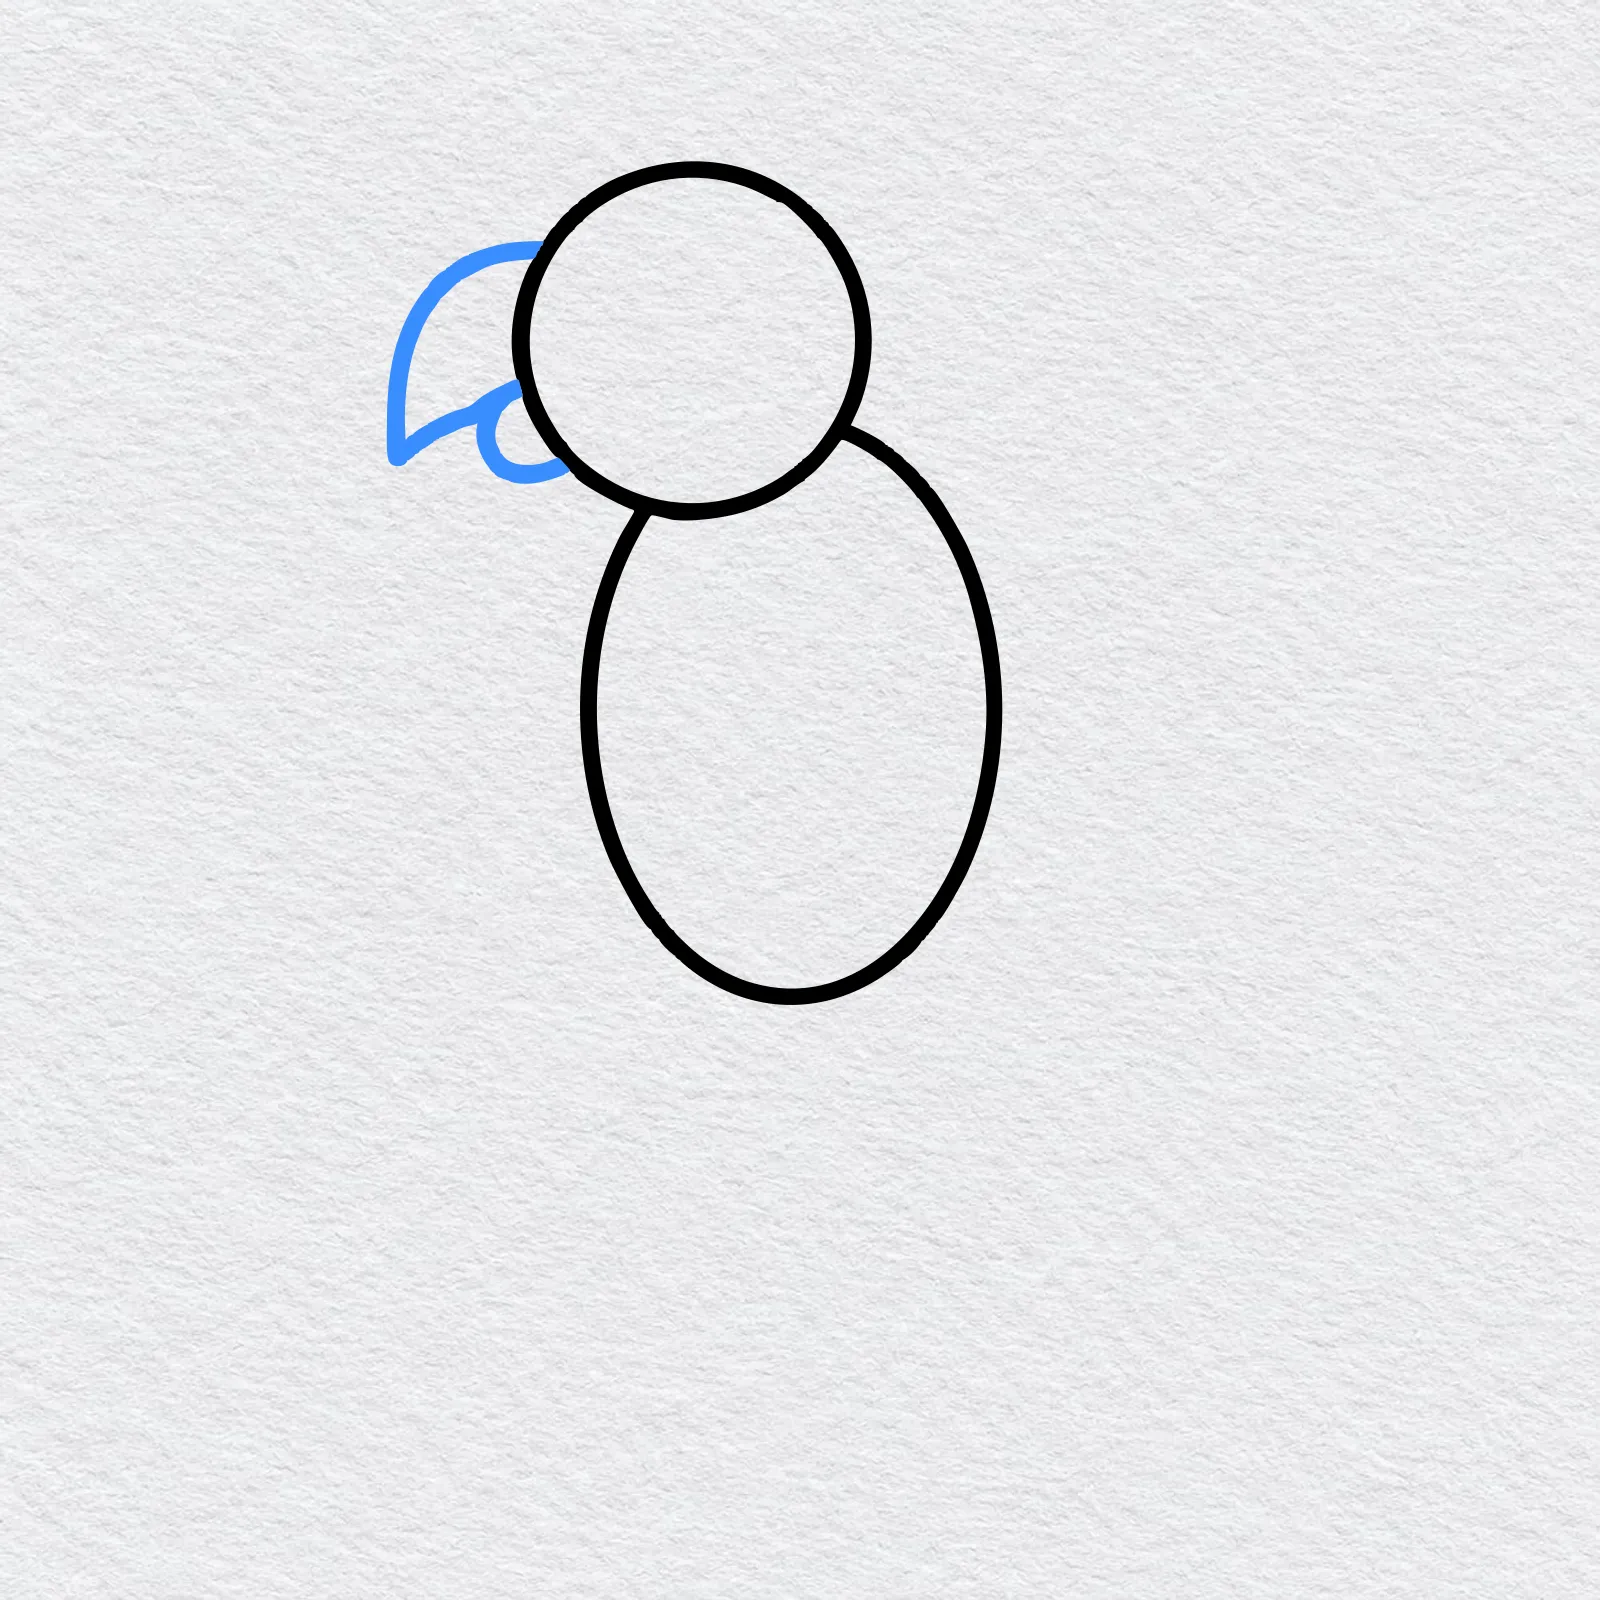
On the left side of the head, draw a big curved hook for the beak, pointing down. Add a small round bump under it for the lower beak.
-
Step 4 : Draw the wing
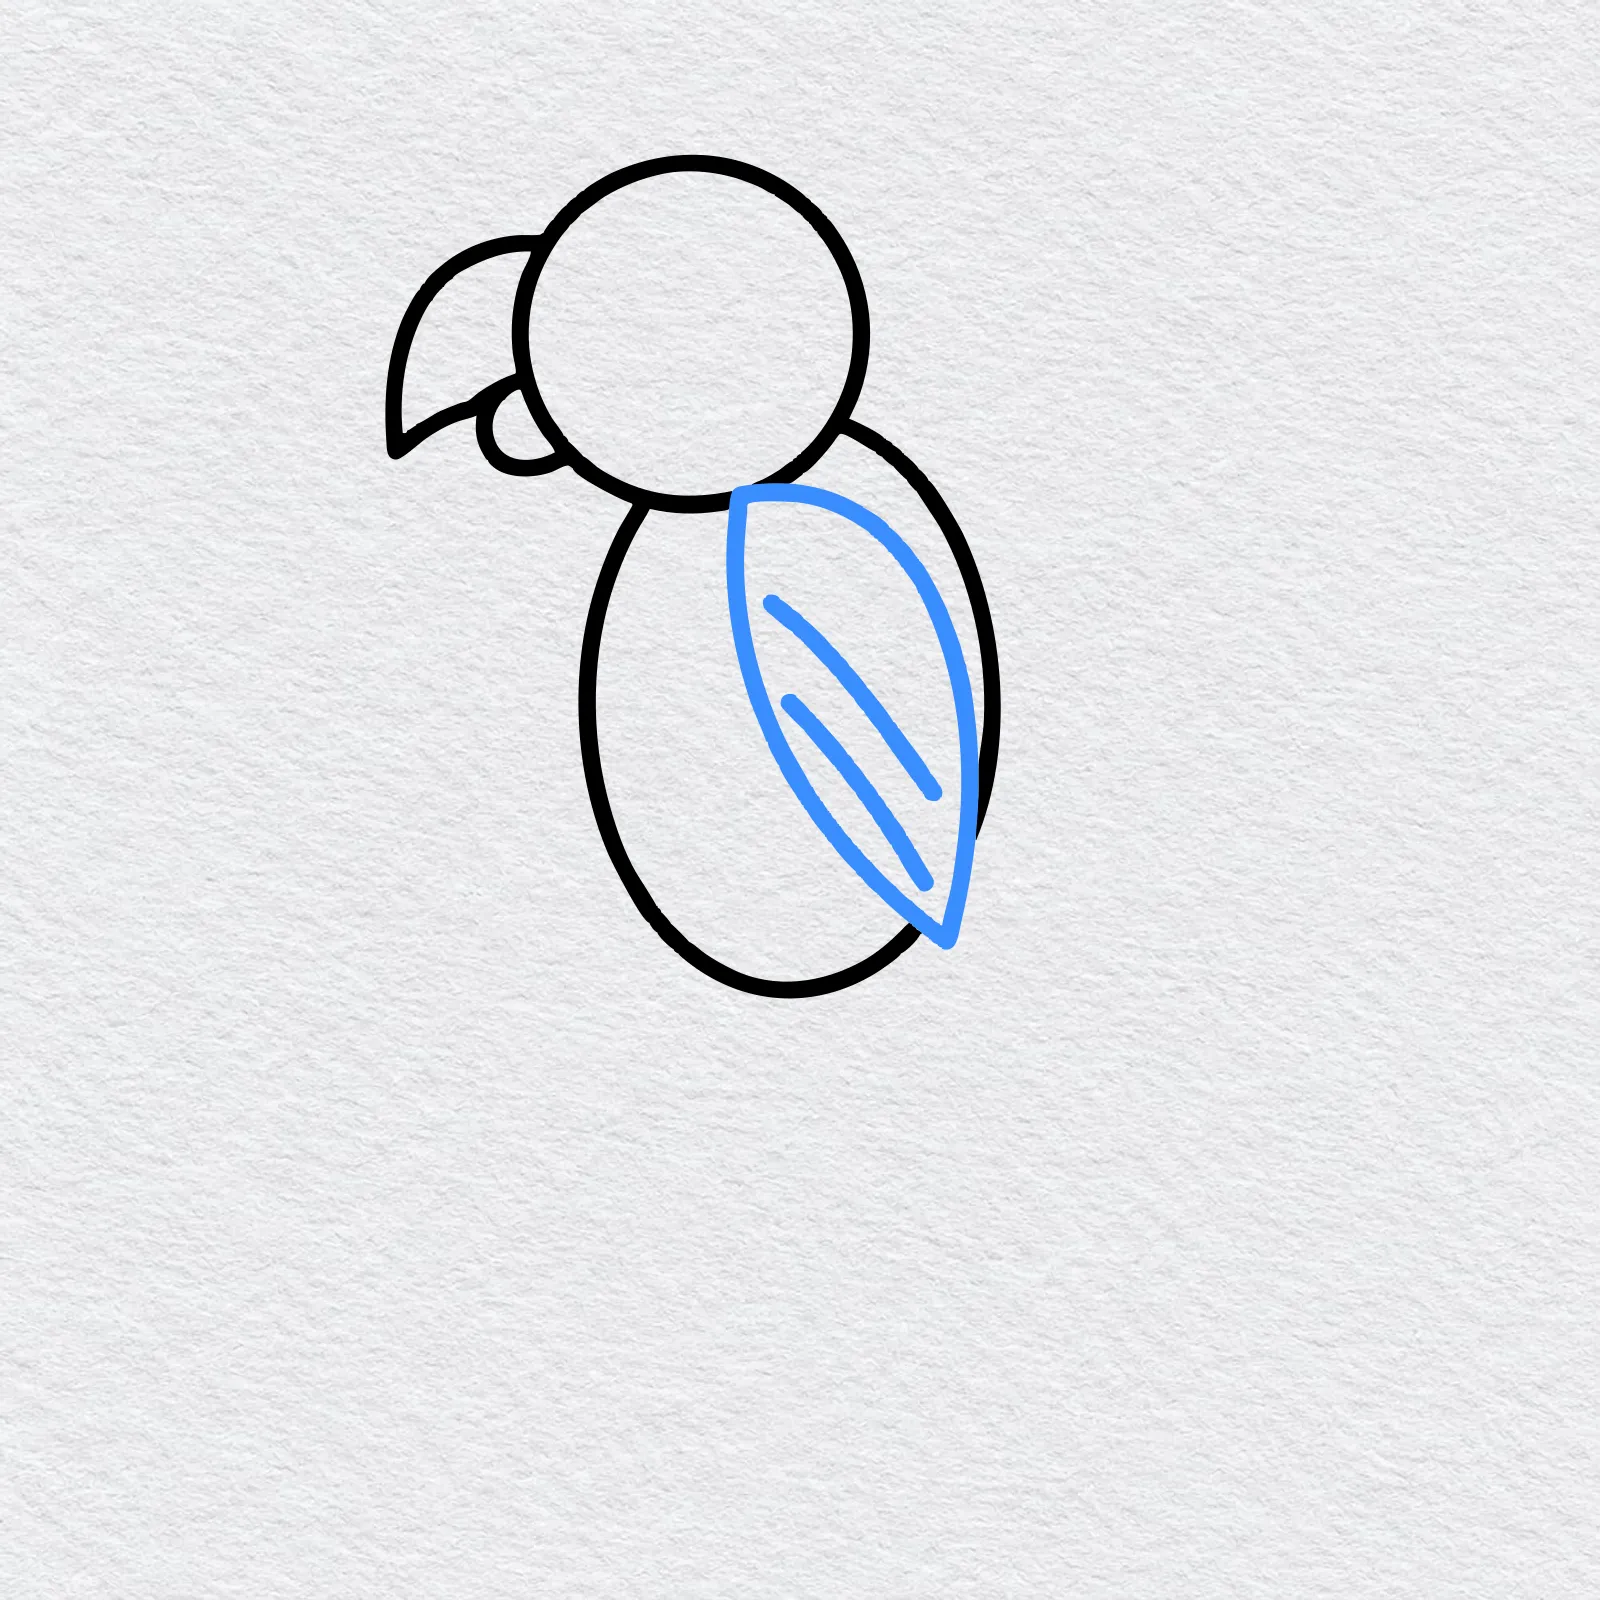
Draw a long leaf shape over the right side of the body for the folded wing. Add two short slanted lines inside it for feathers.
-
Step 5 : Draw the tail
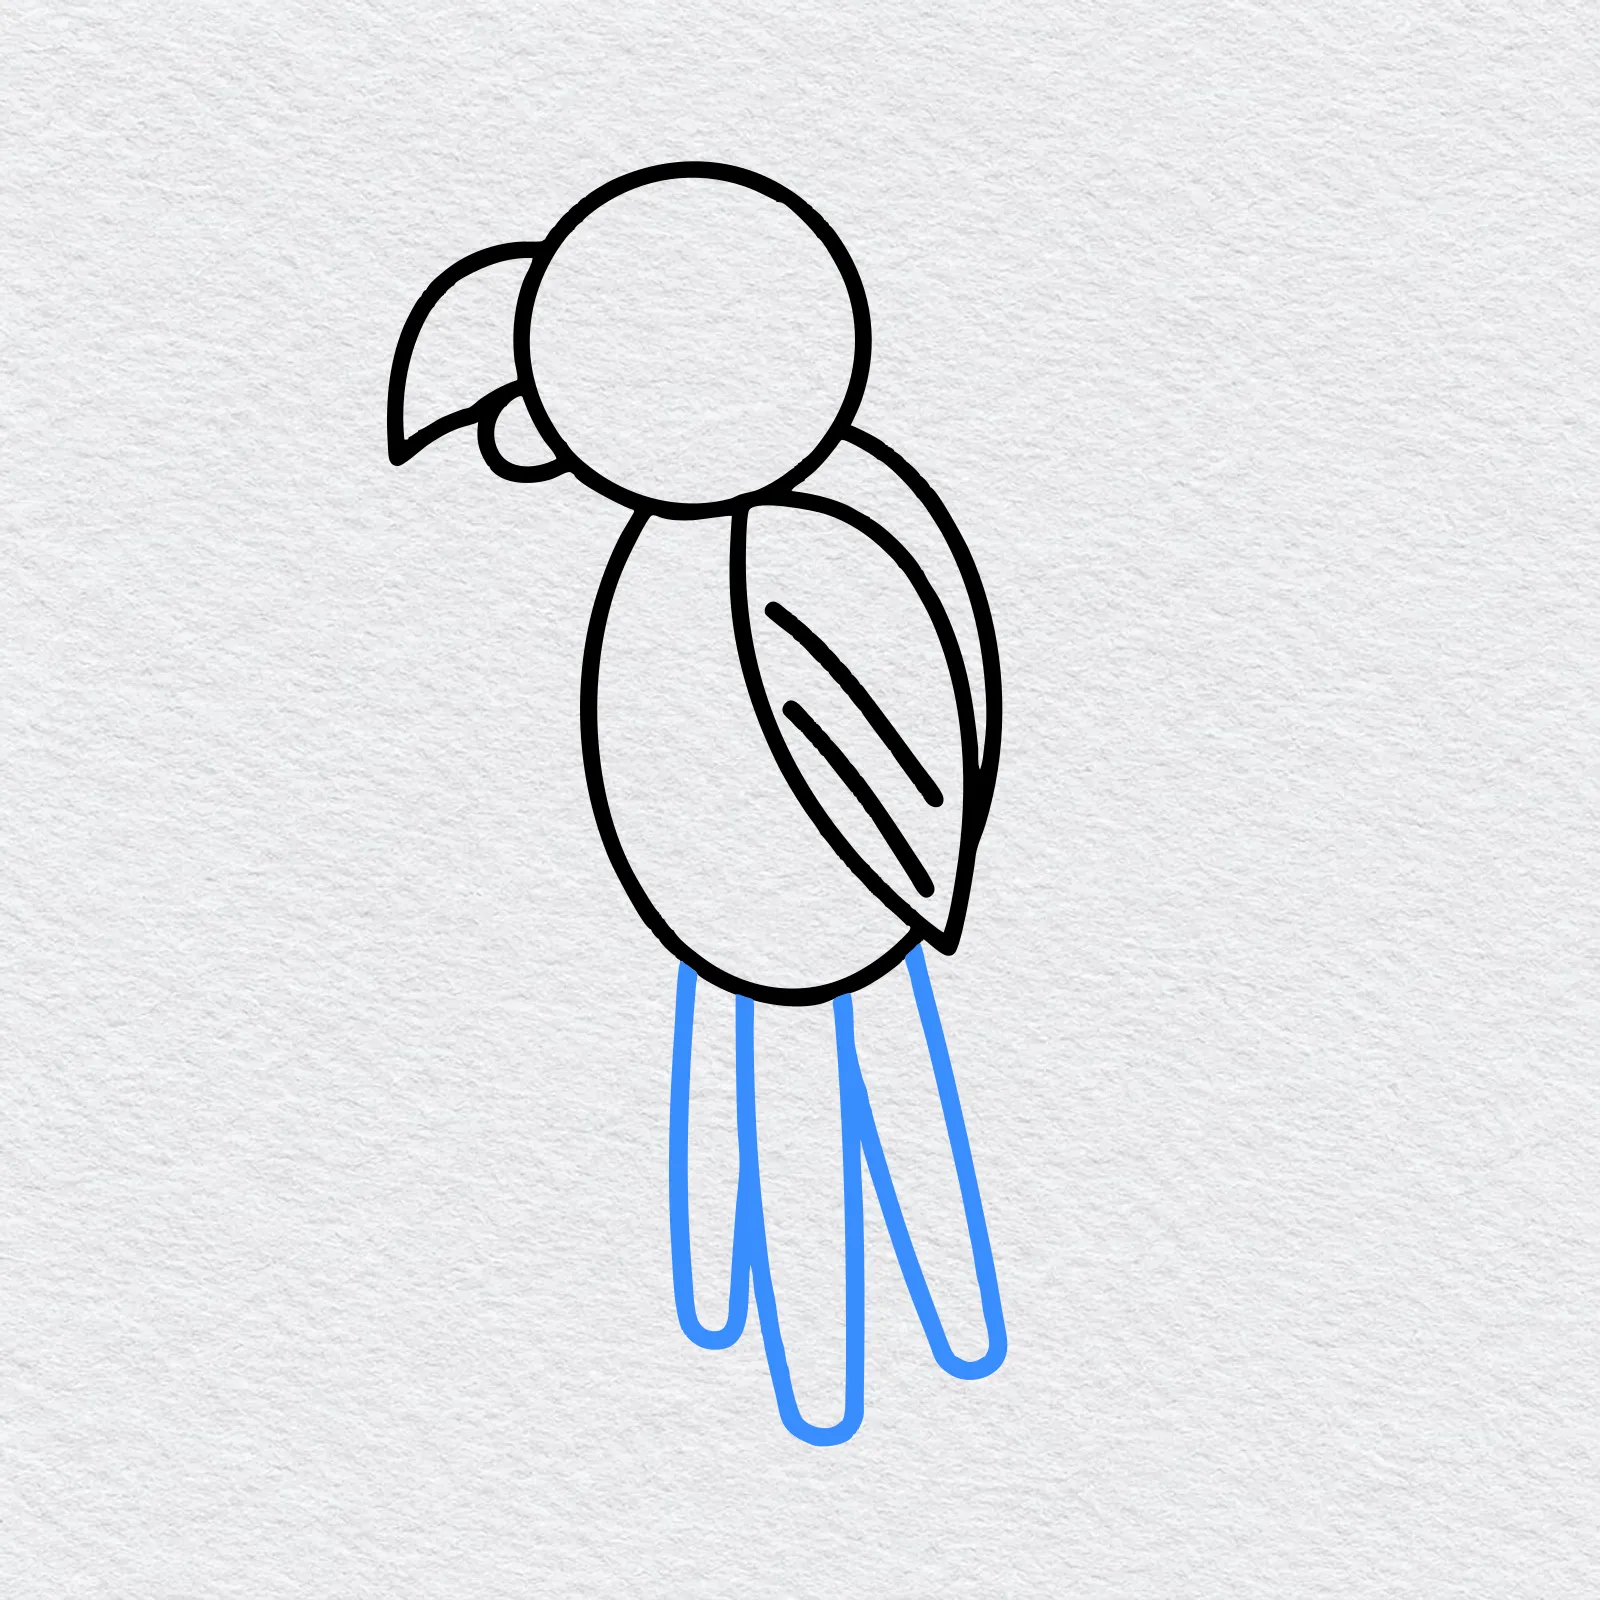
Below the body, draw three long, thin tail feathers that hang down. Make the middle one a little longer than the others.
-
Step 6 : Draw the branch and feet
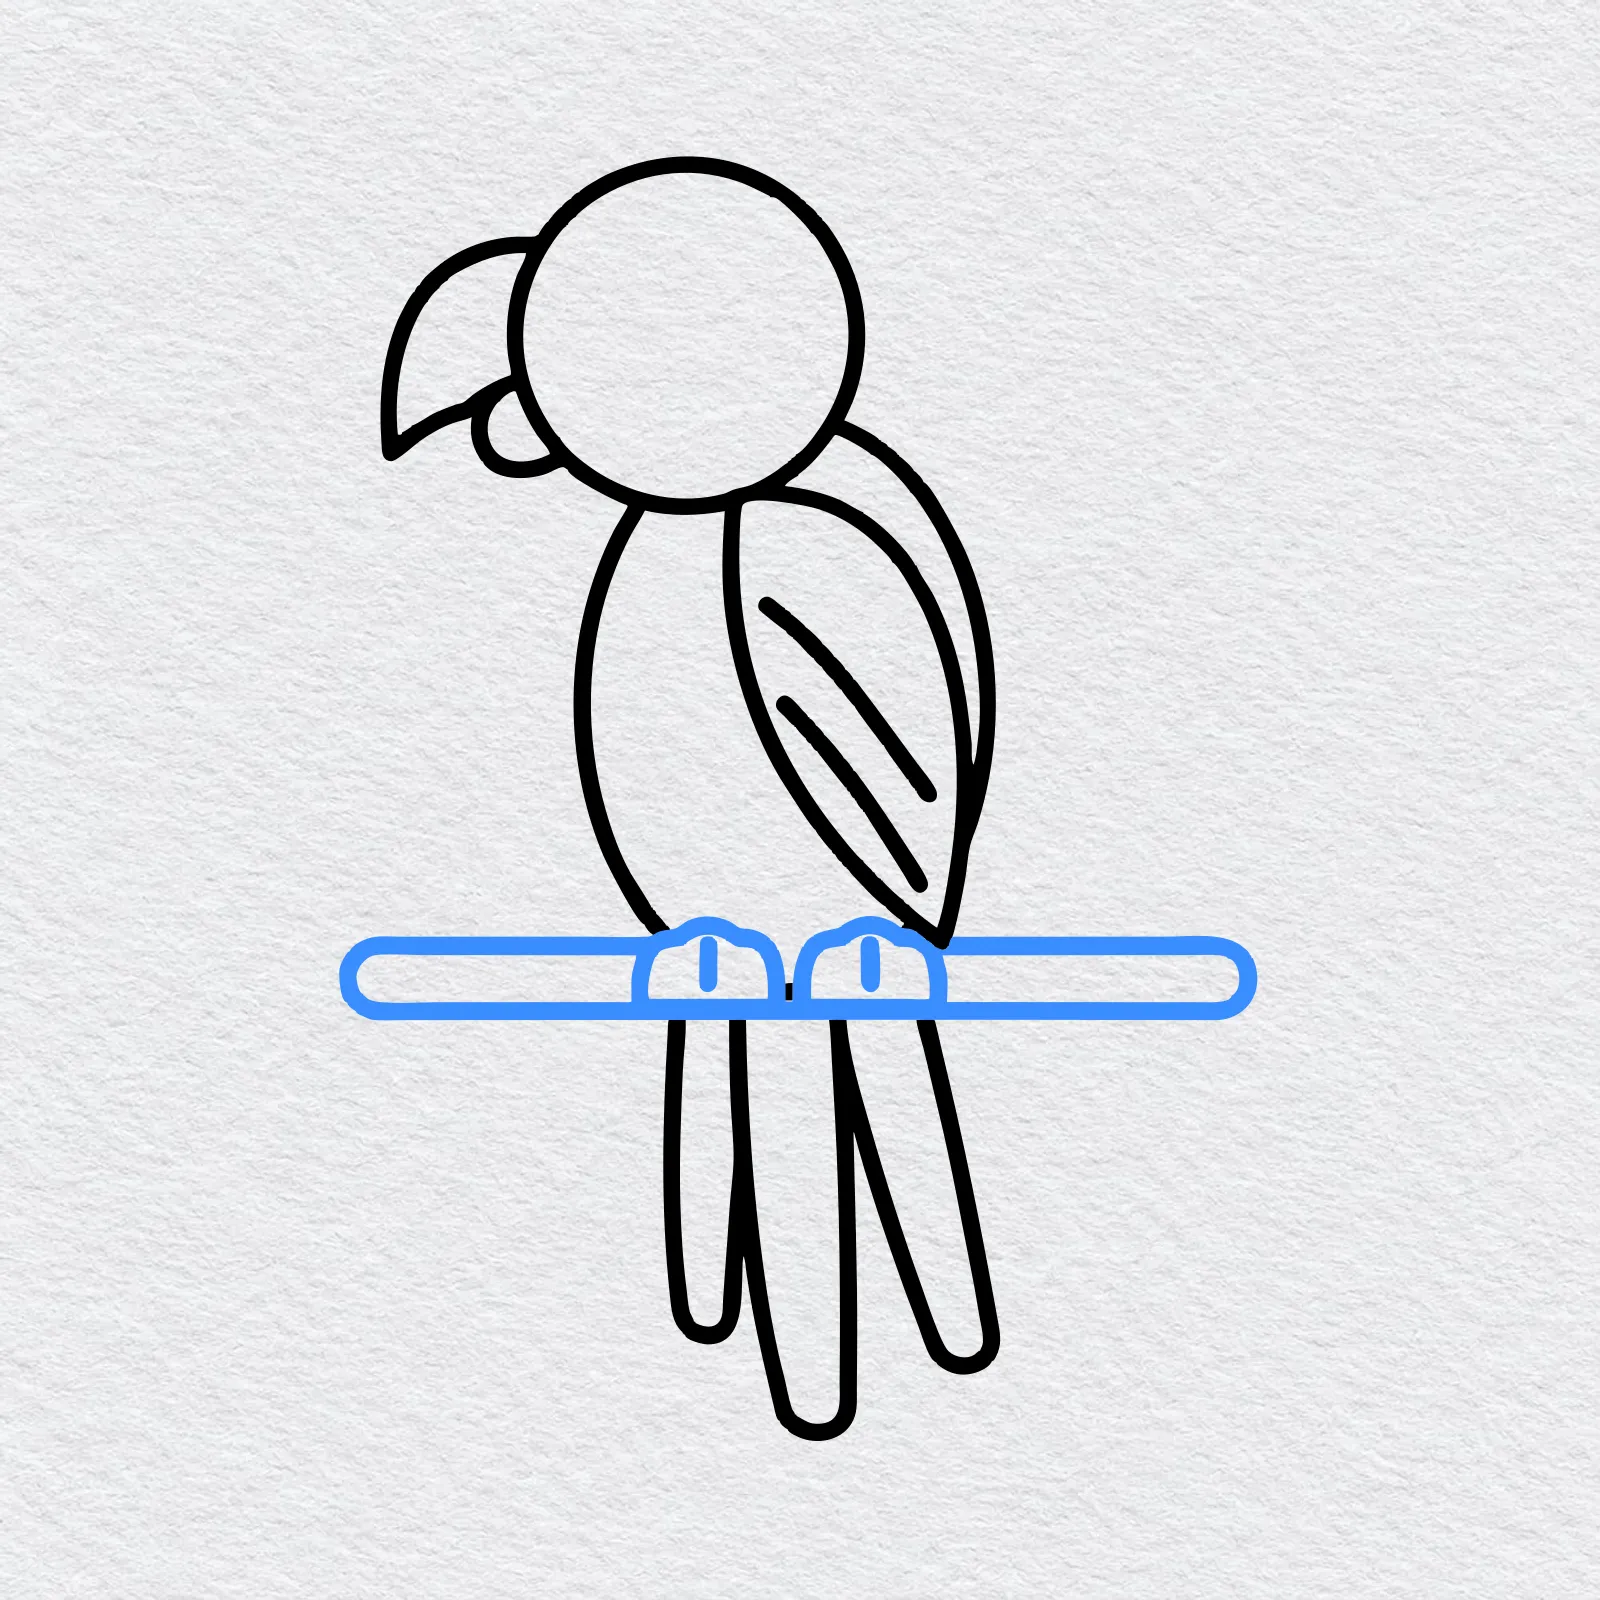
Draw a long straight branch across the bottom of the body. Then add two small rounded feet on top of it, each with a little toe line.
-
Step 7 : Draw the eye
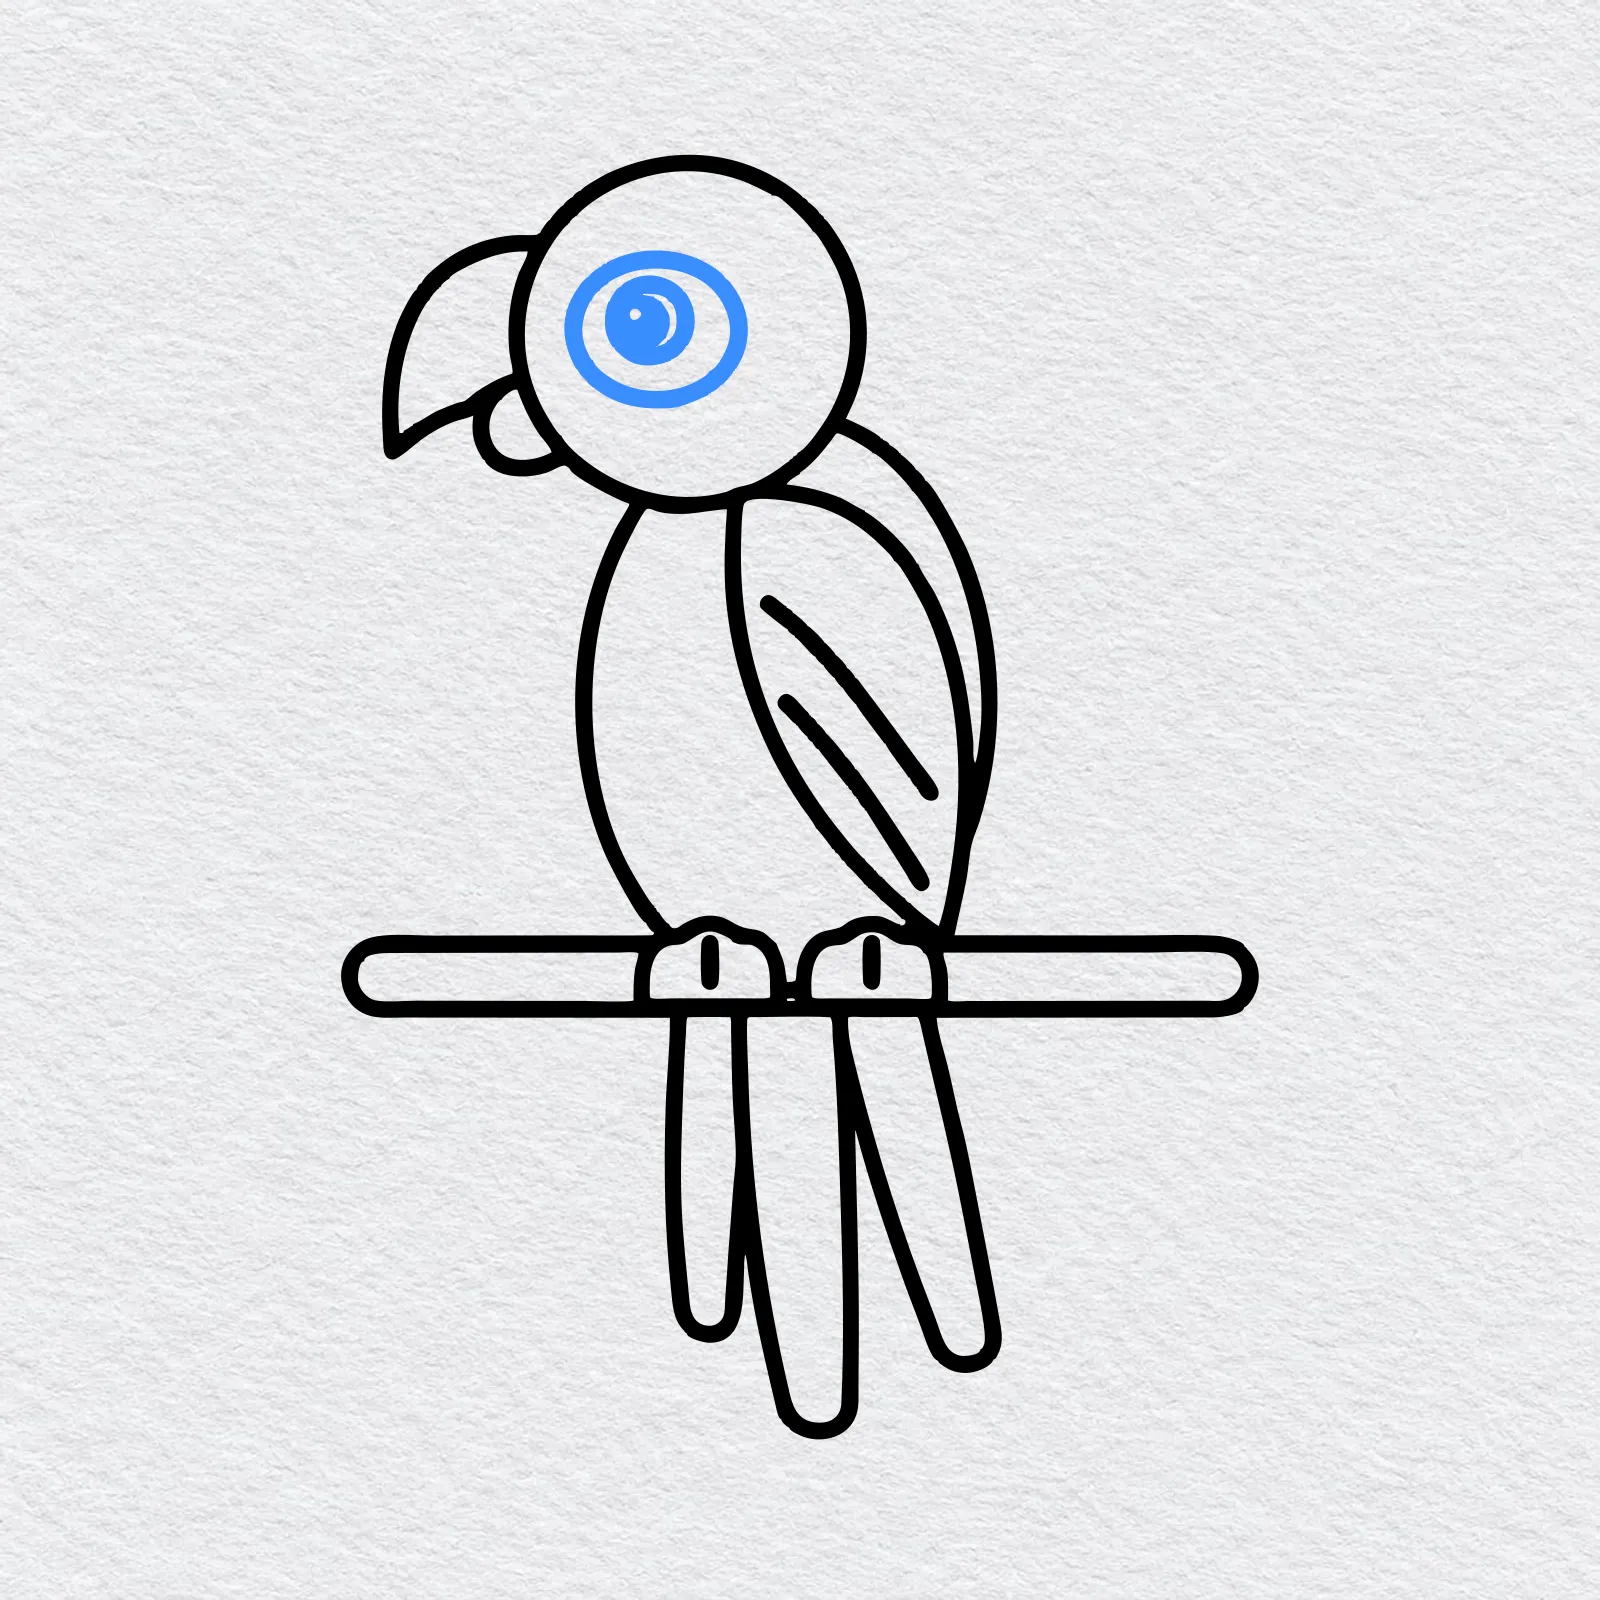
Inside the head, draw a circle for the cheek patch. Put a round eye in the middle and color it in, leaving a tiny white dot for a shine.
-
Step 8 : Color your parrot
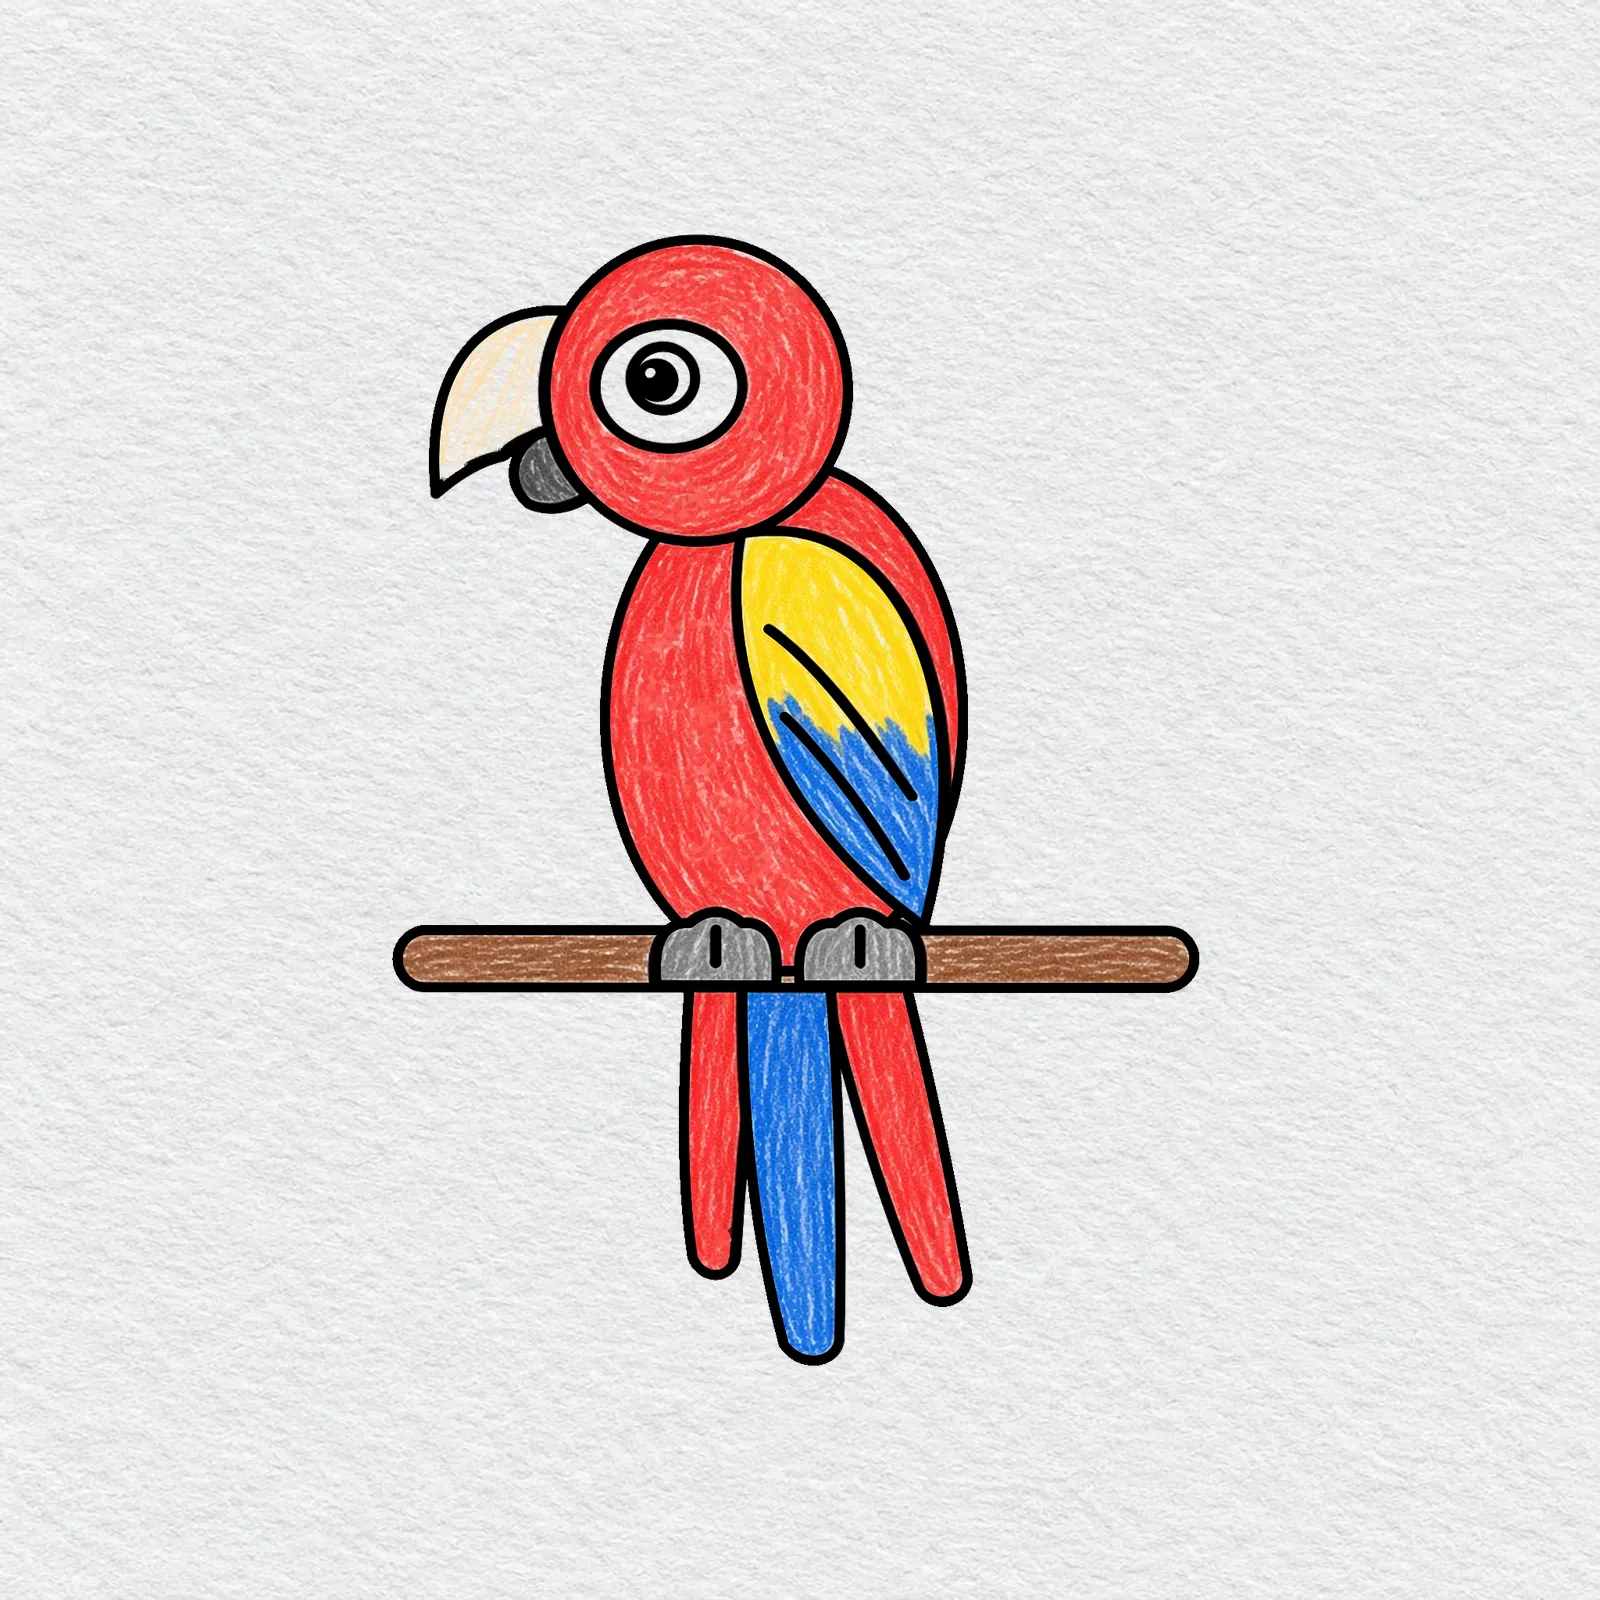
Color the head and body bright red. Press lightly and color in small strokes, so a little white paper shows through like a real crayon drawing.
Make the top of the wing yellow and the bottom blue, give the tail red and blue feathers and color the branch brown. Keep the cheek patch and the shine in the eye white.
Printable parrot drawing PDFs
 Save
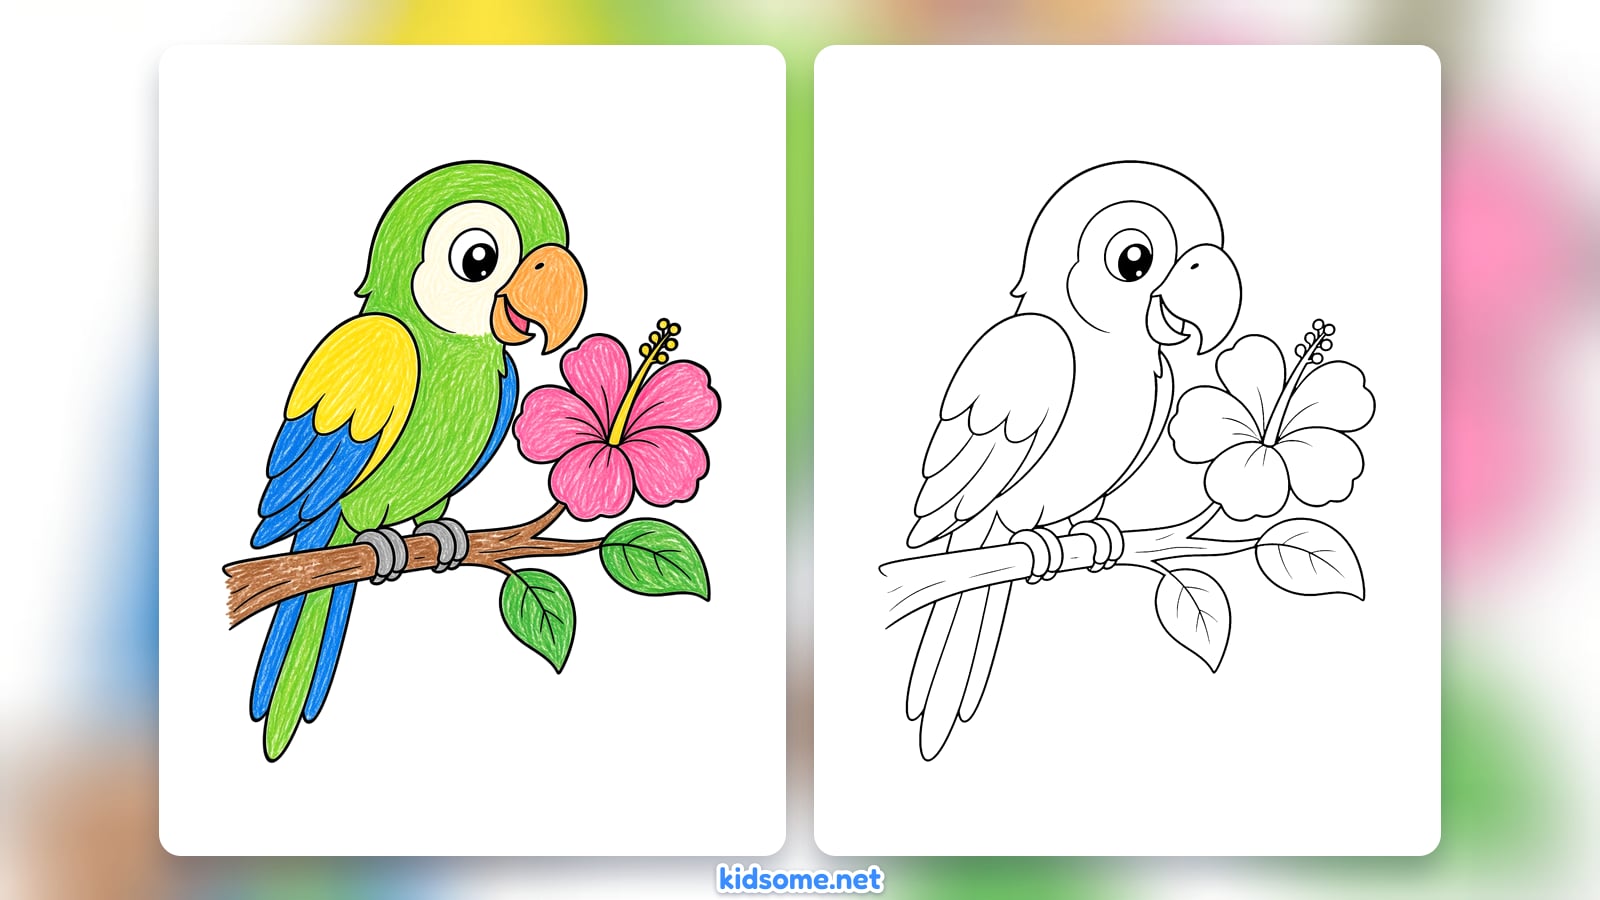
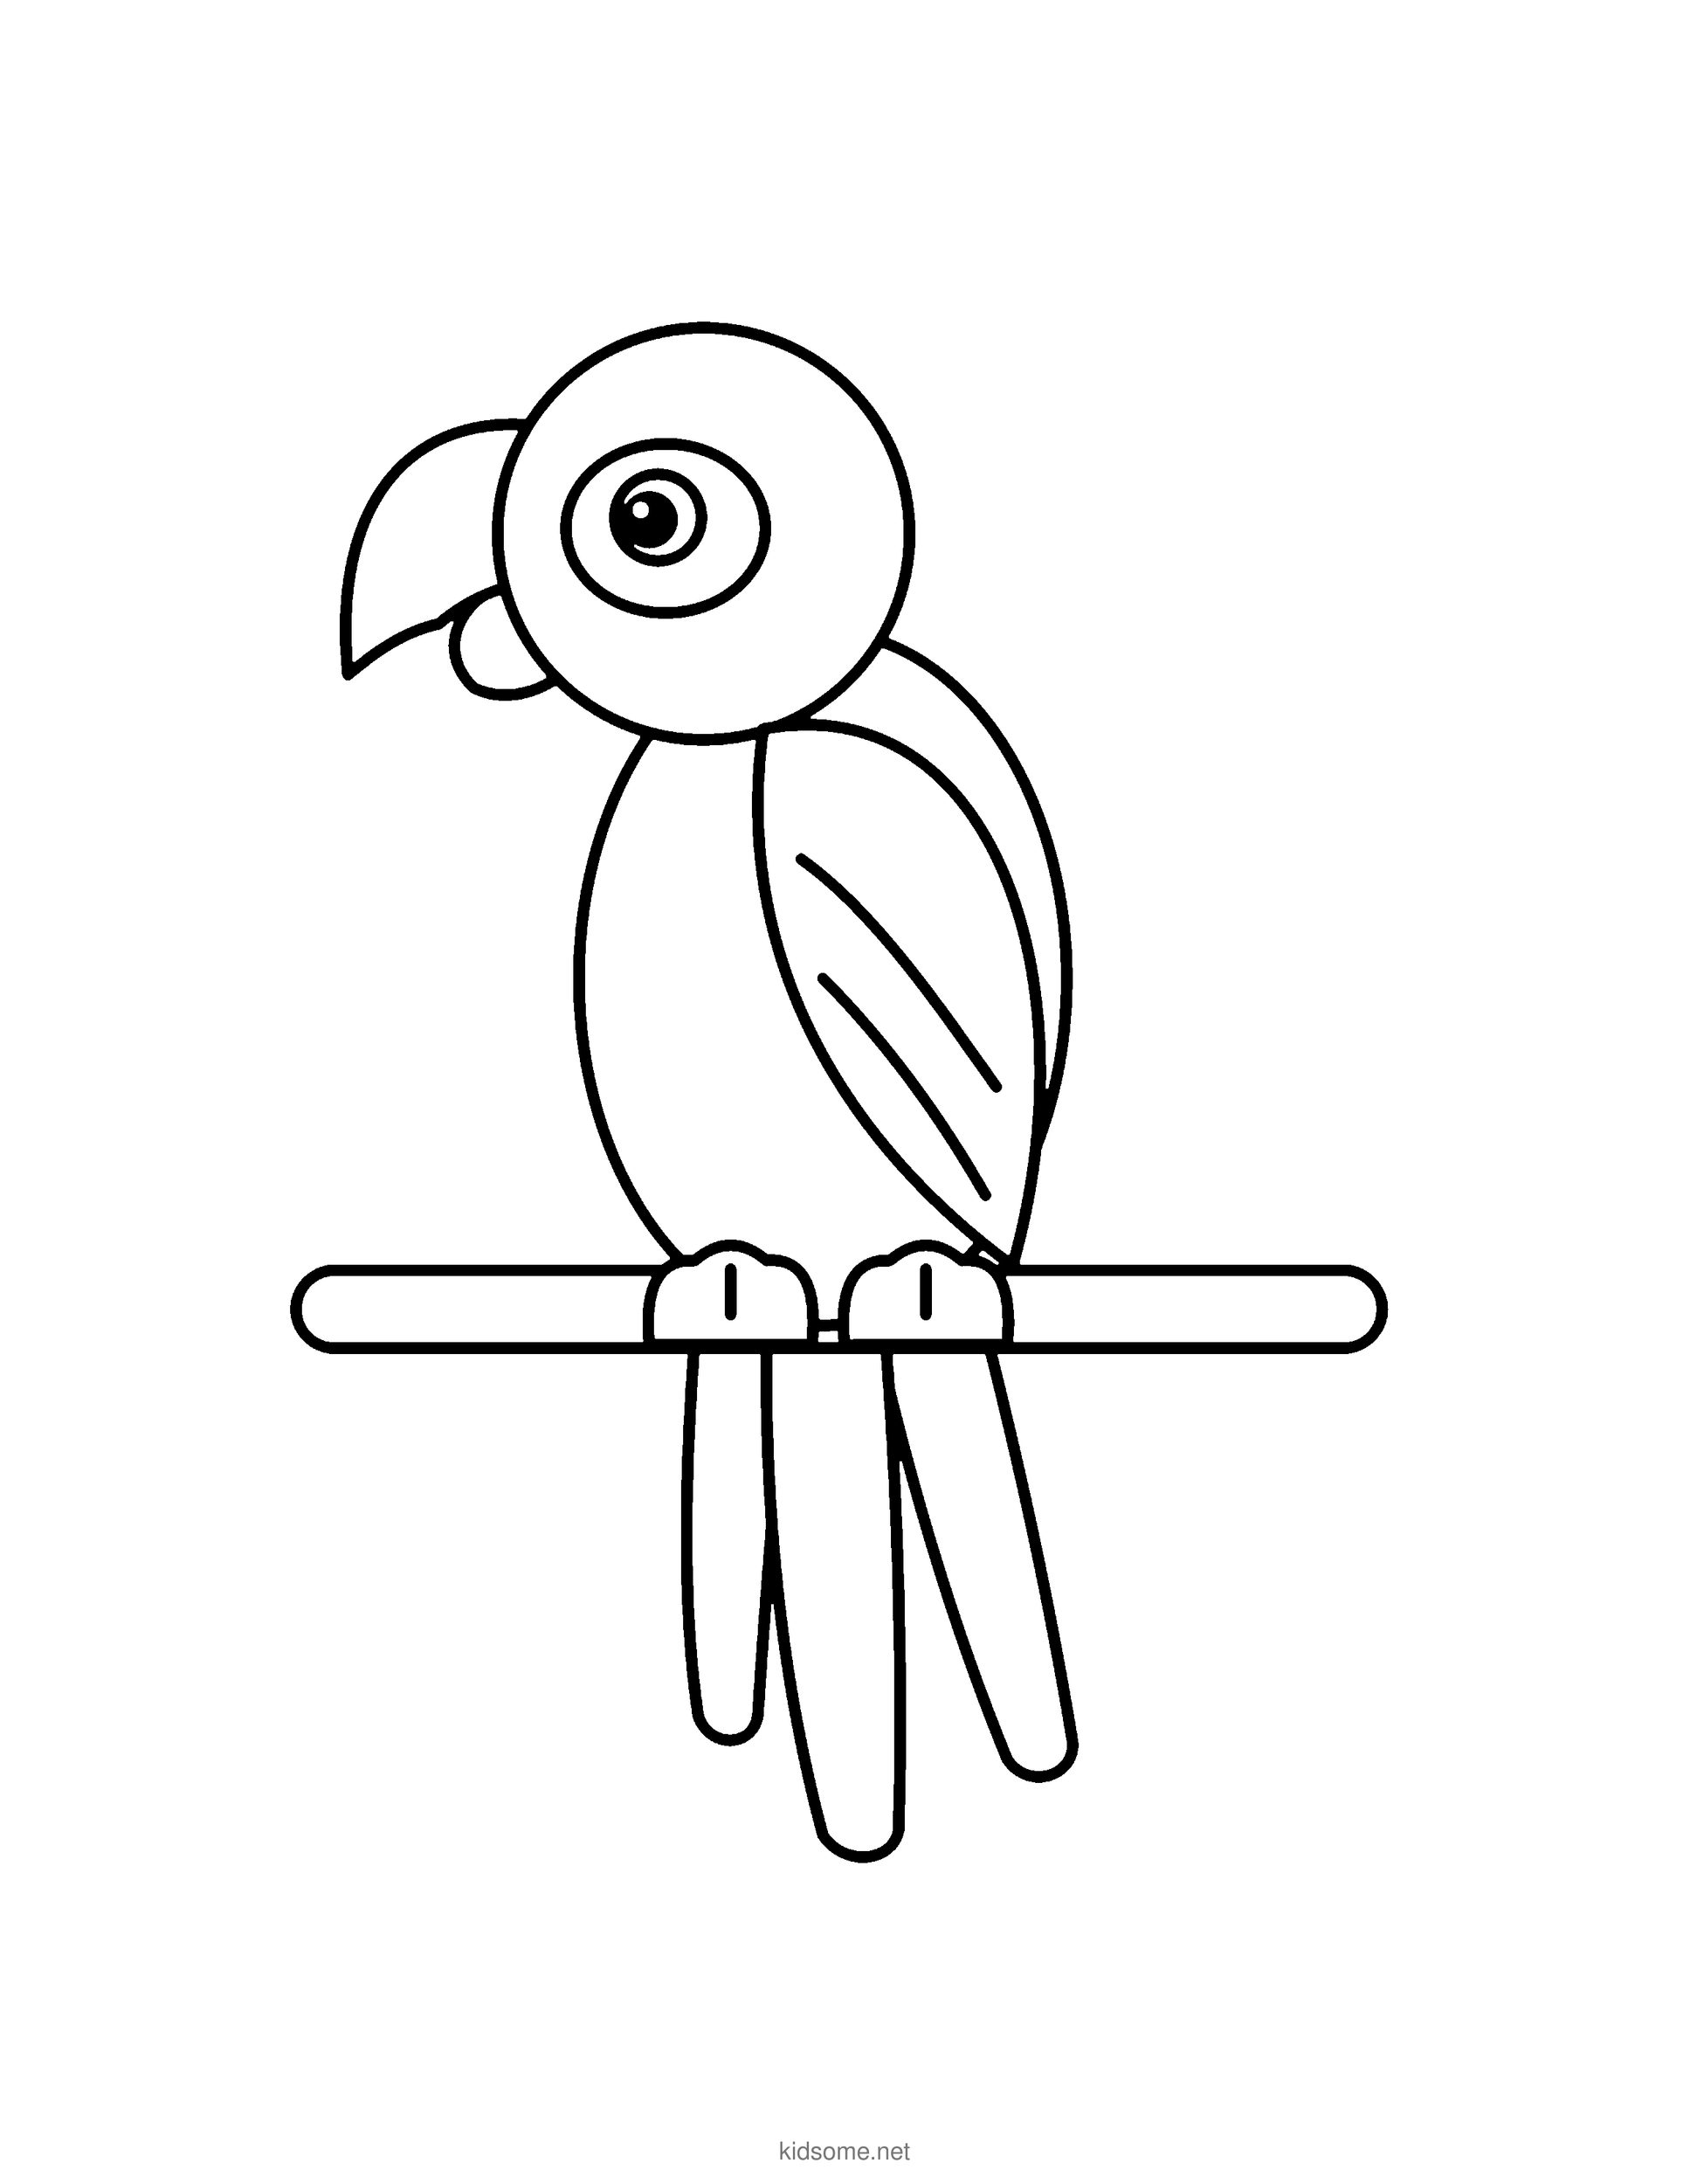
Parrot Outline to Color
The finished cartoon parrot perched on its branch, as a clean outline to print, trace and color in.
Download PDF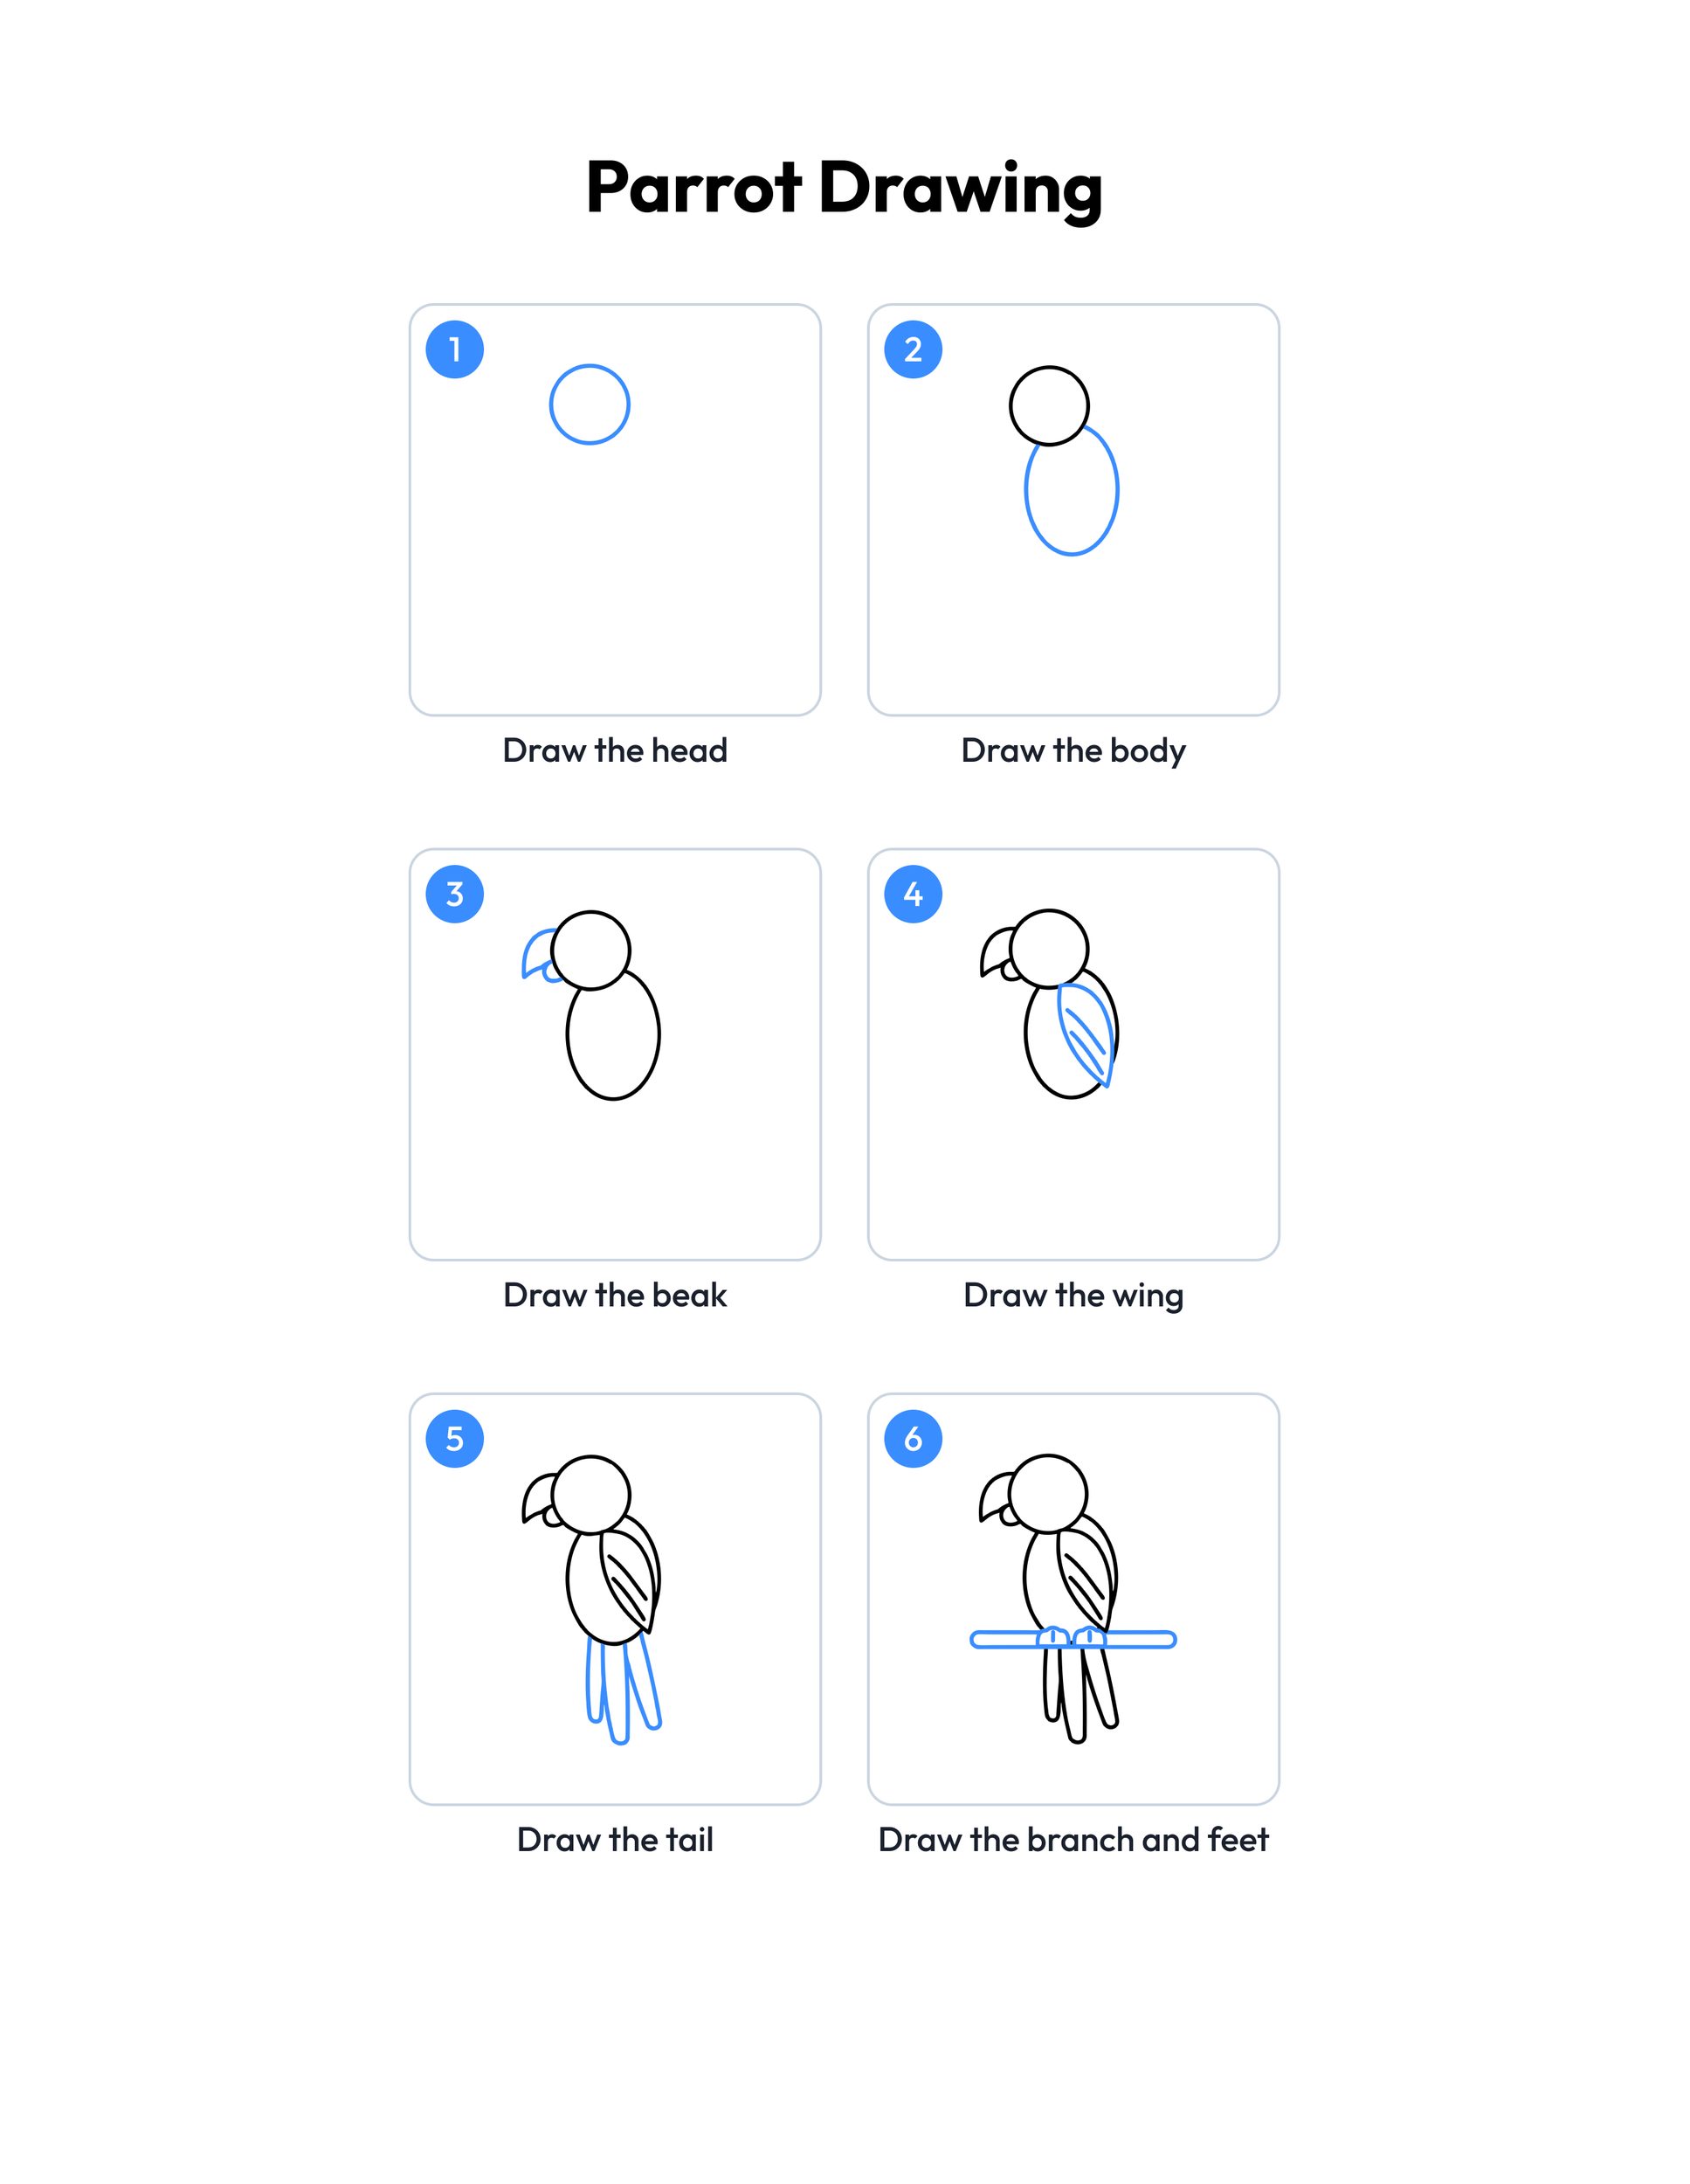 Save
Printable parrot drawing guide
Every step, two to a row, with the finished parrot in color at the end.
Download PDFHow to use this guide
Print the outline at 100 percent, or choose Fit to page if your printer asks. The margins fit US Letter and A4, so the beak, the branch and the tips of the tail all stay on the sheet. Page one is the outline to color. Page two is the colored example, so print page one alone if you only want the picture to fill in.
For drawing, plain copy paper and a pencil with a good eraser work best. Sketch lightly at first, because circles and ovals rarely come out smooth on the first try. Keep the paper upright and draw the head in the top third of the page, a little left of the middle. That leaves room in front for the beak and plenty of room below for the body, the branch and the long tail.
The hooked beak and the long tail are what make this a simple parrot drawing that anyone can recognize. Make the beak big and curved, and let the tail feathers hang well below the branch. Younger kids can stop after the head, the body, the beak and the wing and color a bright bird. Older kids can add the tail, the branch, the feet and the eye, then extras like leaves on the branch or a piece of fruit.
When the drawing looks right, trace the lines with a marker or a dark crayon and erase the pencil marks. For markers or paint, choose cardstock so the color does not soak through.
Ideas for your parrot drawing
- Rainbow birds: Real parrots come in many colors. Draw the parrot two more times and color one green with a yellow wing and one blue with a yellow chest, then compare your three birds.
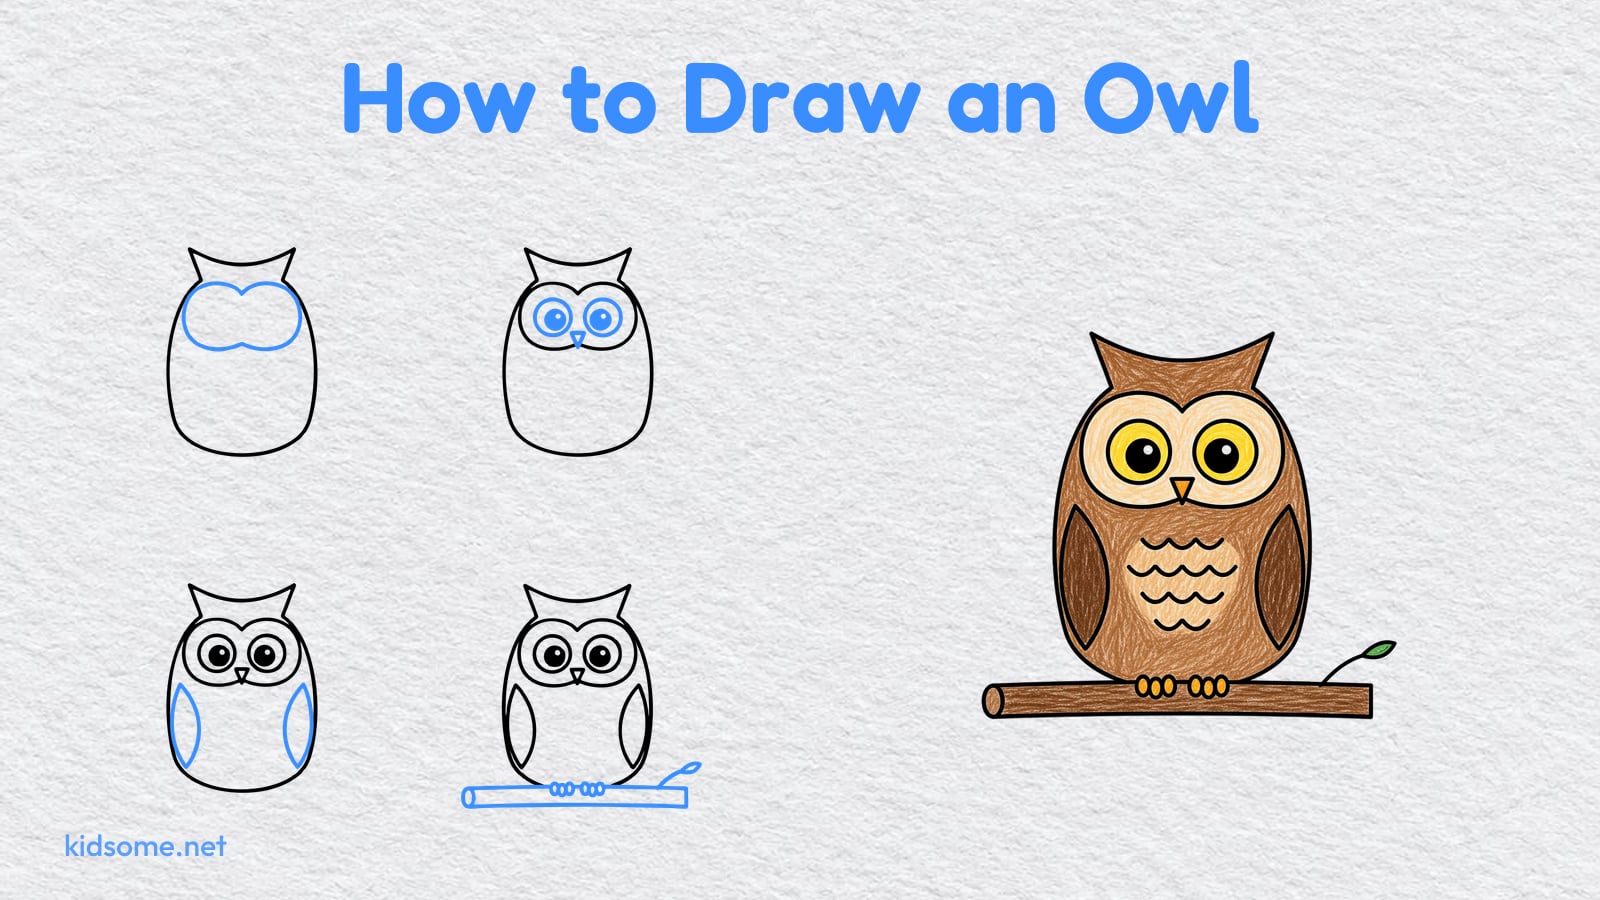
- Feathered friends: Draw an owl perched on a branch next to your parrot with our owl drawing guide, and give each bird its own speech bubble saying hello.
- Tropical island: Give your parrot a beach home using our palm tree drawing guide, then add a sun, a few waves and a coconut on the sand below.
- Jungle neighbor: Add a monkey swinging from the same branch with our monkey drawing guide, so the parrot has a playful friend in its jungle scene.
- Red bird pair: Draw a little red cardinal beside your parrot with our cardinal drawing guide and talk about how the two red birds look different.
- Coloring pair: After drawing, print a page from our owl coloring pages and color it in the same soft crayon strokes as your red and blue parrot.
- Shape hunt: When the drawing is done, ask your child to point to every circle, every oval and every long curve in the parrot. Count them together and see who finds the most.
- Bird words: Finish with our animal word search and see if your child can find bird names and lots of other animals hidden in the grid.
How do you draw a parrot step by step?
Start with a big circle for the head and a tall oval under it for the body. Add a curved hooked beak on the side of the head and a folded wing on the body. Then draw three long tail feathers, a branch with two small feet gripping it, and last the cheek patch and the eye with a shine.
Is this parrot drawing easy for young kids?
Yes. It is a parrot drawing easy enough for ages 4 to 8, built from circles, ovals and simple curves. The youngest kids can stop after the head, the body, the beak and the wing, and older kids can add the tail, the branch, the feet and the eye, then color it in.
What do I need to draw a parrot?
A sheet of plain paper, a pencil and an eraser are all you need to draw. A black marker or a dark crayon helps trace the final lines, and red, yellow, blue, brown and grey crayons are enough to color it like the example.
Can I print the parrot outline?
Yes. The free PDF has the finished parrot outline on page one and the colored example on page two. It prints on US Letter and A4 paper. Print page one alone if your child only wants to color, or print both to copy the colors.
How can I make my parrot look cute?
Give it a big round eye with a little white shine, a large curved beak and a plump oval body. Soft round shapes and long, smooth tail feathers make it a cute parrot drawing that young kids love to copy and finish in one sitting.