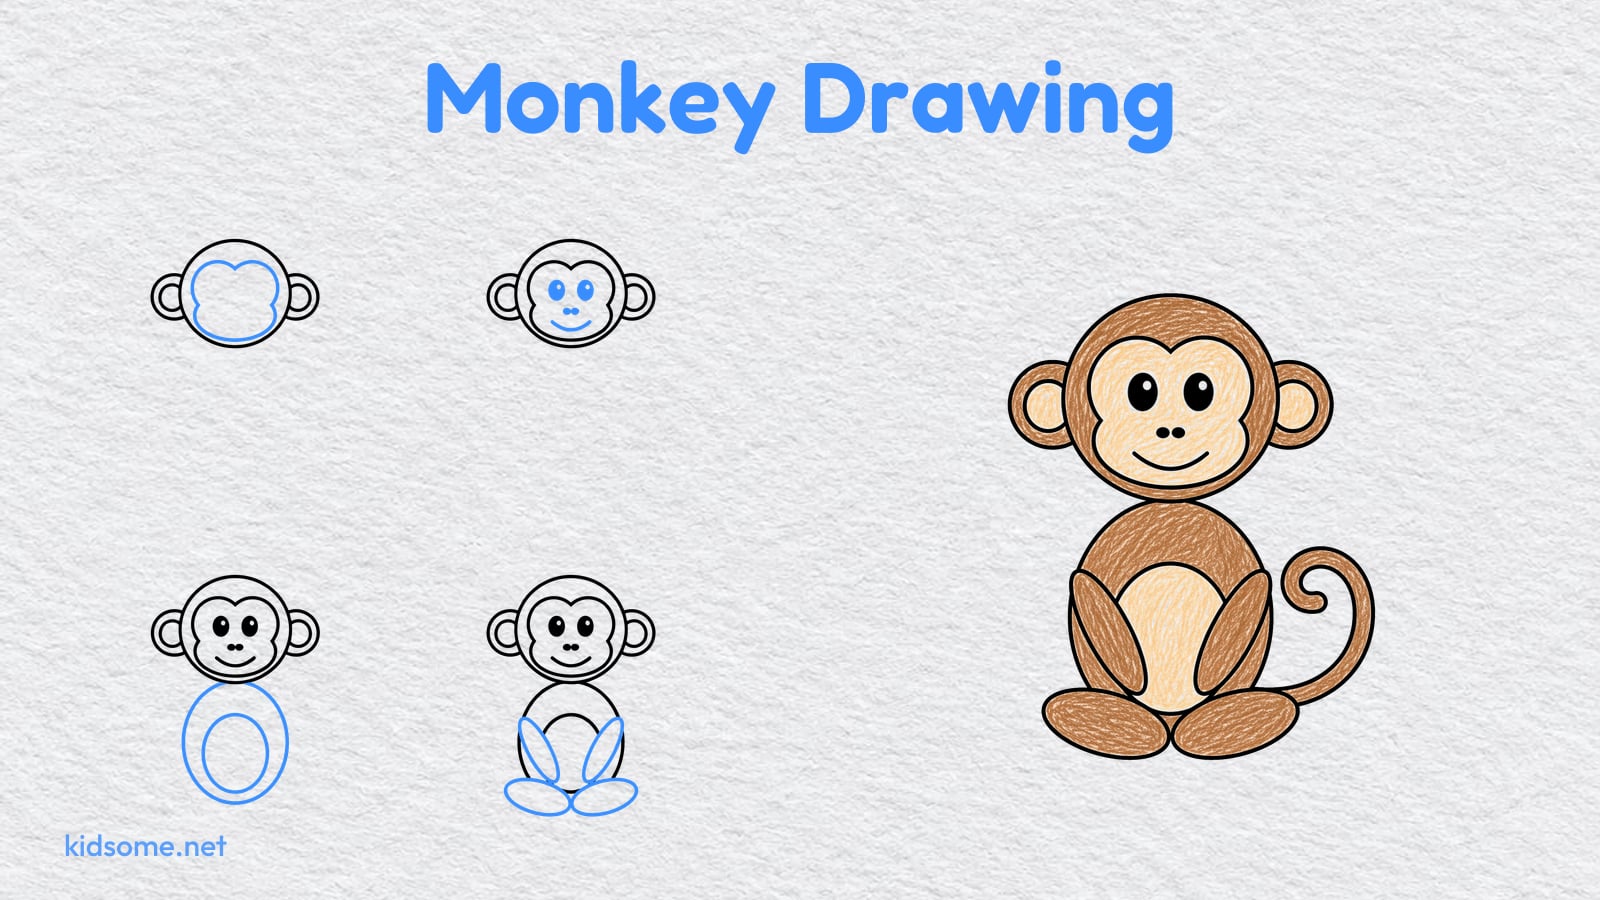
This monkey drawing guide shows kids ages 4 to 8, and the grown-ups drawing beside them, how to draw a monkey one easy step at a time. A monkey can look tricky, with its big ears, curly tail and funny face, but this friendly monkey is built from simple round shapes: a circle for the head, two round ears, a heart shaped face, ovals for the body, arms and feet, and one long curl for the tail. By the last step, those shapes have turned into a smiling monkey sitting down with its tail curled to one side.
There are seven steps. Each step shows the drawing so far in black and the new part in blue, so it is always clear what to add next. At the end there is a free printable outline of the finished monkey to trace or color, plus a crayon colored example to copy if you like. No special art skills are needed, just a pencil, an eraser and a little patience. Kids who enjoy this easy monkey drawing can try more of our animal drawing guides next.
-
Step 1 : Draw the head

Draw a big circle near the top of the page. This is the monkey's round head.
-
Step 2 : Add the ears

Draw a round ear on each side of the head, halfway down. Add a smaller curve inside each ear.
-
Step 3 : Draw the face patch

Inside the head, draw a wide heart shape with two round bumps at the top and a soft round bottom.
This is the monkey's light face.
-
Step 4 : Add the eyes, nose and smile
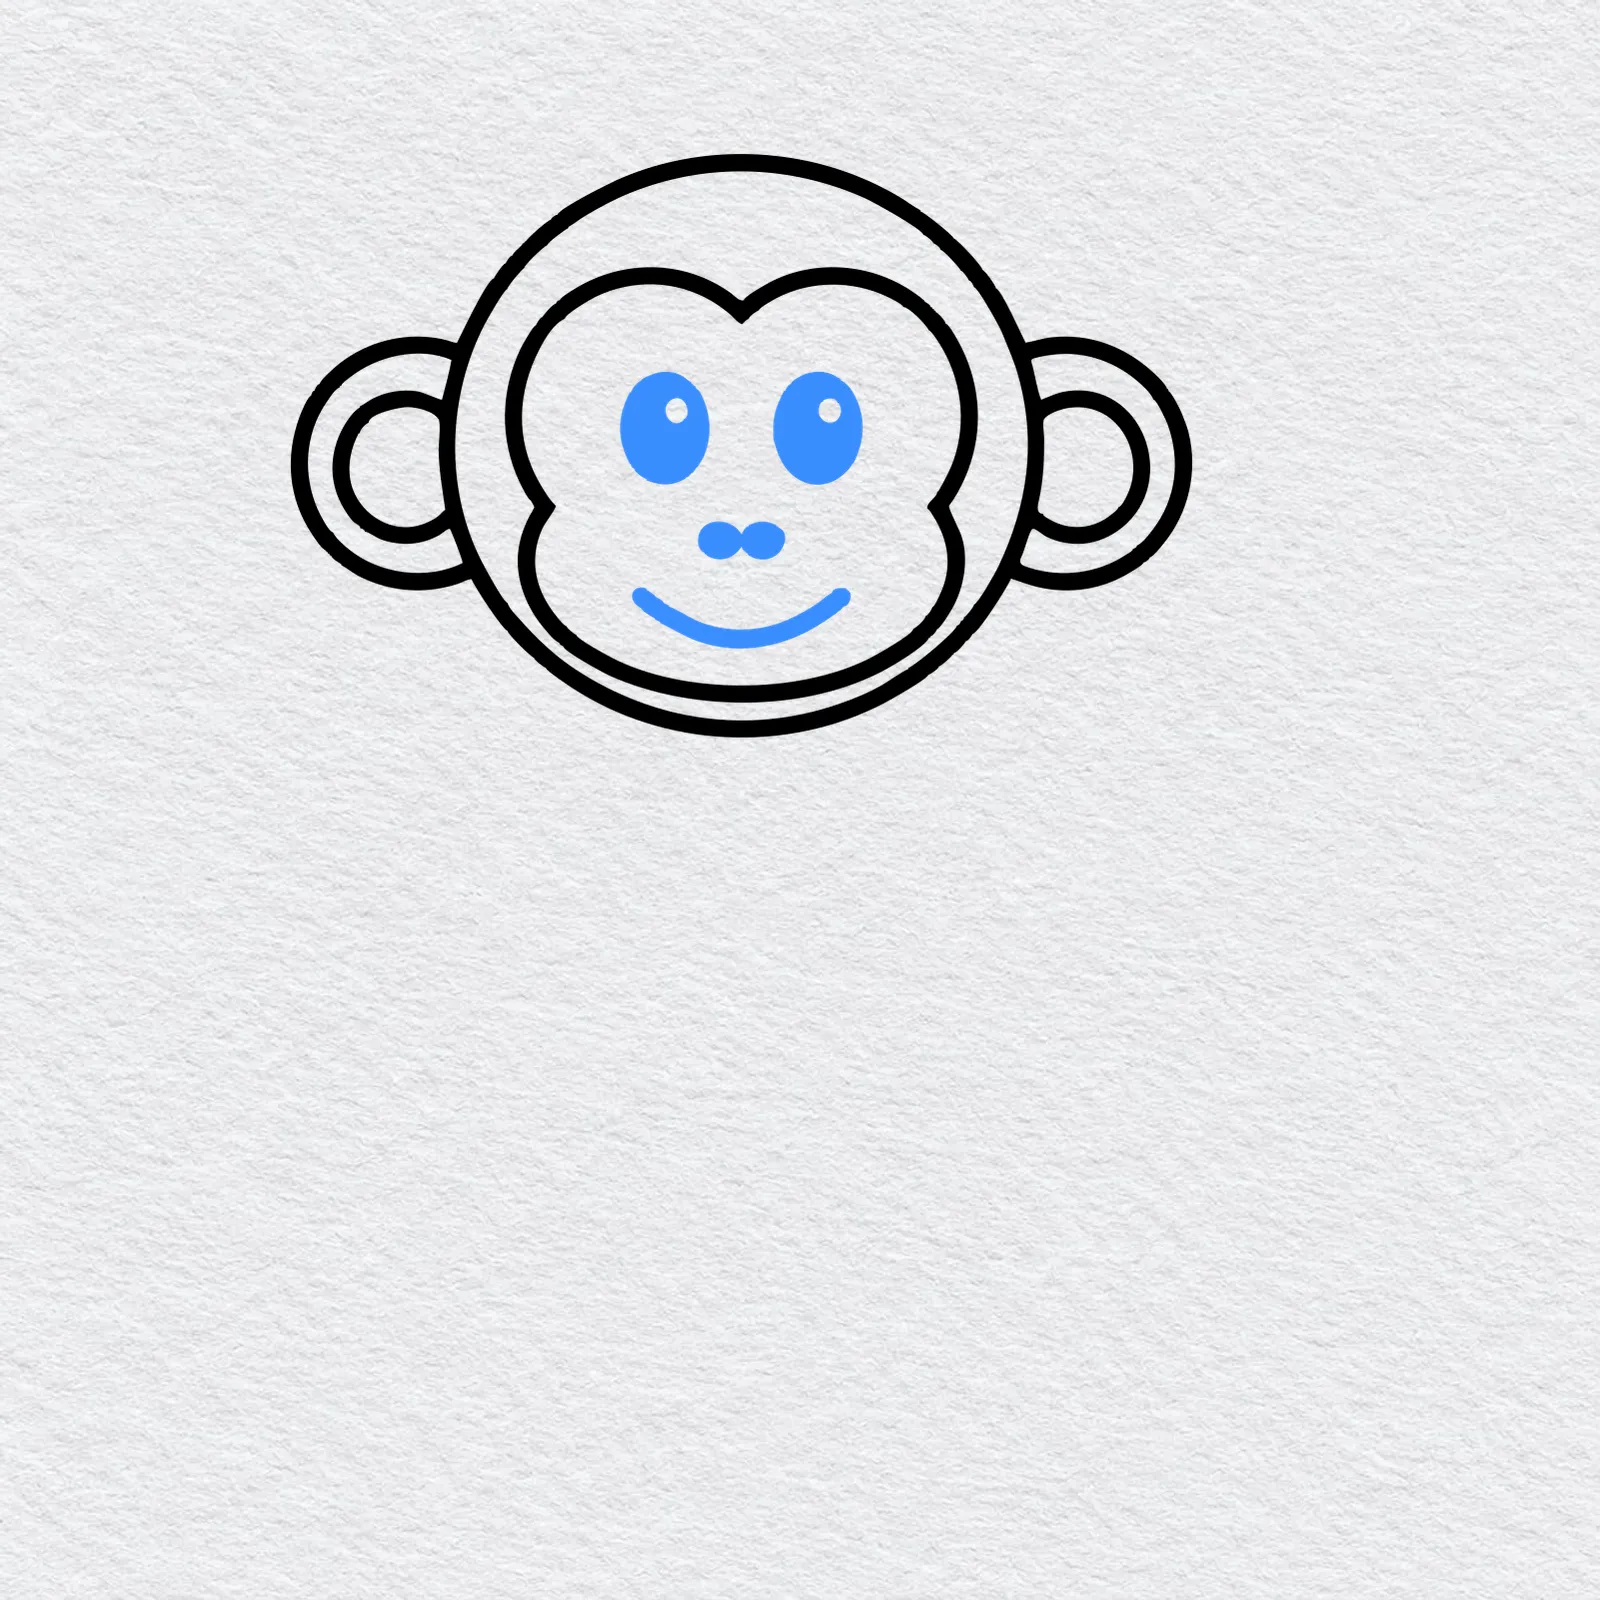
Draw two oval eyes and fill them in, leaving a little white spot in each one. Add two small dots for the nose.
Finish with a wide, curved smile.
-
Step 5 : Draw the body and belly
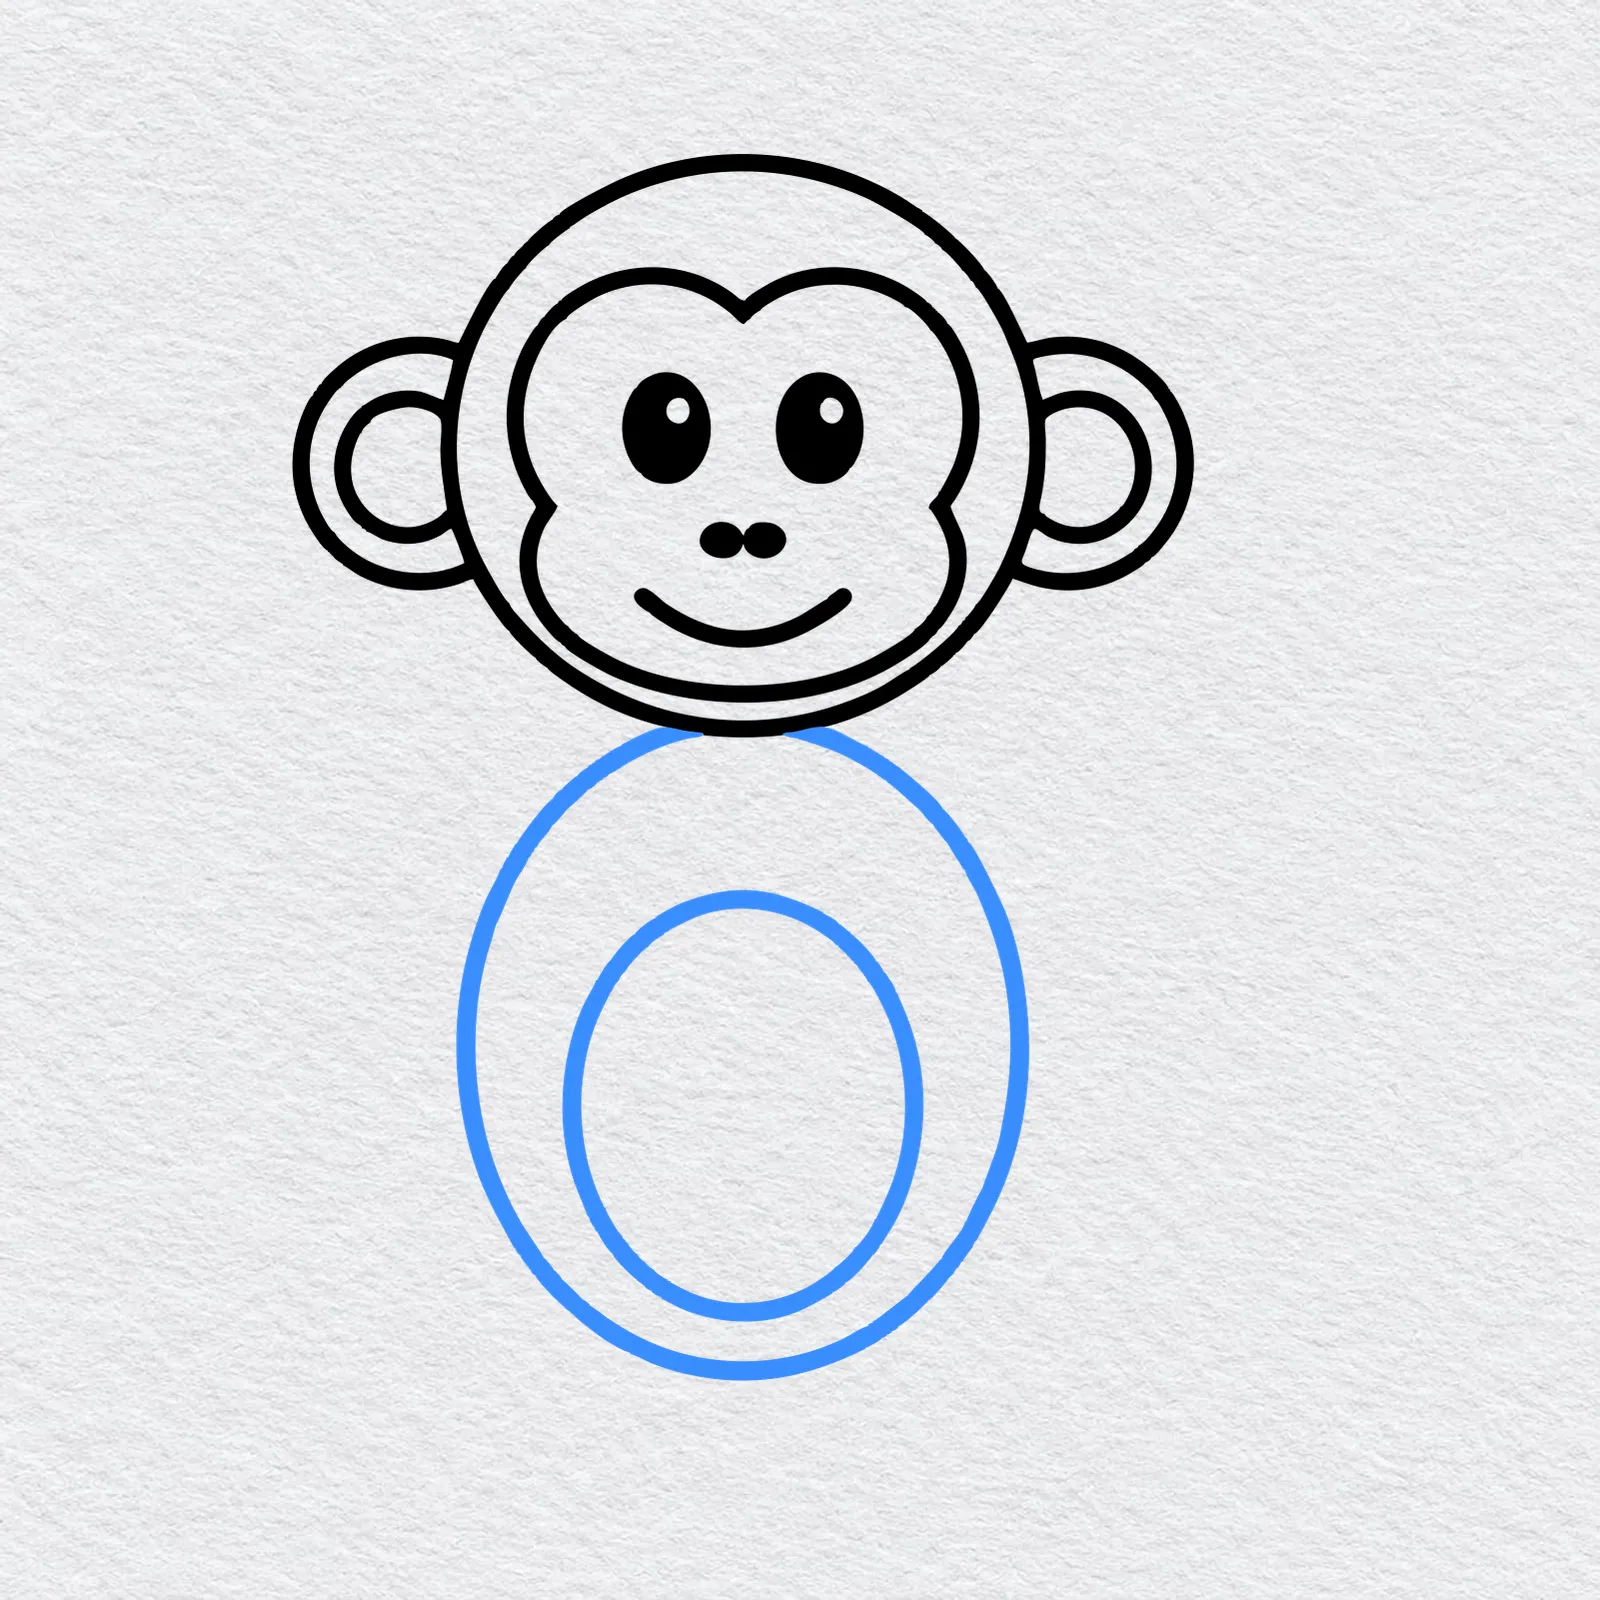
Under the head, draw a big oval for the body. Draw a smaller oval inside it for the belly.
-
Step 6 : Add the arms and feet
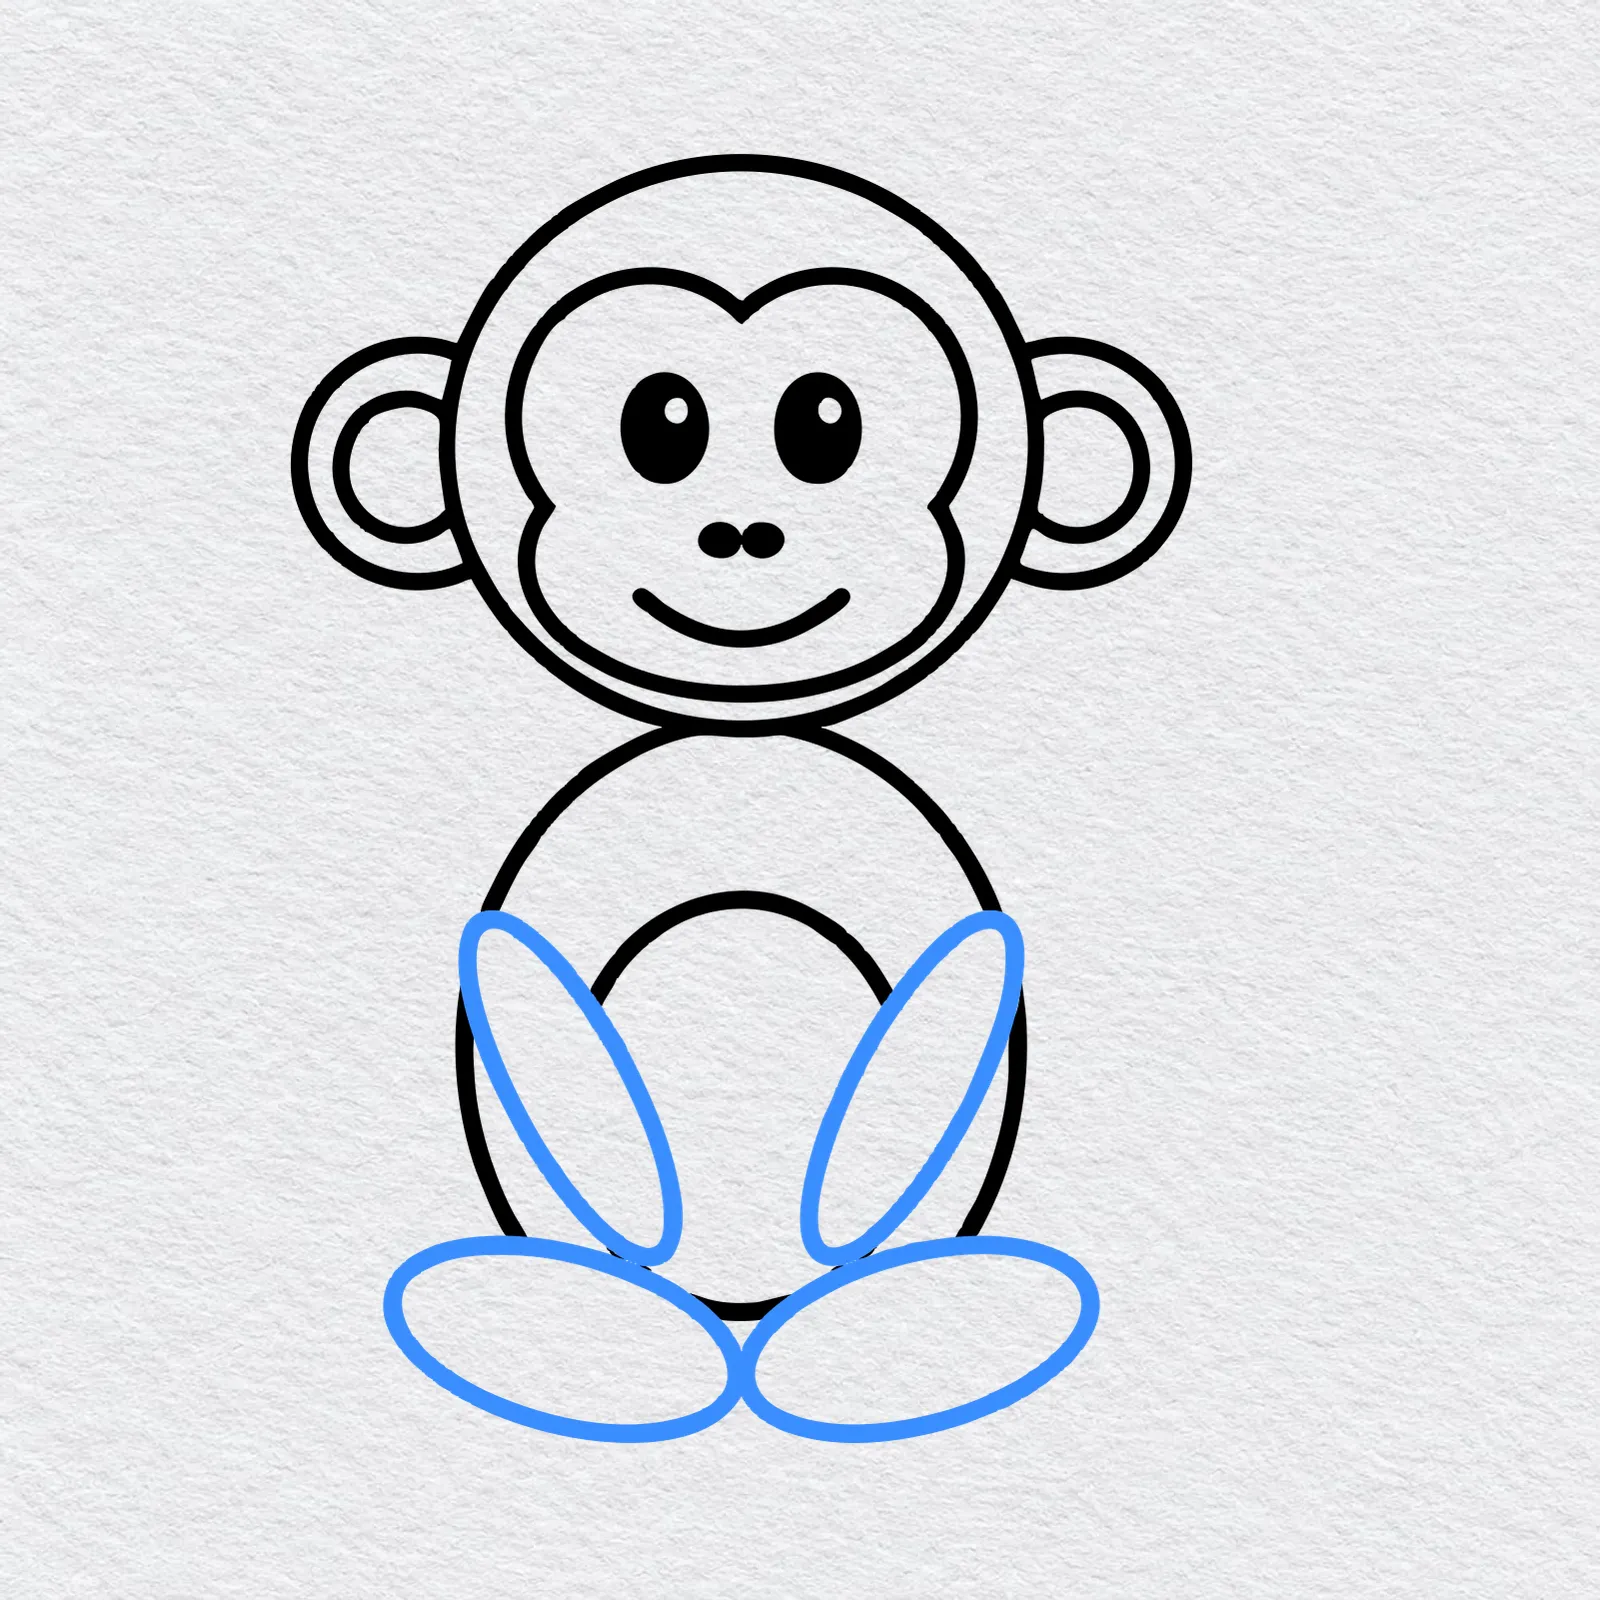
Draw two long ovals that lean in over the body for the arms. At the bottom, draw two flat ovals for the feet.
Now your monkey is sitting down.
-
Step 7 : Draw the curly tail
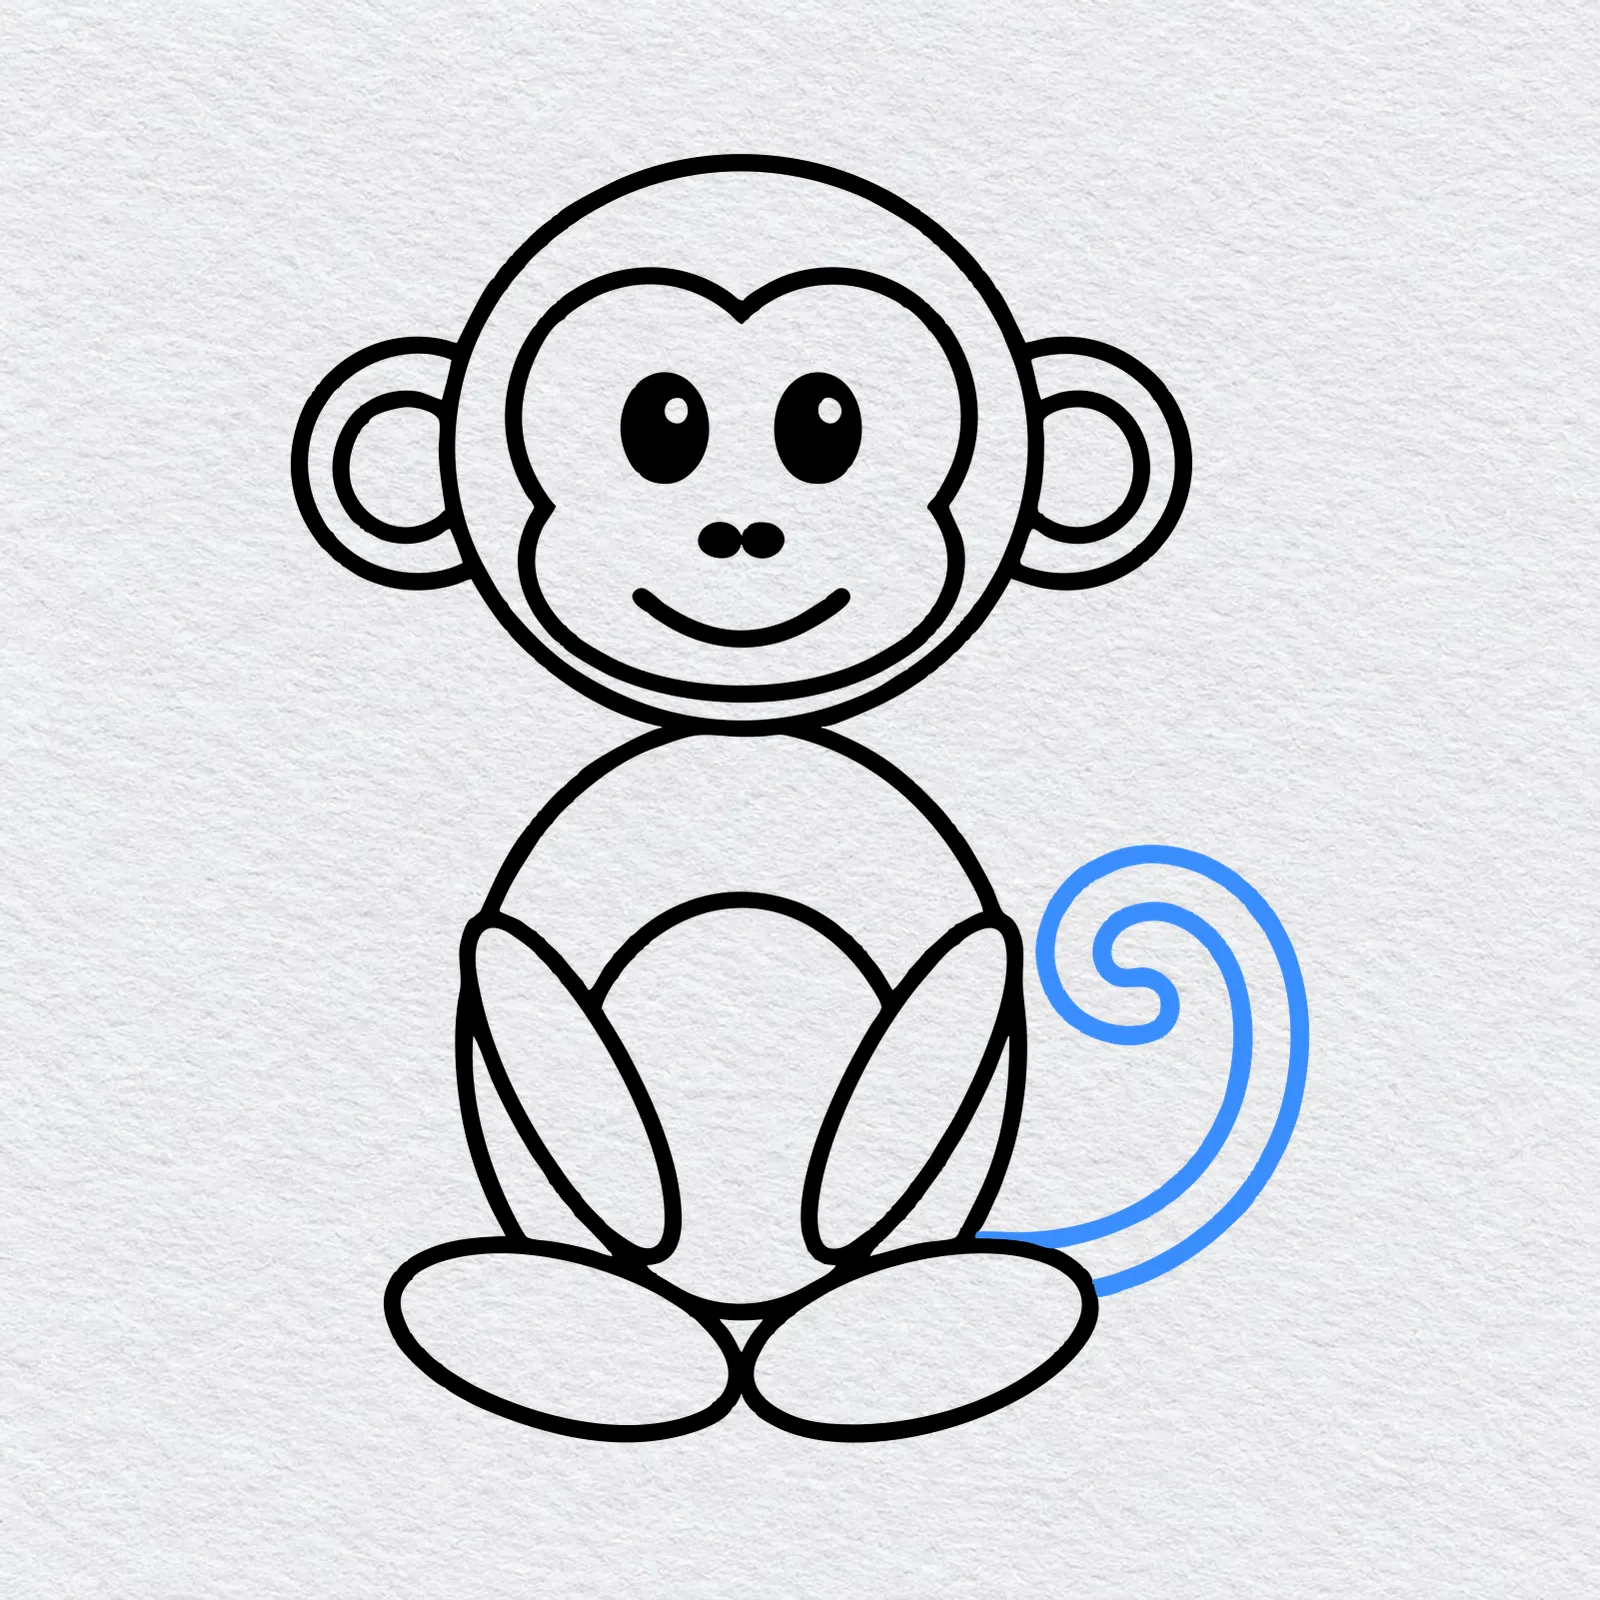
Start at the side of the body and draw a long tail that curves up and ends in a little curl. Make it two lines wide so it has room to color.
-
Step 8 : Color your monkey
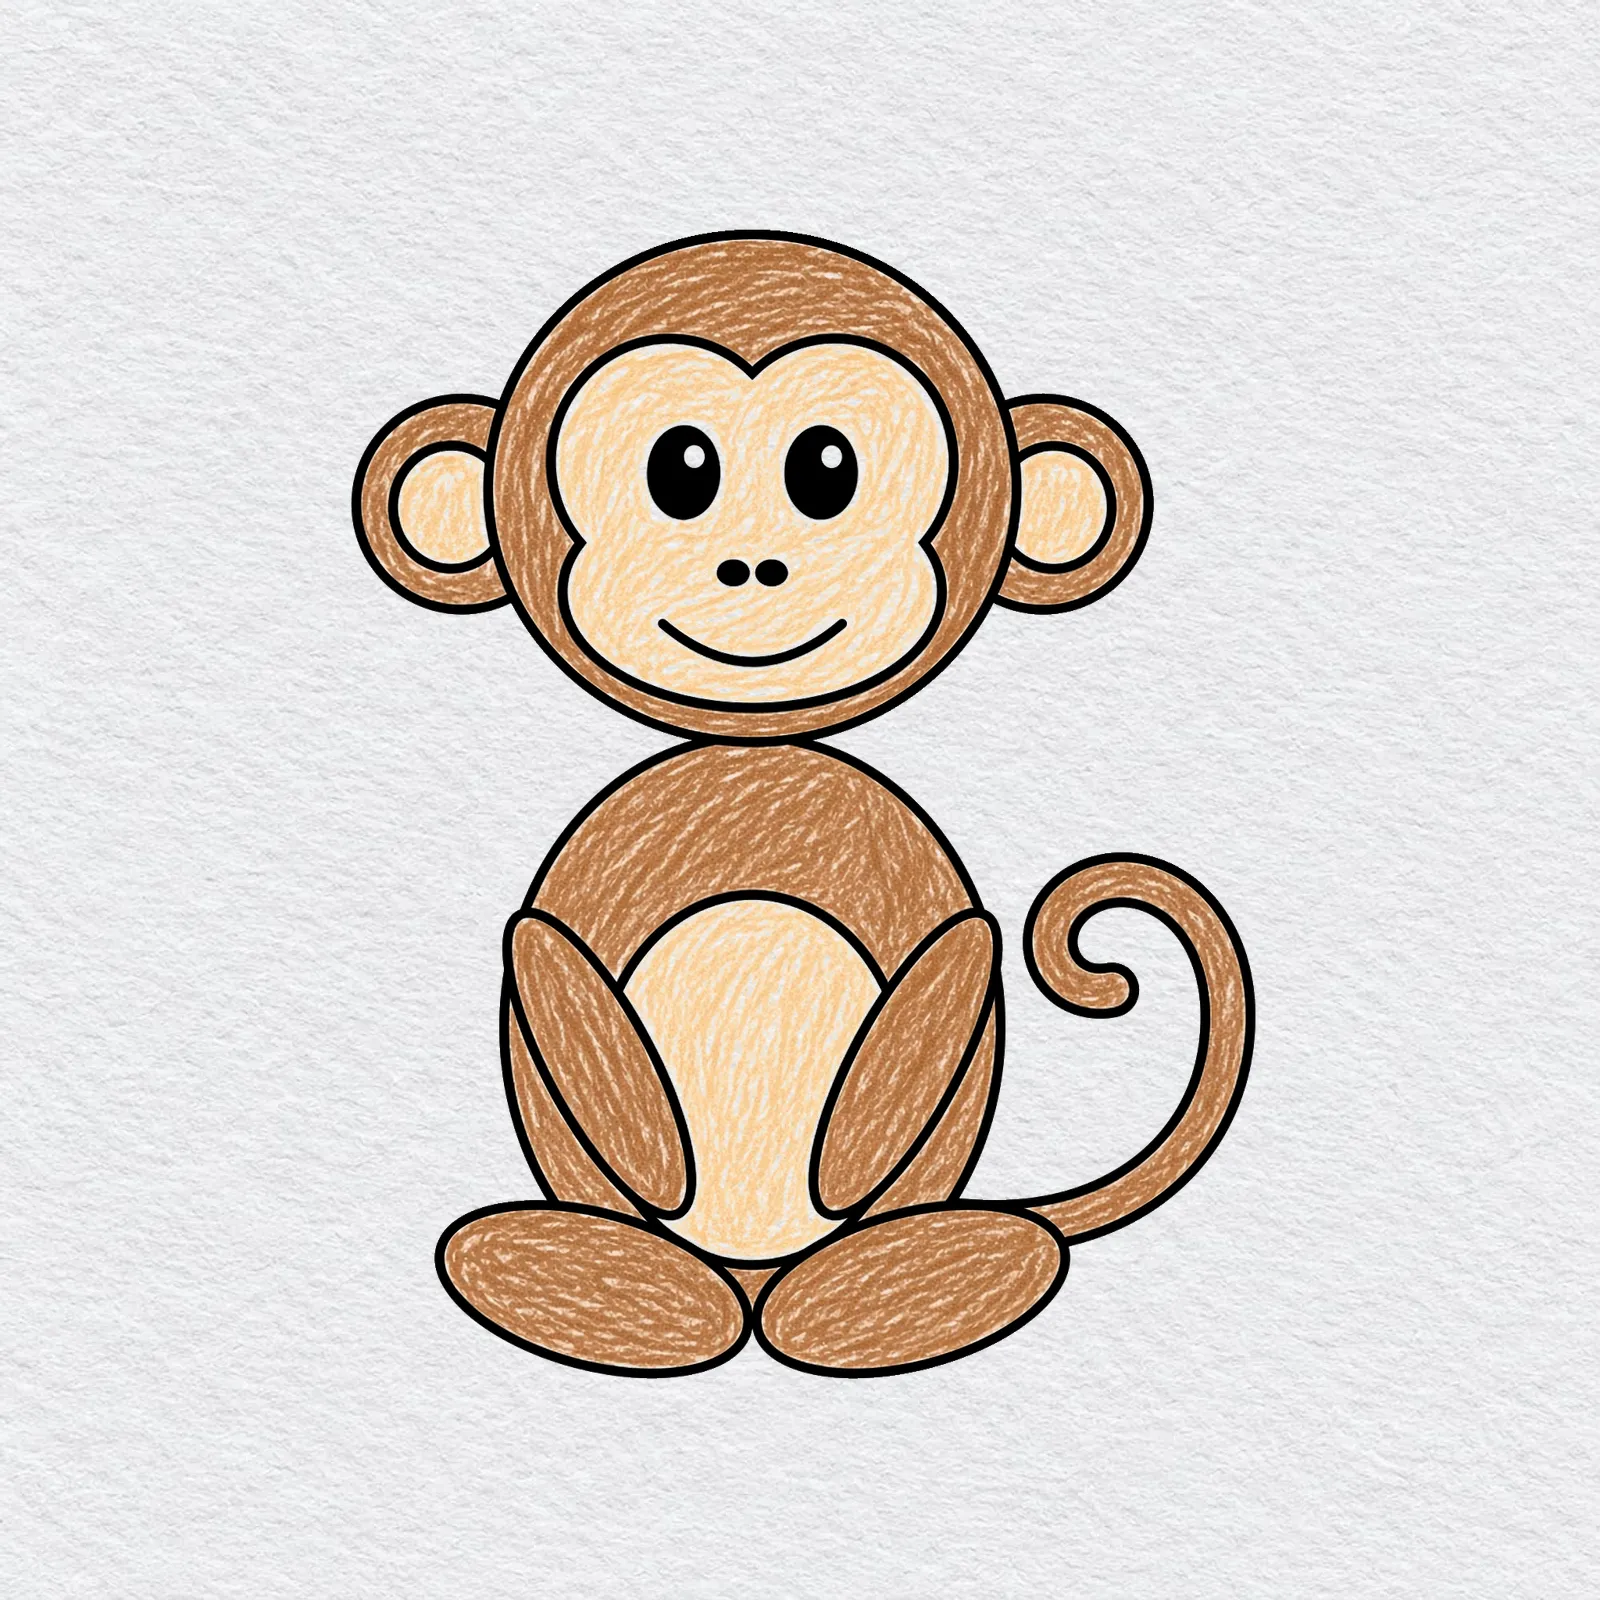
Color the head, ears, body, arms, feet and tail a warm brown.
Use light cream or peach for the face, the belly and the inside of the ears, and go slowly near the lines.
Printable monkey drawing PDFs
 Save
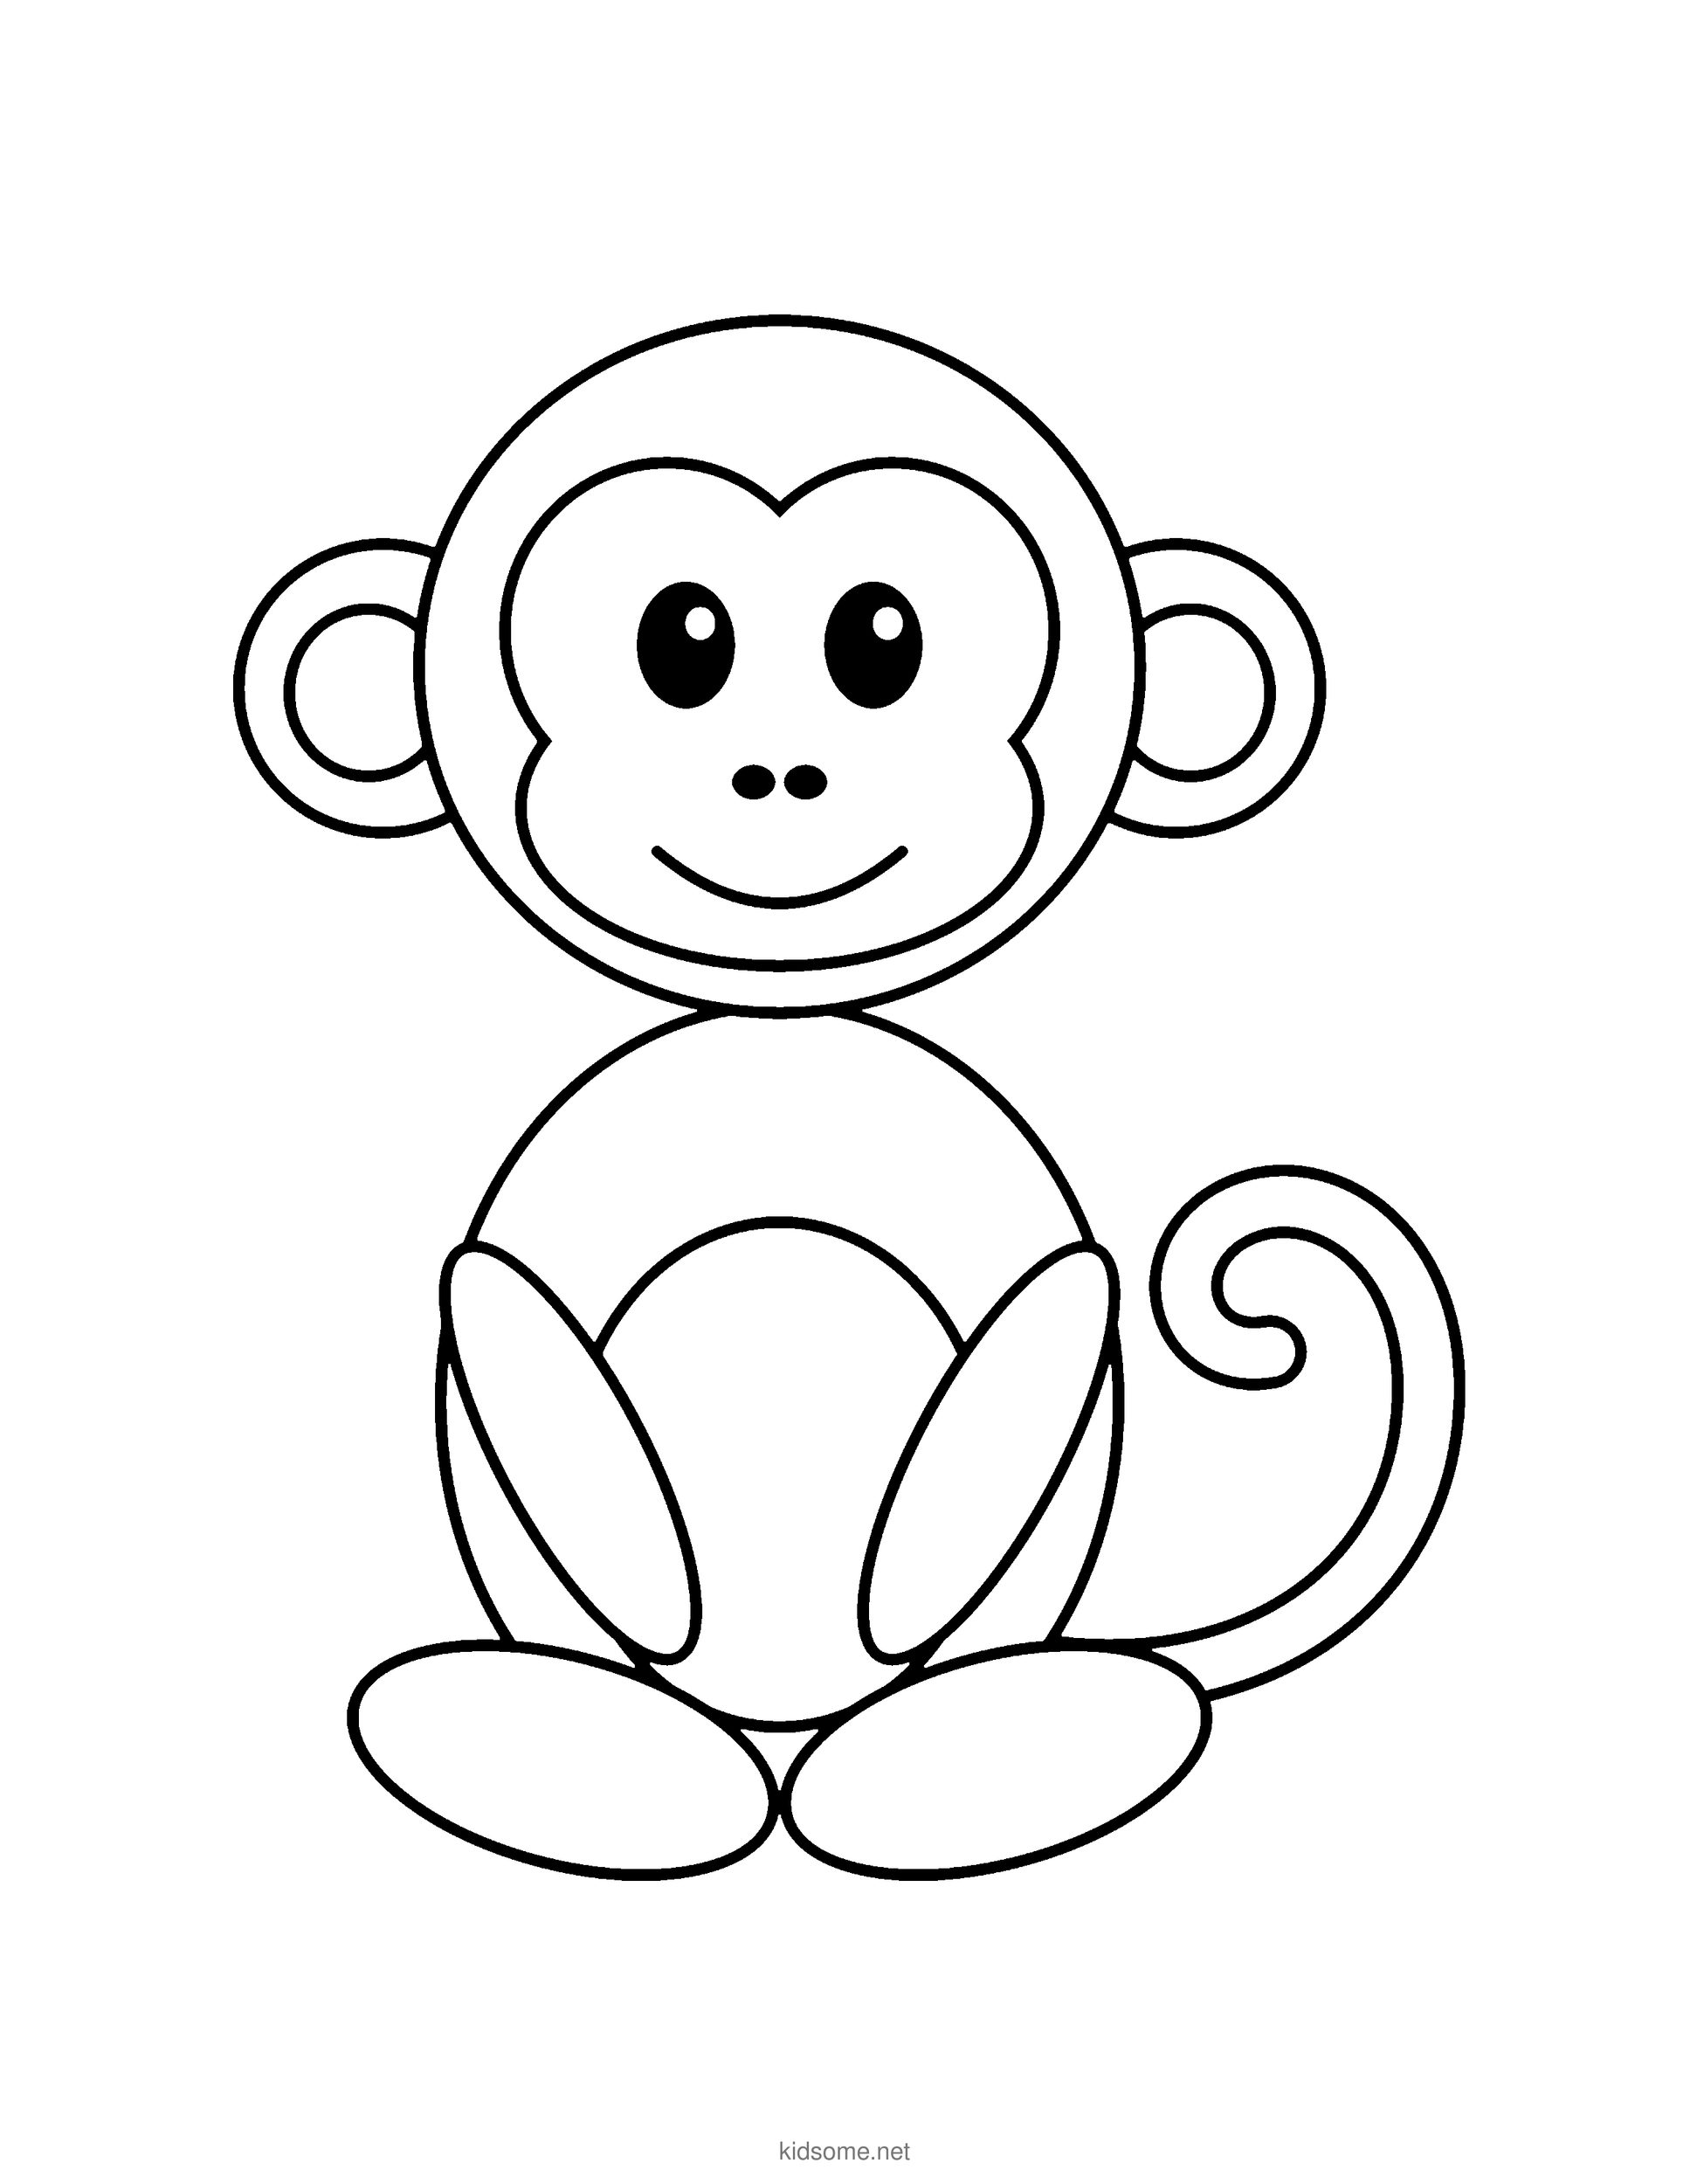
Monkey Outline to Color
The finished friendly monkey sitting with its round ears and curly tail, as a clean outline to print and color.
Download PDF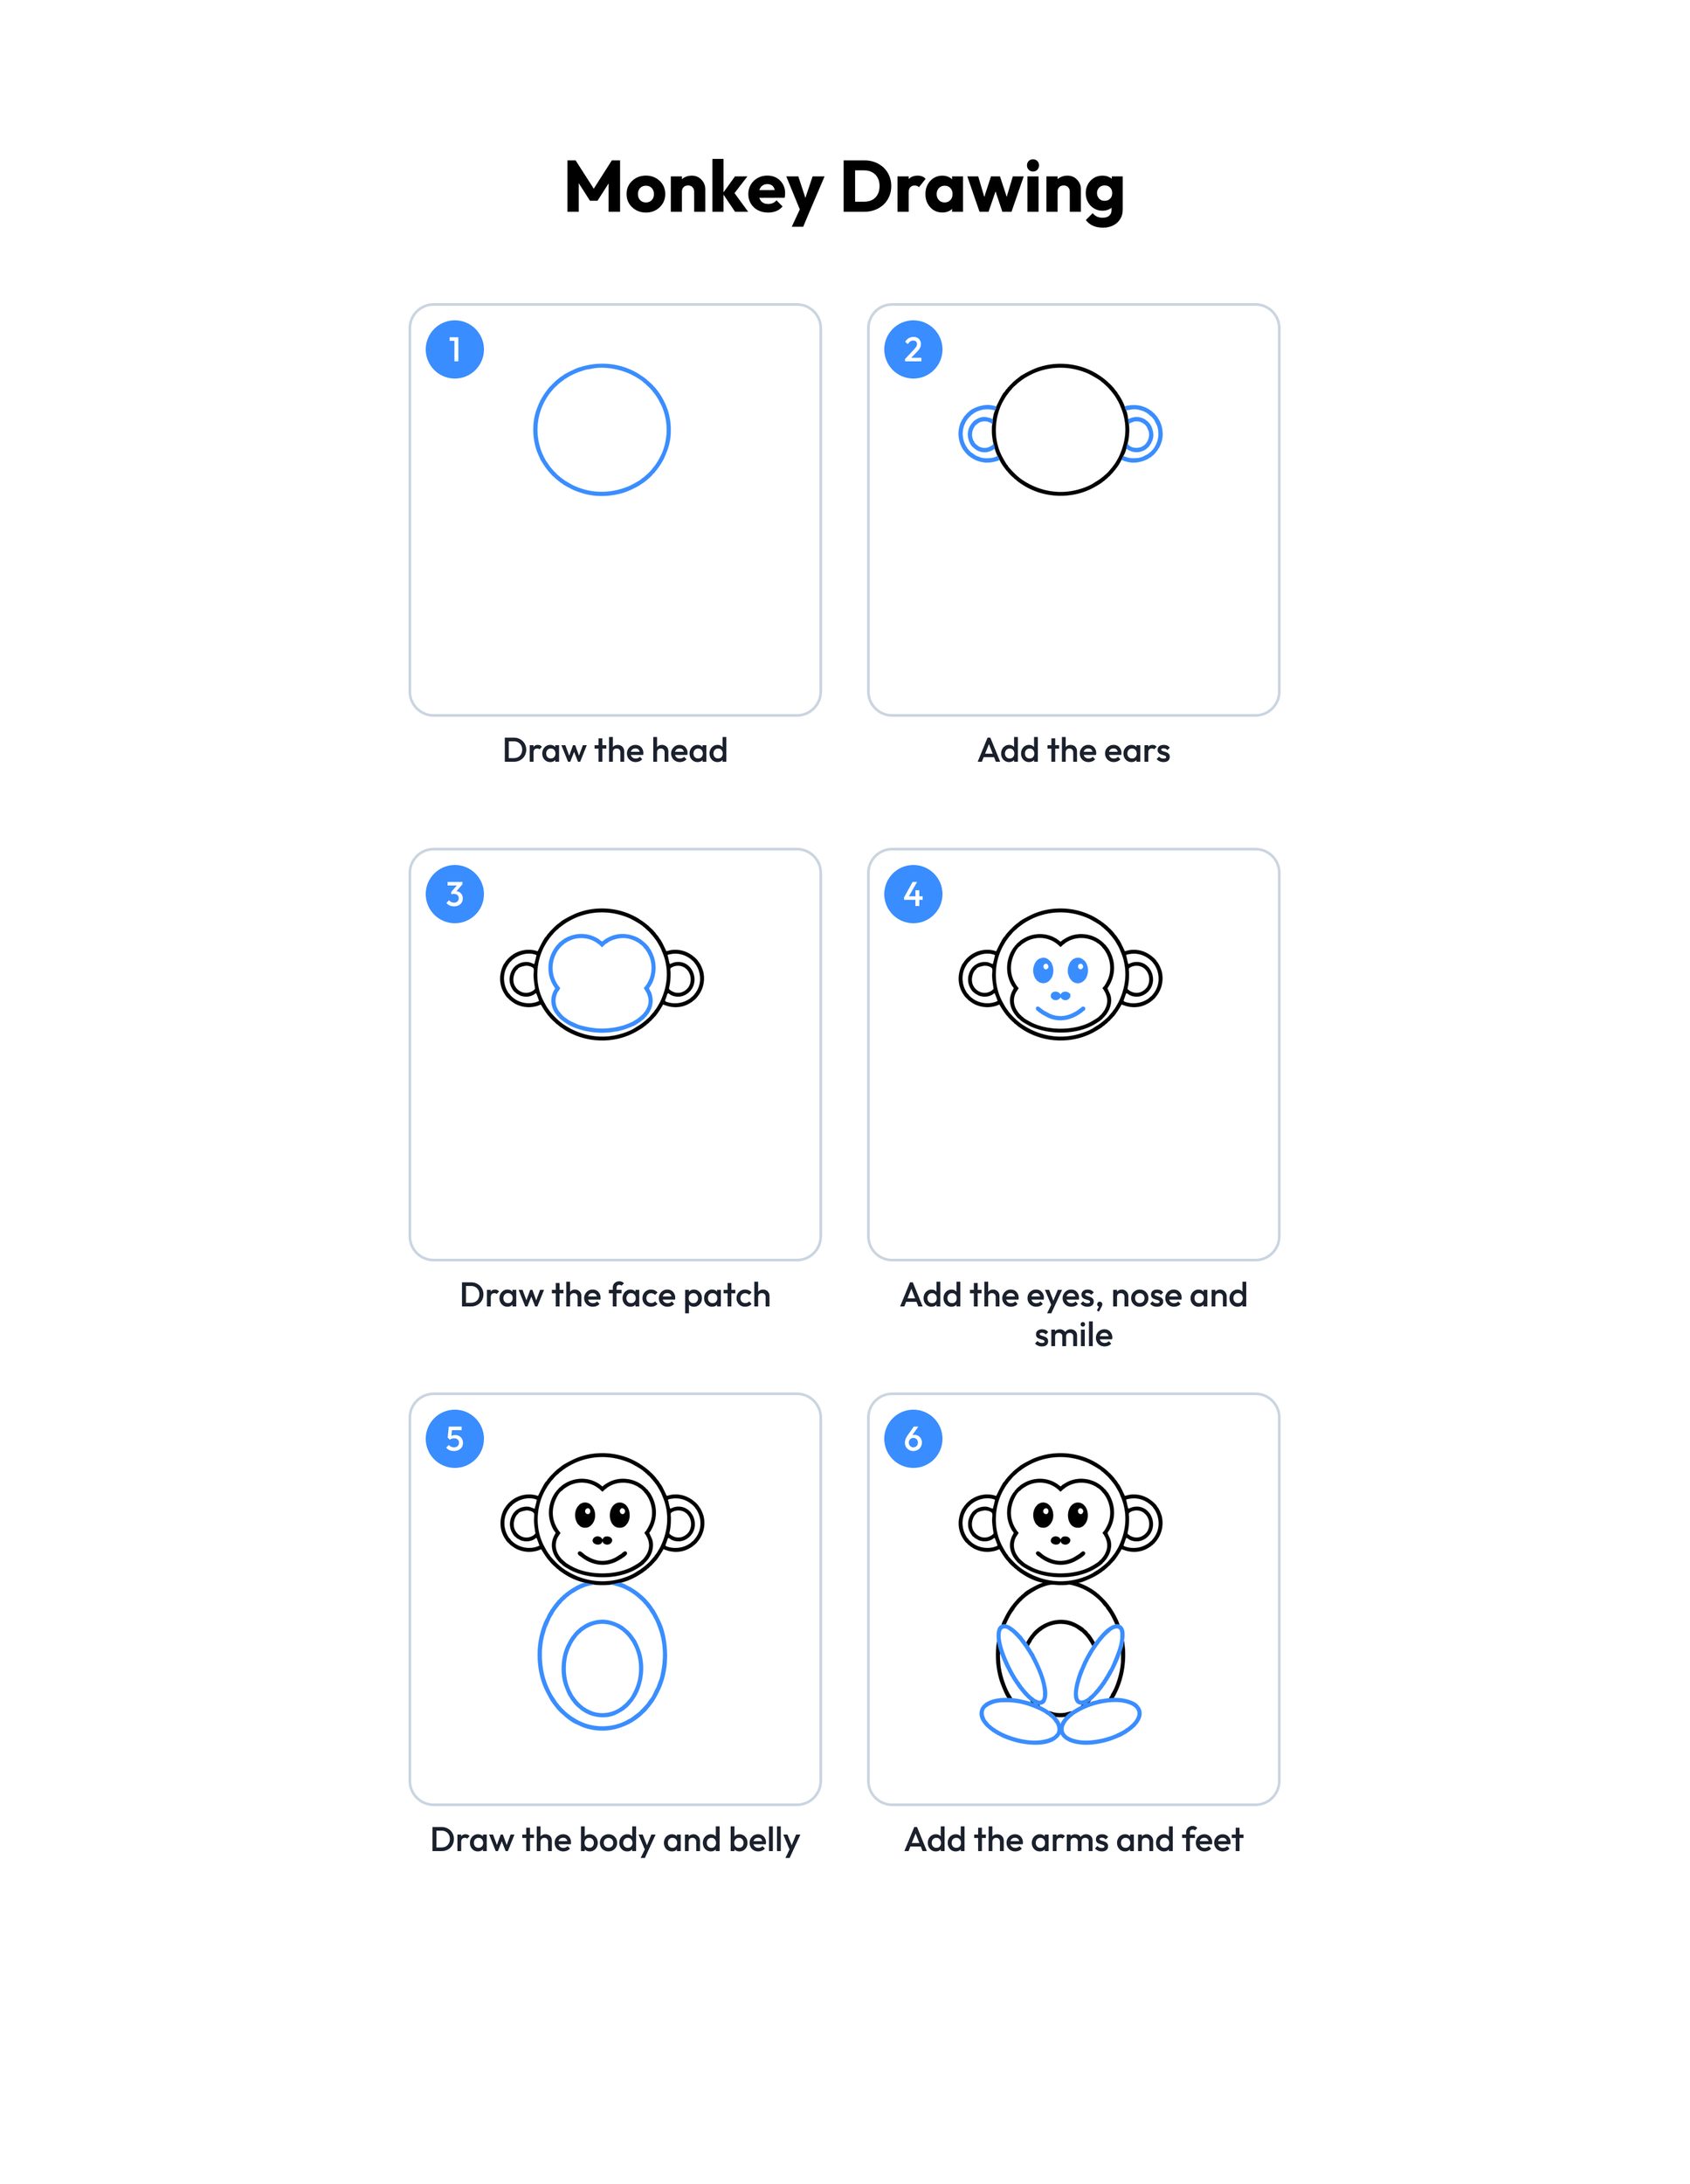 Save
Printable monkey drawing guide
Every step, two to a row, with the finished monkey in color at the end.
Download PDFHow to use this guide
Print the outline at 100 percent, or choose Fit to page if your printer asks. The margins fit US Letter and A4, so the whole monkey and its tail stay on the sheet. Page one is the outline to color. Page two is the colored example, so print page one alone if you only want the picture to fill in.
For drawing, plain copy paper and a pencil with a good eraser work best. Sketch lightly at first, because round shapes often need a second try to look even. Drawing the head in the upper half of the page leaves room for the body, the feet and the tail below it. When the monkey looks right, trace over the lines with a marker or a dark crayon and erase the pencil marks underneath. For markers or paint, choose cardstock so the color does not soak through.
Take each step slowly. Younger kids can draw the head, the ears and the face, then take a break before the body. Older kids can draw the whole monkey in one go and then add a banana, a vine or a palm tree beside it. This is a monkey drawing easy enough for beginners, and the face patch is the part that takes the most care: start at the top with two round bumps that meet in a dip, then curve down and around under the mouth.
When you color, try a warm brown for the fur and a light cream or peach for the face, the belly and the inside of the ears, pressing harder at the edges so the fur looks soft and thick.
Ideas for your monkey drawing
- Pet pals: Draw a cat from our cat drawing guide next to your monkey and compare their ears, faces and tails. Which one has the longer tail?
- Jungle tree: Draw a tall tree from our palm tree drawing guide, then draw your monkey sitting at the bottom or climbing up the trunk toward the coconuts.
- Forest friends: Add a squirrel from our squirrel drawing guide on the same page and talk about how both animals use their tails when they climb.
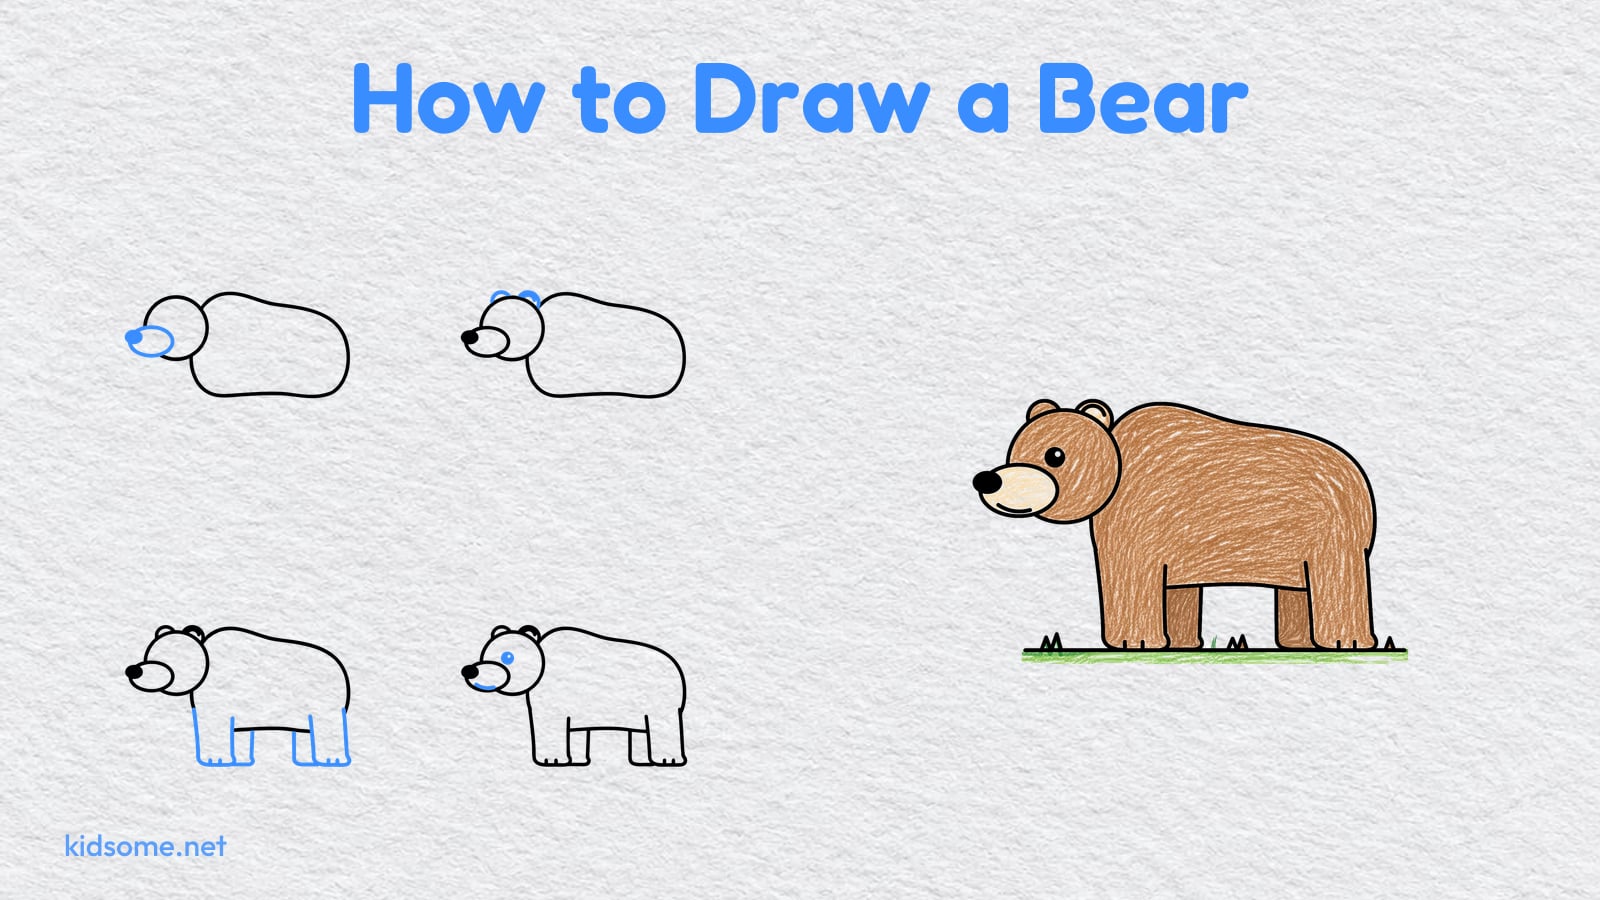
- Bear and monkey: Draw a bear from our bear drawing guide beside the monkey, then make up a short story about the two friends sharing a picnic.
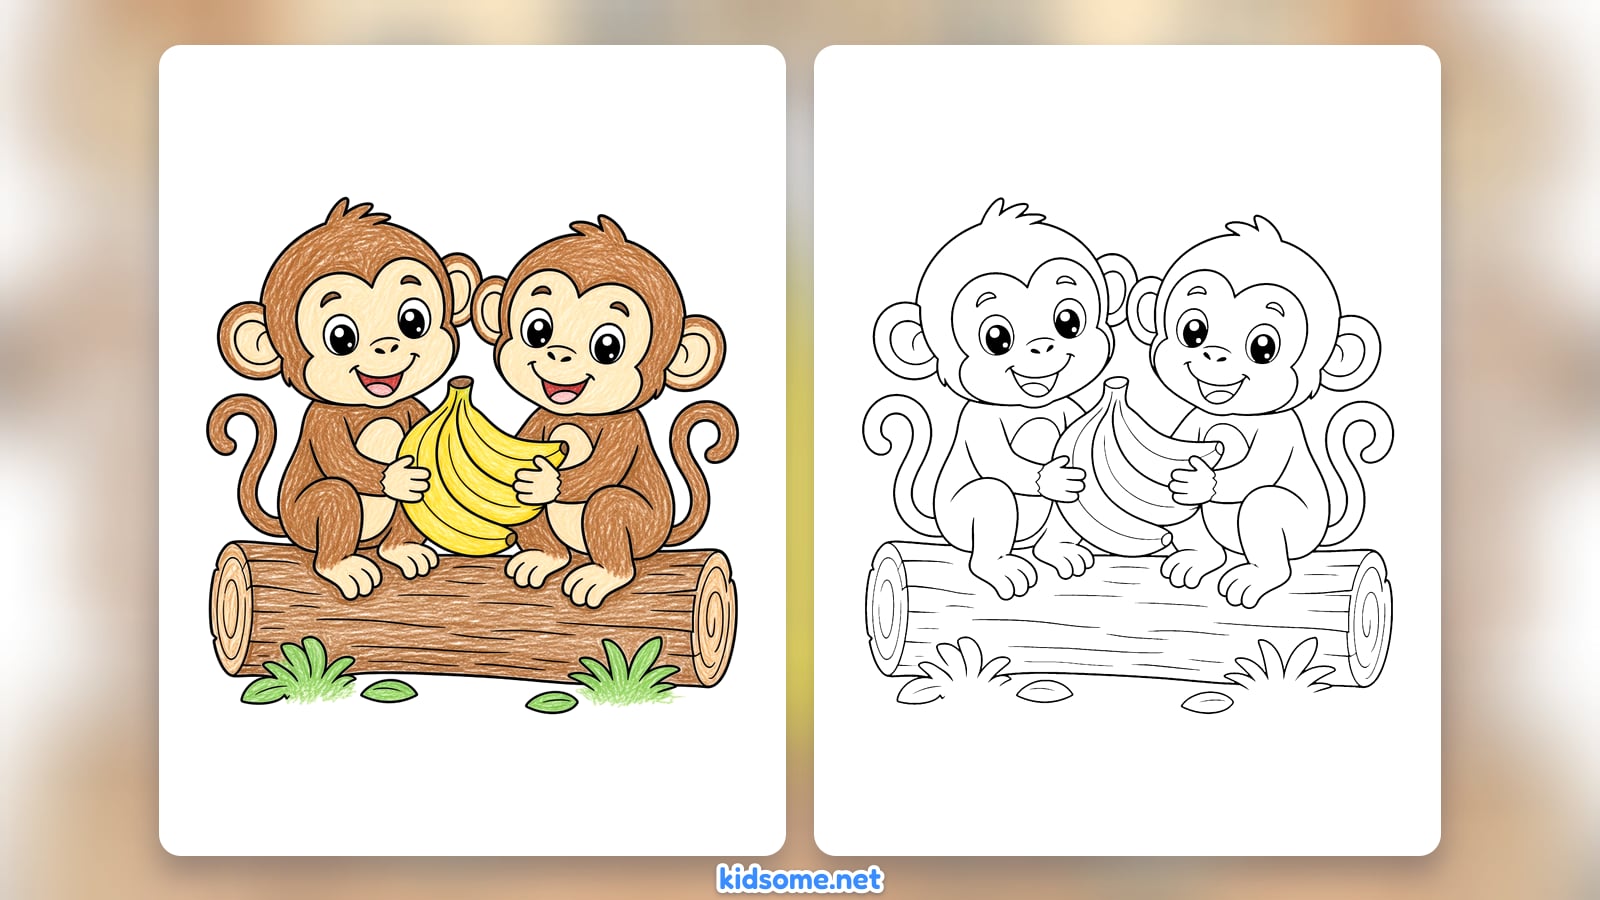
- Banana snack: Give your monkey a banana to hold by drawing a long curved shape between its arms, then color it bright yellow with a little brown tip.
- Monkey family: Draw the monkey three times in three sizes, big, middle and small, then color them in different shades of brown to make a monkey family.
- Puppy visitor: Draw a friendly dog from our dog drawing guide and see whose ears are rounder and whose tail is curlier, the dog or the monkey.
- Paper plate face: Color a paper plate brown, glue on a cream heart shape for the face and two round paper ears, then draw the eyes, nose and smile.
- Funny faces: Draw the monkey again with a new face each time: sleepy eyes, a surprised round mouth or a big silly grin. Then guess how each monkey feels.
What age is this monkey drawing guide for?
It is made for ages 4 to 8. Younger children can draw the head, the ears and the face with a grown-up nearby, and older kids can draw the whole monkey alone, feet, tail and all. Every step uses circles, ovals and curved lines, so no step is too hard.
How do you draw a monkey face?
Start with a big circle for the head and two round ears. Inside the head, draw a heart shape for the light face patch, then add two oval eyes with shiny spots, two dots for the nose and a wide smile. Keep the eyes close together near the top of the face patch.
Is this an easy way to learn how to draw a monkey?
Yes. Instead of copying a real monkey, the guide builds a cute monkey drawing from big round shapes, adding one new part at a time in blue. That keeps each step simple to follow, and once kids know the shapes they can draw the monkey again from memory.
Can I use the guide in my classroom?
Yes. The outline and the step guide are free for personal and classroom use, so teachers can print one for every child for a jungle or rainforest lesson. Please share a link to this page instead of the files, and do not sell the pages or post them on other websites.
What colors should I use for my monkey?
Many monkeys have brown fur with a lighter cream or peach face, belly and ears, so those colors work well. Kids can also try golden, reddish or grey fur, or make a rainbow monkey. A little white spot left in each eye makes the monkey look bright and happy.