This lion drawing guide shows kids ages 4 to 8, and the grown-ups drawing beside them, how to draw a lion one easy step at a time. Lions look tricky because of that big mane, but this friendly lion is built from simple round shapes: a circle for the face, a bumpy ring for the mane, round ears, a round body and long front legs. By the last step, a few shapes have turned into a smiling lion sitting on the grass with its tufted tail curled to one side. No special art skills are needed, just a pencil, an eraser and a little patience.
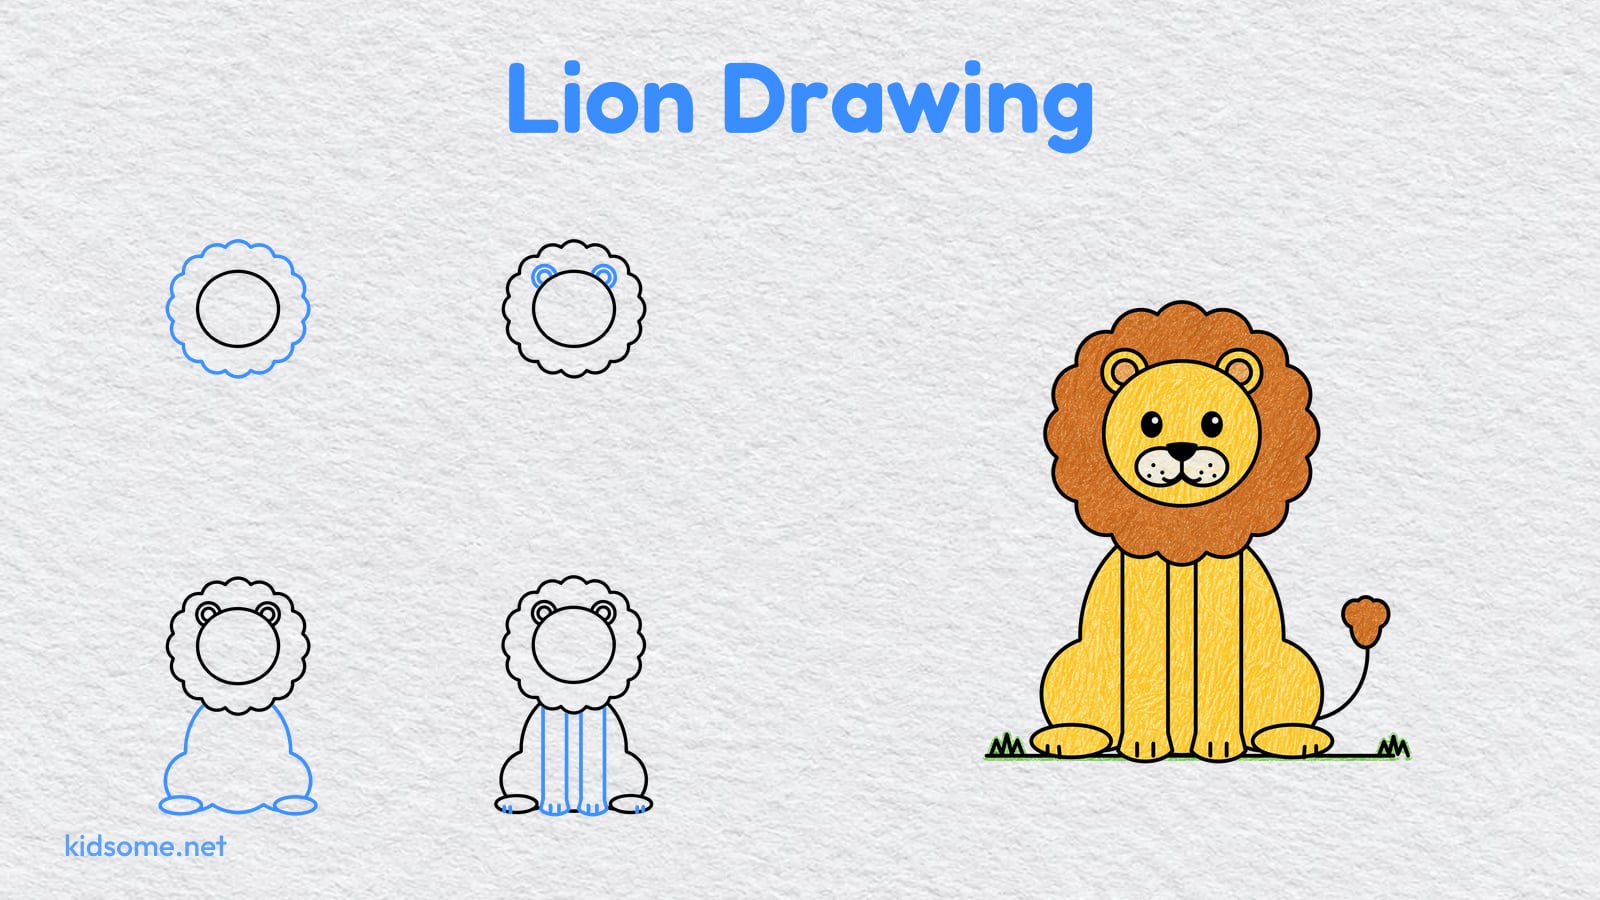
There are six steps. Each step shows the drawing so far in black and the new part in blue, so it is always clear what to add next. At the end there is a free printable outline of the finished lion to trace or color, plus a crayon colored example to copy if you like. Kids who enjoy this easy lion drawing can try more of our animal drawing guides next.
-
Step 1 : Draw the face

Draw a big circle a little above the middle of the page. This is the lion's round face.
-
Step 2 : Add the mane

Draw a ring of small round bumps all the way around the face, leaving a little gap between the bumps and the circle.
Keep the bumps about the same size so the mane looks even and fluffy.
-
Step 3 : Draw the ears
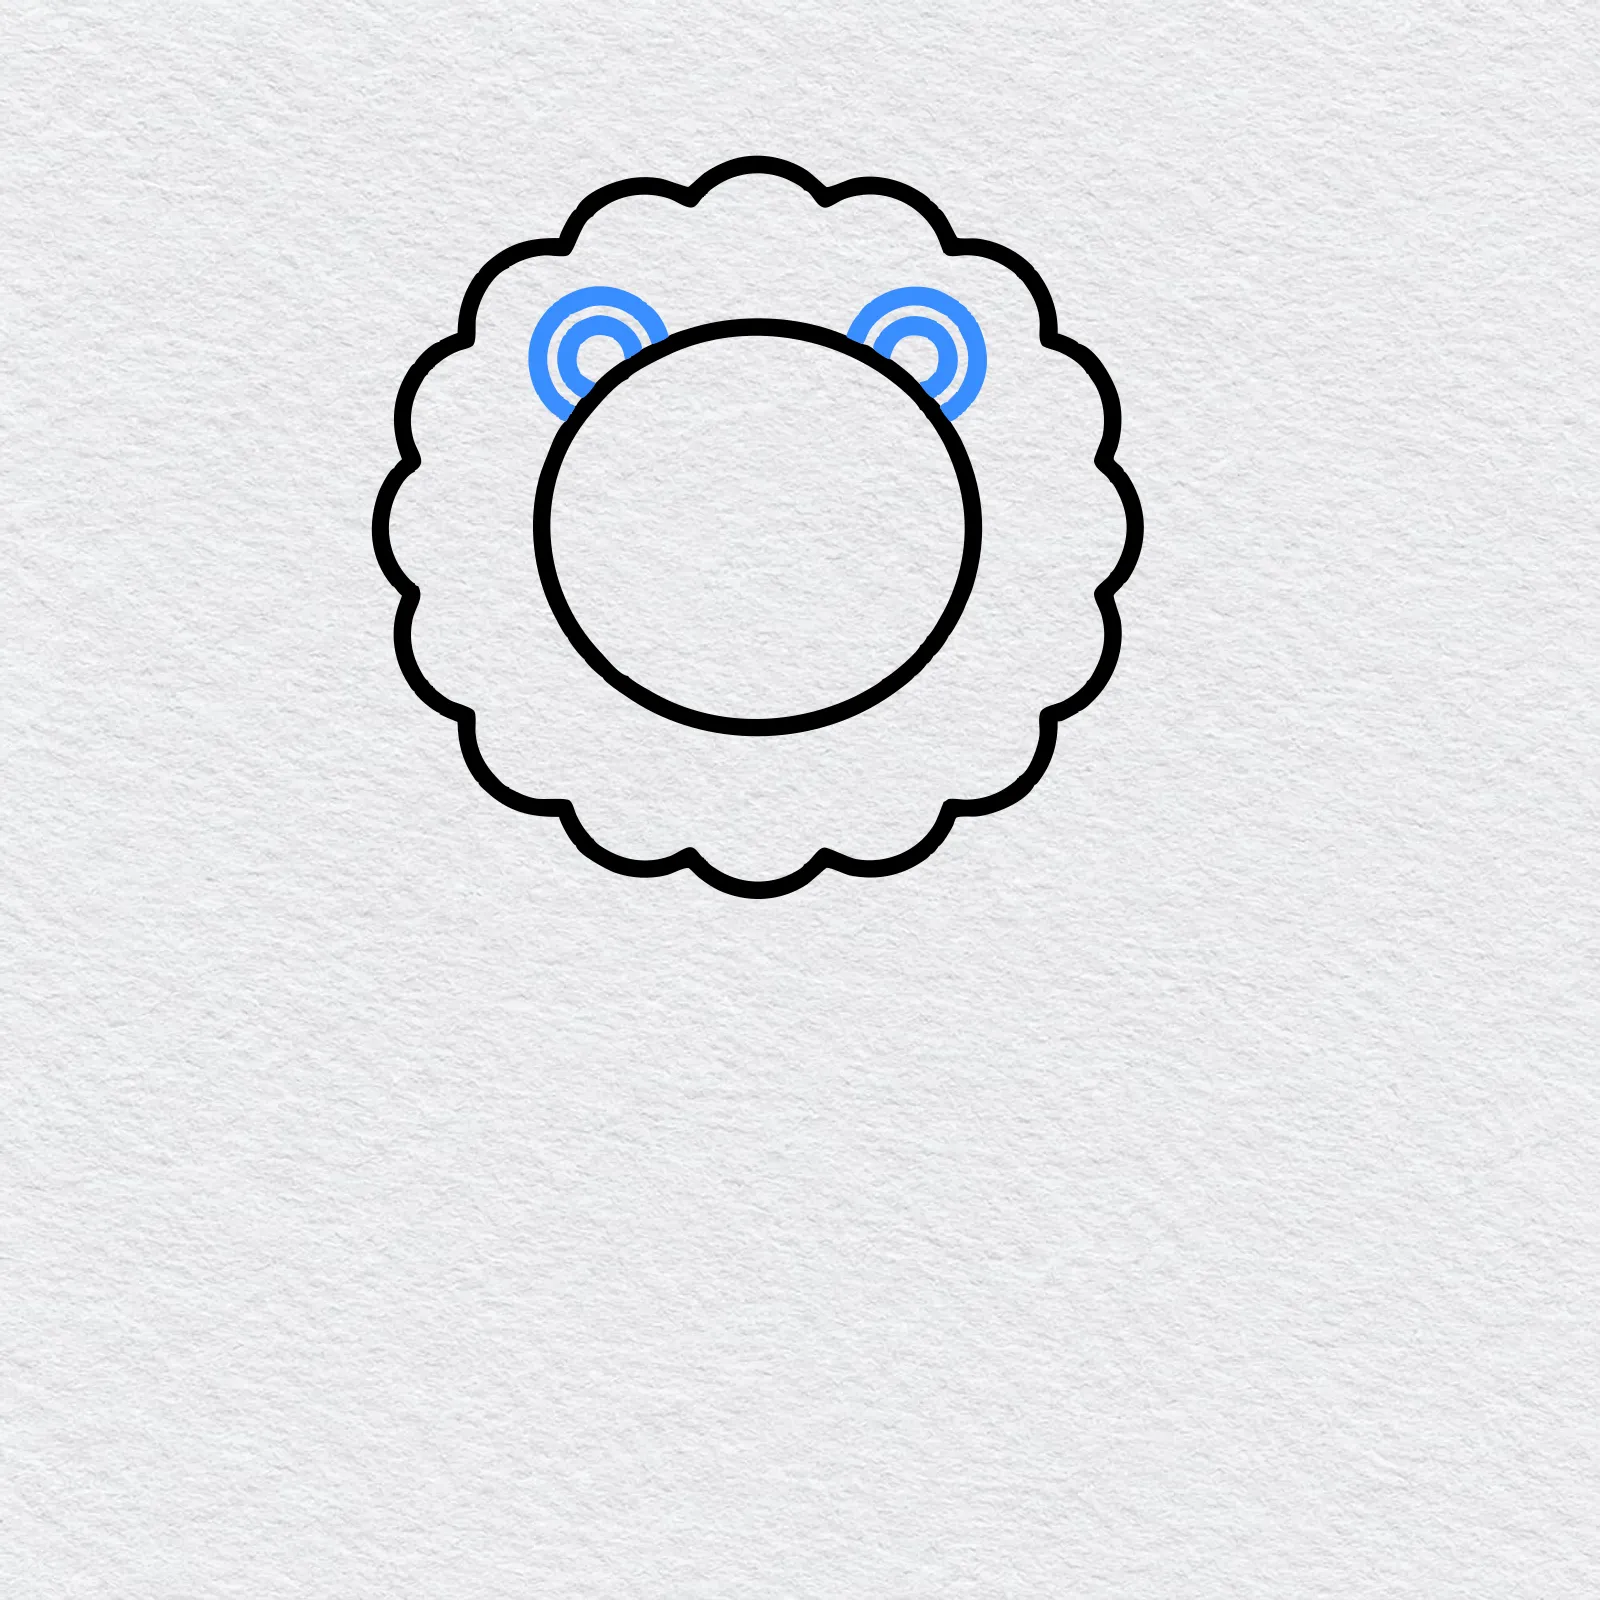
On top of the face, draw two small round ears that overlap the mane. Add a smaller circle inside each ear.
-
Step 4 : Draw the body
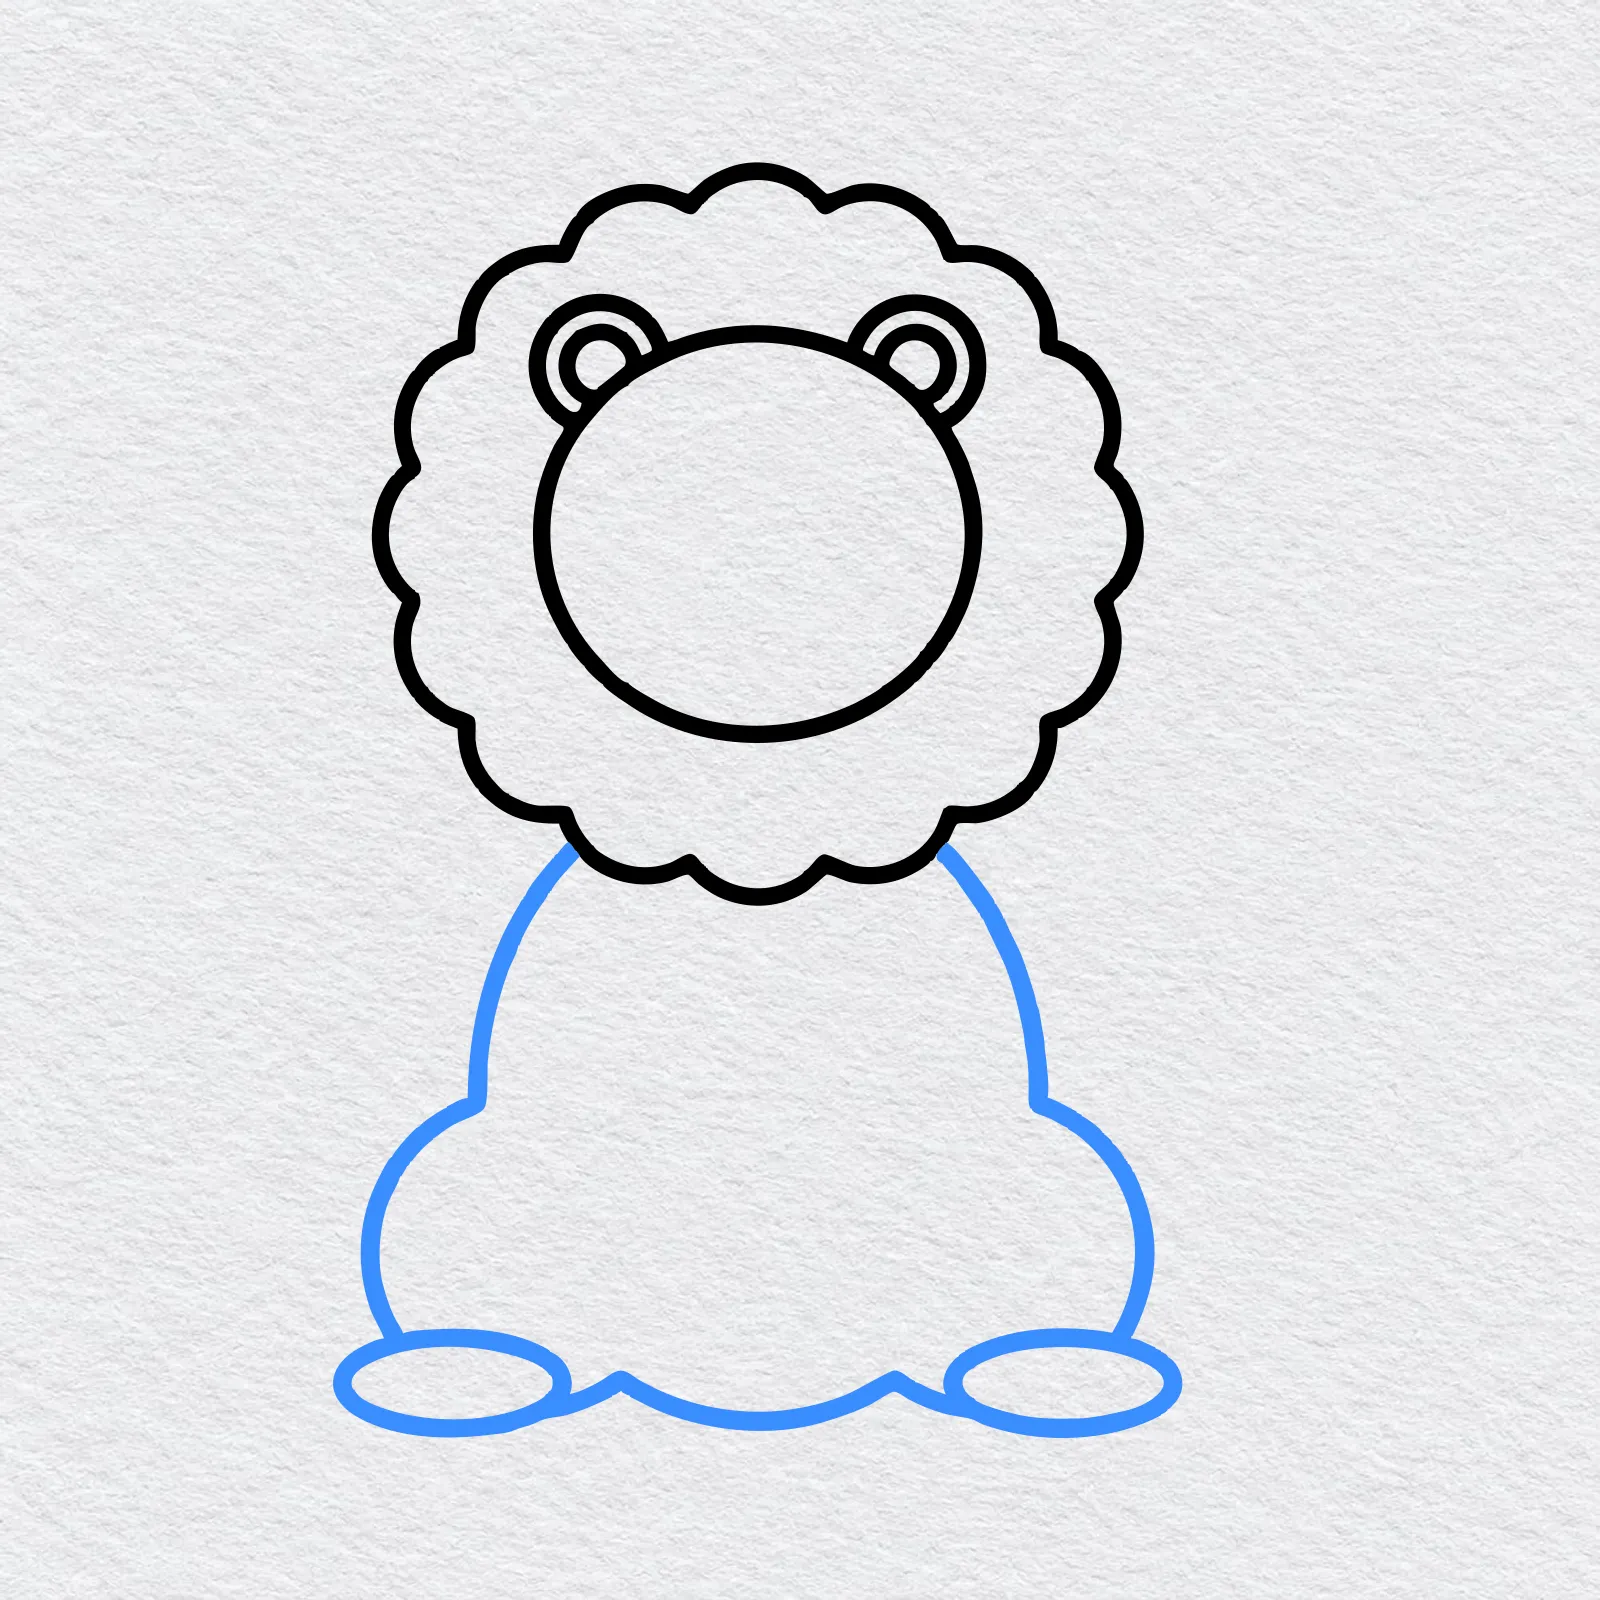
Below the mane, draw a round body with a big rounded hip on each side, like the lion is sitting down.
Add an oval back paw at the bottom of each hip.
-
Step 5 : Add the front legs
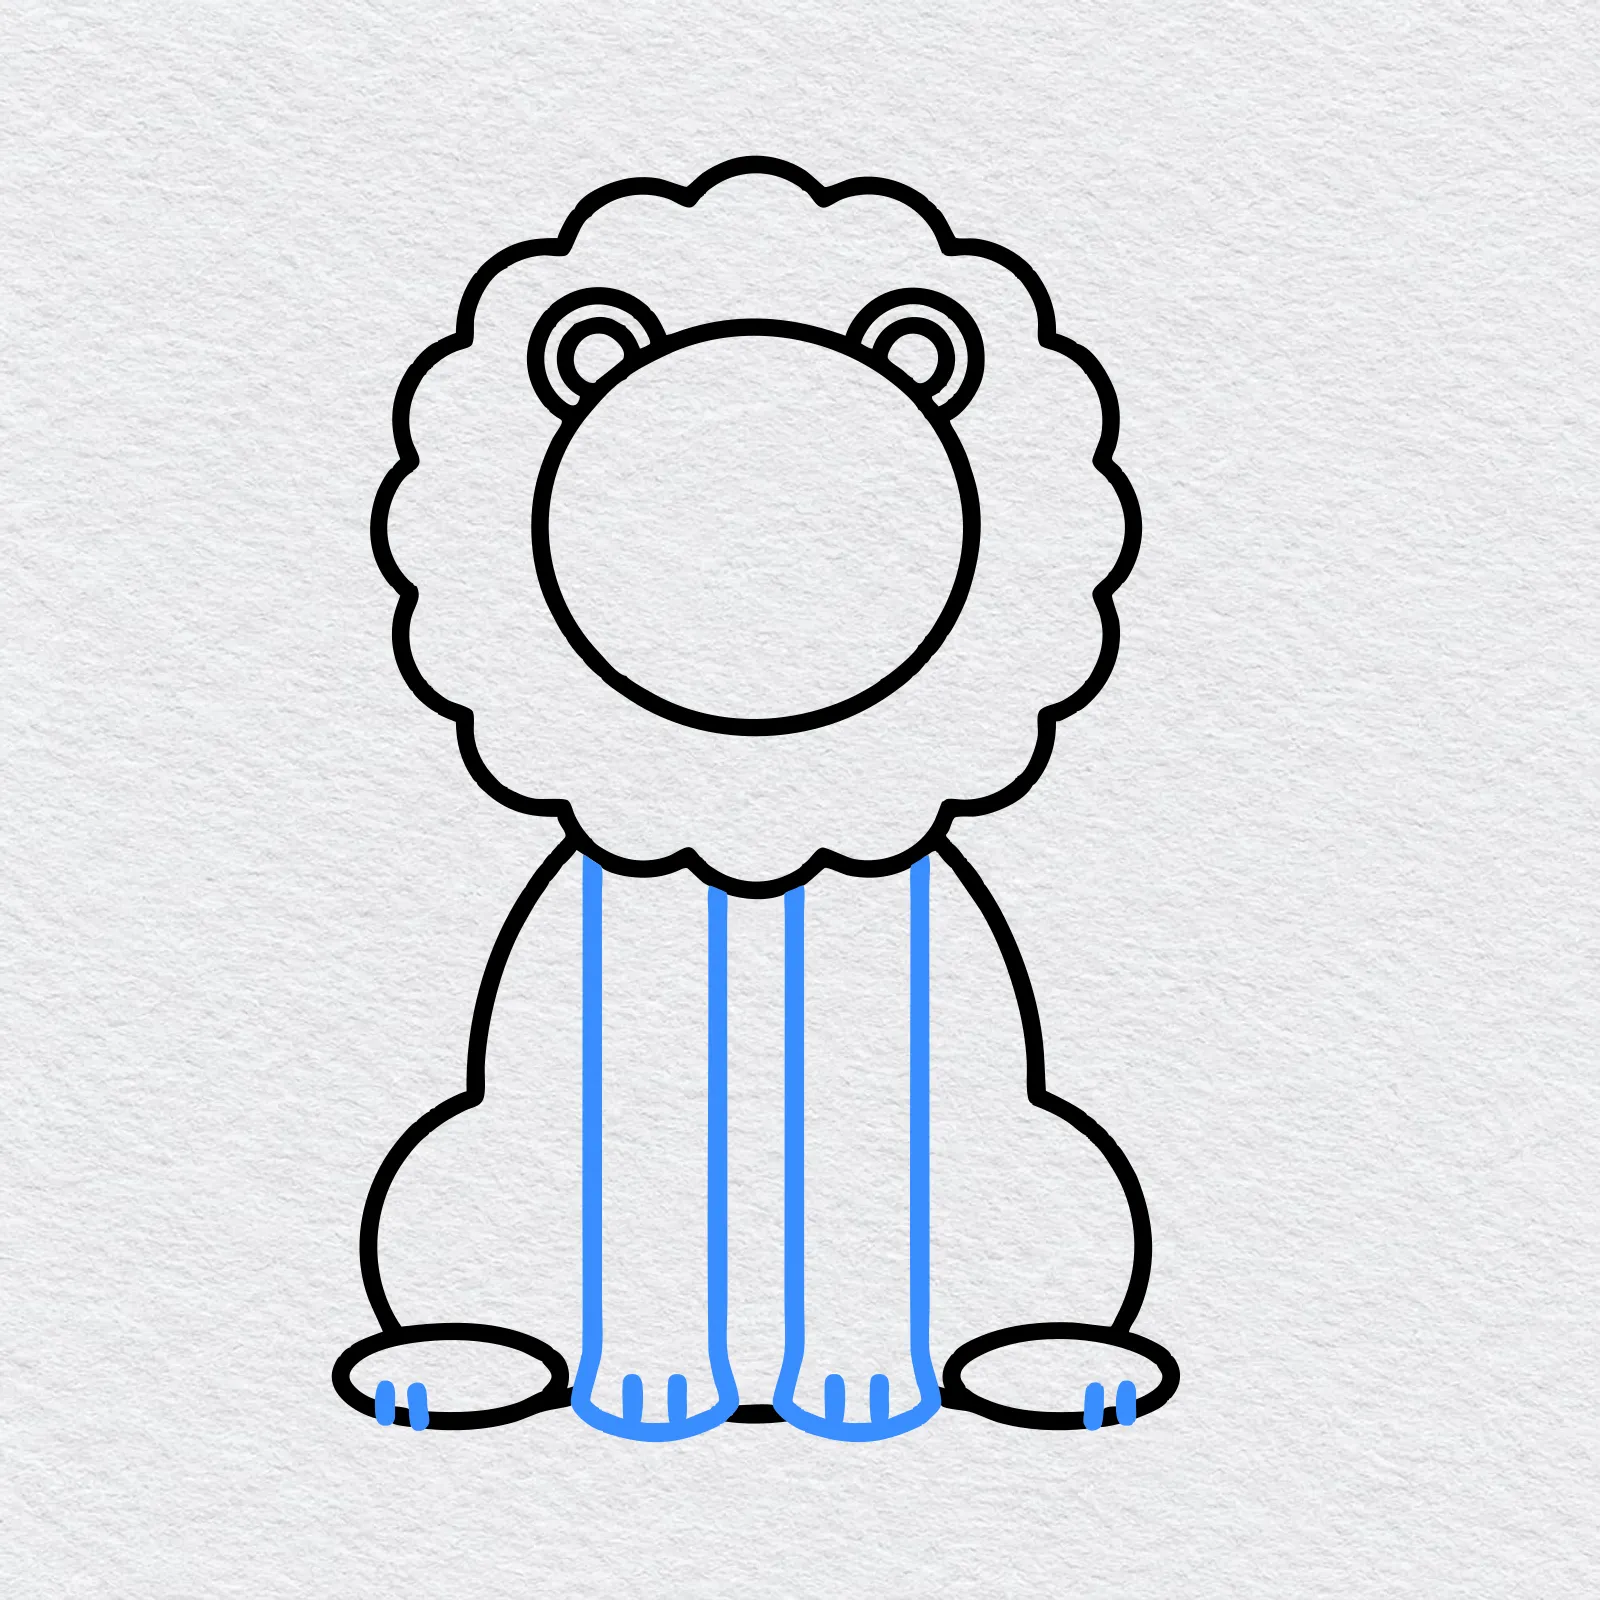
Draw two long front legs coming down from under the mane, with a round paw at the bottom of each one.
Add two short toe lines to every paw.
-
Step 6 : Finish the lion
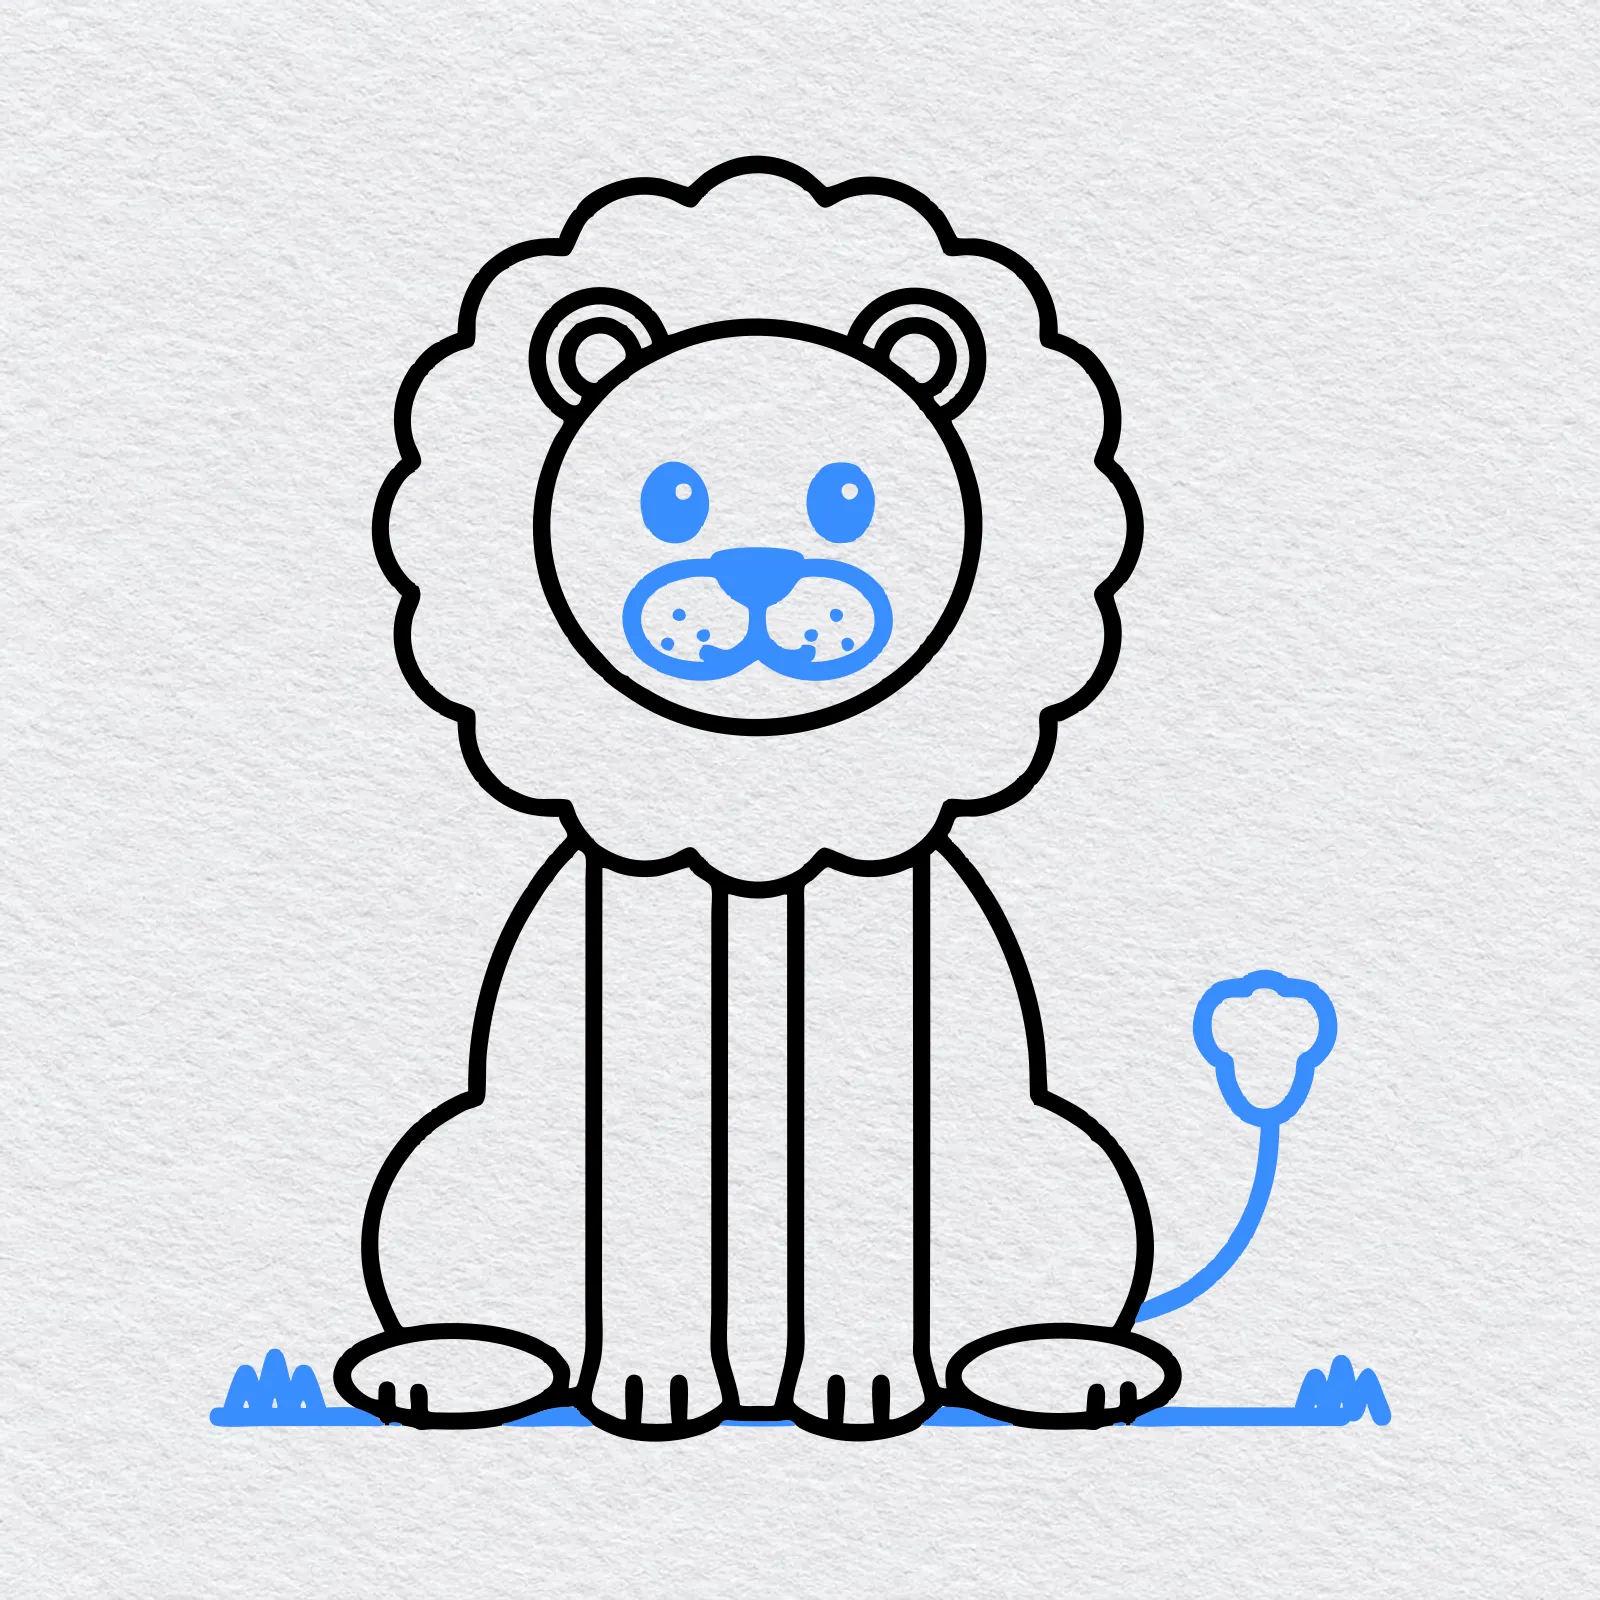
Draw a curved tail with a fluffy tuft at the end. Add two eyes, a nose, a round muzzle with little dots and a smile.
Draw a ground line with two small grass tufts.
-
Step 7 : Color your lion
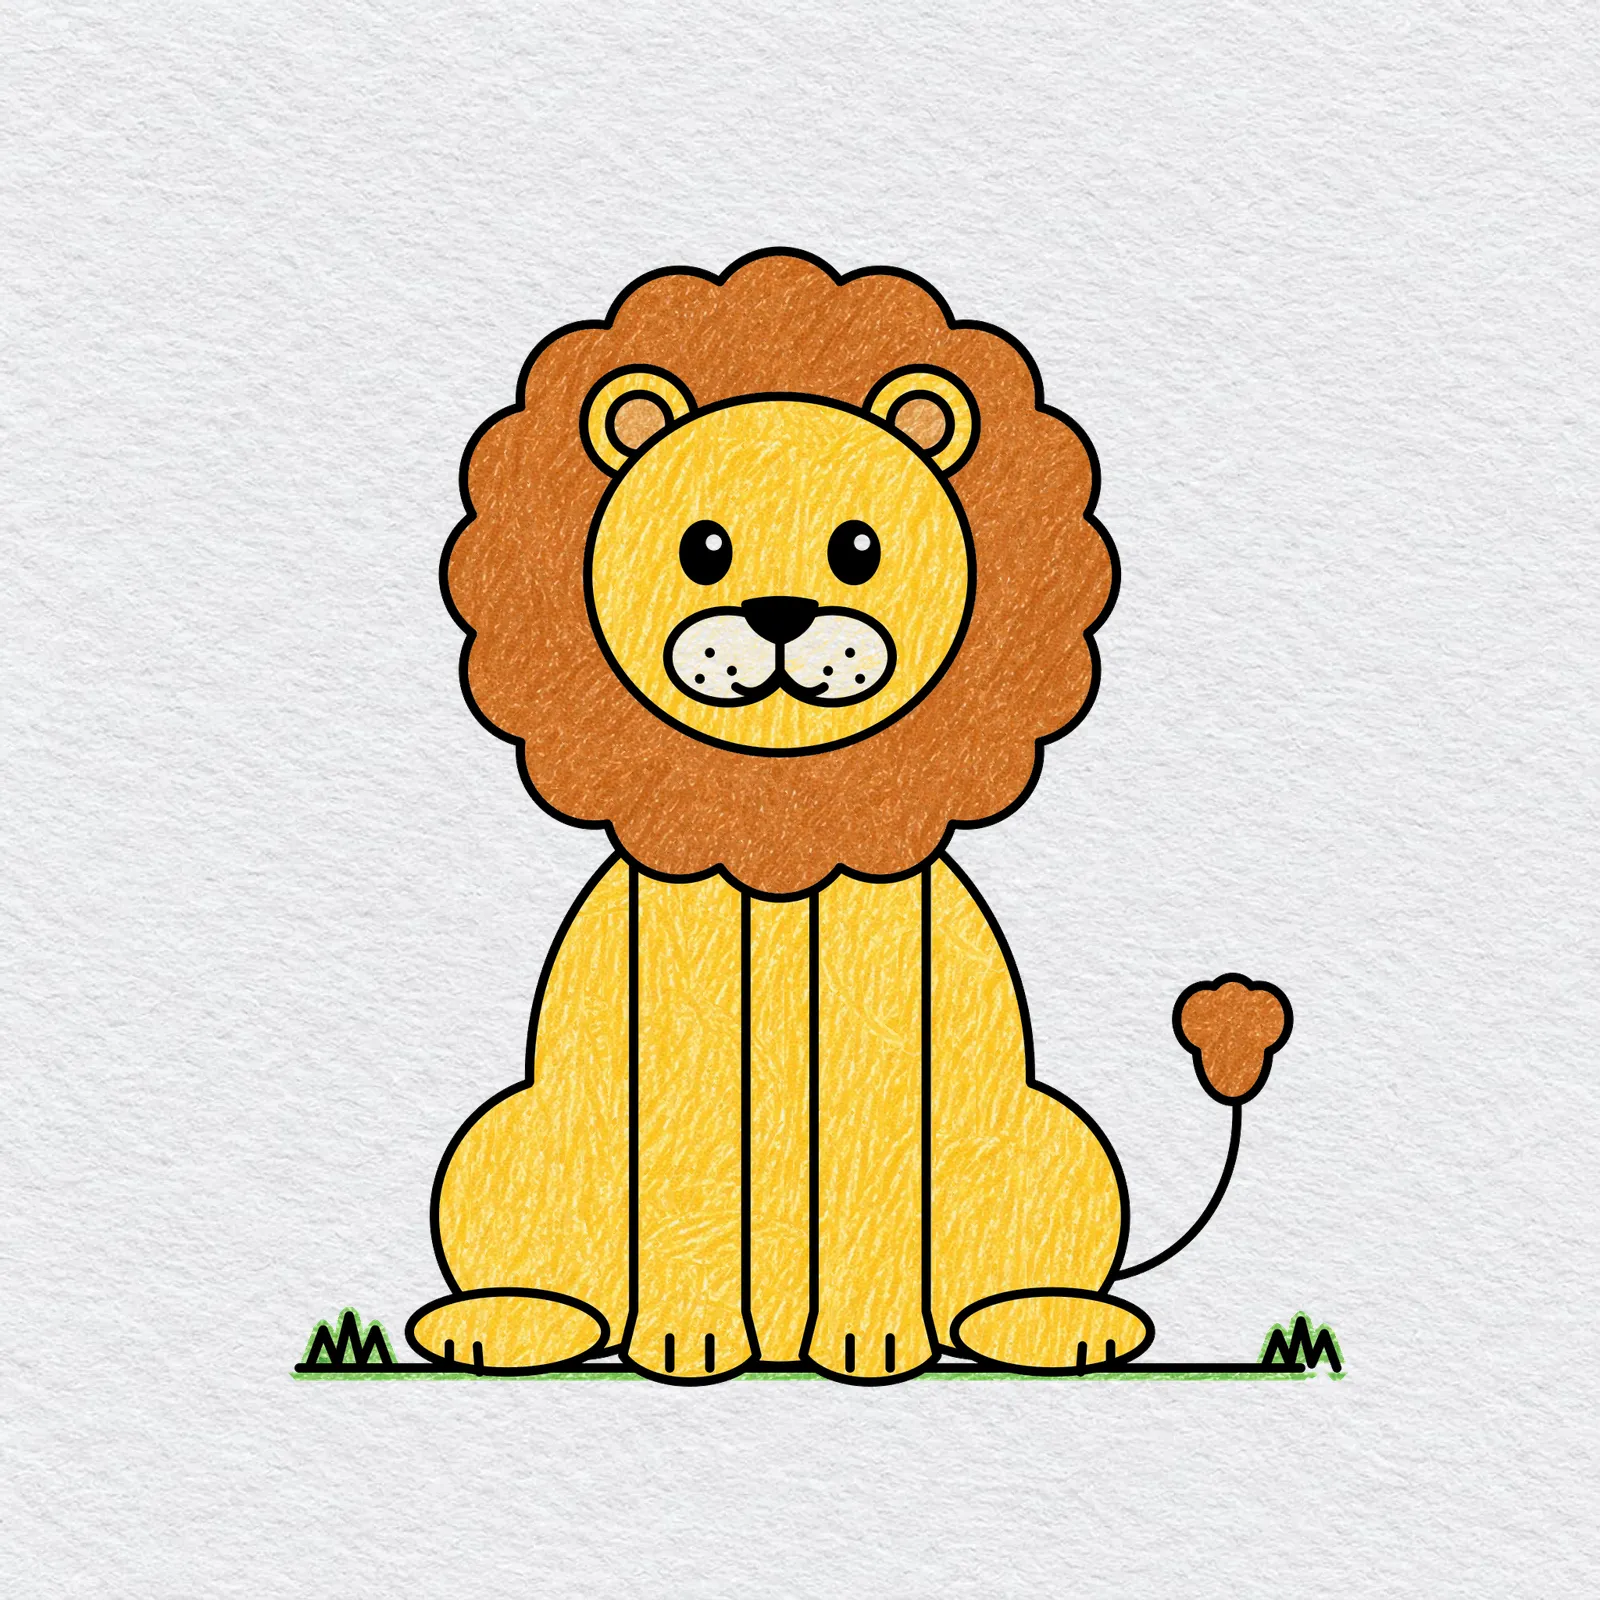
Color the face, body, legs and paws golden yellow, and the mane and tail tuft warm orange or brown.
Give the muzzle a light cream, the inner ears light brown and the grass bright green.
Printable lion drawing PDFs
 Save
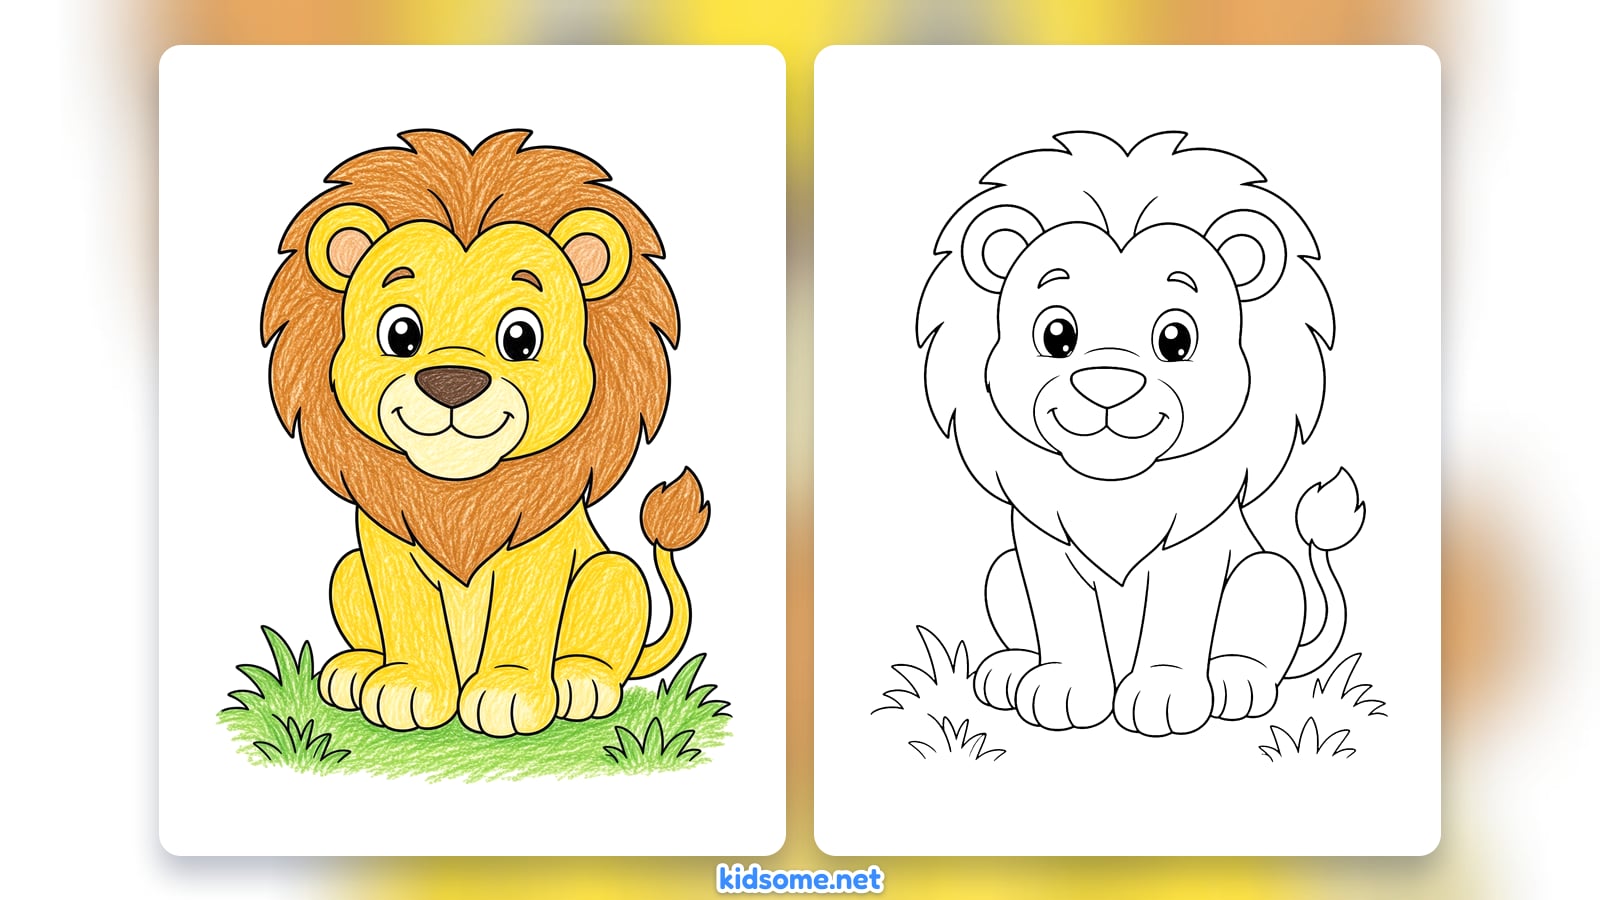
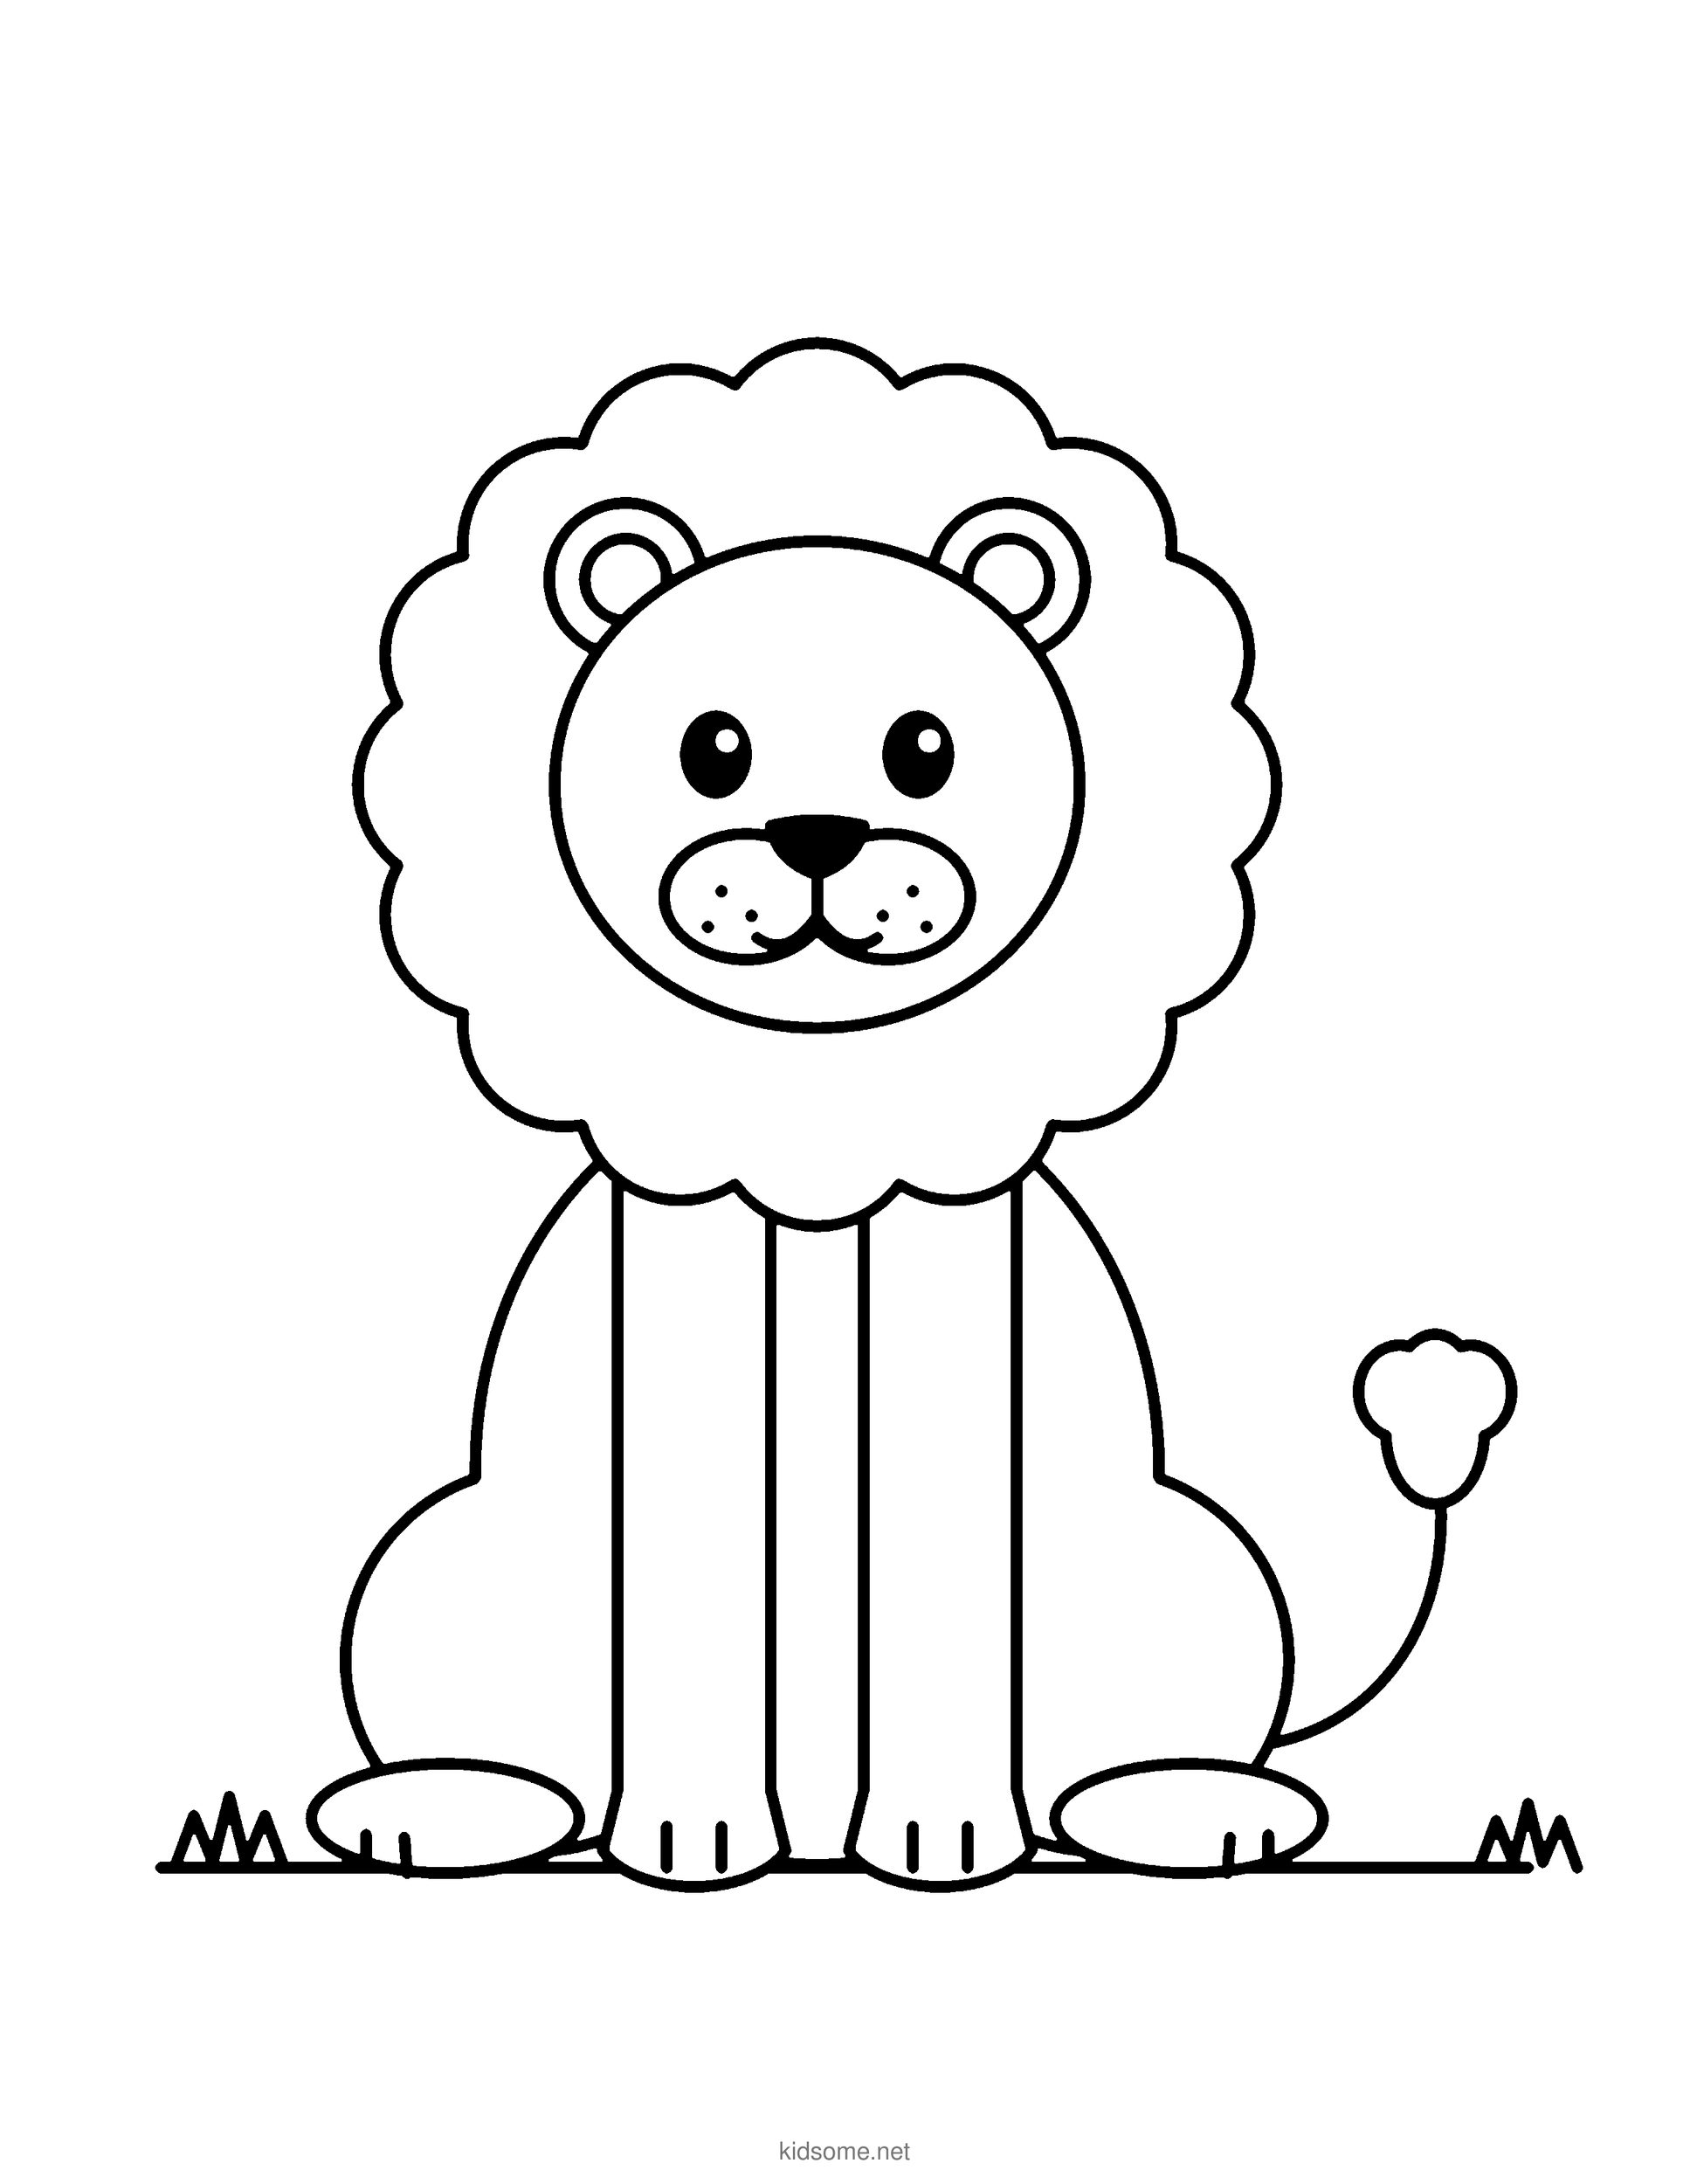
Lion Outline to Color
The finished friendly lion sitting on the grass with its big fluffy mane and tufted tail, as a clean outline to print and color.
Download PDF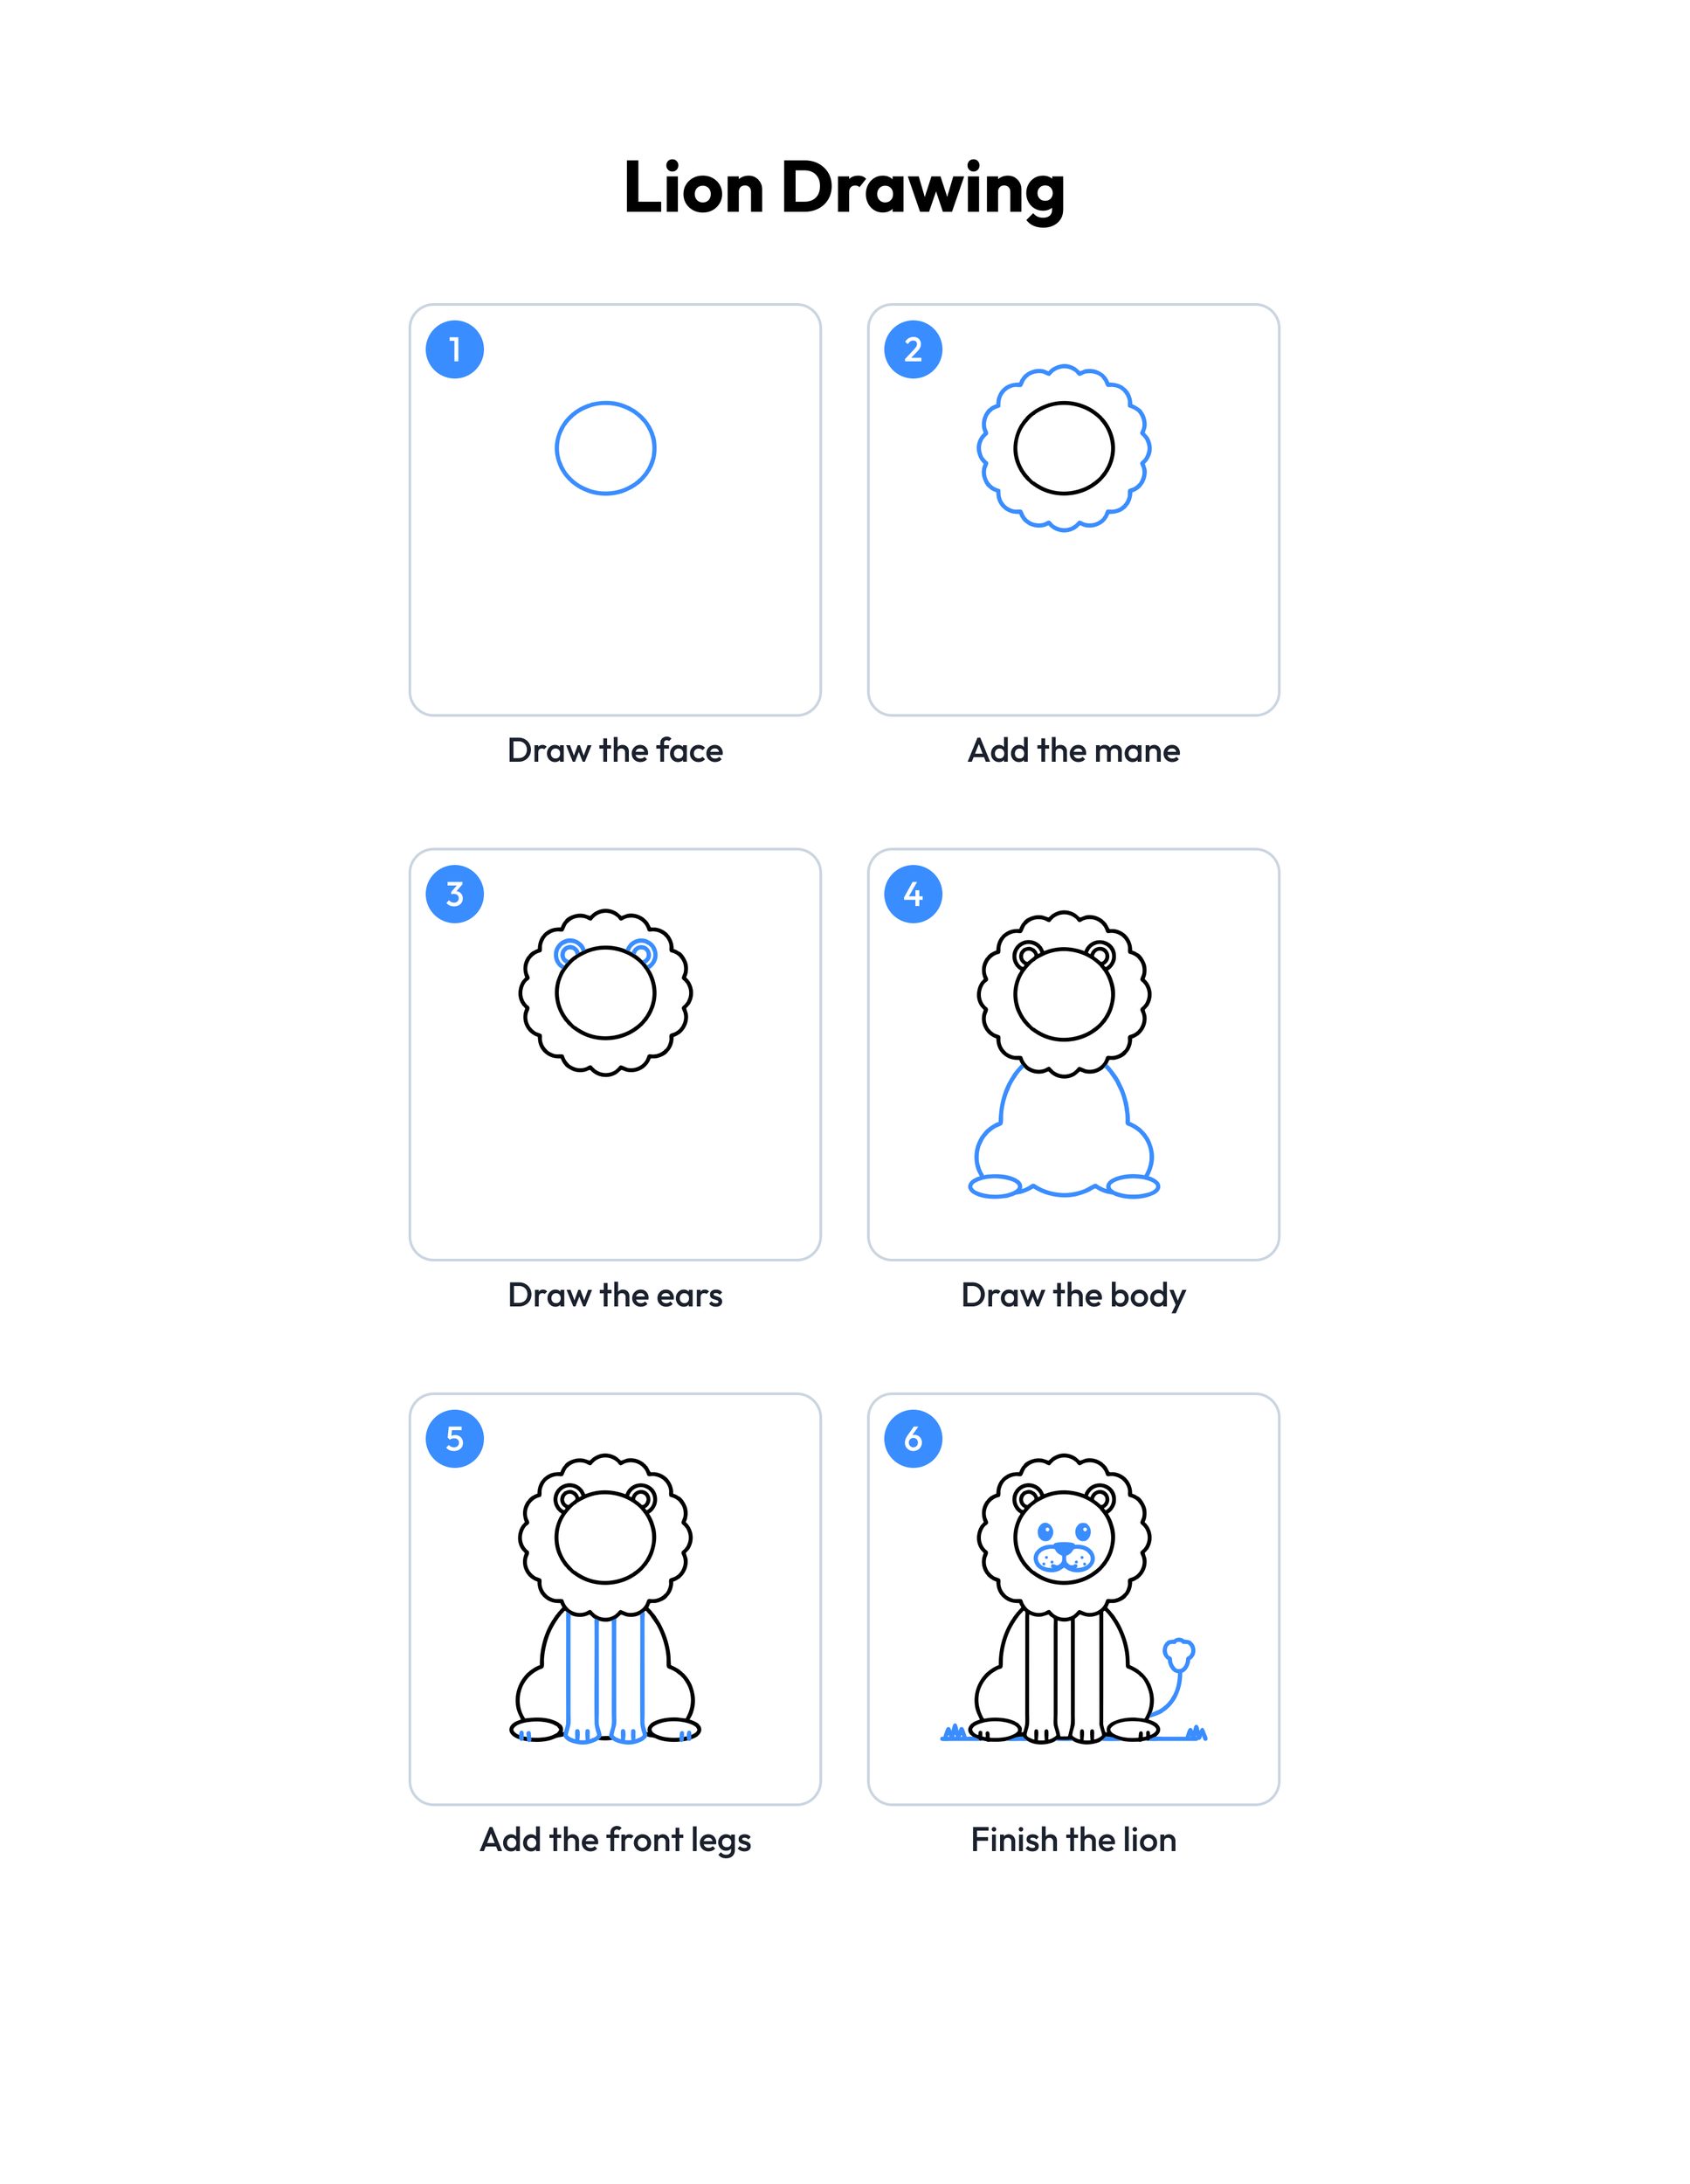 Save
Printable lion drawing guide
Every step, two to a row, with the finished lion drawing in color at the end.
Download PDFHow to use this guide
Print the outline at 100 percent, or choose Fit to page if your printer asks. The margins fit US Letter and A4, so the whole lion, its tail and the grass stay on the sheet. Page one is the outline to color. Page two is the colored example, so print page one alone if you only want the picture to fill in.
For drawing, plain copy paper and a pencil with a good eraser work best. Sketch lightly at first, because the face circle and the mane often need a second try to look round and even. Drawing the face a little above the middle of the page leaves room for the body and paws below it. When the lion looks right, trace over the lines with a marker or a dark crayon and erase the pencil marks underneath. For markers or paint, choose cardstock so the color does not soak through.
Give each step plenty of time. Younger kids can draw the face, the mane and the ears, then take a break before the body. Older kids can draw the whole lion in one go and then add a sun, a tree or a little cub sitting beside it. This is a lion drawing easy enough for beginners, and the mane is the part that takes the most care. Draw the bumps one by one around the circle, keeping them about the same size, and leave a small gap between the mane and the face.
When you color, try golden yellow for the body and a warm orange or brown for the mane, pressing a little harder near the face so it looks thick and fluffy.
Ideas for your lion drawing
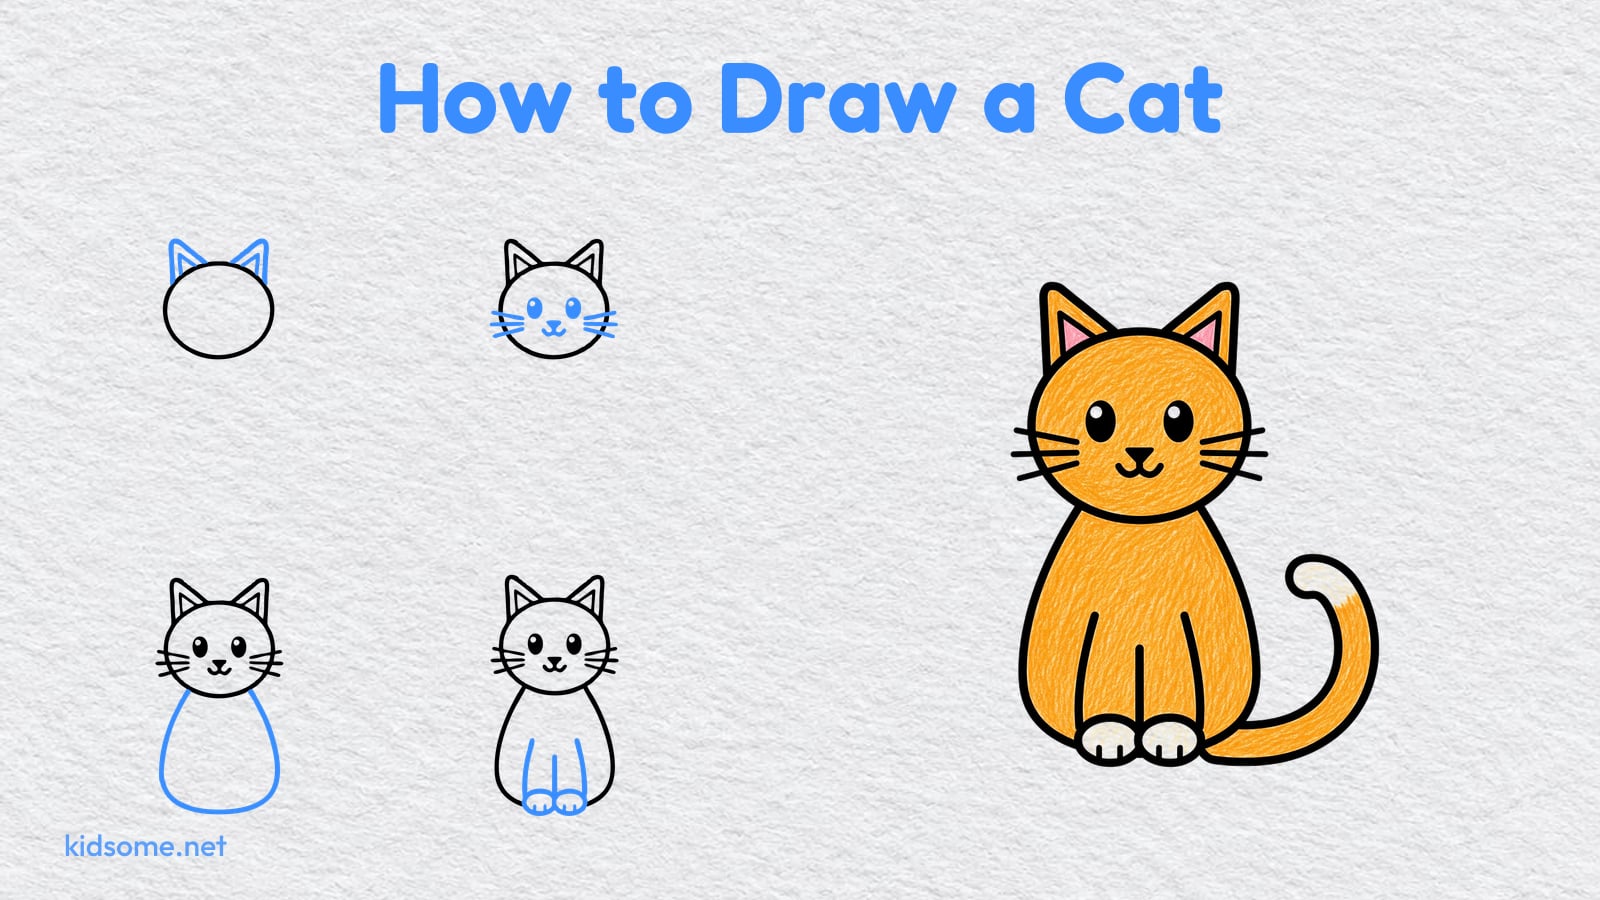
- Kitty cousin: Lions belong to the cat family, so draw a pet cat from our cat drawing guide next to your lion and compare their ears, tails and whiskers.
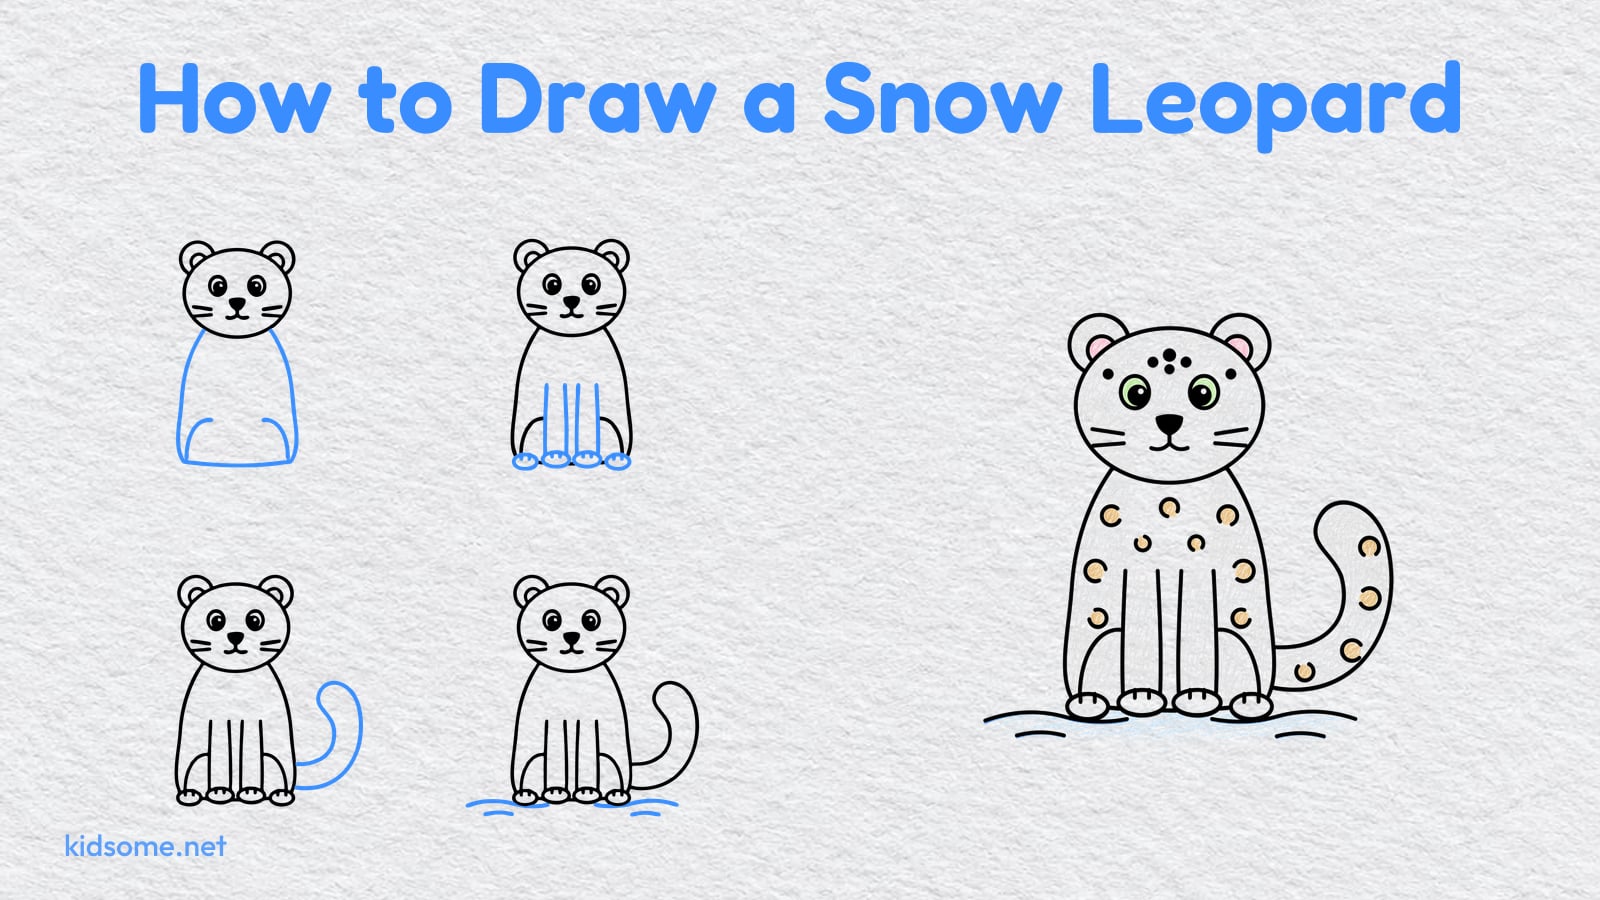
- Snowy big cat: Try a mountain cousin from our snow leopard drawing guide, then talk about why one big cat lives in the snow and the other in warm grasslands.
- Wild friends: Draw a wolf from our wolf drawing guide on the same page, and give each animal its own home, like a grassy plain for the lion and a forest for the wolf.
- Lion family: Draw a smaller lion without a mane beside yours for the lioness, then a tiny round cub between them to make a happy lion family.
- Mane makeover: Draw the lion three times and give each one a different mane, from tiny bumps to big wavy curls, then color them in different shades.
- Savanna scene: Add a flat topped acacia tree, a big round sun and a few tall grasses behind the lion to make a sunny savanna picture.
- Farm visit: Draw a horse from our horse drawing guide and imagine your lion visiting the farm, then make up a short story about what happens next.
- Puppy pal: Draw a friendly dog from our dog drawing guide sitting beside the lion, and see which of the two new friends has the bigger, fluffier tail.
- Paper plate lion: Color a paper plate yellow for the face, glue strips of orange and brown paper around the edge for the mane, and draw the lion's smile in the middle.
What age is this lion drawing guide for?
It is made for ages 4 to 8. Younger children can draw the face, the mane and the ears with a grown-up nearby, and older kids can draw the whole lion alone, paws, tail and all. Every step uses simple circles, bumps and curved lines, so no step is too hard.
How do you draw a lion's mane?
Start with the round face, then draw small round bumps one after another all the way around it, like a ring of clouds. Keep the bumps about the same size and leave a little gap between the mane and the face. If one side looks bigger, erase a few bumps and try again.
Is this an easy way to learn how to draw a lion?
Yes. Instead of copying a real lion, the guide builds a friendly cartoon lion from big round shapes, adding one new part at a time in blue. That makes it simple to follow, and once kids know the shapes they can draw the lion again from memory.
Can I use the guide in my classroom?
Yes. The outline and the step guide are free for personal and classroom use, so teachers can print one for every child for a wild animal or Africa lesson. Please share a link to this page instead of the files, and do not sell the pages or post them on other websites.
What colors should I use for my lion?
Real lions have sandy golden fur, so yellow, light orange or tan work well for the body. The mane can be orange, brown or even dark brown, and a cream muzzle and pink or black nose finish the face. Kids can also make a rainbow lion, since there is no wrong answer.