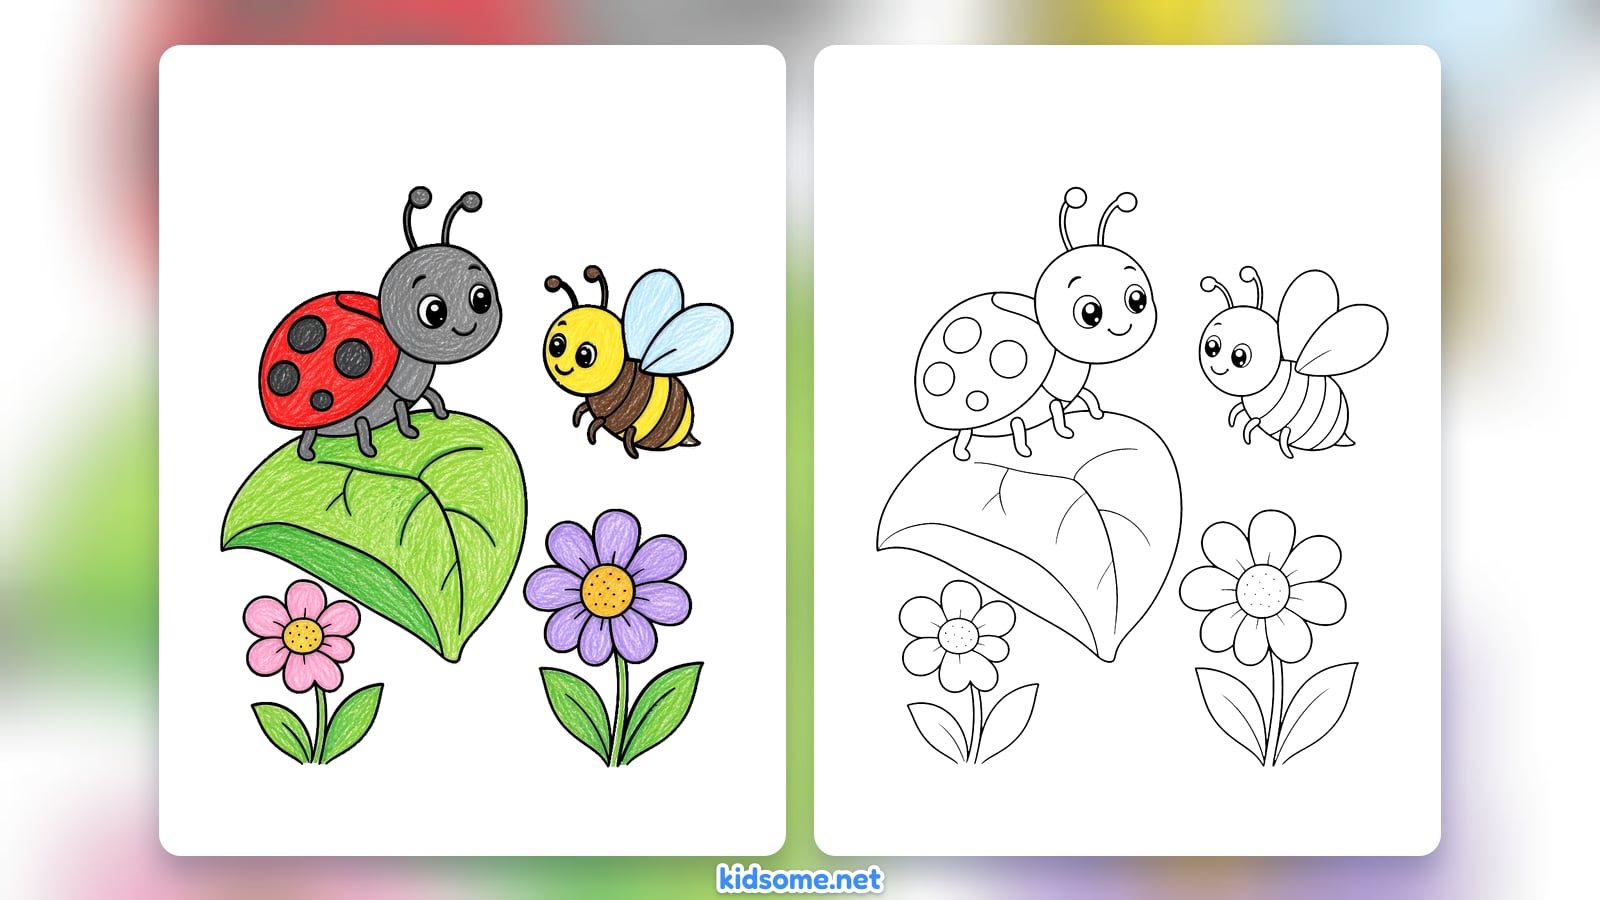
This ladybug drawing guide shows kids ages 4 to 8, and the parents and art teachers beside them, how to draw a ladybug one small step at a time. The picture is a cute cartoon ladybug seen from slightly above, standing on a leaf, with a round spotted shell, a small head, two antennae with round tips, six short legs and a happy smile. Almost every part is a circle or a short line, so it is an easy ladybug drawing that early readers can follow and finish on their own, often in one short sitting.
There are eight steps. Each one shows the drawing so far in black and the new part in blue, so it is always clear what to add next. At the end there is a free printable outline of the finished ladybug to trace or color, plus a crayon colored example to copy. The PDF prints on US Letter and A4, with no sign-up. All you need is a pencil, an eraser and a few red, black, grey and green crayons.
Kids who enjoy it can find more creatures to draw in our animal drawing guides.
-
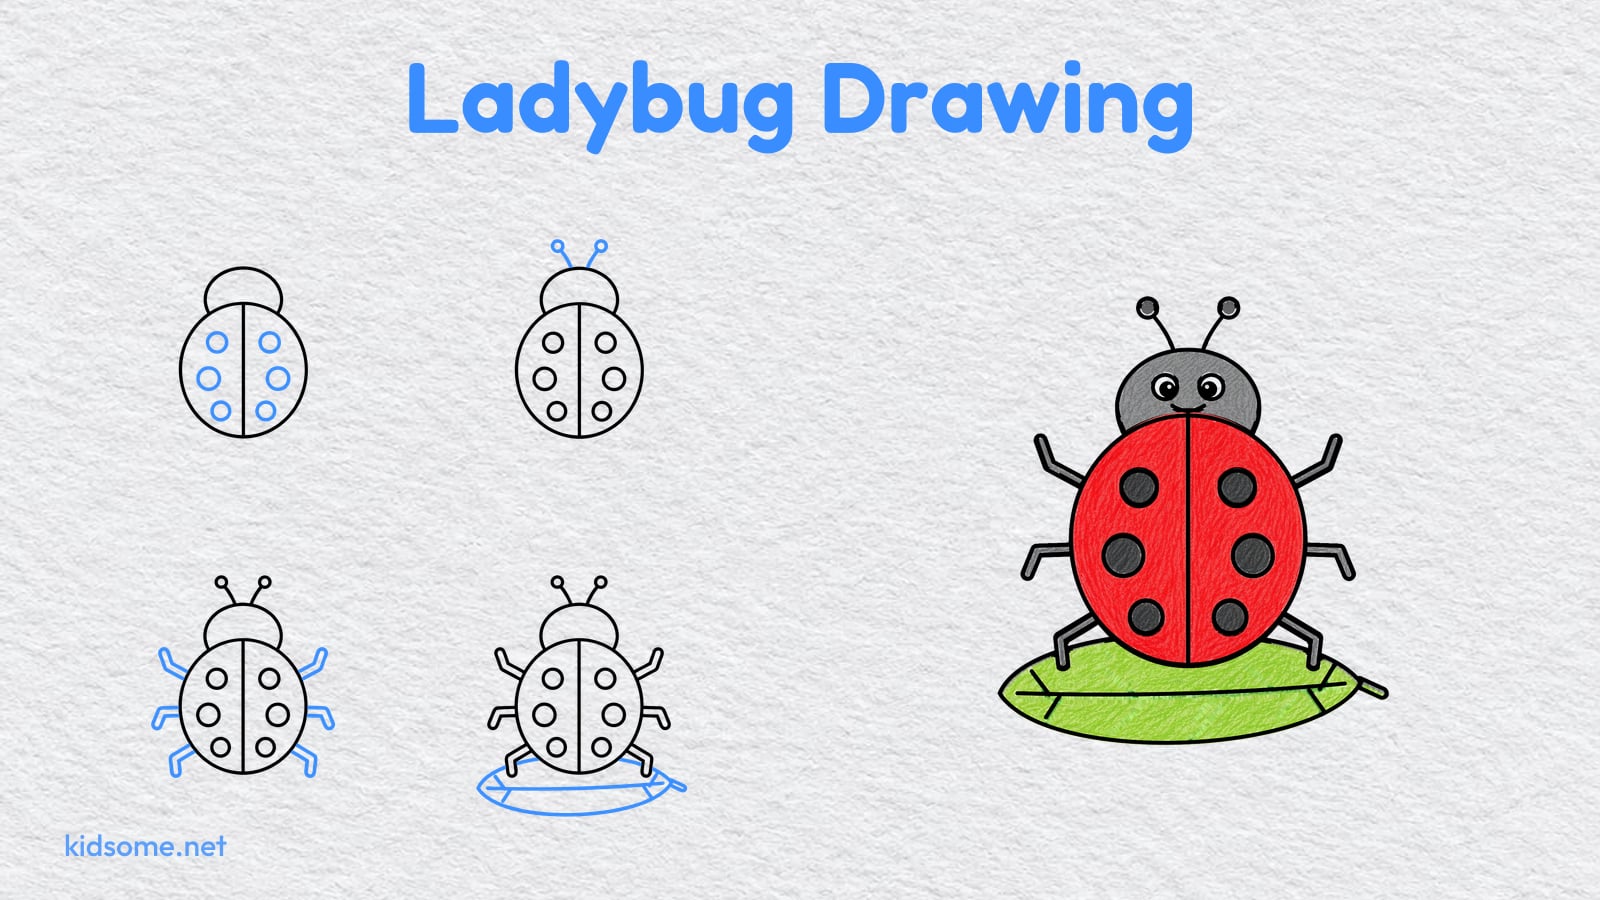
Step 1 : Draw the shell

A little above the middle of the page, draw a big circle for the ladybug's shell. Take your time, it does not have to be perfect.
-
Step 2 : Draw the head

On top of the circle, draw a small rounded dome for the head. Let its bottom edge hide behind the top of the shell.
-
Step 3 : Draw the middle line

Draw one straight line from the top of the shell down to the bottom. This splits the shell into two wing cases.
-
Step 4 : Draw the spots
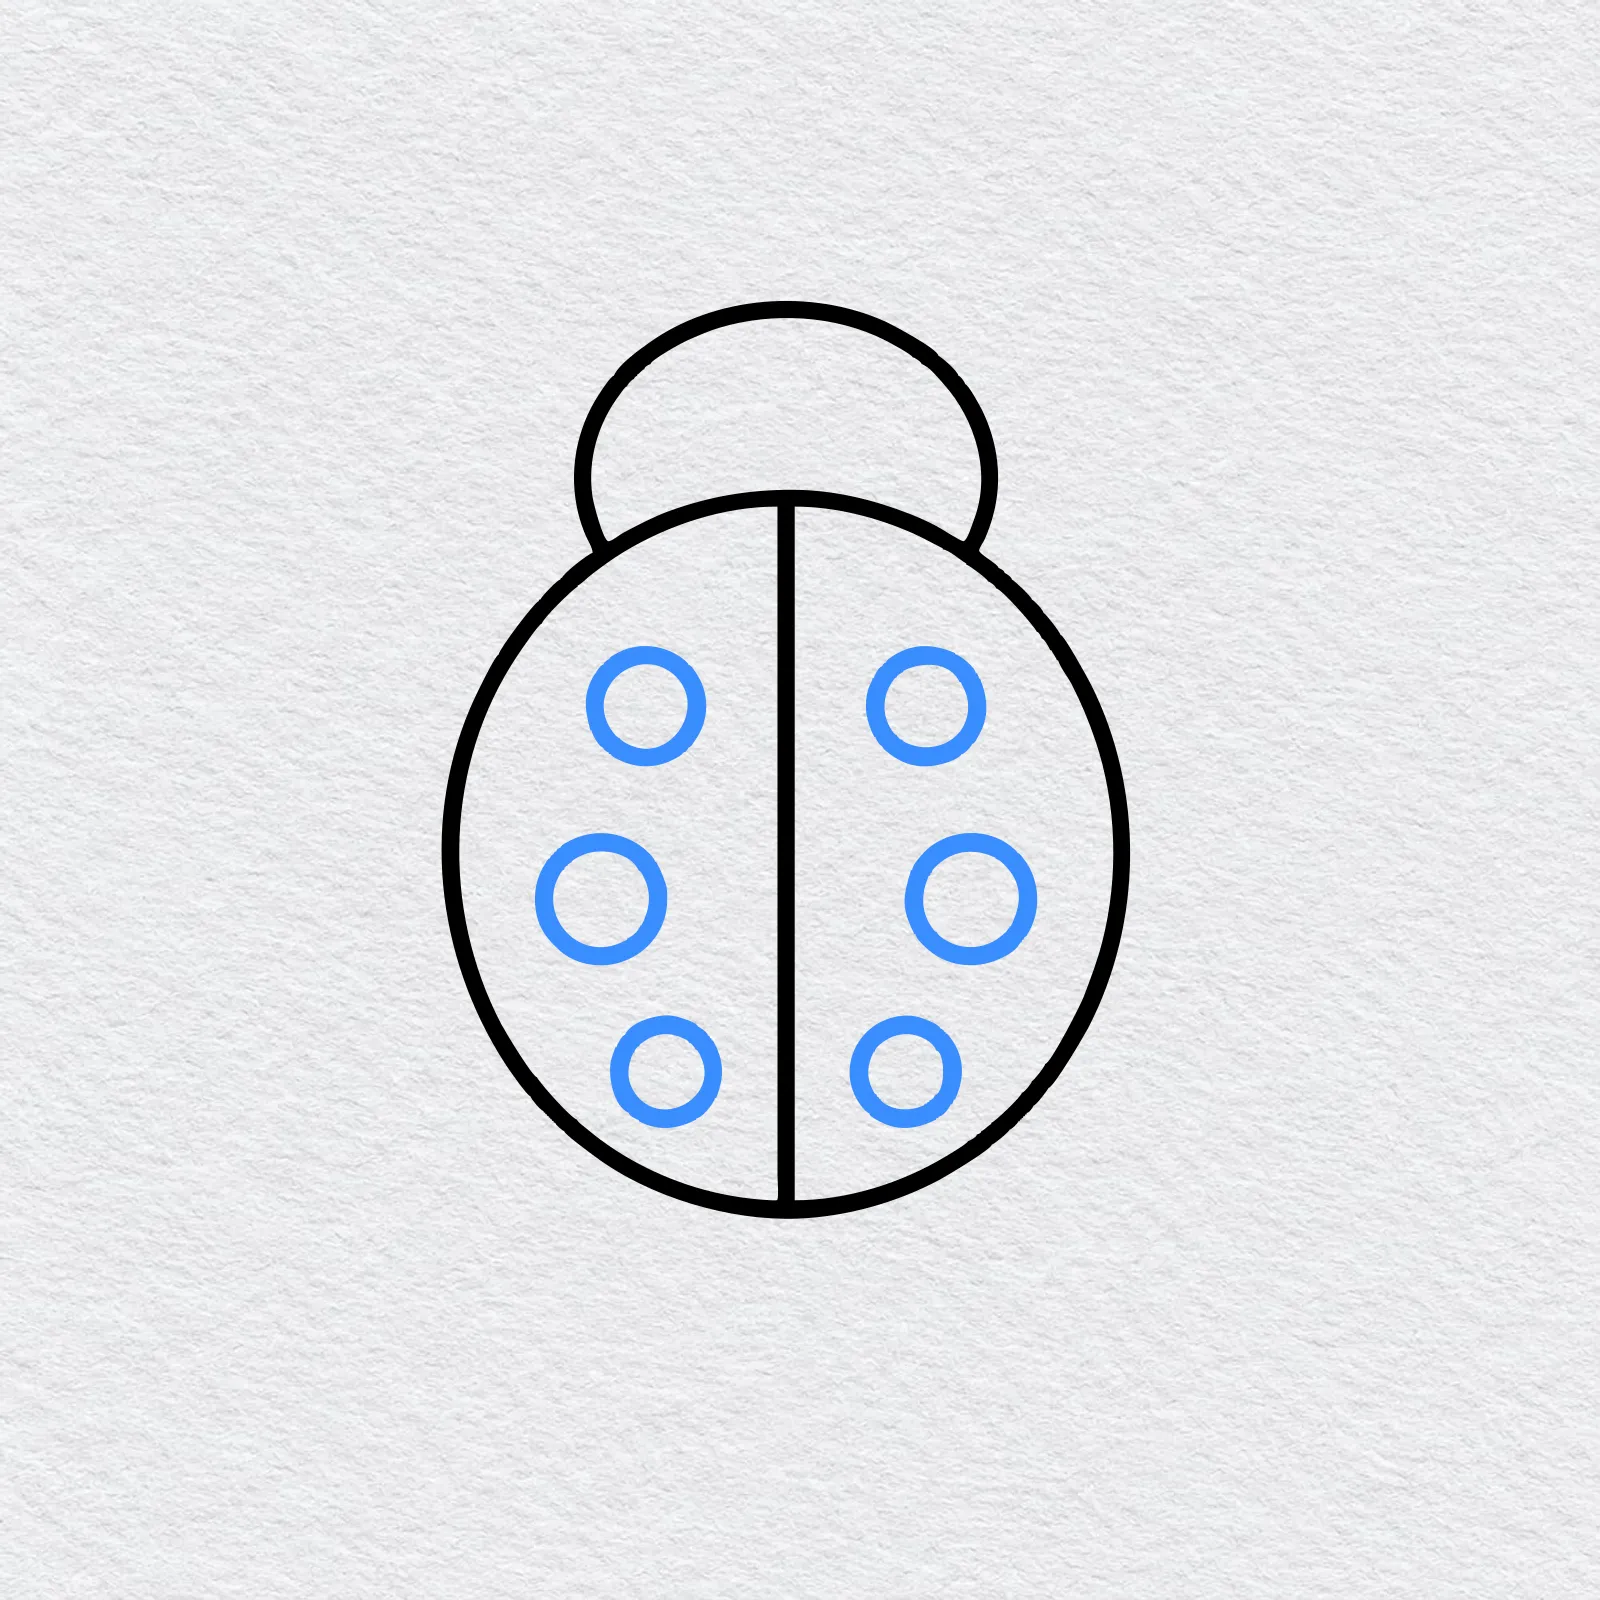
Draw three small circles on each side of the middle line, one near the top, one in the middle and one near the bottom.
-
Step 5 : Draw the antennae
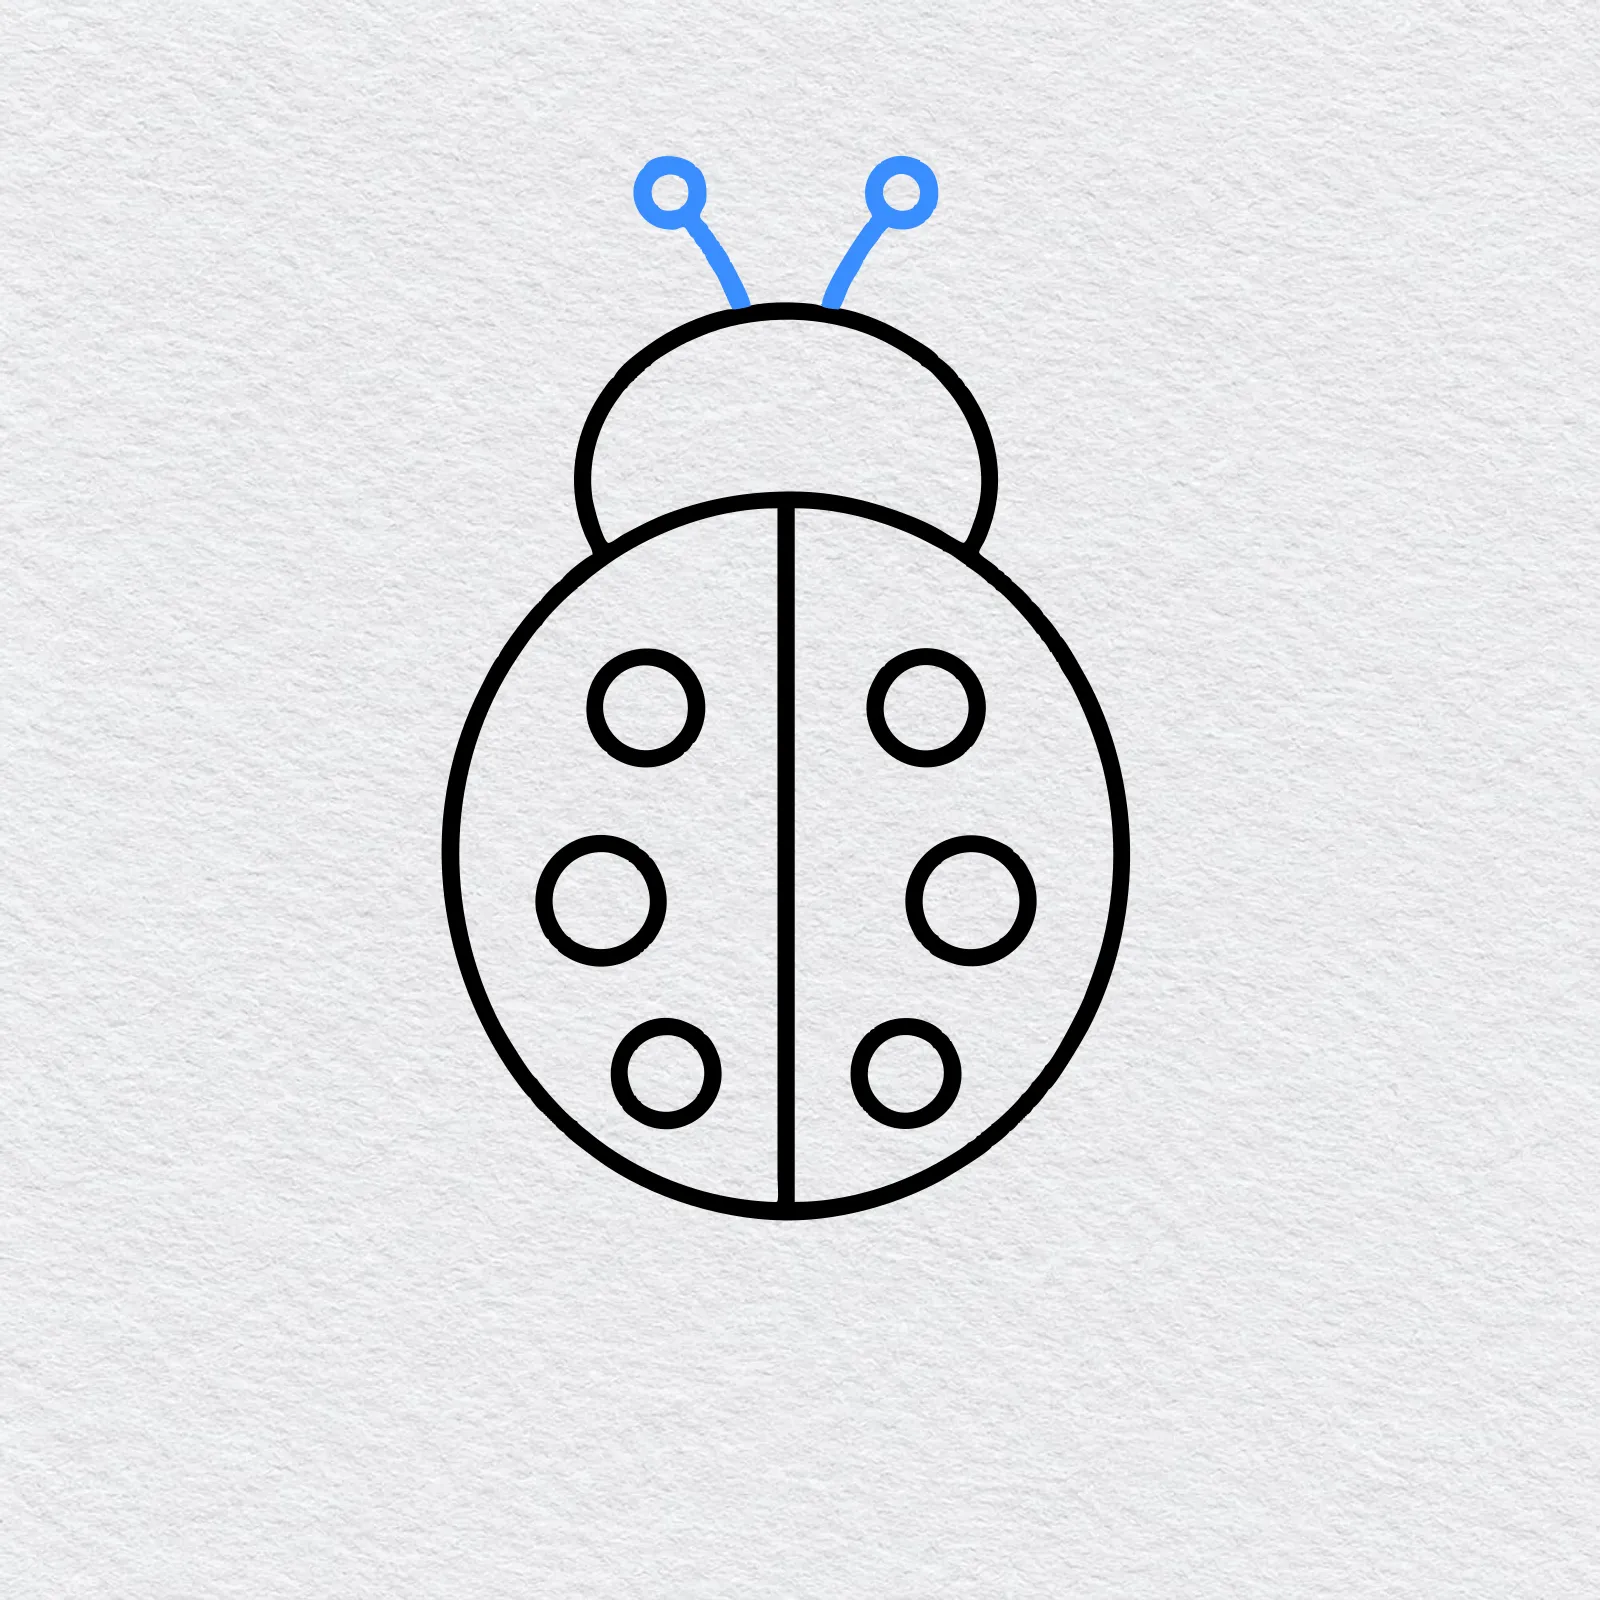
From the top of the head, draw two short lines leaning out a little, and finish each one with a tiny circle.
-
Step 6 : Draw the legs
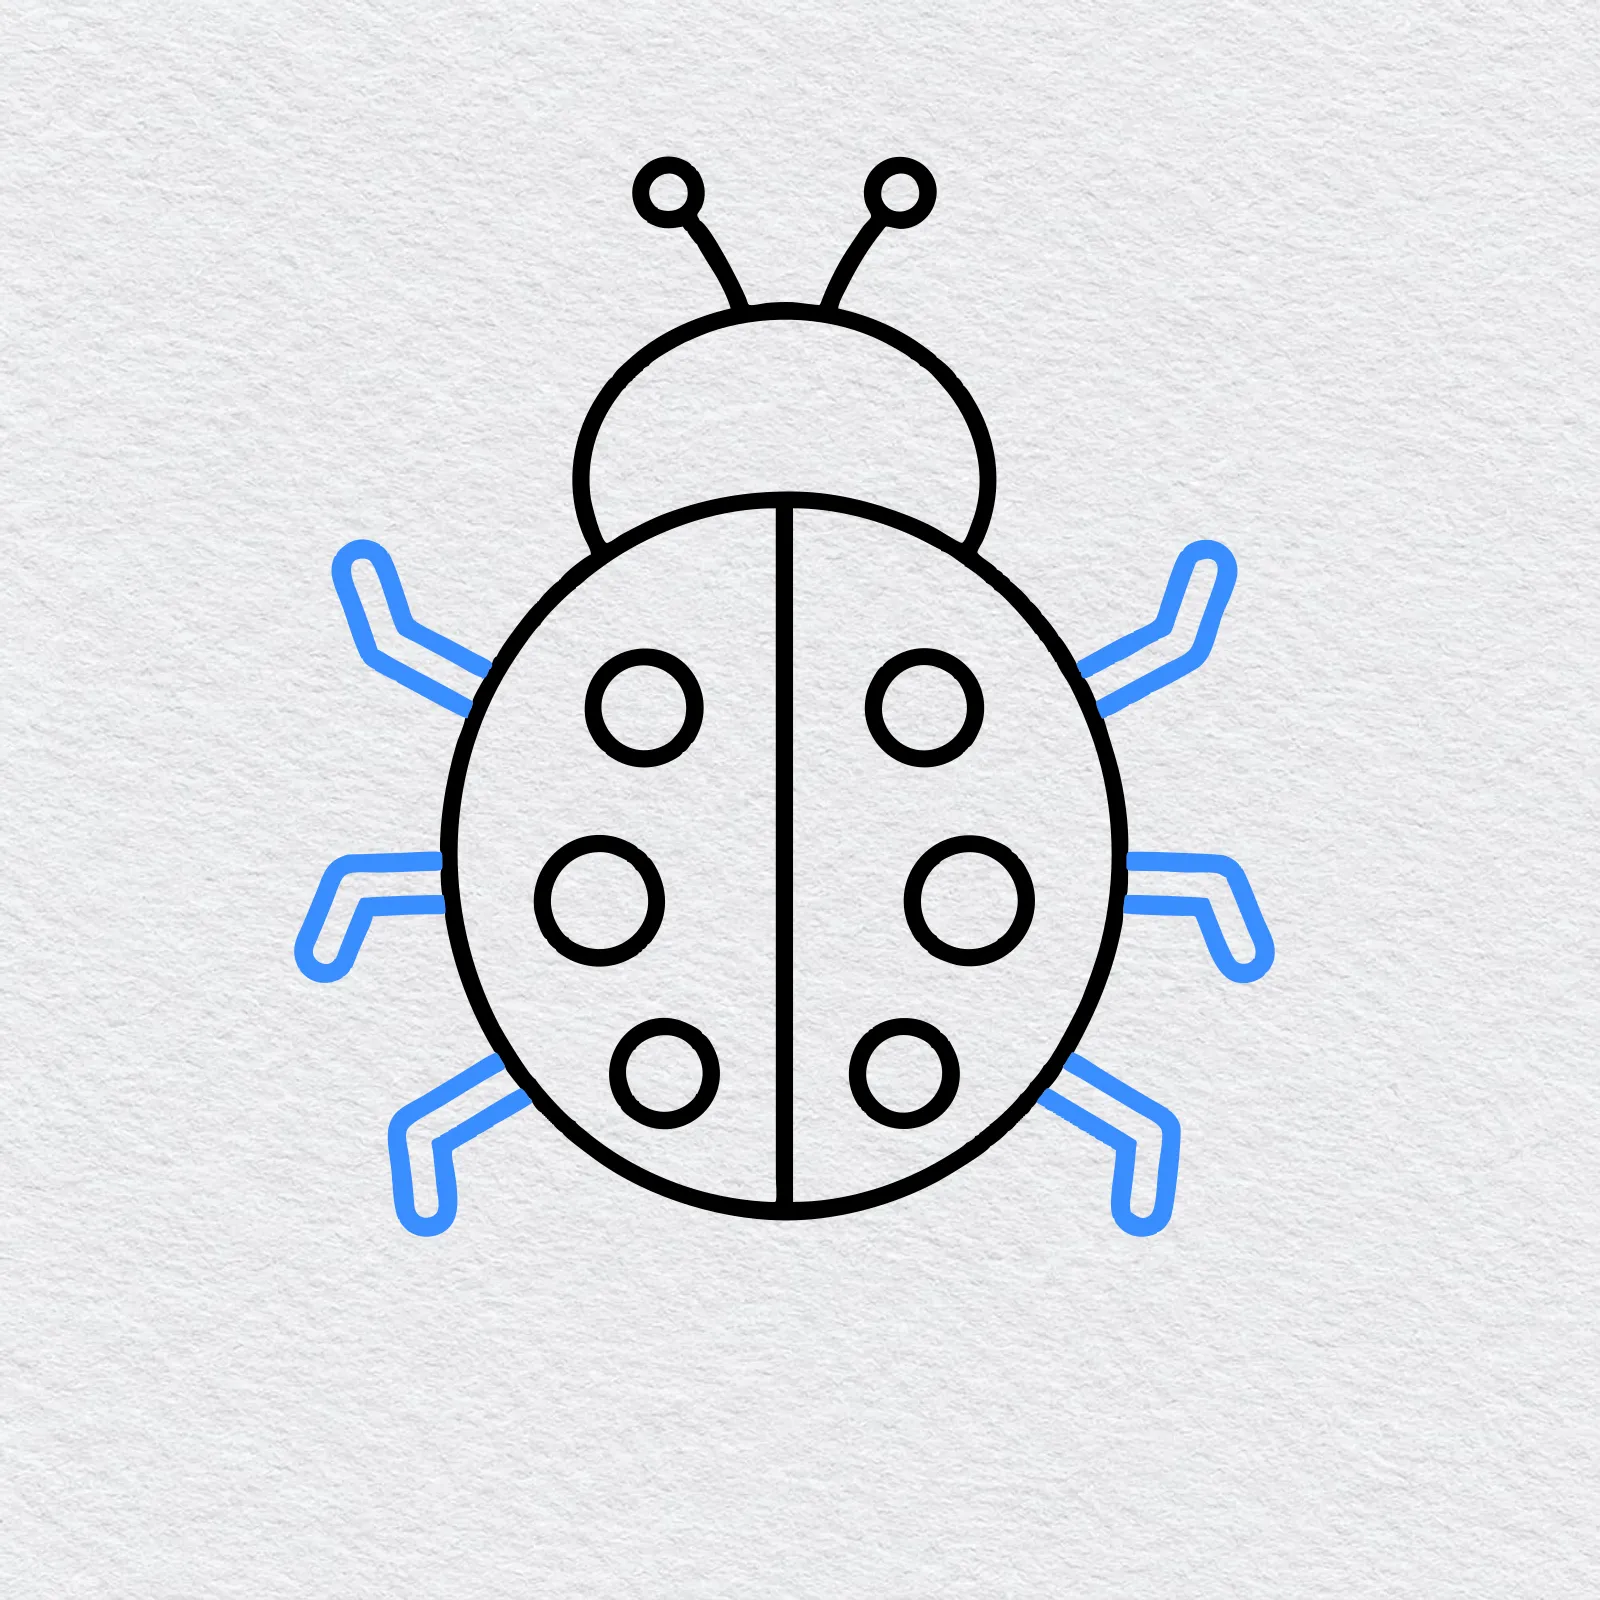
On each side of the shell, draw three short legs that bend like an elbow. Make each one a thin tube with a small foot at the end.
-
Step 7 : Draw the leaf
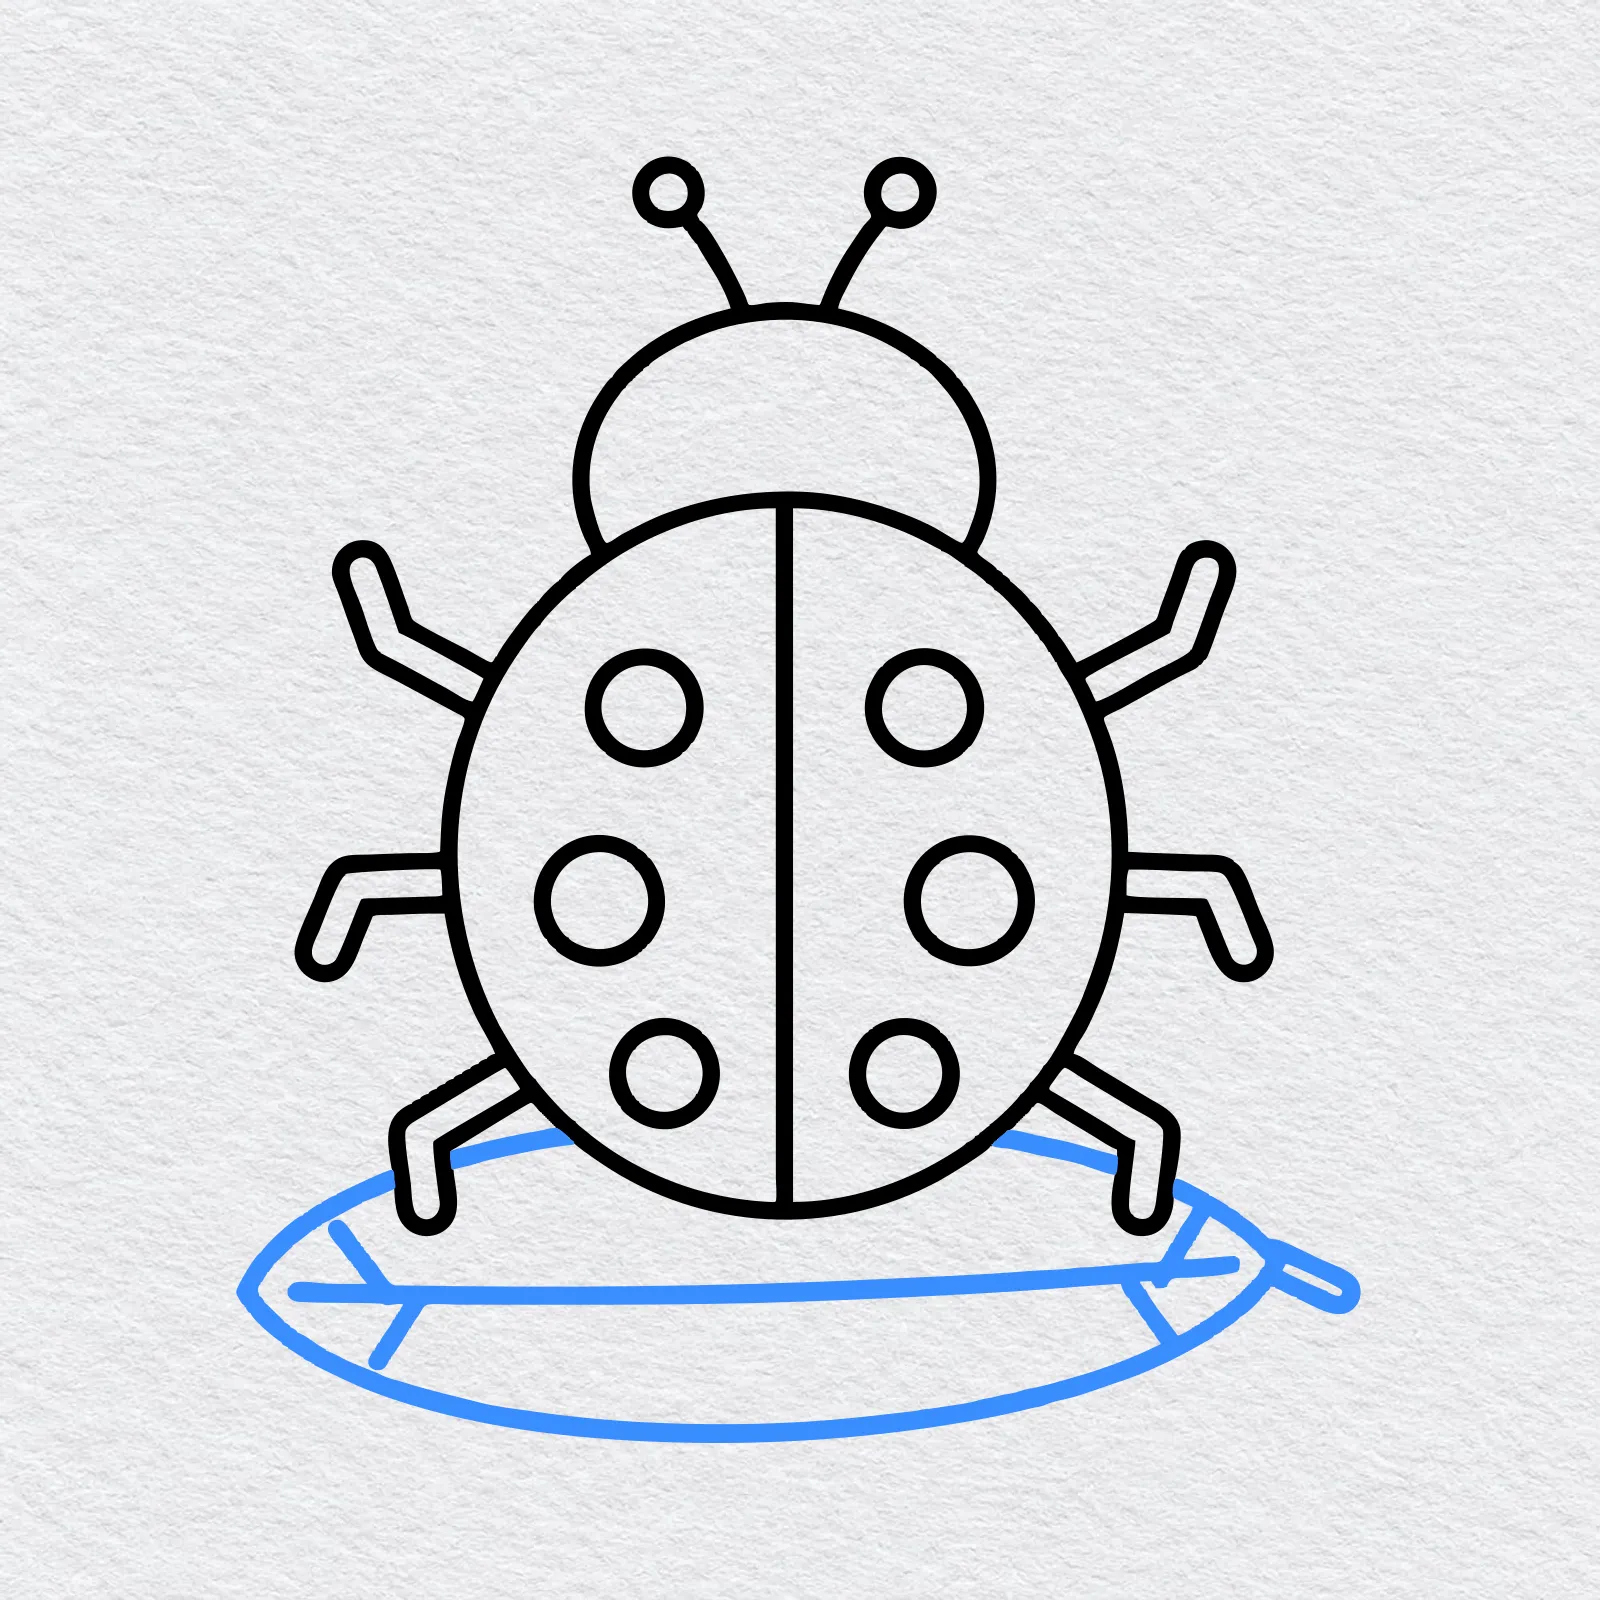
Under the feet, draw a long oval leaf. Add a line along the middle, a few short side veins and a little stem at the end.
-
Step 8 : Draw the face
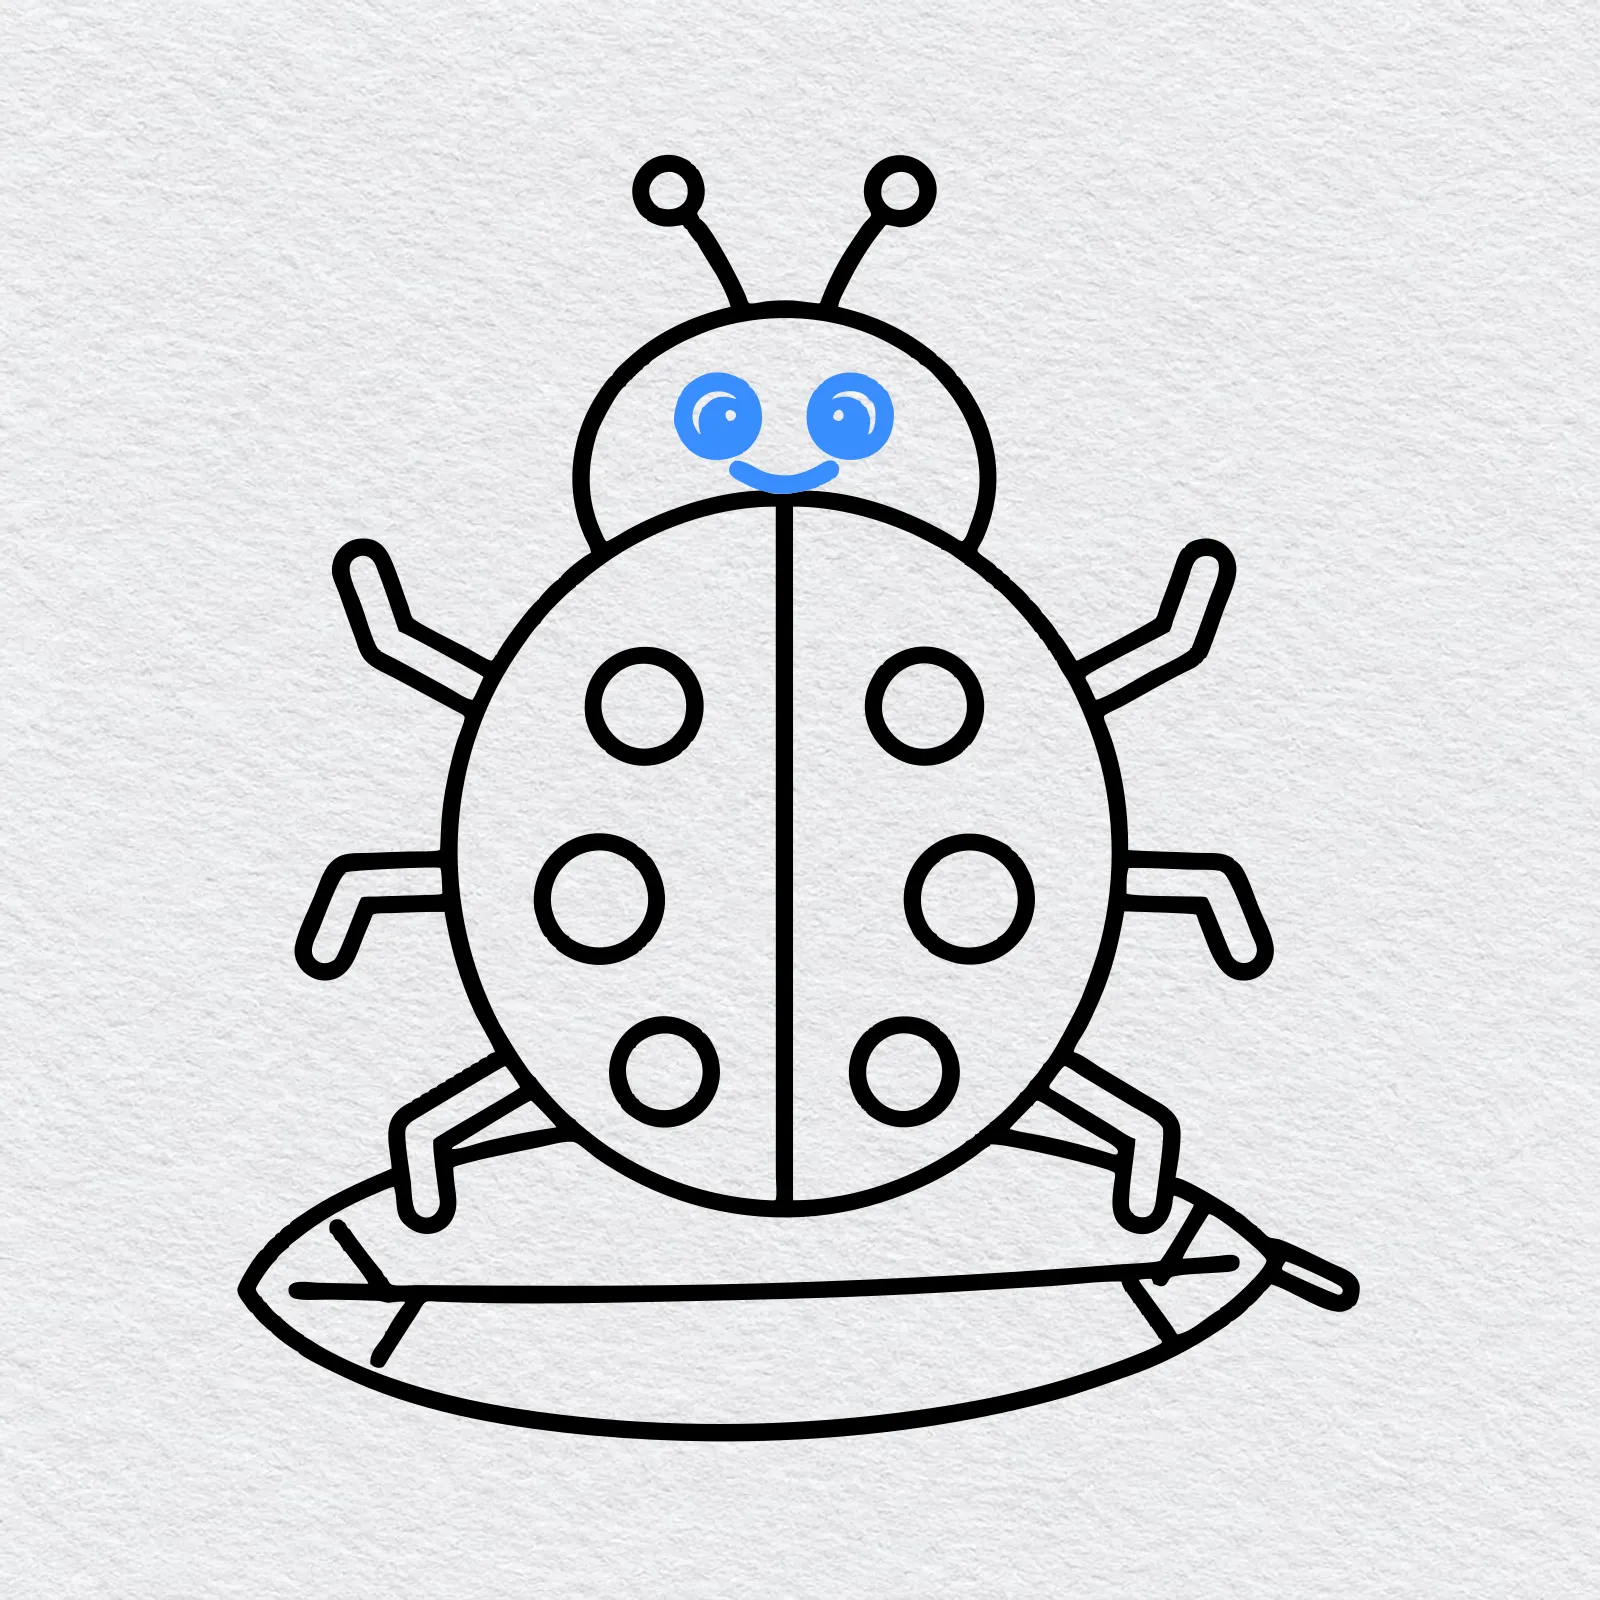
In the head, draw two round eyes and color them in, leaving a small white dot in each for a shine. Add a little smile under them.
-
Step 9 : Color your ladybug
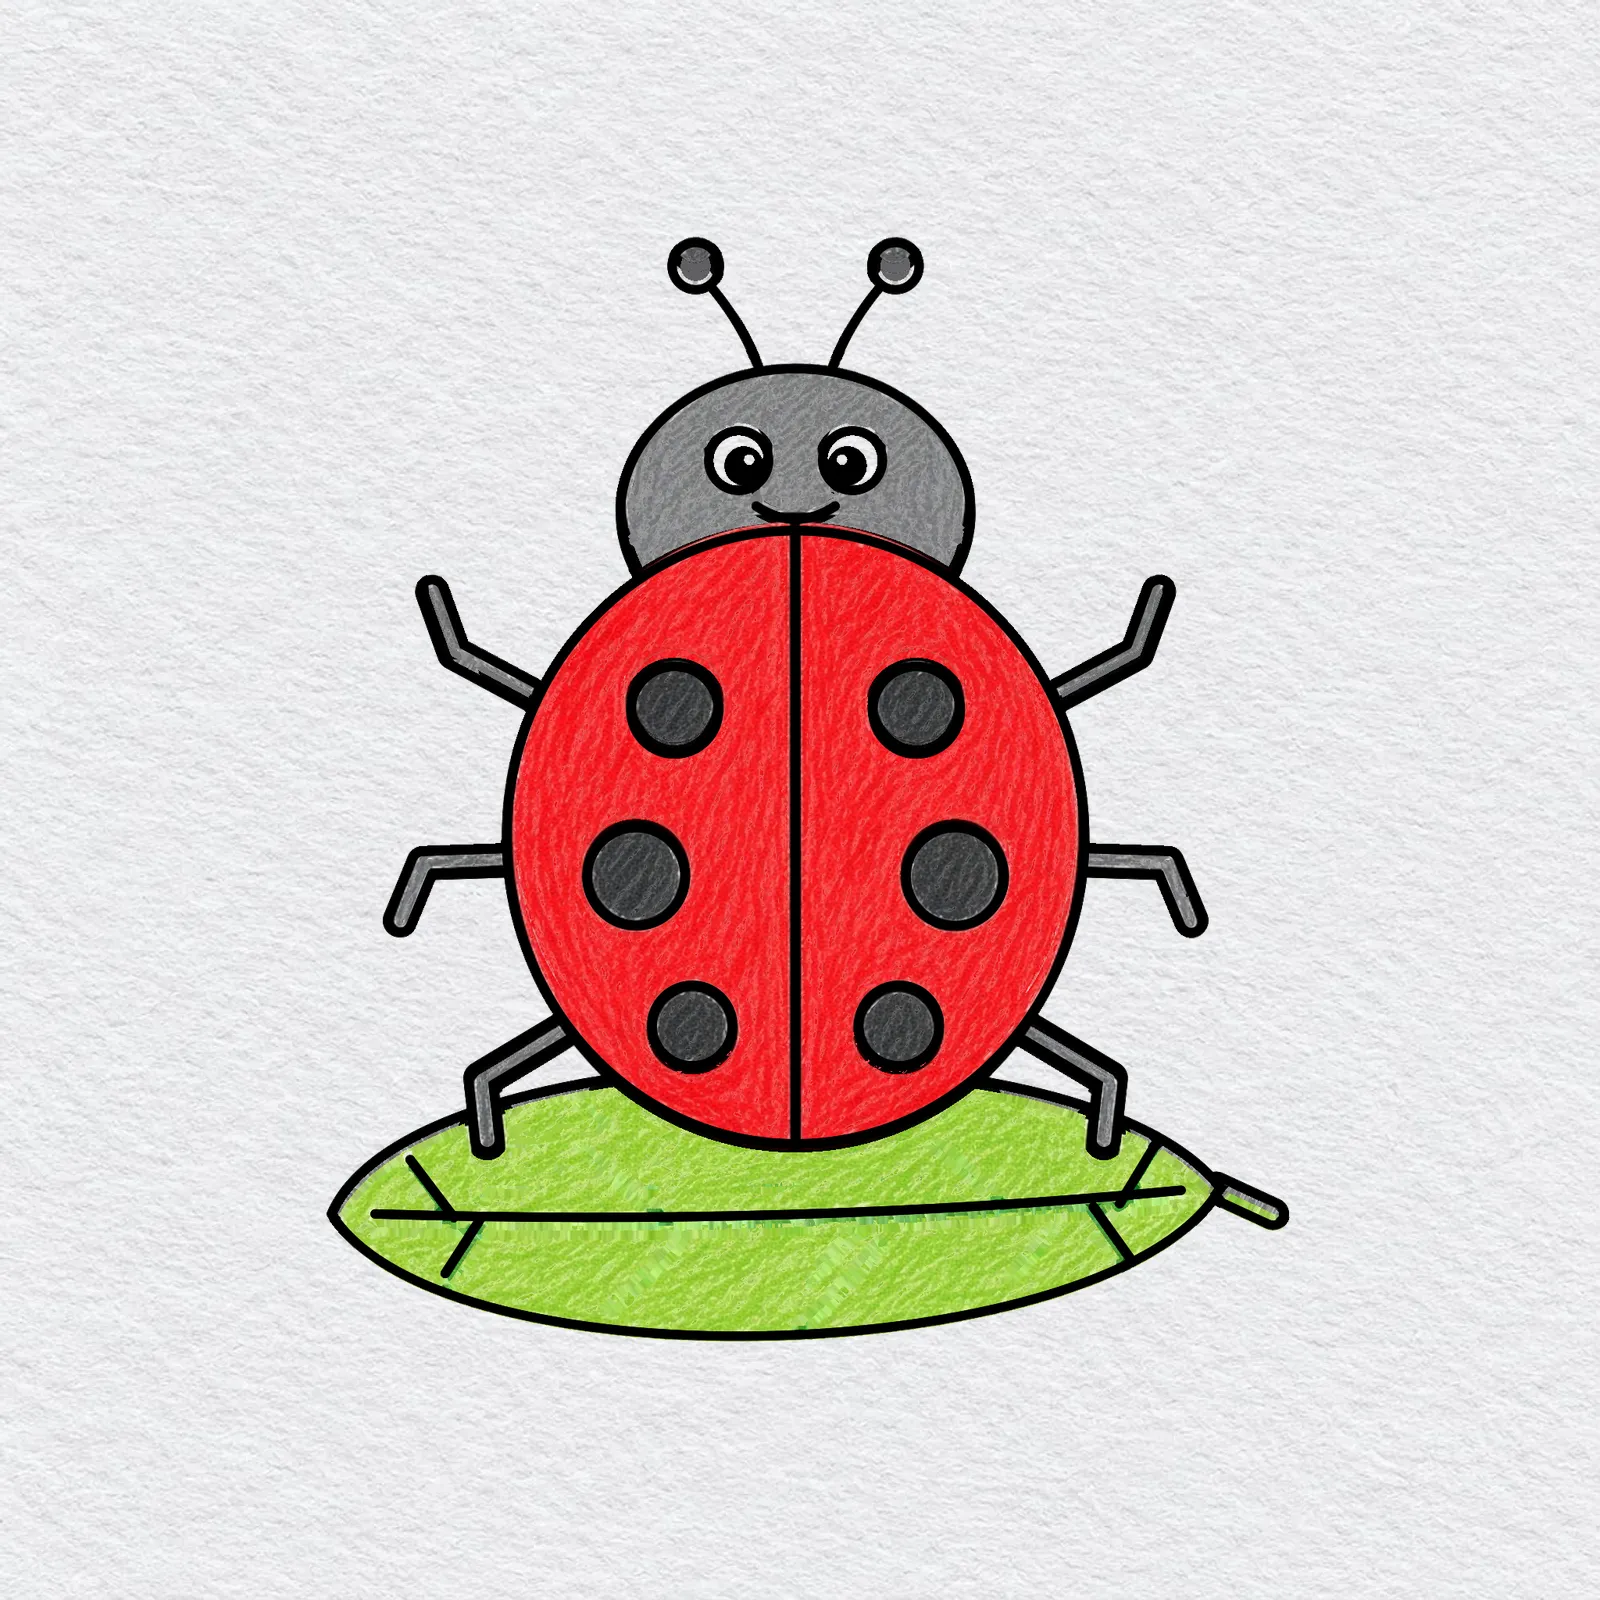
Color the shell bright red. Press lightly and color in small strokes, so a little white paper shows through like a real crayon drawing.
Fill the spots with black or dark grey, make the head and legs grey and the leaf green. Keep the shine in the eyes white.
Printable ladybug drawing PDFs
 Save
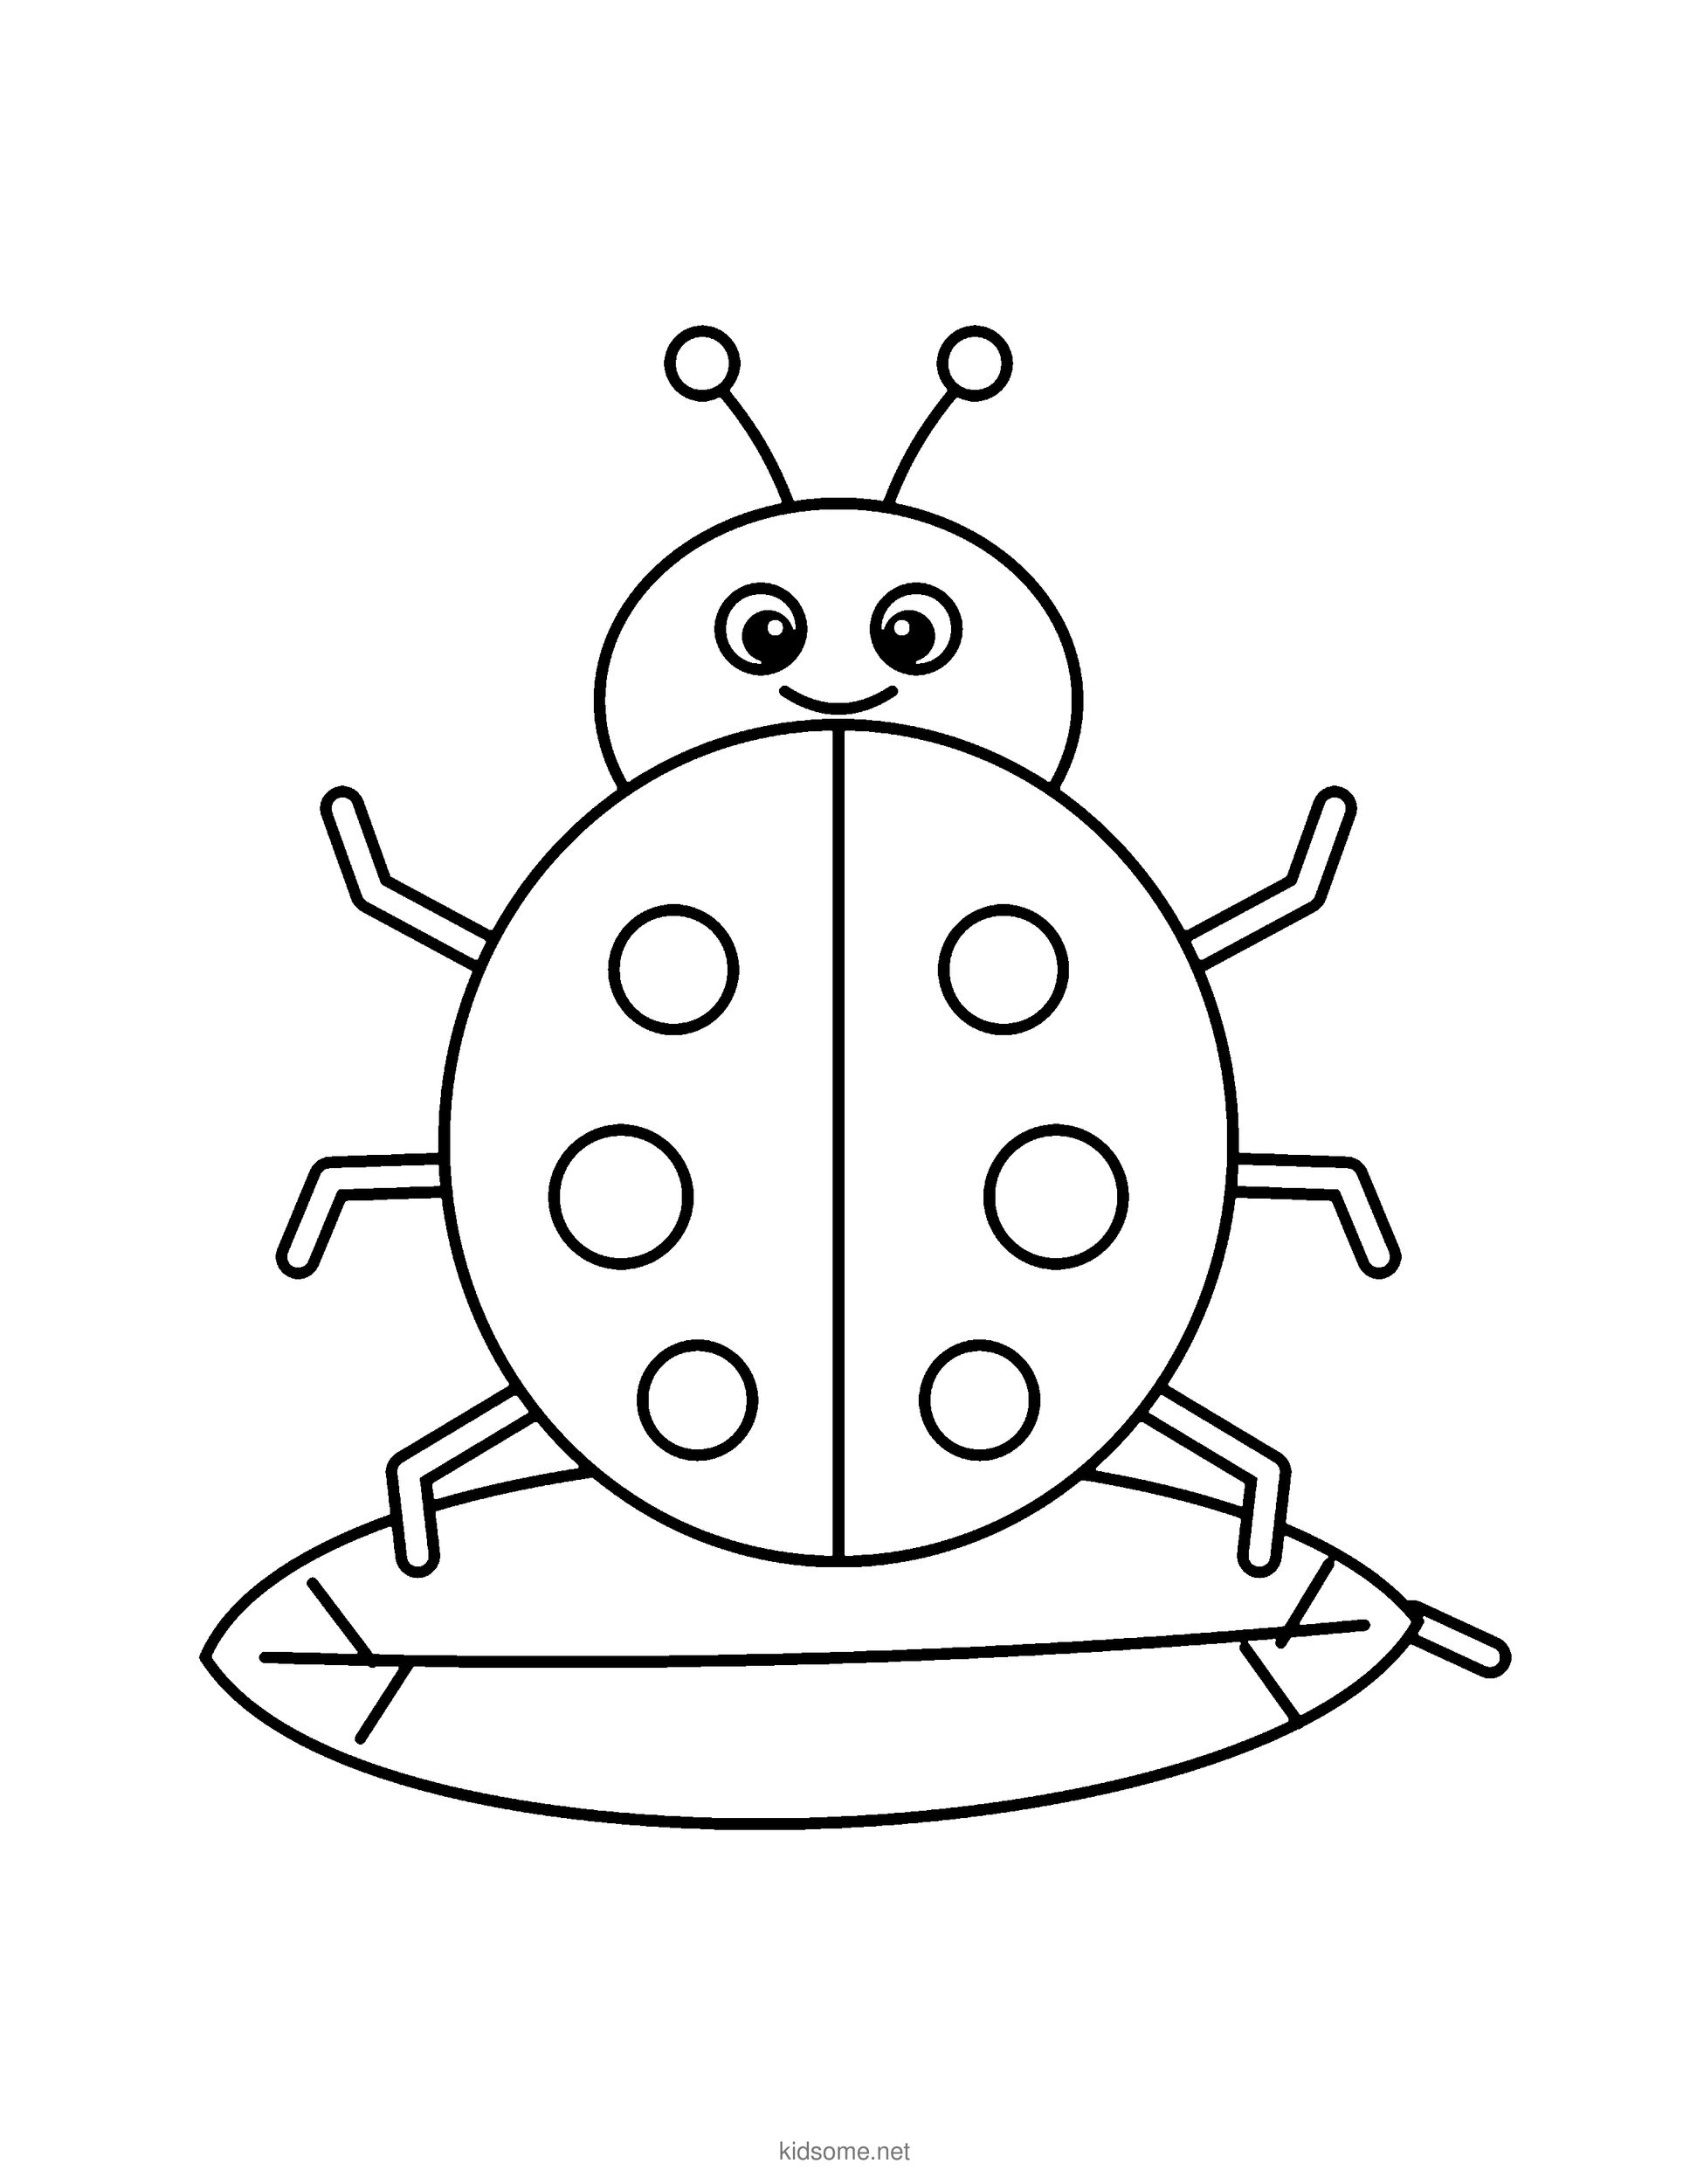
Ladybug Outline to Color
The finished cartoon ladybug standing on its leaf, as a clean outline to print, trace and color in.
Download PDF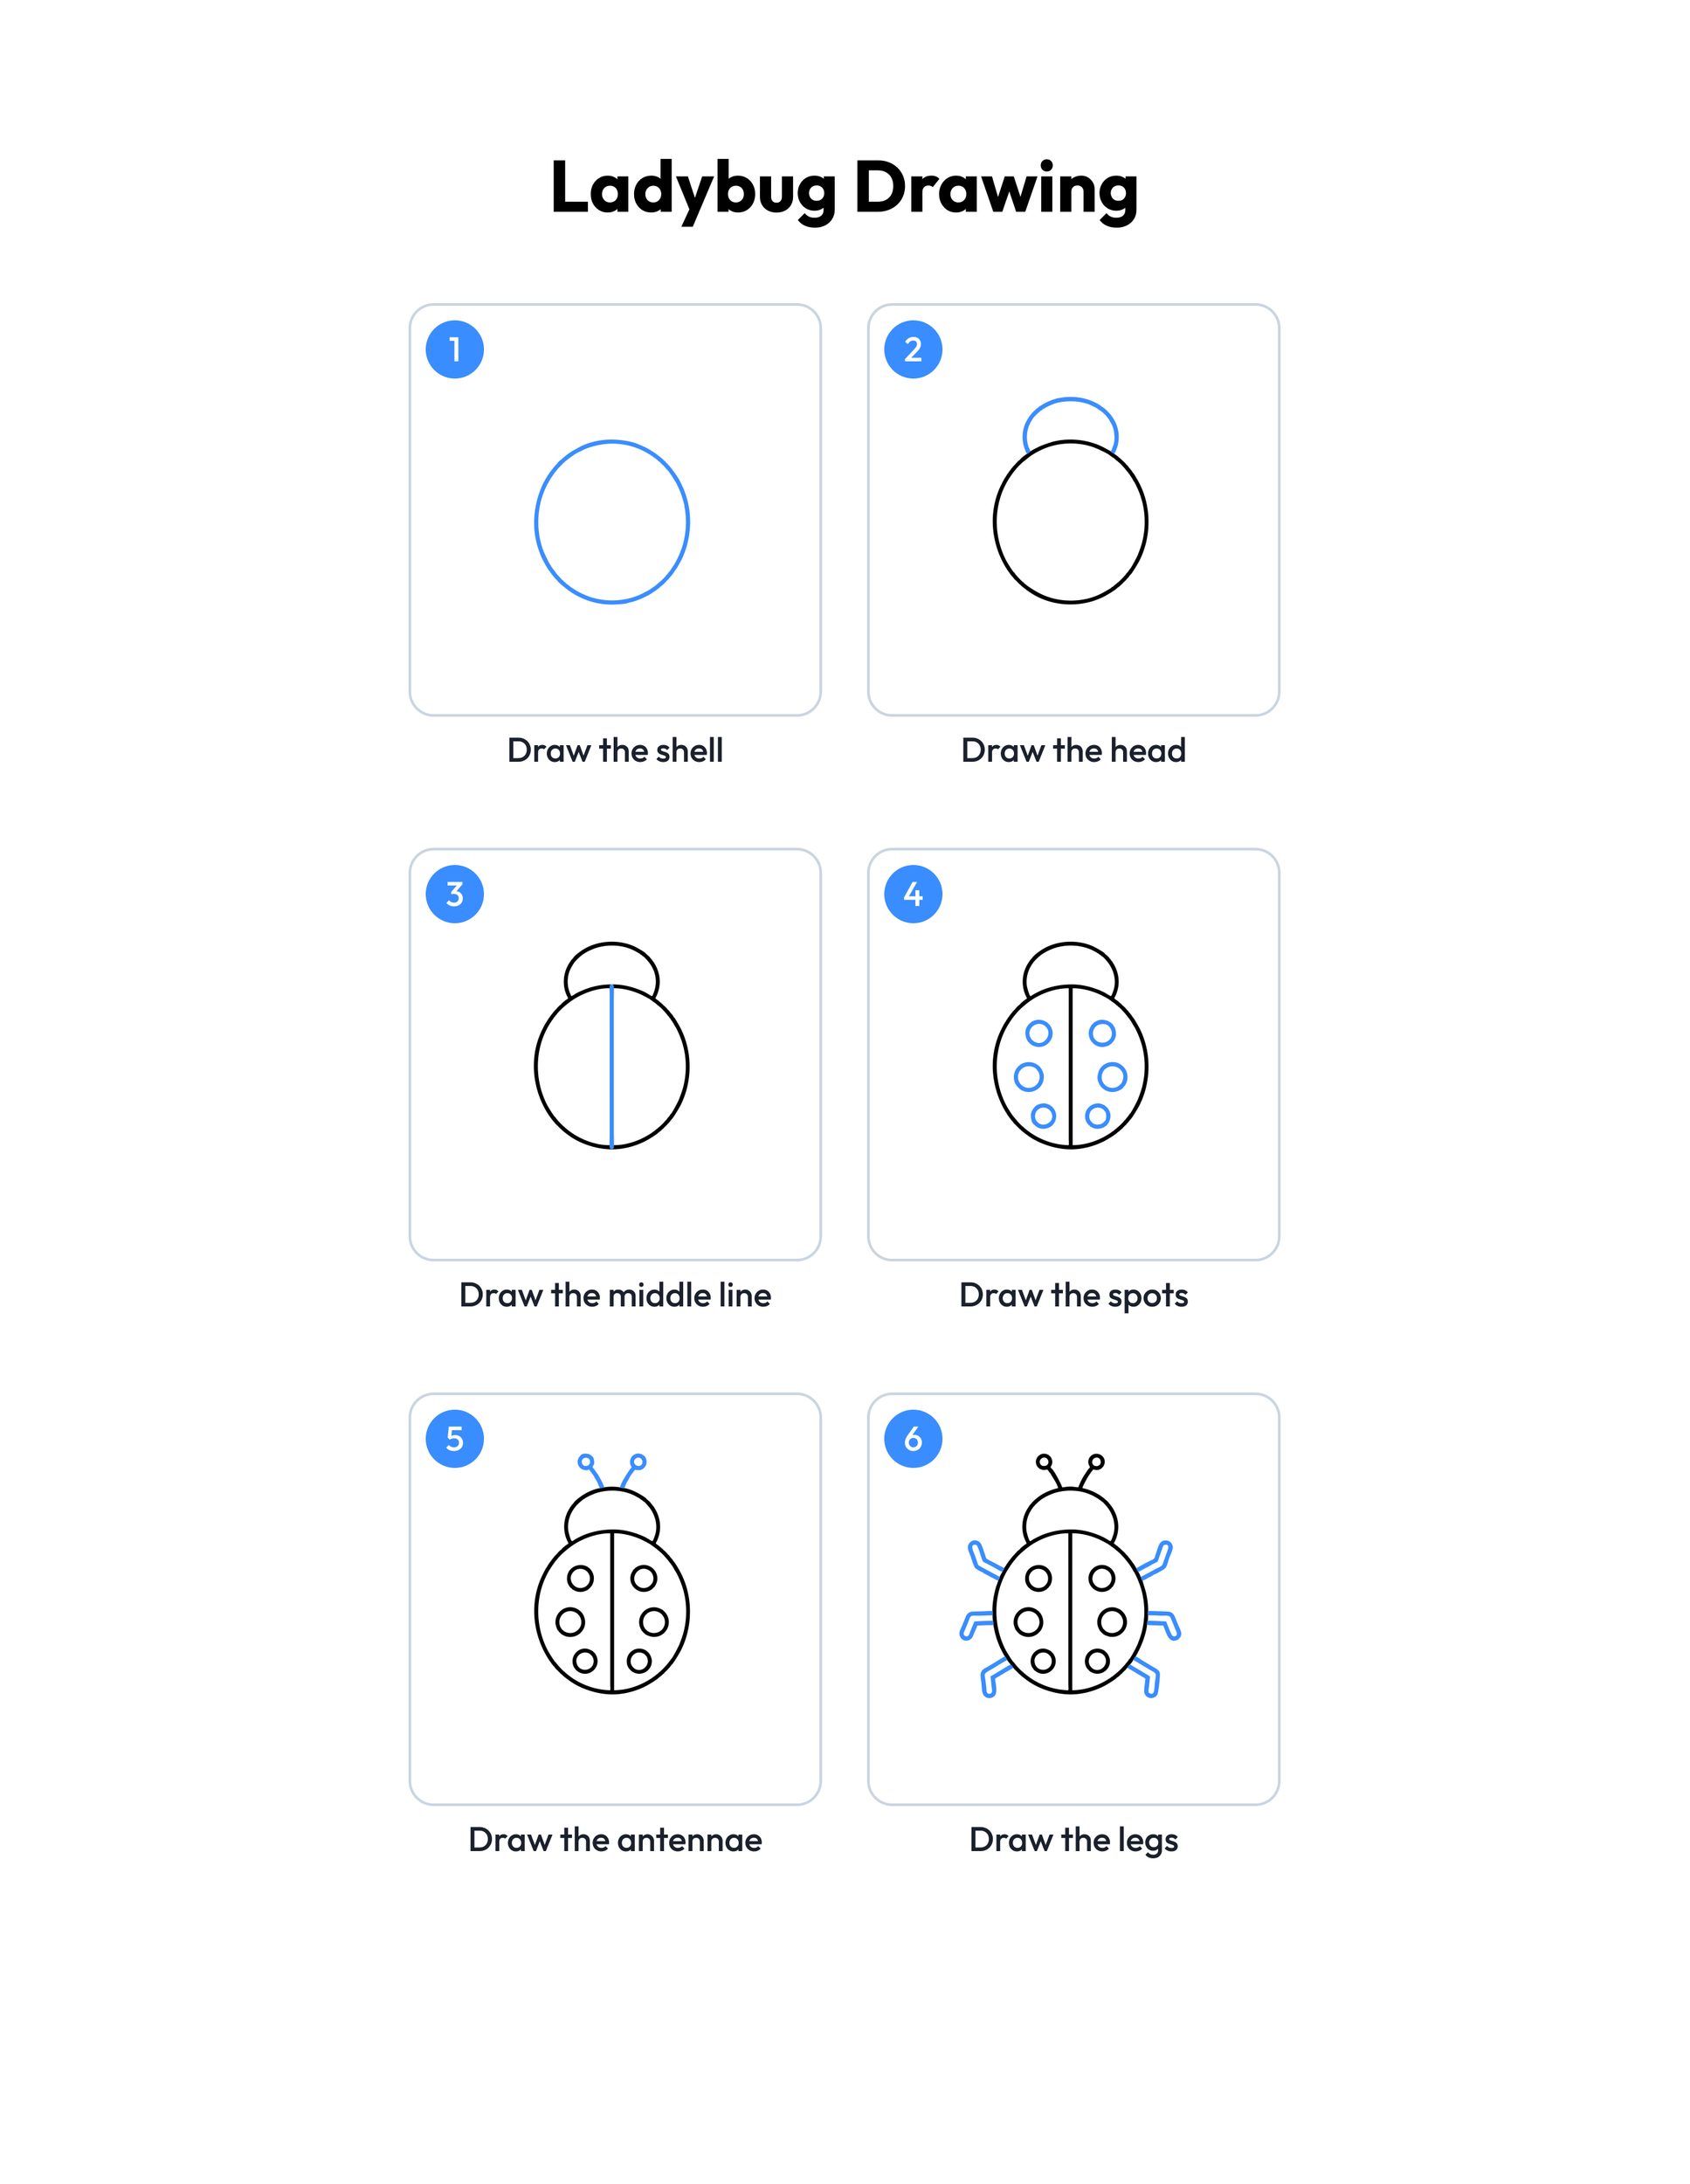 Save
Printable ladybug drawing guide
Every step, two to a row, with the finished ladybug in color at the end.
Download PDFHow to use this guide
Print the outline at 100 percent, or choose Fit to page if your printer asks. The margins fit US Letter and A4, so the antennae, the legs and the leaf all stay on the sheet. Page one is the outline to color. Page two is the colored example, so print page one alone if you only want the picture to fill in.
For drawing, plain copy paper and a pencil with a good eraser work best. Sketch lightly at first, because circles rarely come out round on the first try. Keep the paper upright and draw the shell a little above the middle of the page. That leaves room above for the head and antennae, room at the sides for the legs and room below for the leaf.
The round shell, the line down the middle and the spots are what make this a simple ladybug drawing that anyone can recognize. Space the spots evenly, three on each side, and keep them away from the middle line so the two wing cases stay clear. Younger kids can stop after the shell, the head, the line and the spots and color a red bug. Older kids can add the antennae, the legs, the leaf and the face, then extras like a flower or a few raindrops.
When the drawing looks right, trace the lines with a marker or a dark crayon and erase the pencil marks. For markers or paint, choose cardstock so the color does not soak through.
Ideas for your ladybug drawing
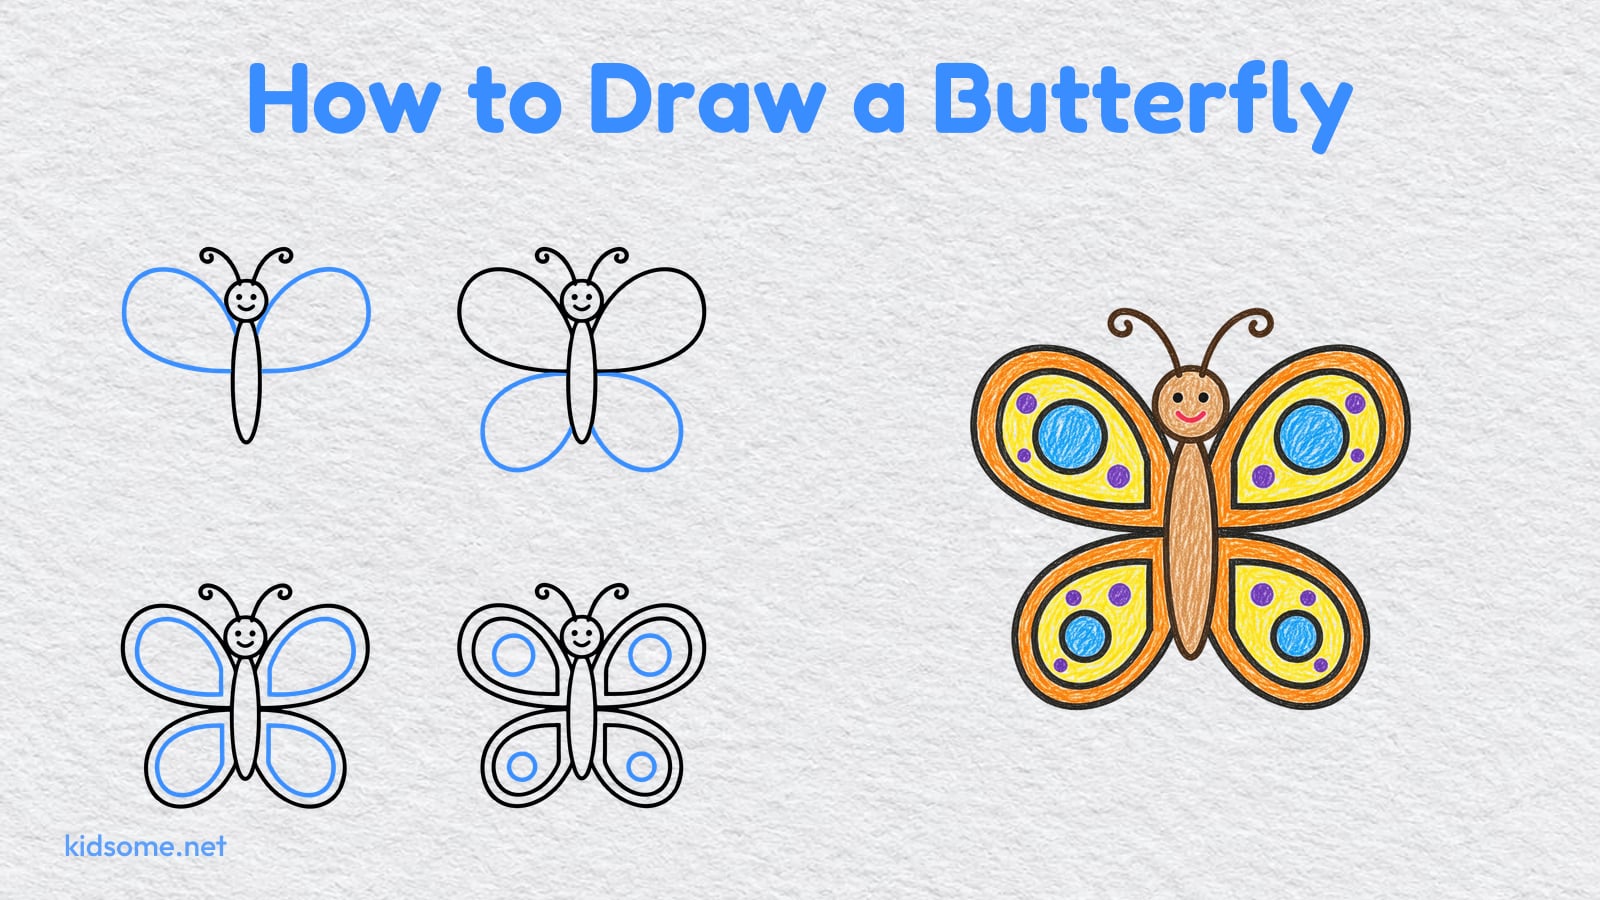
- Garden friends: Draw a butterfly flying above your ladybug with our butterfly drawing guide, then add a few blades of grass under the leaf to make a little garden scene.
- Flower perch: Give the ladybug a flower to visit using our flower drawing guide, and draw the bug climbing up the stem toward the petals.
- Count the spots: Ask your child how many spots to draw before step four. Draw a ladybug with two spots, another with six and one with ten, then count them together out loud.
- Why so red?: While coloring, share a fact: the bright red shell warns birds that ladybugs taste bad. Let your child color one red ladybug and one orange or yellow one, since some ladybugs are those colors too.
- Pond pals: Add a frog sitting on a lily pad next to your ladybug with our frog drawing guide, so the little bug has a big green neighbor to wave at.
- Night watch: Draw an owl on a branch watching over the garden with our owl drawing guide, then color a dark blue sky behind both of them.
- Coloring pair: After drawing, print a butterfly page from our butterfly coloring pages and color it in the same soft crayon style as your red ladybug.
- Shape hunt: When the drawing is done, ask your child to point to every circle and every straight line in the ladybug. Count them together and see who finds the most.
- Bug words: Finish with our animal word search and see if your child can find bug names and lots of other animals hidden in the grid.
How do you draw a ladybug step by step?
Start with a big circle for the shell and a small dome on top for the head. Draw a line down the middle of the shell and add three spots on each side. Then draw two antennae with round tips, six short bent legs and a leaf under the feet, and last the eyes and a smile.
Is this ladybug drawing easy for young kids?
Yes. It is a ladybug drawing easy enough for ages 4 to 8, built mostly from circles and short lines. The youngest kids can stop after the shell, the head and the spots, and older kids can add the antennae, the legs, the leaf and the face, then color it in.
What do I need to draw a ladybug?
A sheet of plain paper, a pencil and an eraser are all you need to draw. A black marker or a dark crayon helps trace the final lines, and red, black, grey and green crayons are enough to color it like the example.
Can I print the ladybug outline?
Yes. The free PDF has the finished ladybug outline on page one and the colored example on page two. It prints on US Letter and A4 paper. Print page one alone if your child only wants to color, or print both to copy the colors.
How can I make my ladybug look cute?
Give it big round eyes with a little white shine, a small smile and round tips on the antennae. Soft round shapes and evenly spaced spots make it a cute ladybug drawing that young kids love to copy and finish in one sitting.