This how to draw a car guide is for kids ages 4 to 8 who want a little car they can finish on their own. It shows how to draw a car easy enough for a kindergartner. If your child can draw a rounded box and a few circles, they will end up with a little car on the road, ready to color and pin up.
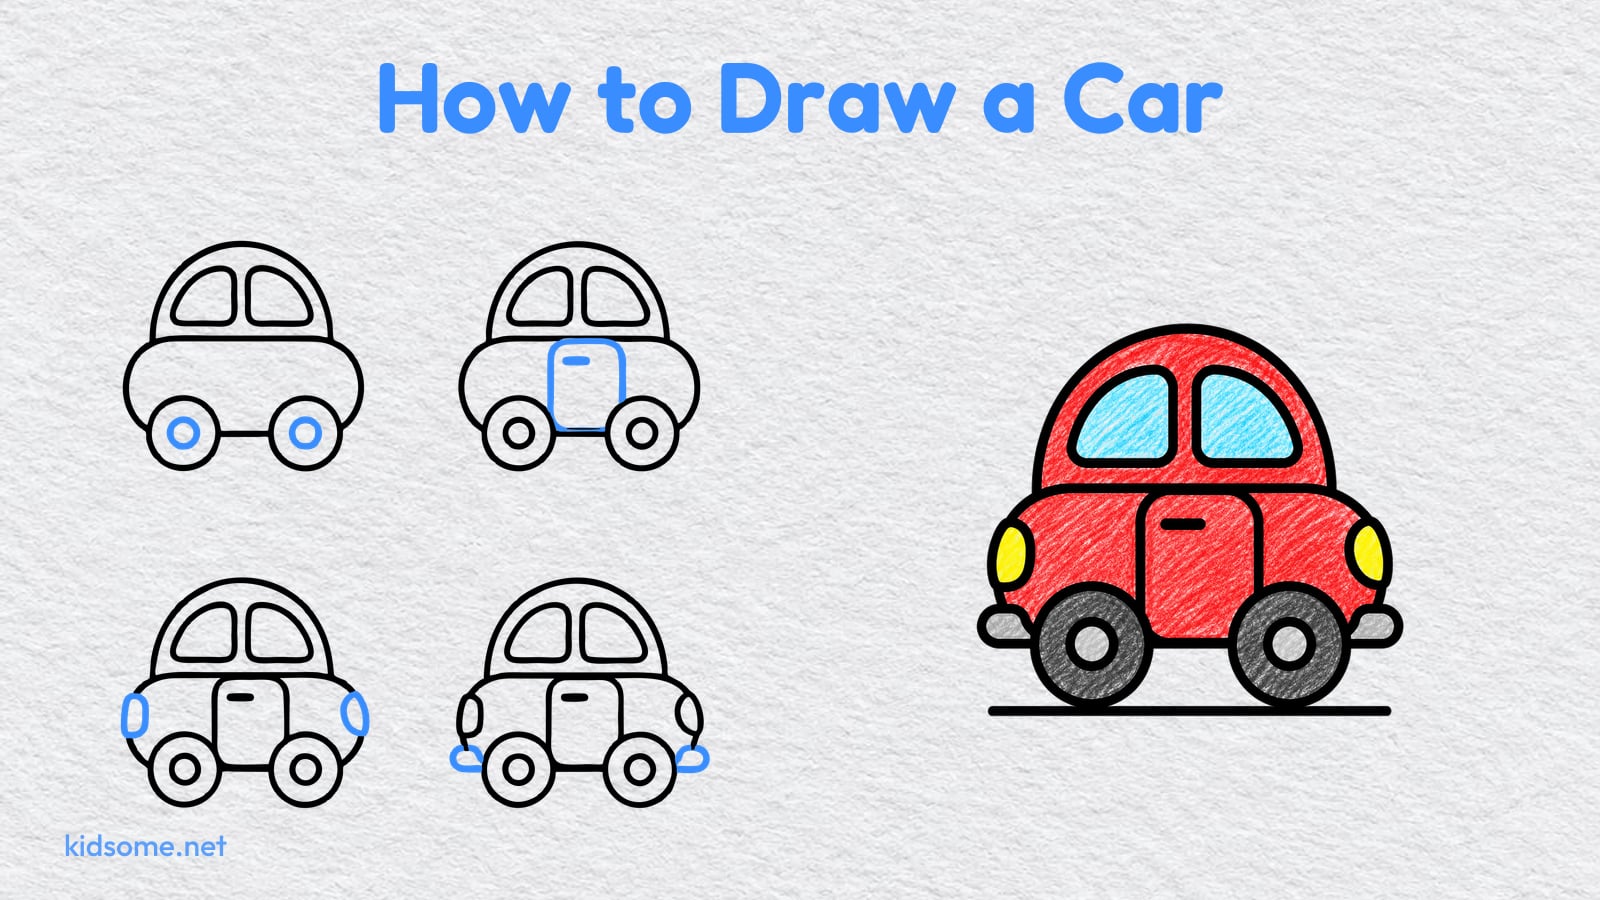
There are nine steps. Each one shows the drawing so far in black and the new part in blue, so your child always knows what comes next: the body, the roof, the windows, the wheels and hubcaps, the door, the lights, the bumpers and the road. A last picture shows the car colored red, as an idea to copy or change.
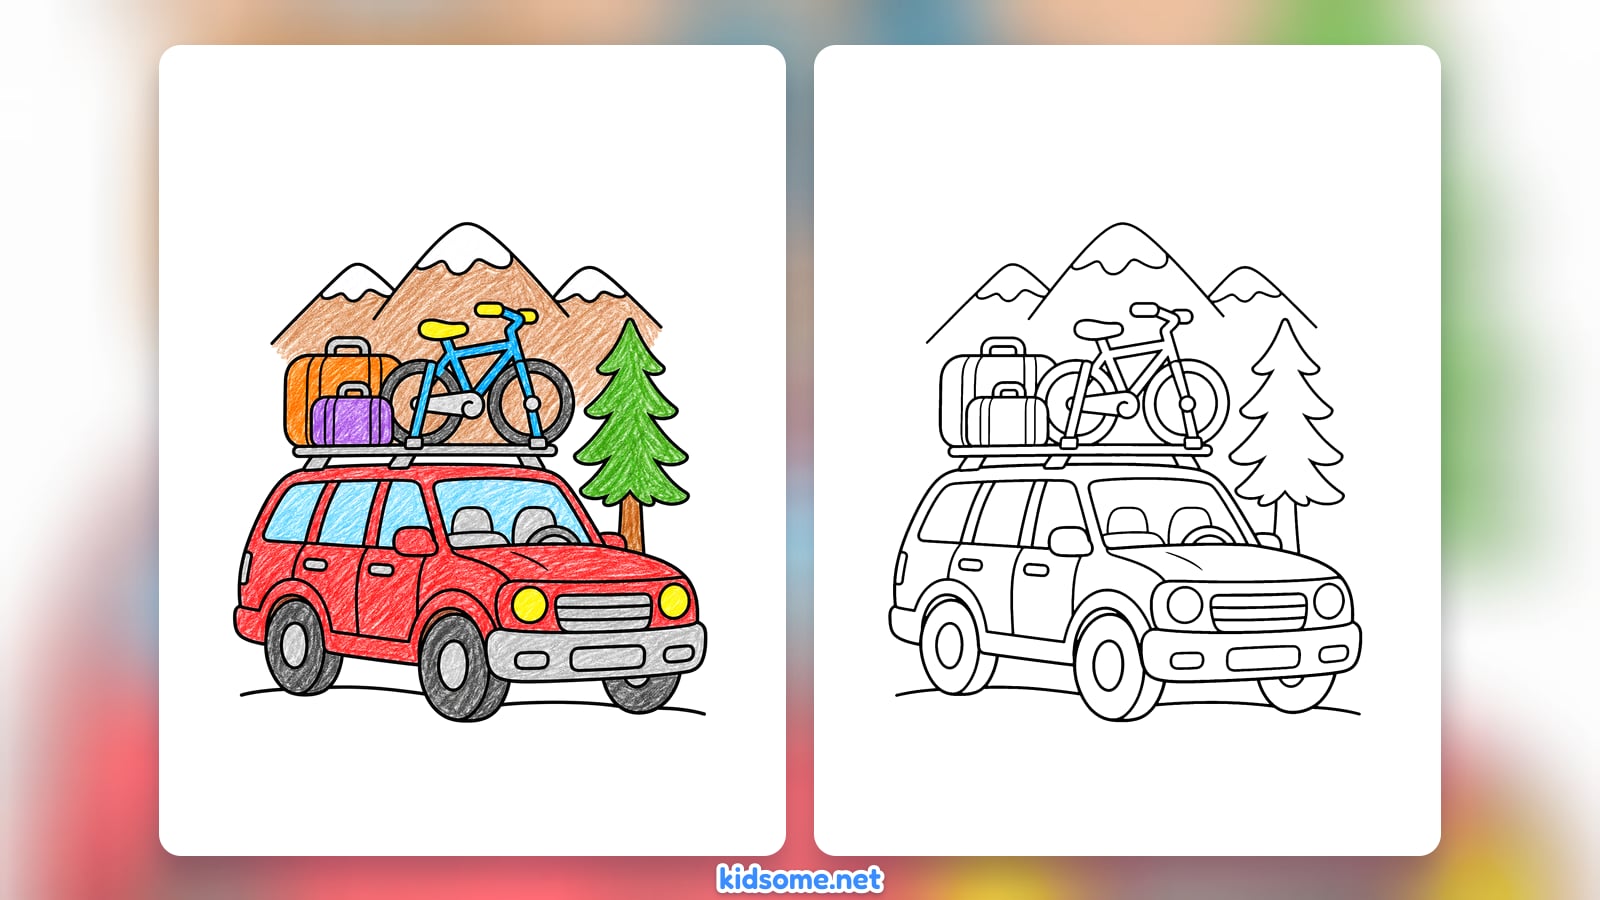
Two free PDFs go with the guide: the finished outline to color, and a printable guide with every step, two to a row, to keep beside the paper. Both print on US Letter and A4, and there is no sign-up. When the car is done, find the next one in the vehicle drawing guides.
-
Step 1 : Draw the body

Start with a long box with round ends near the bottom of your paper. This is the car's body. Leave space above it for the roof.
-
Step 2 : Draw the roof

Draw a big round arch on top of the body, like the top half of a ball. It starts near one end of the body and comes down near the other.
-
Step 3 : Draw the windows

Inside the roof, draw two windows side by side, each with a flat bottom and a curved side that follows the roof. Leave a thin gap between them.
-
Step 4 : Draw the wheels
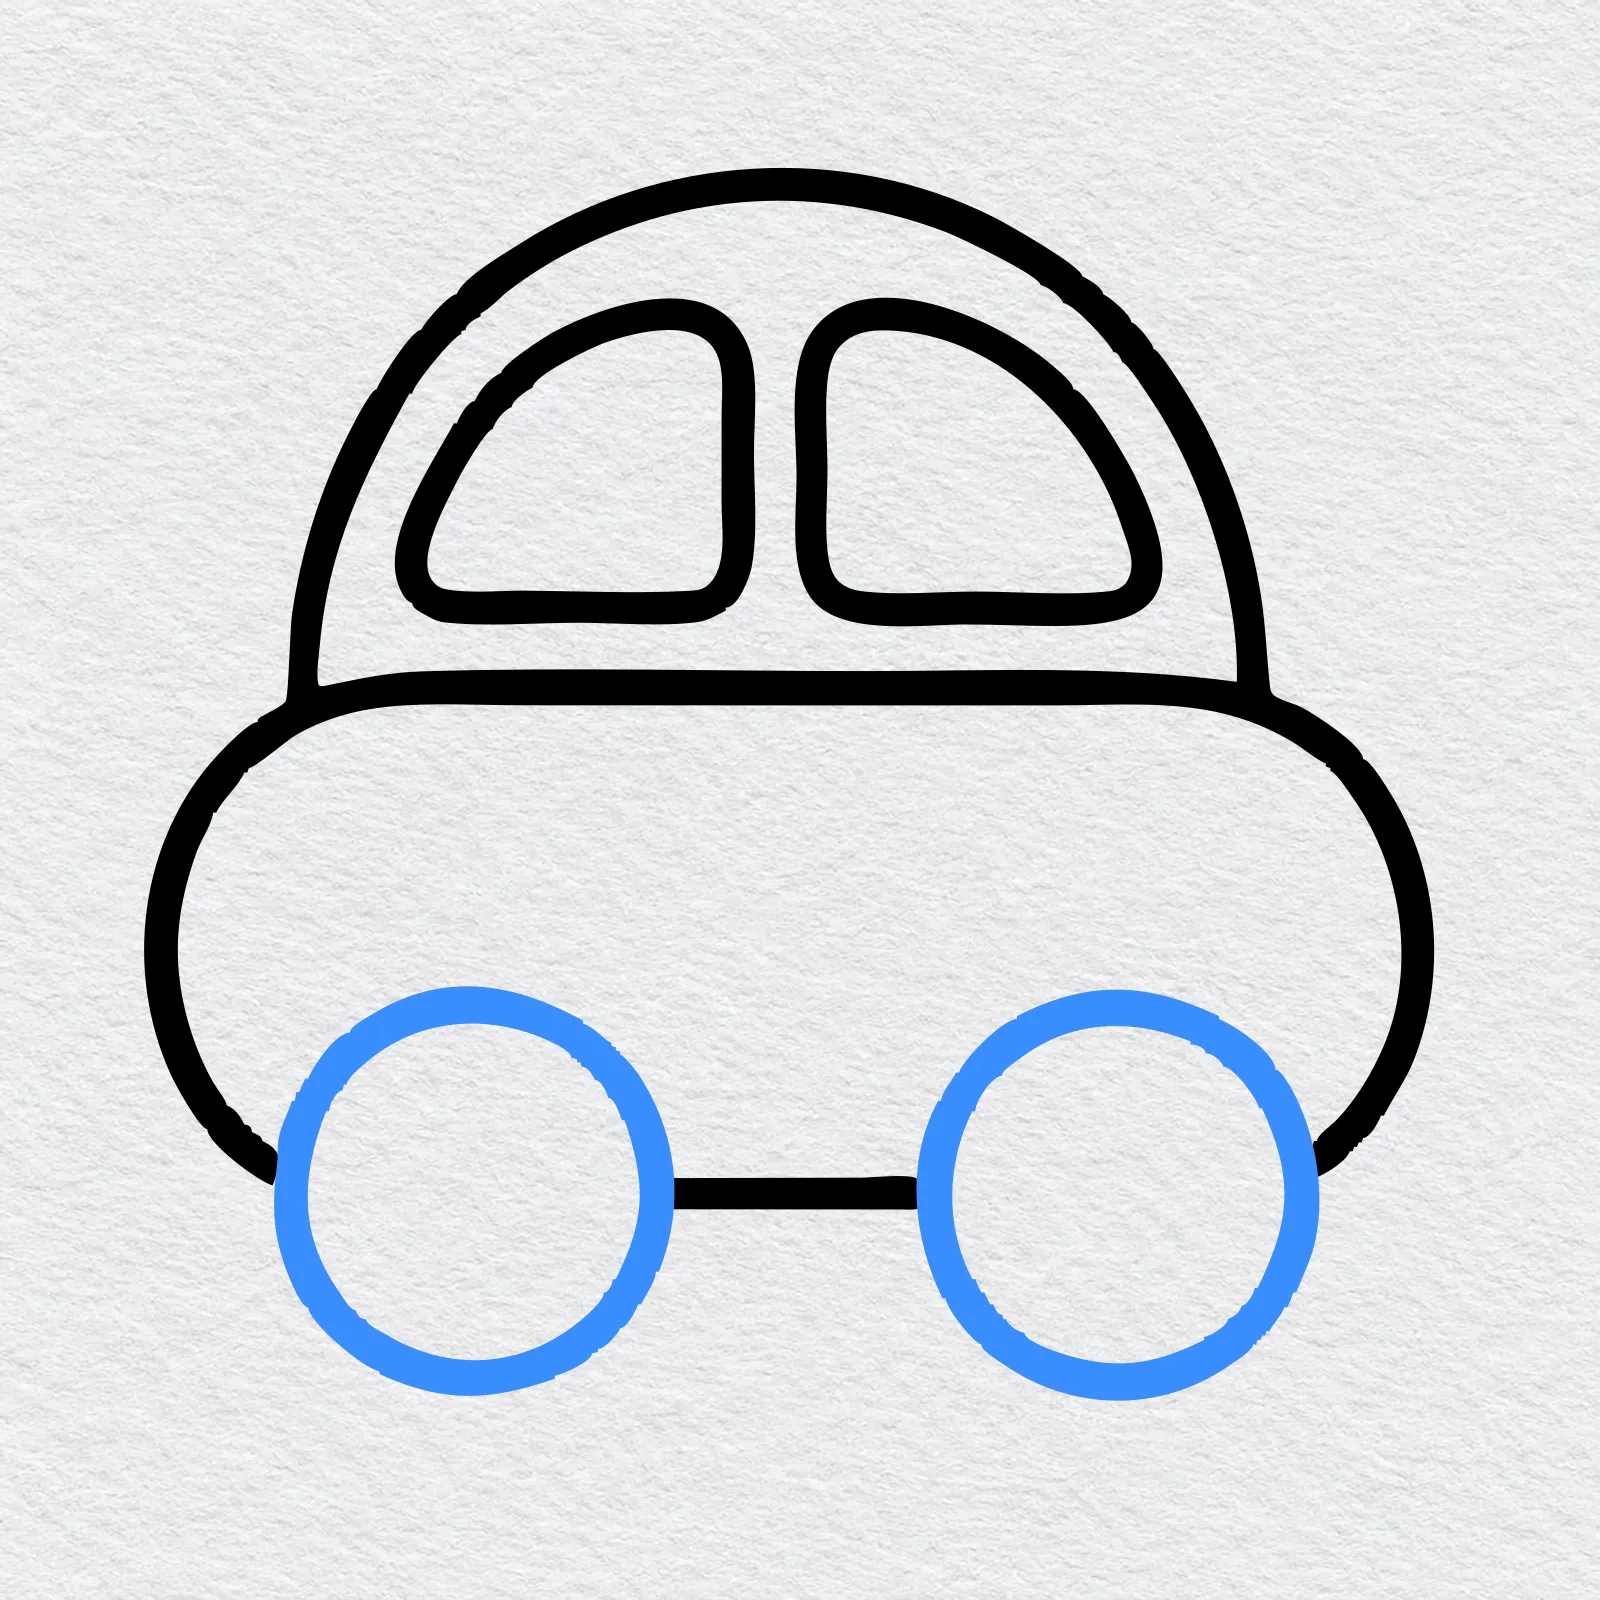
Draw two big circles at the bottom of the body, one near each end. Then erase the bit of body line inside each wheel.
-
Step 5 : Draw the hubcaps
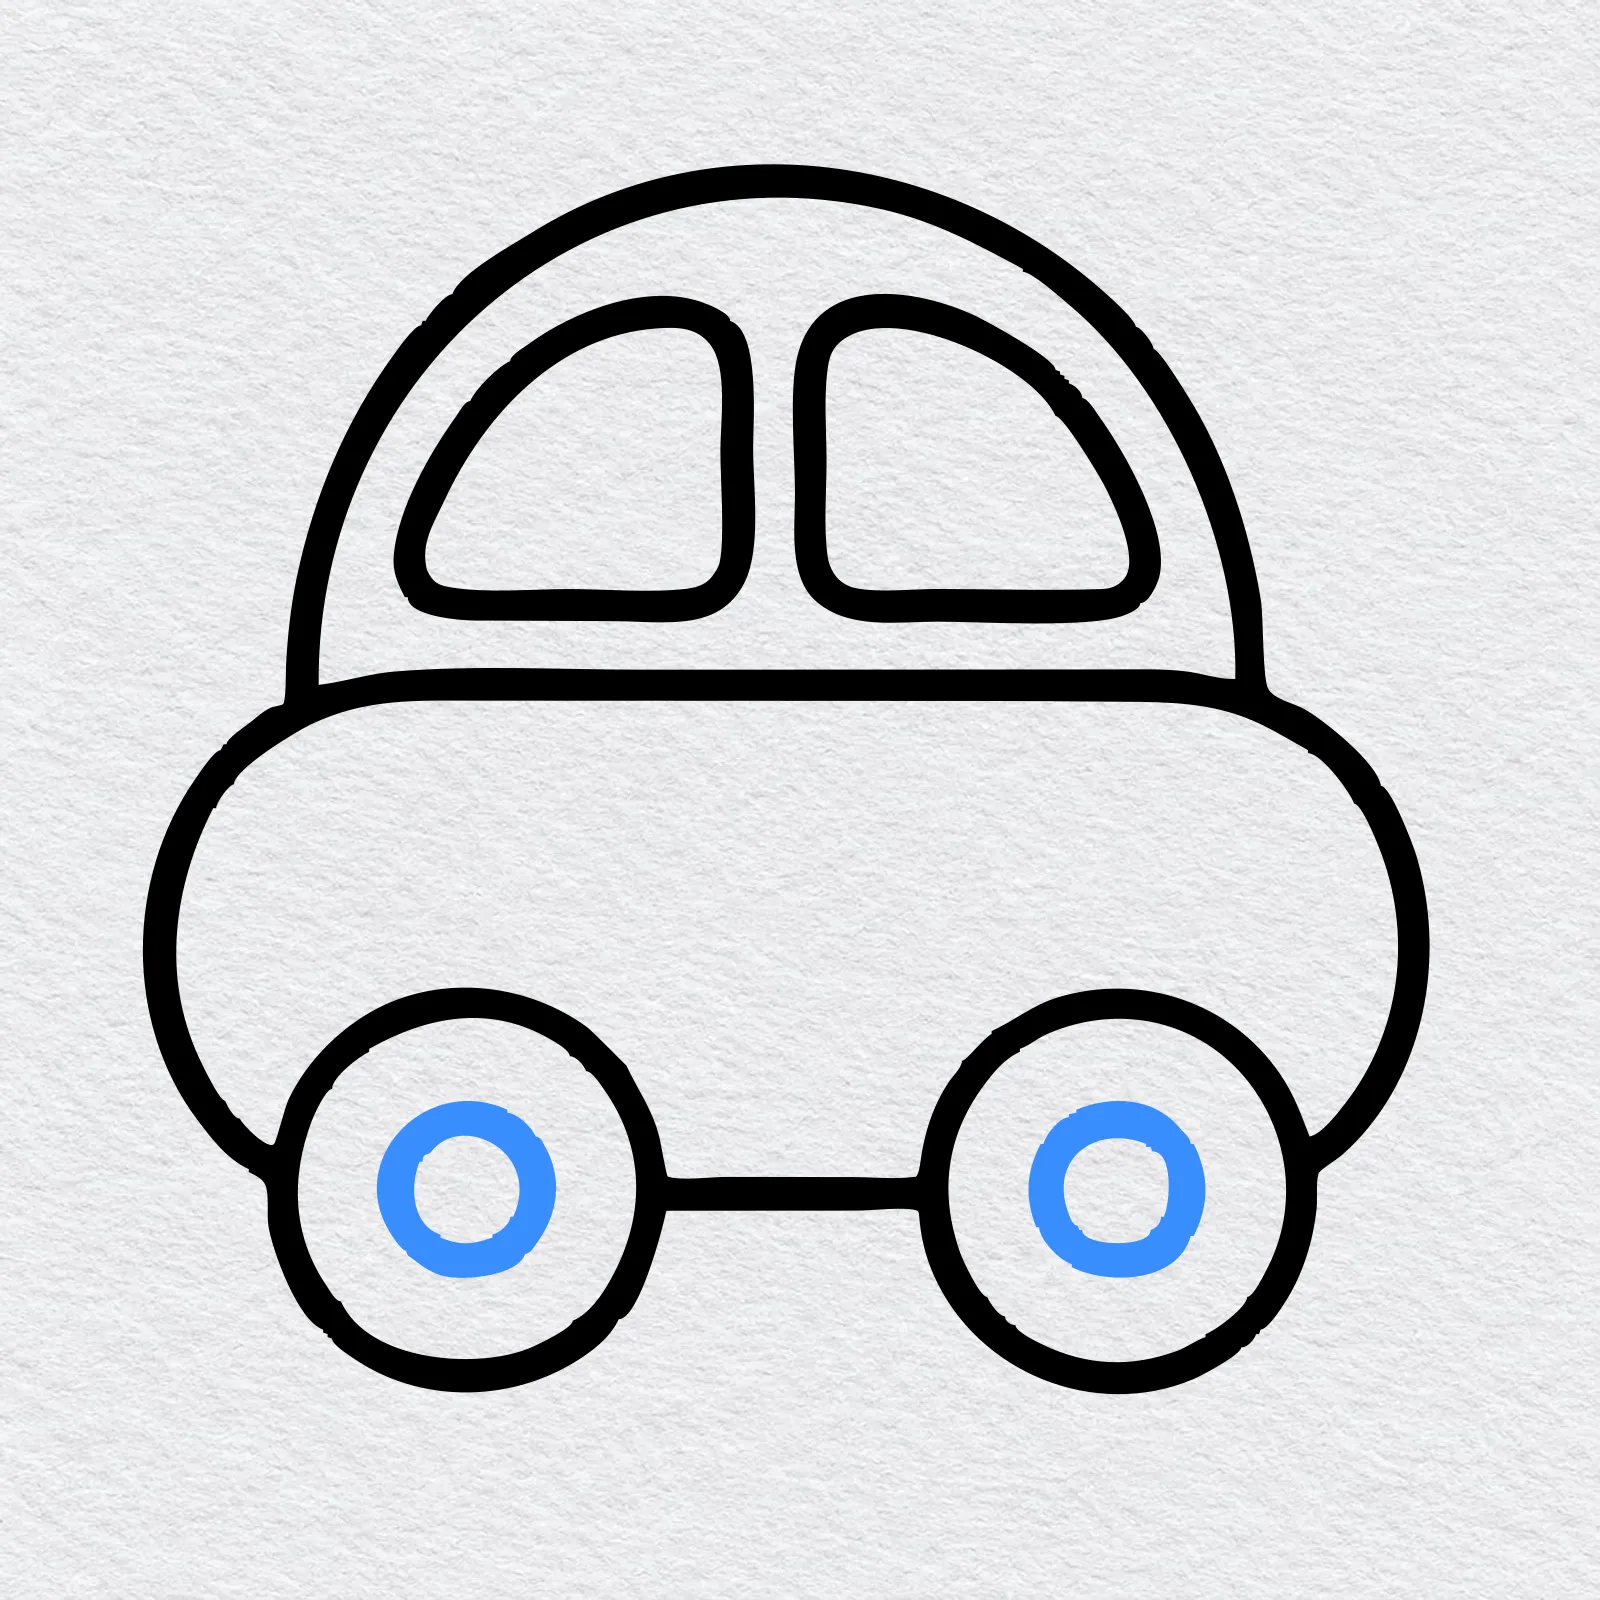
Put a small circle in the middle of each wheel for the hubcaps, so the wheels look ready to roll.
-
Step 6 : Draw the door and handle
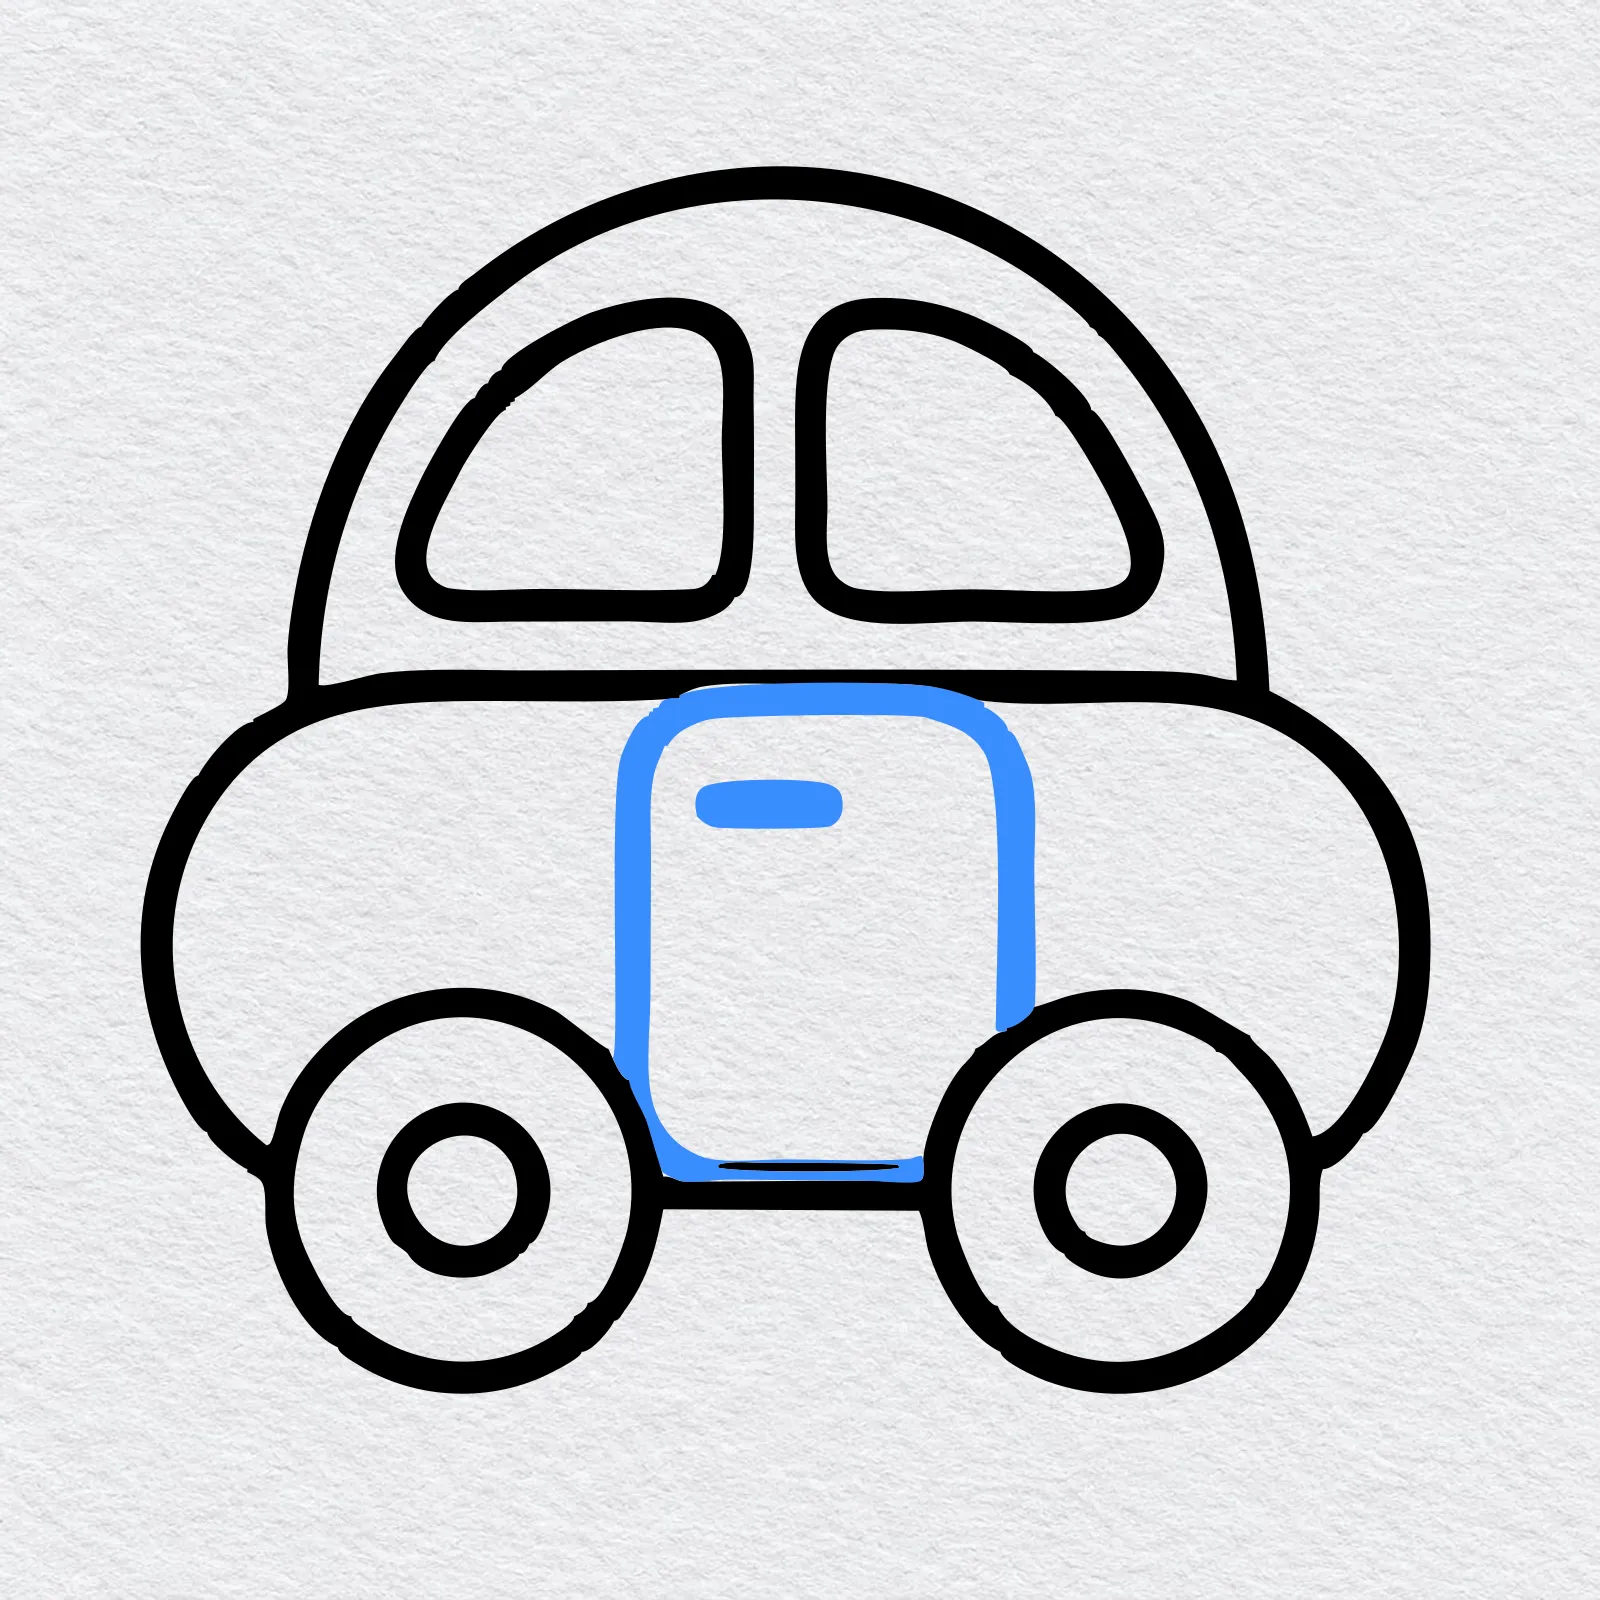
Draw a tall door with rounded corners in the middle of the body, down to the line between the wheels. Add a short line near the top for the handle.
-
Step 7 : Draw the lights
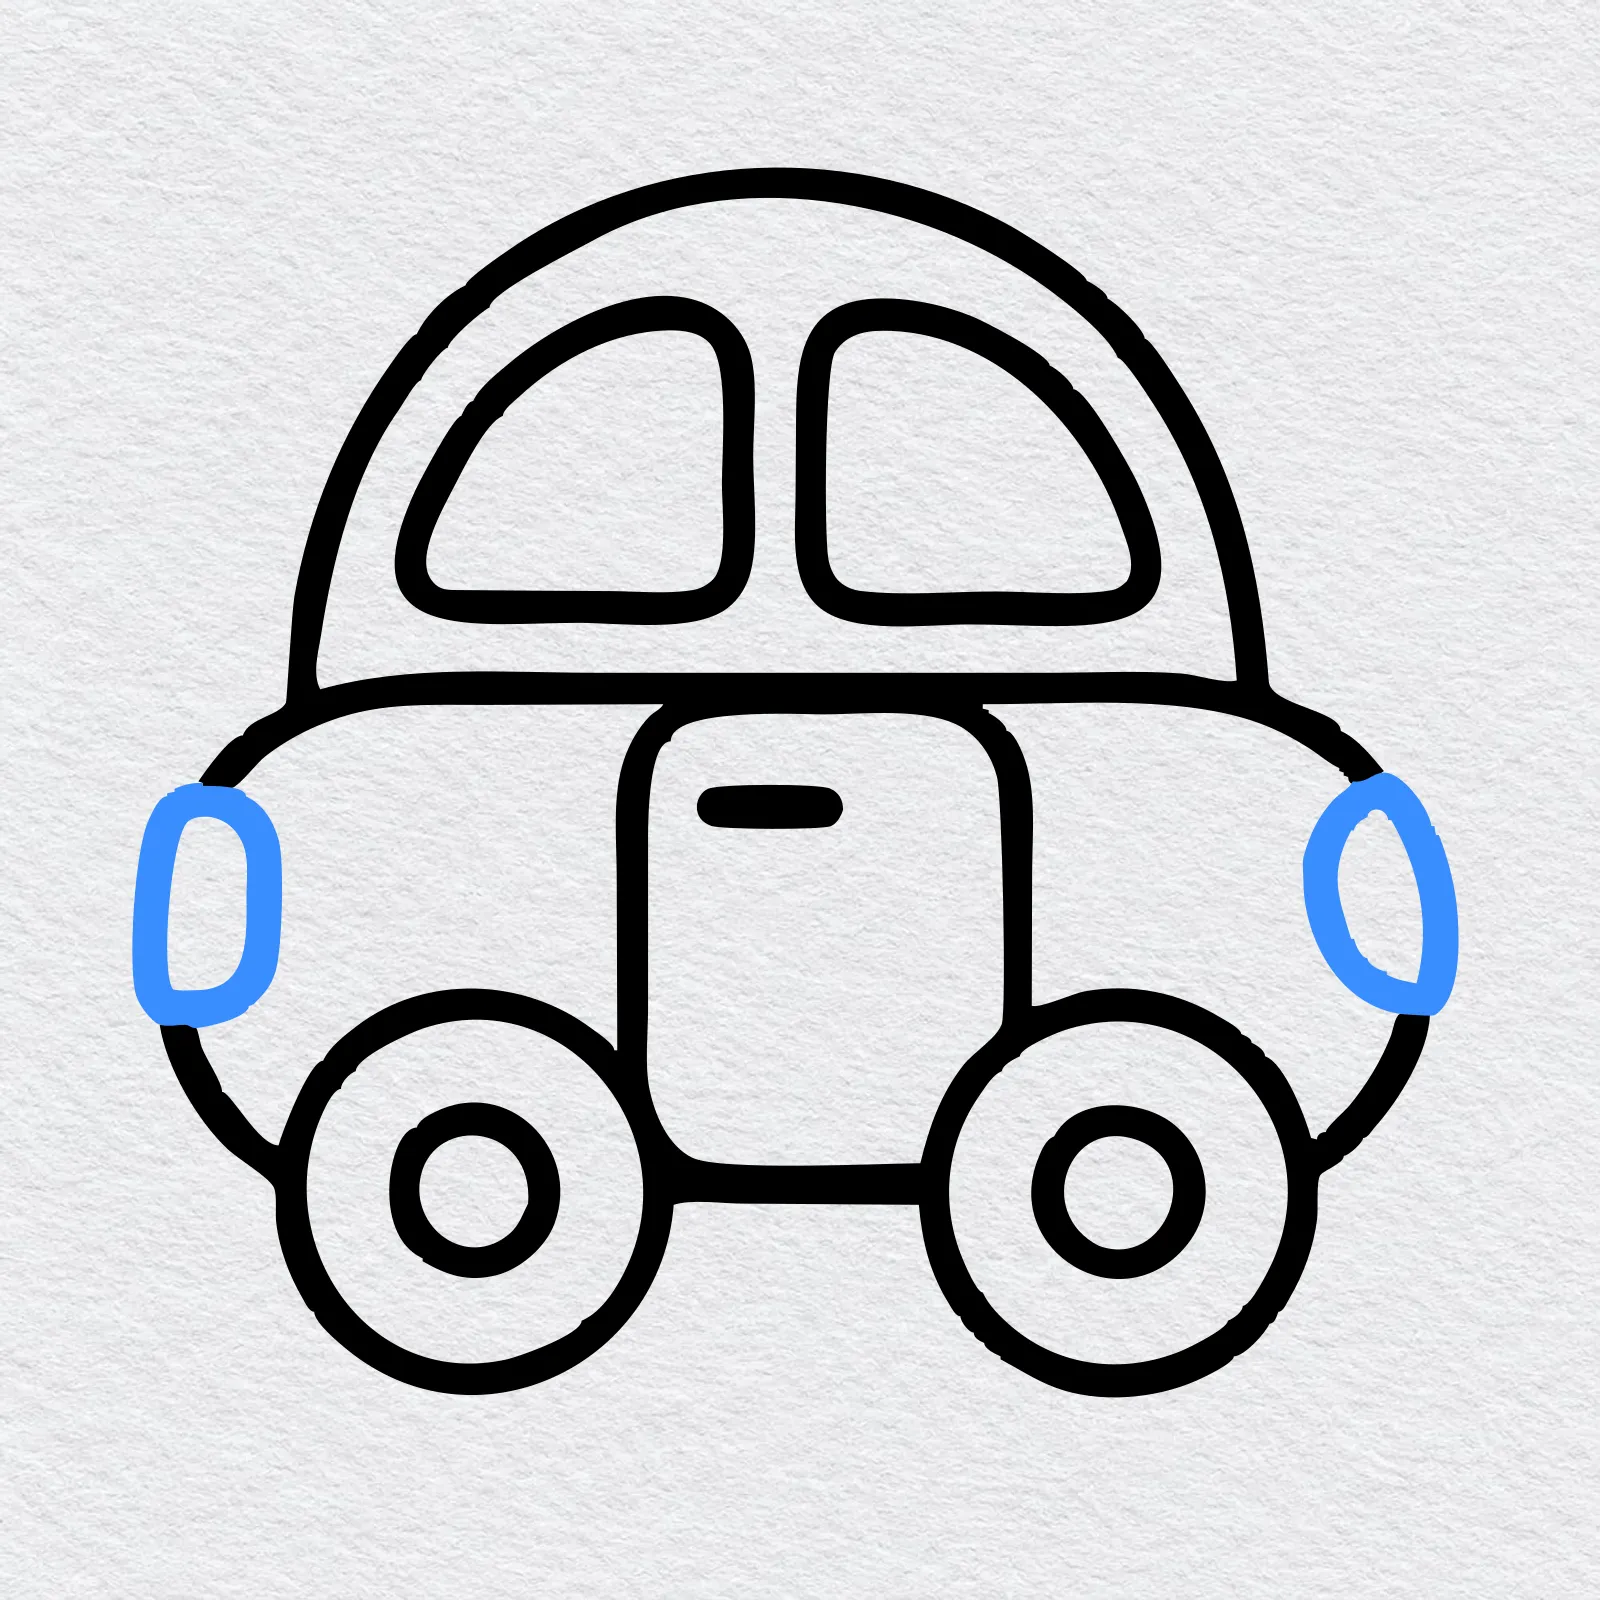
Draw an oval light on each end of the car. Pick one end to be the front. Its light is the headlight, and the other one is the taillight.
-
Step 8 : Draw the bumpers
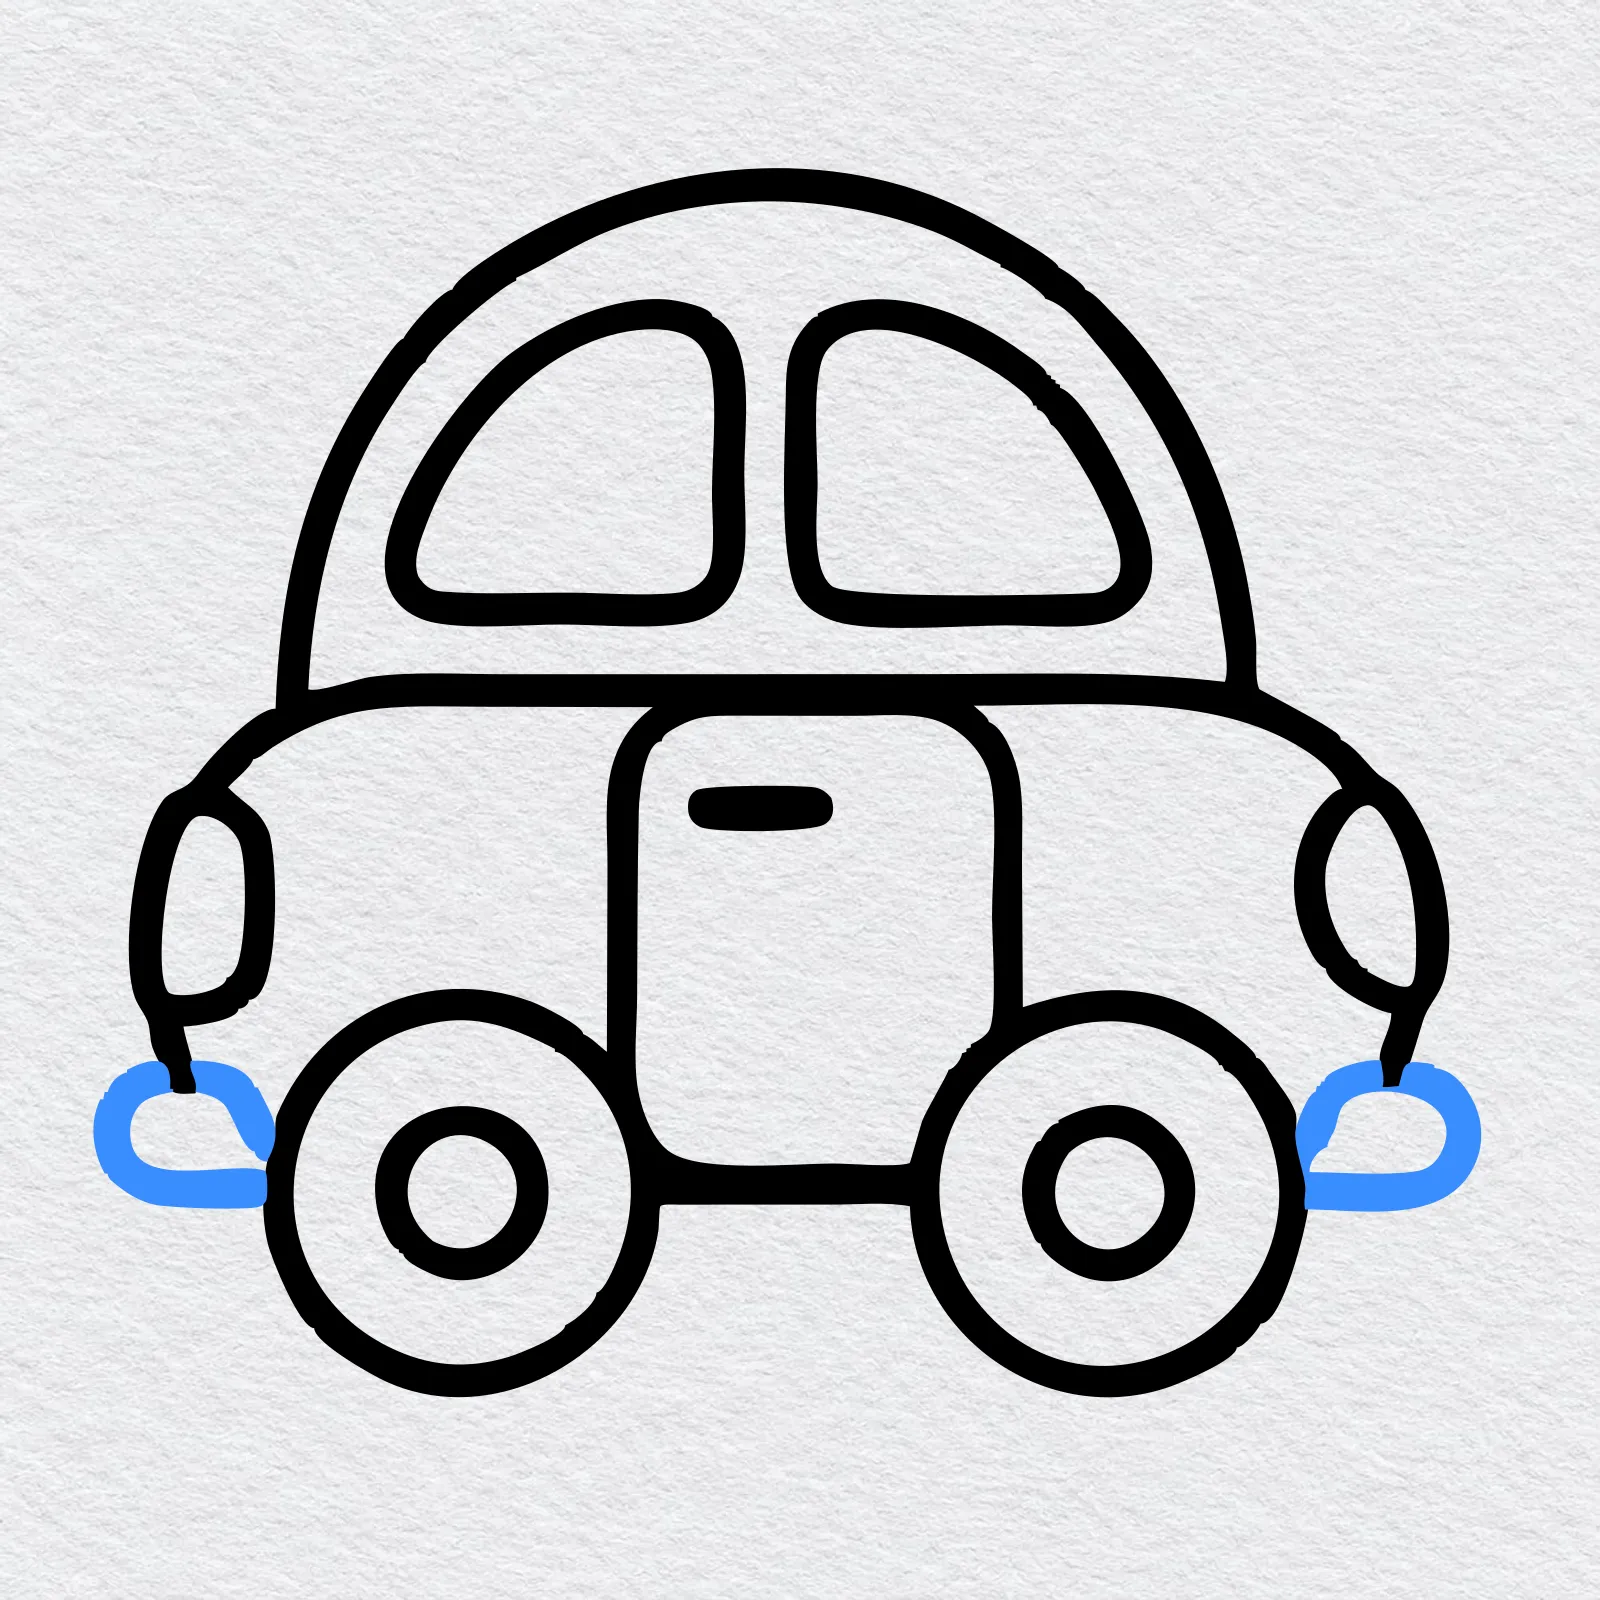
Under each light, draw a small rounded bumper sticking out from the end of the car, just beside the wheel.
-
Step 9 : Draw the road
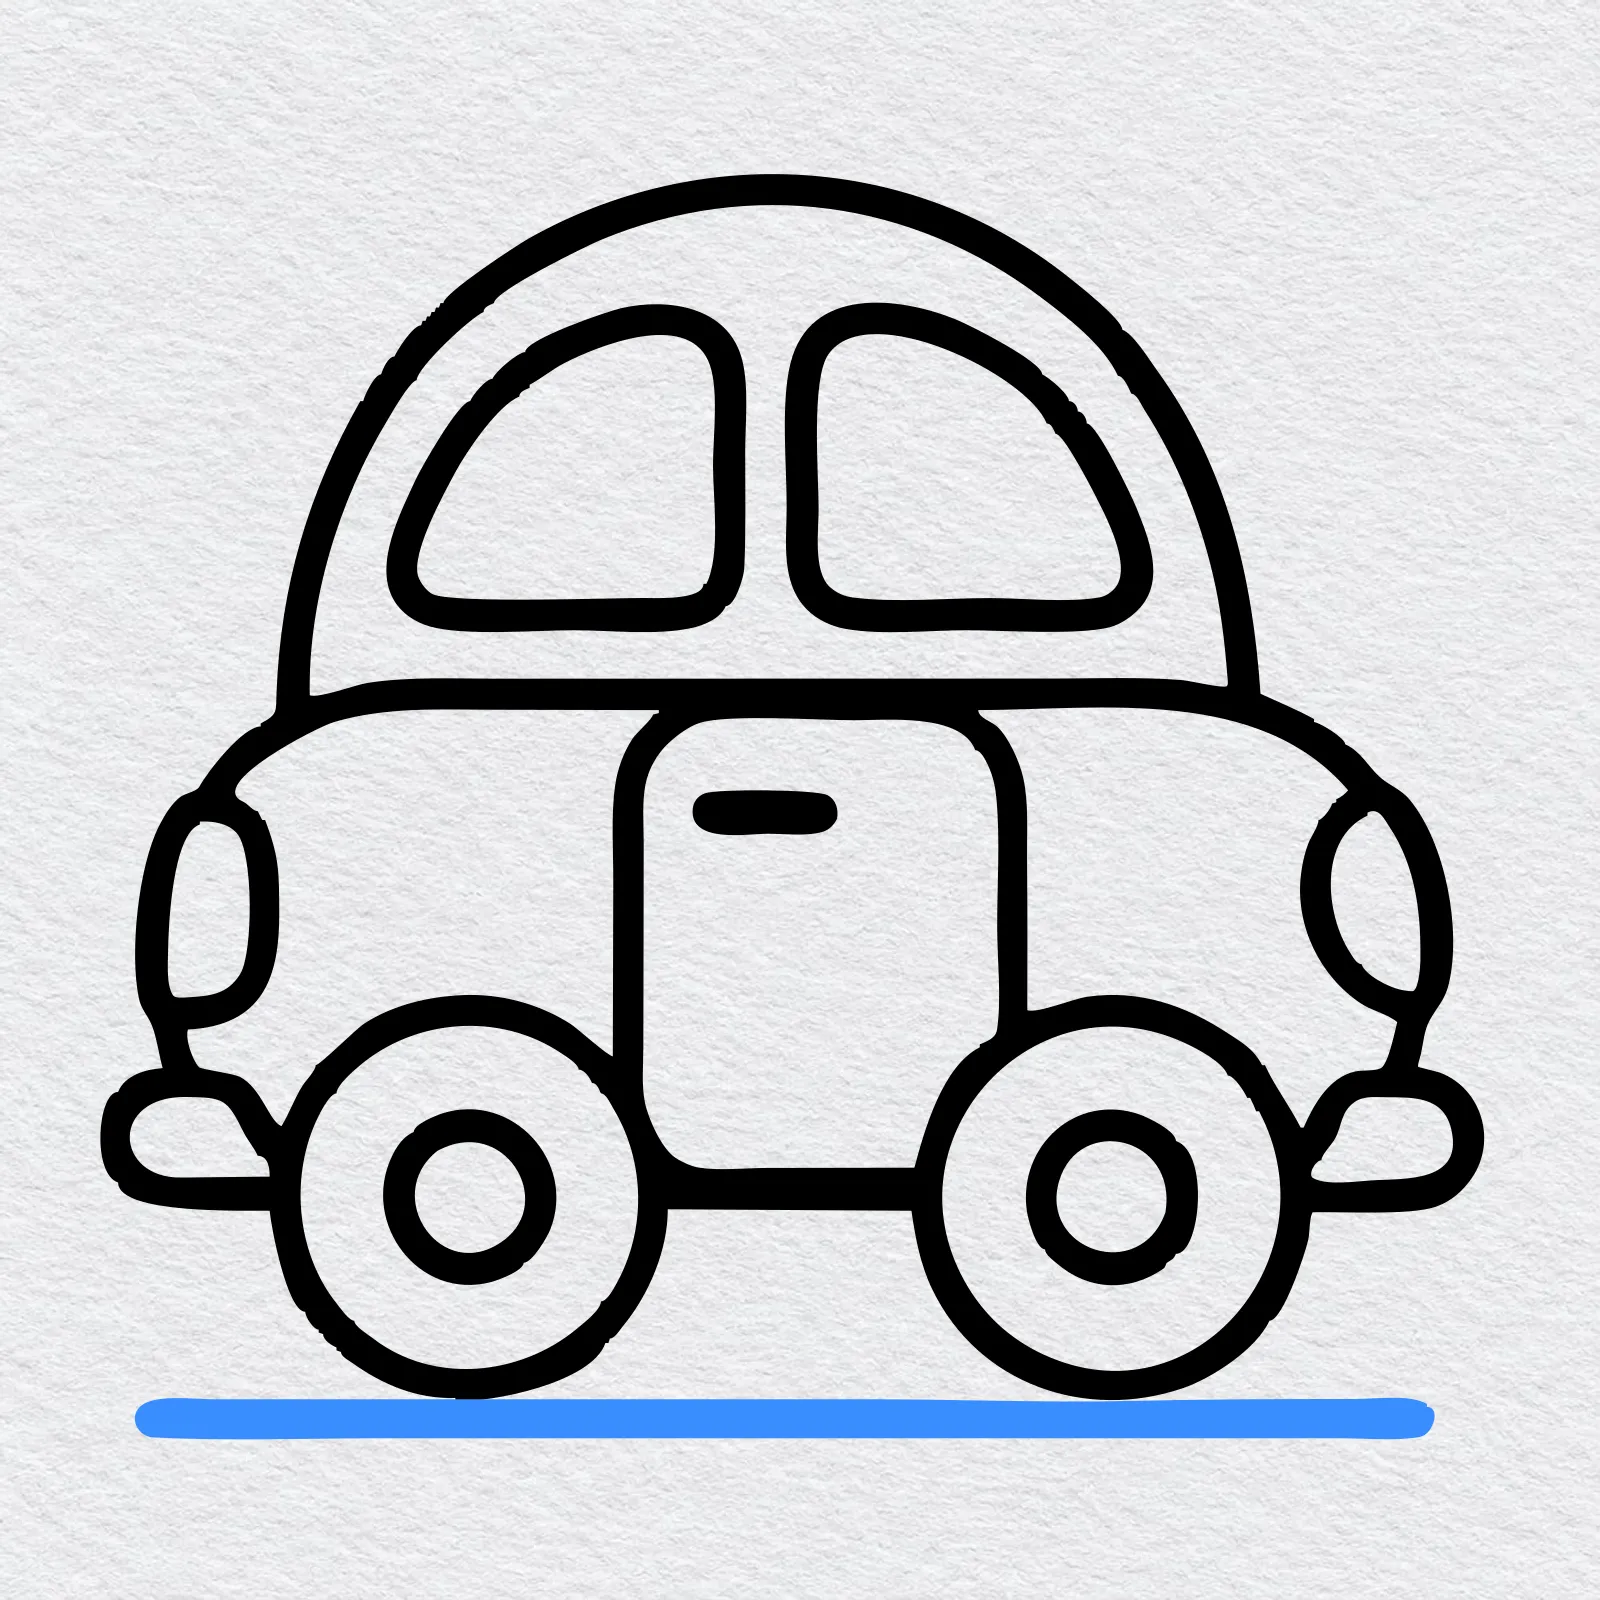
Draw one long straight line under the wheels. Now your car is parked on the road, and your drawing is finished.
-
Step 10 : Color your car
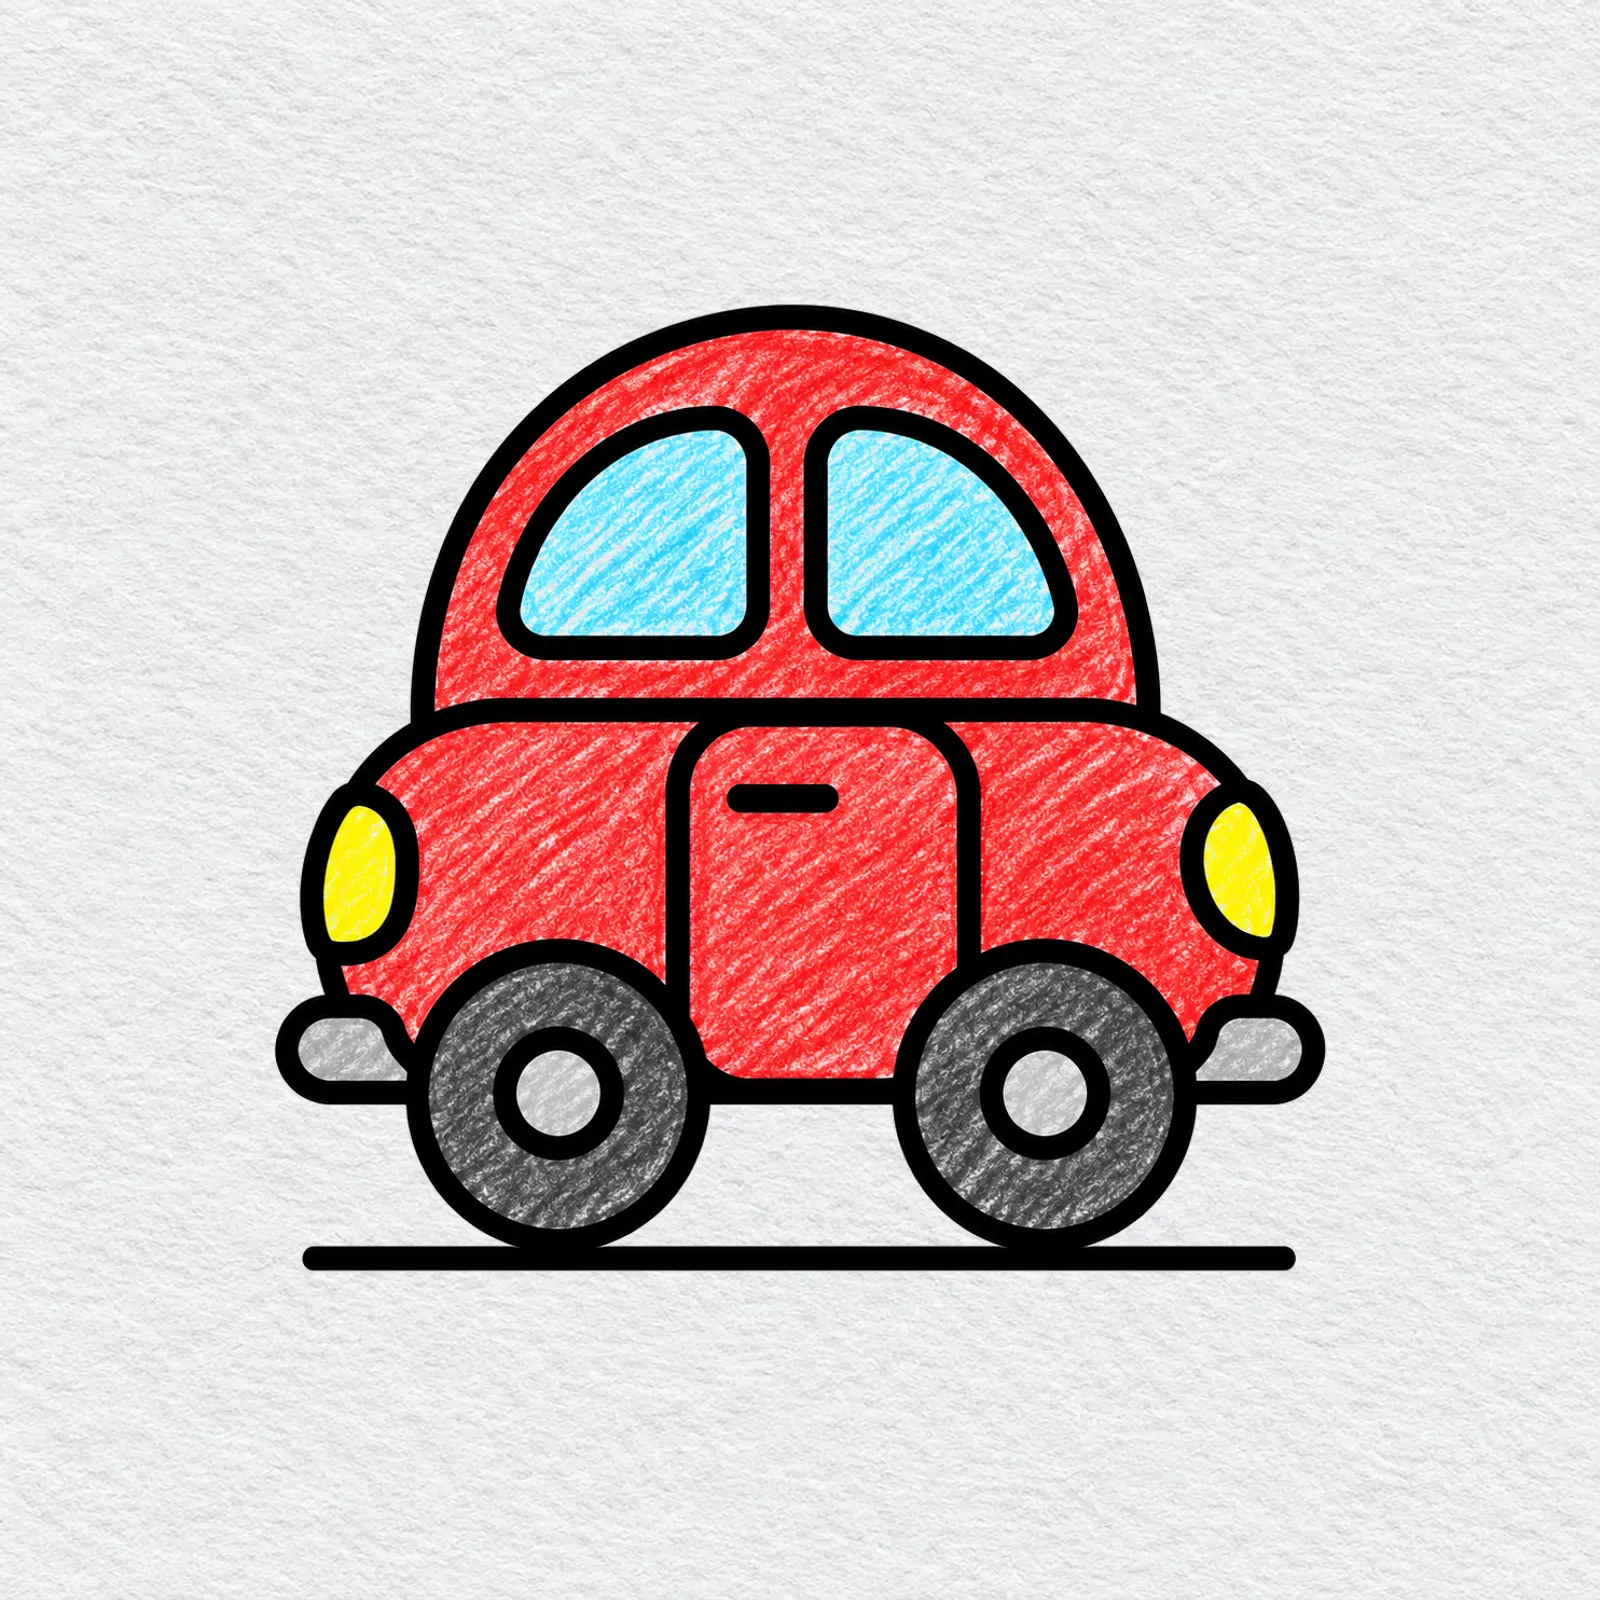
Pick one bright color for the body and roof, such as red, blue or green. Use light blue for the windows, yellow for the lights and gray for the wheels and bumpers.
Color slowly around the windows and press lightly at first. A second layer makes the color brighter.
Printable car drawing PDFs
 Save
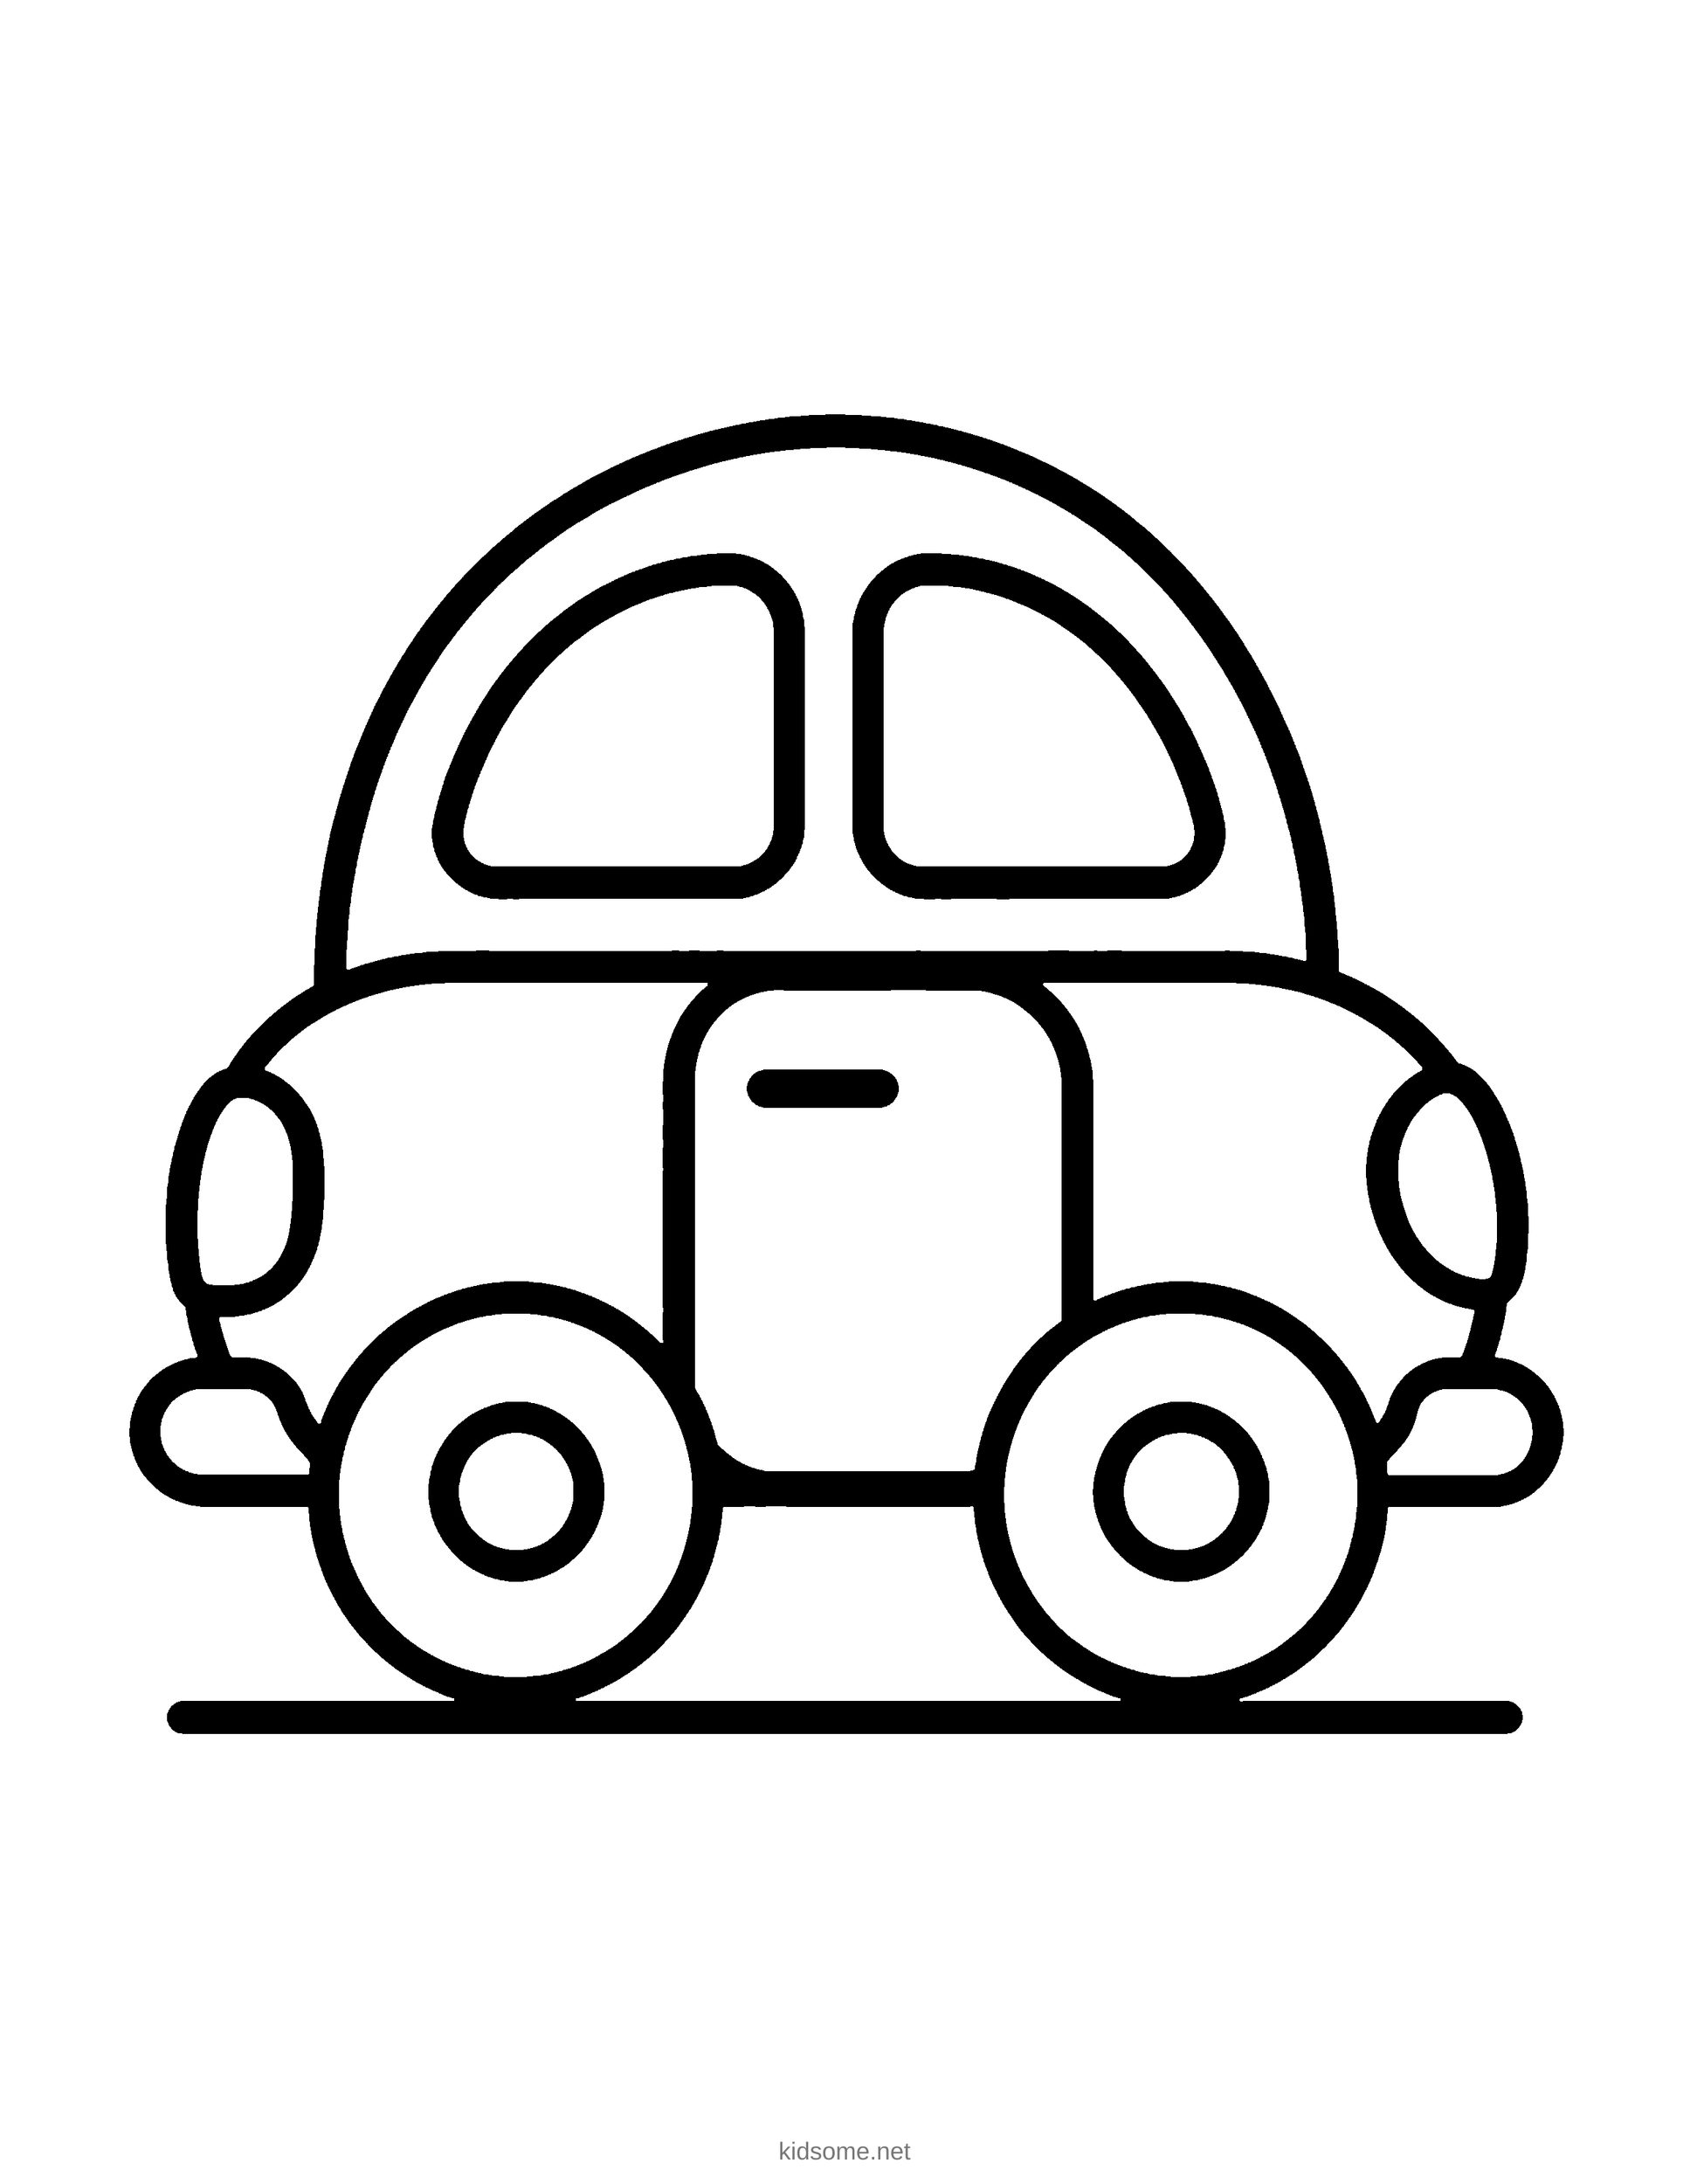
Little Car Outline to Color
The finished little car on its road as an outline to color, with the colored car on page two.
Download PDF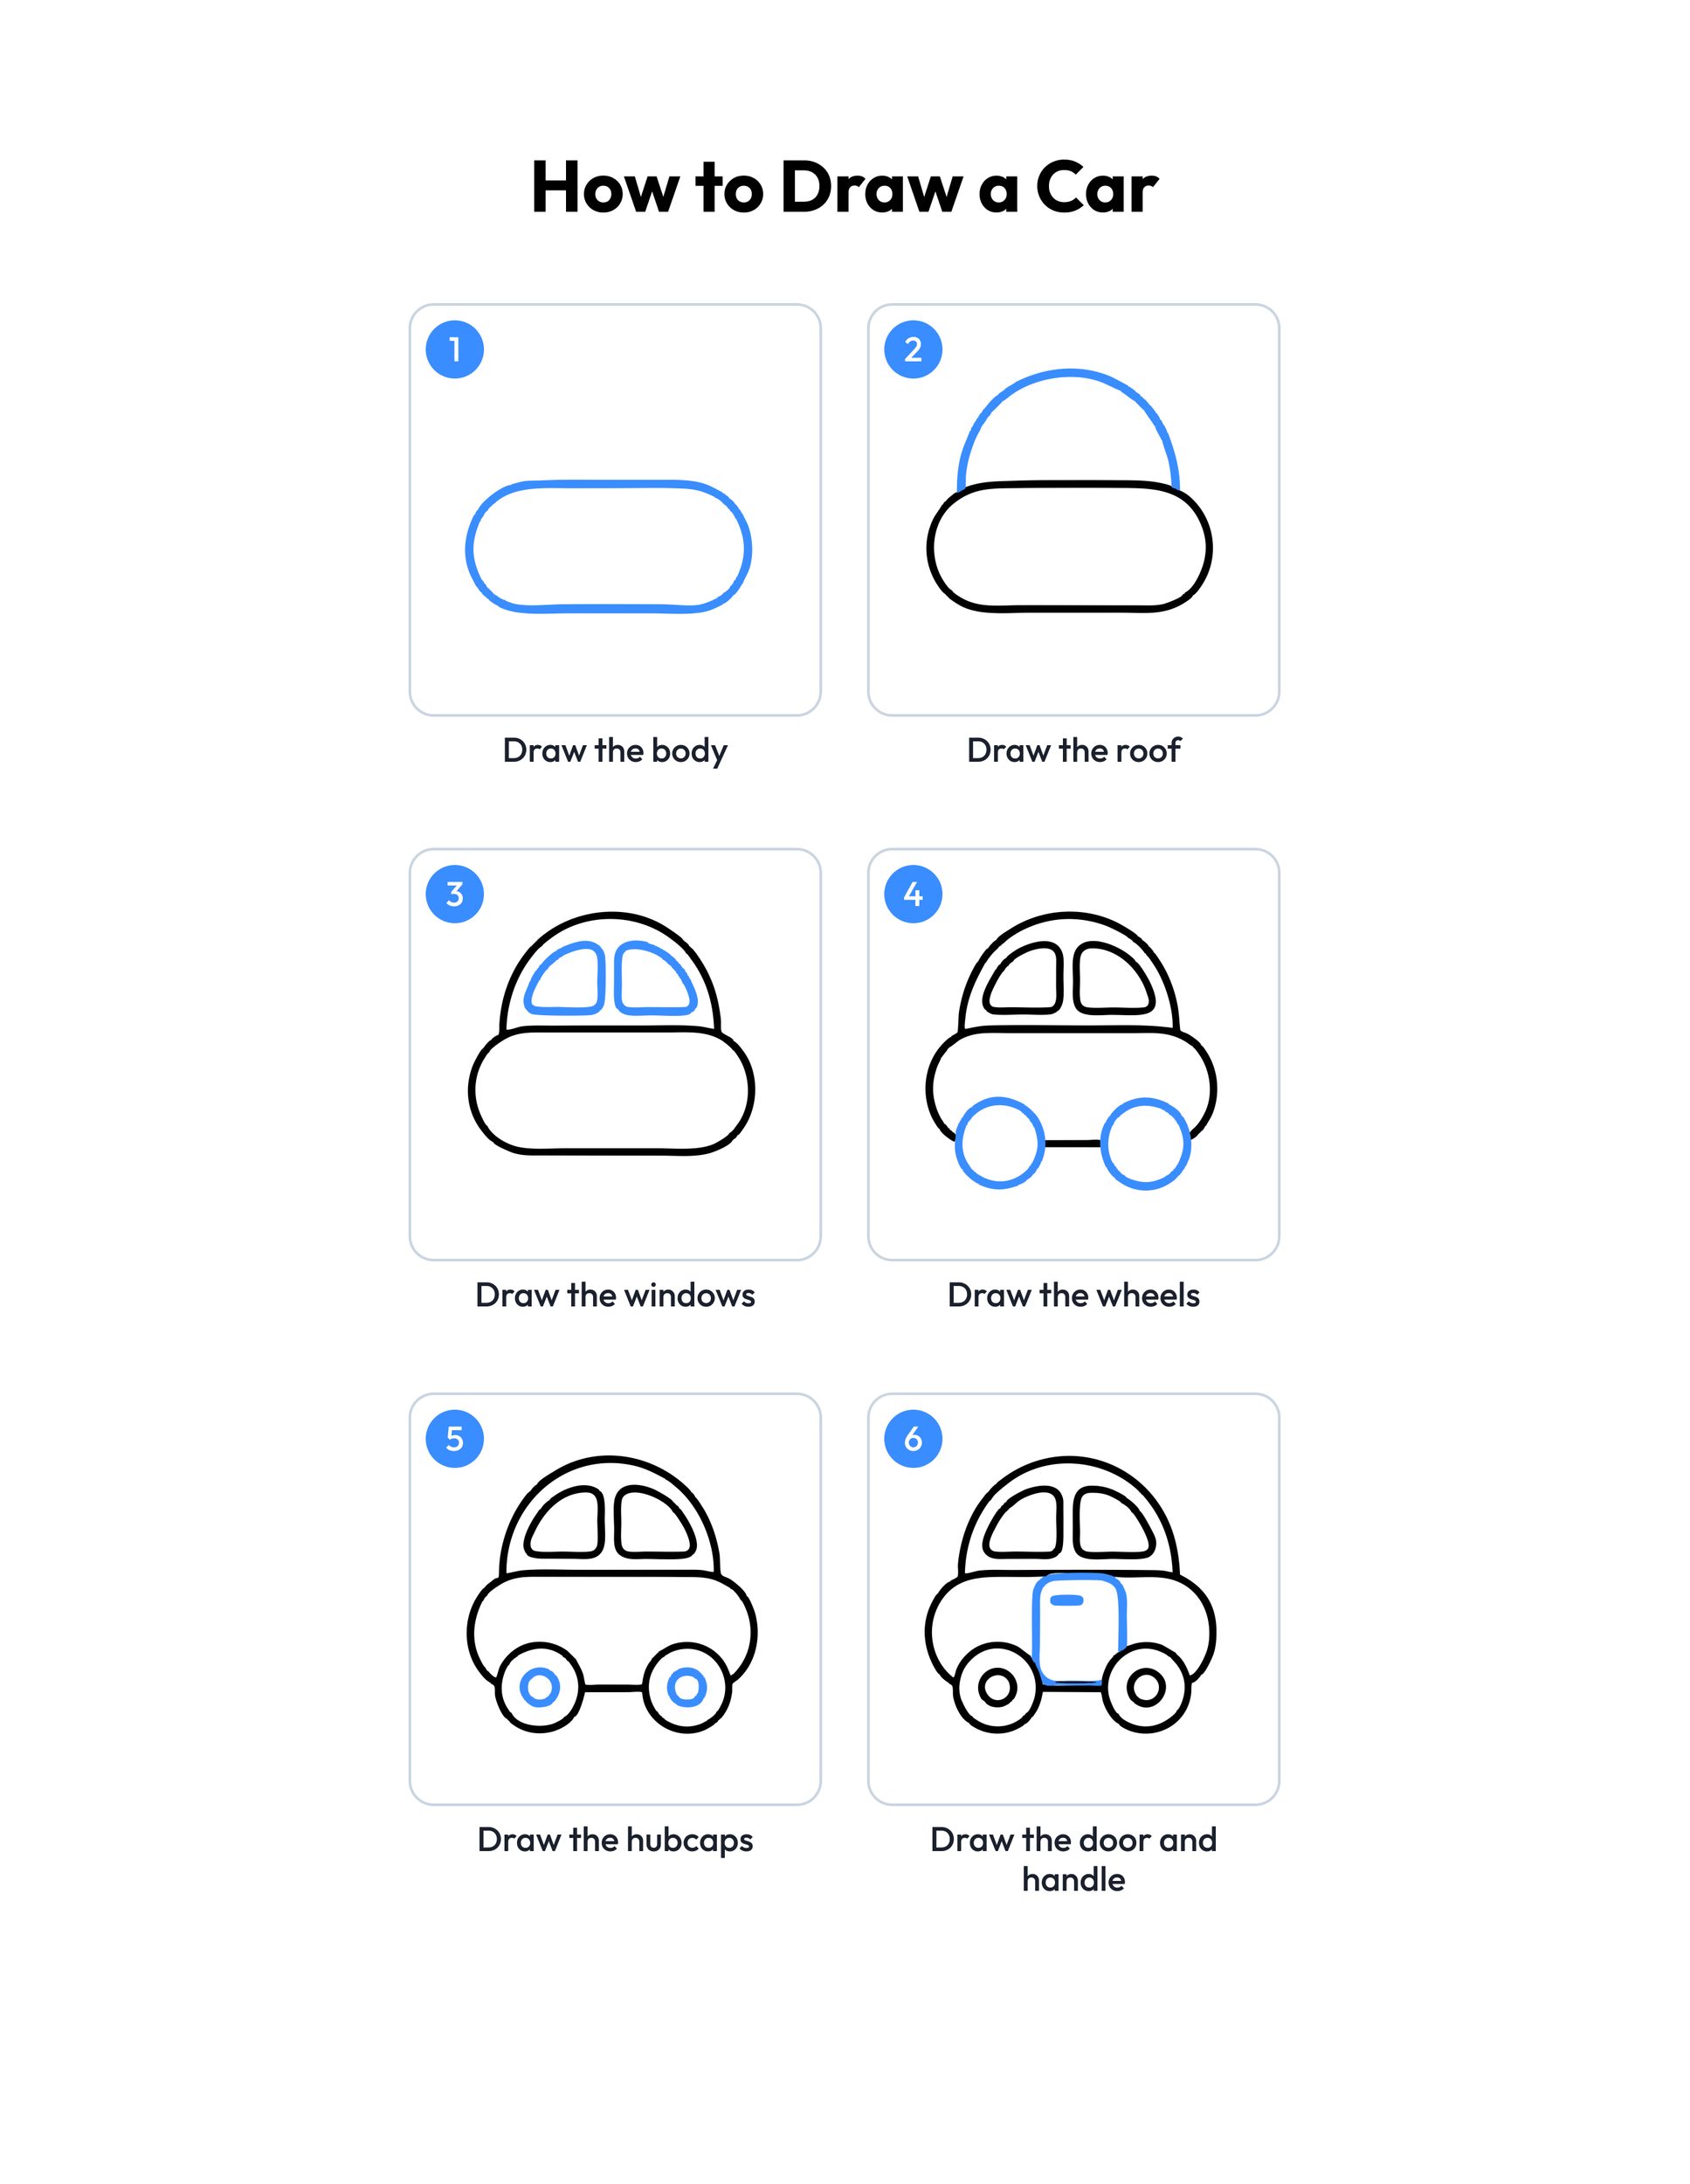 Save
Printable car drawing guide
Every step, two to a row, with the finished car in color at the end.
Download PDFHow to use this guide
Print the outline at 100 percent, or pick Fit to page if your printer asks. The PDF is US Letter size with margins wide enough for A4, so the whole car and its road stay on the sheet. Page one is the outline to color and page two is the same car colored in, so print page one on its own when your child only wants the drawing.
For drawing, use plain copy paper and a pencil with a good eraser. Press lightly for the body and the roof, since those big shapes often take a second try, then go over the finished car with a marker or a dark crayon. Markers and paint soak through thin paper, so print on cardstock for those.
Long Rounded Car Body, Car Body With a Round Roof and Car With Two Big Wheels are the easiest steps, with one big shape each. A younger child can stop after the wheels, color what is there and still have a car. The door, the lights and the bumpers take more care, because they are small and sit close to the wheels, so a grown-up can sketch each one lightly for the child to go over.
Print the step guide and lay it next to the paper, or keep this page open on a tablet. Point to the blue line in each step and say what it is before your child draws it.
Ideas for your car drawing
- Car show: Have everyone color the car their own way, with stripes or a name on the door. Park the drawings in a row and let each artist say where their car is going.
- Pet passenger: Draw a small dog looking out of the back window with the how to draw a dog guide. Keep its head small so it fits inside the window.
- Snowy road: Dot snowflakes across the sky and add a snowman beside the car with the snowman drawing guide. A blue crayon makes good shadows under the wheels.
- Shape count: Before drawing, find the circles, ovals and rounded boxes in the finished car. Count the circles together, then count them again on your own car.
- Town on the floor: Tape a few sheets together, draw roads with a ruler and add houses, a school and a shop. Cut out the colored cars and drive them from place to place.
- Classroom transport unit: Put step guides, pencils and erasers in an art center during a transport unit. Children work at their own speed and add their cars to a long paper road on the wall.
- Dinosaur on the road: Draw a big friendly dinosaur peeking over the car with the how to draw a dinosaur guide, then ask your child to tell how the car got past it.
- Road trip folder: Keep the step guide, a pencil and blank paper in a folder for long drives. Kids can draw the cars they spot out of the window, in the same colors.
What age is this car drawing for?
It is made for ages 4 to 8. The youngest children can draw the body, roof and wheels with a grown-up nearby, and older kids can draw the whole car alone, then add a tree or a house beside the road.
How can I help a child who finds it hard?
Draw each new part lightly in pencil and let your child go over it. Circles are the tricky part for small hands, so trace around a cup or a bottle cap for the wheels. A wobbly car is still a car, and the second one usually comes out rounder.
Can I draw other kinds of cars with these steps?
Yes. Once kids know how to draw cars with this rounded body, small changes make new ones. Stretch the body and add more windows for a bus, make it taller and squarer for a van, or put a little sign on the roof for a taxi.
Can I print the guide for my class?
Yes. Teachers, homeschool parents and art clubs can print the outline and the step guide for every student in the group. Both PDFs are free for personal and classroom use. Please do not sell them or share the files on another website.
What can we draw after the car?
Pick something built from the same round shapes. The how to draw a cat guide starts with circles too, and a cat curled up on the car roof makes a funny picture. Or turn this car into a family car with bags tied on top.