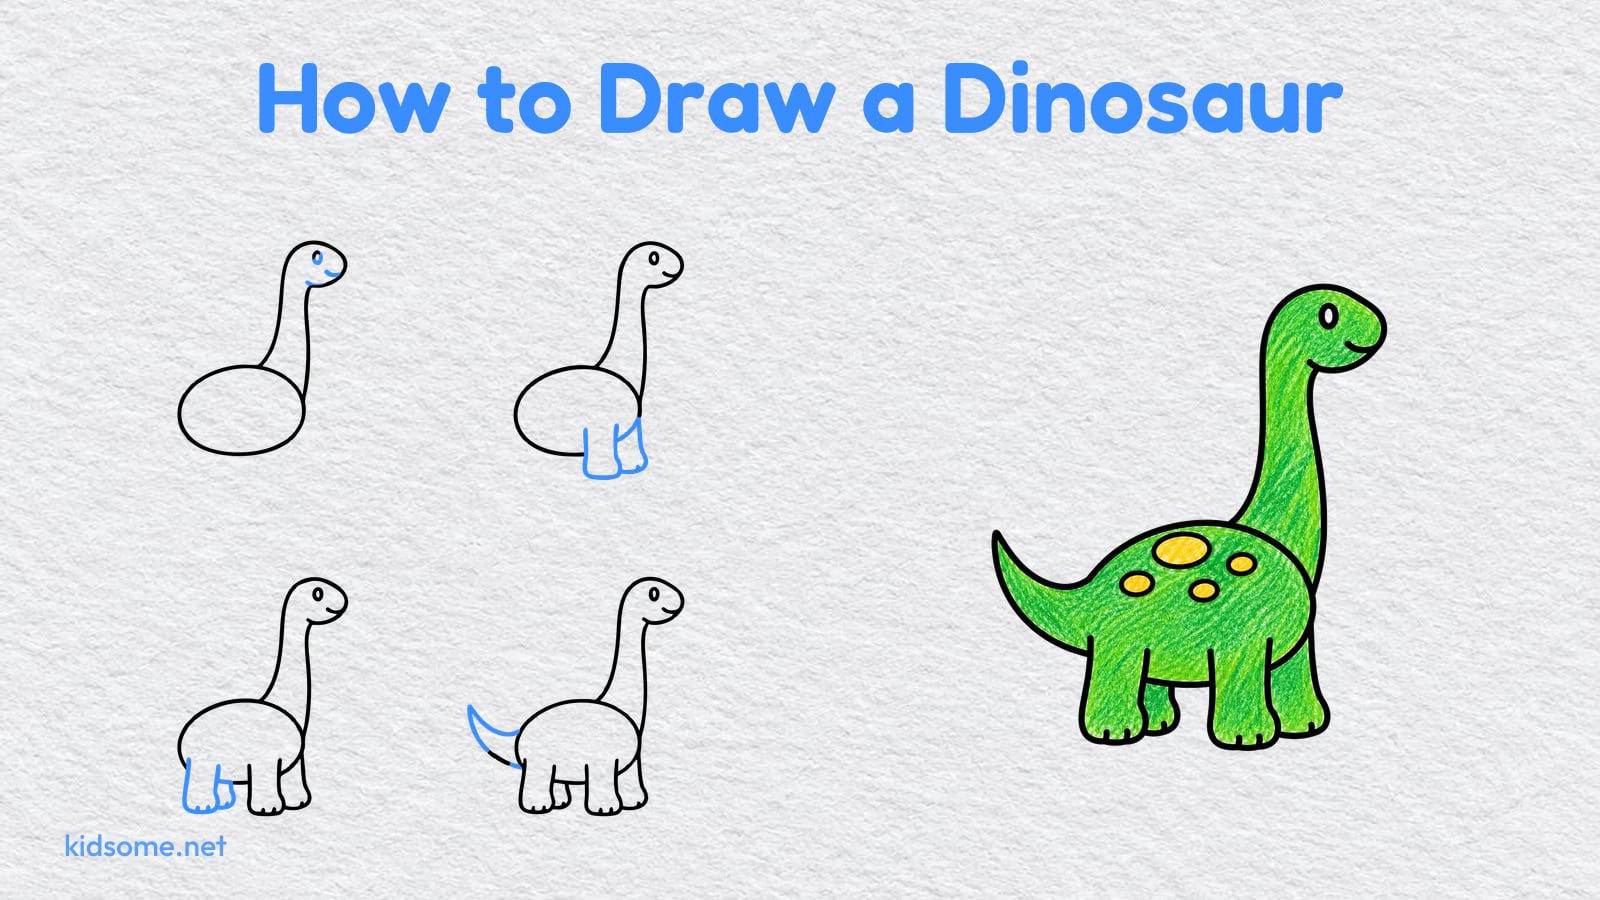
This how to draw a dinosaur guide is made for kids ages 4 to 8 who want a dinosaur they can draw on their own. The dinosaur is a friendly long-neck, standing on four stubby legs with a big smile, a curved tail and round spots on its back. If your child can draw an oval and a few curves, they can draw this one.
There are nine steps. Each step shows the drawing so far in black and the new part in blue, so it is always clear what to add next. It starts with one big oval for the body and ends with the spots. The last picture shows the dinosaur colored green with yellow spots, as an idea to copy or change. Two free PDFs go with the guide: the finished outline to color, and a step guide to keep beside the paper. Both print on US Letter and A4, and there is no sign-up.
When the dinosaur is done, the animal drawing guides have more animals to try next.
-
Step 1 : Draw the body

Draw a big, wide oval near the bottom of your paper. This is the dinosaur's body. Leave lots of space above it for the long neck.
-
Step 2 : Draw the long neck
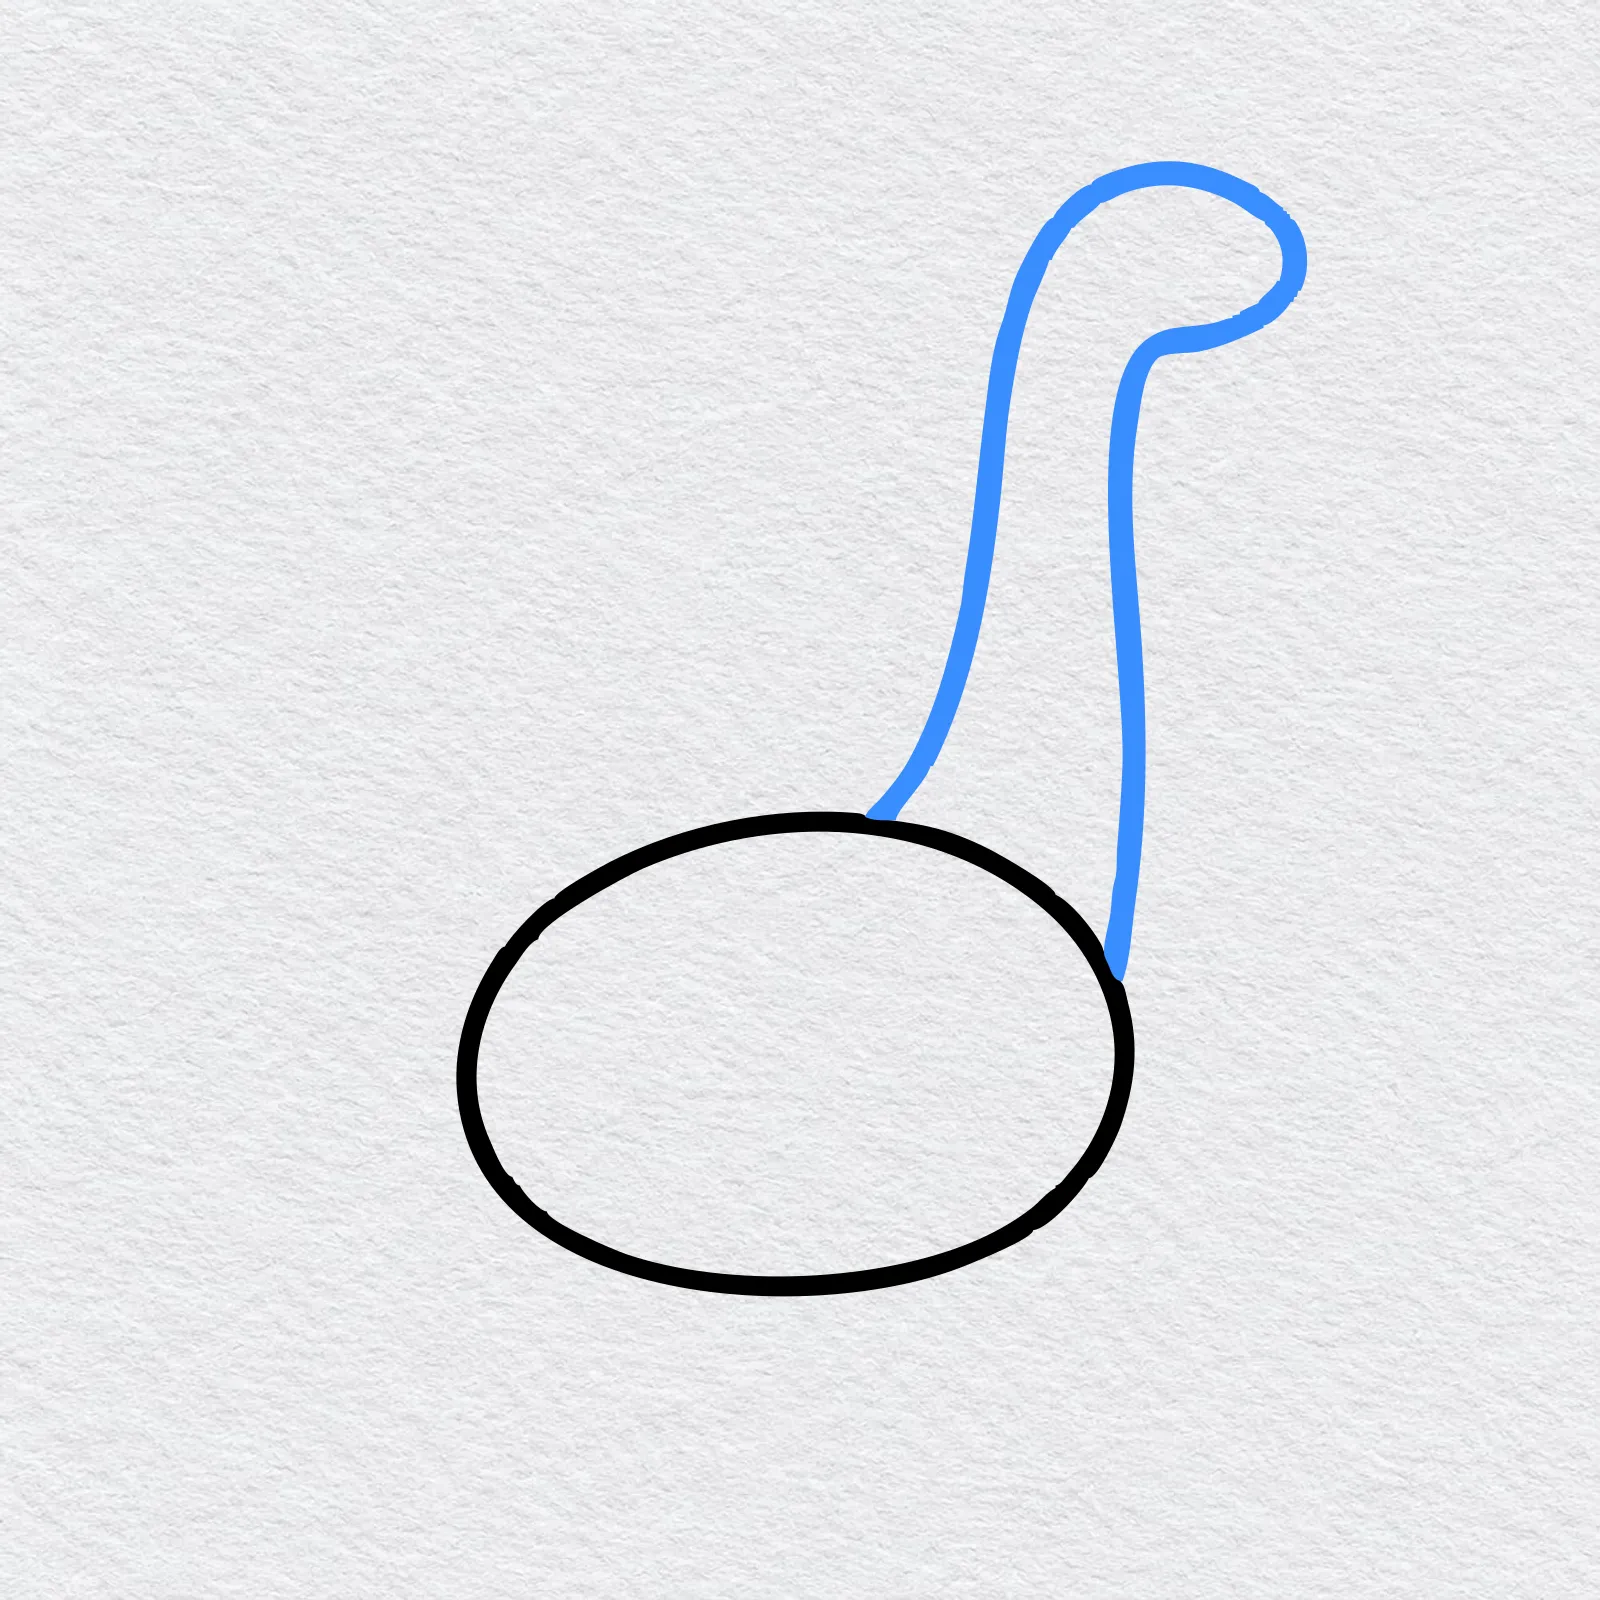
From the top of the body, draw two long lines going up, like a tall straw. At the top, let the lines bend over to the right where the head will go.
-
Step 3 : Draw the head
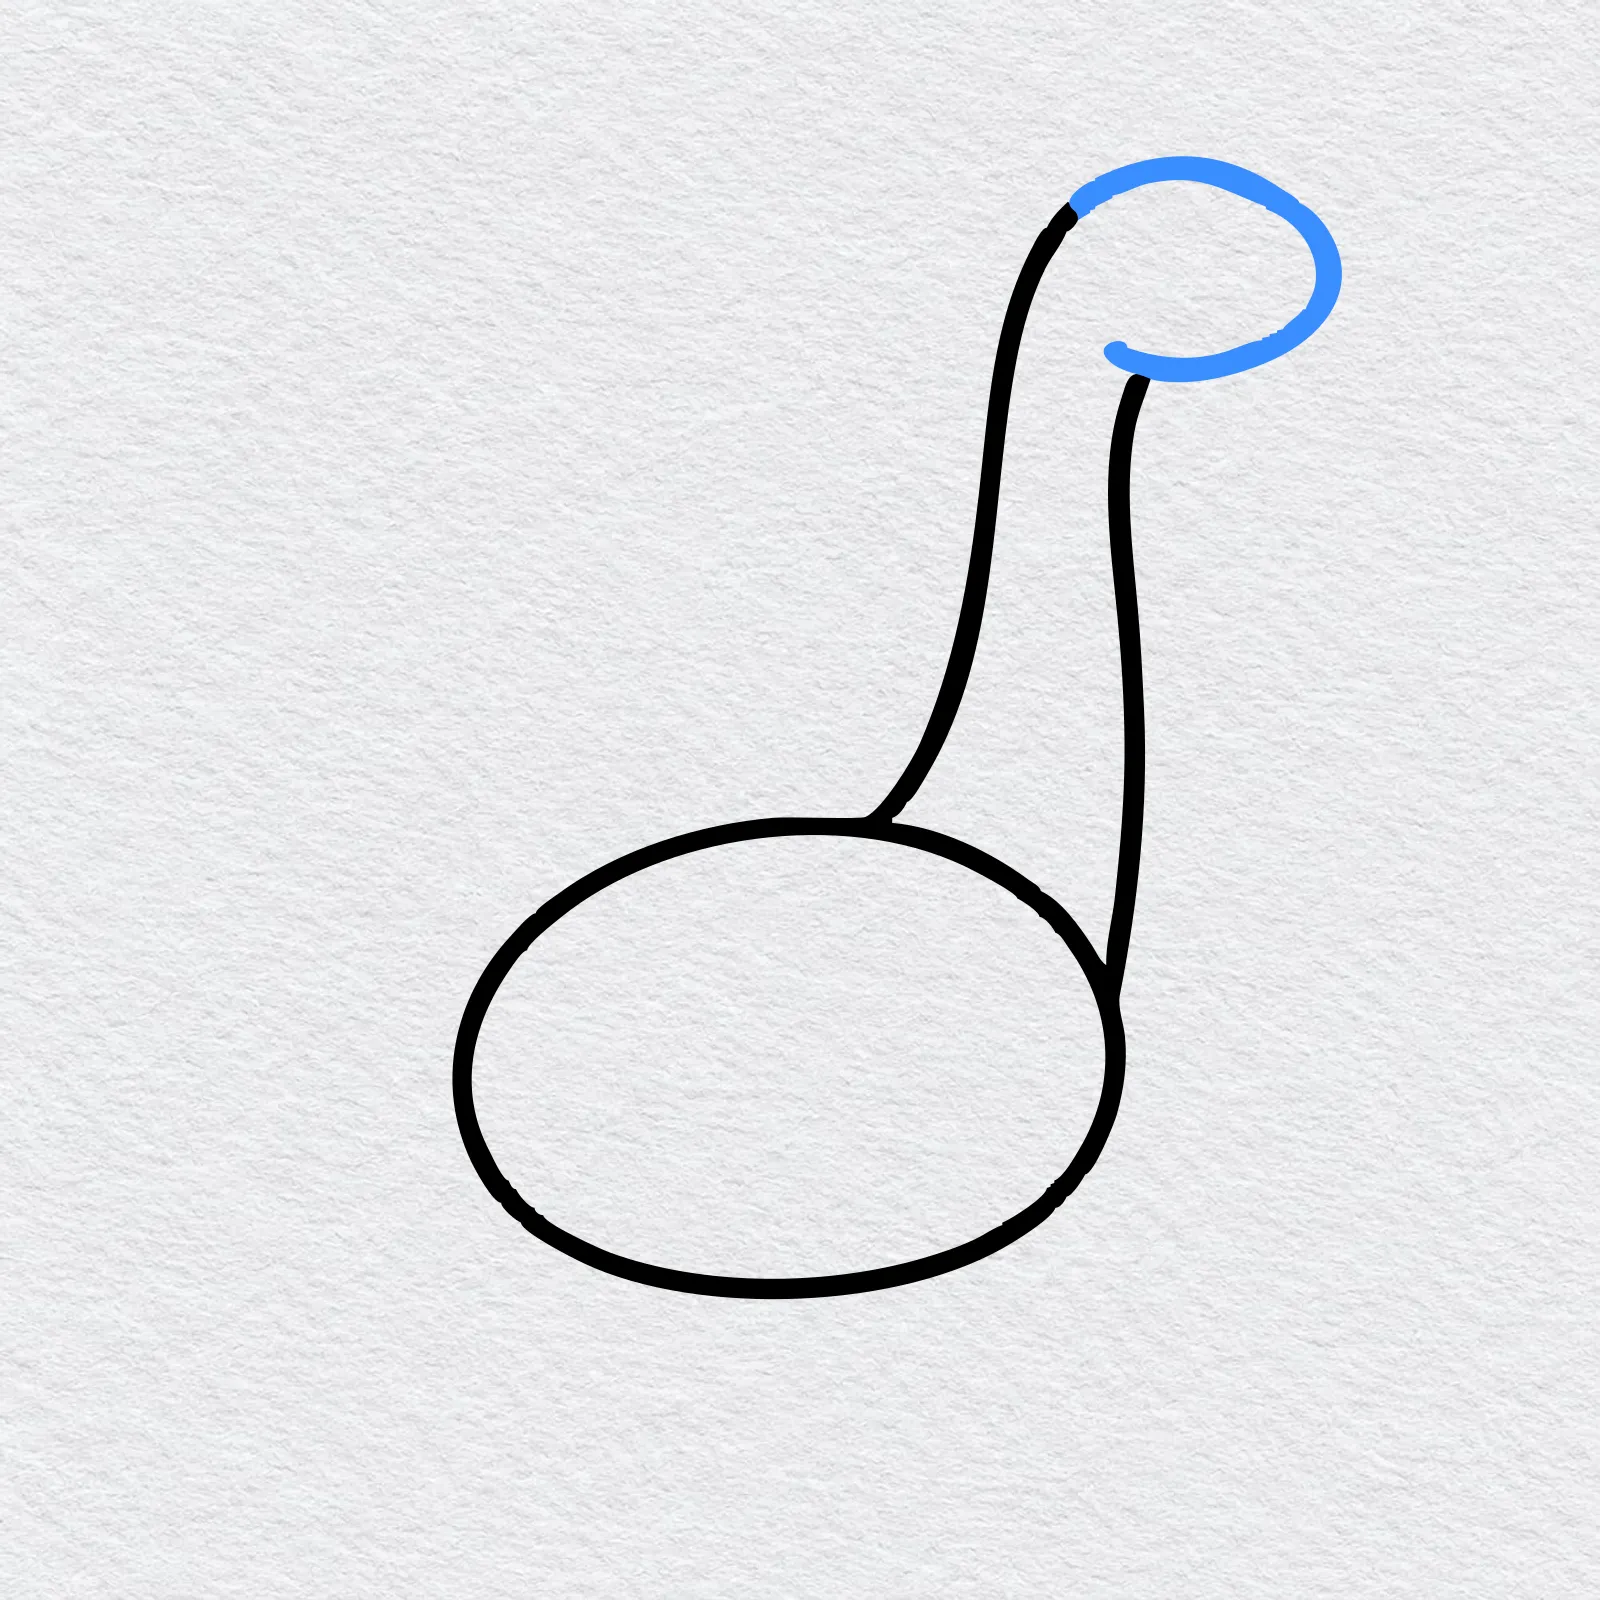
Join the top of the neck with a round curve to make a small head. It looks a bit like the end of a walking cane.
-
Step 4 : Draw the eye
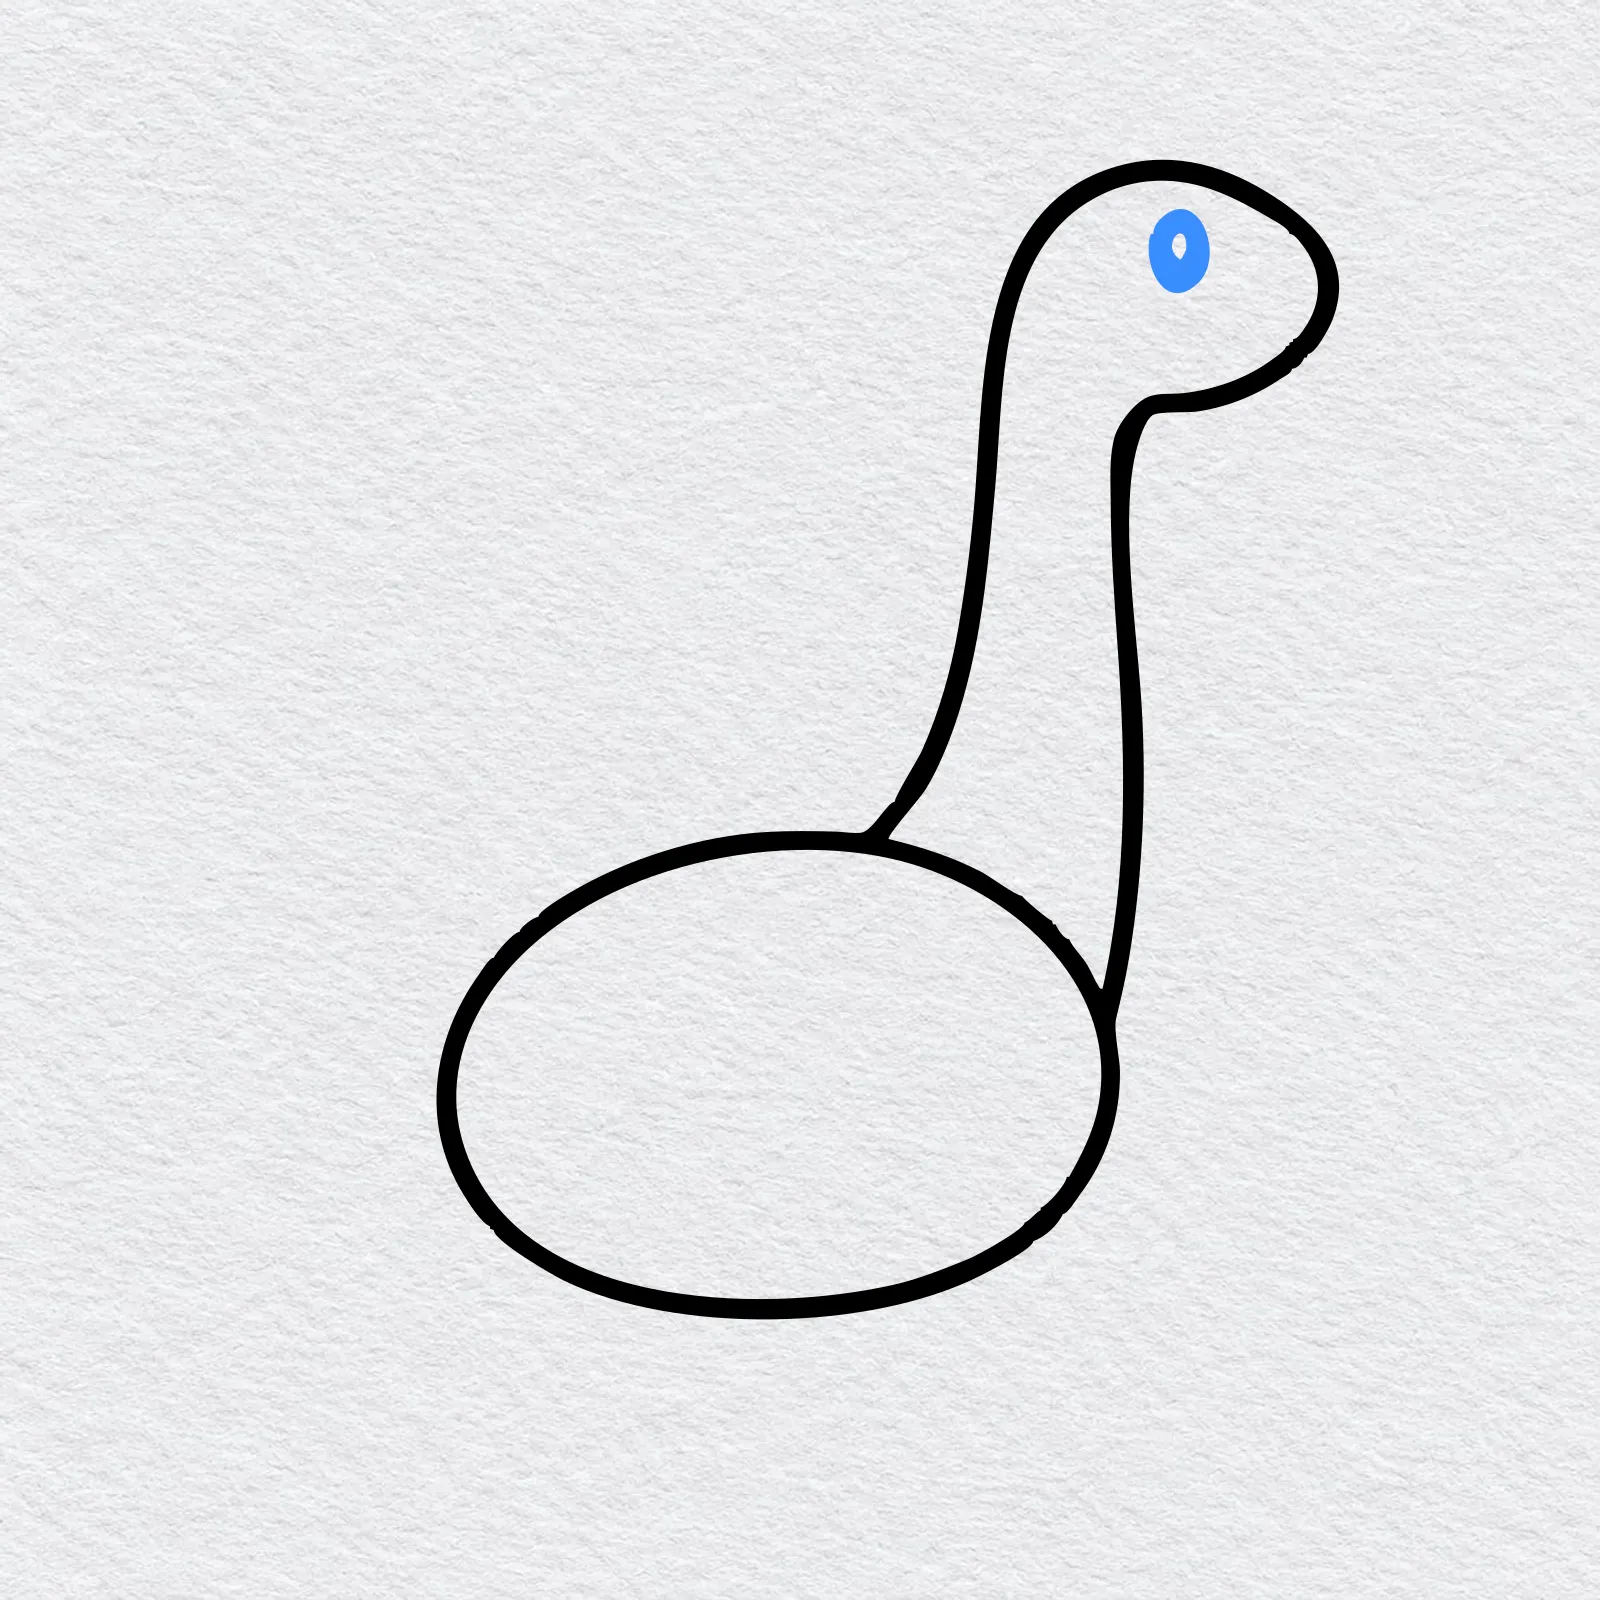
Draw one small oval eye near the top of the head. Leave a tiny white spot inside so the eye shines.
-
Step 5 : Draw the smile
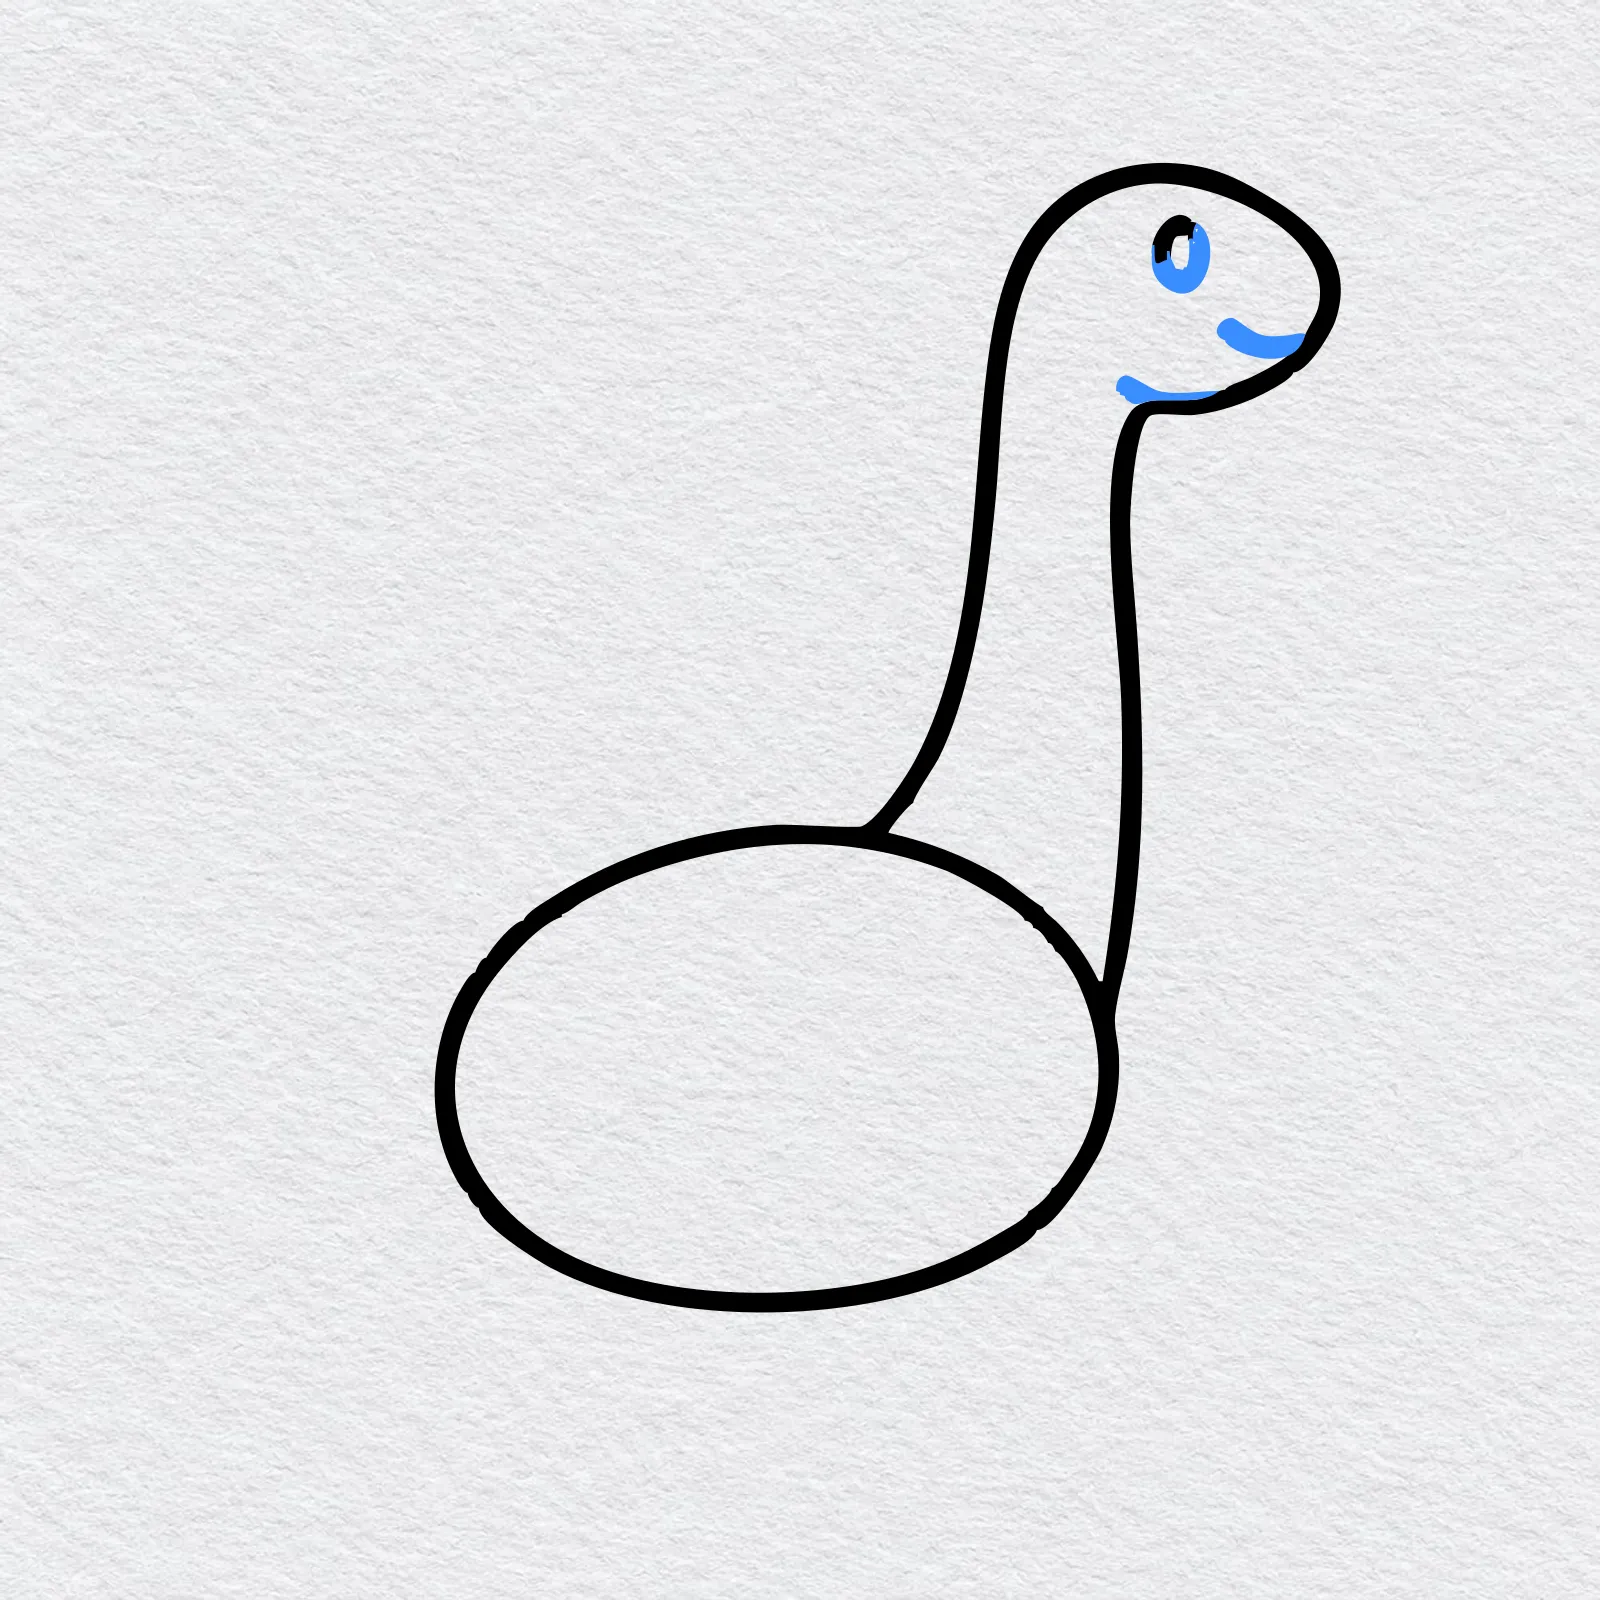
Add a curved smile near the front of the head. Draw a little line under the chin too. Now your dinosaur looks happy.
-
Step 6 : Draw the front legs
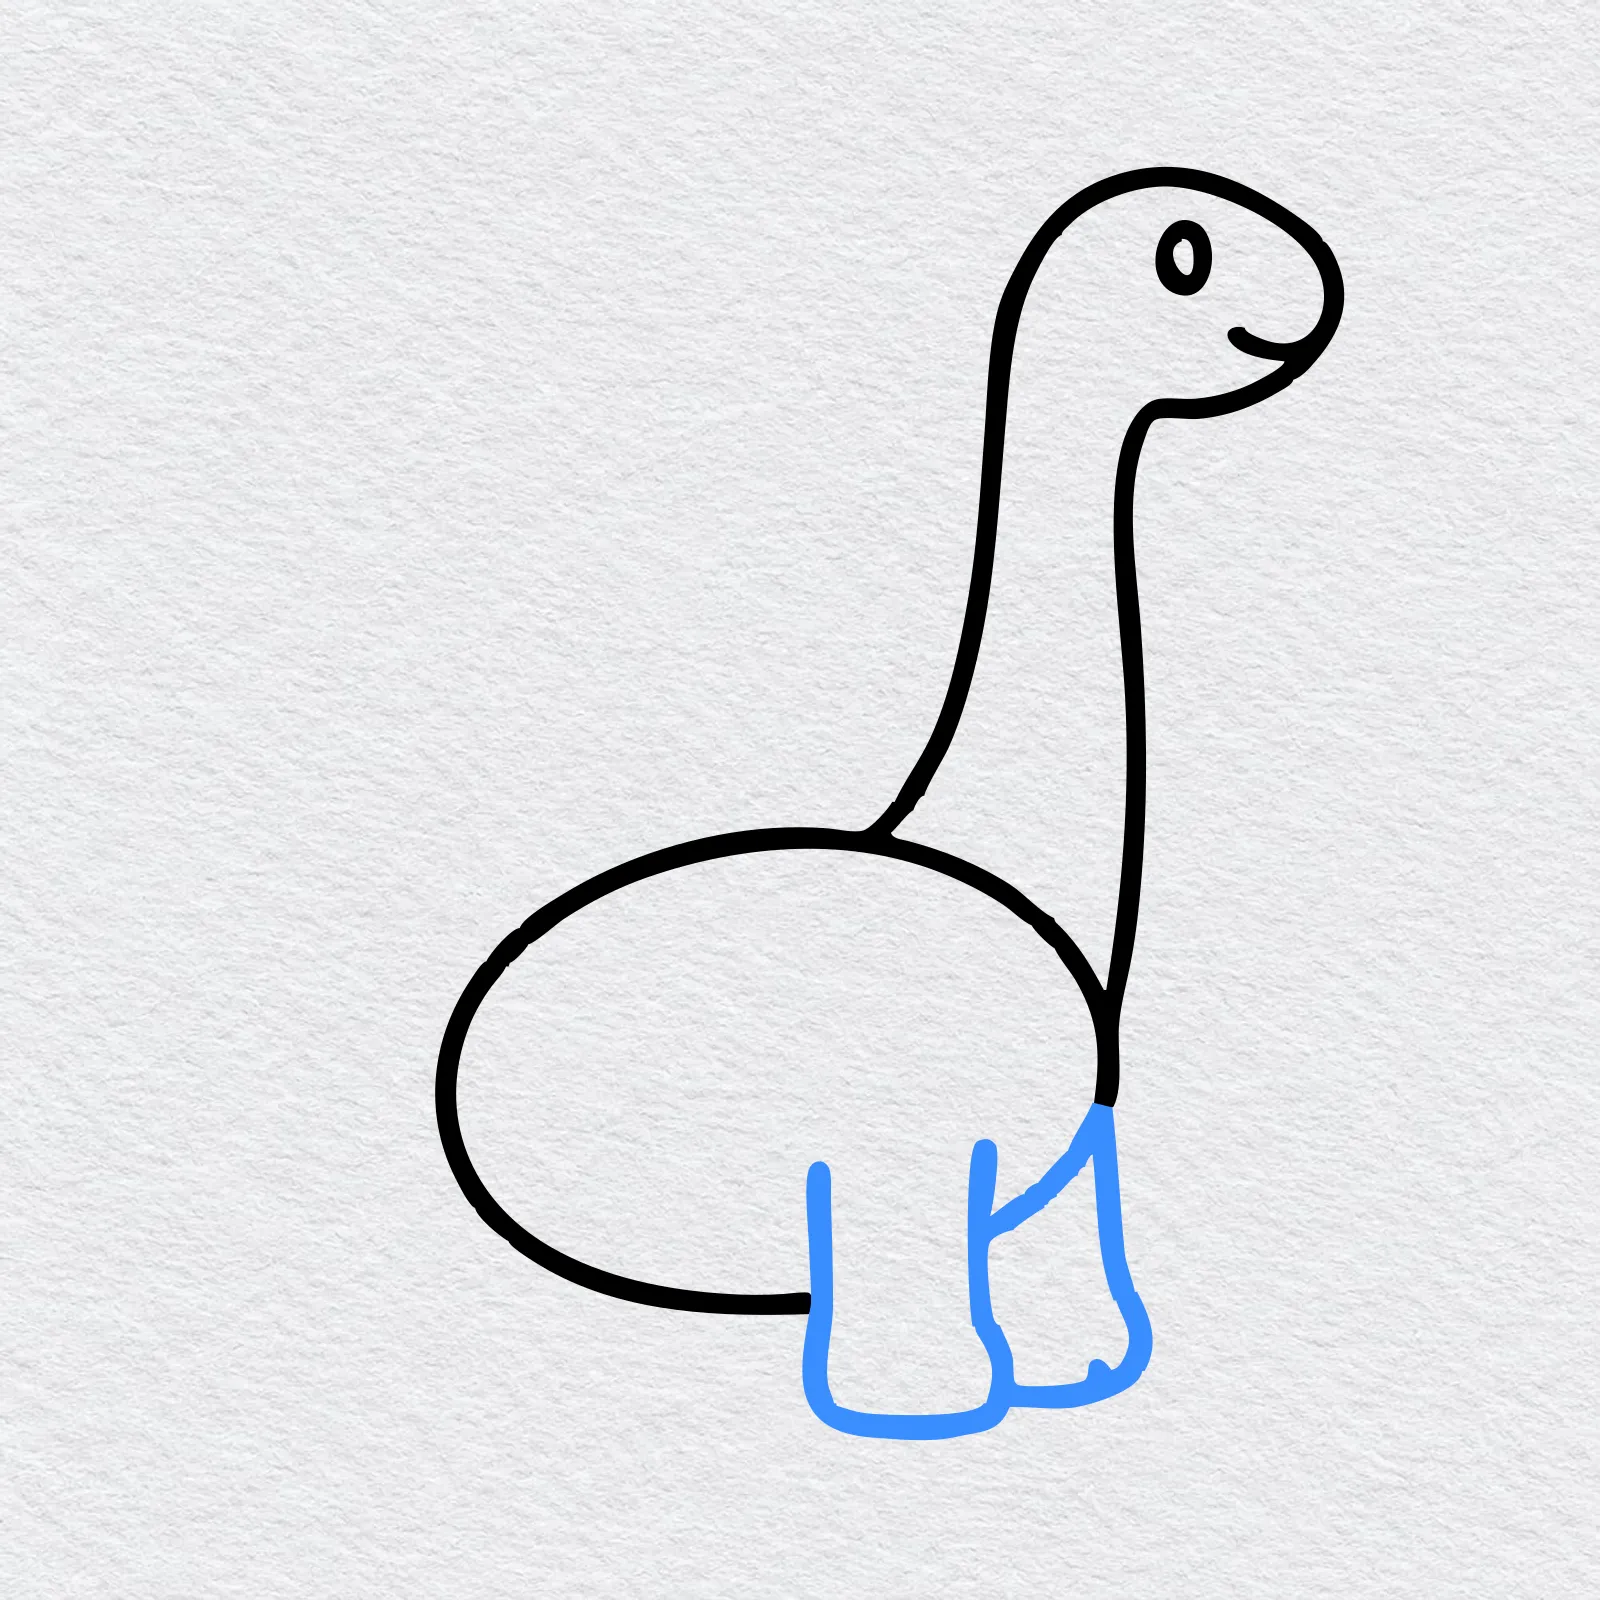
Under the neck, draw two short, thick legs. Round off each foot at the bottom and add two little toe lines.
-
Step 7 : Draw the back legs
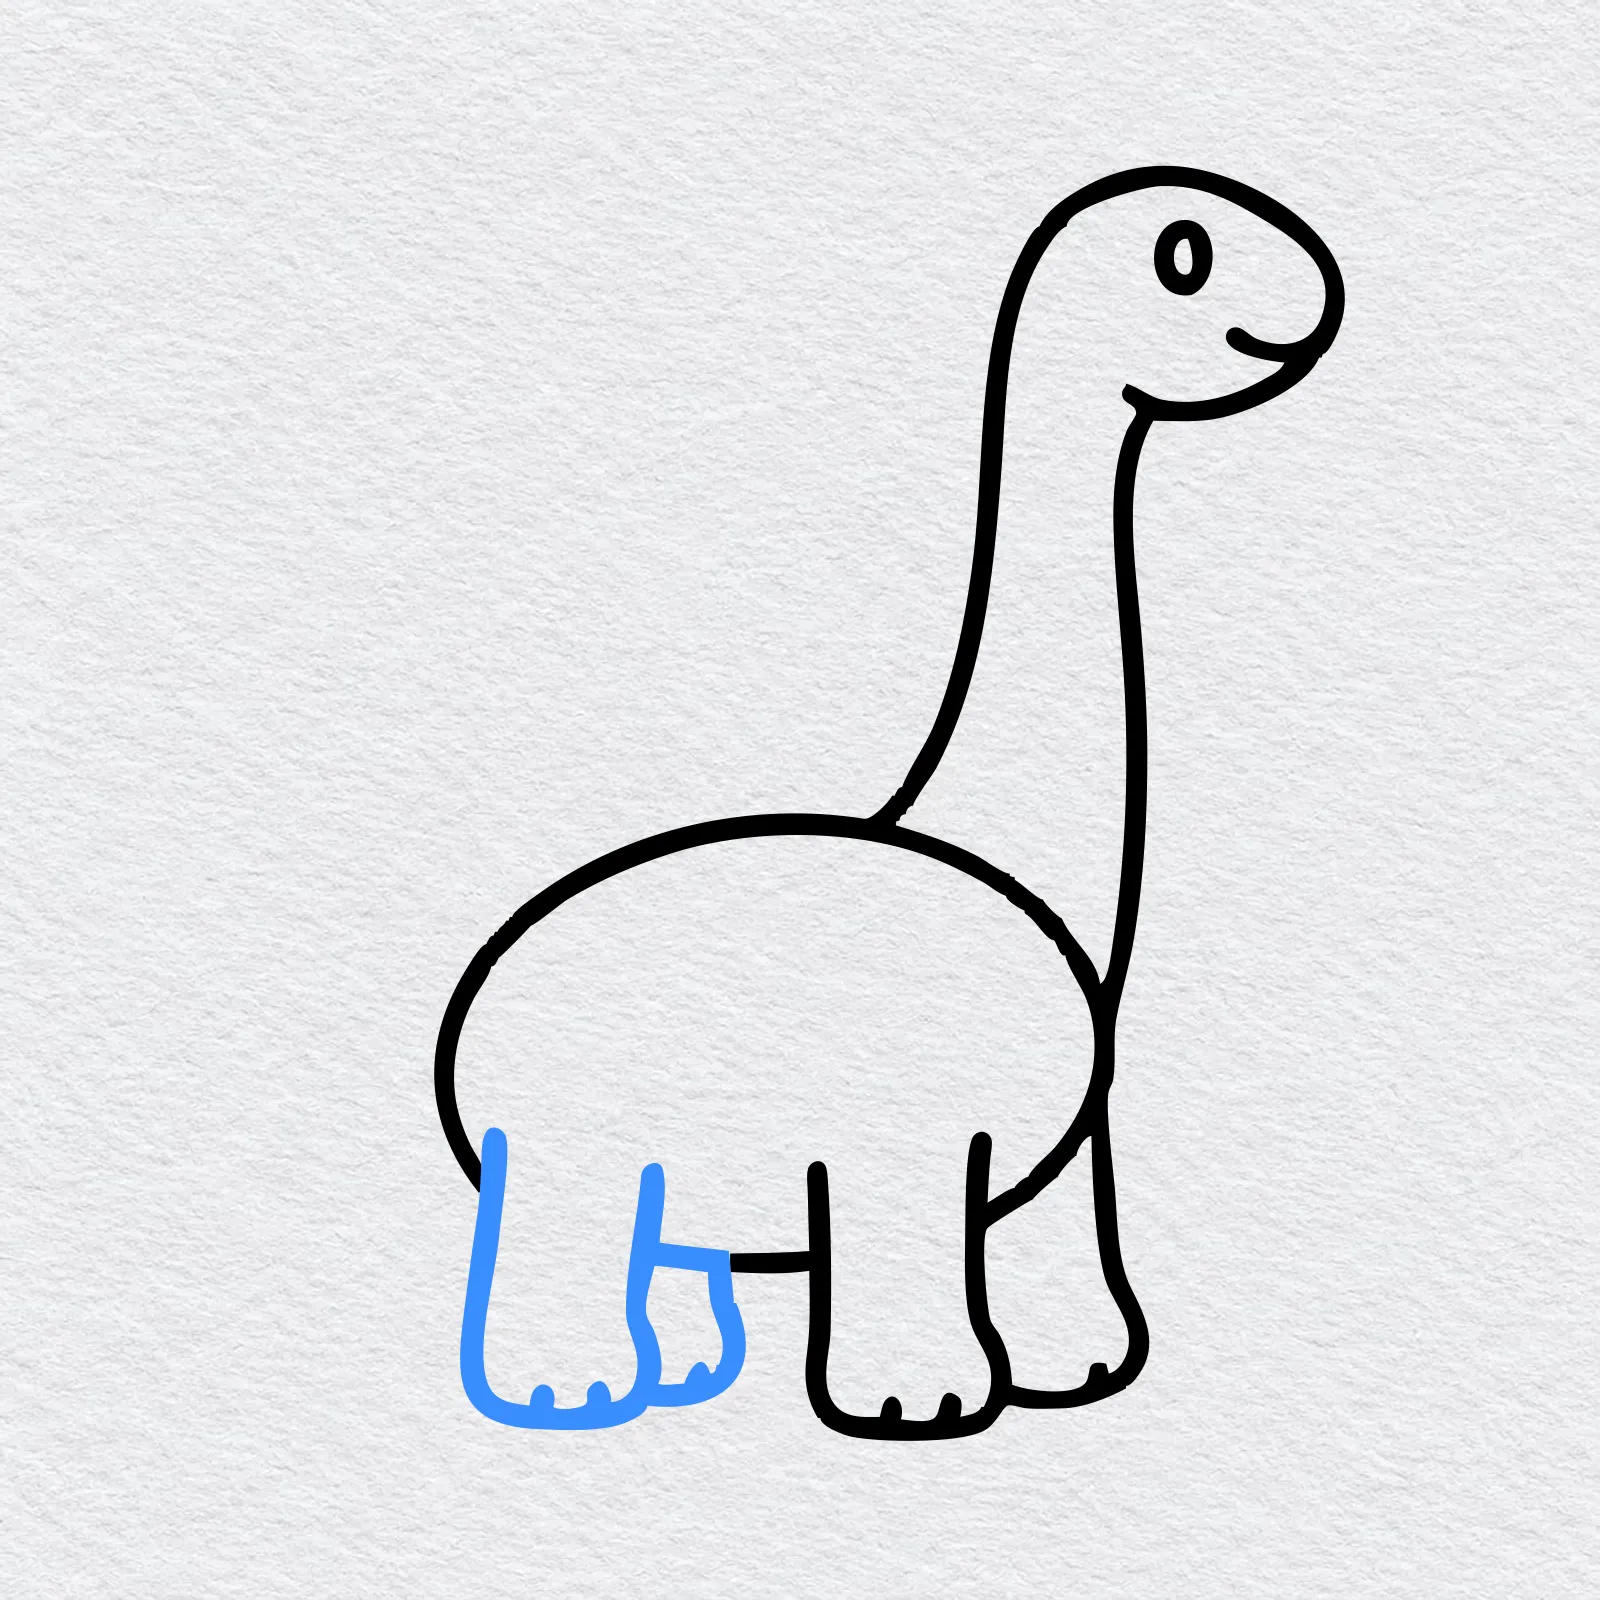
At the back of the body, draw two more stubby legs with toes. The one behind only peeks out a little, so it looks shorter.
-
Step 8 : Draw the tail
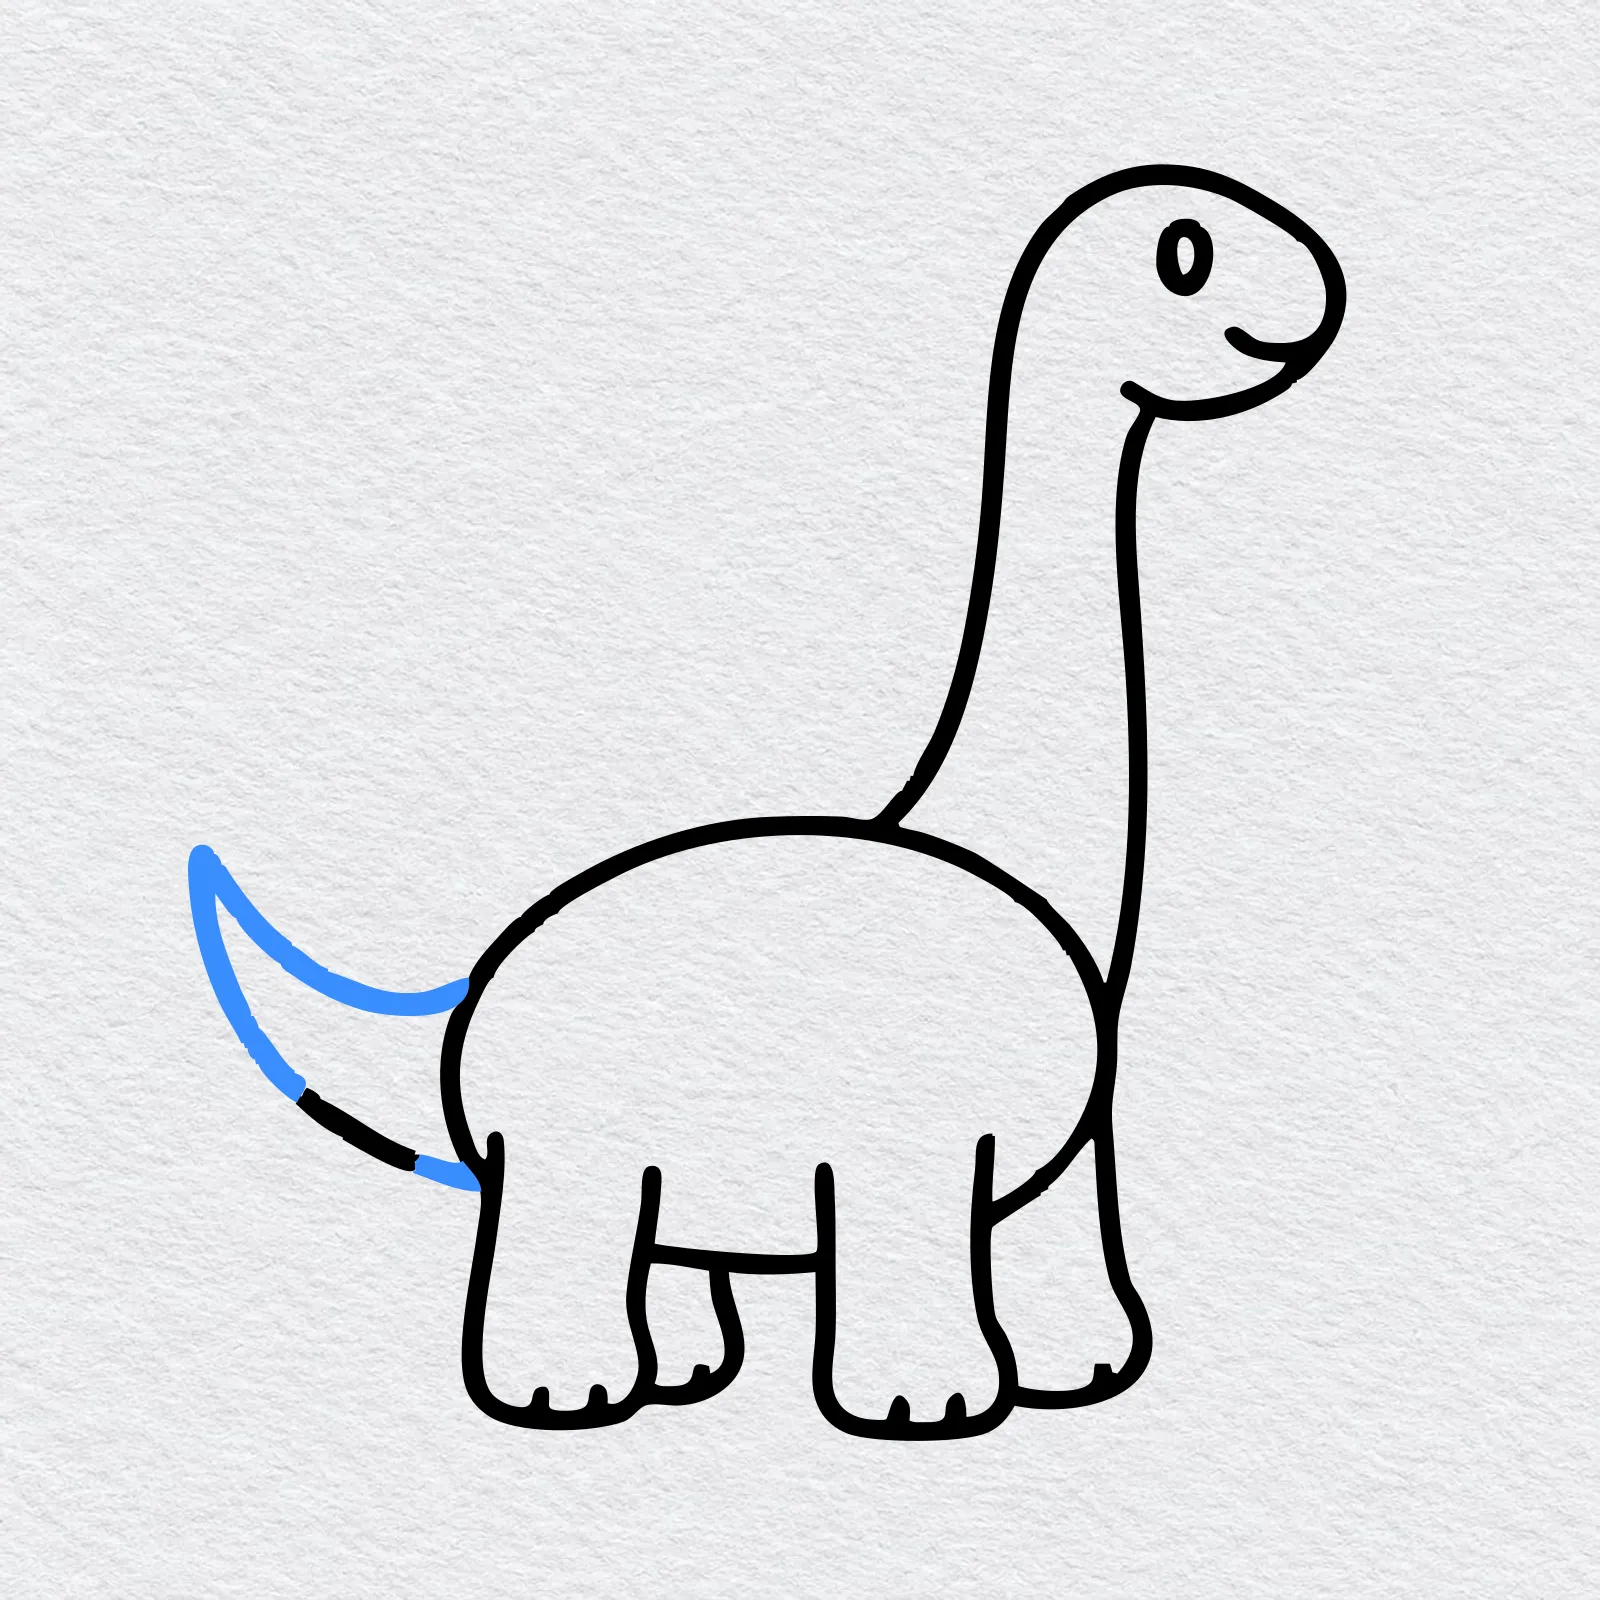
Draw a long tail coming out of the back of the body. Curve it up and make it end in a point.
-
Step 9 : Draw the spots
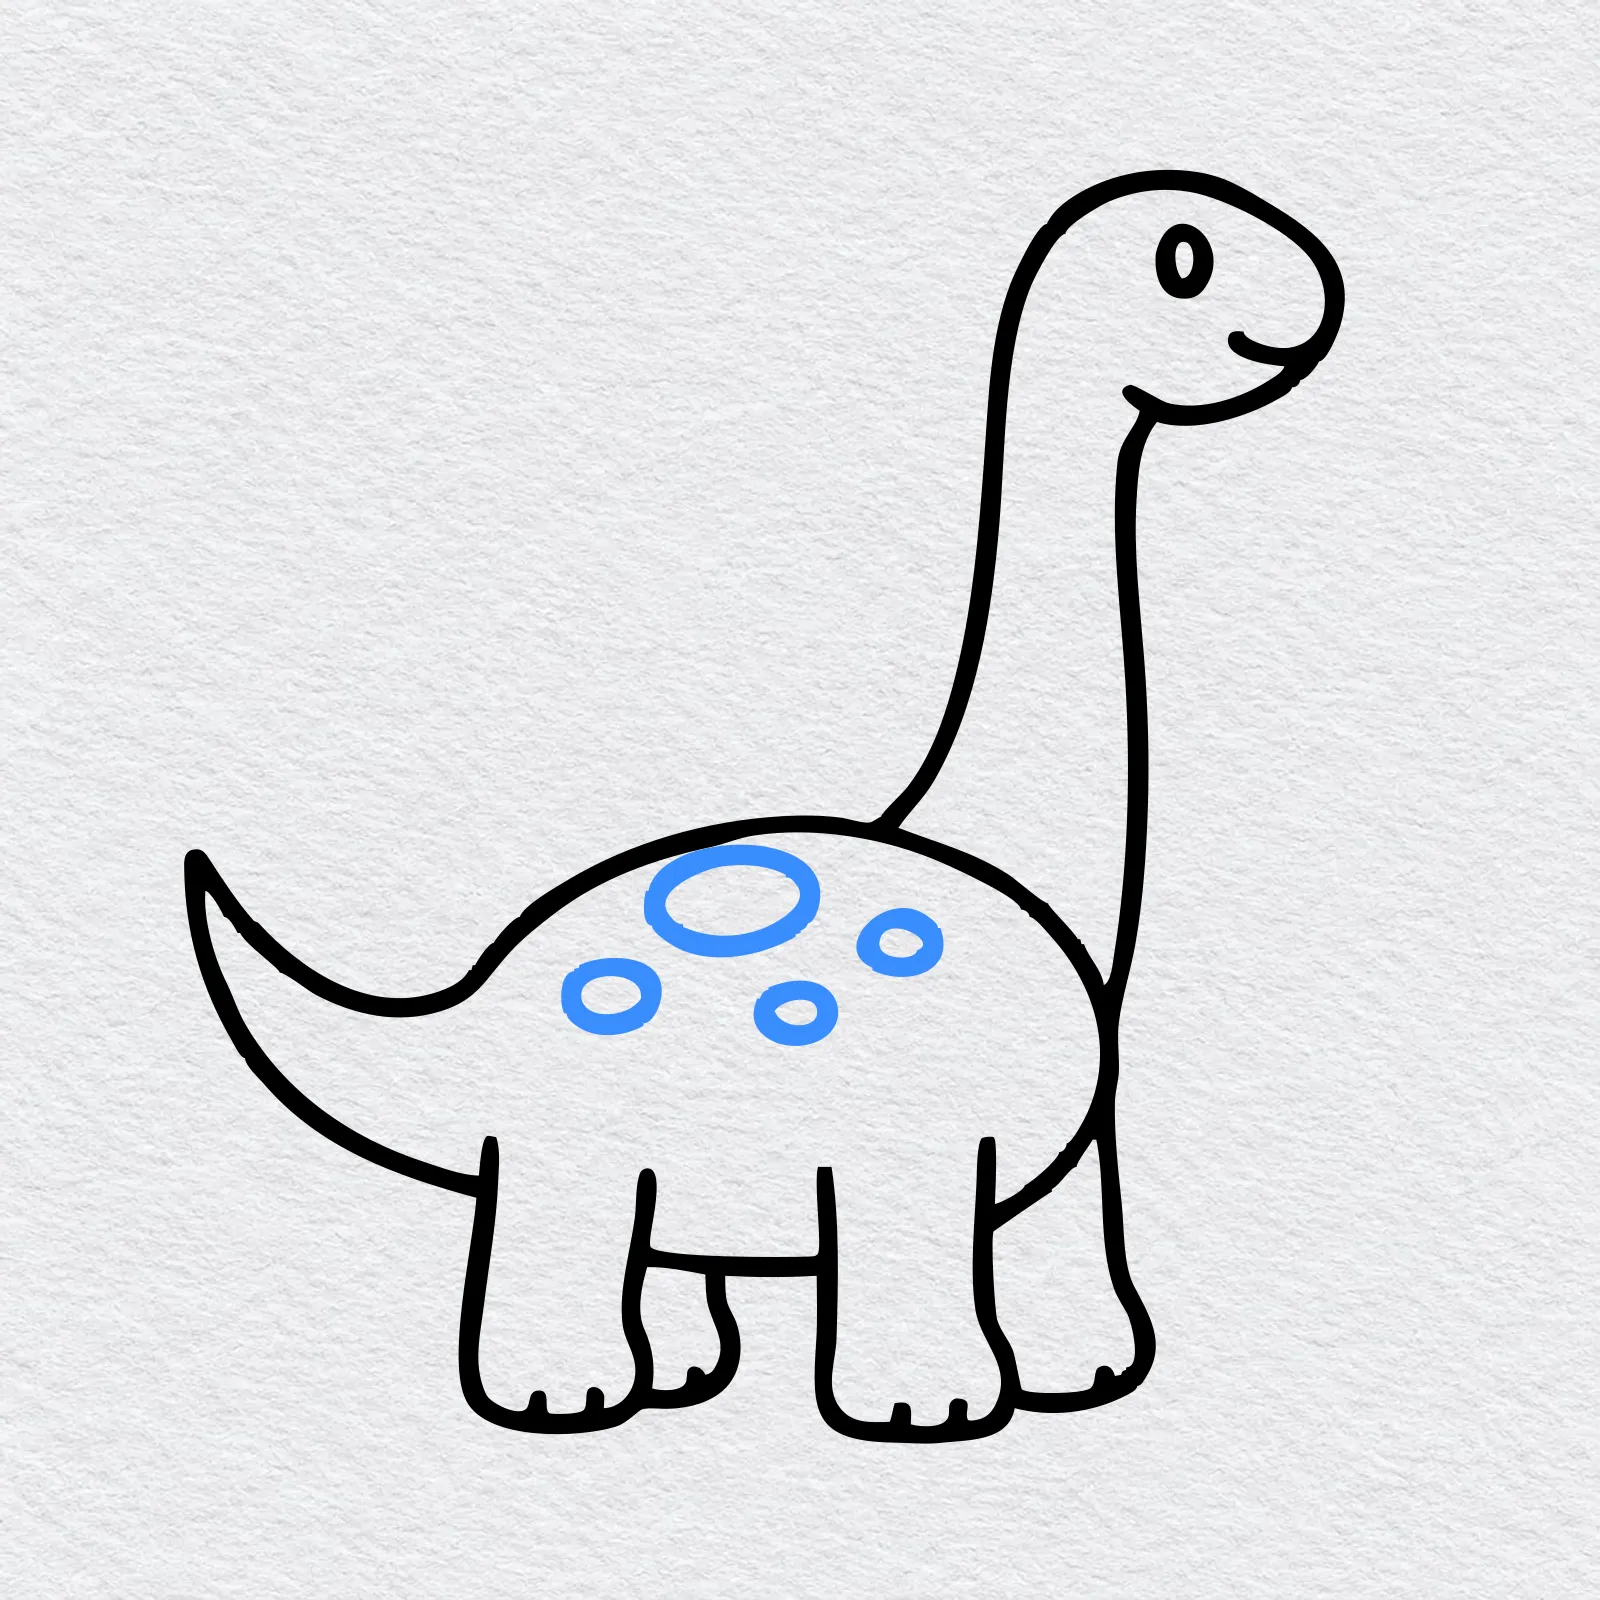
Draw a few round spots on the dinosaur's back, one big and some small. Your dinosaur drawing is finished.
-
Step 10 : Color your dinosaur
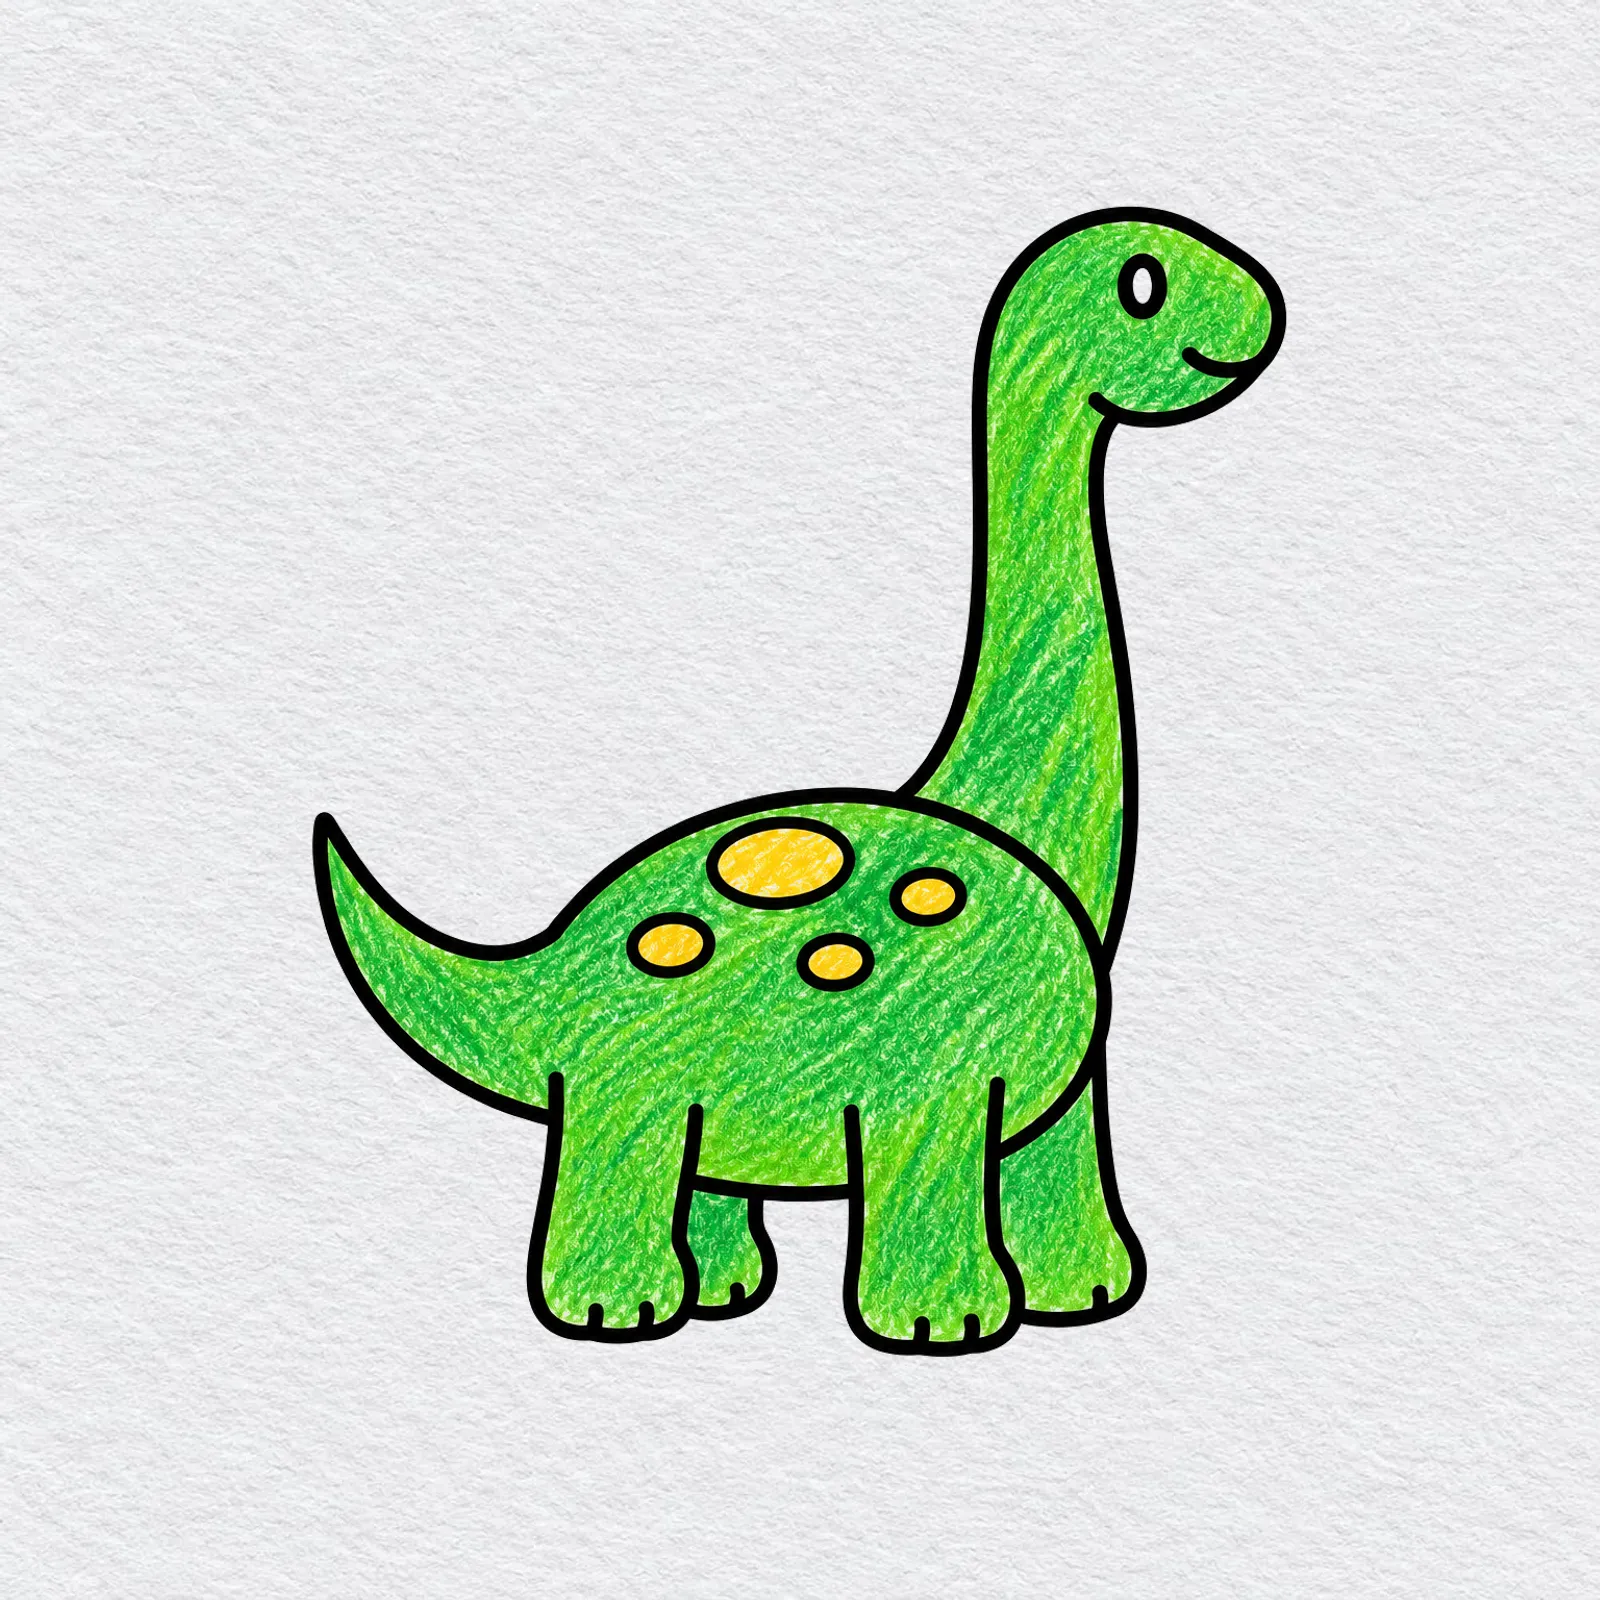
Pick one color for the skin, such as green, blue or orange, and color the body, neck, legs and tail with it. Use a bright color like yellow for the spots.
Go slowly and press lightly first. You can always add more color later.
Printable dinosaur drawing PDFs
 Save
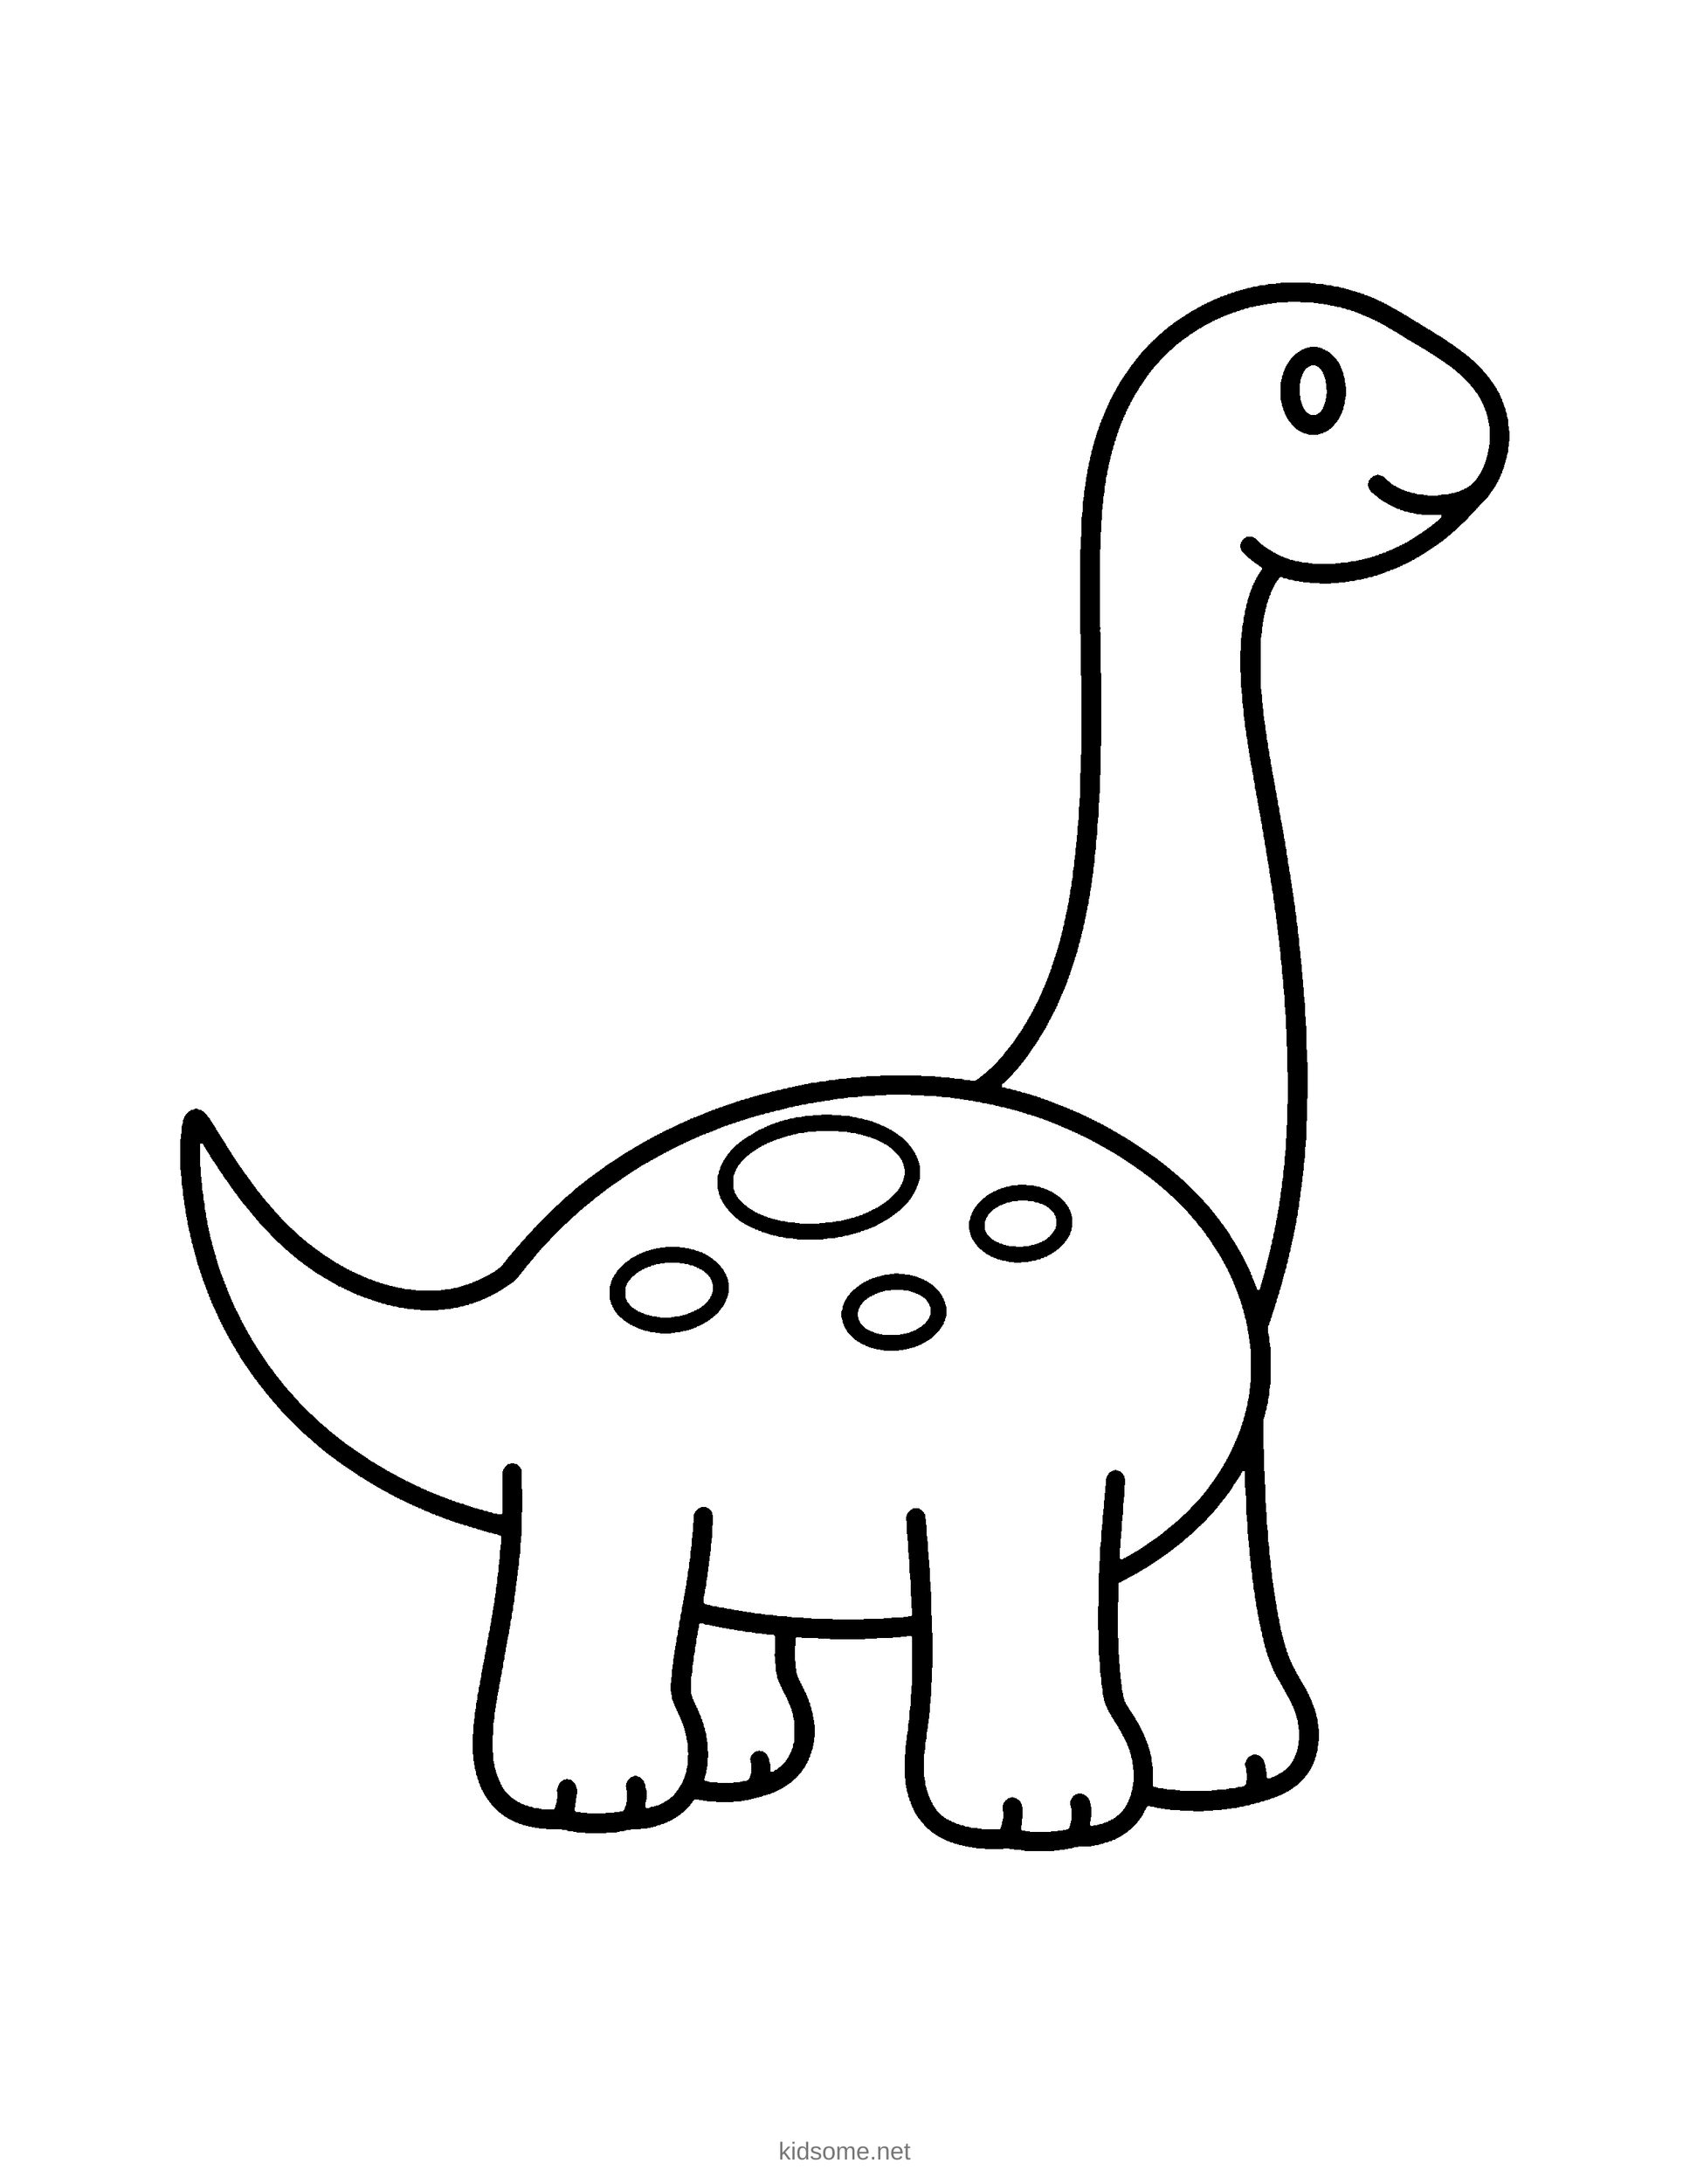
Long-Necked Dinosaur Outline
The finished friendly dinosaur as a clean outline to color, with the colored dinosaur on page two.
Download PDF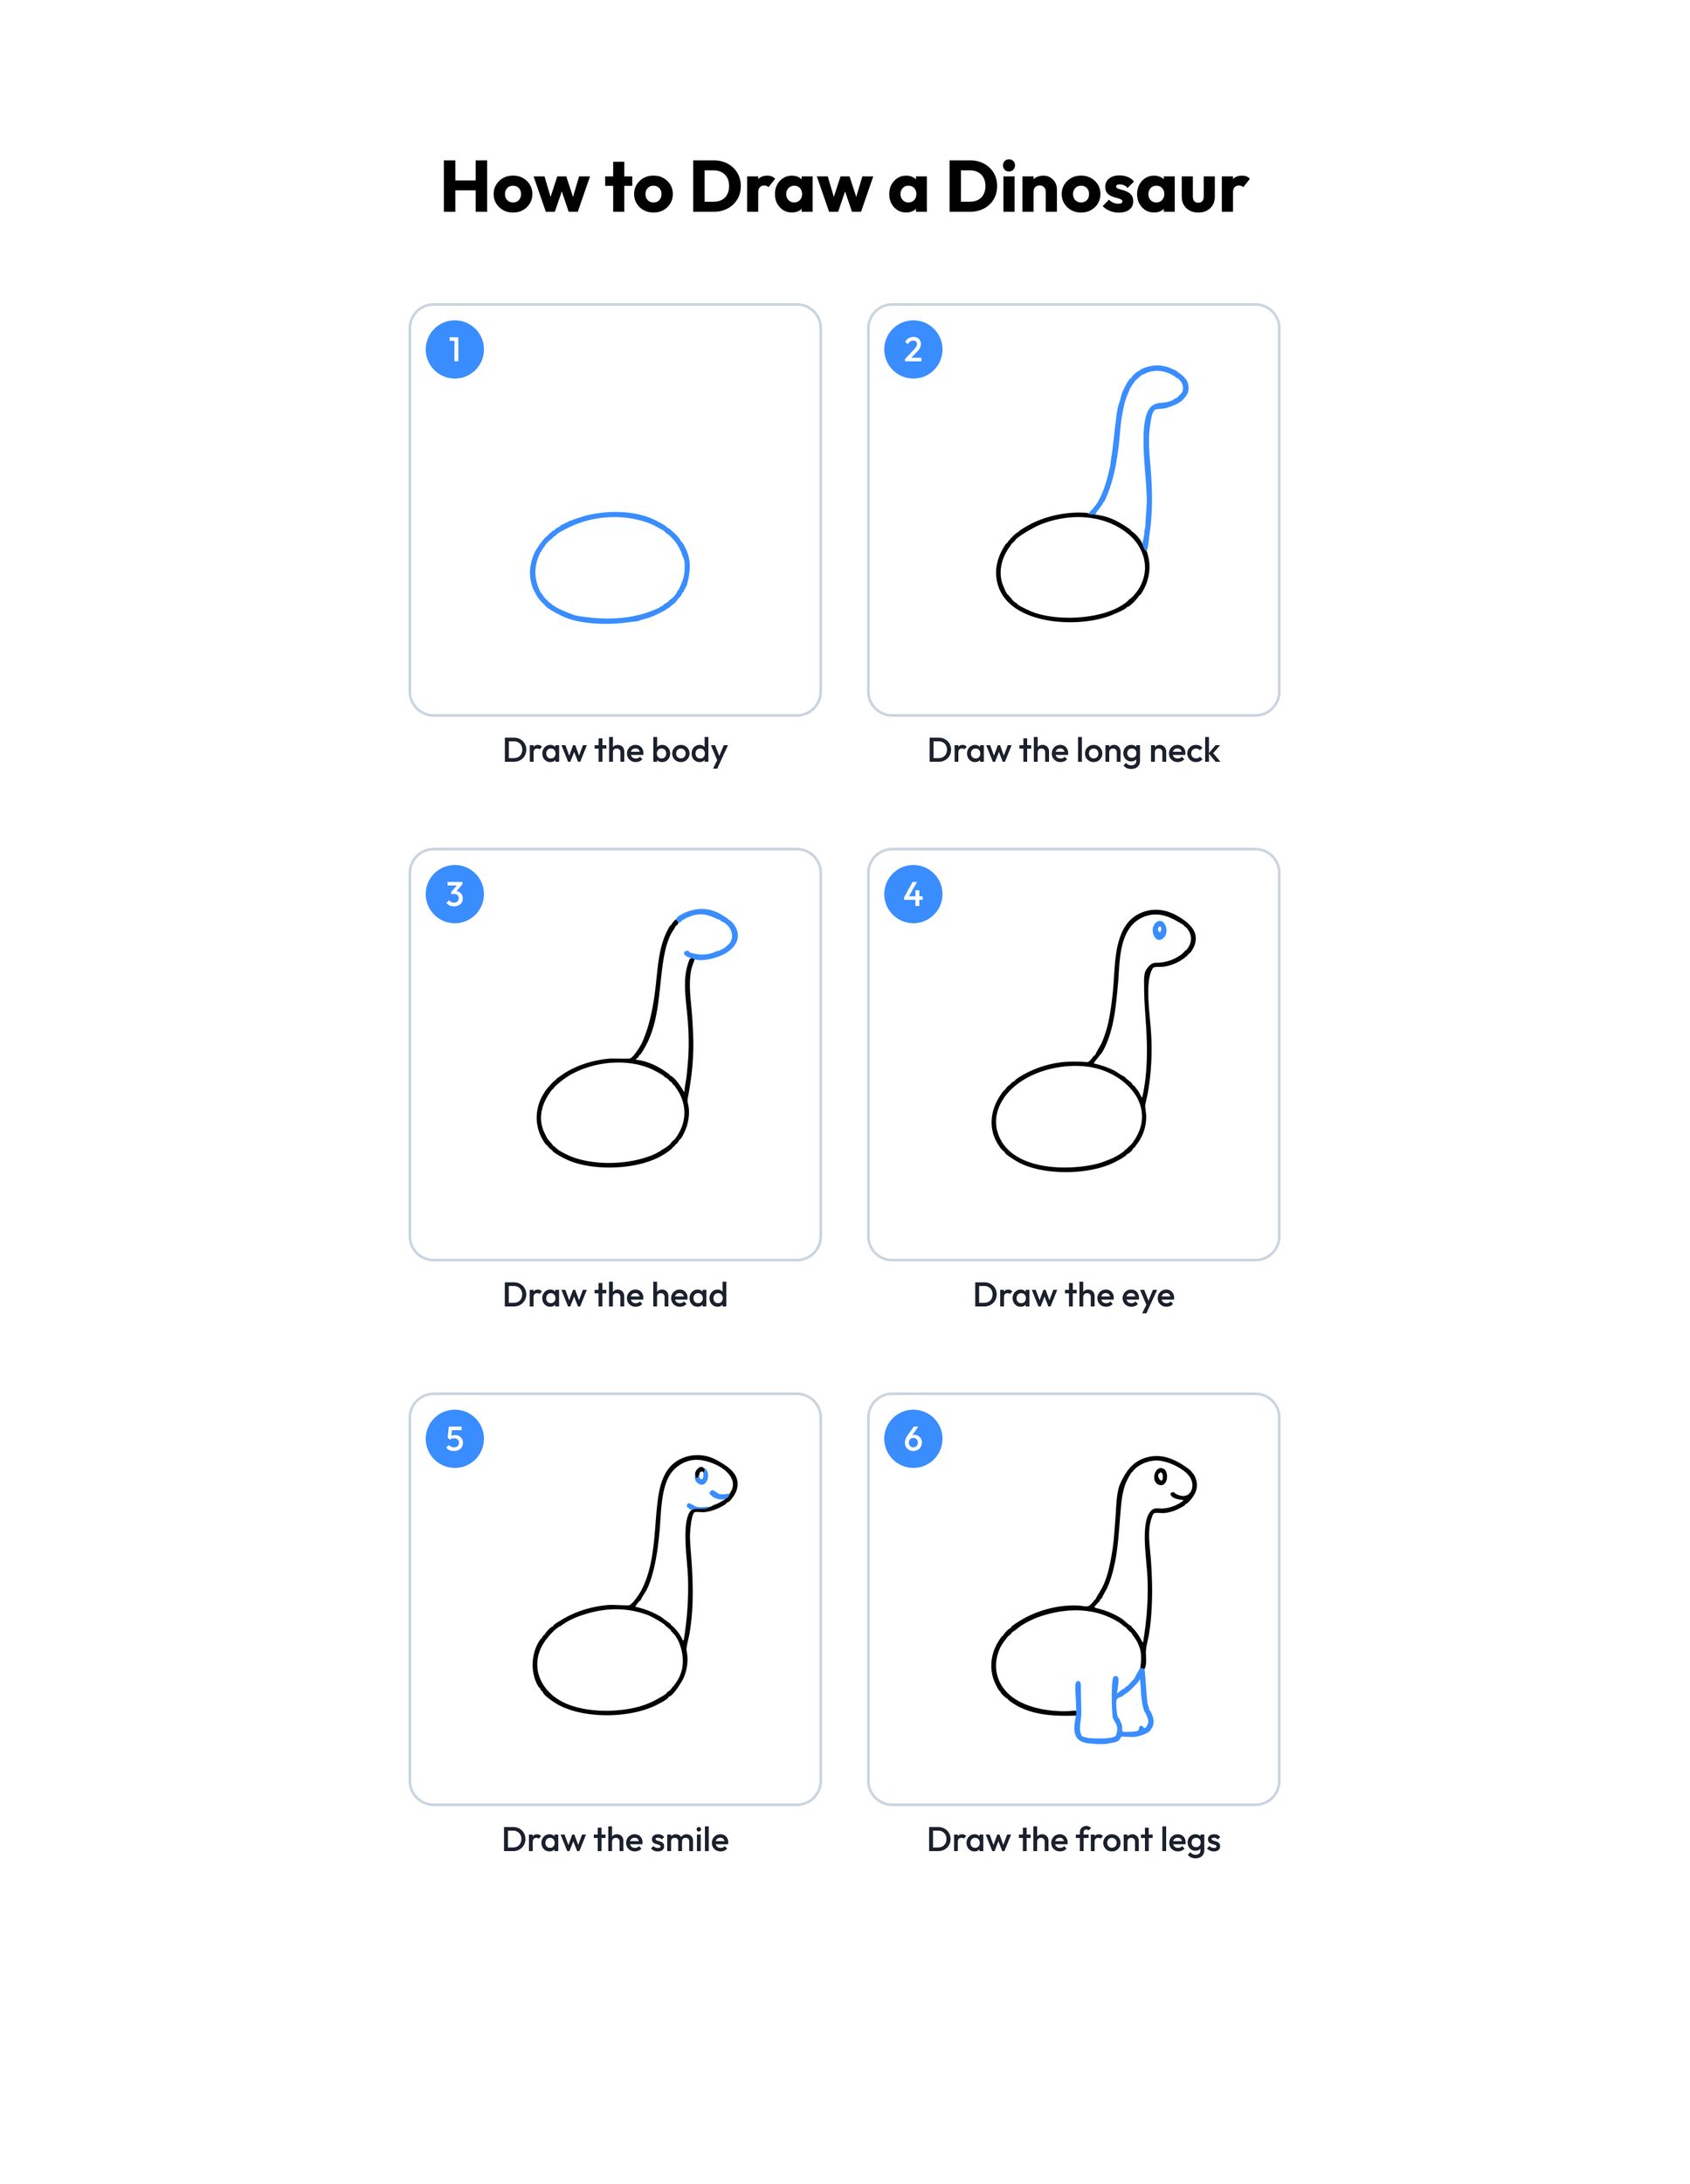 Save
Printable dinosaur drawing guide
Every step, two to a row, with the finished dinosaur in color at the end.
Download PDFHow to use this guide
Print the outline at 100 percent, or choose Fit to page if your printer asks. The PDF is set to US Letter, and the margins leave room for A4 too, so the whole dinosaur stays on the sheet. Page one is the outline to color. Page two is the colored dinosaur, so print page one alone if you only want the drawing to fill in.
For drawing, plain copy paper and a pencil with a good eraser work best. Draw lightly at first, because the body oval and the long neck are guide shapes that often need a second try. When the dinosaur looks right, go over the lines with a marker or a dark crayon. Crayons and colored pencils work on plain paper, but markers and paint need cardstock so the color does not soak through.
The first five steps are the easiest: an oval, a long neck, a round head, an eye and a smile. Younger children can stop there and still have a dinosaur peeking up. The legs take the most care, because the near legs and the far legs overlap, so a grown-up can draw them lightly and let the child go over the lines. The tail and the spots at the end are quick and fun.
Print the step guide and lay it next to the paper, or keep this page open on a tablet. Point to the blue line in each step and say what it is before your child draws it.
Ideas for your dinosaur drawing
- Name your dinosaur: When the drawing is done, give the dinosaur a name and write it under its feet. Then add one fact, like its favorite leaf to eat or where it sleeps.
- Leafy home: Draw tall trees around the dinosaur so its long neck can reach the top leaves. Add a pond, a few rocks and a sun to finish the picture.
- Spot patterns: Change the spots on the back into stripes, stars or tiny dots. Try two or three different patterns on separate sheets and pick a favorite.
- Dinosaur family: Draw a big dinosaur, then a smaller one beside it with the same steps. Kids learn that the shapes stay the same and only the size changes.
- Classroom art center: Put printed step guides, pencils and erasers in an art center during a dinosaur unit. Children work at their own speed and add their dinosaur to a class wall.
- Measure the neck: Use a ruler or a row of paper clips to measure the dinosaur's neck and tail. Which one is longer? It is a gentle start for early math talk.
- Story page: Draw the dinosaur at the top of a page and write one sentence about its day underneath. Younger children can tell the sentence for a grown-up to write.
- Quiet-time folder: Keep the step guide, the outline and blank paper in a folder for car trips, waiting rooms and rainy afternoons. After the dinosaur, a snowman drawing makes a good second page.
What age is this dinosaur drawing for?
It is made for ages 4 to 8. The youngest children can draw the body, neck and face with a grown-up nearby, and older kids can draw the whole dinosaur alone, then add trees, a nest or a second dinosaur. Every step uses shapes a preschooler already knows.
Is this how to draw a dinosaur easy enough for a beginner?
Yes. The whole dinosaur is built from an oval, a few long curves and some small circles, with no hard angles. Each step adds only one new part, shown in blue. If a line comes out wobbly, keep going. A wobbly dinosaur is still a dinosaur, and the next try is usually smoother.
What kind of dinosaur is it?
It is a long-necked plant eater, the kind with a tiny head, a big round body and a long tail. We kept it friendly and simple, with a smile and spots. Older kids can make it look more real by adding wrinkles on the neck or a longer, thinner tail.
How do I help a child who finds the legs hard?
Draw each leg lightly in pencil yourself and let your child trace over it, then swap for the next one. Start with the two legs in front, which are drawn fully, then add the two behind, which only show a little. Big, slow movements help more than tiny careful ones.
Can I print the guide for my class?
Yes. Teachers, homeschool parents and art clubs can print as many copies of the outline and the step guide as their students need. Both PDFs are free for personal and classroom use. Please do not sell them or post the files on another site.