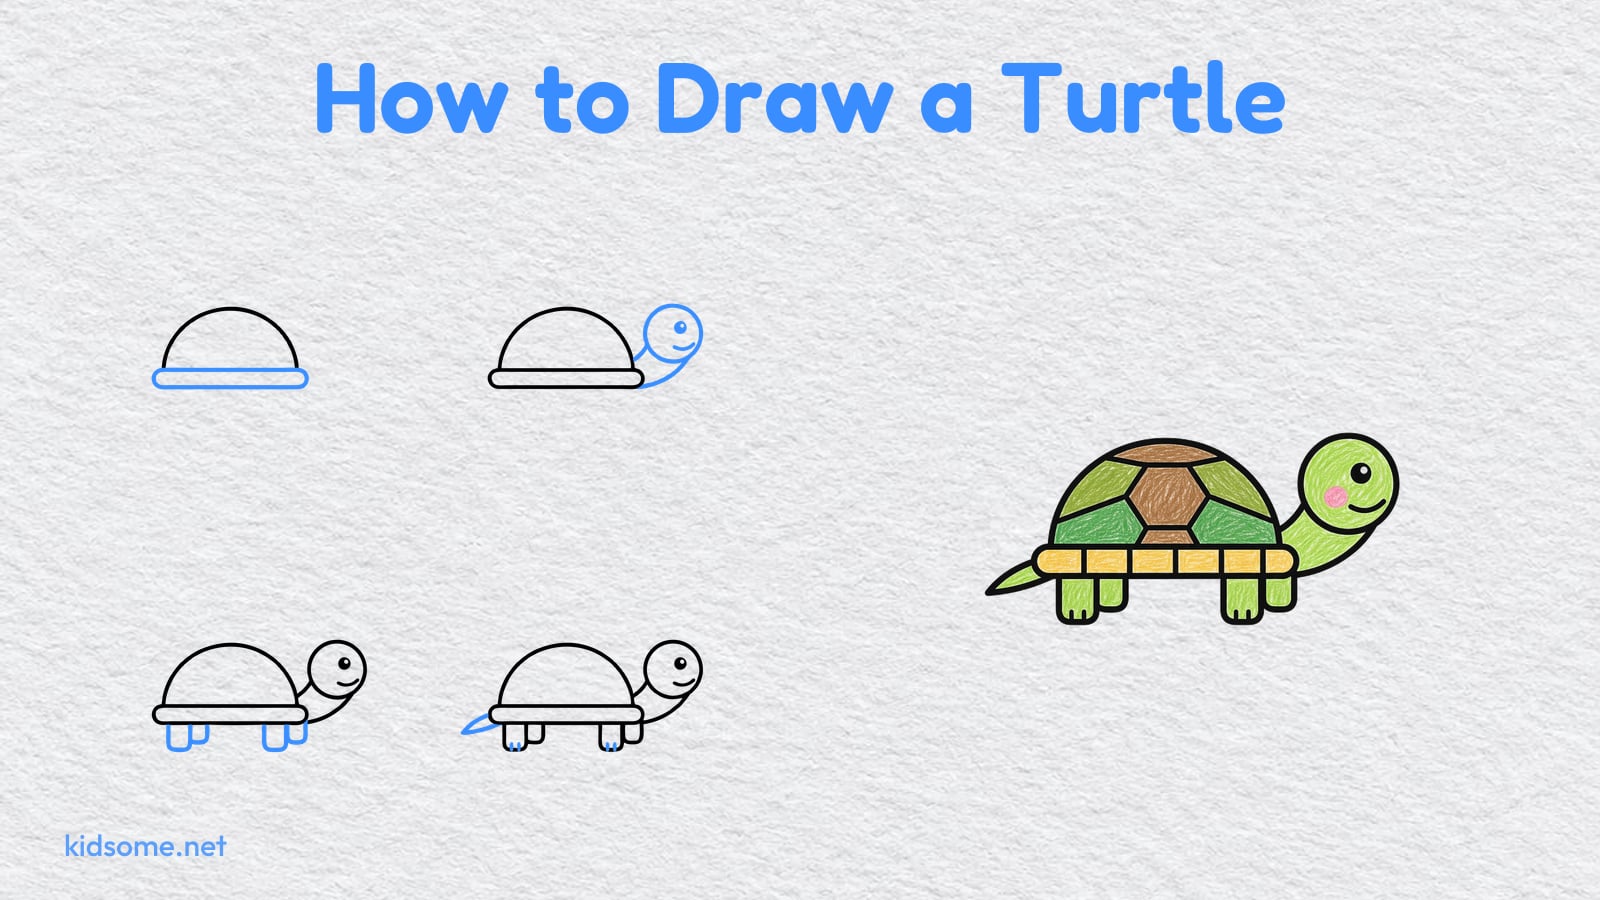
This how to draw a turtle guide is made for kids ages 4 to 8 who want a drawing they can finish on their own. The turtle stands side on with its head up and a happy smile. It starts as a simple dome, then gets a flat shell rim, a round head on a curved neck, four stubby legs, a pointed tail and the plates on its shell. Every shape is one a young child already knows: a half circle, a long rounded box, a circle and a few short lines.
There are six steps. Each step shows the whole drawing so far in black and the new part in blue, so your child always knows what to add next. A last step shows the turtle colored in with crayons, as an idea to copy or change. Two free PDFs go with the guide: the finished turtle outline to color, and a printable guide with every step, two to a row. Both print on US Letter and A4, and there is no sign-up.
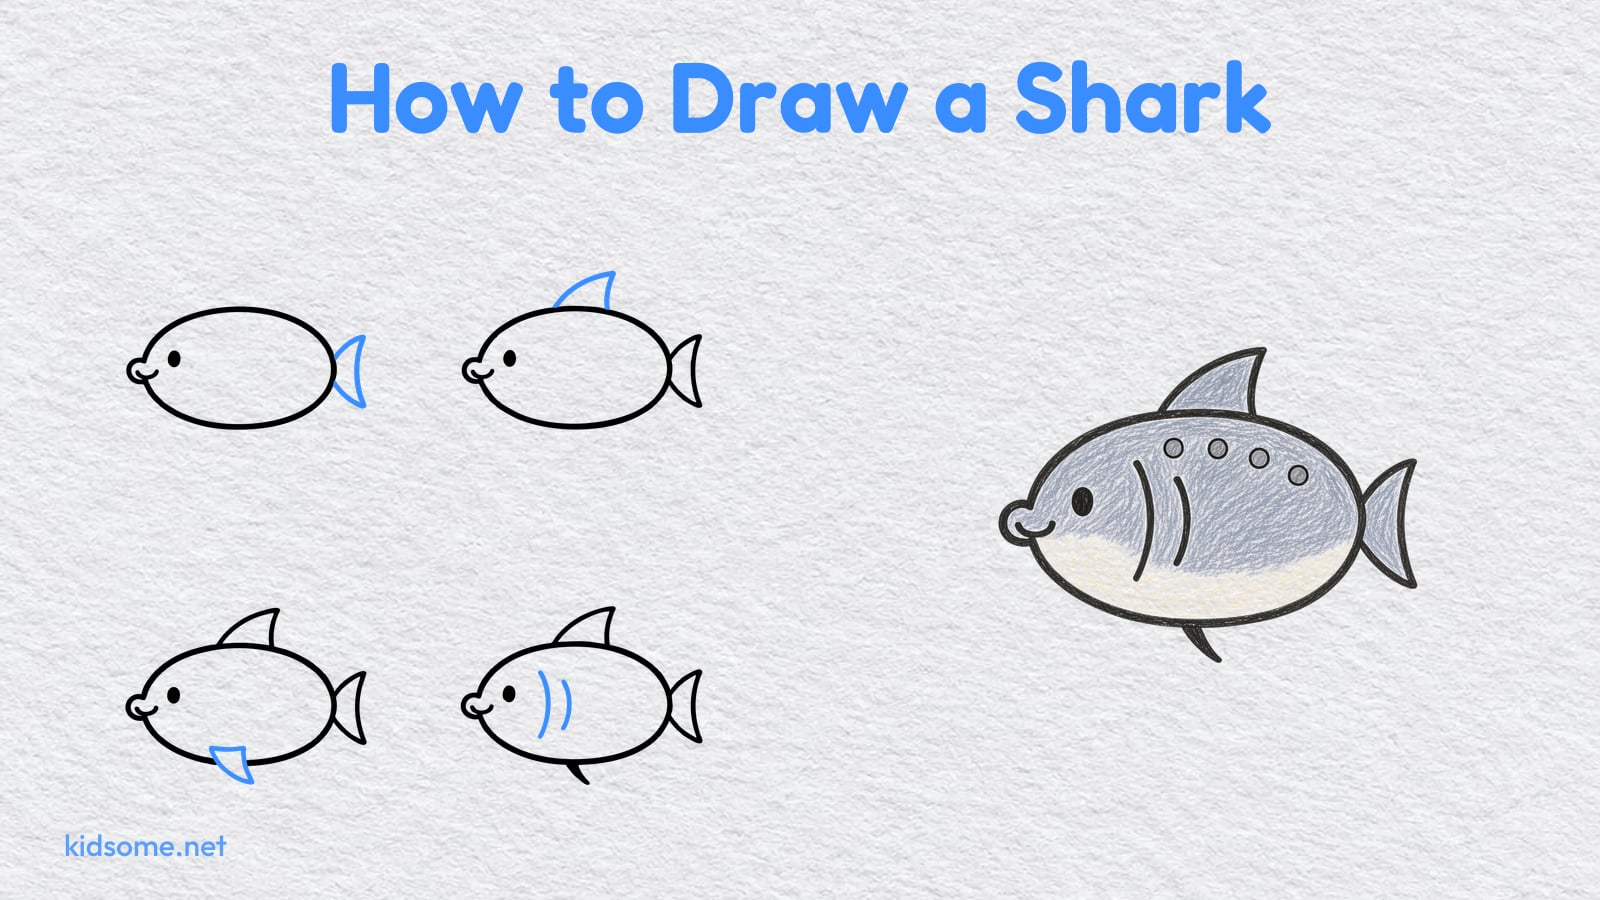
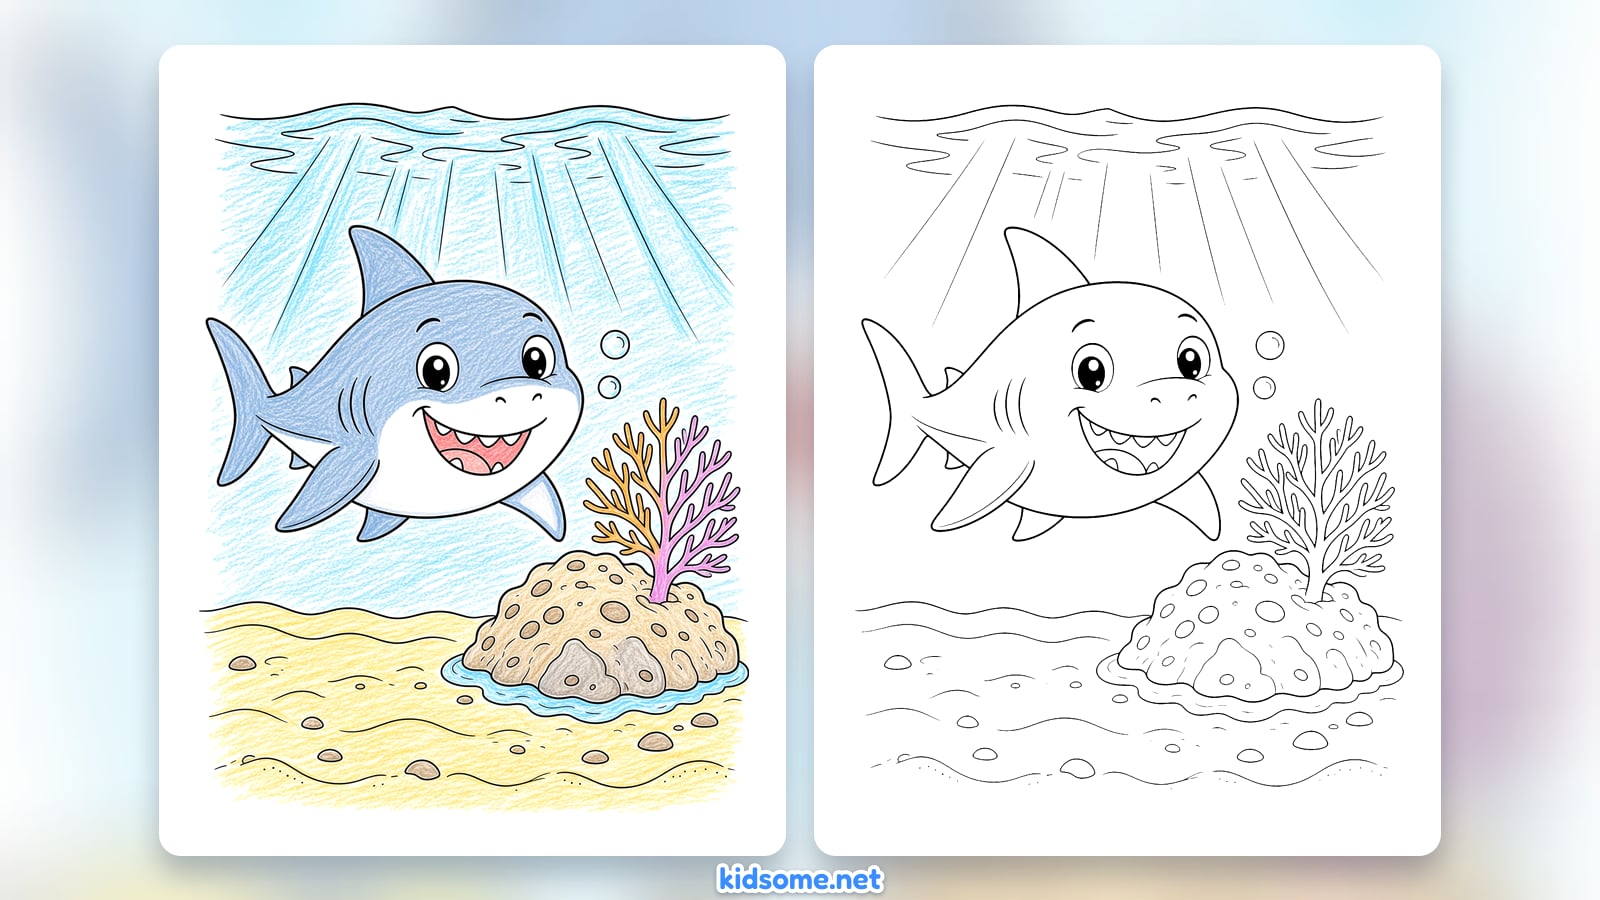
When the turtle is done, try the shark drawing guide for another ocean friend.
-
Step 1 : Draw the shell

Start with a big half circle in the middle of your paper, flat side down. This is the turtle's shell. Draw it slowly, and do not worry if it comes out a little wobbly.
-
Step 2 : Draw the shell rim
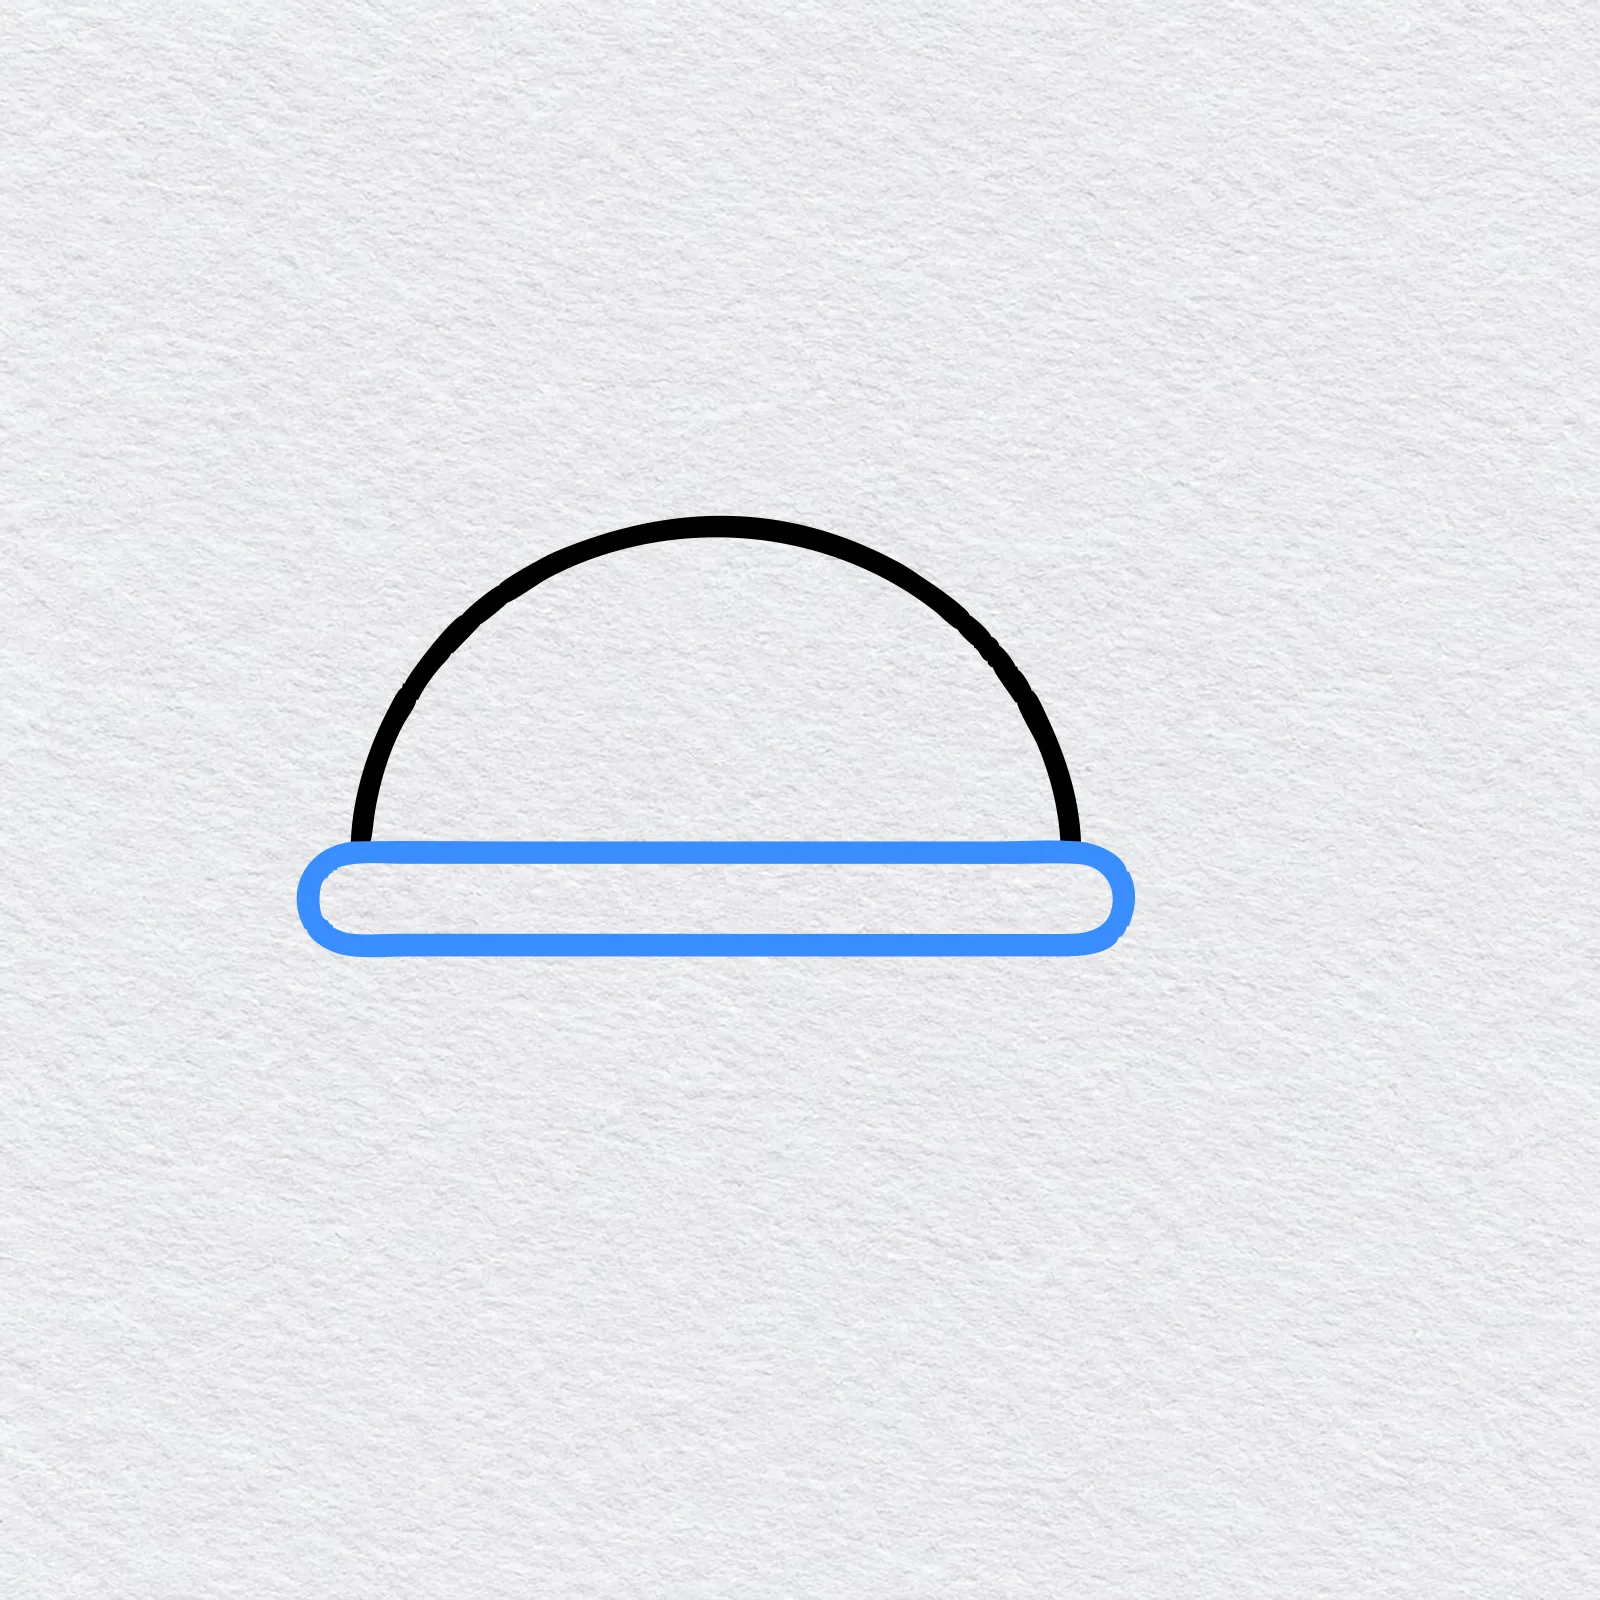
Under the dome, draw a long, thin box with round ends. Let it stick out a little past the shell on both sides, like the brim of a hat.
-
Step 3 : Draw the head and neck
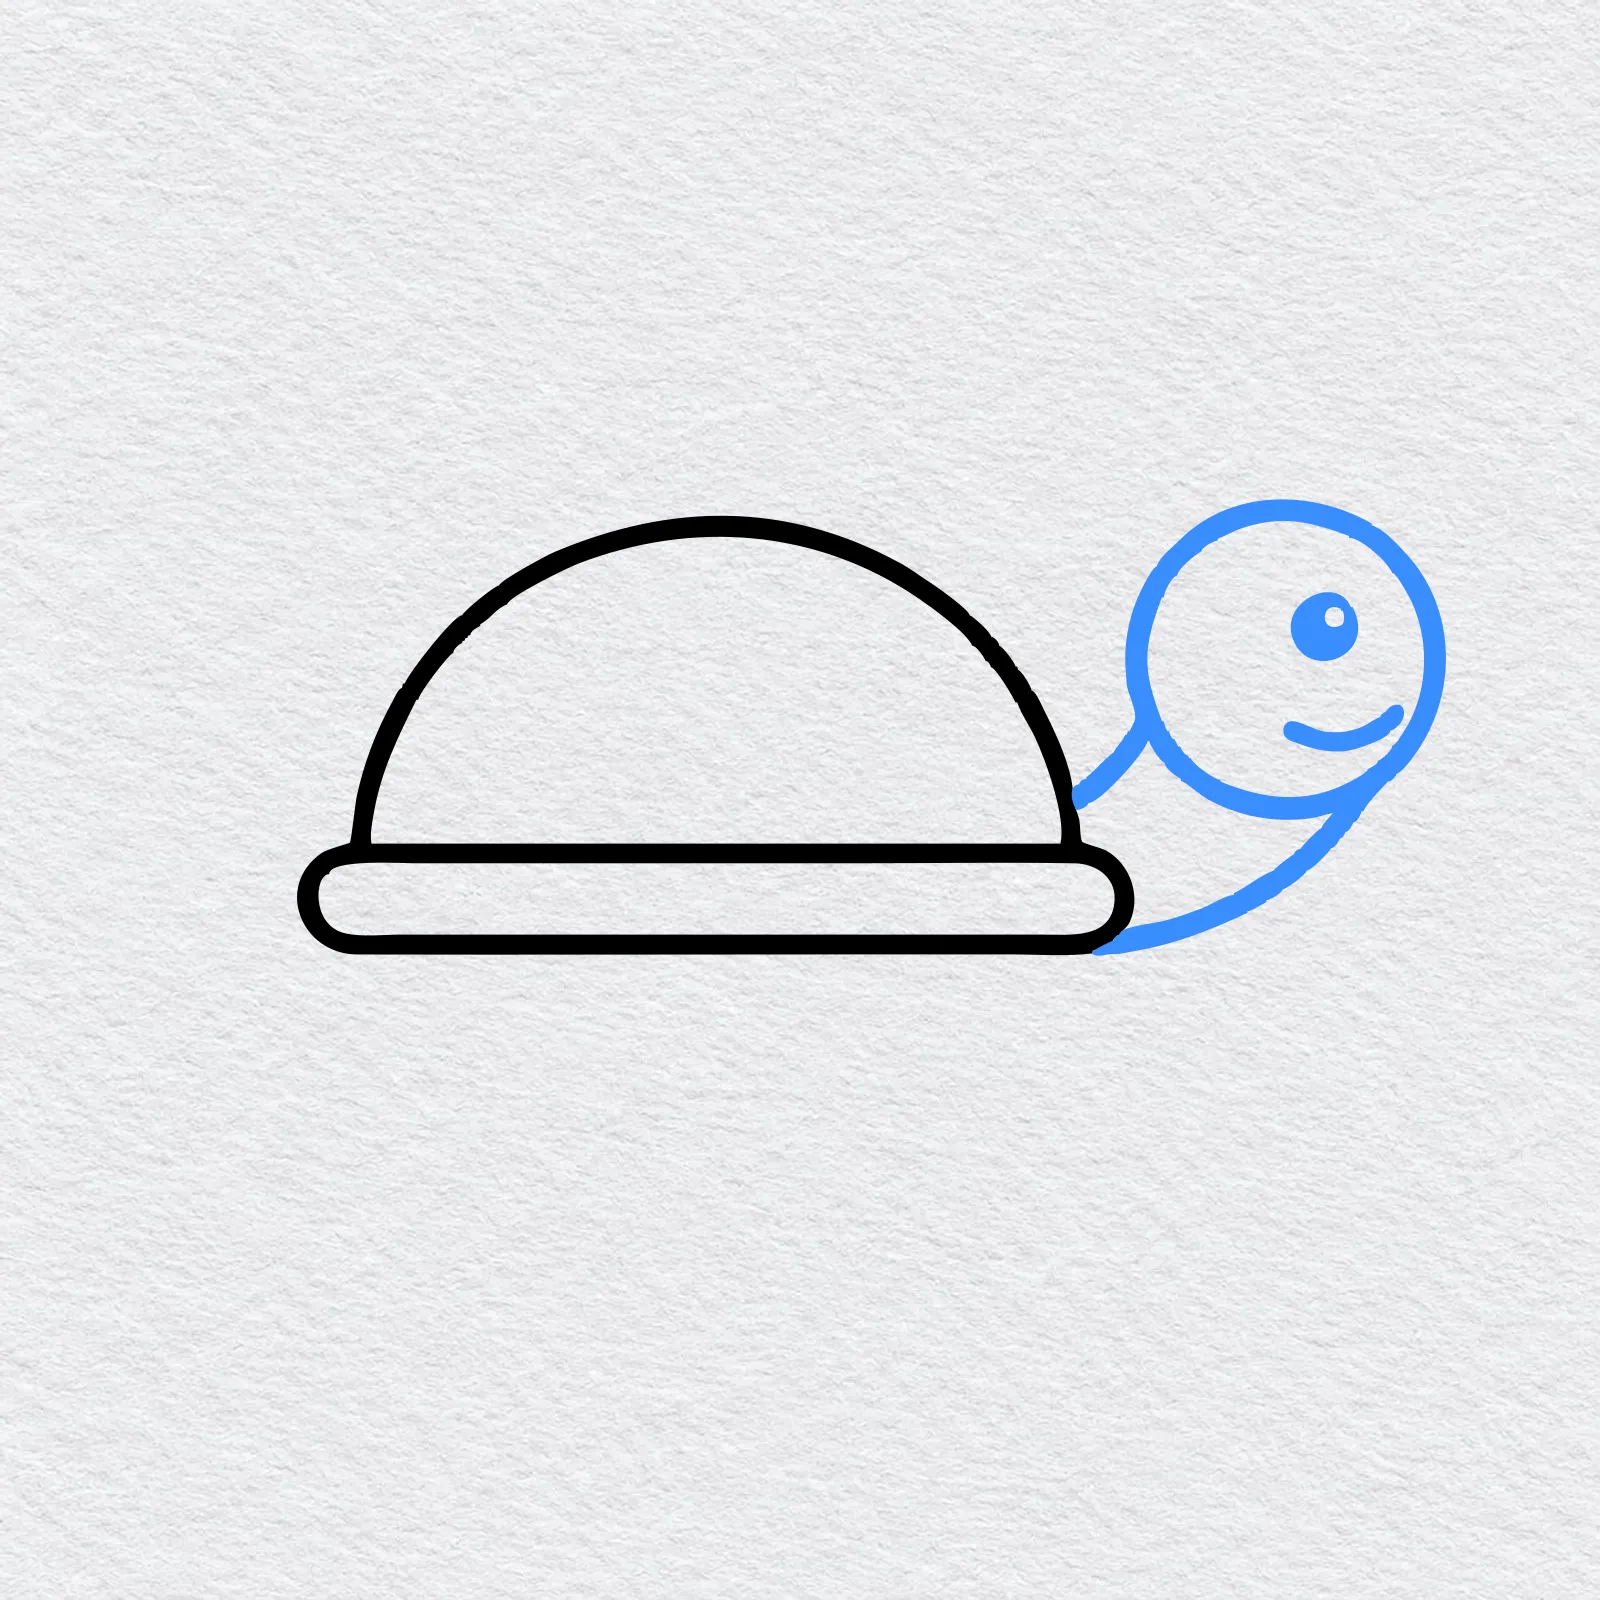
On the right, draw a round circle a little above the rim for the head. Join it to the shell with two curved lines for the neck. Add a dot eye and a small smile.
-
Step 4 : Draw the legs
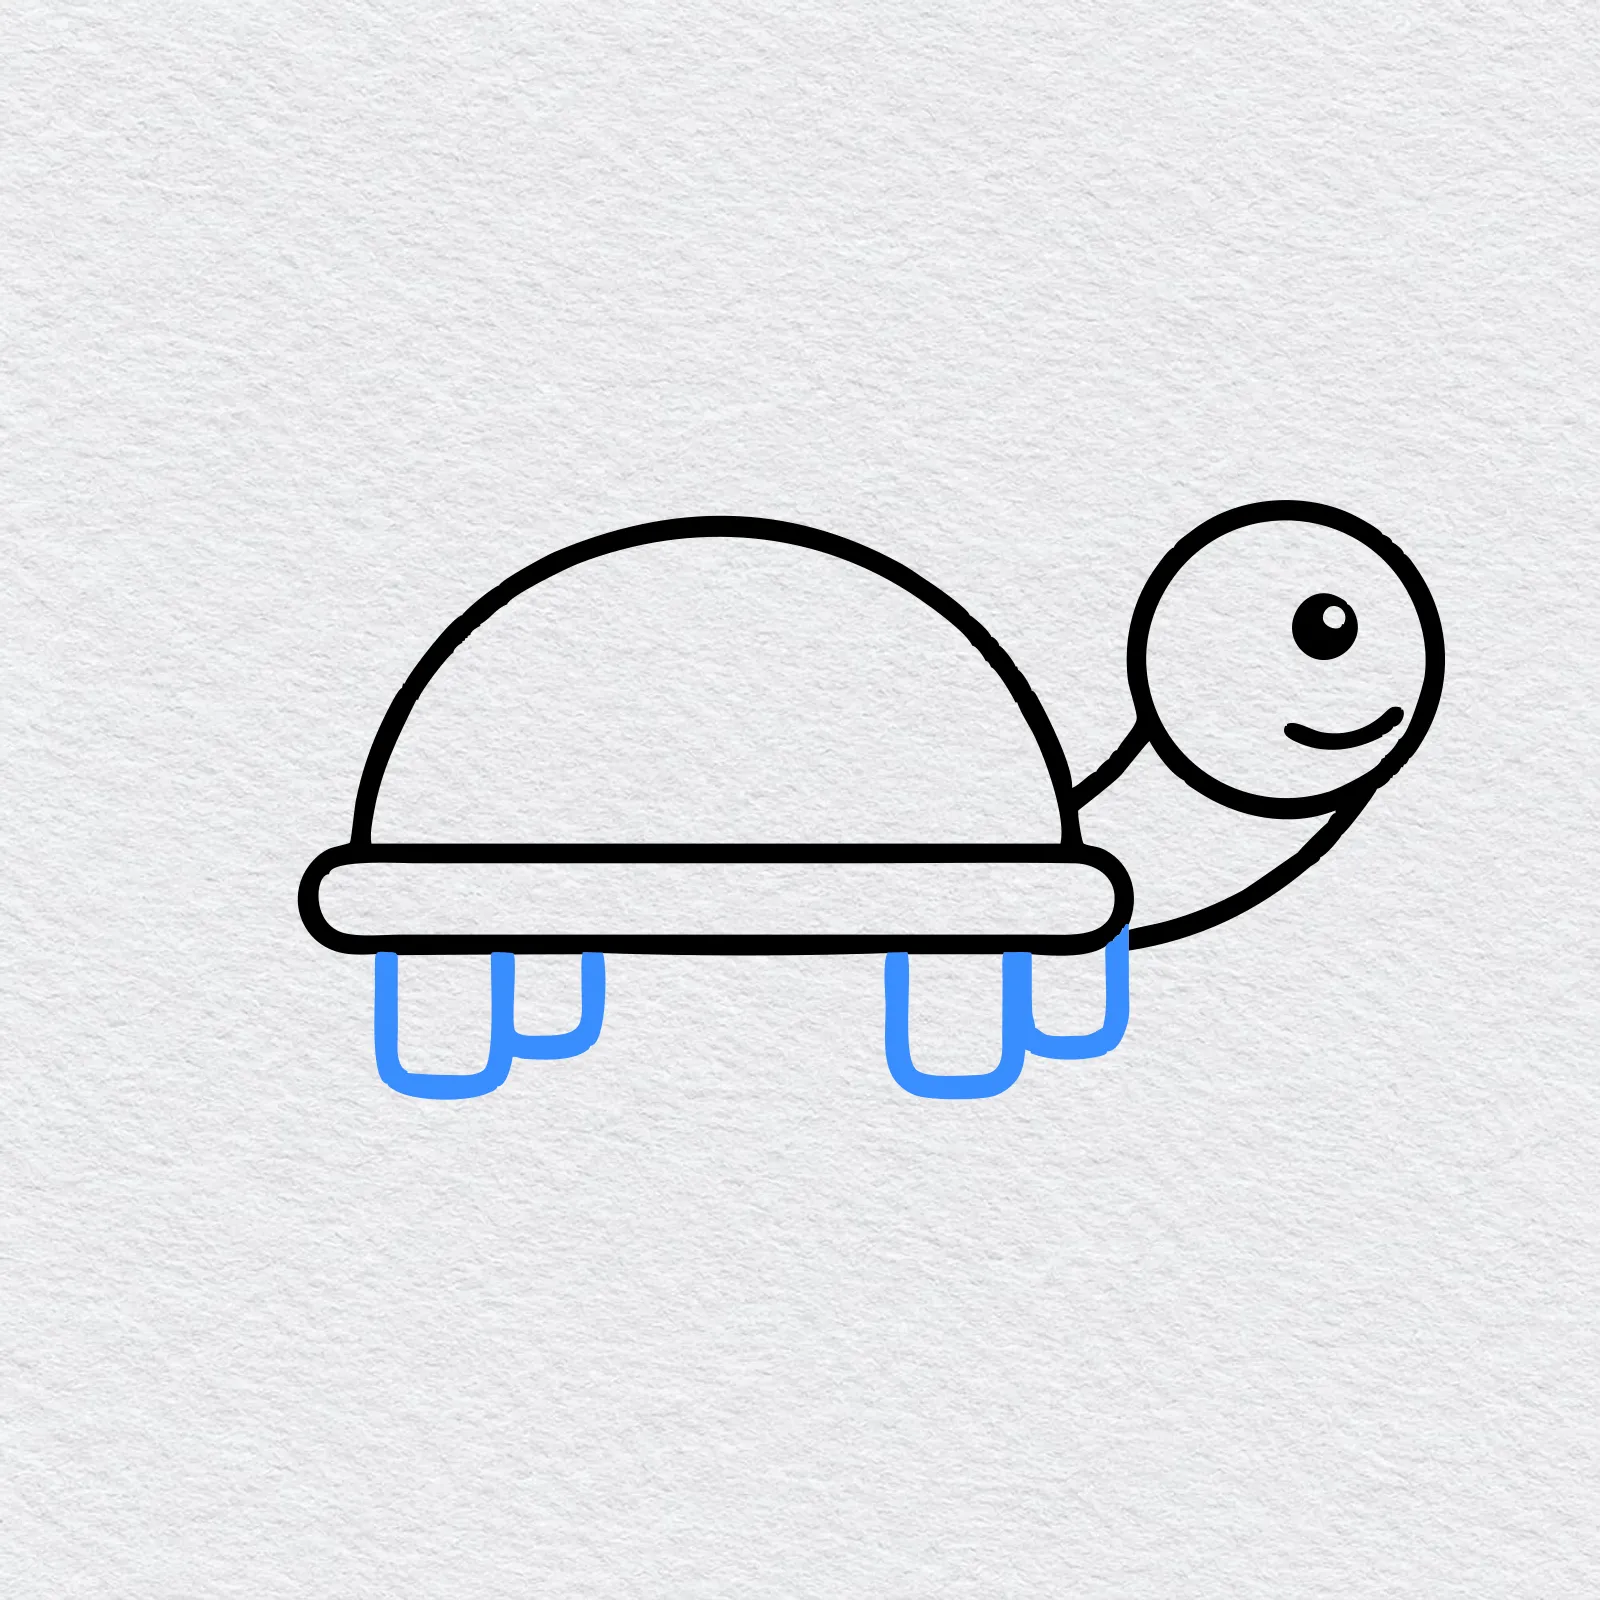
Draw four short, rounded legs hanging down from the rim, two near the front and two near the back. Leave a little space between each pair.
-
Step 5 : Draw the tail and toes
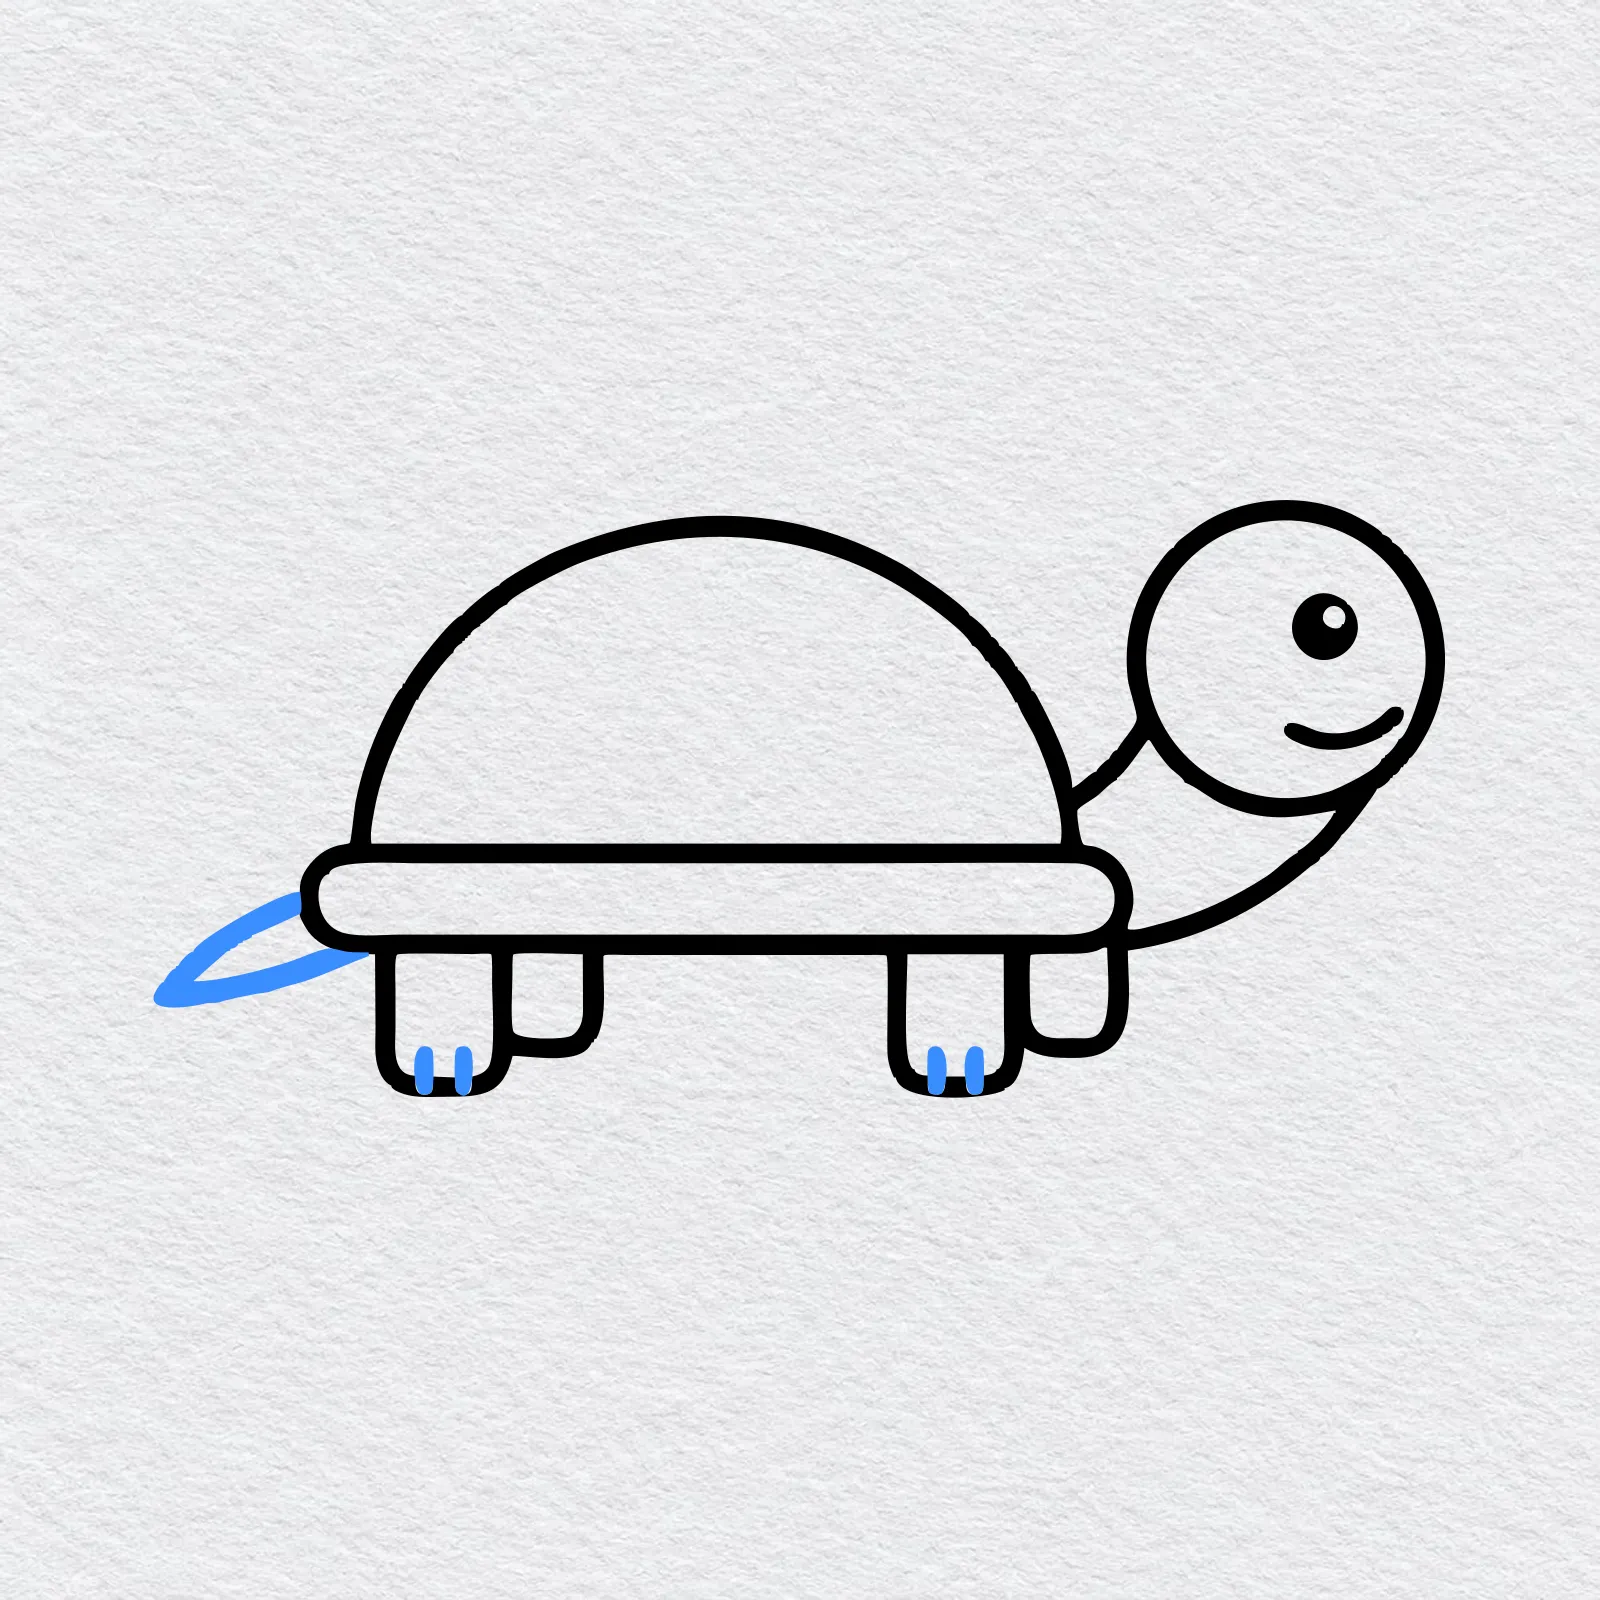
At the back of the rim, draw a small pointed tail, like a little triangle. Then add two tiny lines at the bottom of each leg for toes.
-
Step 6 : Draw the shell plates
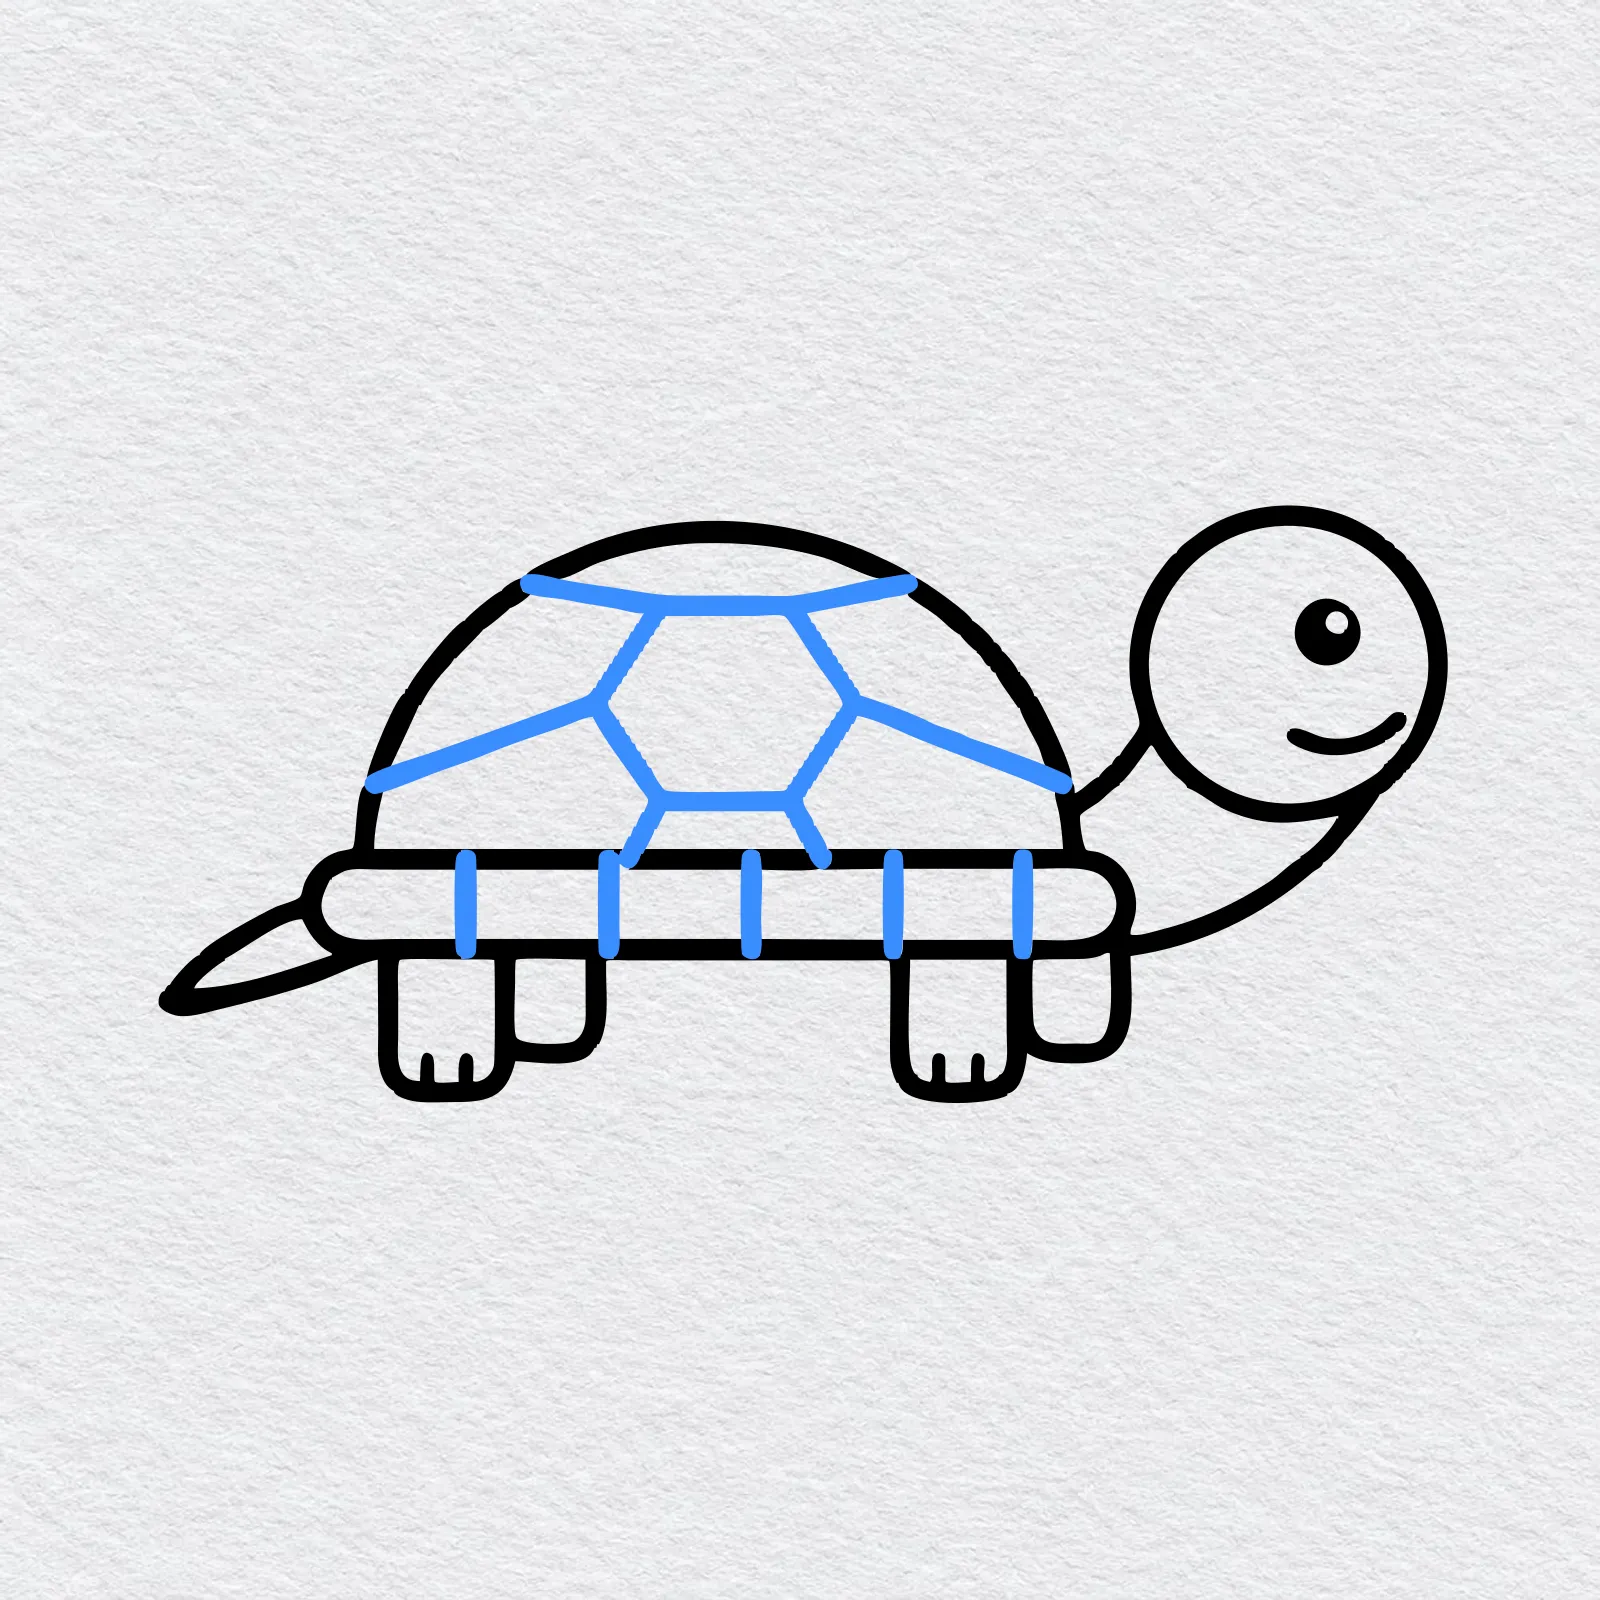
Draw a six sided shape in the middle of the shell, then join it to the edges with straight lines to make more plates. Add short lines across the rim. Your turtle drawing is finished.
-
Step 7 : Color your turtle
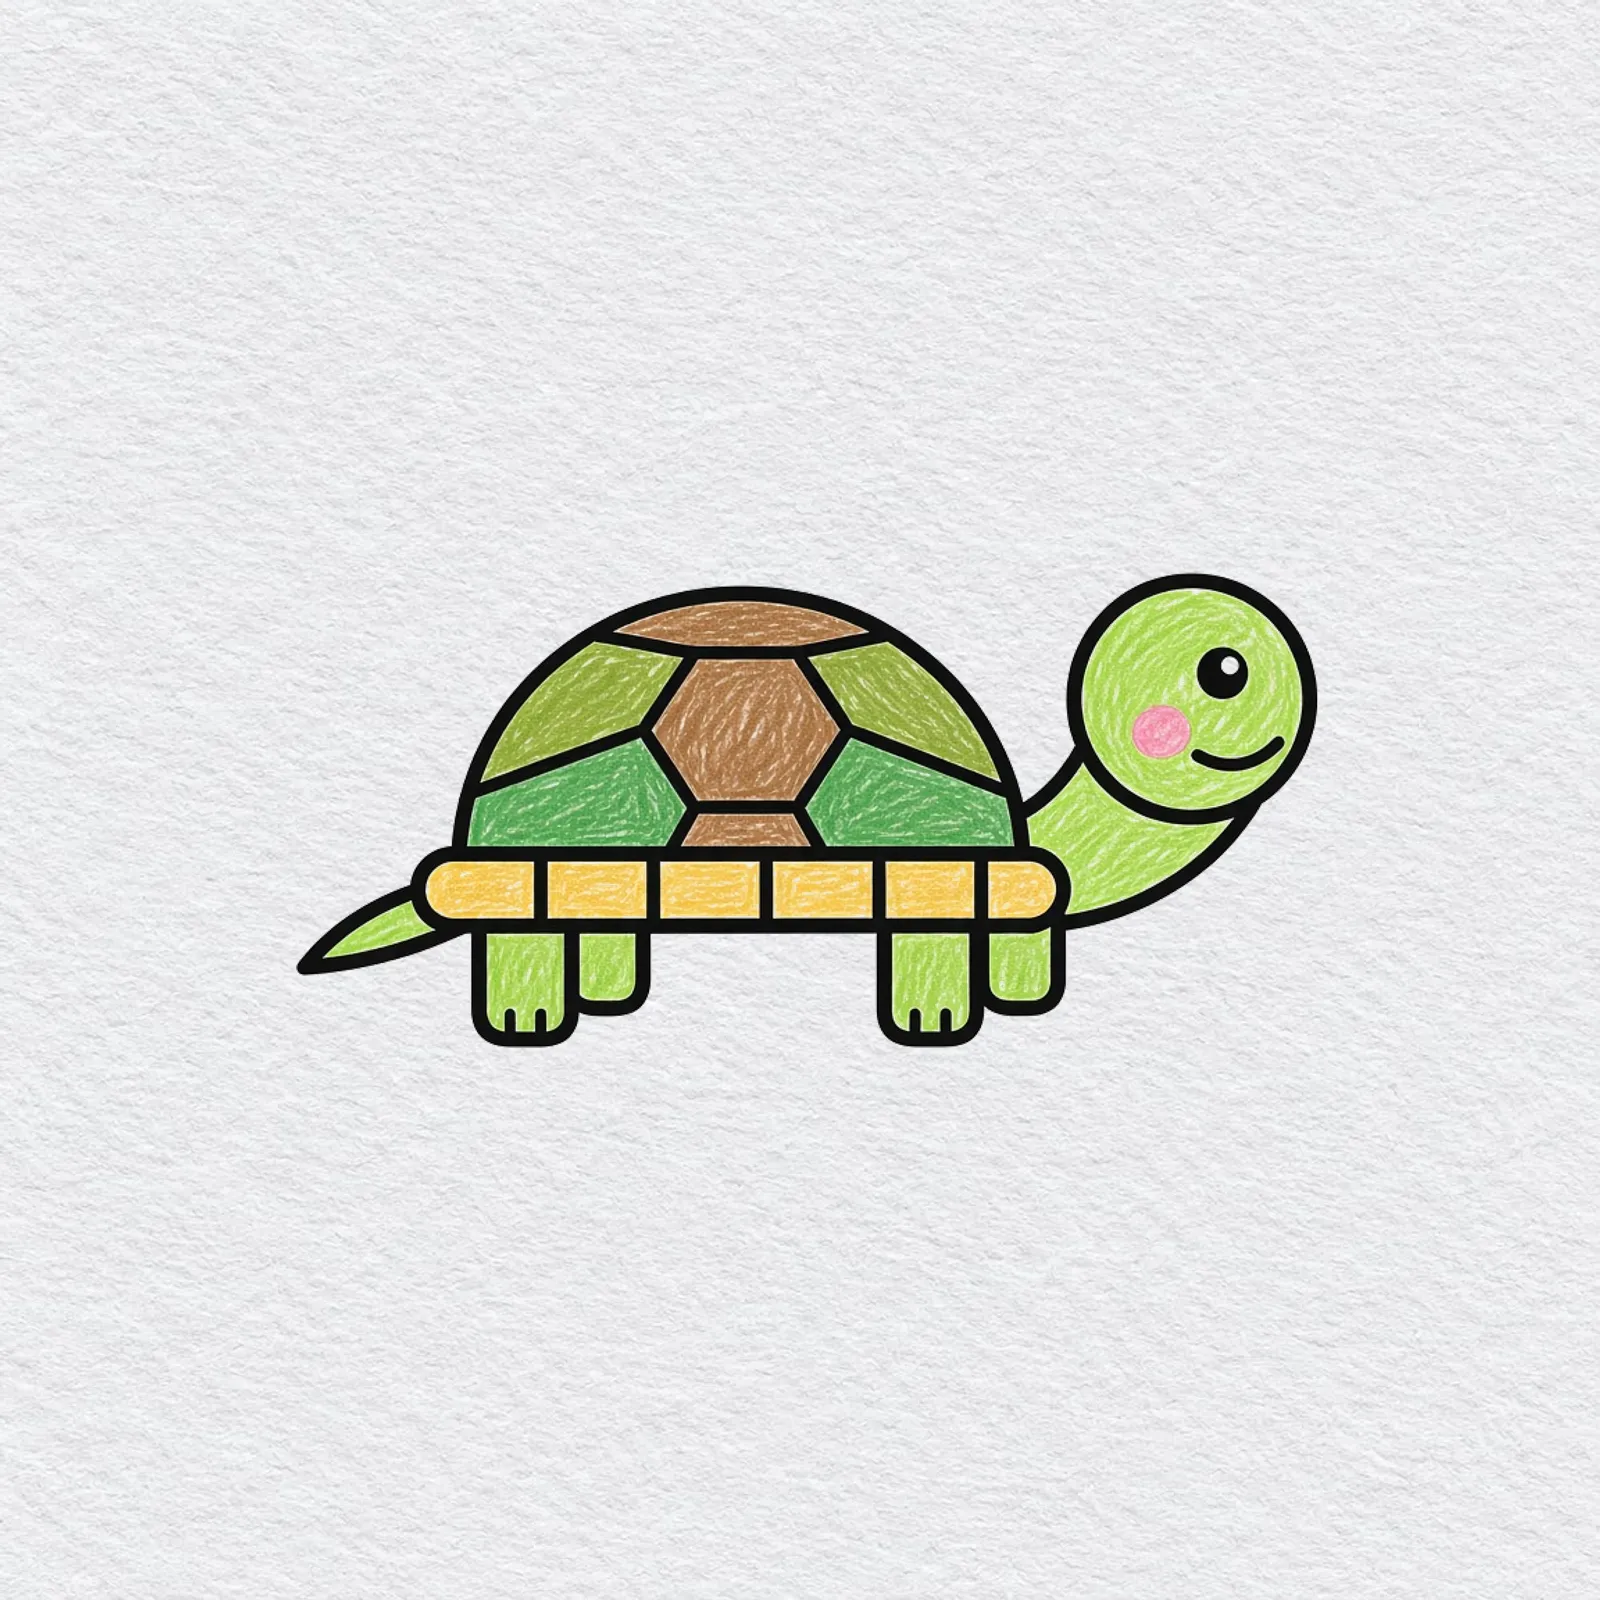
Pick a green for the head, legs and tail, then color the shell plates in two greens and a brown. A yellow or orange rim makes the shell stand out, and a little pink on the cheek adds a happy blush.
Go slowly and press lightly first. You can always add more color, but it is hard to take it away.
Printable turtle drawing PDFs
 Save
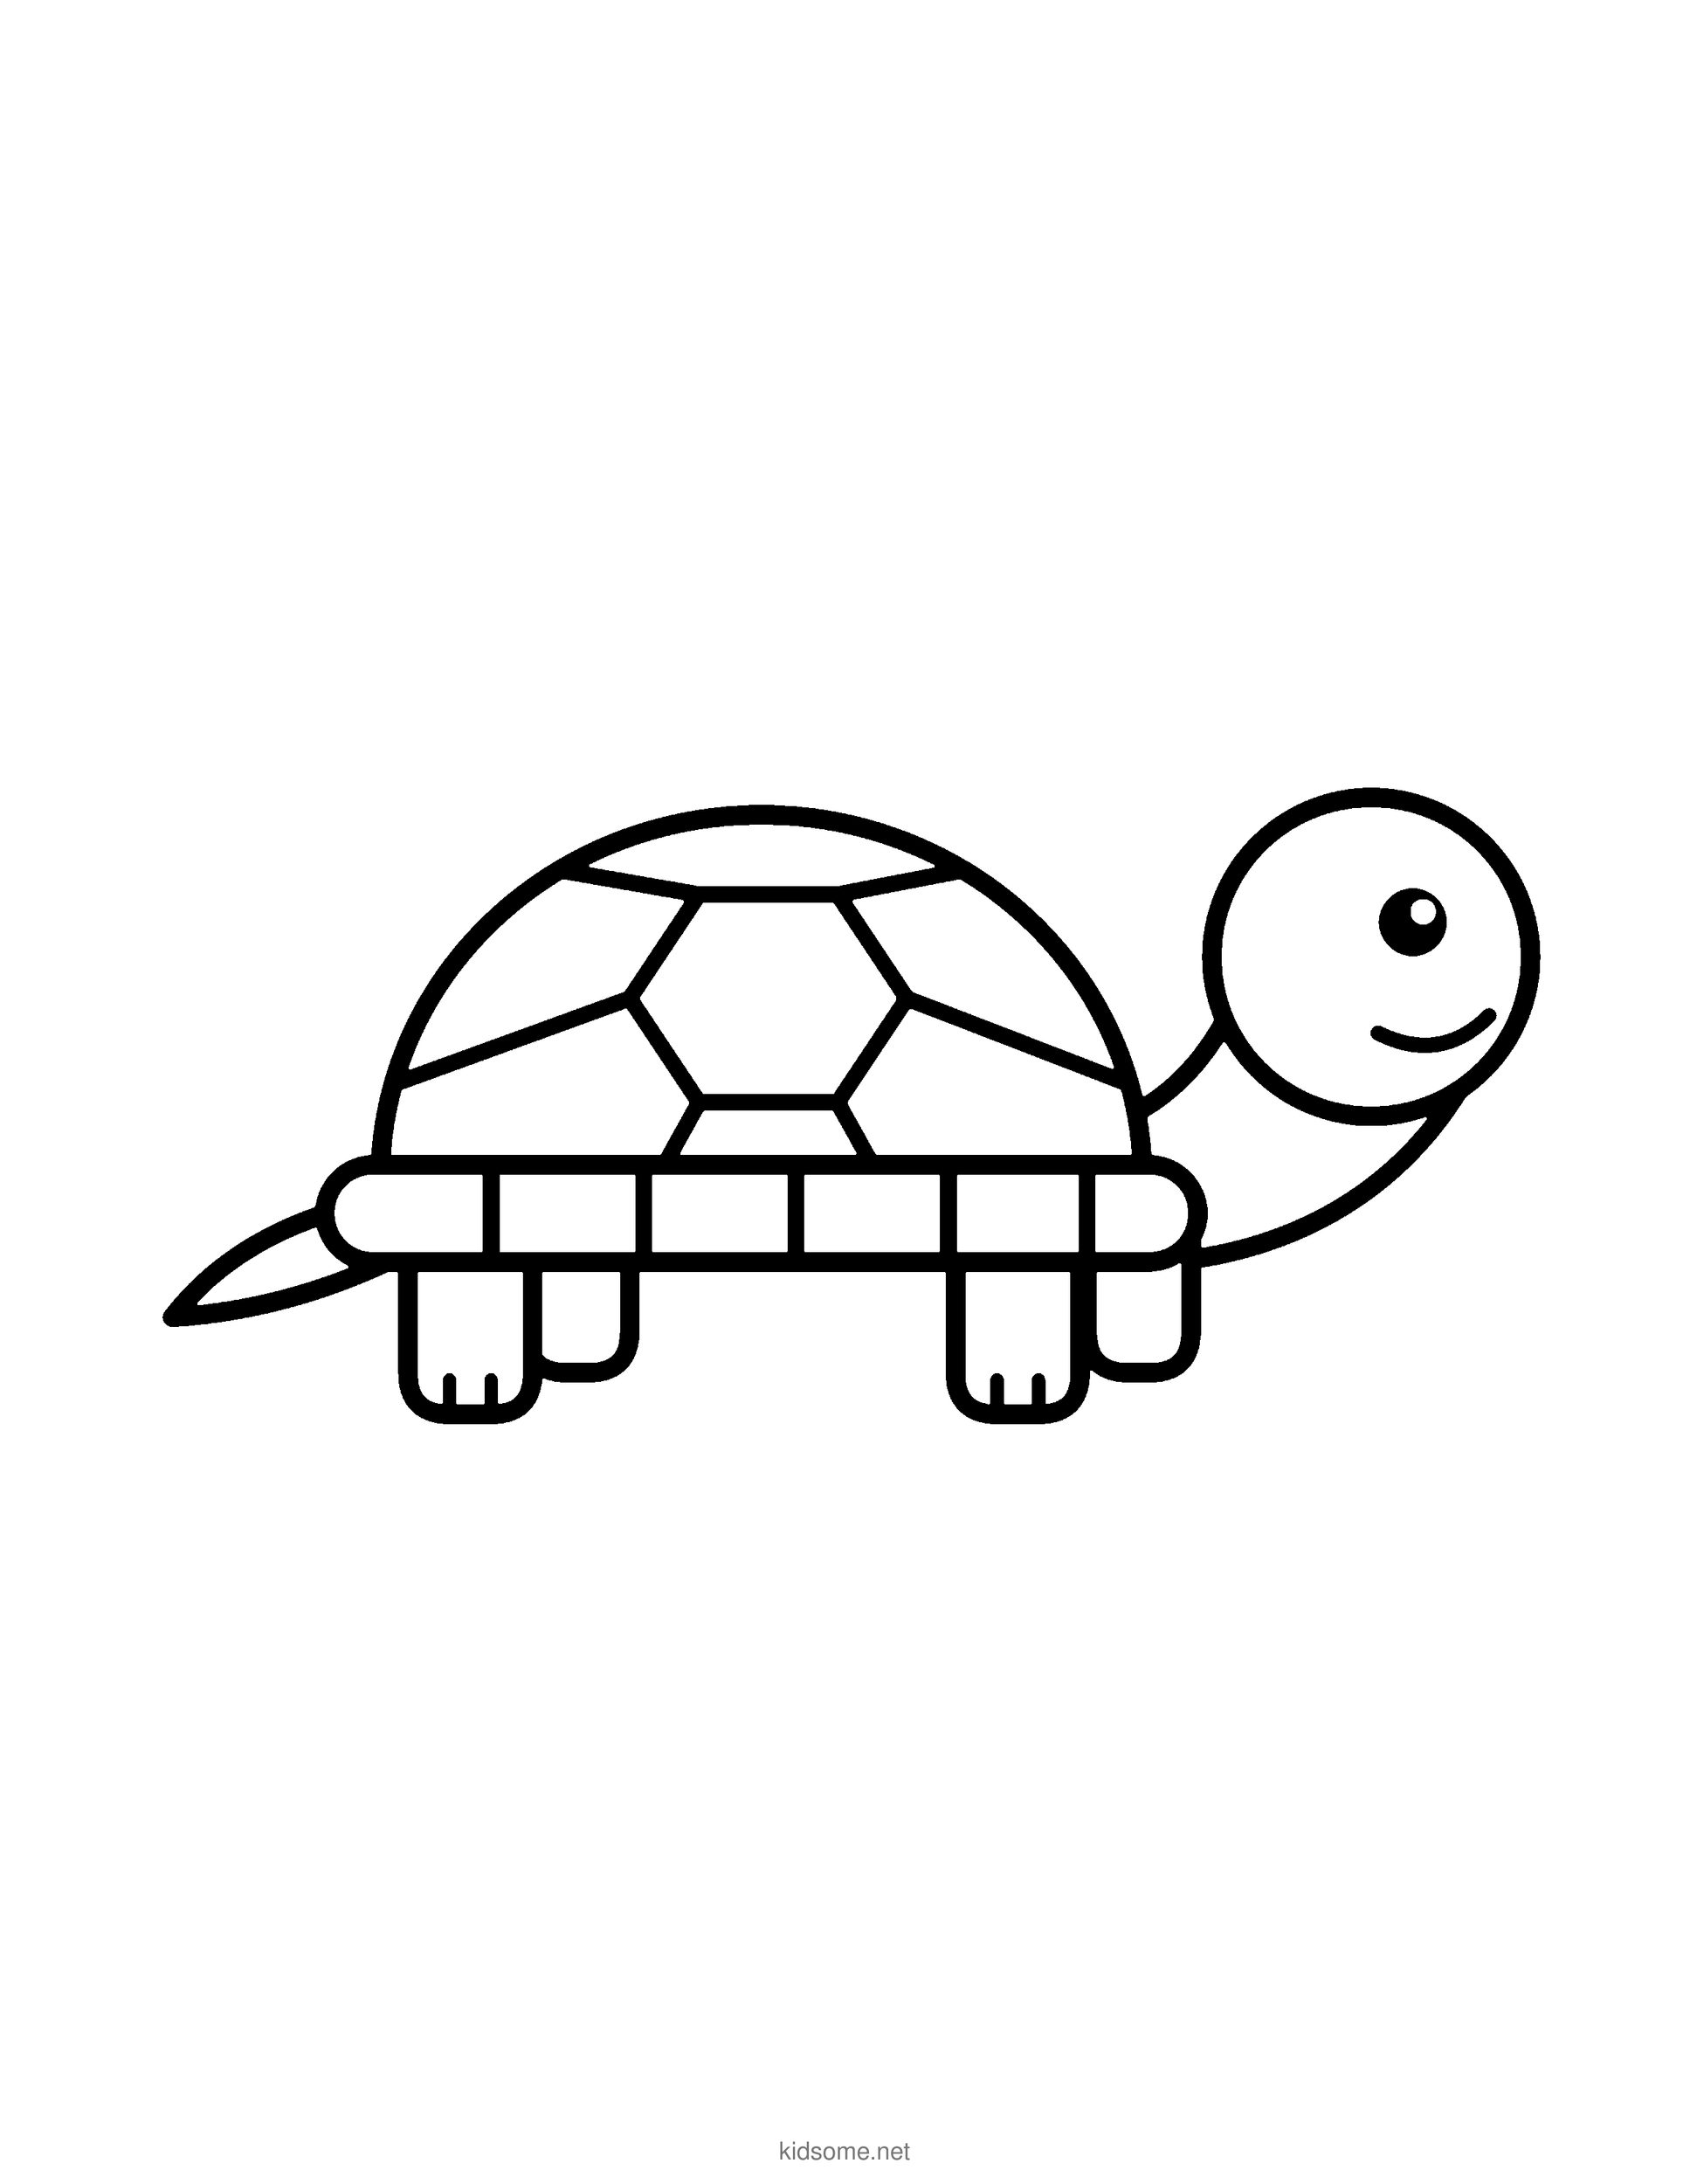
Friendly Turtle Outline to Color
The finished turtle as a clean outline to color, with the colored turtle on page two.
Download PDF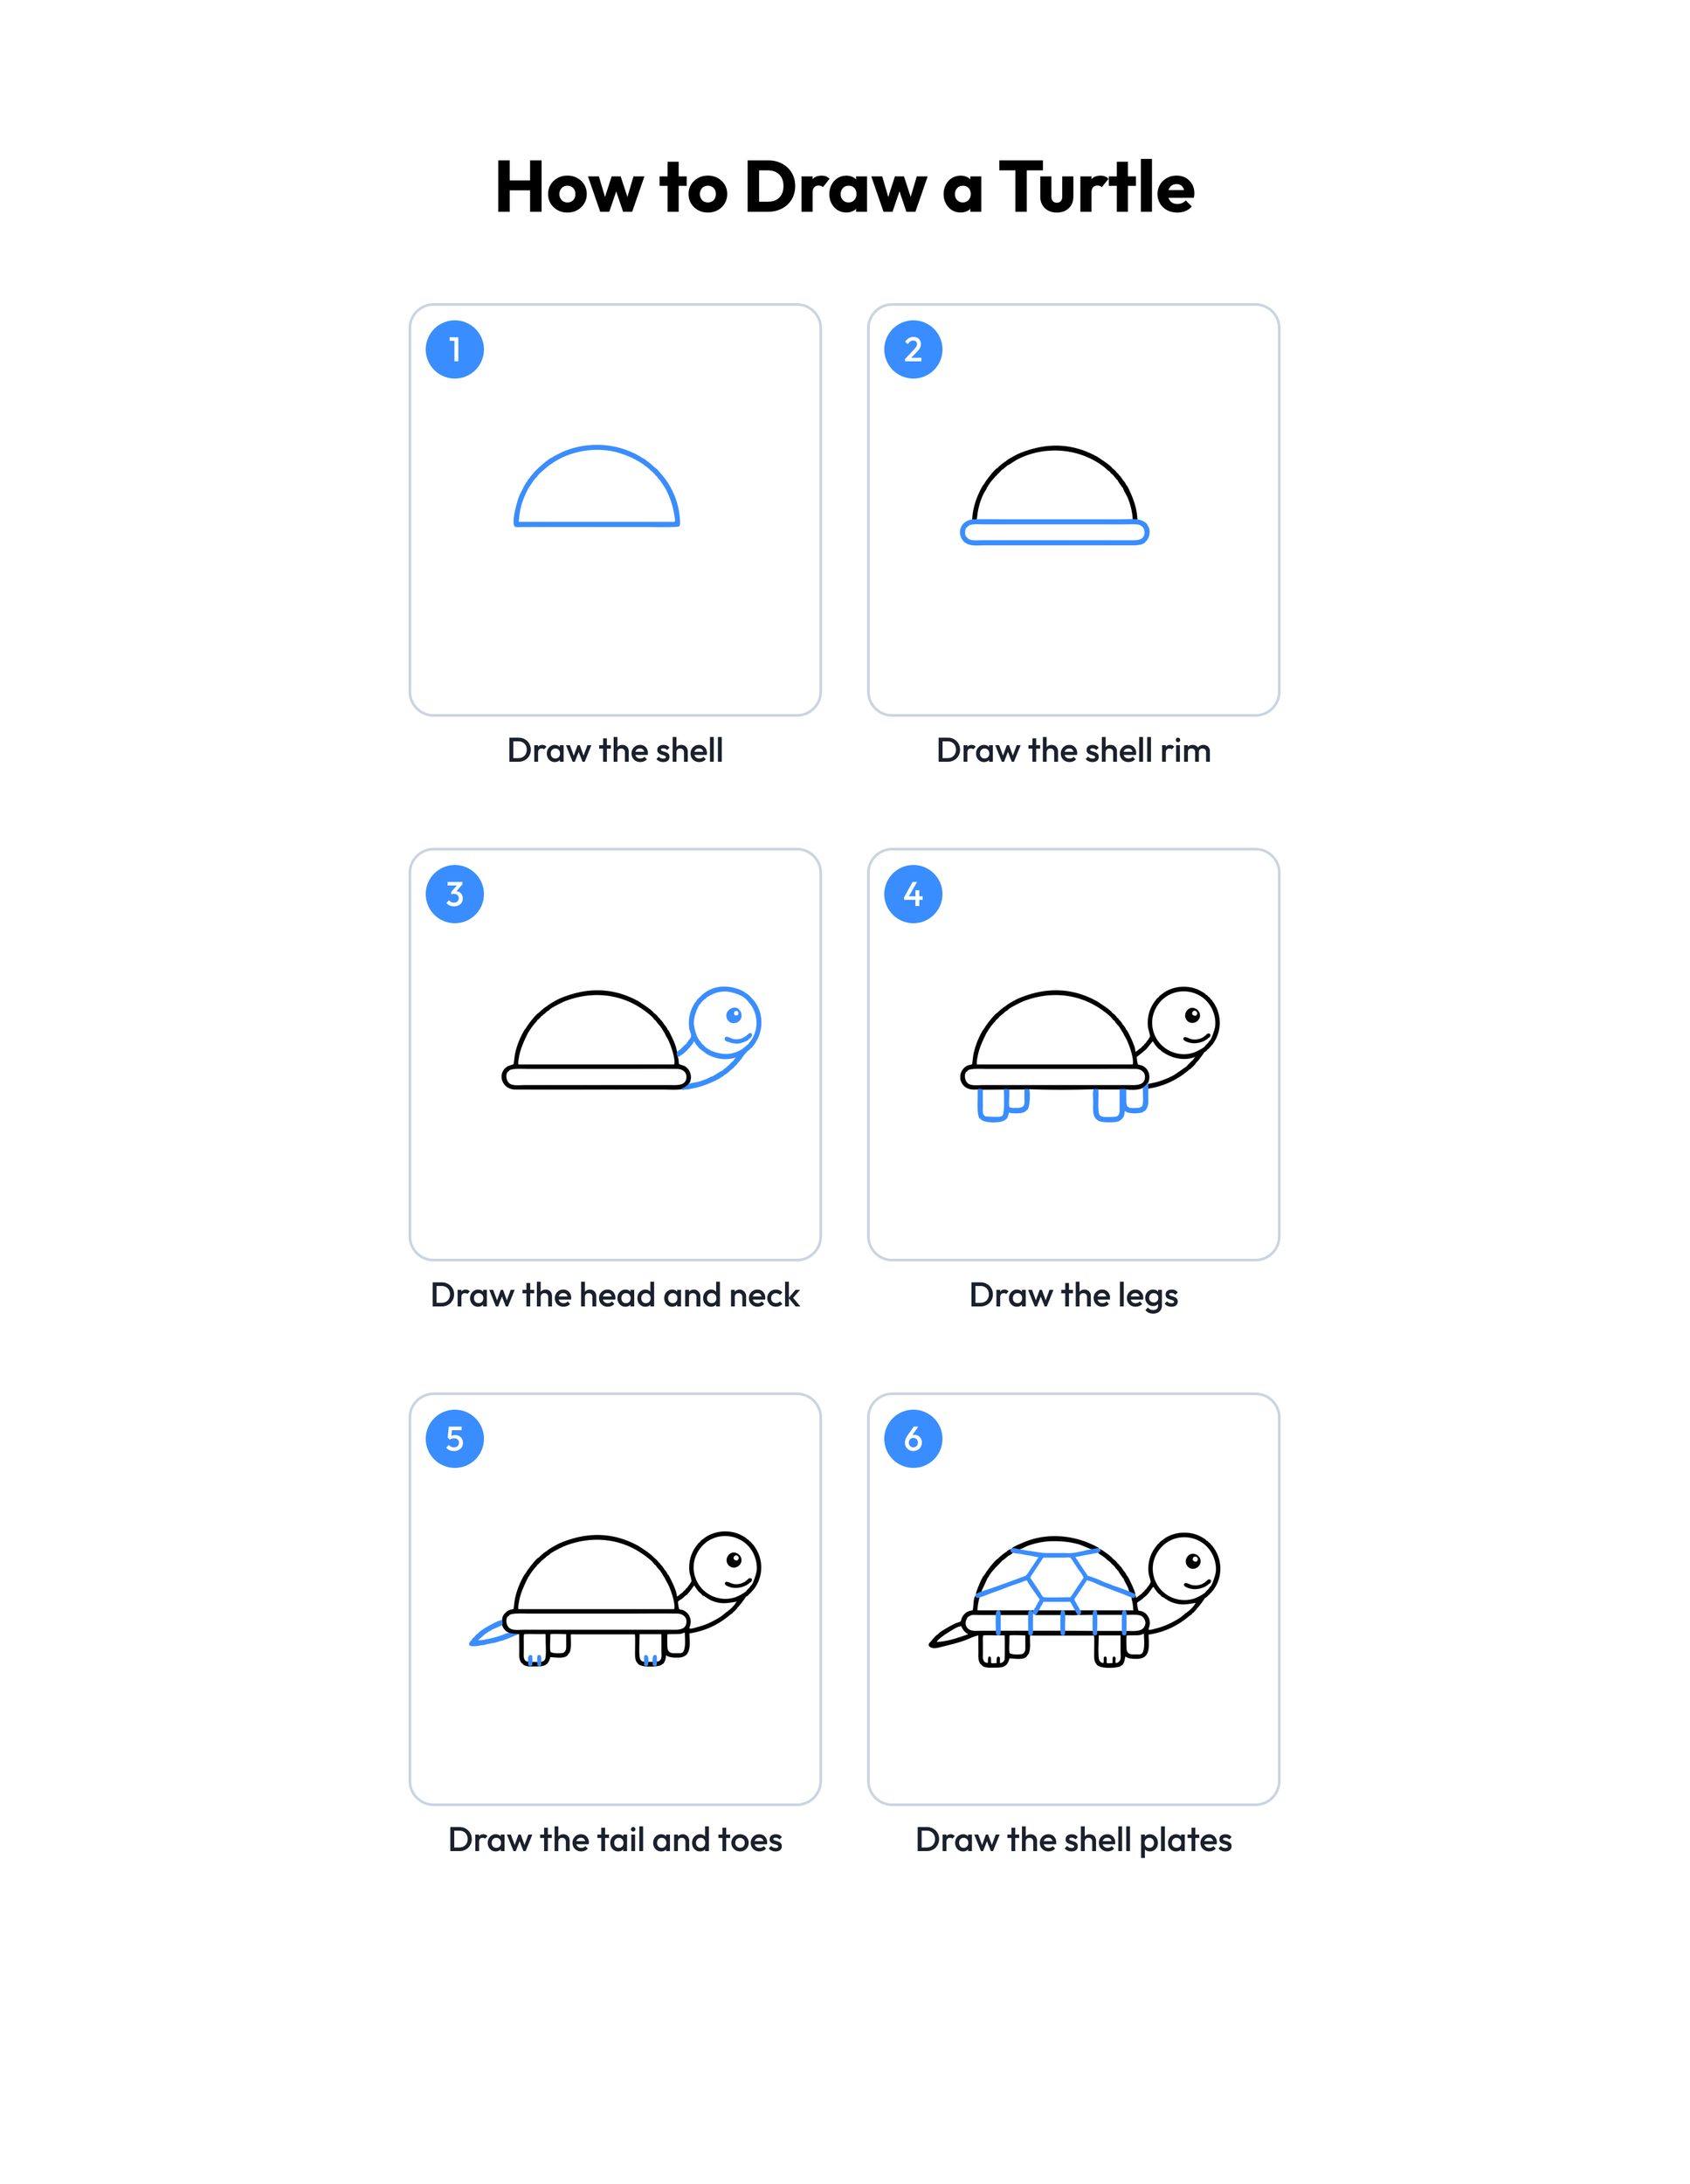 Save
Printable turtle drawing guide
Every step, two to a row, with the finished turtle in color at the end.
Download PDFHow to use this guide
Print the outline at 100 percent, or choose Fit to page if your printer asks. The PDF is set to US Letter, and the margins leave room for A4 too, so the whole turtle stays on the sheet. Page one is the outline to color. Page two is the colored turtle, so print page one alone if you only want the drawing to fill in.
For drawing, plain copy paper and a pencil with a good eraser work best. Draw lightly at first, because the dome and the head circle are guide shapes that often need a second try. When the turtle looks right, go over the lines with a marker or a dark crayon. Markers and paint need cardstock so the color does not soak through.
The first three steps are the easiest: a dome, a rim under it and a round head with a smile. Younger children can stop there and color a turtle with its head poking out, which already reads as a turtle. The legs, the tail and the shell plates take a little more care, so a grown-up can draw each one lightly and let the child go over it. This is the easy turtle to start with; once it feels simple, a sea turtle is the same shell with flippers in place of legs.
Print the step guide and lay it next to the paper, or keep this page open on a tablet. Point to the blue line in each step and say what it is before your child draws it.
Ideas for your turtle drawing
- Turtle pond: Draw a blue pond on a big sheet and have everyone add their turtle to it. Give each turtle a name and a favorite snack, then tell the group where it likes to swim.
- Shell patterns: Color each shell plate in a different pattern, such as stripes, dots or zigzags. Compare the shells side by side and talk about which pattern is easiest to spot.
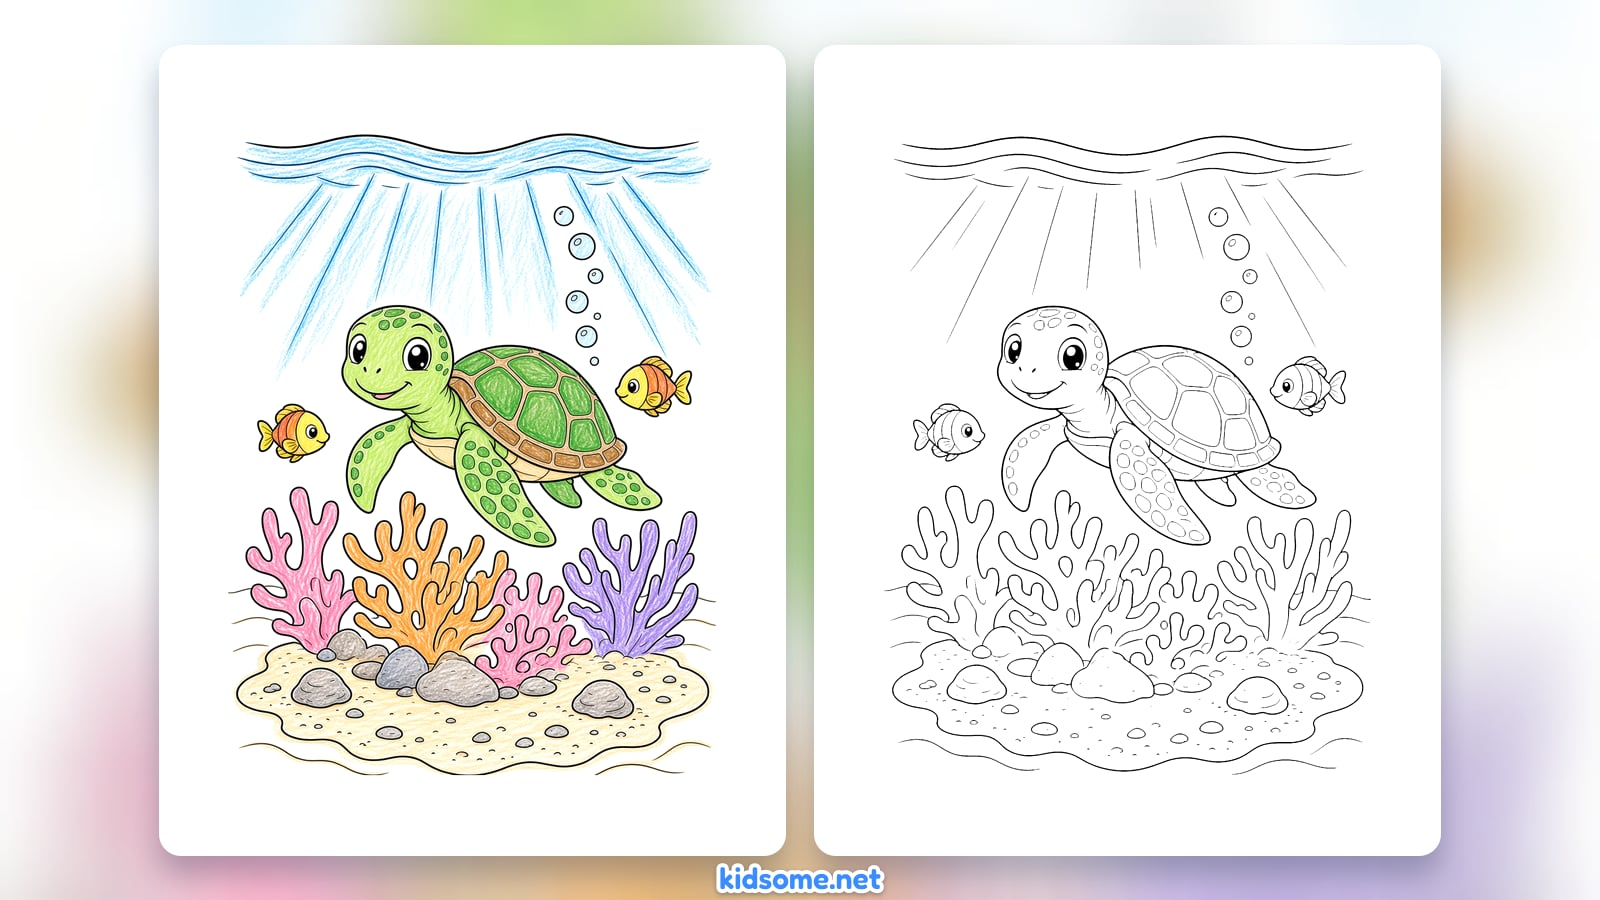
- Sea turtle swap: Draw the turtle again, but give it four wide flippers instead of legs and a flatter shell. Add a few bubbles and a wavy line on top so it swims in the sea.
- Shape hunt: Before drawing, find the half circle, the circle and the rounded box in the finished turtle. Name each shape out loud, then point to it again on your own drawing.
- Classroom art center: Put printed step guides, pencils and erasers in an art center during an ocean or pond unit. Children work through the steps at their own speed and add their turtle to a class wall.
- Slow and steady story: Read a fable about a turtle and a race, then draw the turtle at the finish line. Older children can write one sentence about why going slowly helped.
- Card for a friend: Fold a sheet in half and draw the turtle on the front with a little flower. Add a short note inside for a grandparent, a teacher or a friend who needs cheering up.
- Quiet-time folder: Keep the step guide and a few blank sheets in a folder for car trips, waiting rooms and rainy afternoons. A simple turtle drawing is something kids happily come back to.
What age is this turtle drawing made for?
It is made for ages 4 to 8. The youngest children can draw the dome, the rim and the head with a grown-up nearby, and older kids can draw the whole turtle alone, then add grass, a pond or a few rocks around it. Every step uses shapes a preschooler already knows.
Is this an easy way to draw a turtle?
Yes. It is one of the easiest animals to draw because the shell is a single half circle and the legs are short rounded boxes. There are only six steps, and the hardest part is the shell plates at the end, which can be as simple or as neat as your child likes.
Can I use these steps for how to draw a sea turtle?
Follow the same steps for the shell and head, but make the dome a little flatter. In place of the four stubby legs, draw two big front flippers and two small back flippers shaped like leaves. Add spots on the head and flippers, and your sea turtle is ready to swim.
How do I help a child who finds it hard?
Draw each new part lightly in pencil yourself and let your child go over it, then swap for the next step. Big, slow movements help more than small ones. If the dome comes out lopsided, keep it: a turtle with a bumpy shell is still a turtle, and the next try is usually better.
Can I print the guide for my class?
Yes. Teachers, homeschool parents and art clubs can print as many copies of the outline and the step guide as their students need. Both PDFs are free for personal and classroom use. Please do not sell them or post the files on another site.