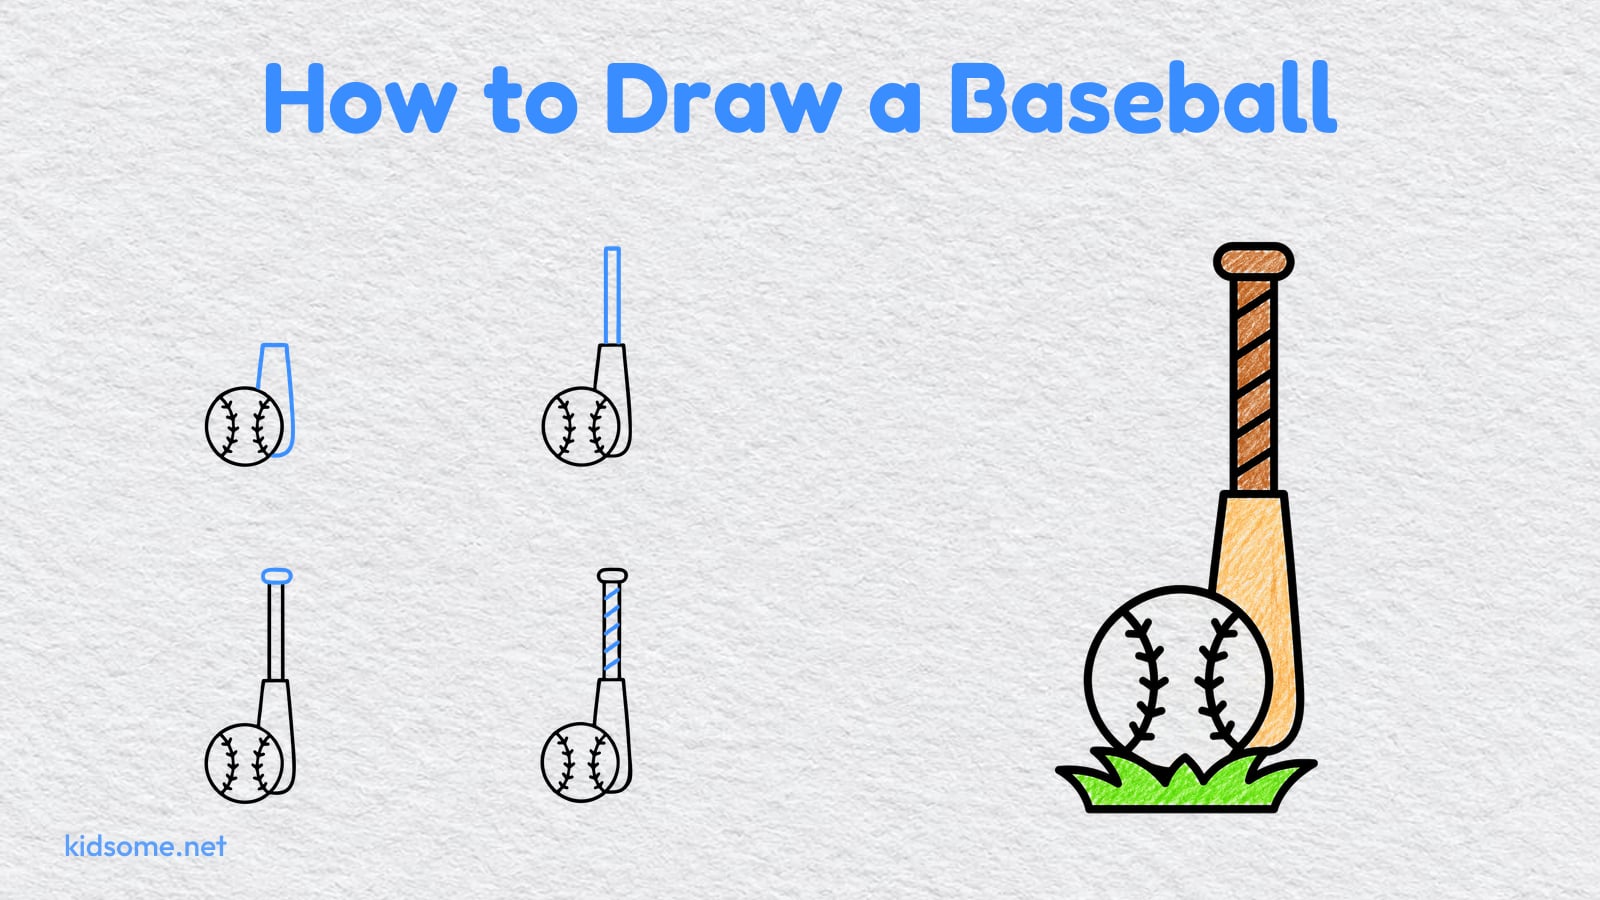
This guide shows how to draw a baseball in nine short steps. It is made for kids ages 4 to 8 and for the parent, coach or teacher drawing beside them. If your child can draw a circle, they can finish this picture. The ball sits on a tuft of grass with its two curved seams and the little V marks along them, and a wooden bat stands upright behind it.
Each step shows the whole drawing so far in black and the new part in blue, so your child always knows what to add next. Four steps make the ball, four build the bat from its barrel up to the knob, and the ninth adds the grass. A last picture shows the finished baseball drawing colored in, as an idea to copy or change. Two free PDFs go with the guide: the outline to print and color, and a one page guide with every step. Both print on US Letter and A4, and there is no sign-up.
When this one is done, the sports drawing guides have more to try.
-
Step 1 : Draw the ball

Draw a big circle near the bottom of your paper. This is the ball. Leave lots of room above it for the bat.
-
Step 2 : Draw the first seam

Inside the circle, on the left side, draw a curved line from the top edge down to the bottom edge. Let it bend in toward the middle of the ball.
-
Step 3 : Draw the second seam

Draw the same curved line on the right side, bending the other way. The two seams lean toward each other but never touch.
-
Step 4 : Draw the V marks
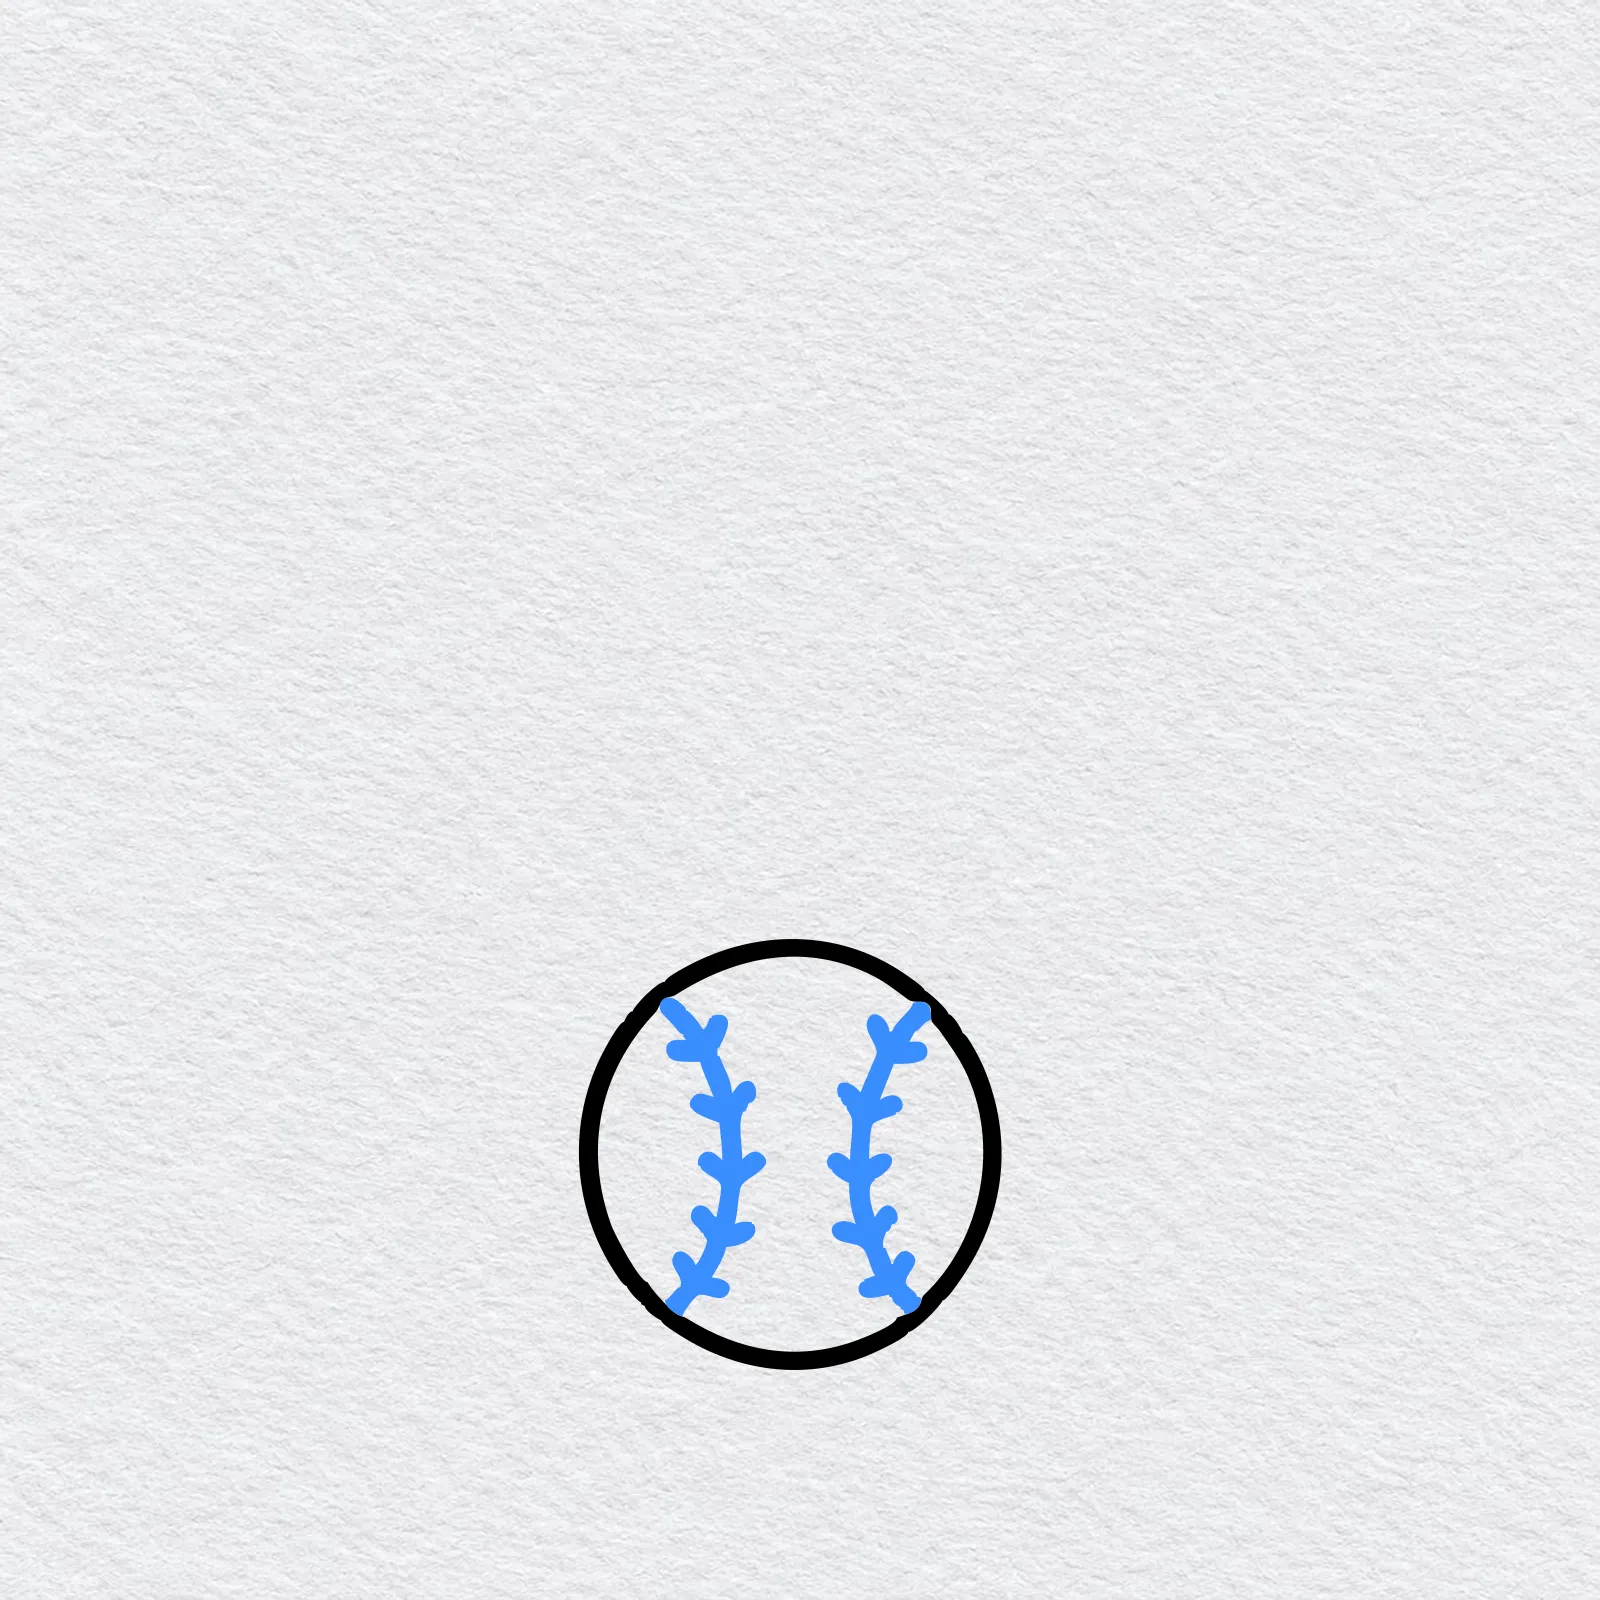
Add five small V shapes along each seam, from top to bottom. The seam runs through the middle of every V.
-
Step 5 : Draw the bat's barrel
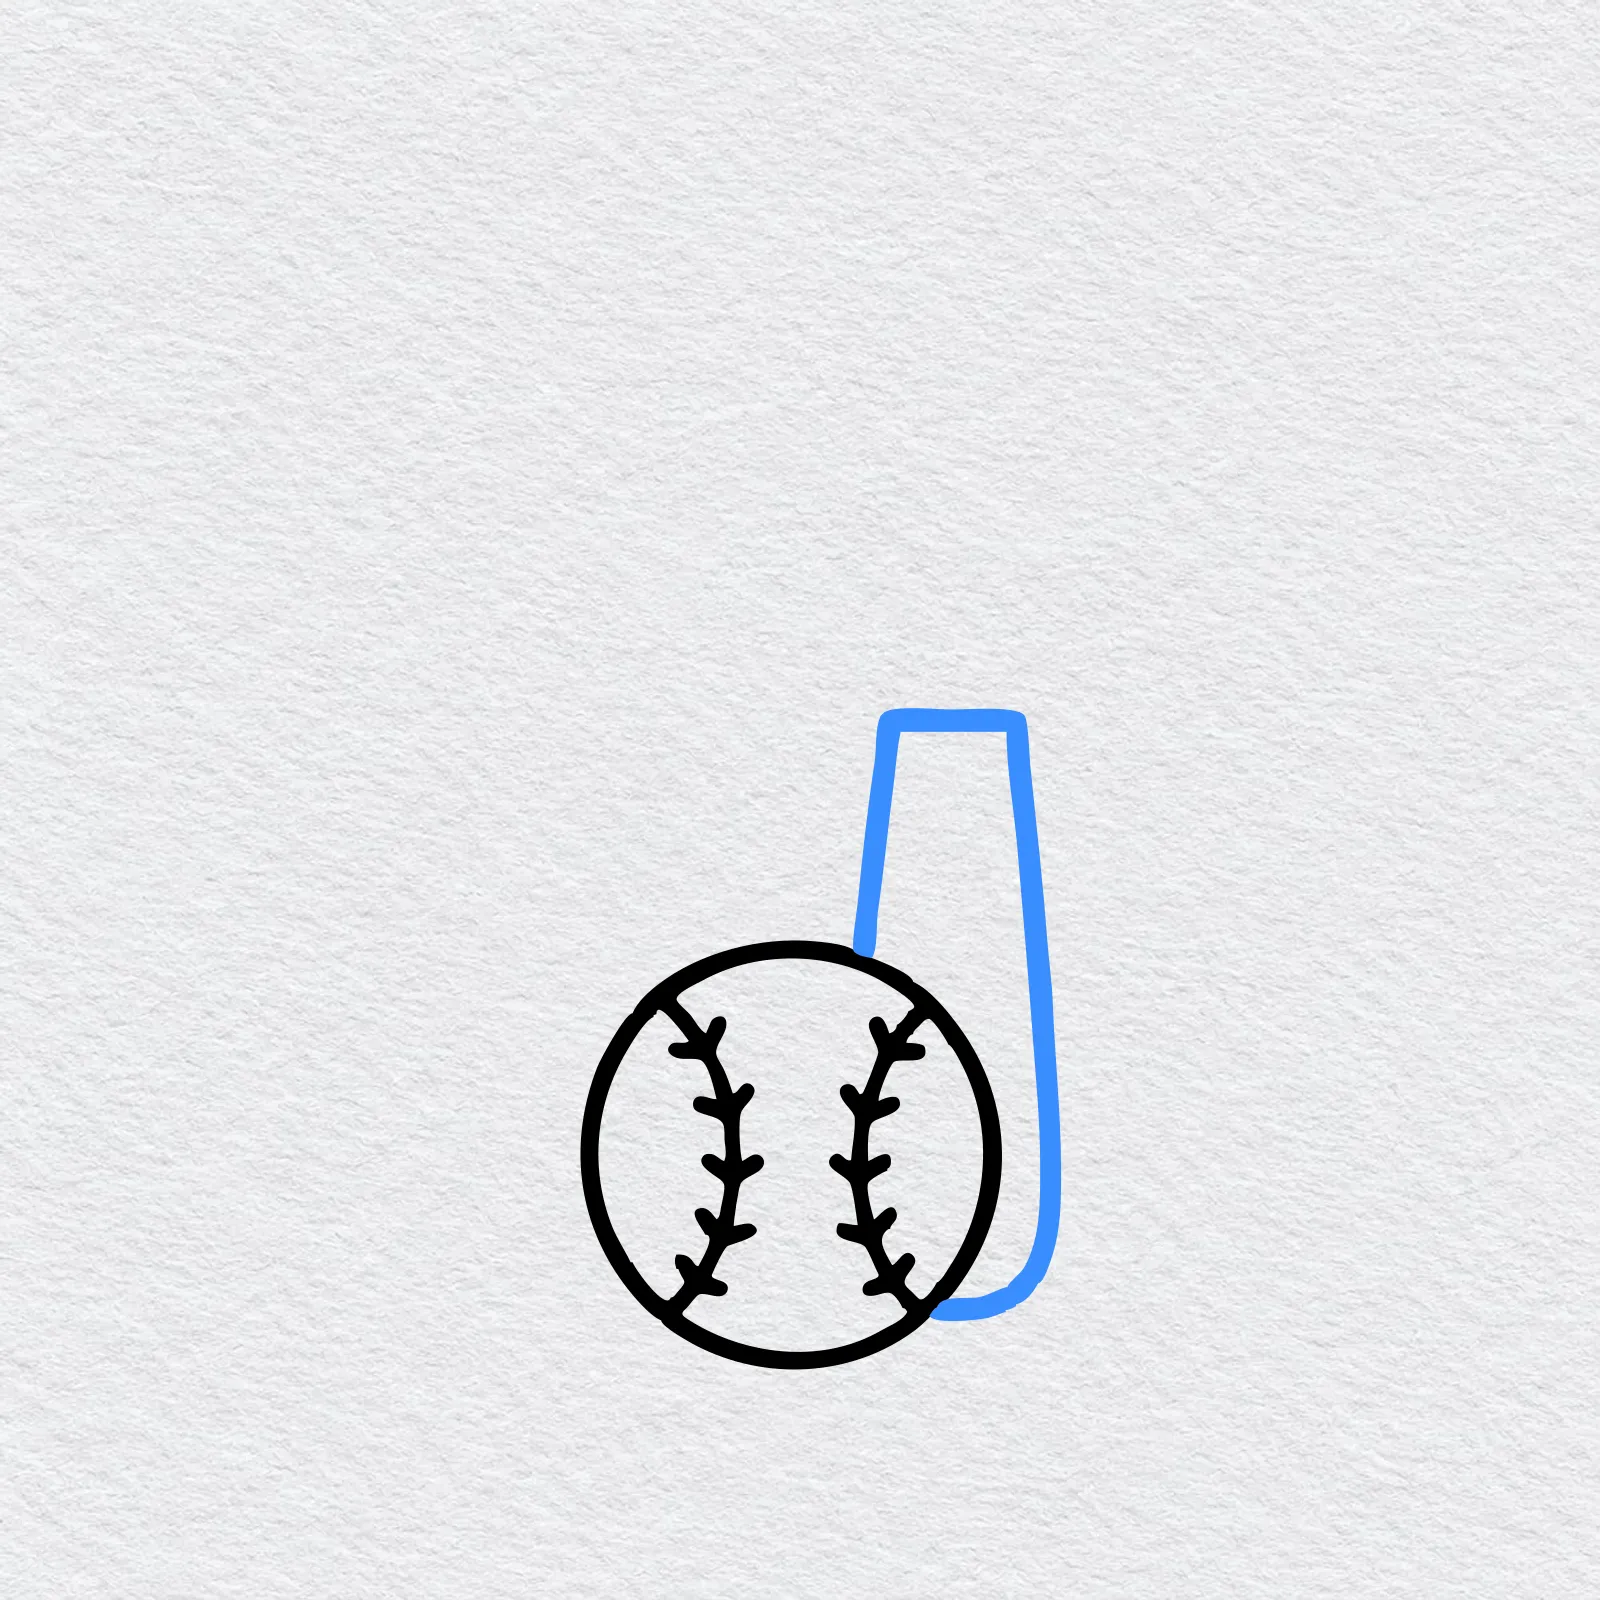
Now draw the thick part of the bat behind the ball. Start at the top of the ball on the right, go up, draw a short flat top and come back down. Curve the bottom around to meet the ball.
-
Step 6 : Draw the handle
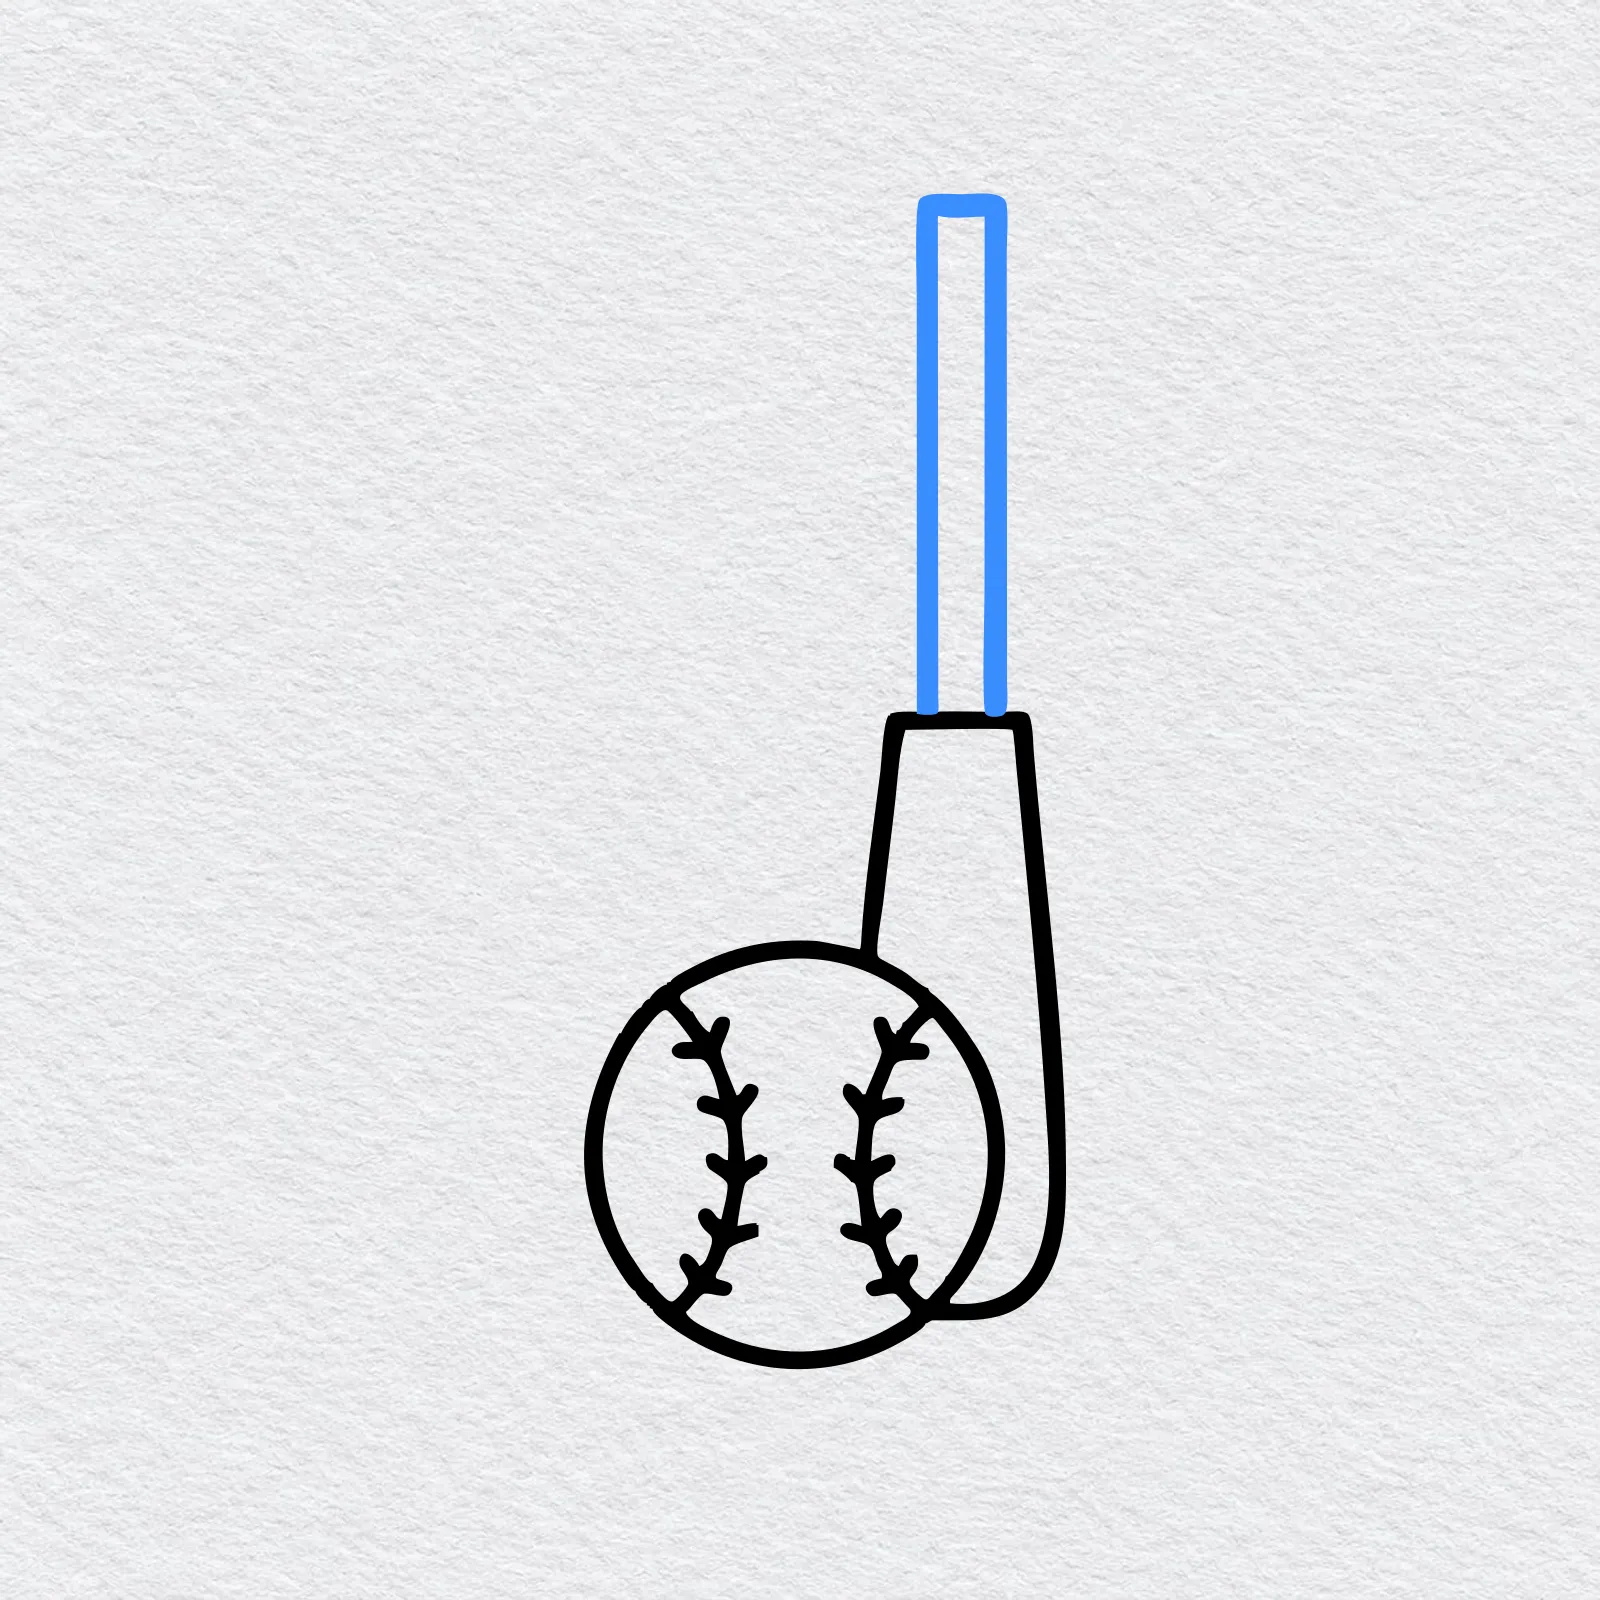
From the flat top of the barrel, draw two long straight lines going up, close together. Join them with a short line across the top.
-
Step 7 : Draw the knob
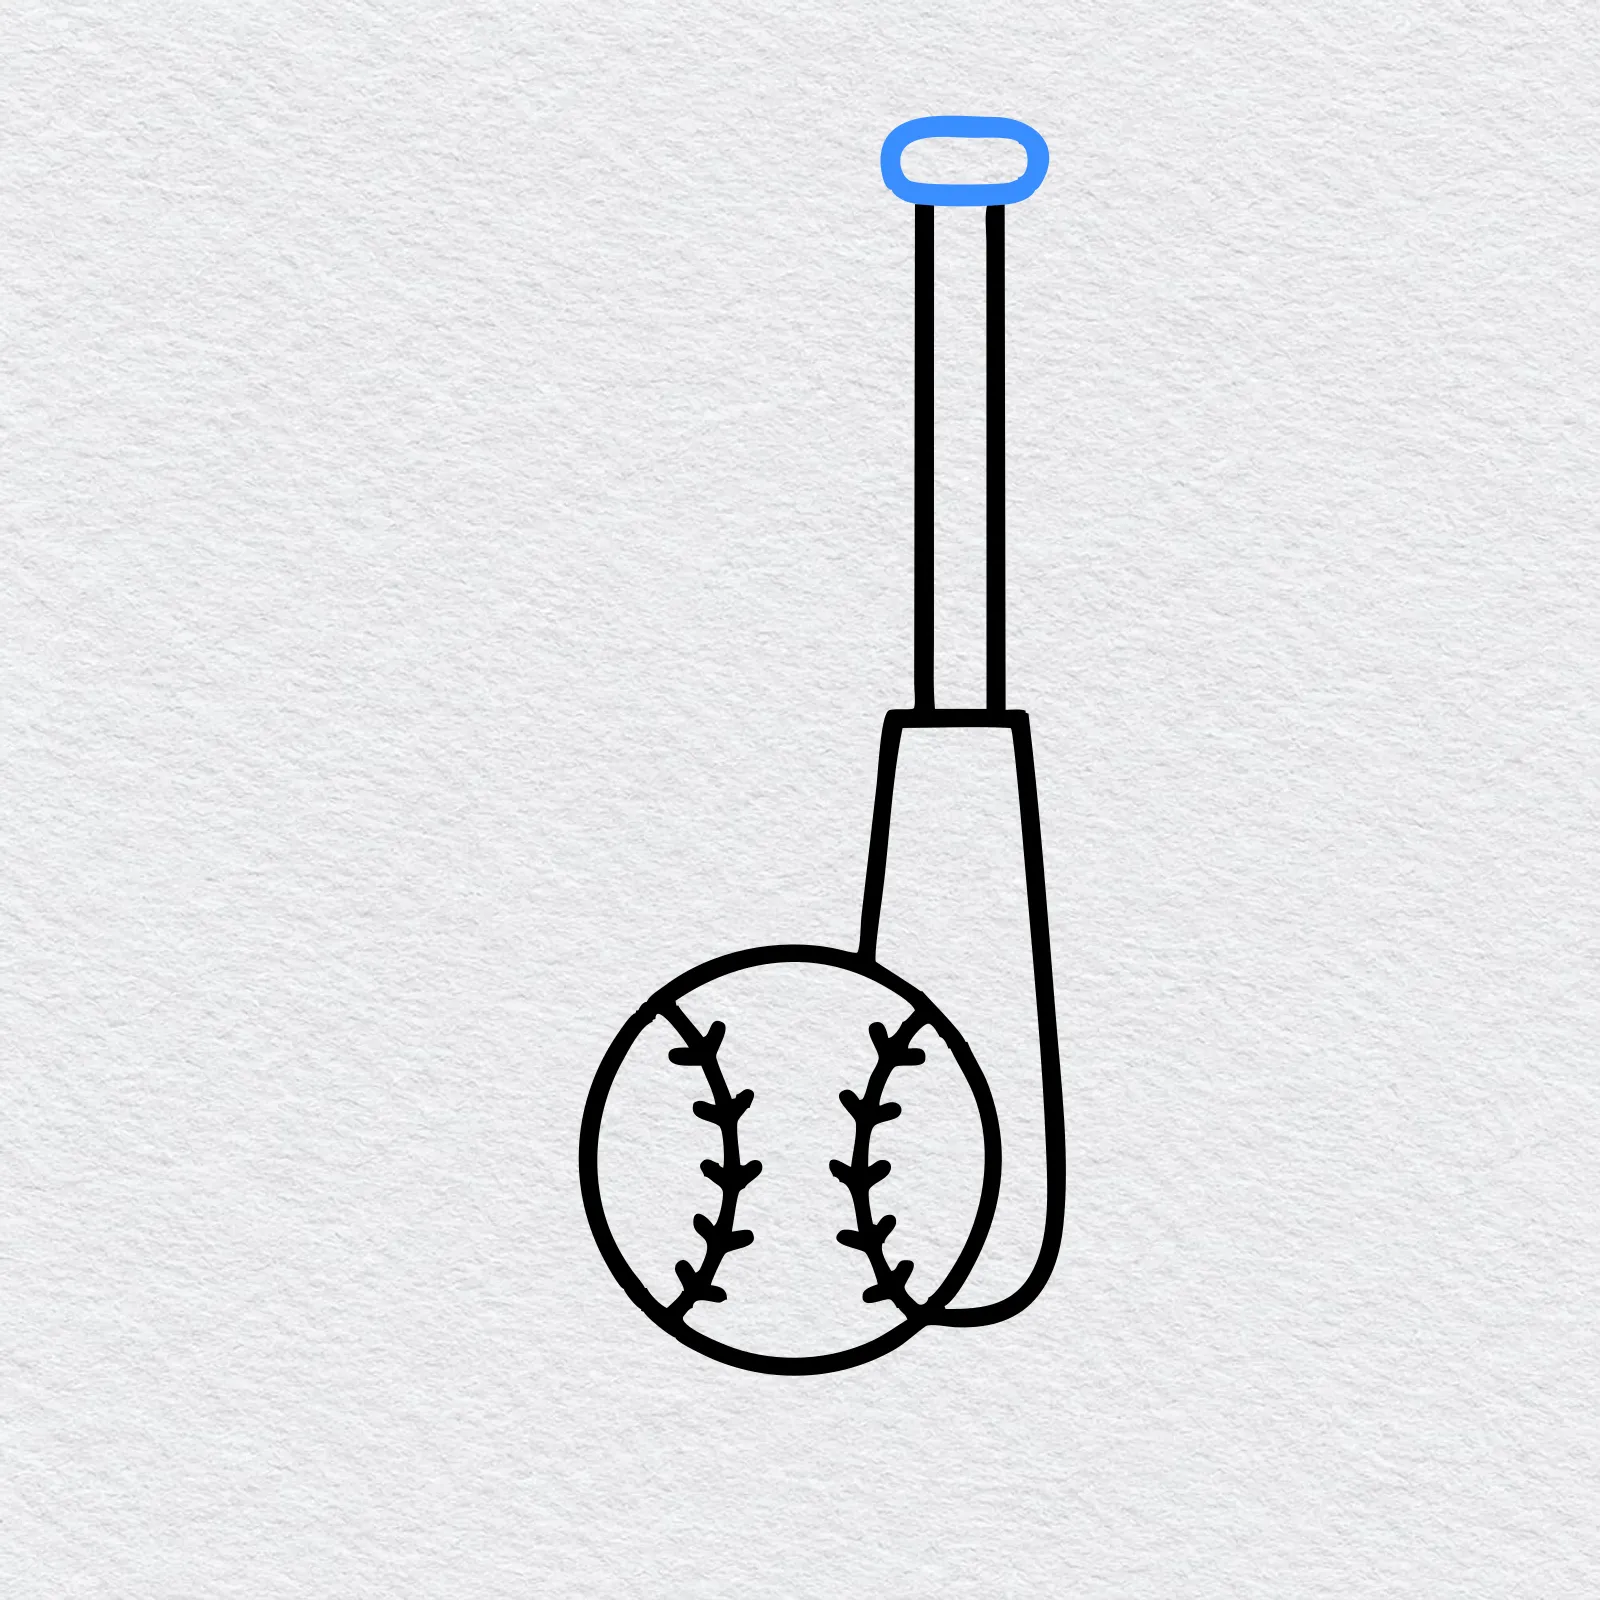
Draw a flat oval lying on its side on top of the handle, a little wider than the handle.
-
Step 8 : Draw the grip wrap
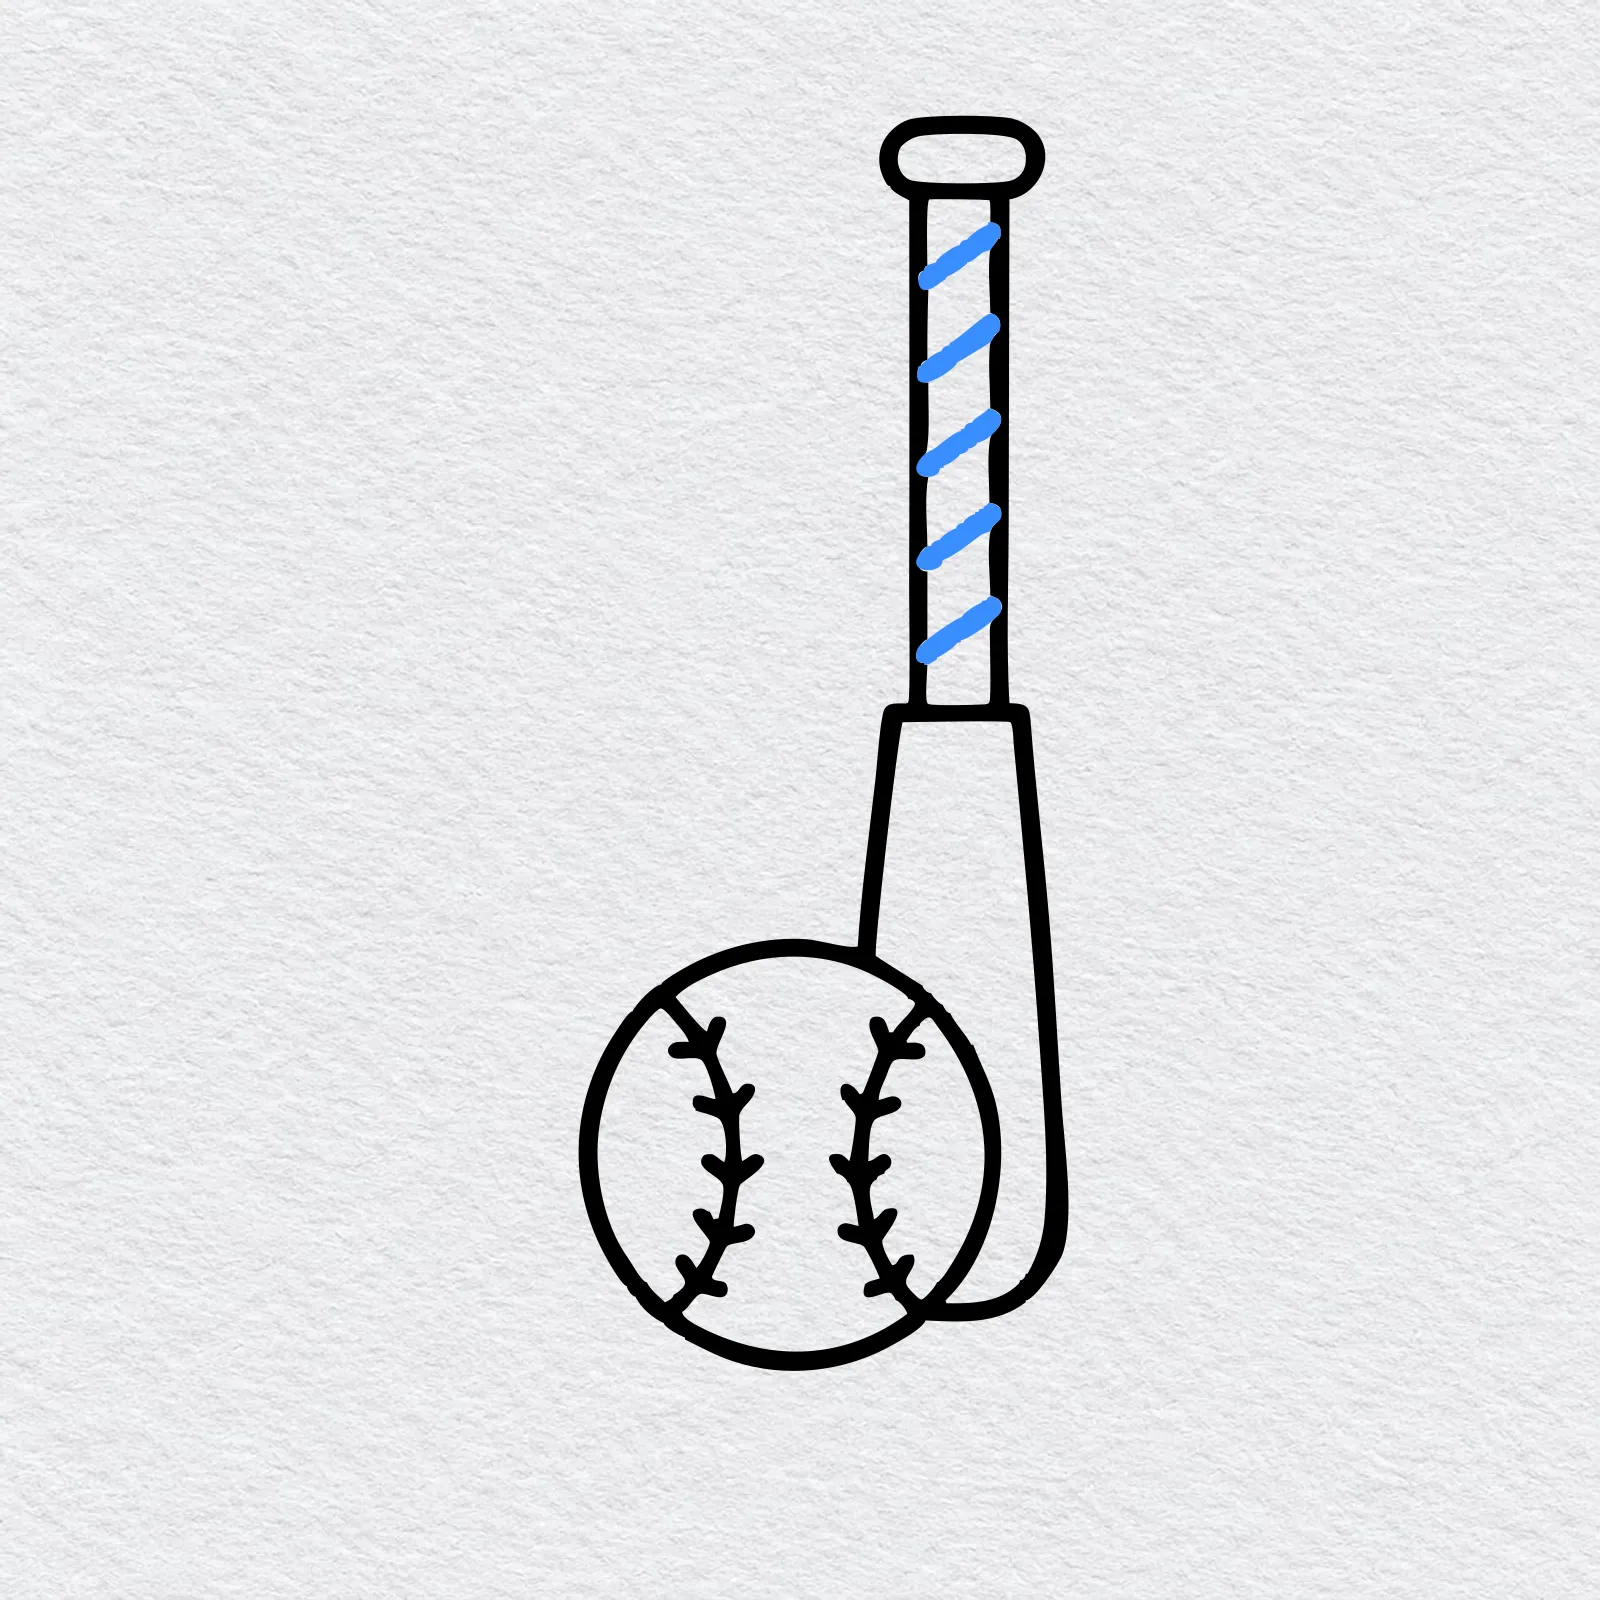
Draw five short slanted lines across the handle, one above the other, all leaning the same way.
-
Step 9 : Draw the grass
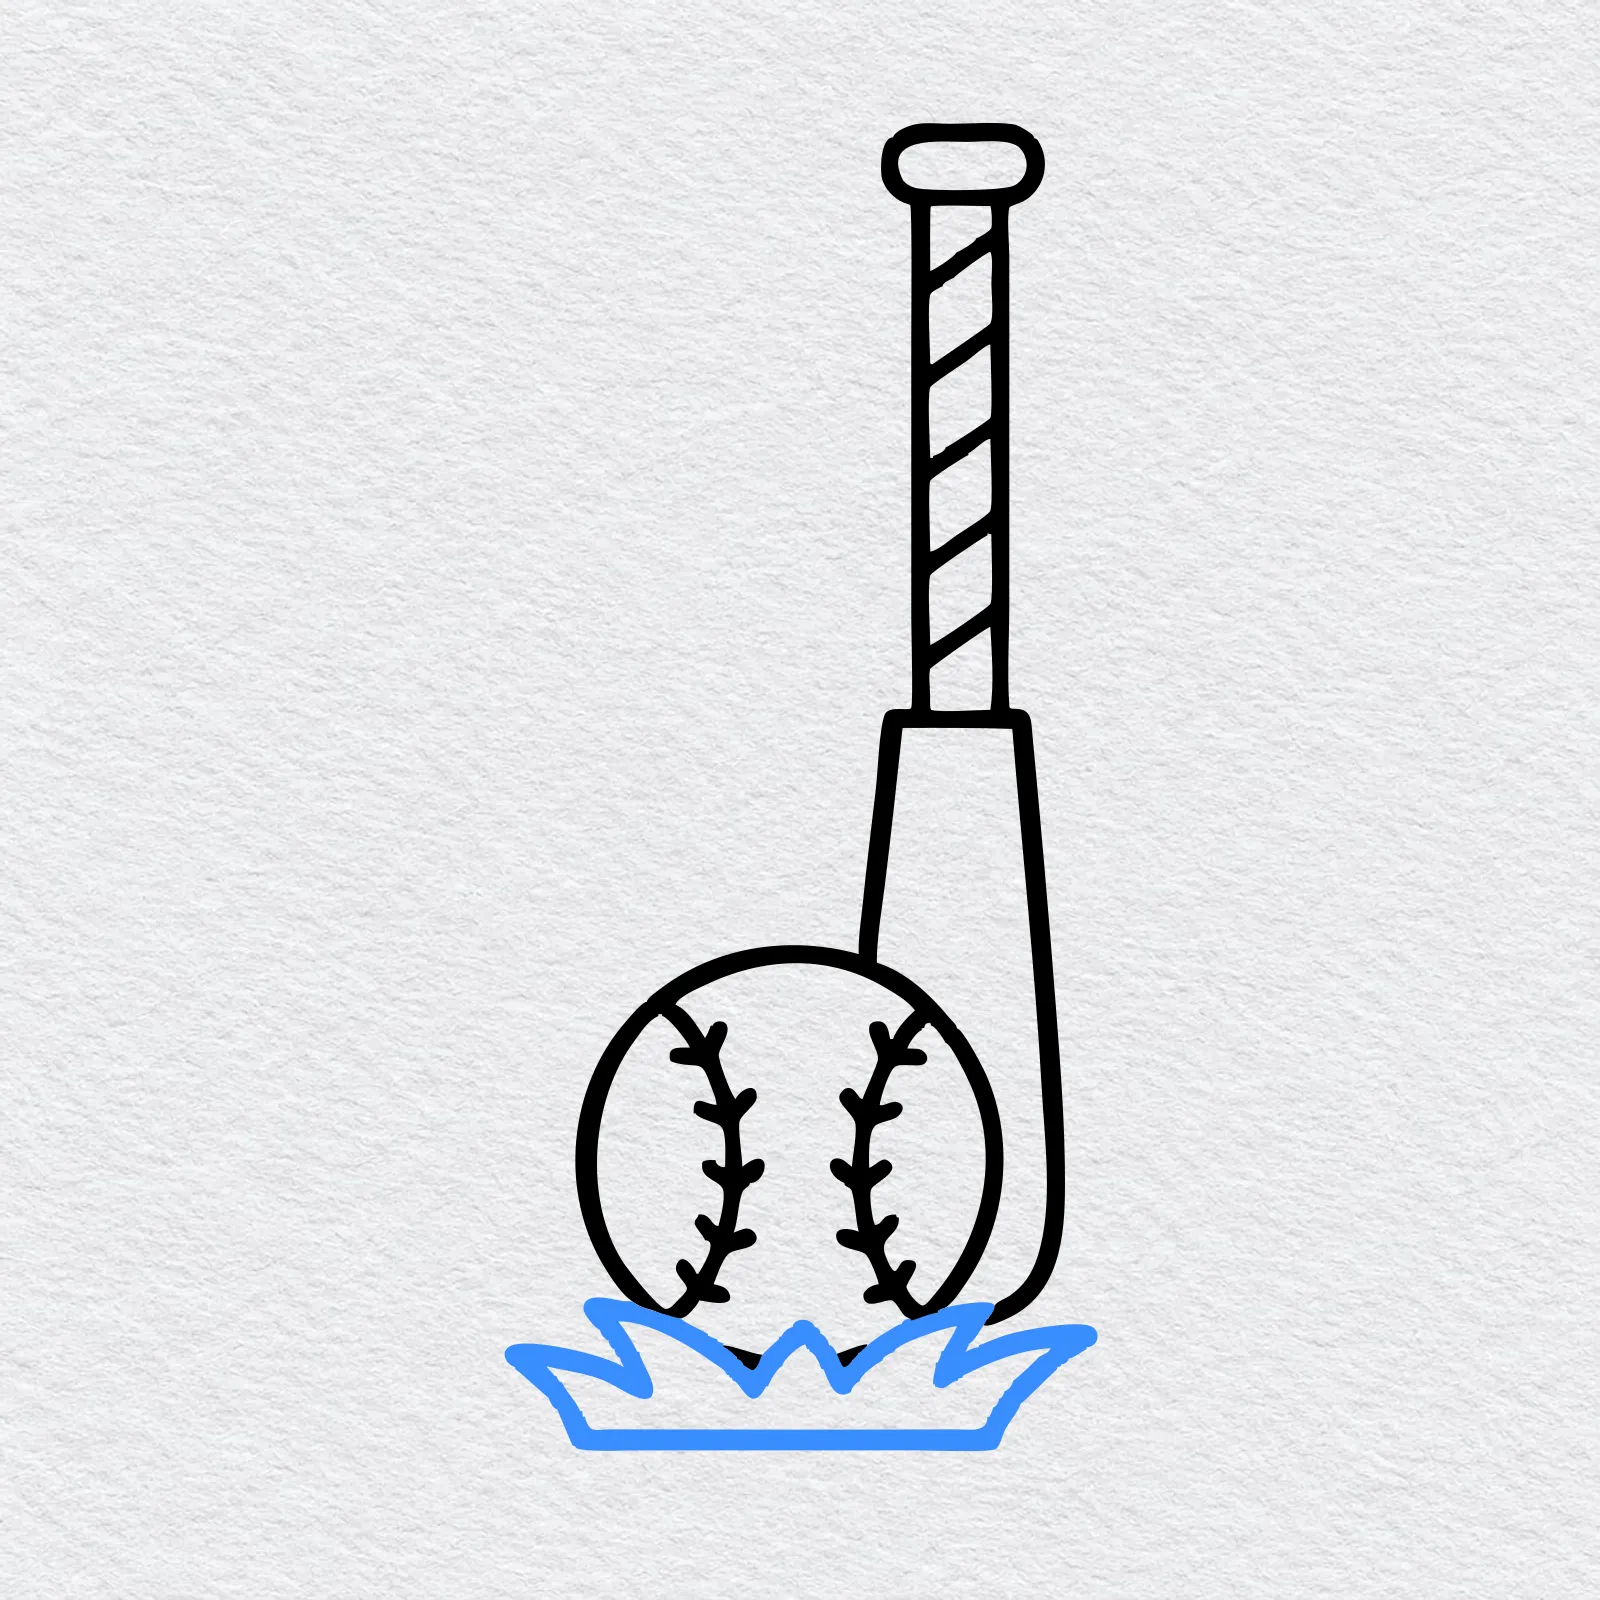
Under the ball and bat, draw a zigzag of pointy grass blades, with a longer blade curling out at each end. Close the shape with a straight line along the bottom.
-
Step 10 : Color your baseball
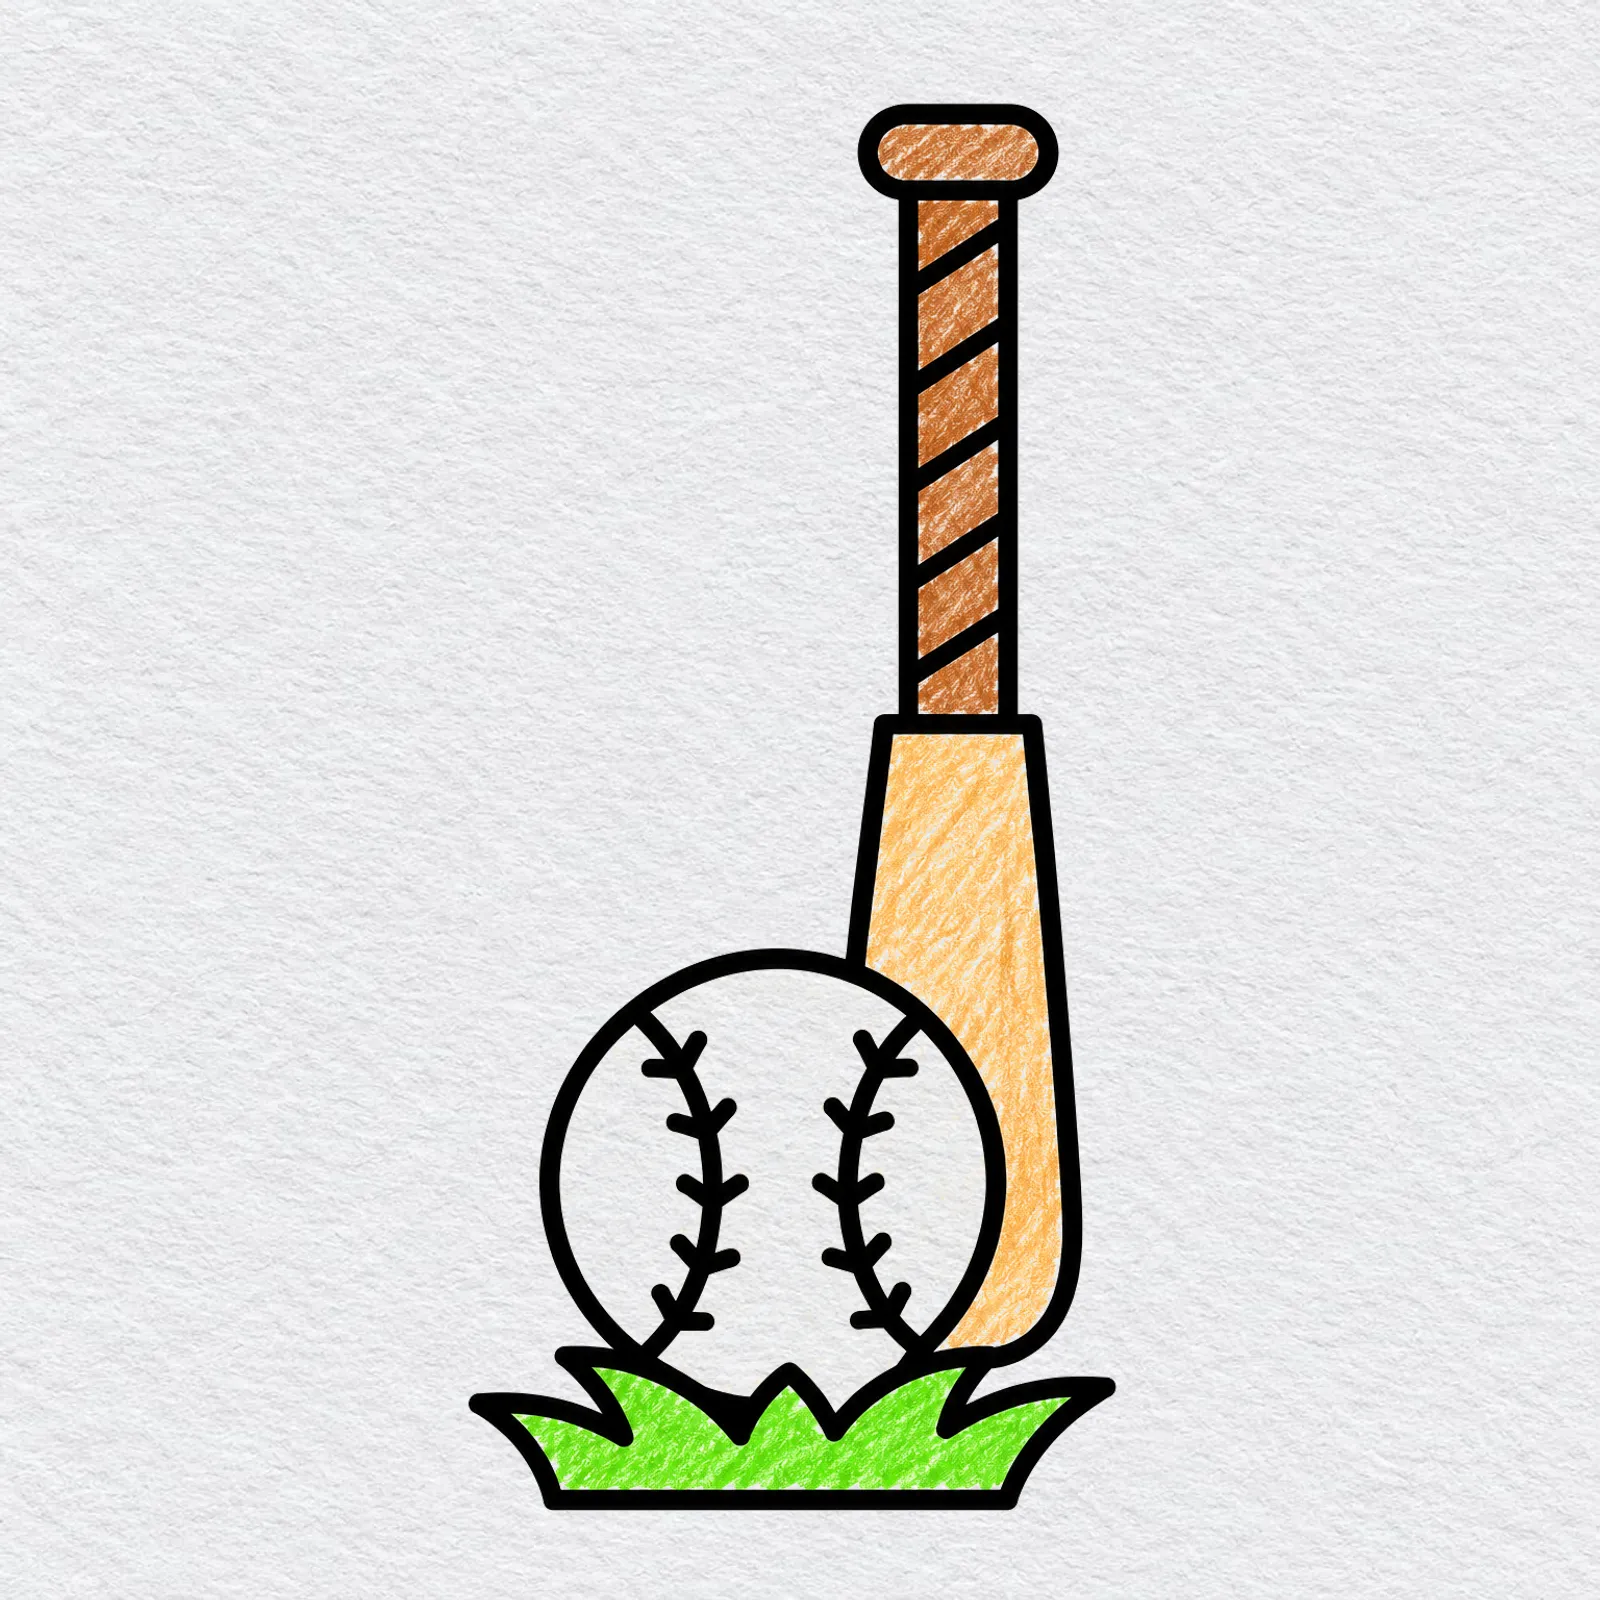
Leave the ball white or color it pale cream. Use tan for the barrel, a darker brown for the handle and knob, and green for the grass. A real baseball has red seams, so you can trace over them in red.
Go slowly and press lightly first. You can always add more color later.
Printable baseball drawing PDFs
 Save
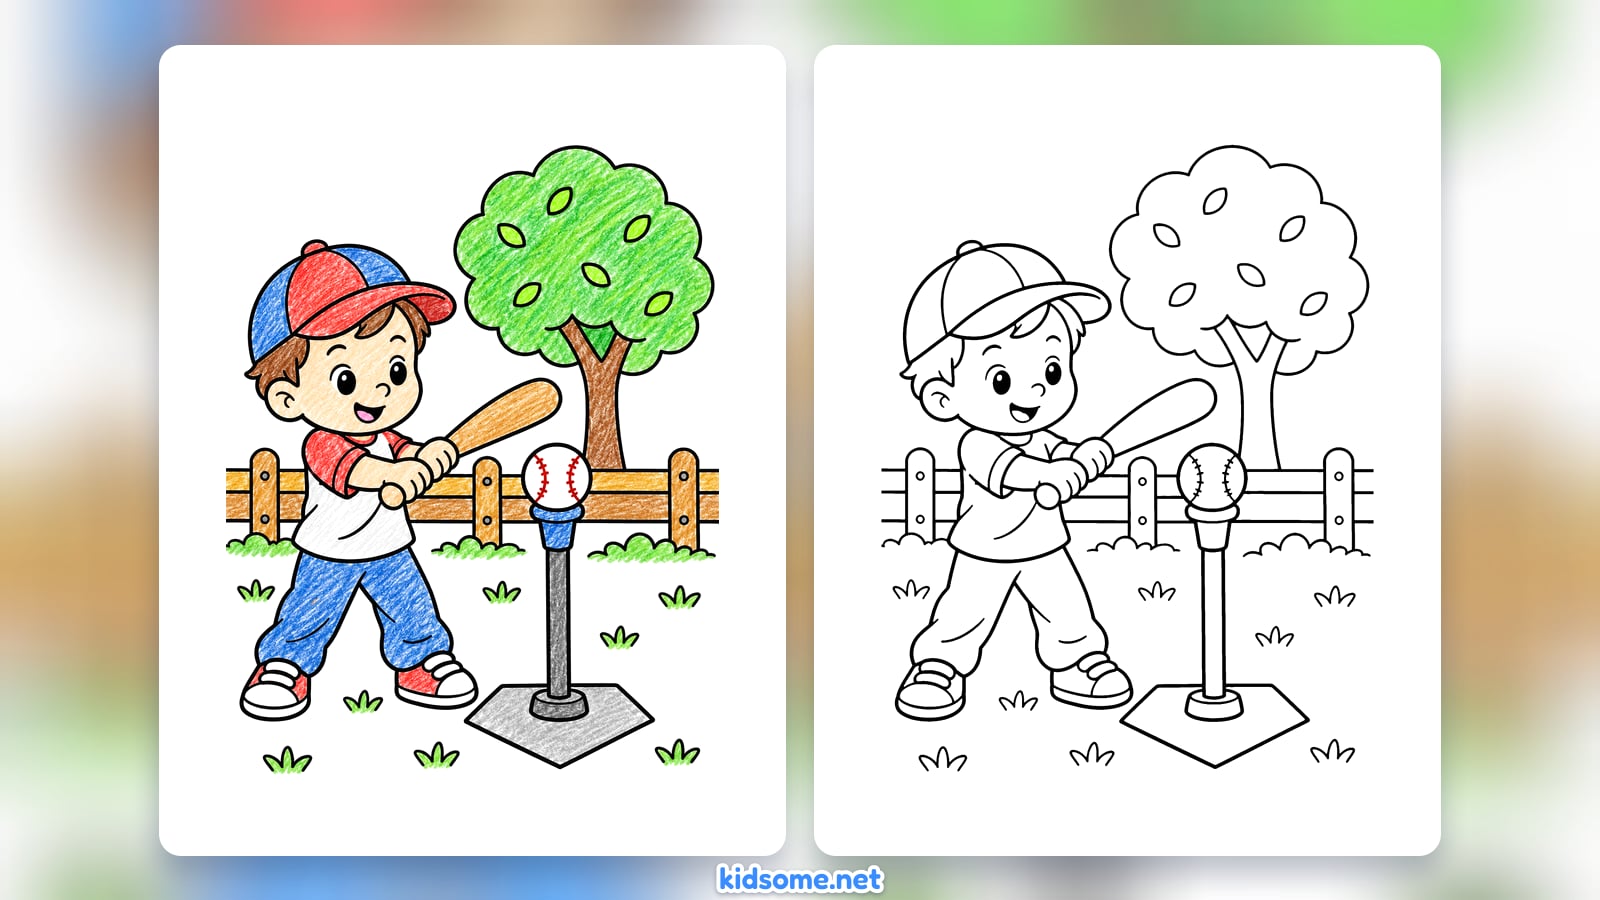
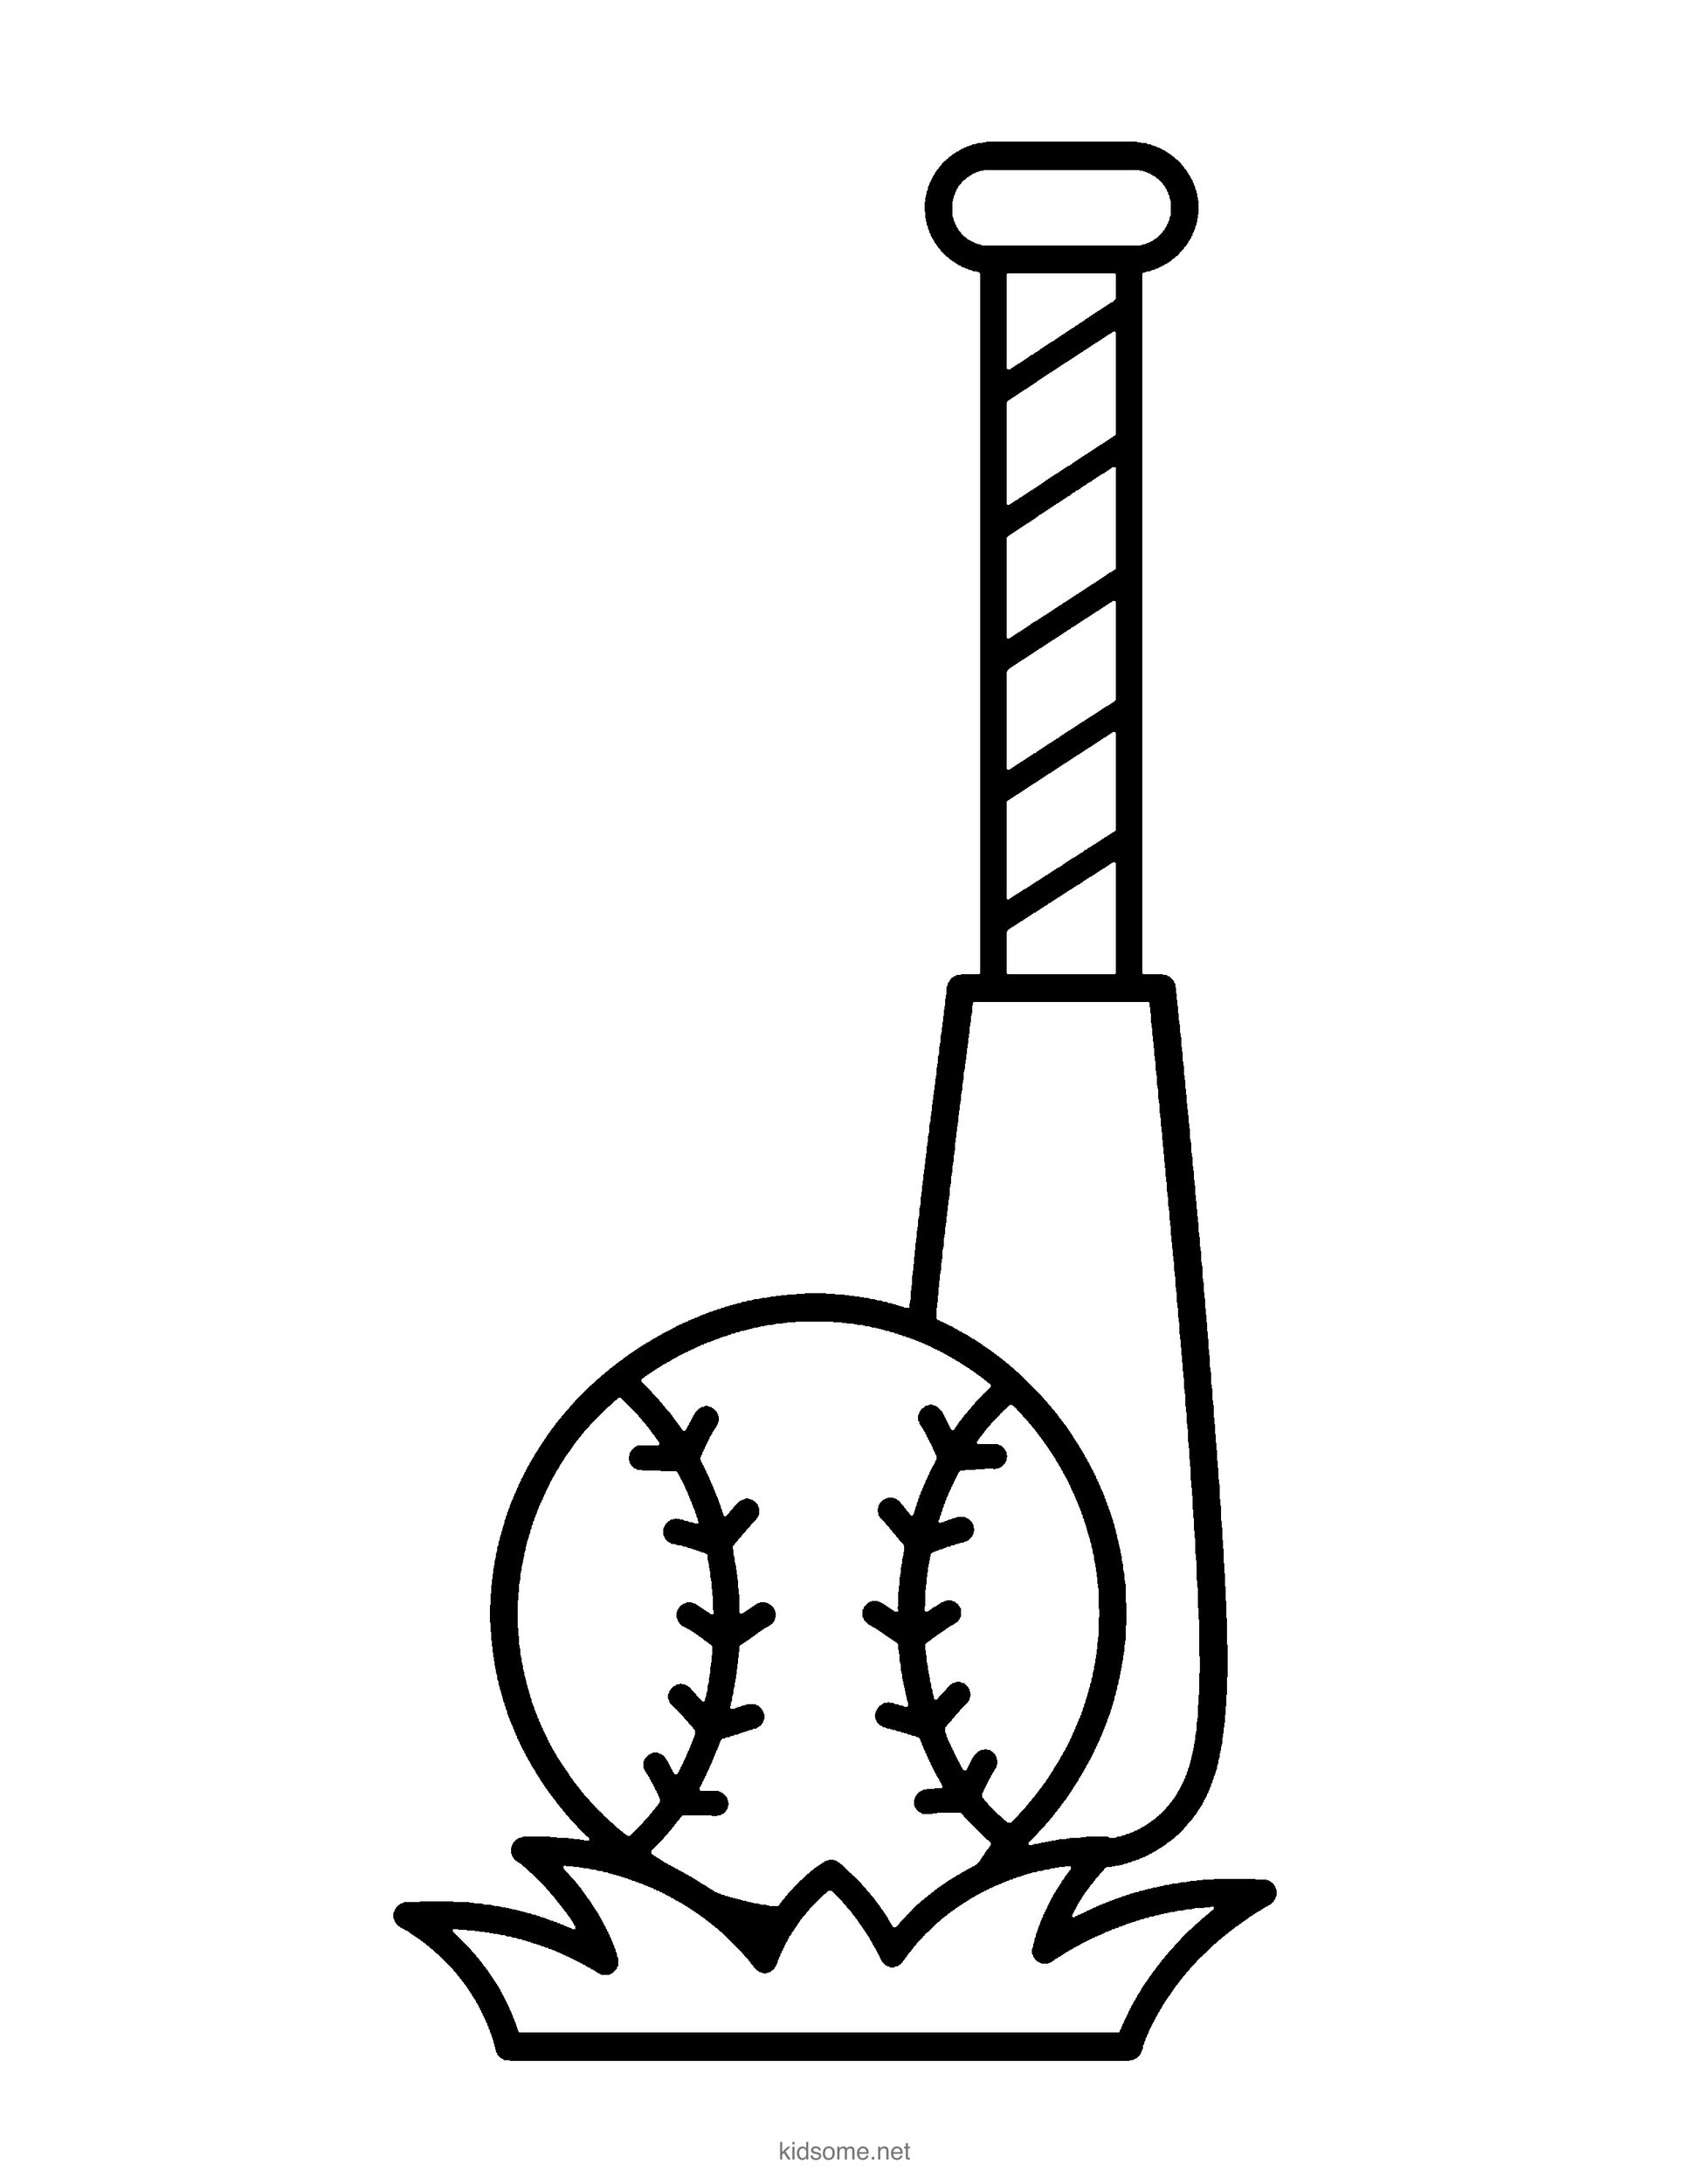
Baseball and Bat Outline to Color
The finished baseball and upright bat on grass as a clean outline to color, with the colored picture on page two.
Download PDF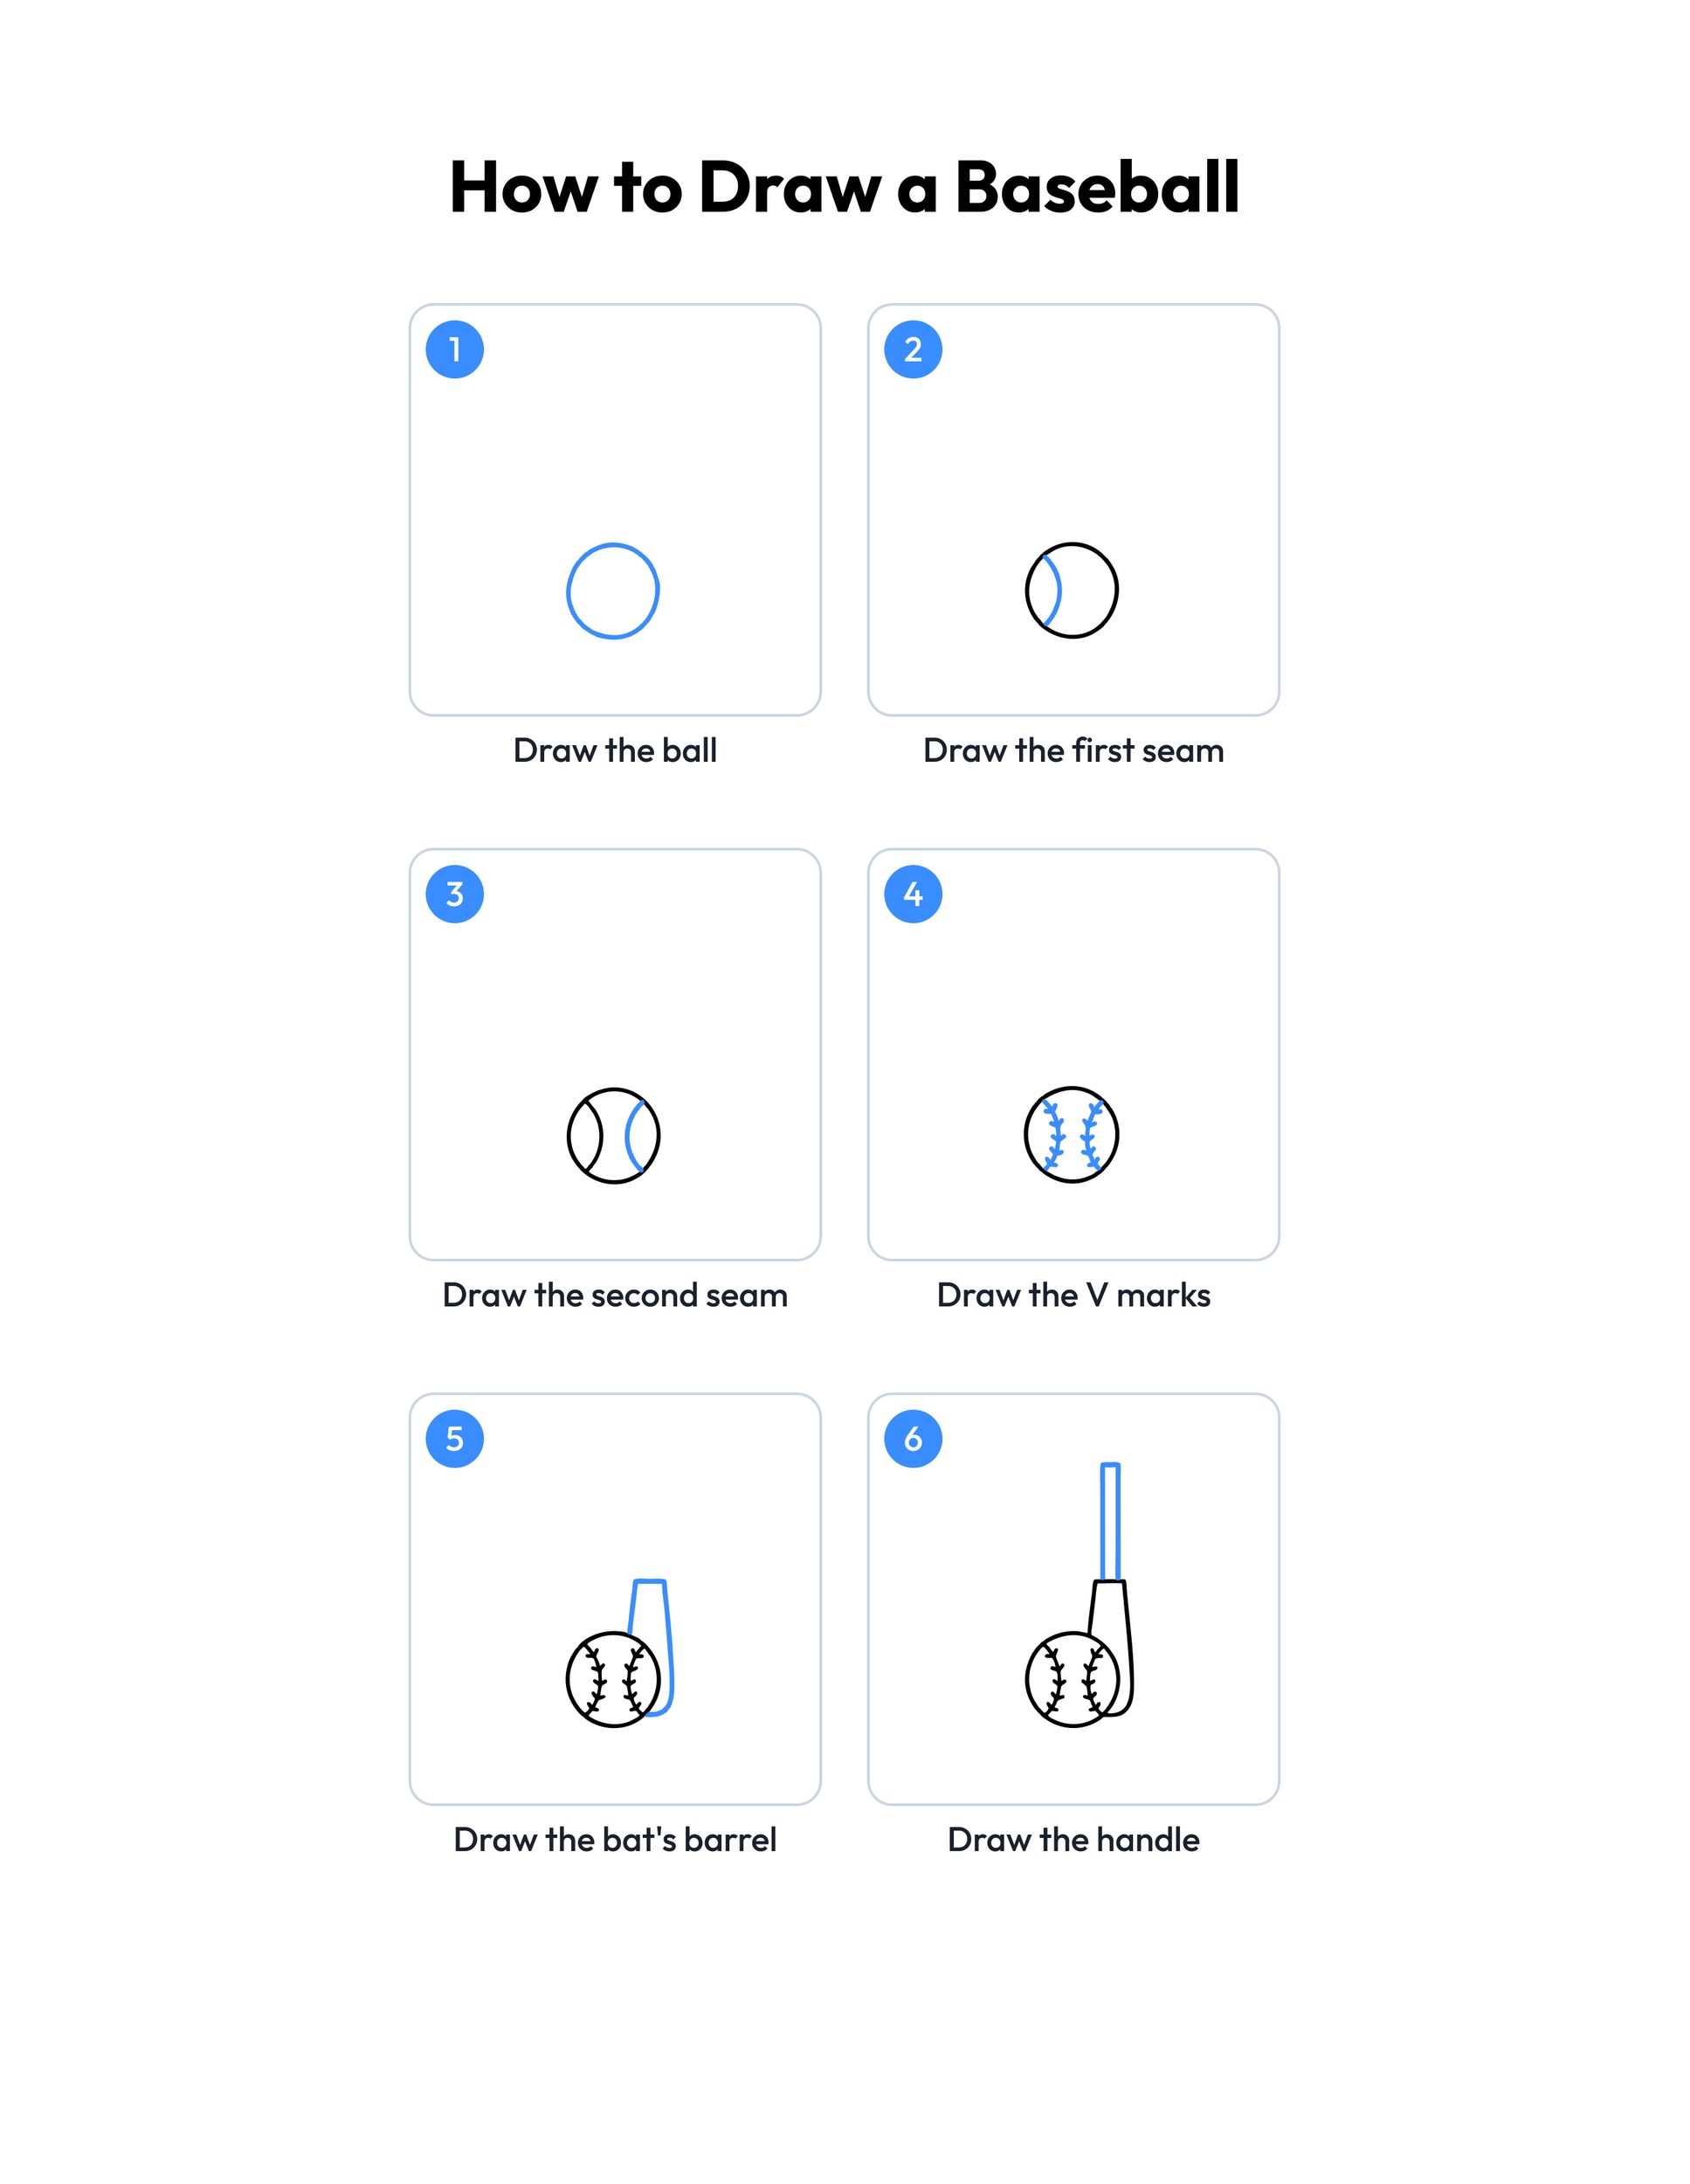 Save
Printable baseball drawing guide
Every step, two to a row, with the finished baseball in color at the end.
Download PDFHow to use this guide
Print the outline at 100 percent, or choose Fit to page if your printer asks. The PDF is set to US Letter, and the margins leave room for A4 too, so the whole bat stays on the sheet. Page one is the outline to color. Page two is the same picture colored in, so print page one alone if you only want the drawing to fill in.
For drawing, plain copy paper and a pencil with a good eraser work best. Turn the paper so it is tall and start the circle low on the page, because the bat needs room above the ball. Draw lightly at first. A round ball is the hardest part of any easy baseball drawing, and tracing around a cup is a fair way to get one. Markers and paint need cardstock so the color does not soak through.
The first four steps are the easiest and make a ball that can stand alone: a circle, two seams and the V marks. Younger children can stop there and color it. Those steps also show how to draw baseball seams that bend the right way, each one curving in toward the middle of the ball. The bat takes more care, because its two long handle lines need to stay straight and close together.
Print the step guide and lay it beside the paper, or keep this page open on a tablet. Kids who finish fast can try how to draw a football next.
Ideas for your baseball drawing
- Team colors: Color the bat and its grip wrap in the colors of a favorite team or your child's own league team. Write the team name along the barrel in small, careful letters.
- Good luck card: Fold a sheet in half and draw the ball and bat on the front. Inside, write a note for a teammate before a big game, or a thank-you for a coach when the season ends.
- Word practice: After drawing, label the ball, seam, bat, knob and grass in pencil. Then look for more words from the ballpark in the baseball word search.
- Classroom sports week: Put printed step guides, pencils and erasers at an art table. Hang the finished baseball drawings on a wall, and give early finishers a sports crossword to work on.
- Sports ball lineup: Draw three balls in a row on one long strip of paper, starting with the baseball. The basketball drawing guide is a good one to do second.
- Scorebook cover: Staple a few sheets of paper into a small book for keeping score in the yard. Draw the ball and bat on the cover and write the season and your child's name under it.
- Quiet-time folder: Keep the step guide, blank paper and a few soccer coloring pages in a folder for car rides to practice, waiting rooms and afternoons when the field is too wet.
- Waiting table: Set out drawing paper, pencils and a printed sports word search for brothers, sisters and friends who are waiting for a turn to bat or for the rain to stop.
What age is this guide made for?
It is made for ages 4 to 8. The youngest children can draw the ball with its seams and V marks while a grown-up sits nearby, and stop there. Older kids can draw the whole picture alone, then add a glove, a cap or a base beside the grass.
Is this baseball drawing easy enough for a first try?
Yes. It starts with one circle, and each step adds a single part: a curved line, a few V shapes, a long thin handle. Nothing has to be erased later. If a line goes wrong, rub it out and draw that step again. A second try almost always looks better than the first.
Can I print the guide for my class or team?
Yes. Teachers, coaches, homeschool parents and art clubs can print as many copies of the outline and the step guide as their kids need. Both PDFs are free for personal and classroom use. Please do not sell them or post the files on another site.
What should we draw after the baseball?
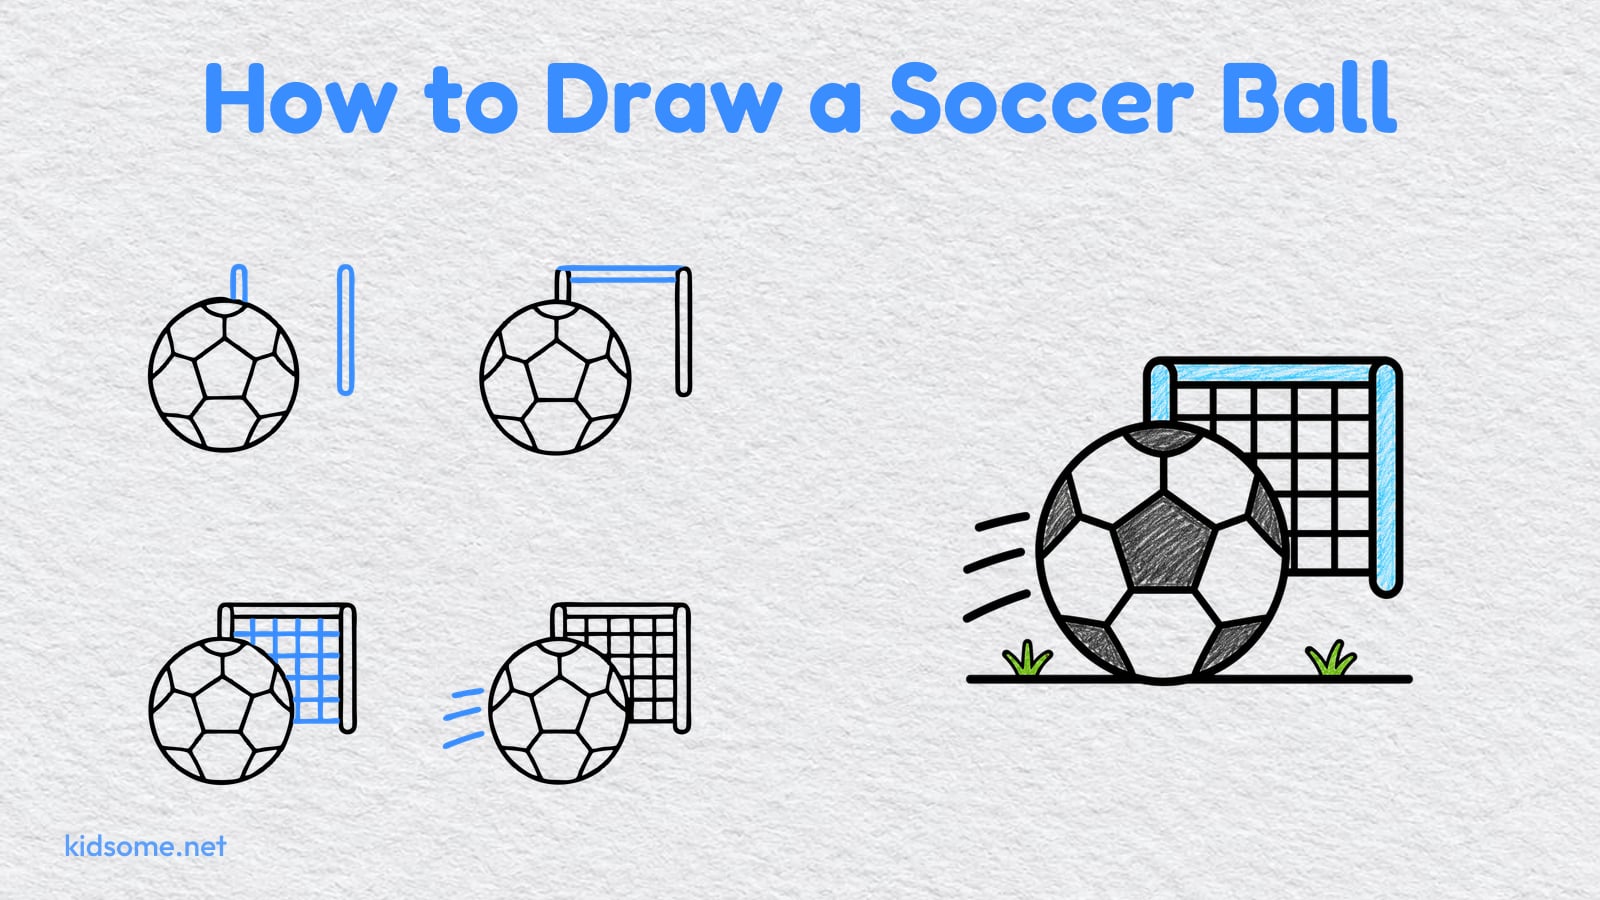
Hang the finished drawing of a baseball on the fridge first. Then pick another ball, because it starts with a circle too. In how to draw a soccer ball, patches take the place of the seams. Children who liked the bat best can draw a glove or a cap from a photo.